
SMS-IT SIM CARD INTEGRATION
To add your SIM card to the SMS-iT platform, ensure you have an Android phone and an active SIM card with texting and internet capabilities. Then, follow the steps outlined in the guide provided.
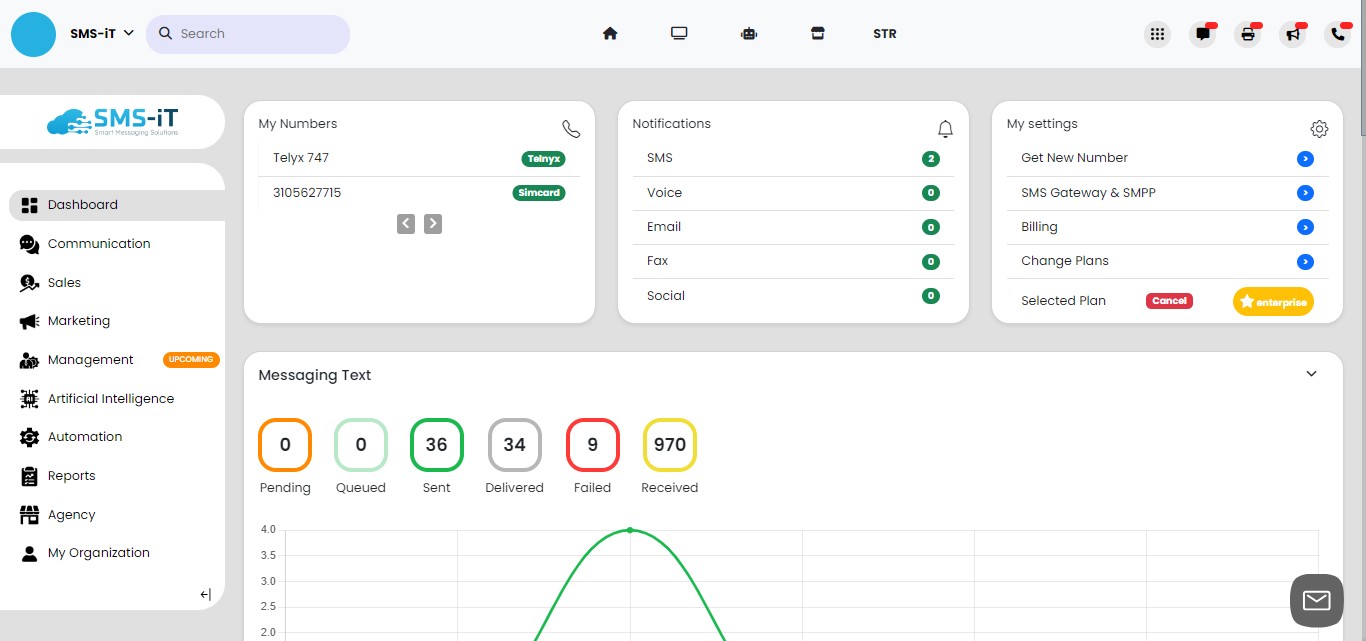
Navigate to https://aicpanel.smsit.ai/home
Problem: SMS gateways like Twilio can be costly for solo-entrepreneurs and small marketing agencies. Solution: Integrate your SIM card with SMS-iT to reduce texting costs to just your mobile plan's monthly fee, as texting on SMS-iT is free, not based on a cost-per-text model. Follow the guide to integrate your SIM card and start enjoying free texting.
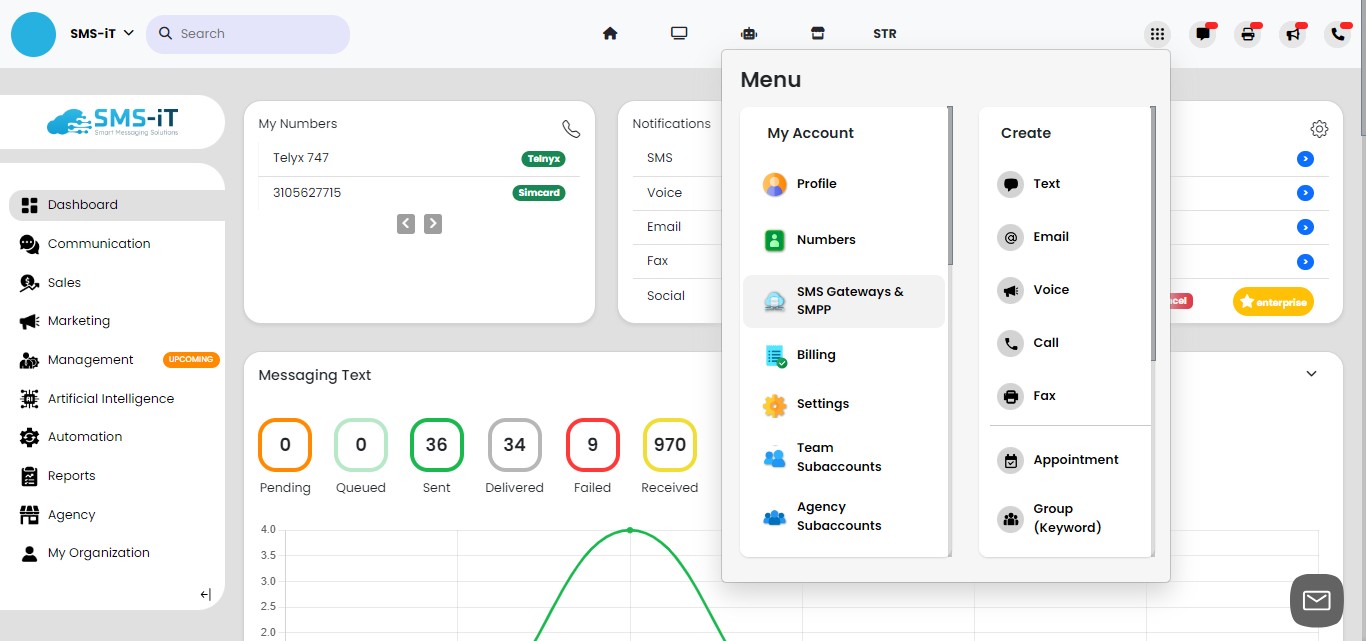
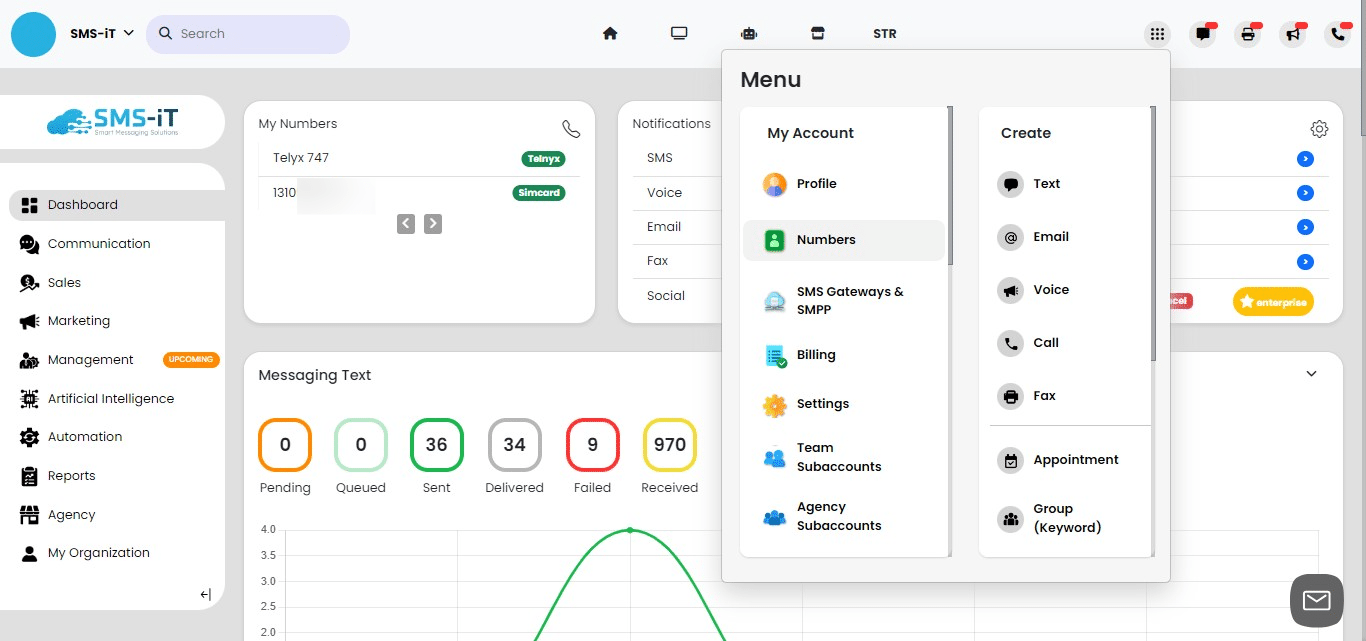
Click on the "Menu" icon.
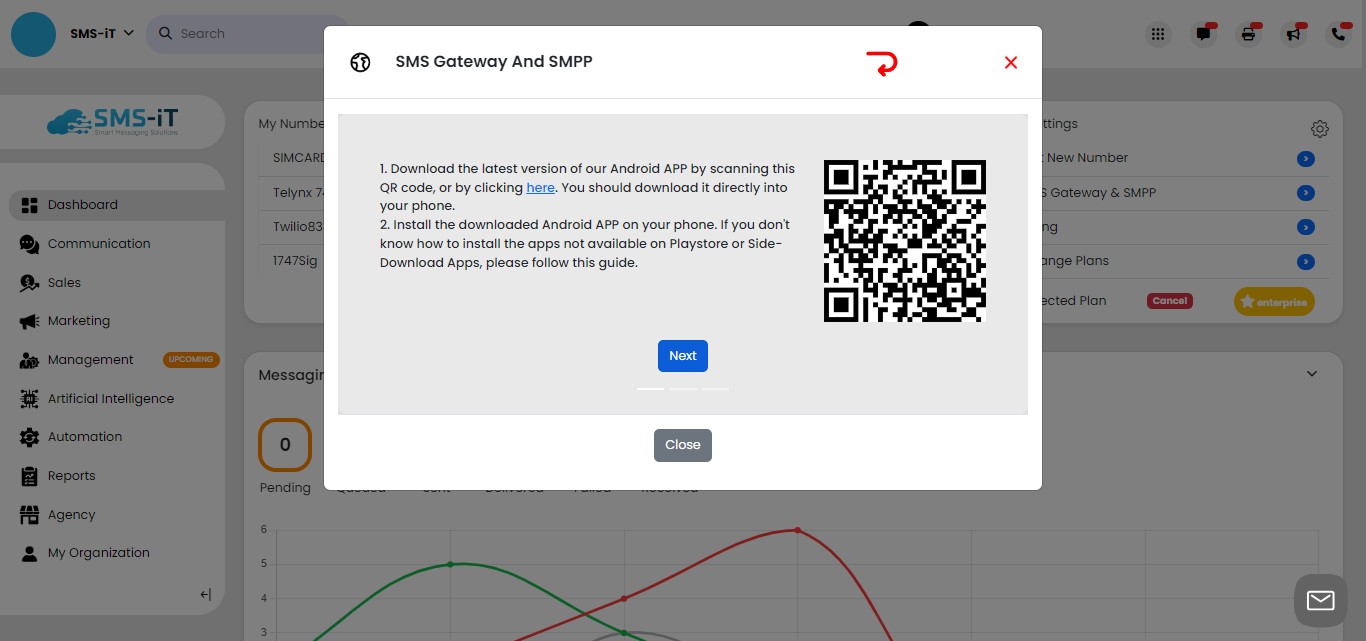
Click on "SMS Gateways & SMPP"
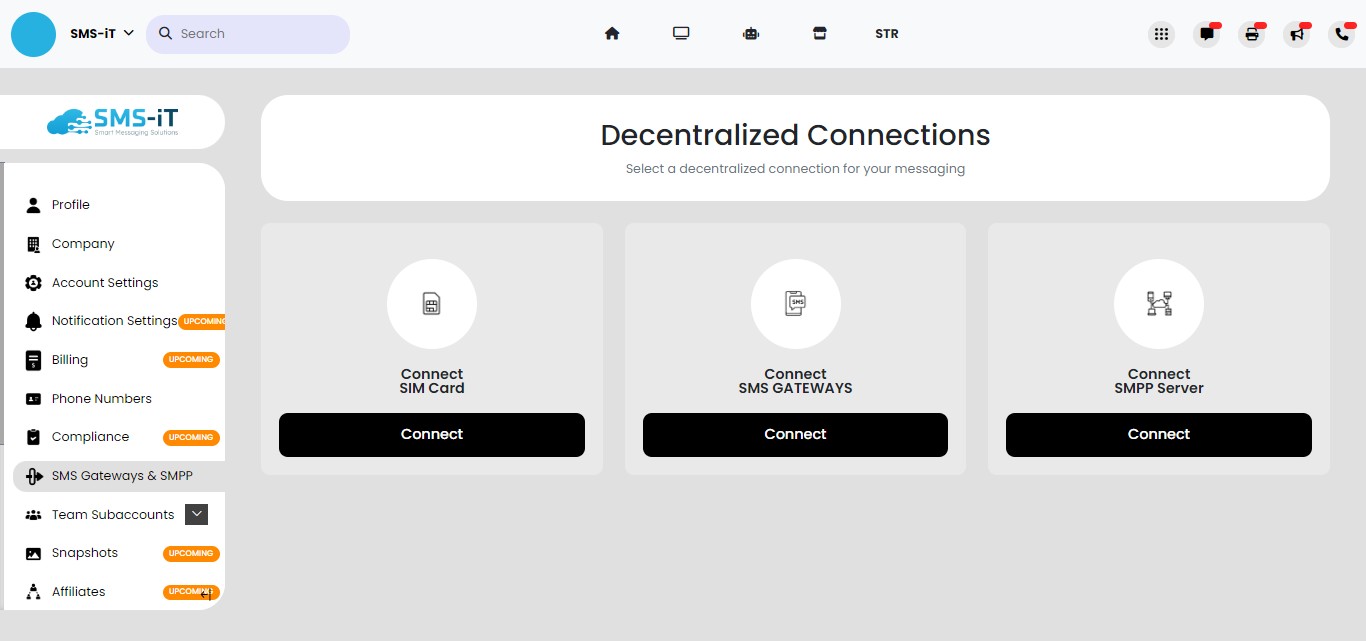
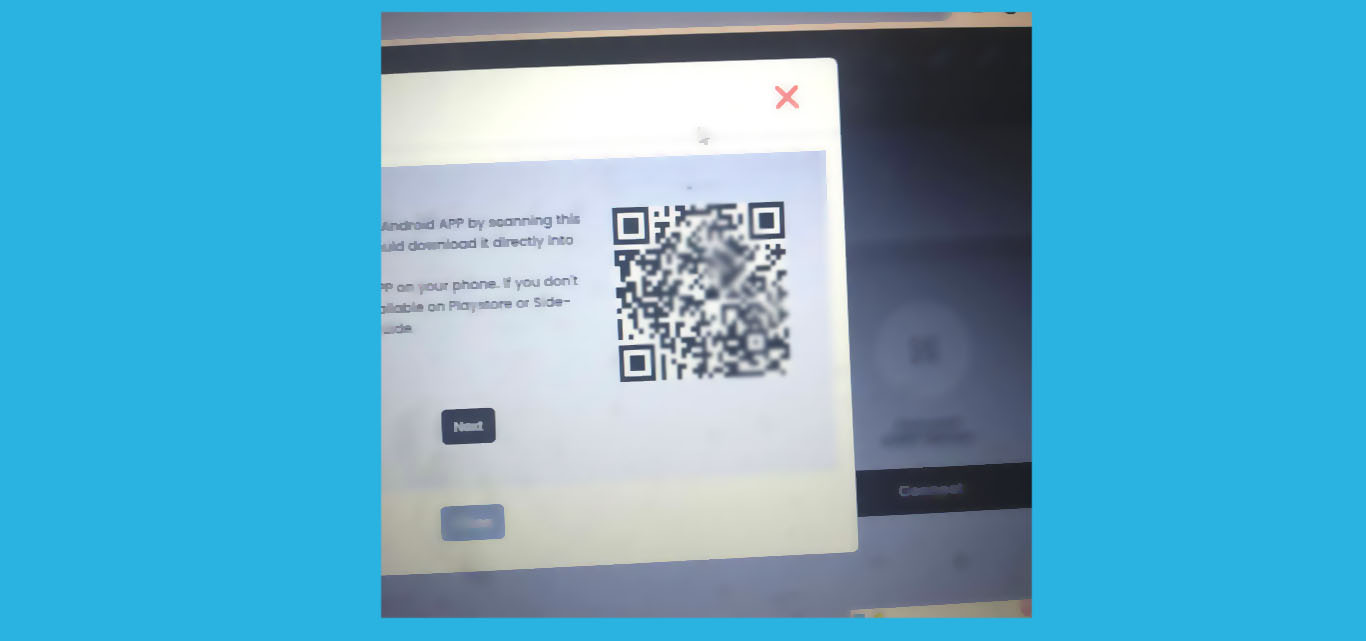
Click on "Connect"
You'll need to scan the QR code with an Android phone or download the Android APP directly to your phone.
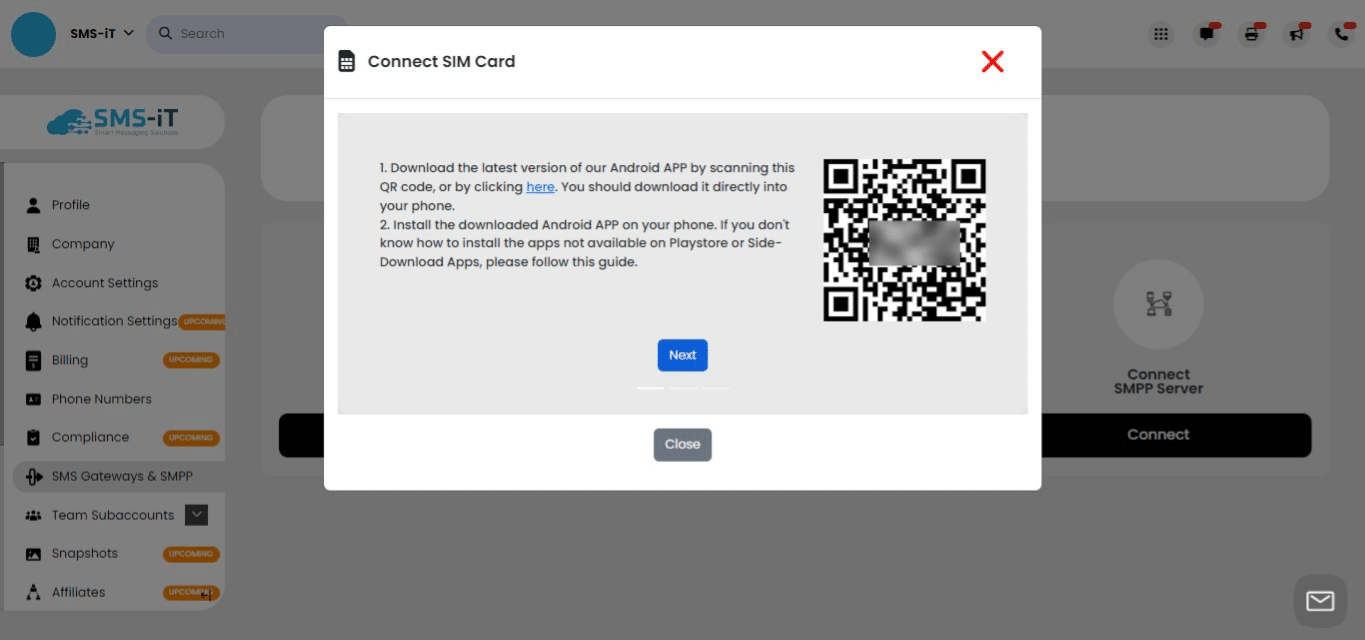
Scan QR code with your Android phone
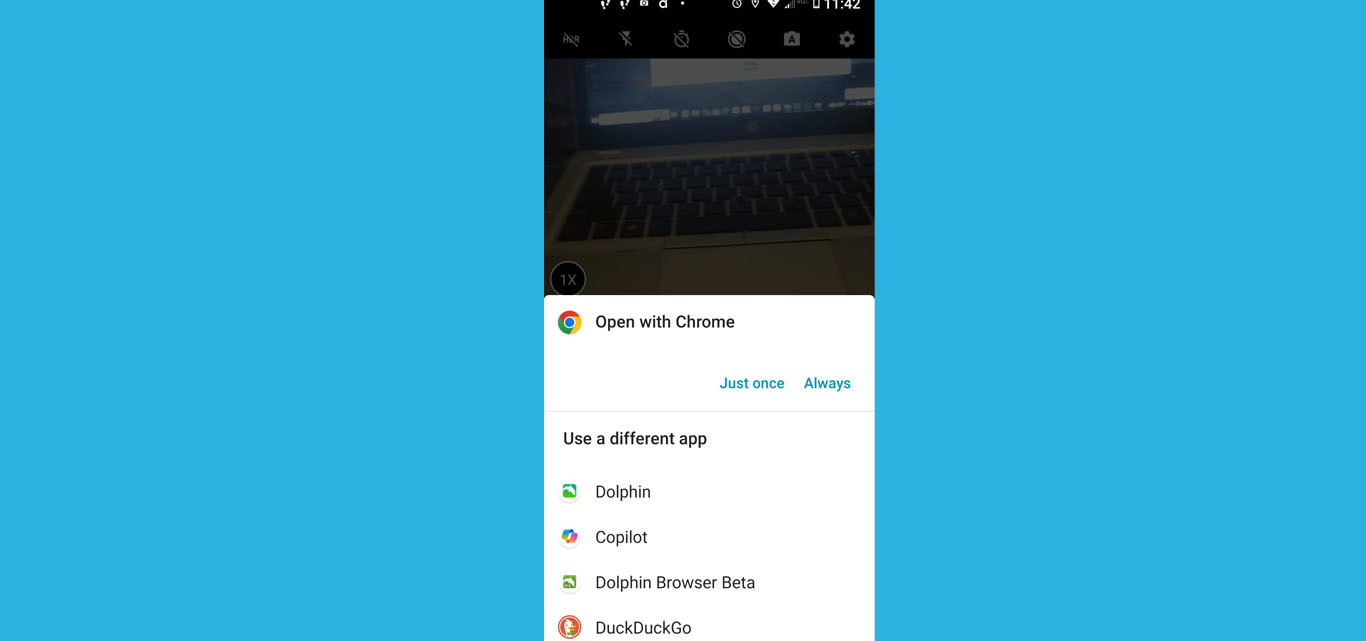
Open in a browser of your choice on your Android phone
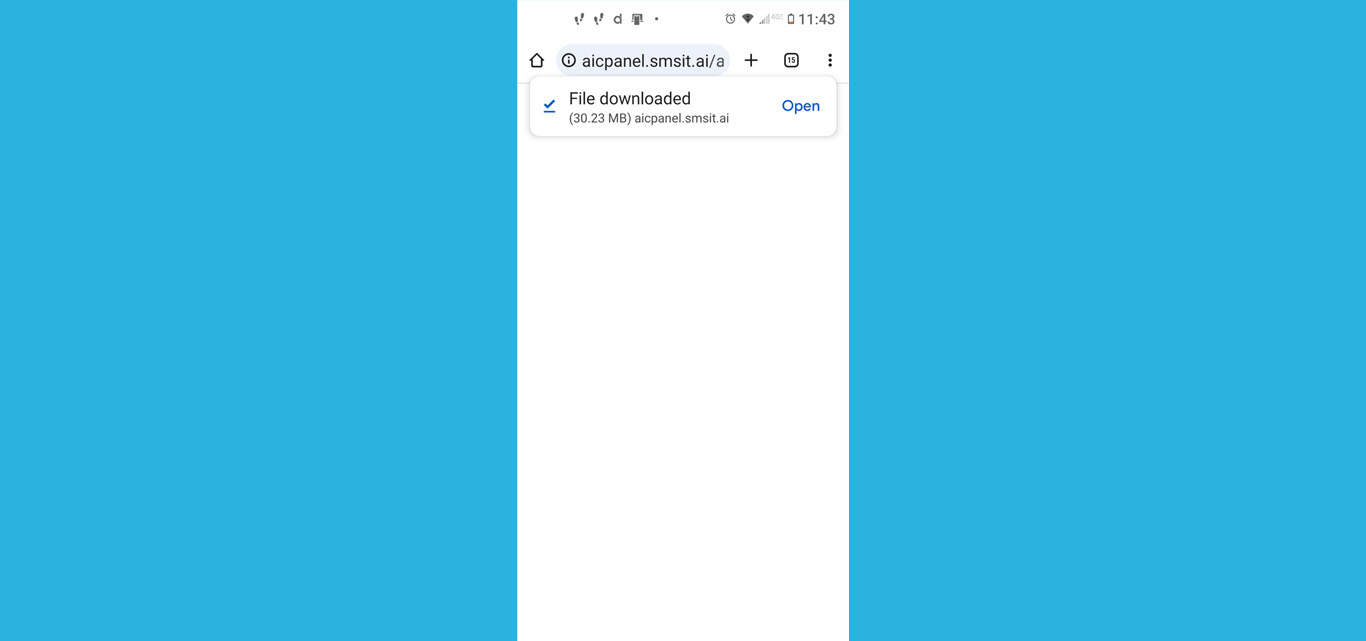
Download the file
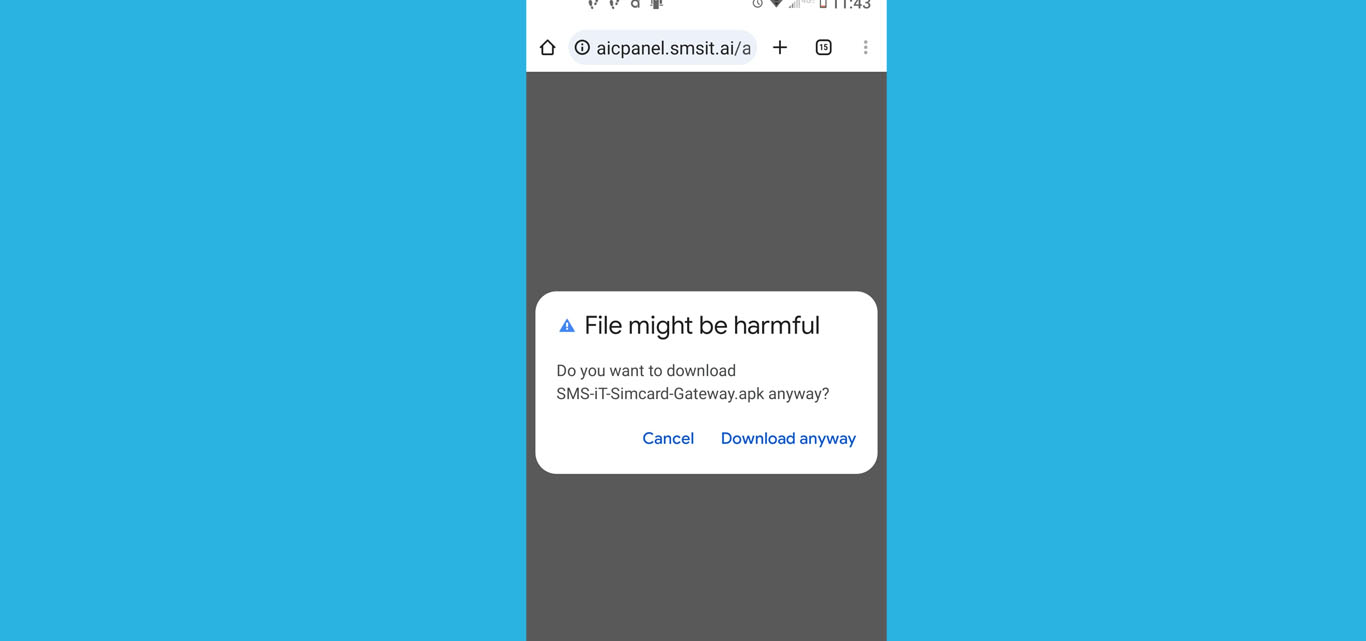
Click Download Anyway
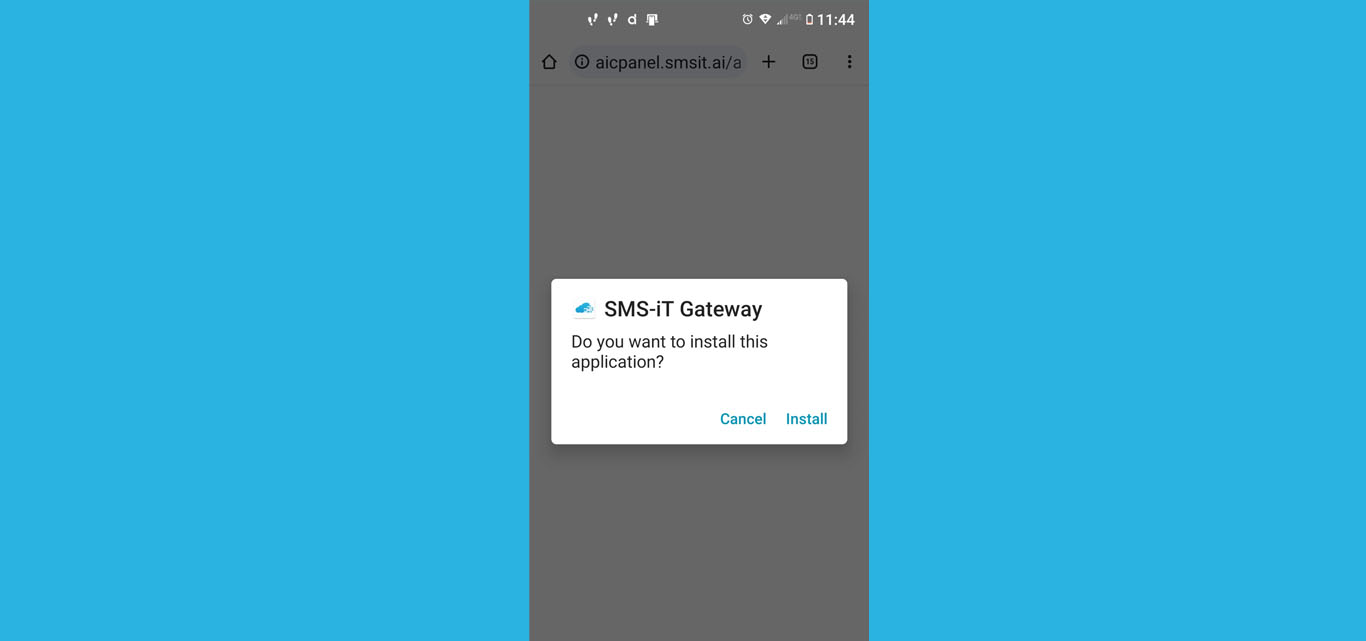
Click Install
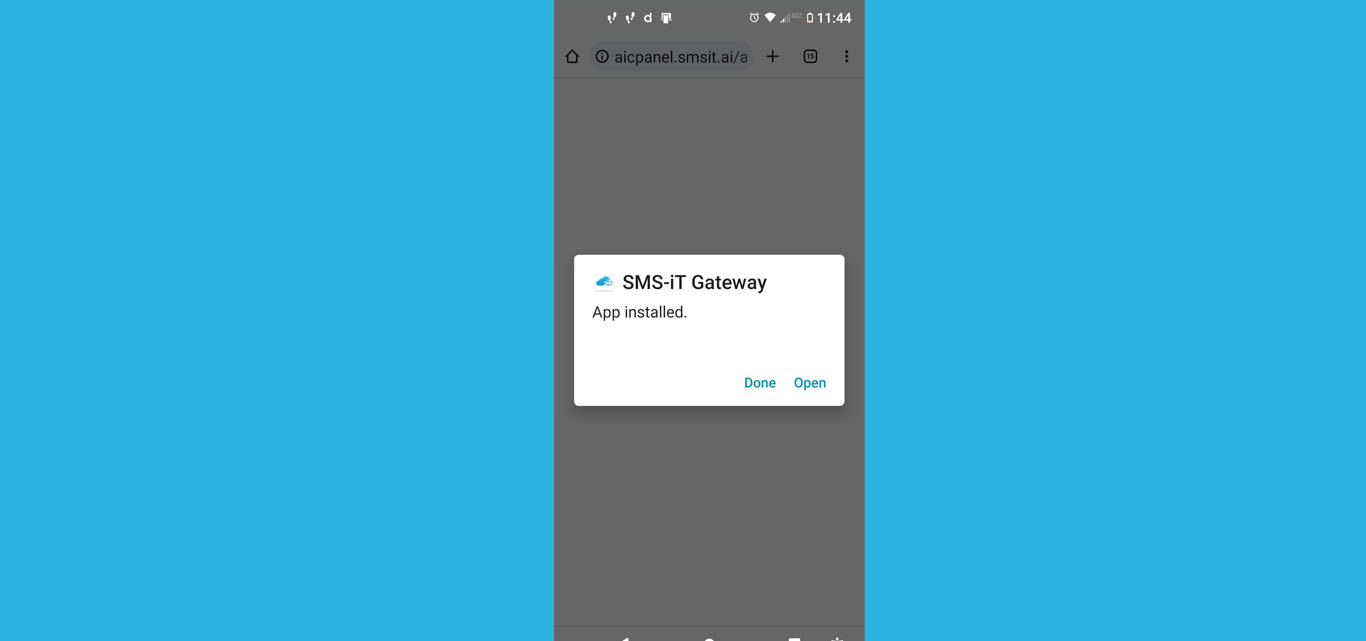
After app is installed click Open
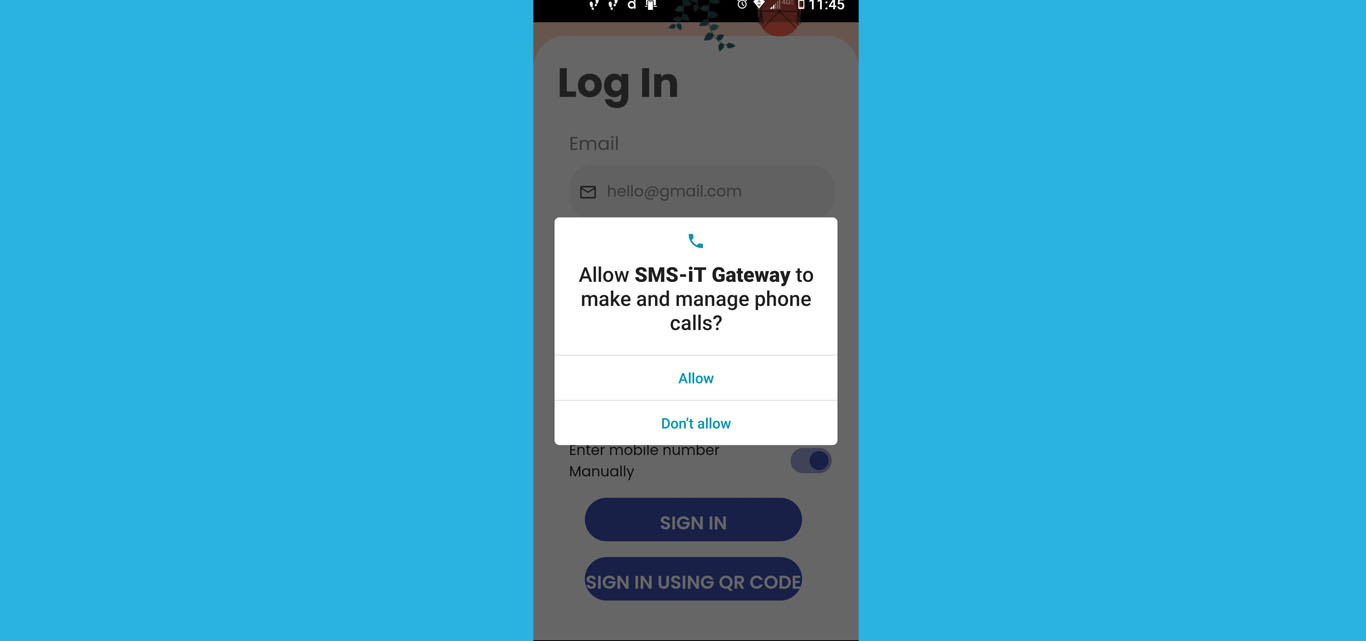
Click Allow
Alert: If there is not a country code for ex. (1) in front of the number you MUST enter the phone number manually
To enter the phone number manually toggle the switch "ON"
Enter the number manually. IMPORTANT: Leave the toggle switch "ON"
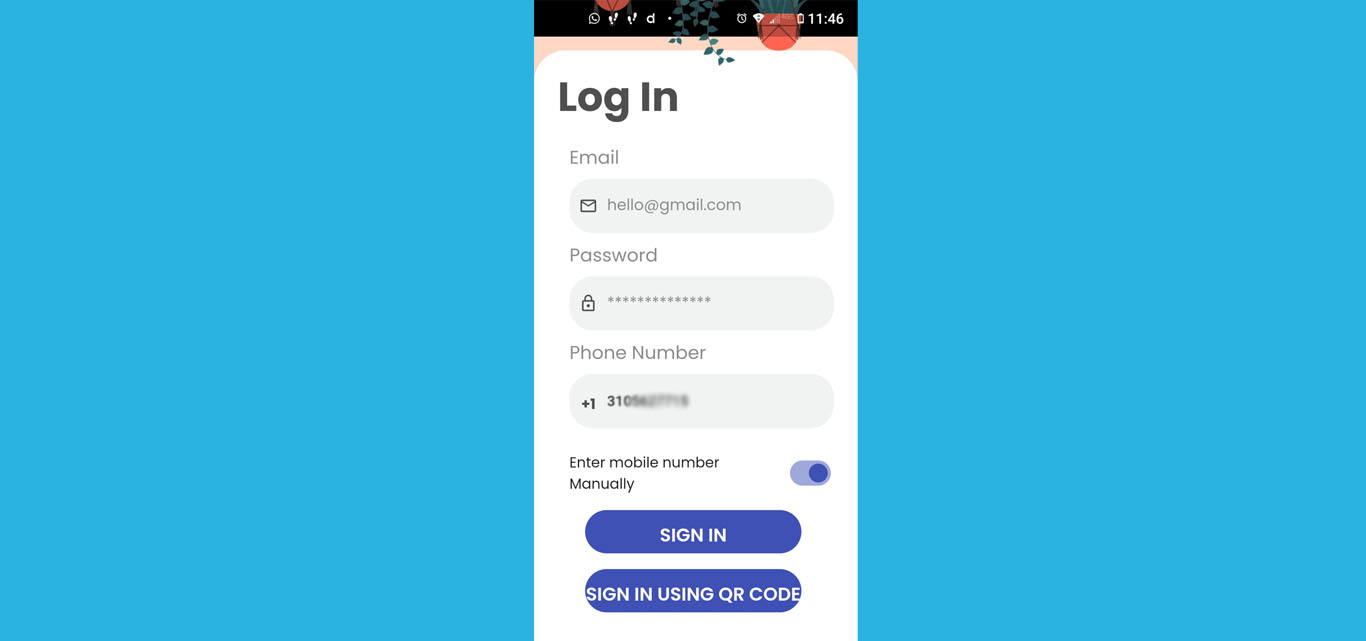
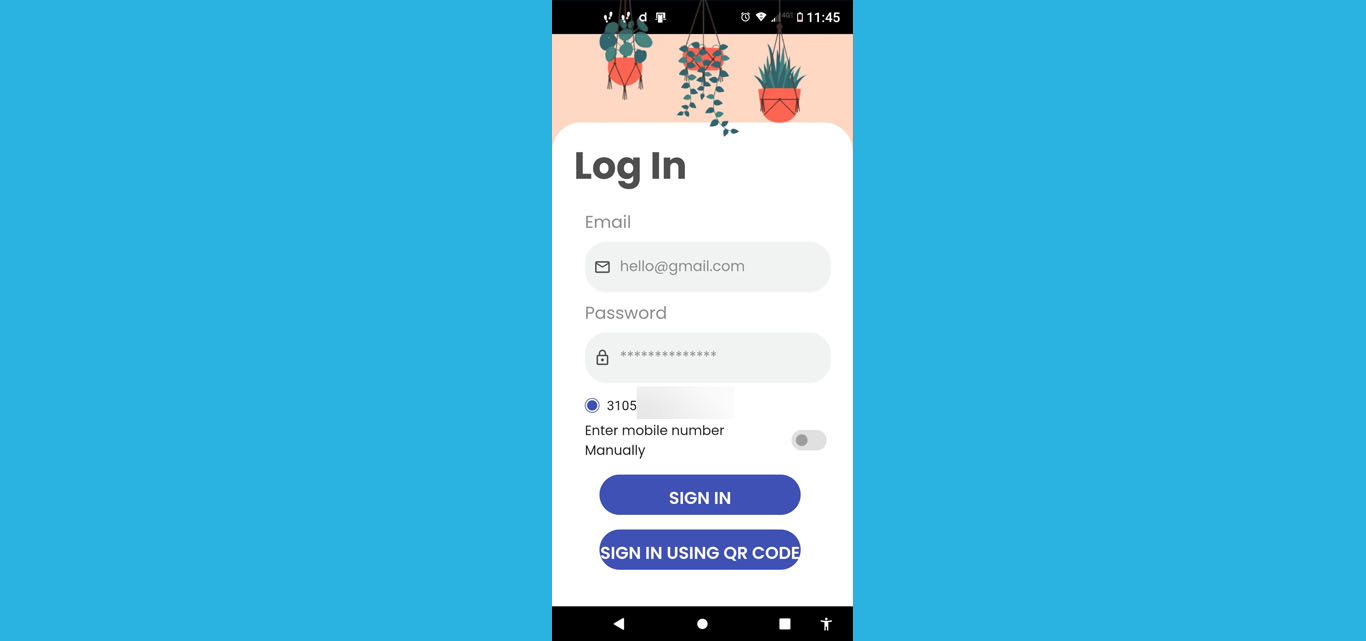
You can Log-In Manually or use a QR code
Manual Log-In
Enter your email and password

Click "SIGN IN"
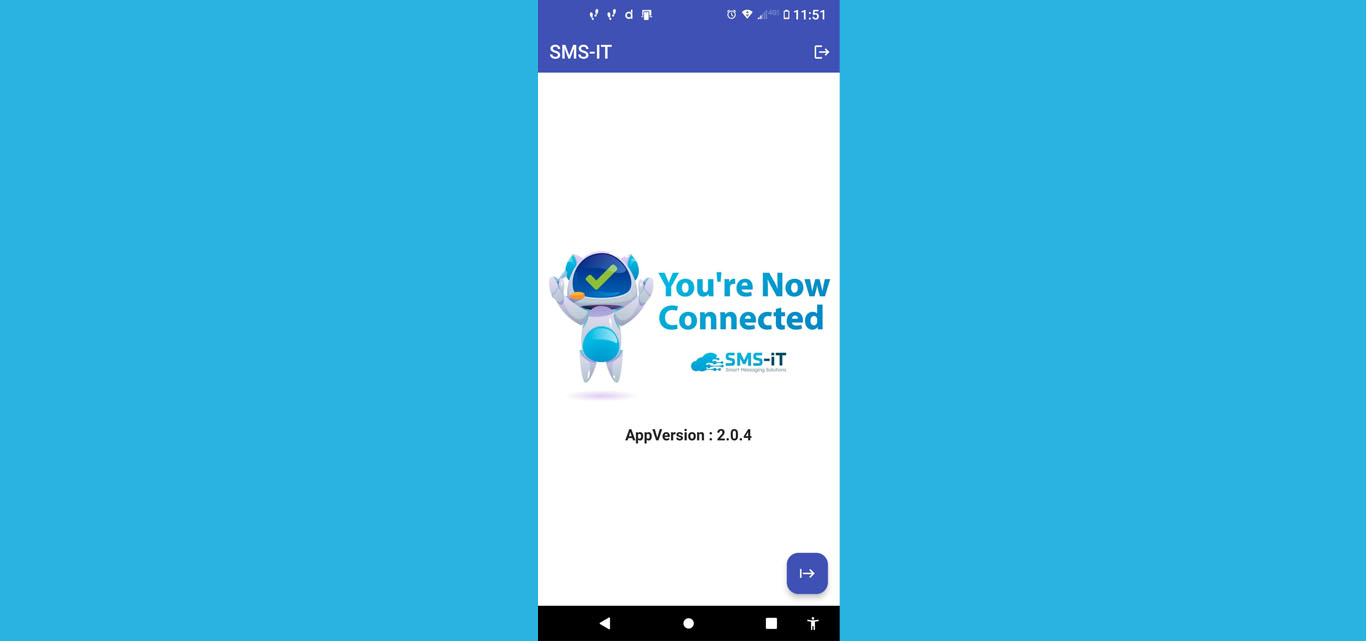
You're now connected! Now click the blue icon on the bottom right to run the app
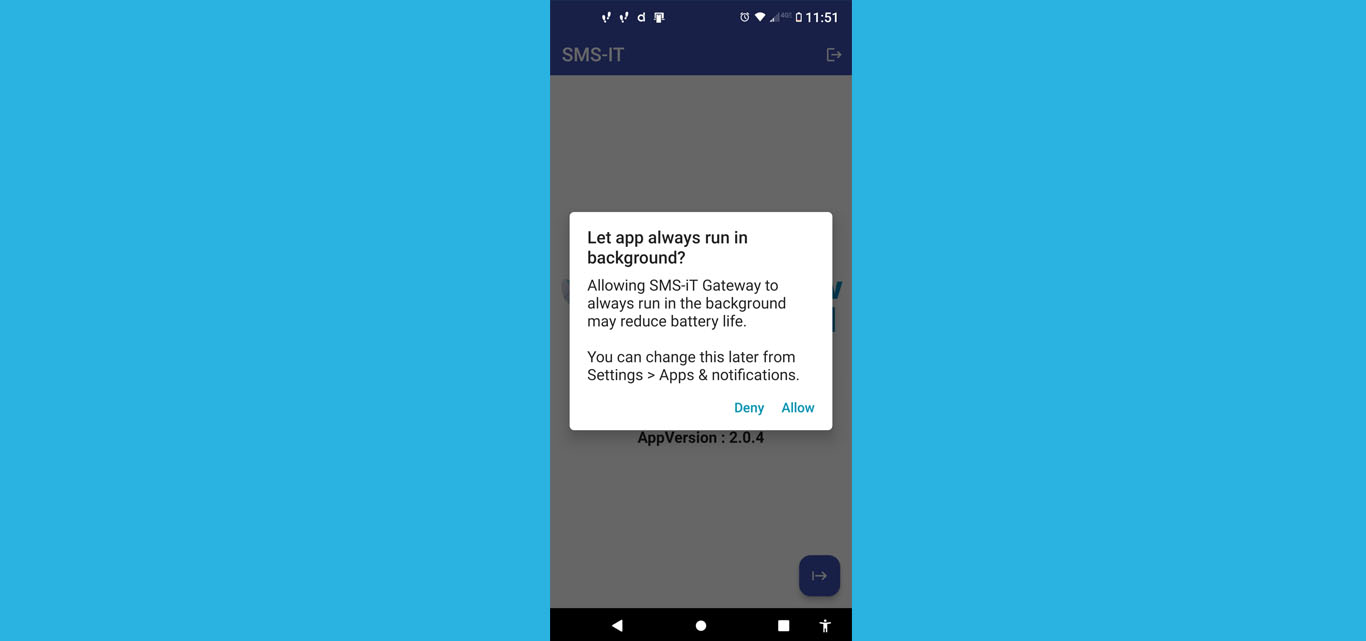
Allow the app to run in the background
QR Code Log-in
Click on "Next" to begin QR code sign in (Skip to step 24 if you've already logged in manually)
You'll see this page.
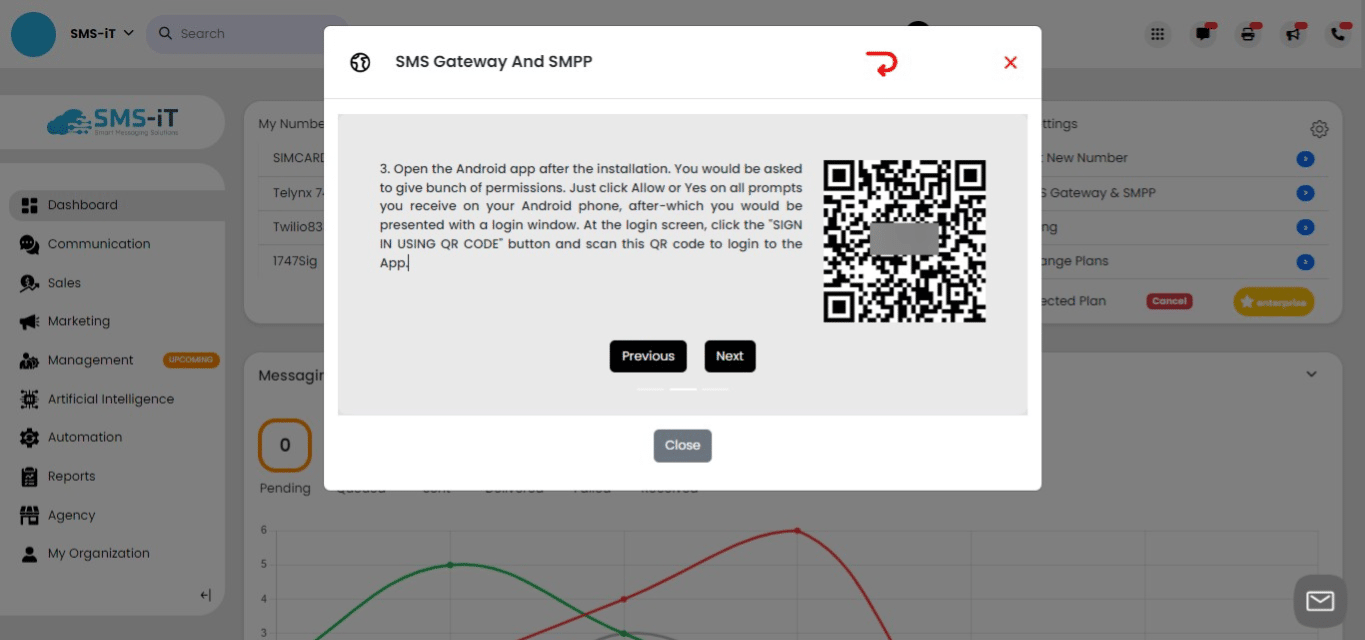
Click "SIGN IN USING QR CODE"
You're now connected! Now click the blue icon on the bottom right to run the app
Allow the app to run in the background
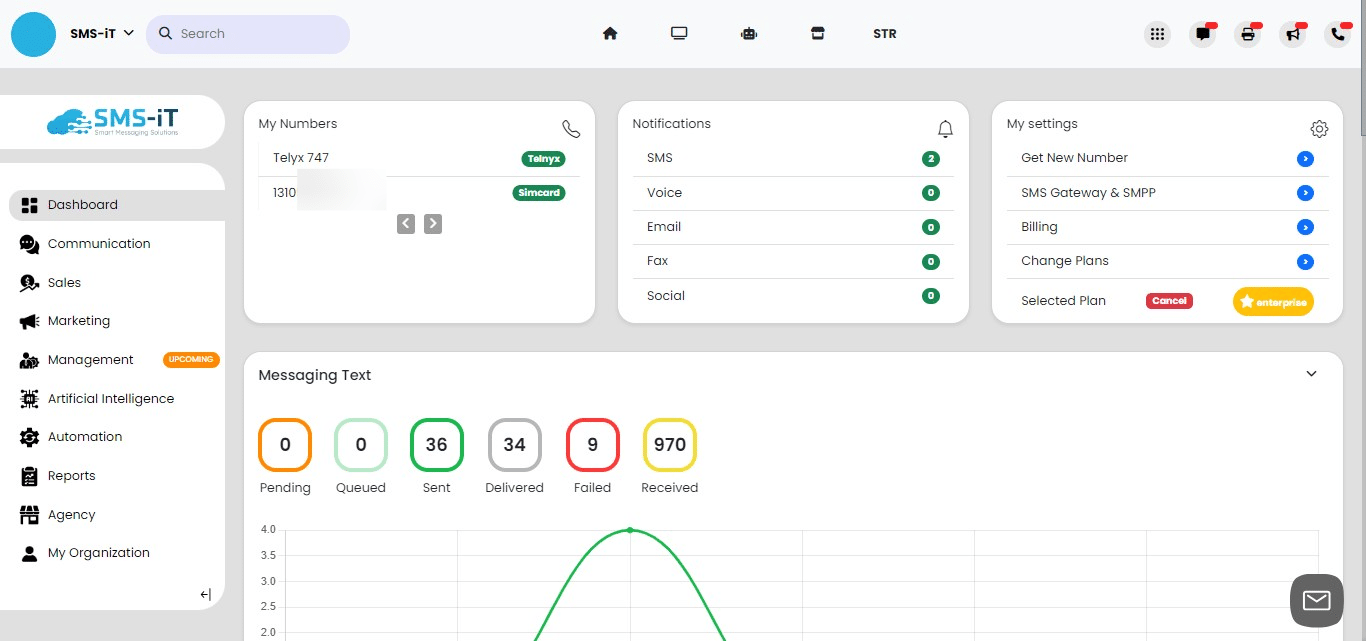
Your SIM Card Number will be displayed on the dashboard under My Numbers
Now let's make your number a Friendly Name so it's easily recognized on the platform.
Click on the Menu Icon
Click on Numbers
Click on SIM card number under Friendly Name (blue number)
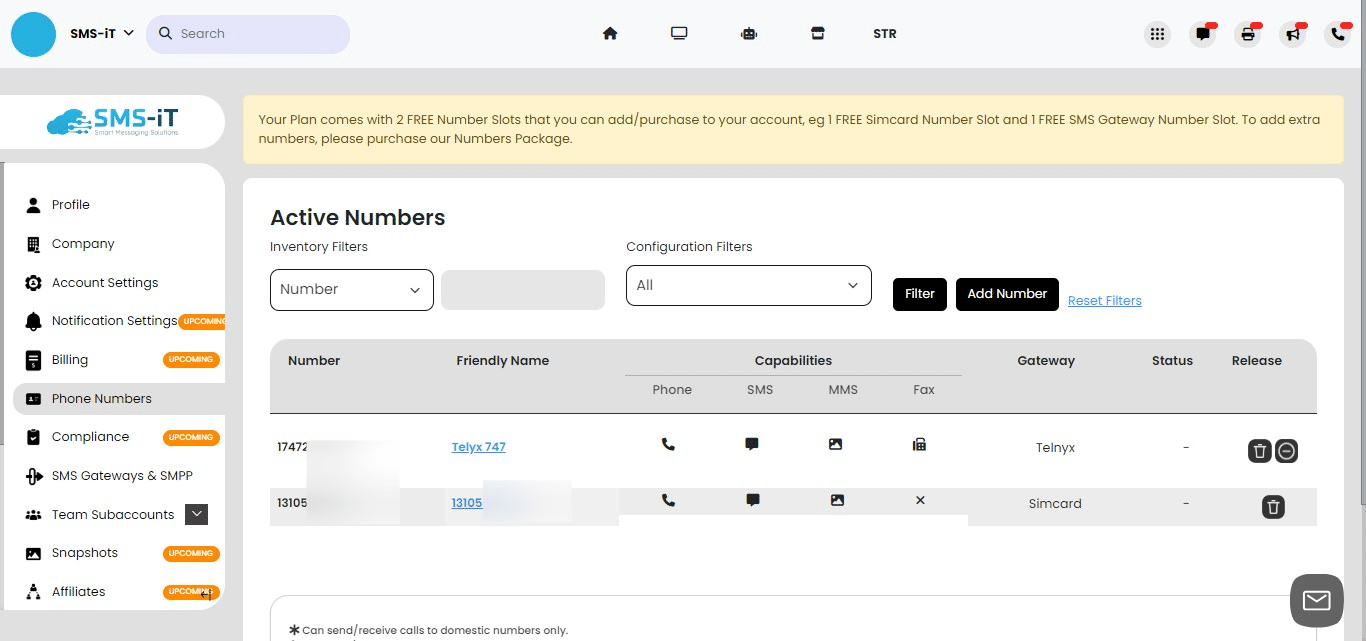
You will see your number
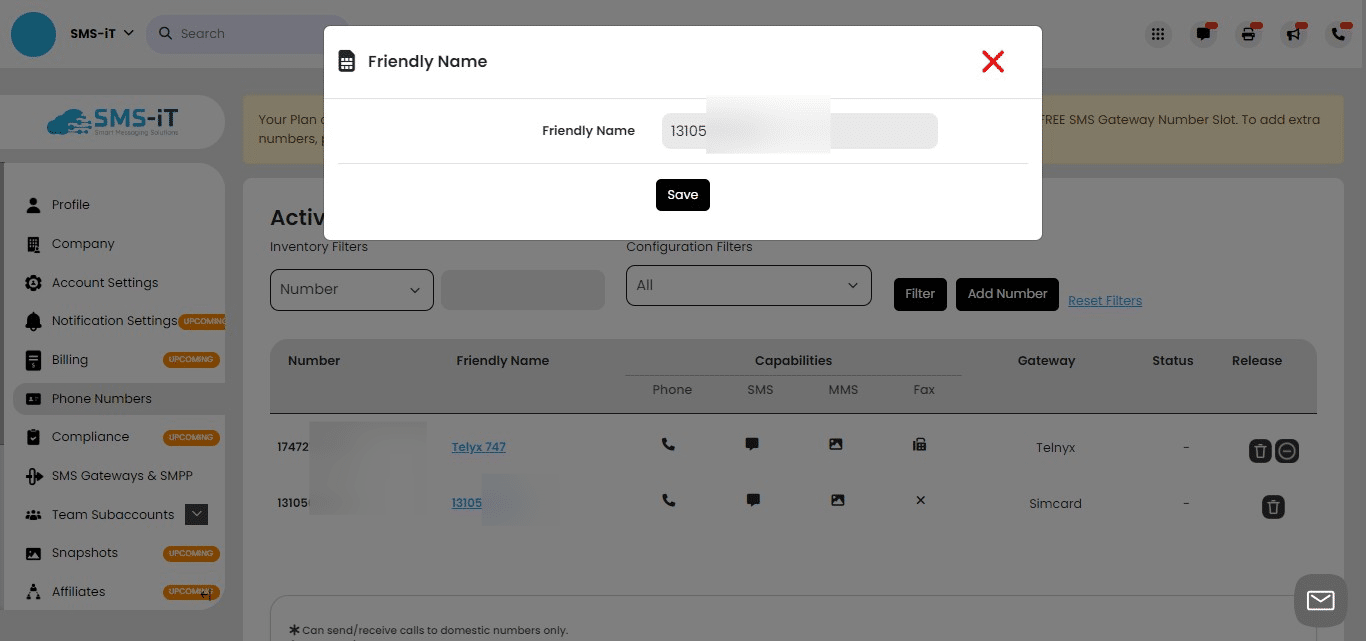
Edit to a Friendly Name that you will recognize on the platform and click Save

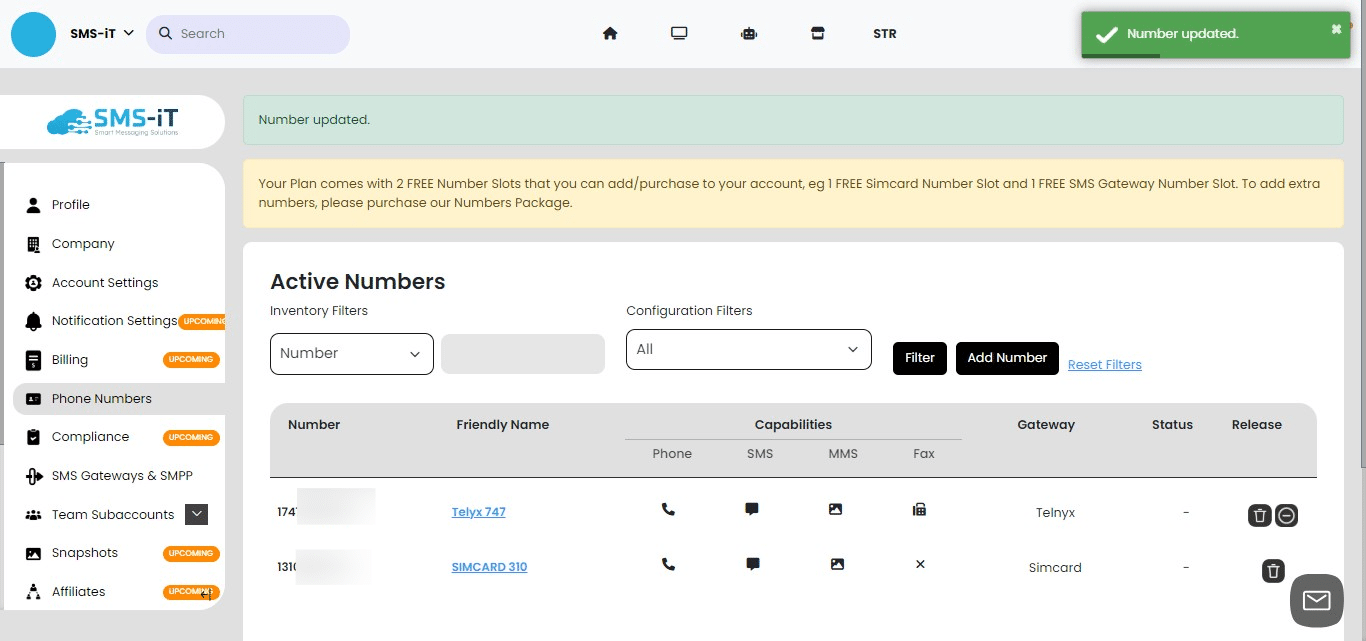
You'll see the number updated and you're ready to send messages with your SIM card number. Remember your mobile phone must be ON and have access to the internet and cell coverage to work correctly with the SMS-iT platform
Turn off RCS on your phone if it is enabled or available on your phone.. Your RCS must be disabled for the SIM card integration with SMS-iT to work properly.
Turn RCS off
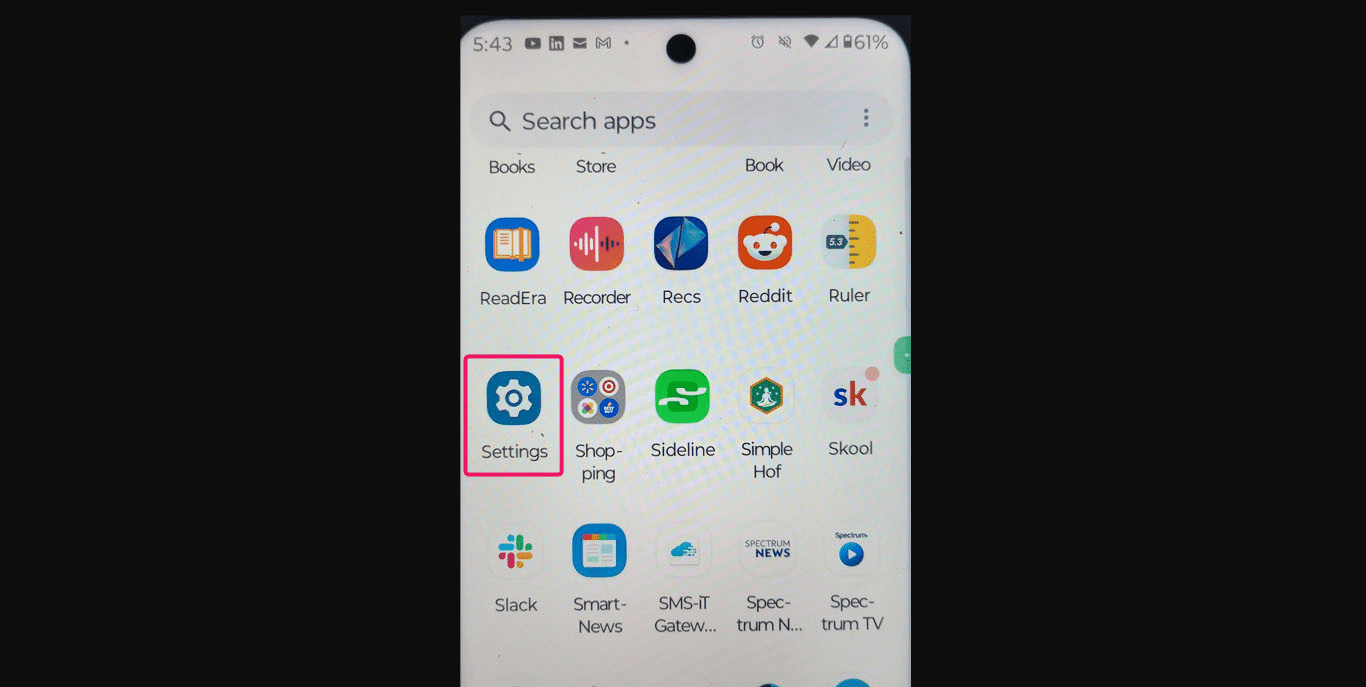
Navigate to your "apps" by swiping up on any screen. Locate "Settings" by using the search bar or scrolling. Tap on "Settings" to open it.
You'll see "Search Settings"
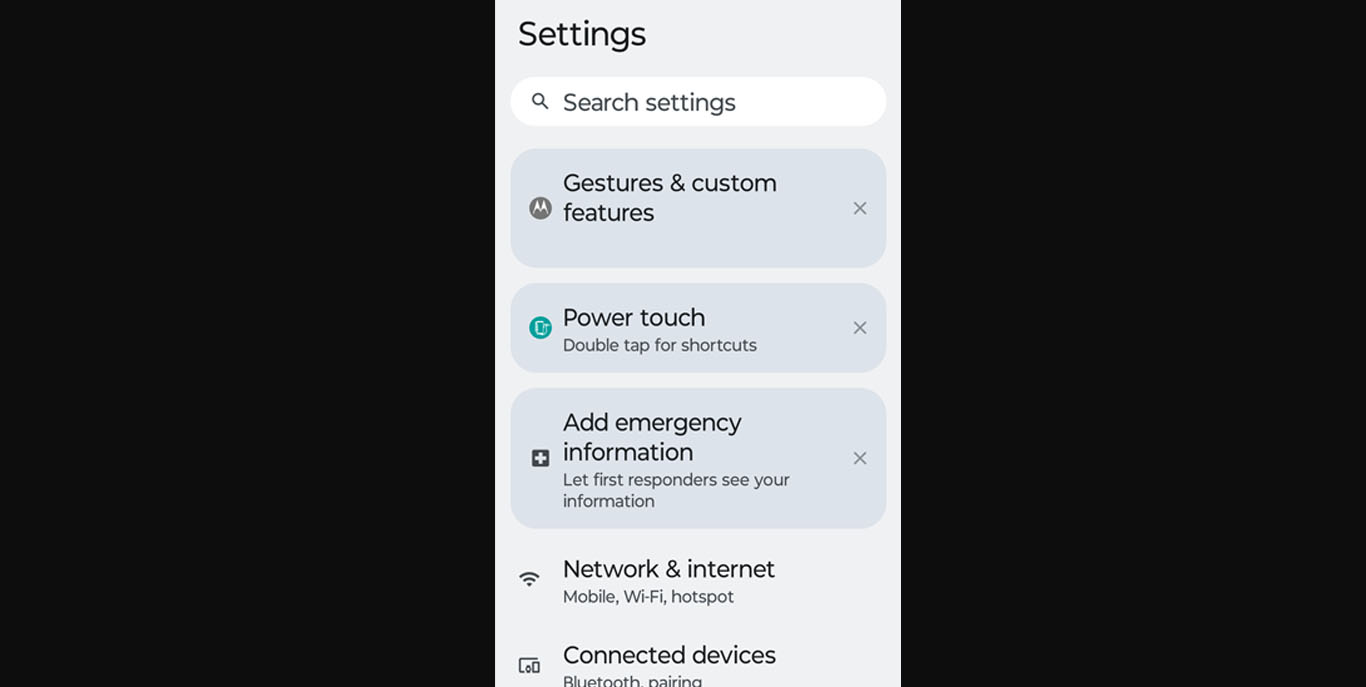
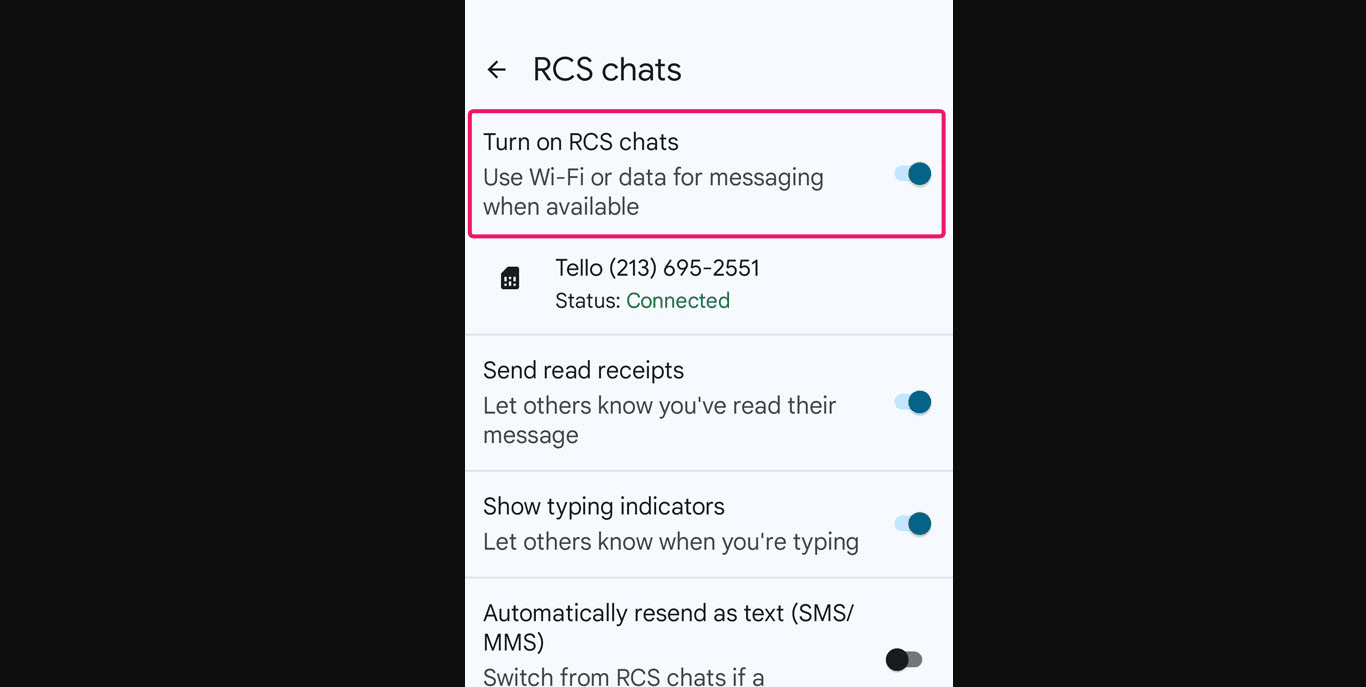
Type "rcs" in the search bar. If no results appear, you do not have RCS, and you are done. If results appear, tap on "RCS chats" or "Turn on RCS chats."

Toggle "Turn on RCS chats" to off.
Select "Turn off"
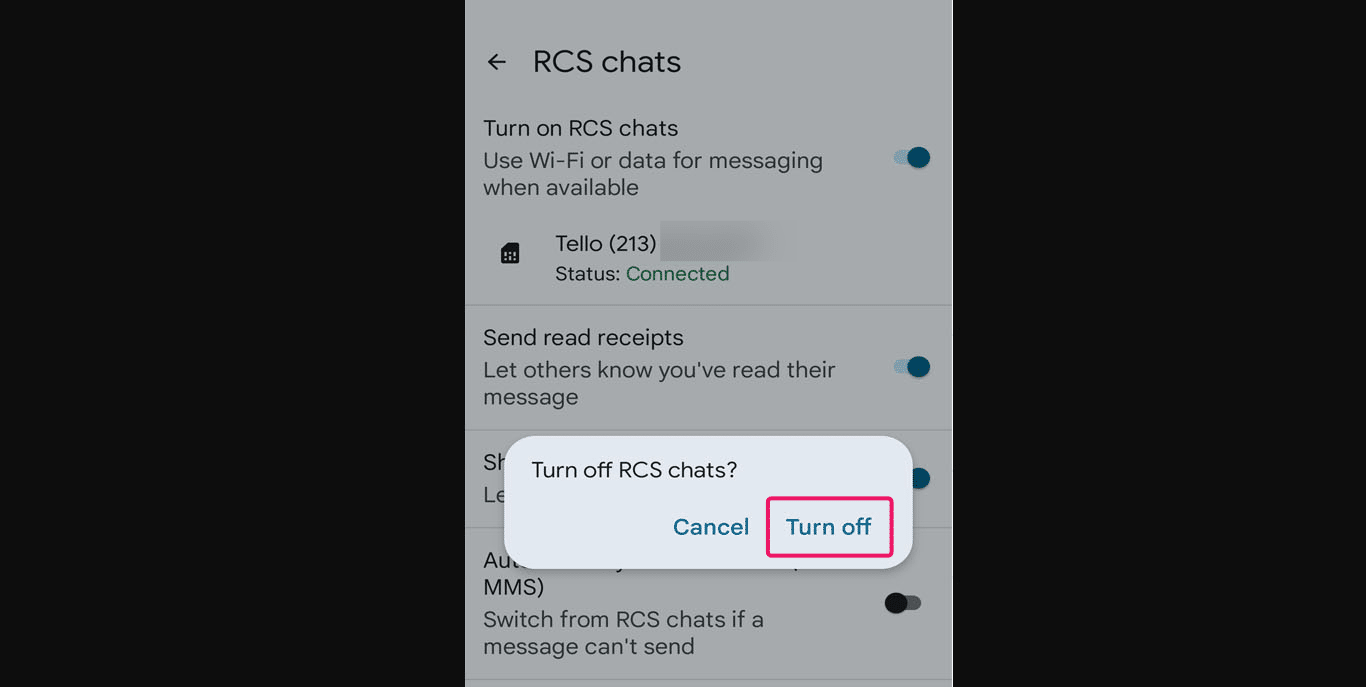
Your RCS is now disabled, ensuring proper SIM card integration with the SMS-iT system.

Done
# SMS-iT Troubleshooting Guide
Prerequisites Check
Before attempting to send messages, verify these essential requirements:
-
Decentralized STR Credits
- Open SMS-iT
- Click on STR at the top or header of your account
- Confirm you have available Decentralized credits
-
Device Connectivity
- Ensure your Android phone is connected to WiFi
- Check for stable internet connection
-
RCS Settings This must be turned off or disabled, to enable you to receive inbound messages.
- Open phone Settings
- Search for "RCS"
- Disable all RCS Chat features and related settings
CANT FIND RCS SETTINGS?
- Go to Google Playstore on your Android Phone
- Download Google Messages
- After installation, open it and make it your default messenger. Google Messages is the option with a blue icon, inside the white round background
- Make sure you are signed in with a Google account
- At the top right corner of Google Messages, click on your profile icon
- Then click on Message Settings
- Then click on RCS Chats
- Then turn RCS Chats off. It would disable it and all options of RCS Chats underneath it would be greyed out, indicating it has been disabled.
- That completes the RCS diabling process
Service Verification
-
SMS-iT Gateway App Status
- Open the SMS-iT Simcard Gateway App
- Look for the stop icon in the bottom right corner
- Presence of this icon confirms services are running
-
Phone Number Configuration
- Log into your SMS-iT account
- Verify your number in either:
- Dashboard
- My Organization → Phone Numbers
-
SIM Card Testing
- Send a test message manually from your Android phone
- Use the SIM card connected to SMS-iT
- Have someone confirm receipt on another phone
Troubleshooting Steps
If you've completed all checks above and still experience issues, follow these reset steps:
-
Cant Instal APP? If you cant install the APP on your Android, you simply need to disable Google Play Protect. To disable Google Play Protect on an Android phone, you can do the following:
- Open the Google Play Store app
- Tap your profile icon in the top right corner
- Tap Play Protect Settings
- Toggle off Scan apps with Play Protect
- Tap Turn off to confirm
-
Using a Google Pixel Phone? If you are using a Google Pixel Phone, you will need to Allow restricted settings for SMS-iT Gateway. To allow restricted settings, please follow these steps:
- On your Android device, open the Settings app.
- Tap Apps.
- Tap the app that you want to turn on a restricted setting for.
- Tip: If you can't find it, first tap See all apps or App info.
- Tap More : and then Allow restricted settings.
- Follow the on-screen instructions to enable restricted settings for the app. This will grant the app the necessary permissions, including SMS access.
-
Reset Connection
- Go to Phone Numbers in SMS-iT
- Remove your SIM card number
- Sign out of the SMS-iT Simcard Gateway App (button in top right)
-
Manual App Login
- Open SMS-iT App
- Choose manual login (not QR code)
- Enter your credentials
- Enable "Manually Add Number" toggle
- Input your phone number
- Select the correct country (if outside US)
- Complete login
-
Service Activation
- Click the blue arrow icon (bottom right)
- Wait for services to start
-
Verification
- Check SMS-iT account for correct number display
- Send a test message
- Request a response
- Verify in Smart Inbox or Reports that both sending and receiving work
Need Additional Help?
If issues persist after following all steps above, contact SMS-iT support for assistance.