Bulk Gate Integration with SMS-iT™ CRM
Navigate to https://aicpanel.smsit.ai/home
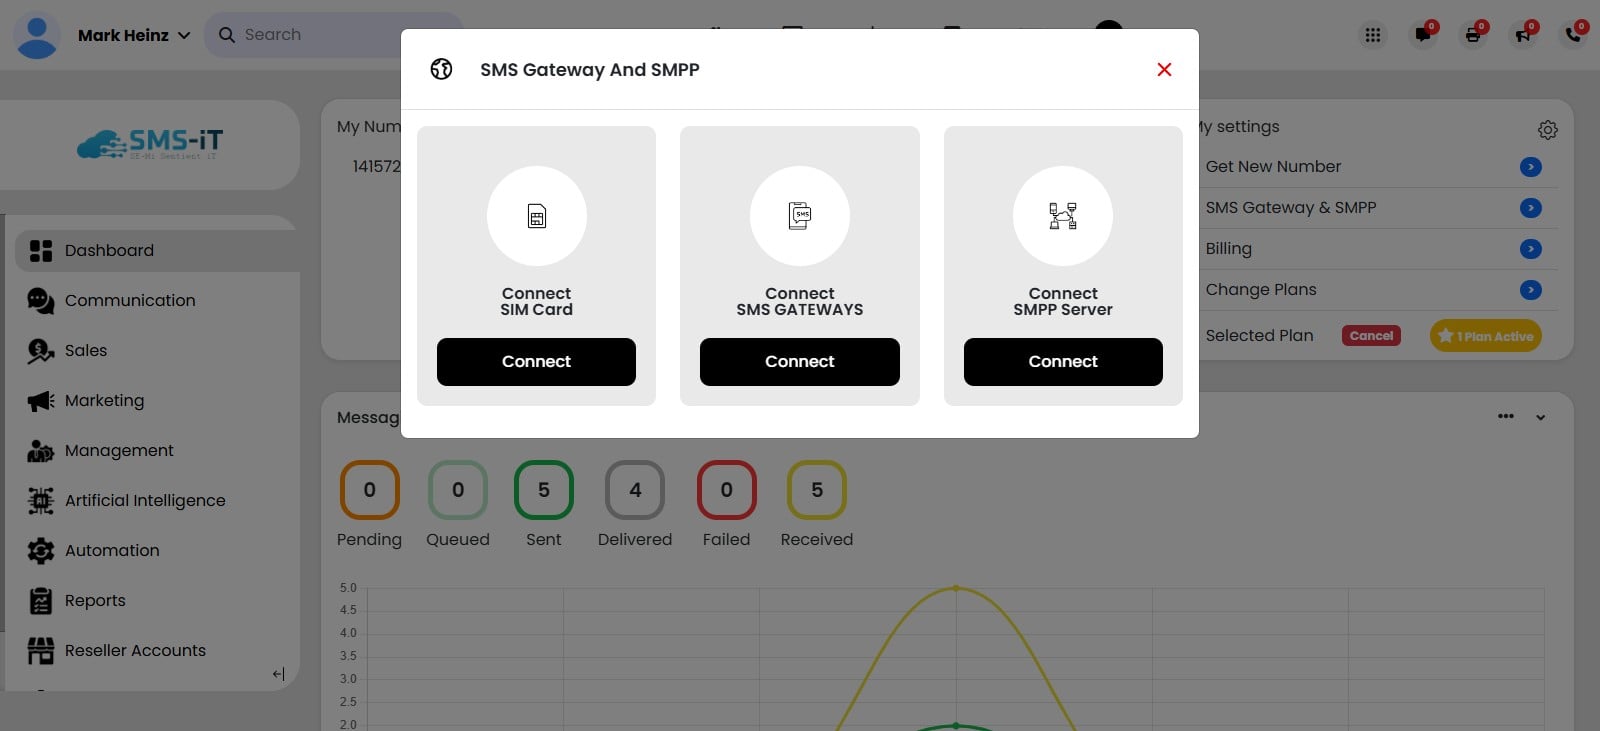
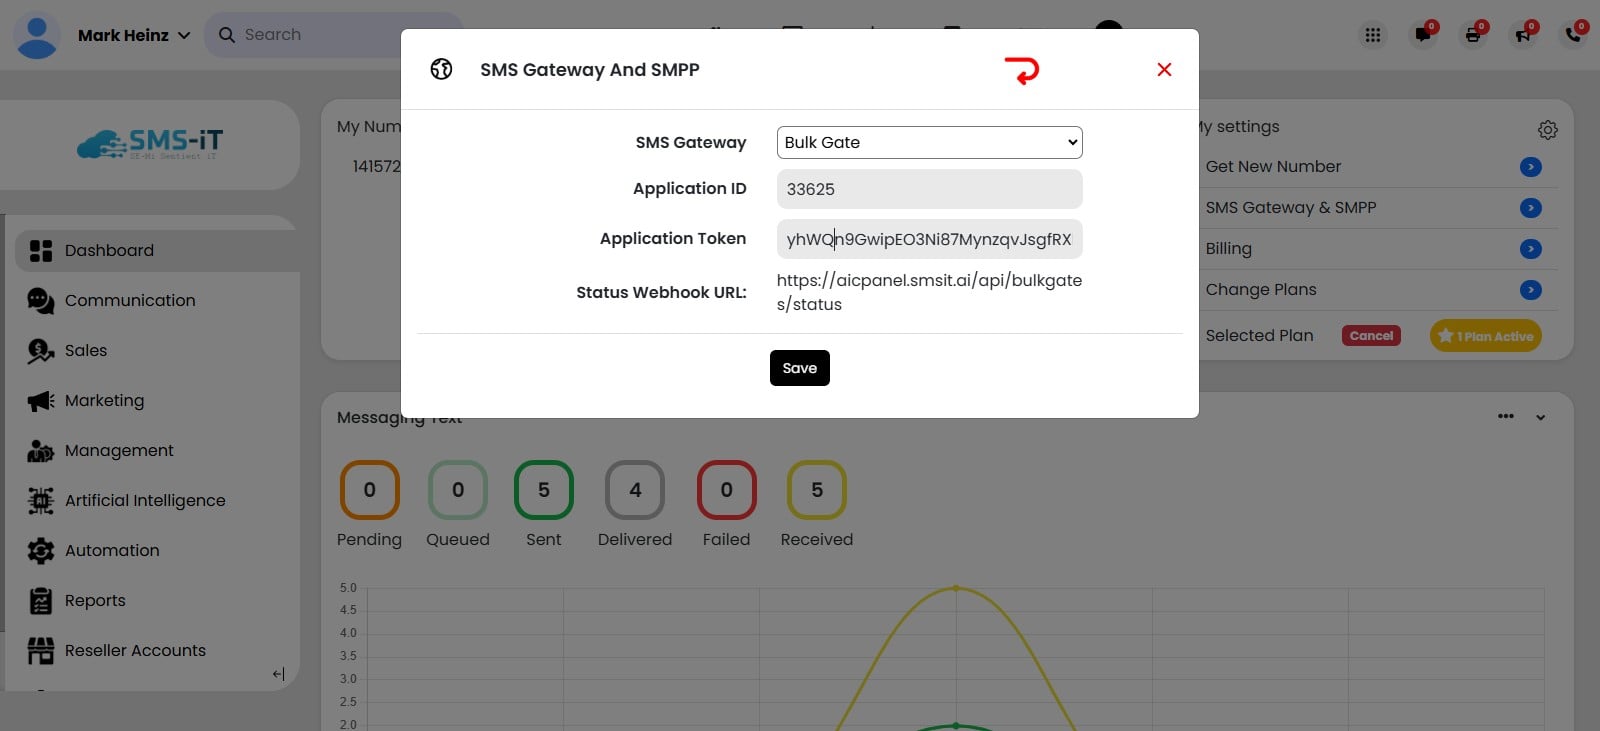
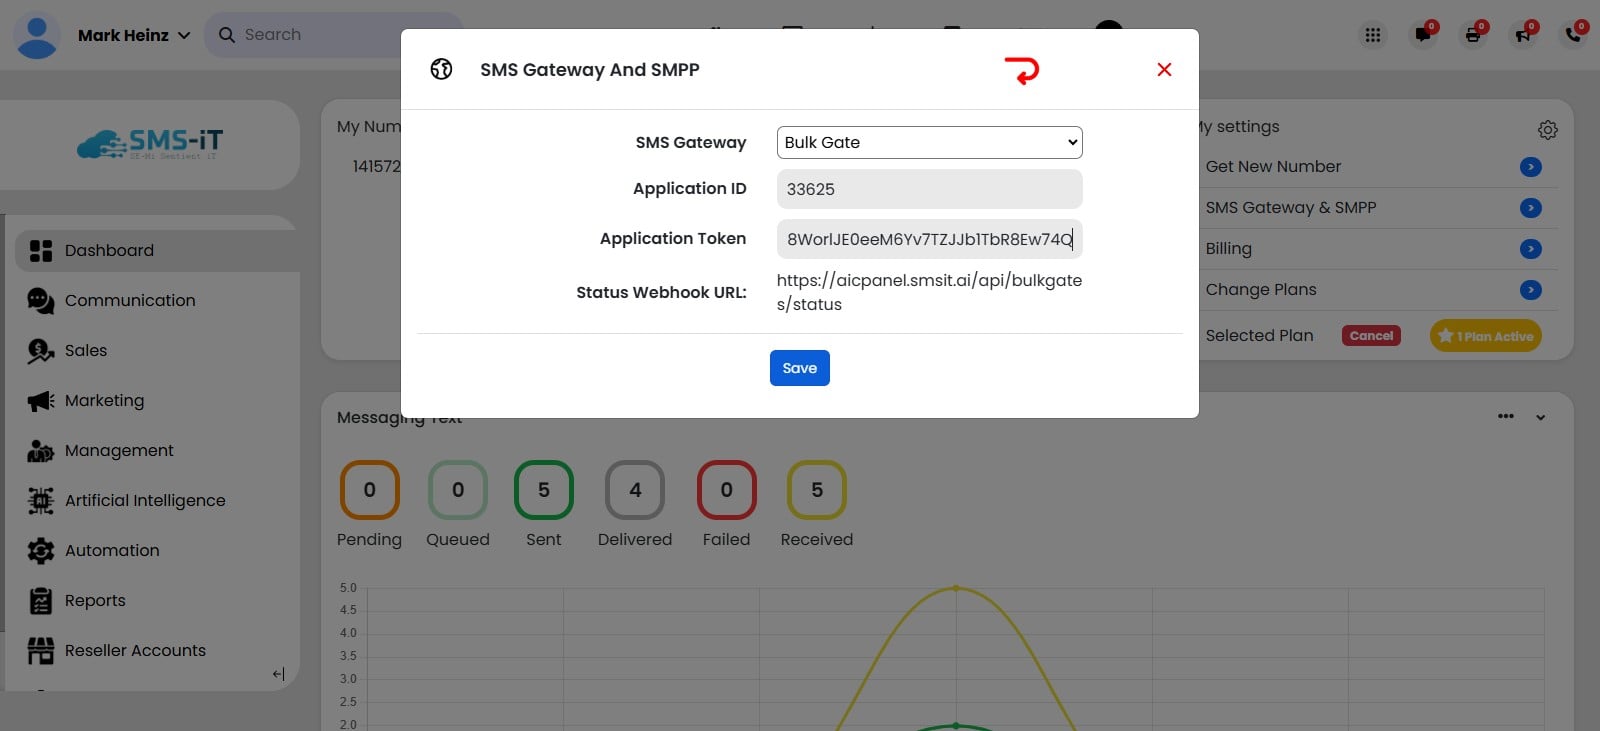
Click on SMS Gateway & SMPP

Click on "Connect SMS Gateways"
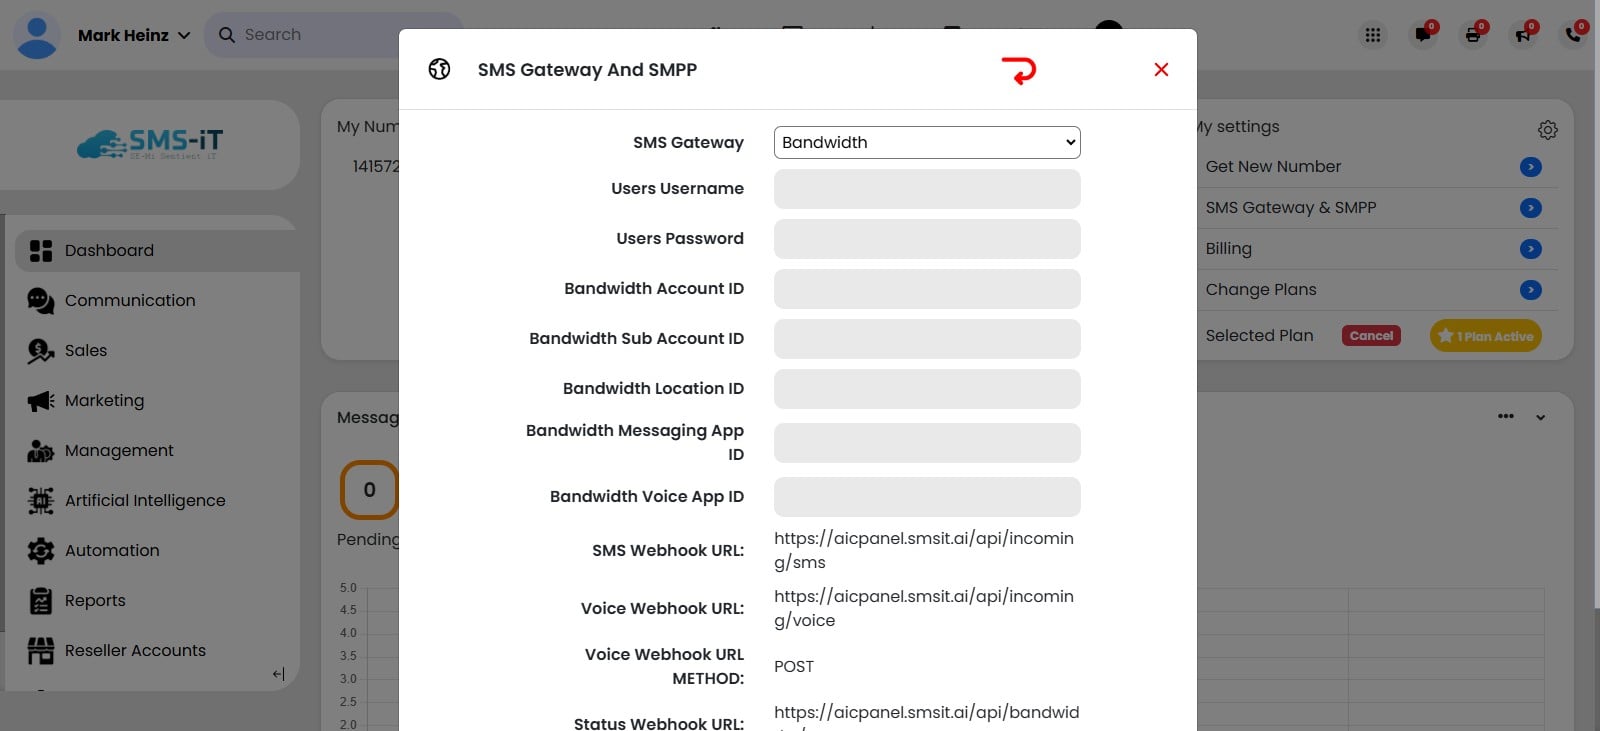
Click on the dropdown and choose "Bulk Gate"
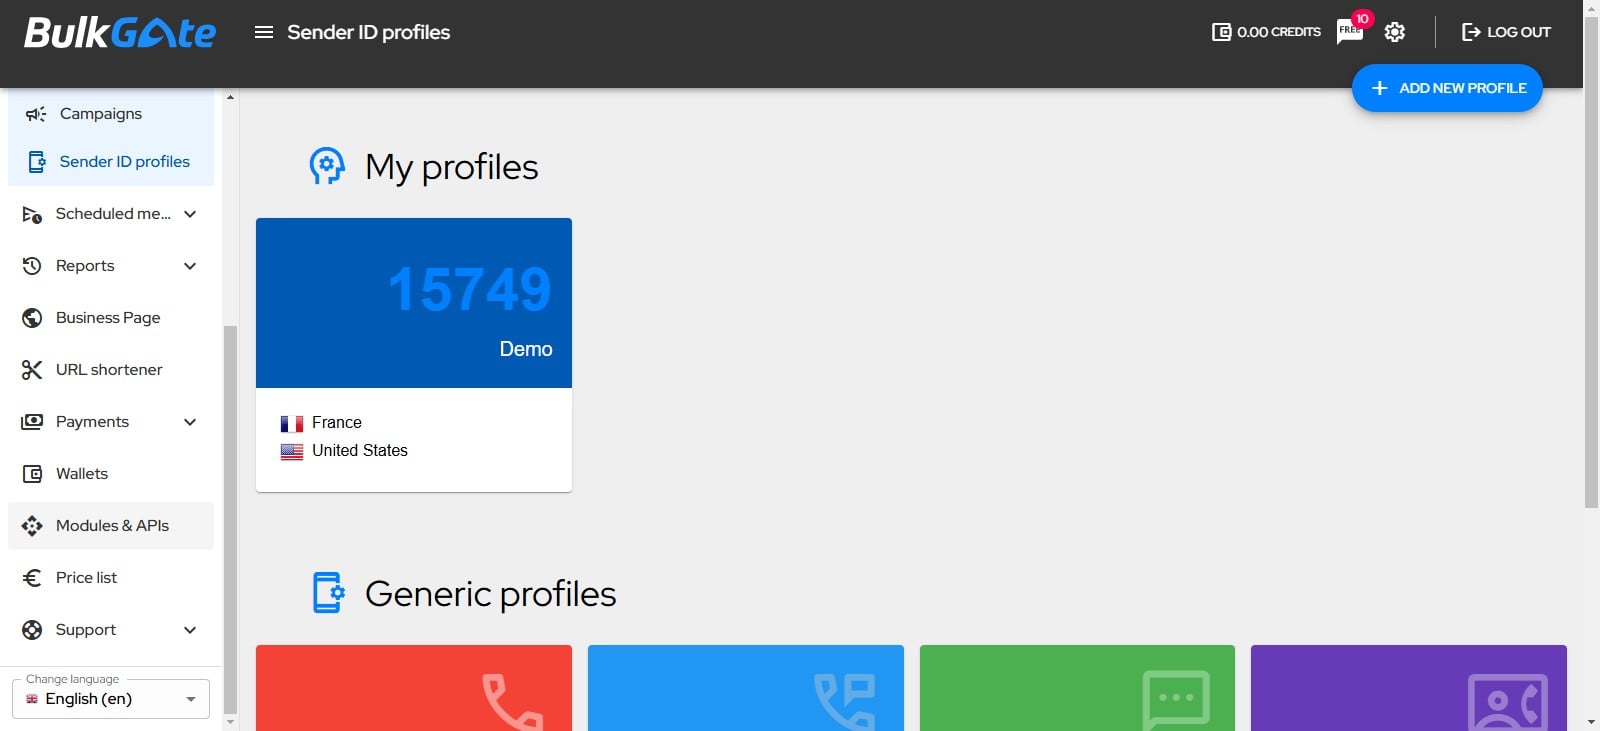
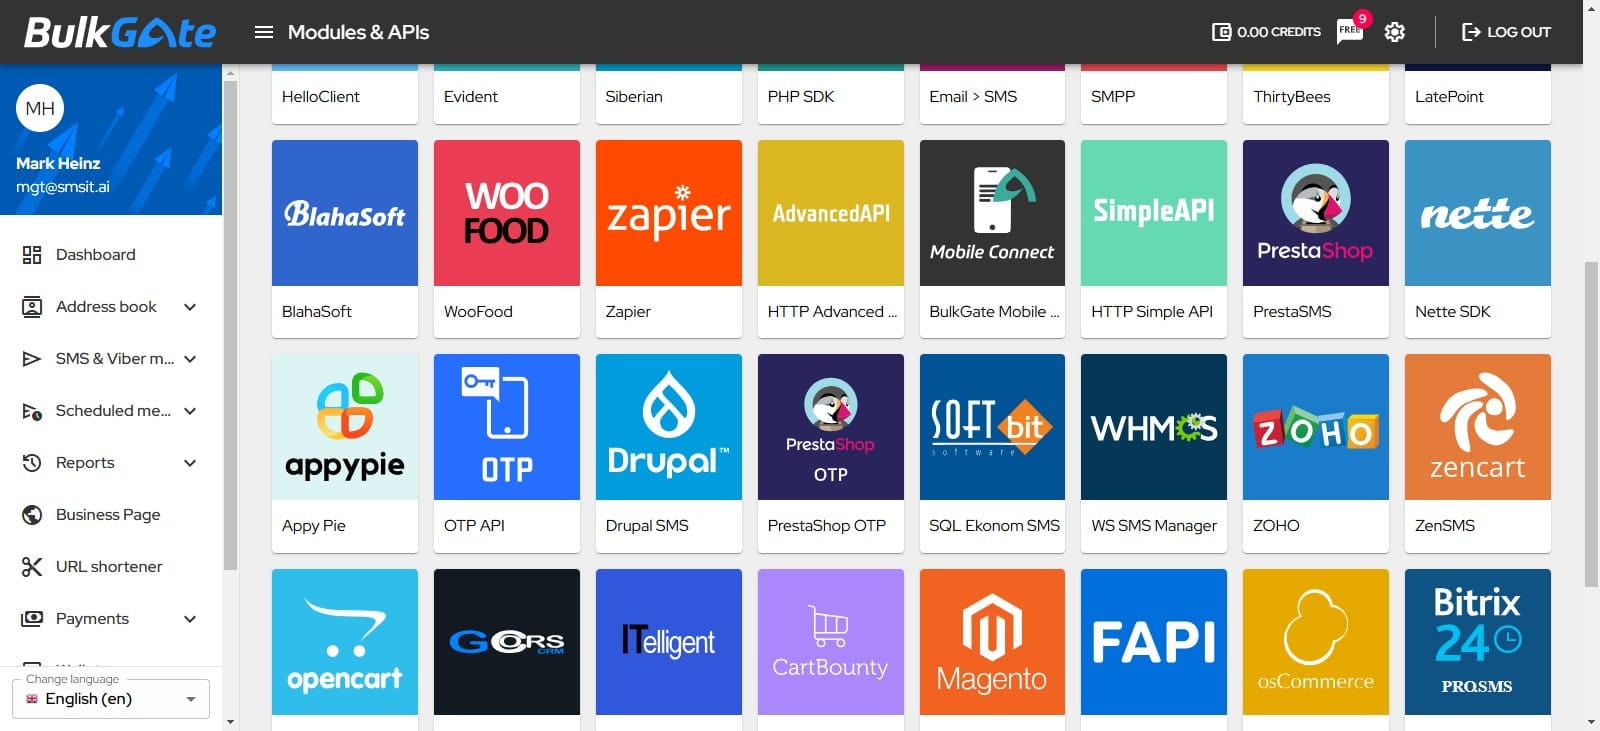
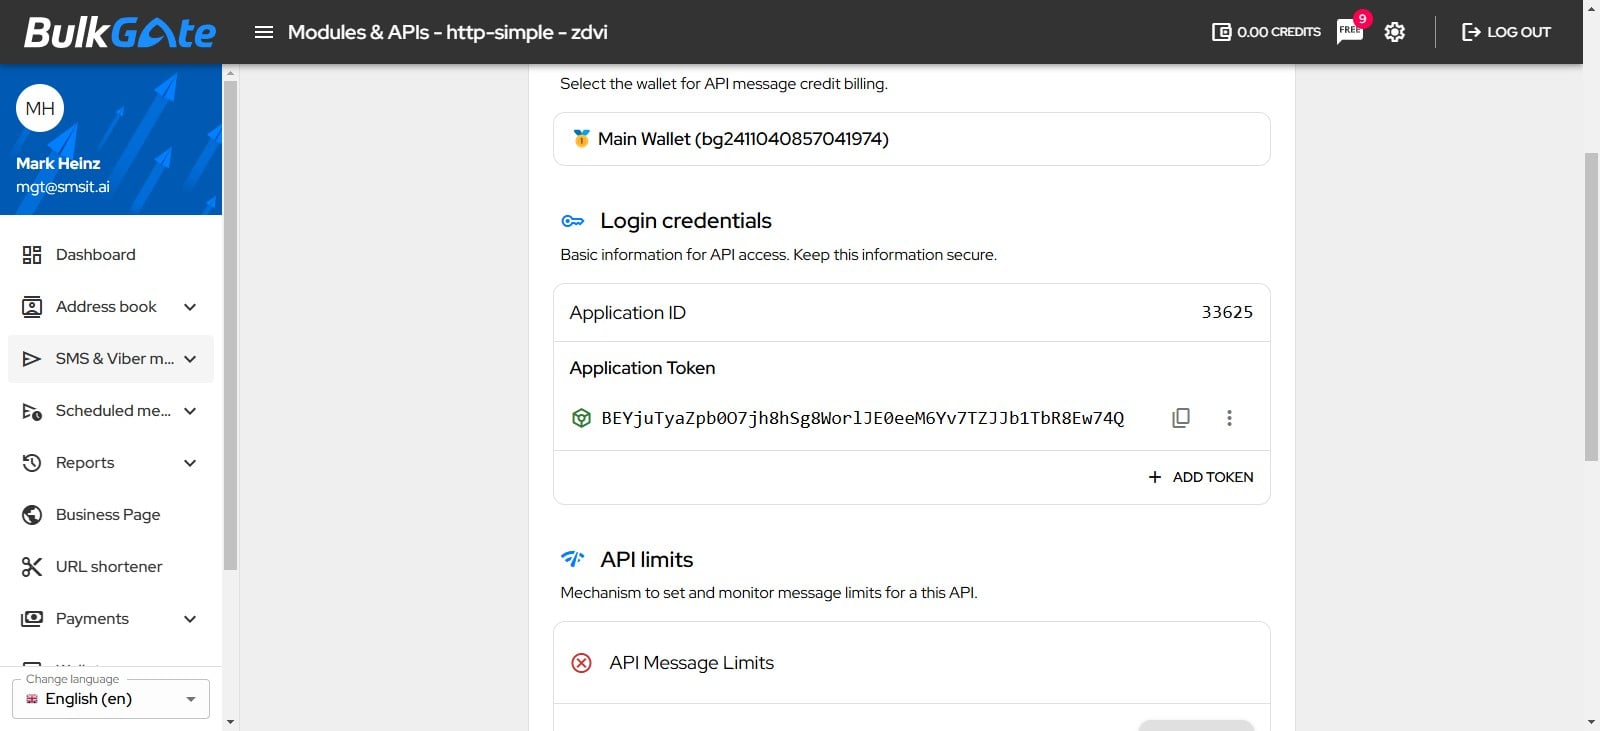
Login to your Bulk Gate account at https://www.bulkgate.com and when you are in your account dashboard, Click on "Modules & APIs"
Click on HTTP Simple API
Click on "Create API"
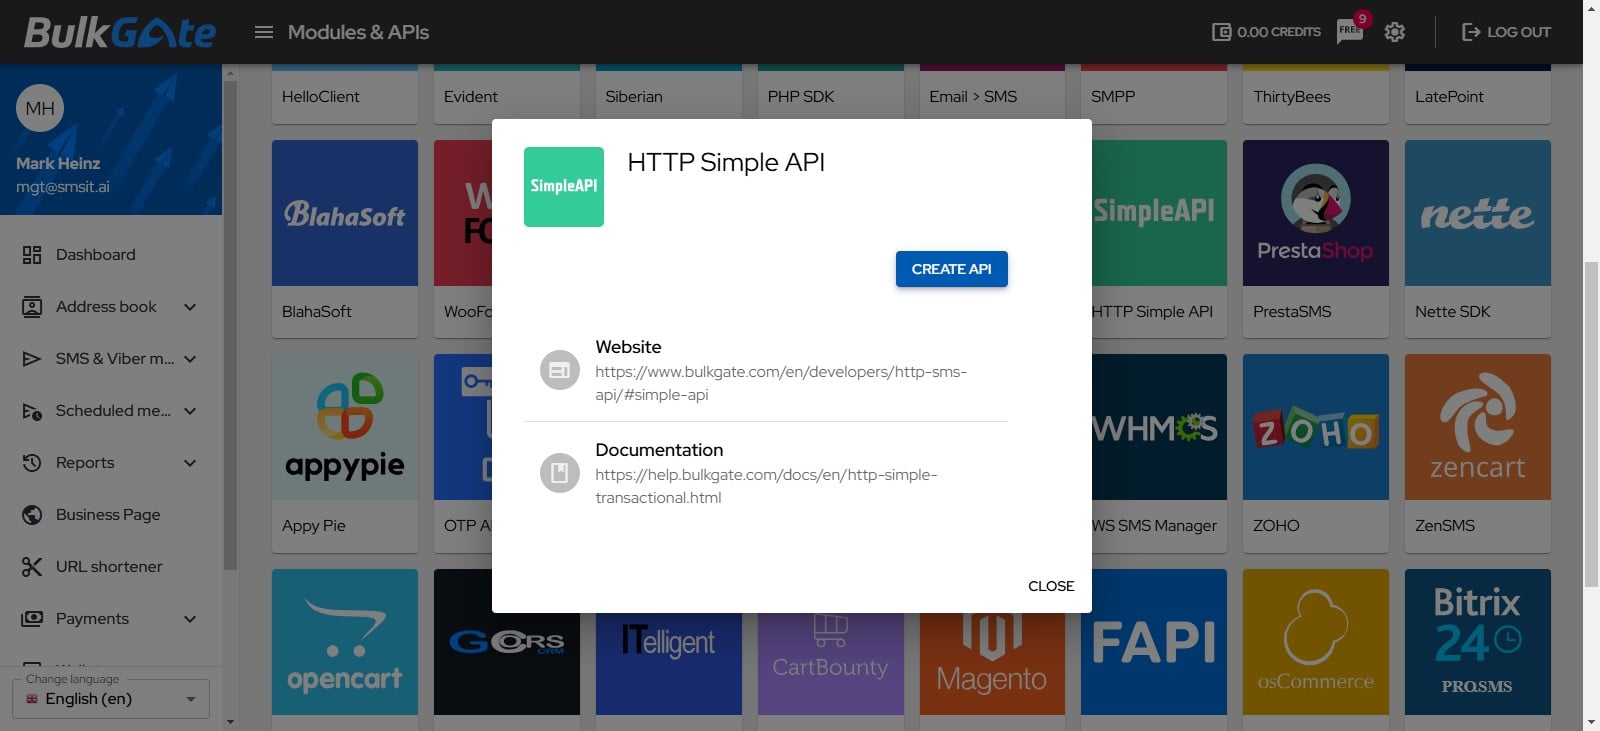
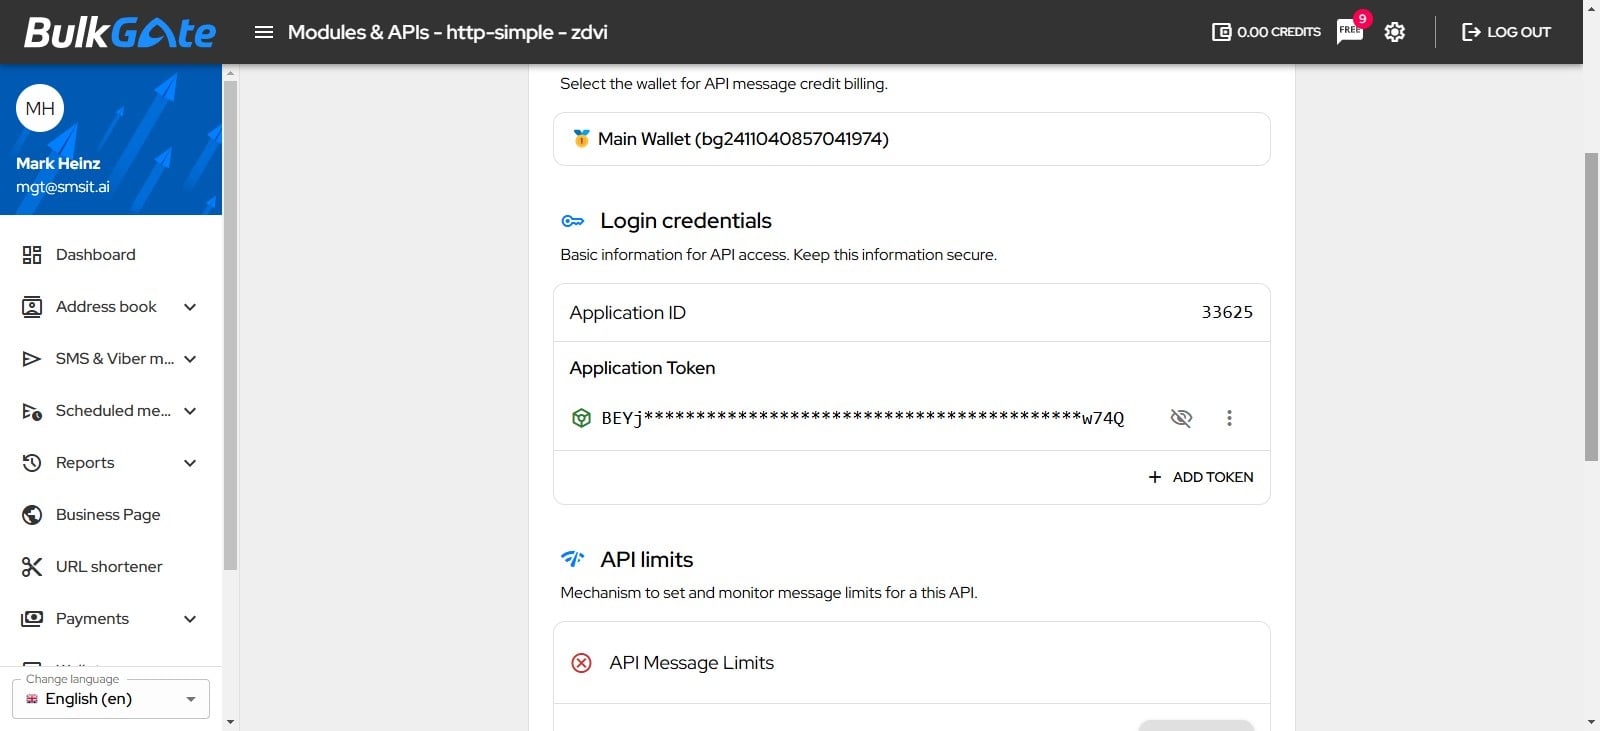
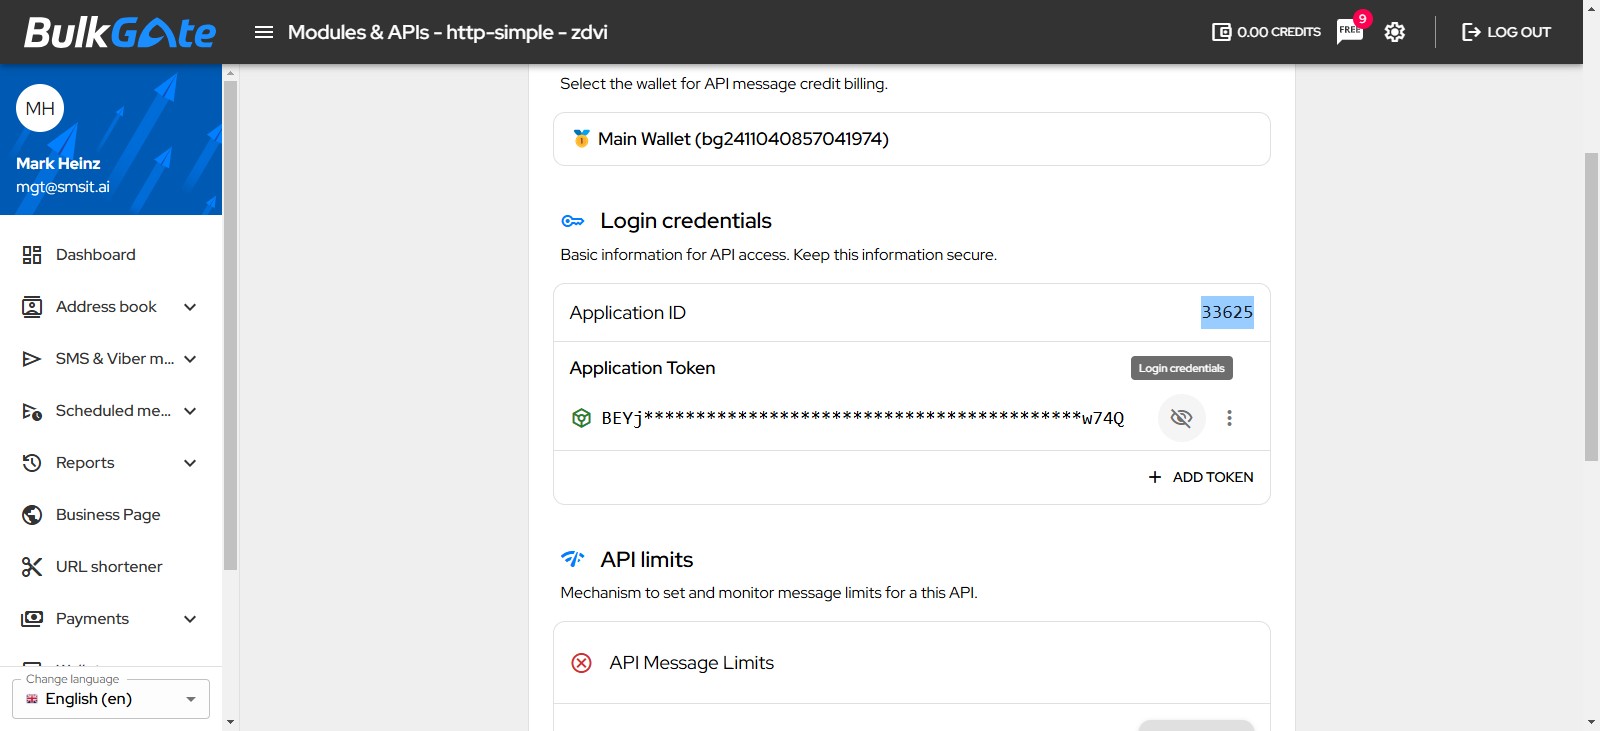
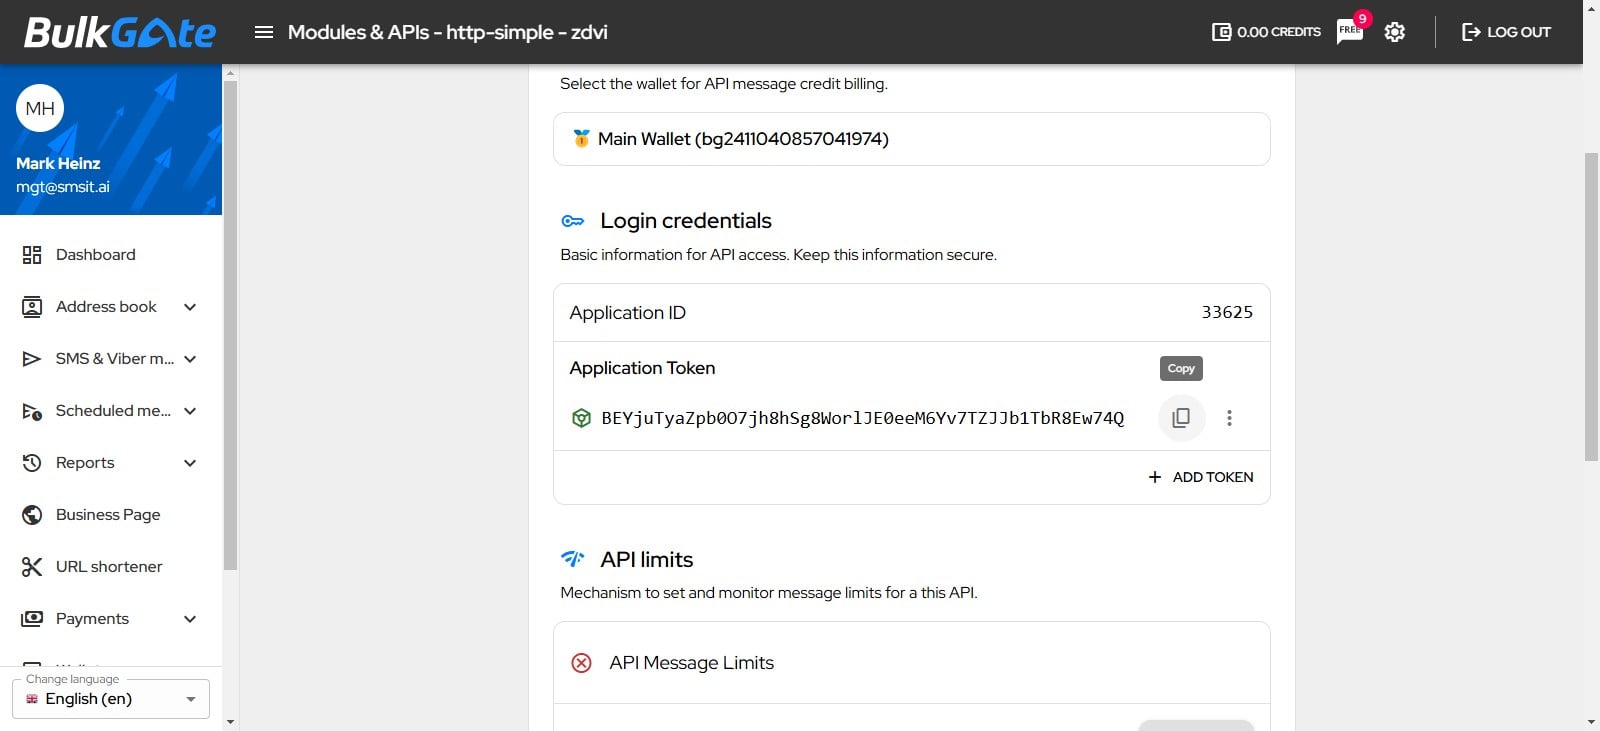
You will see your Bulk Gate Application ID and Token. Now its time to copy them and insert into SMS-iT CRM
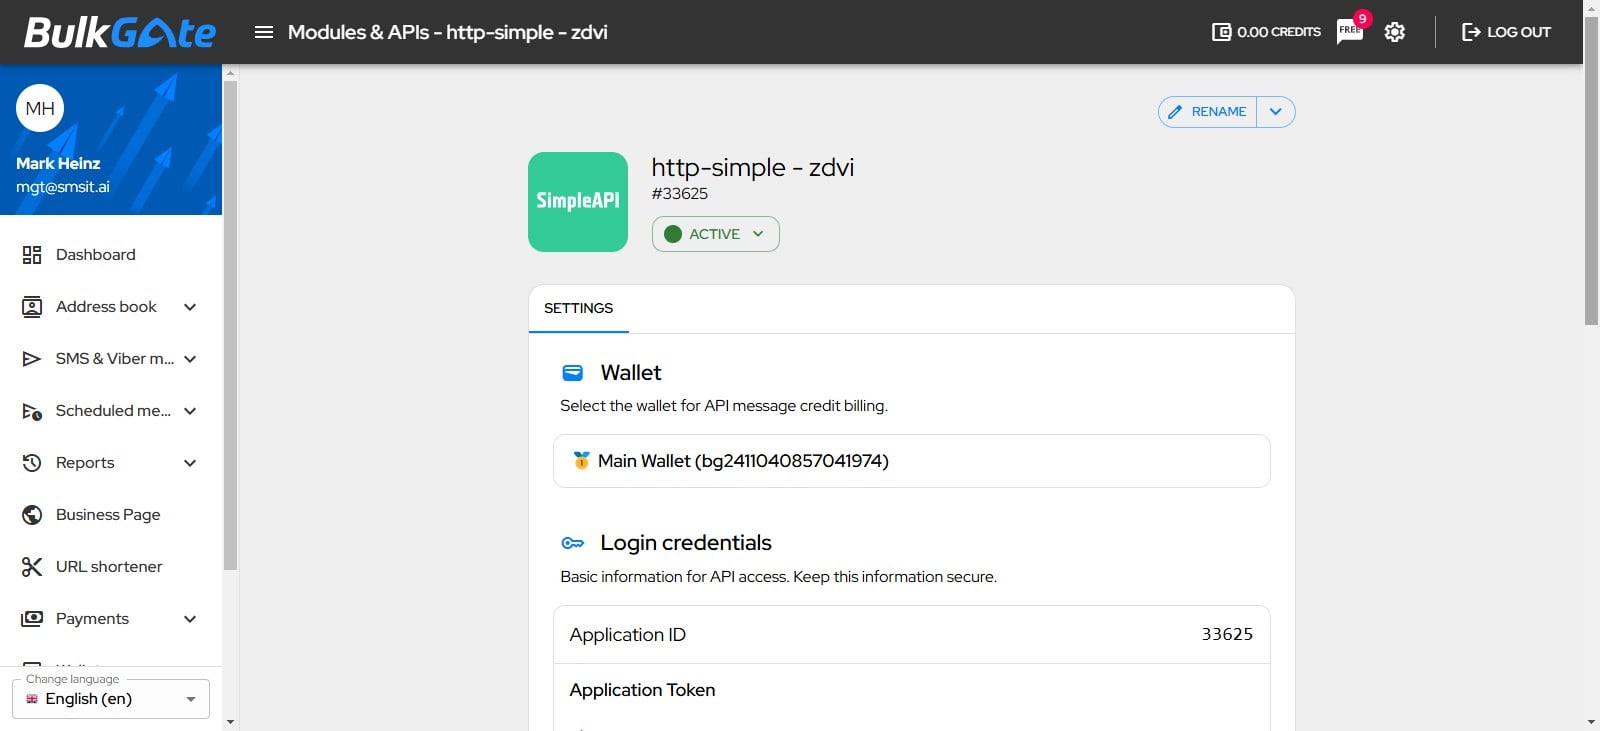
Copy your Application ID, eg "33625"
Paste it in the Application ID field in SMS-iT CRM
In Bulk Gate, to copy your Application Token, Click on "The Eye Icon" to see and copy your Token
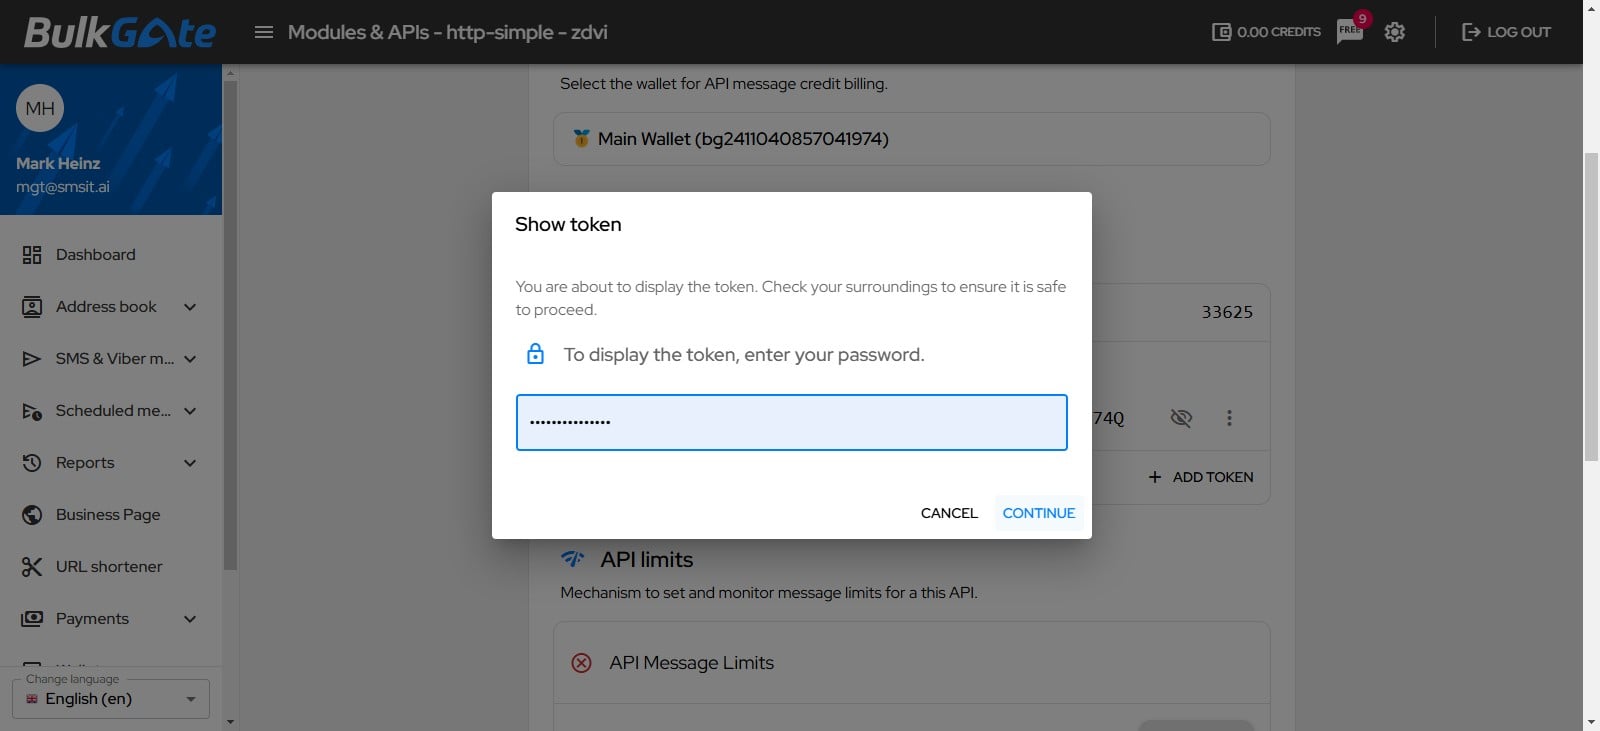
Enter your Bulk gate password to display your Token
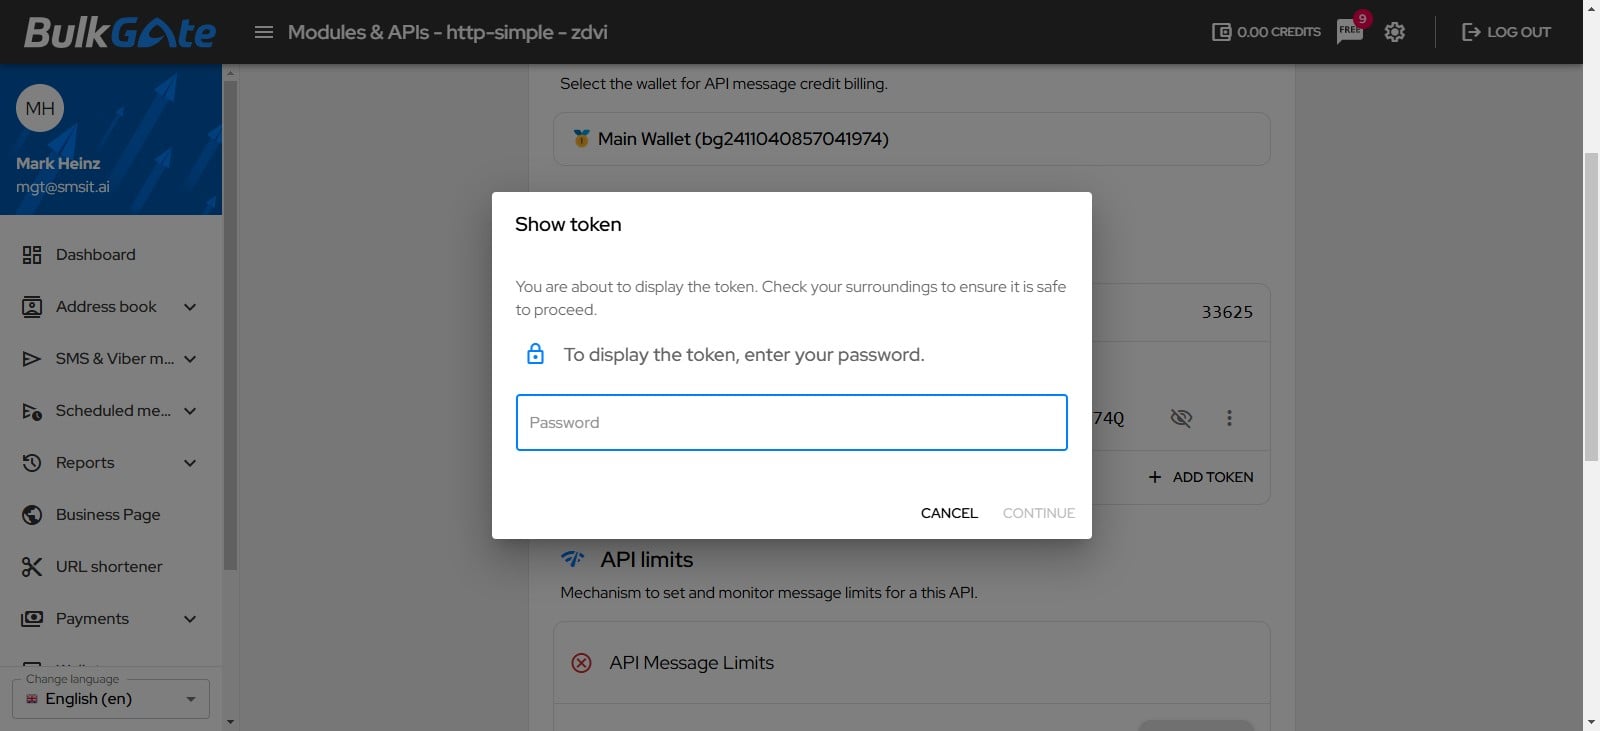
Click on "Continue"
Click on the "copy icon" to copy your Application Token
Paste it into the field for Application Token in SMS-iT
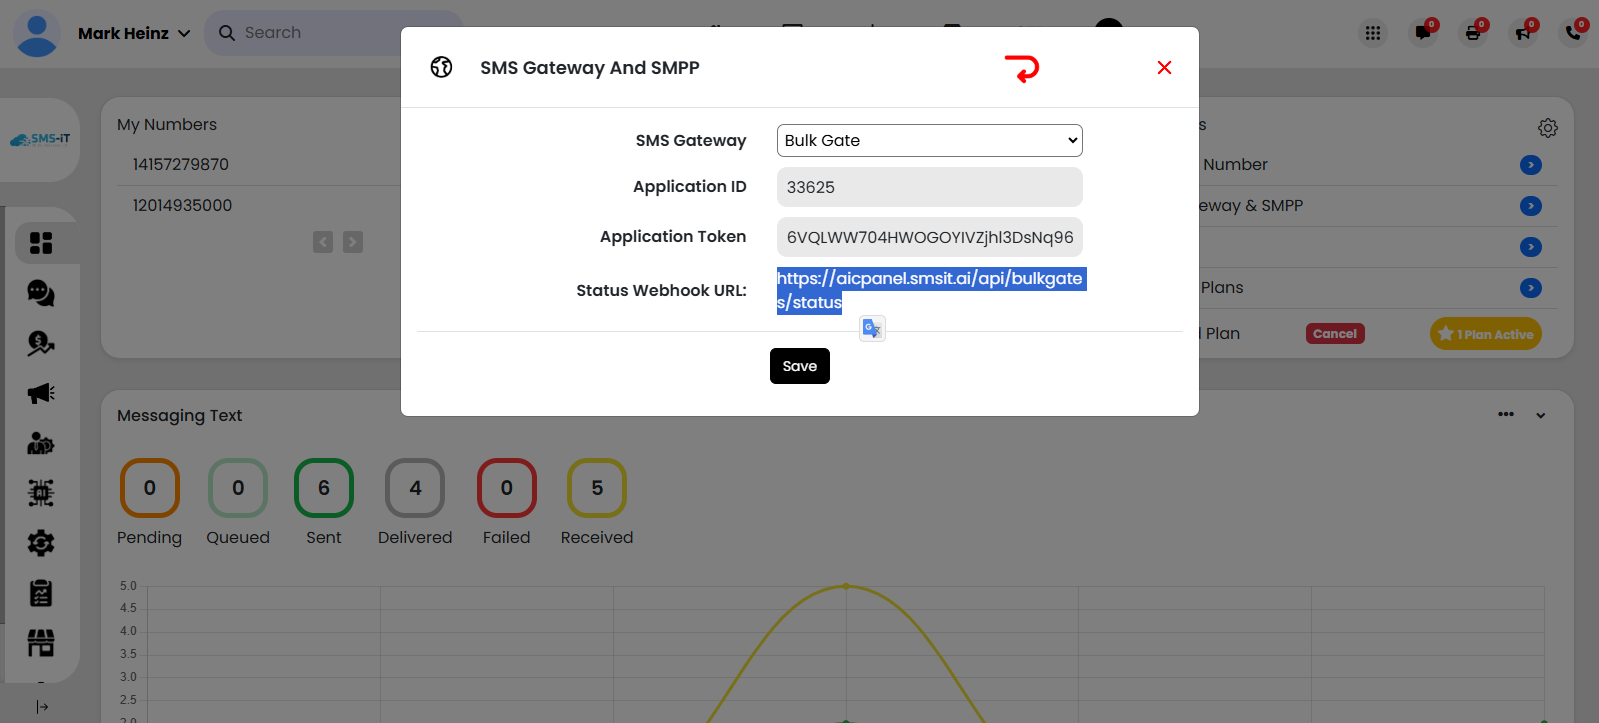
Copy the "Status Webhook URL" from SMS-iT Status Webhook URL: https://aicpanel.smsit.ai/api/bulkgates/status
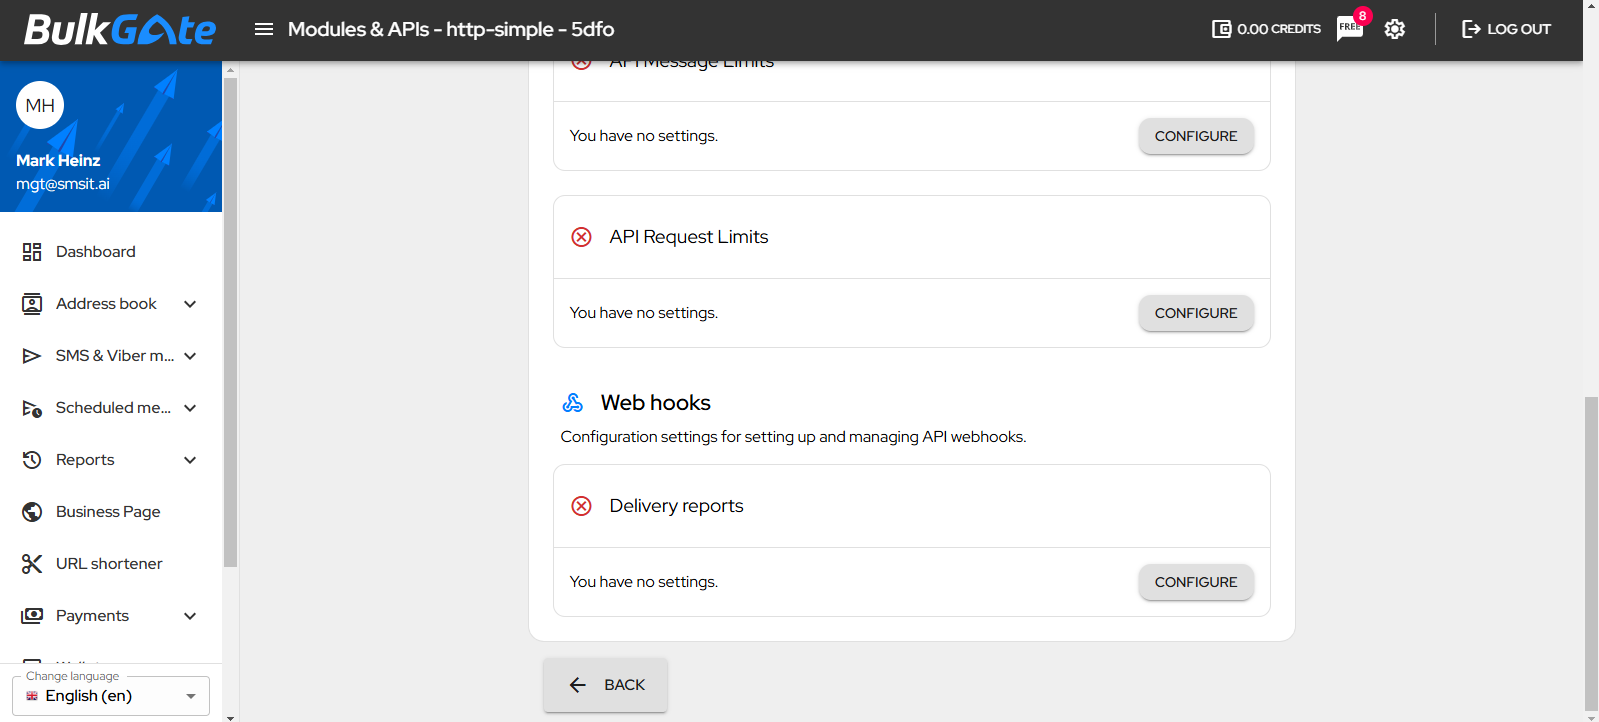
In Bulk Gate, scroll down to Web hooks, and click on Configure.
Add the Status Webhook URL: https://aicpanel.smsit.ai/api/bulkgates/status in the URL delivery reports field in Bulk Gate. Then click on Bulk DLRs- bulk request and click Save
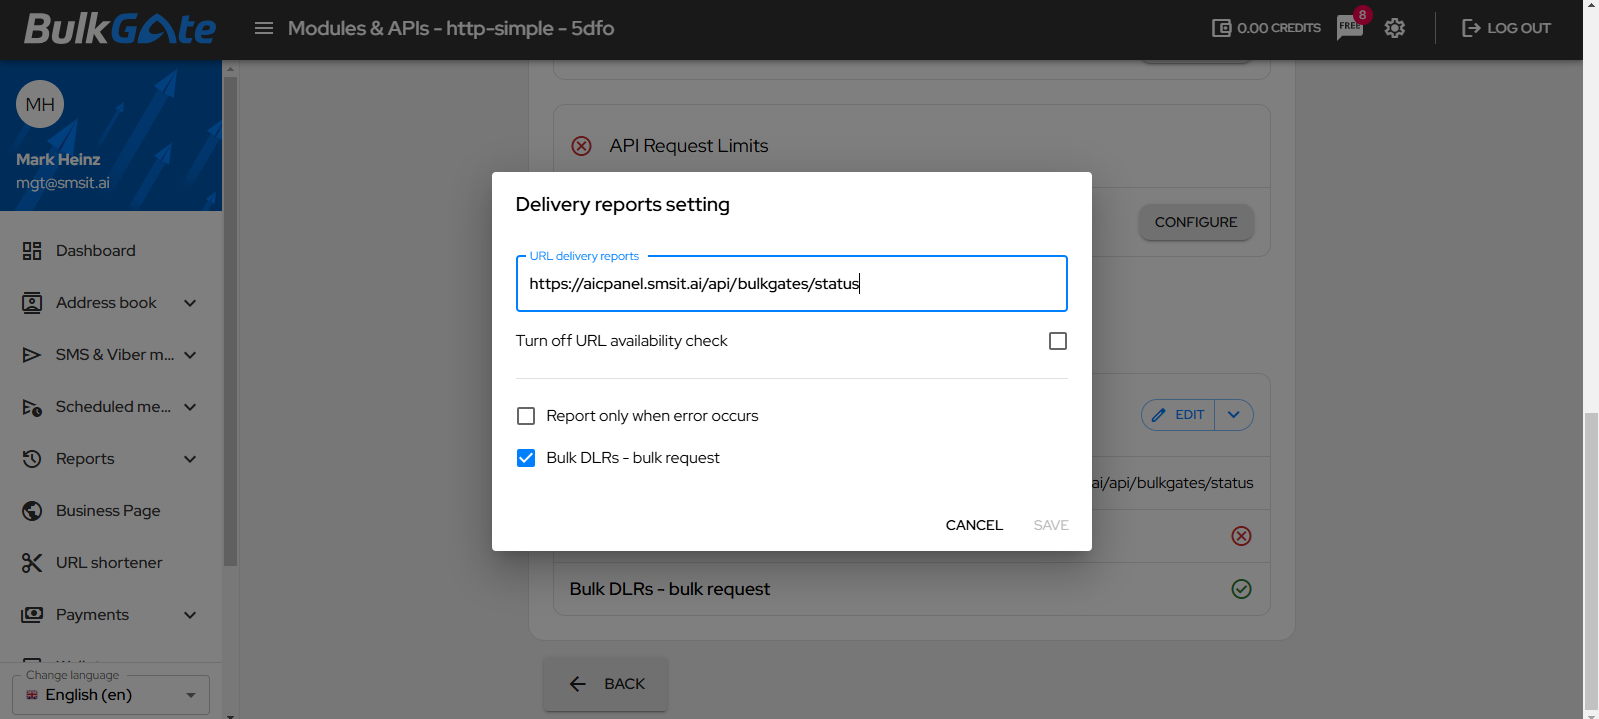
After clicking SAVE in Bulk Gate, you will see the new URL underneath Web hooks.

In SMS-iT, Click on "Save" to complete the API integration step. Next, we will add your Bulk Gate number in SMS-iT.
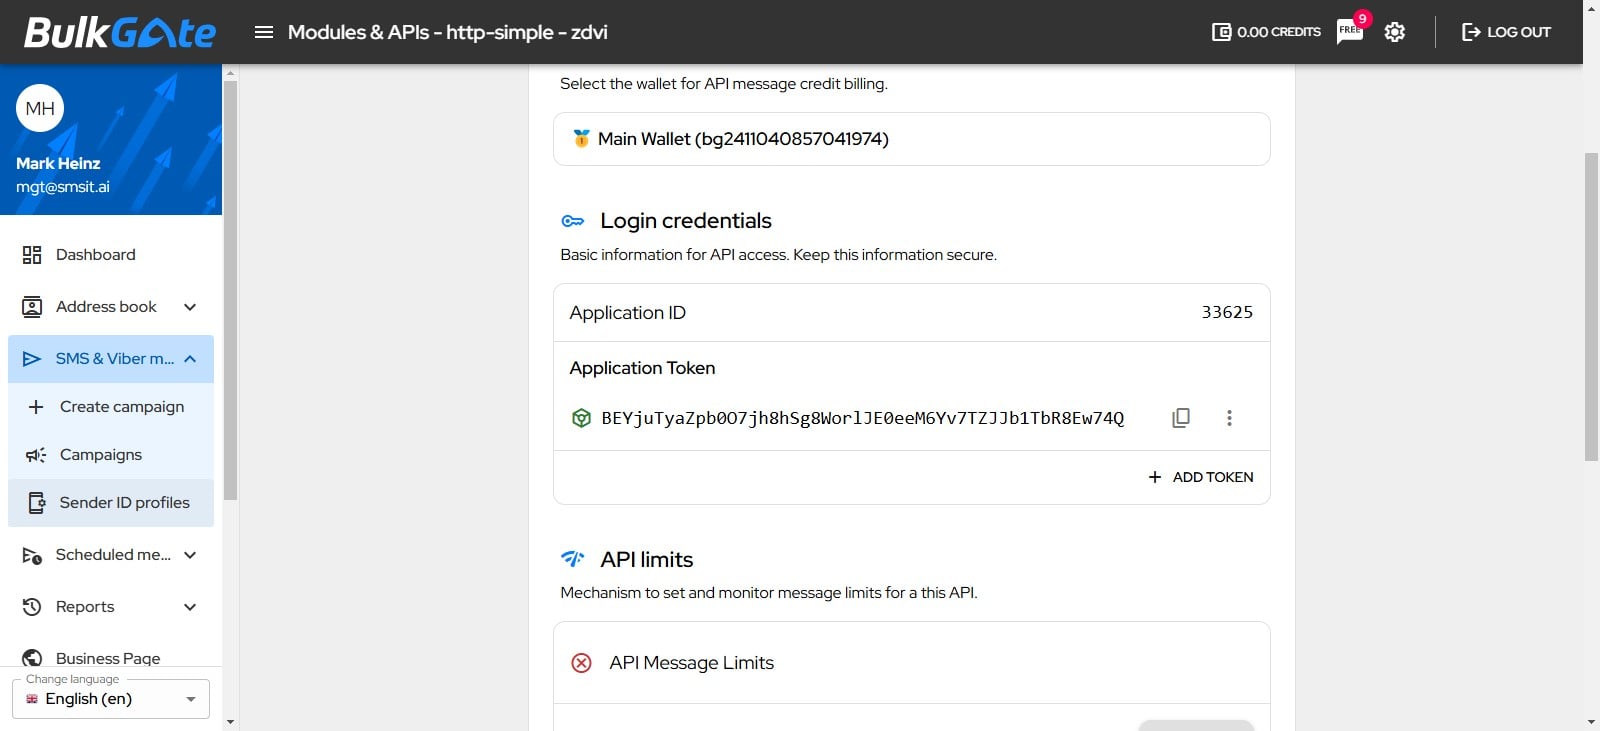
In Bulk gate, click on SMS & Viber Messaging for your Bulk Gate number
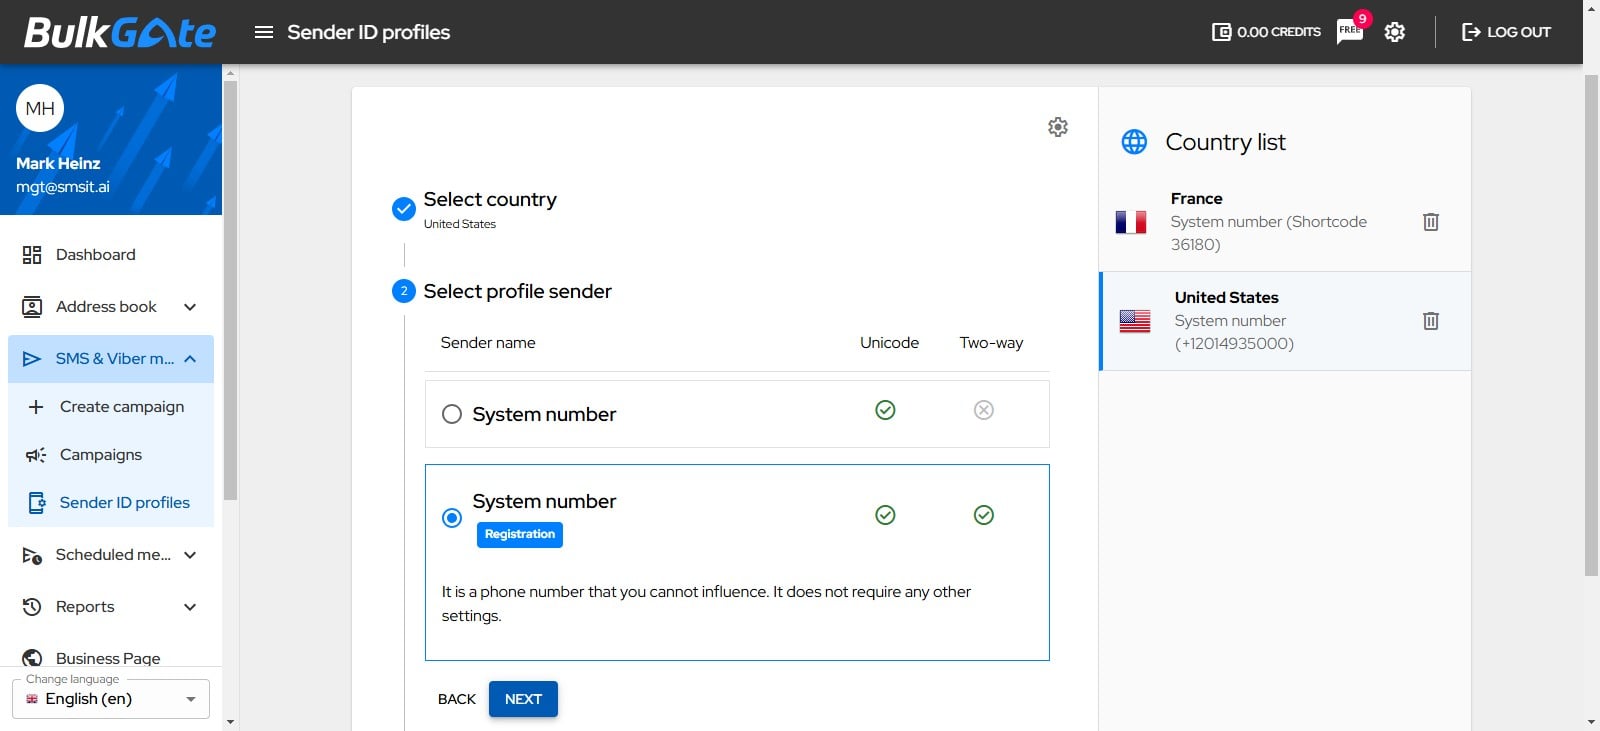
Click on "Sender ID profiles"
Click on "Next"
Click on "Save"

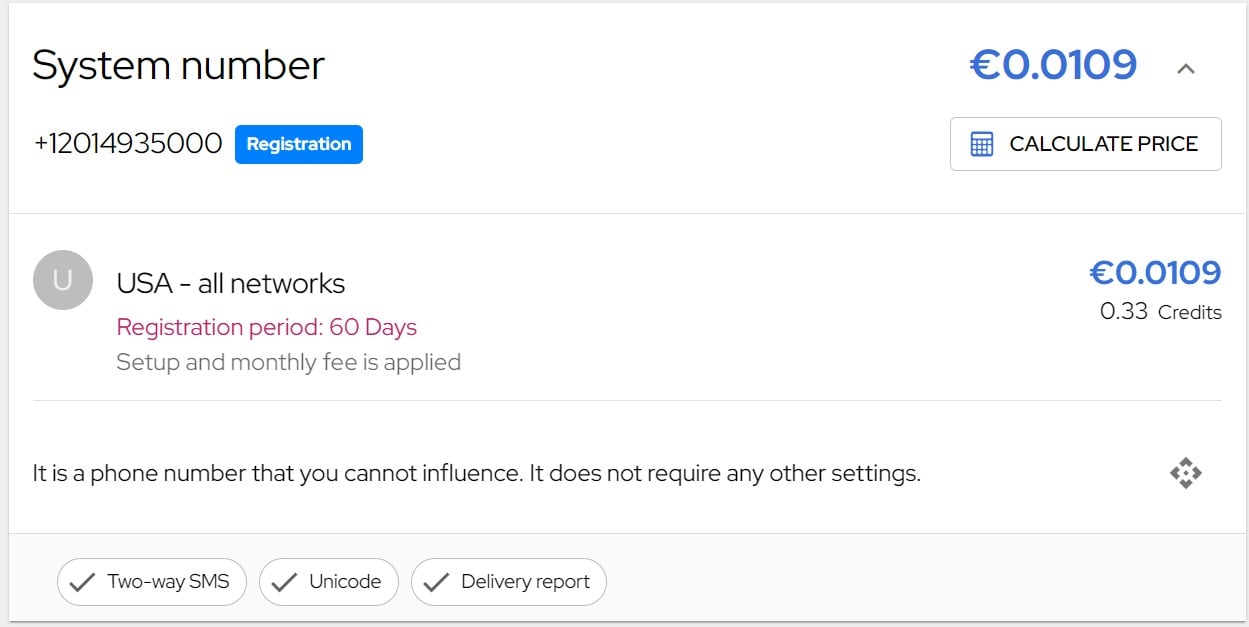
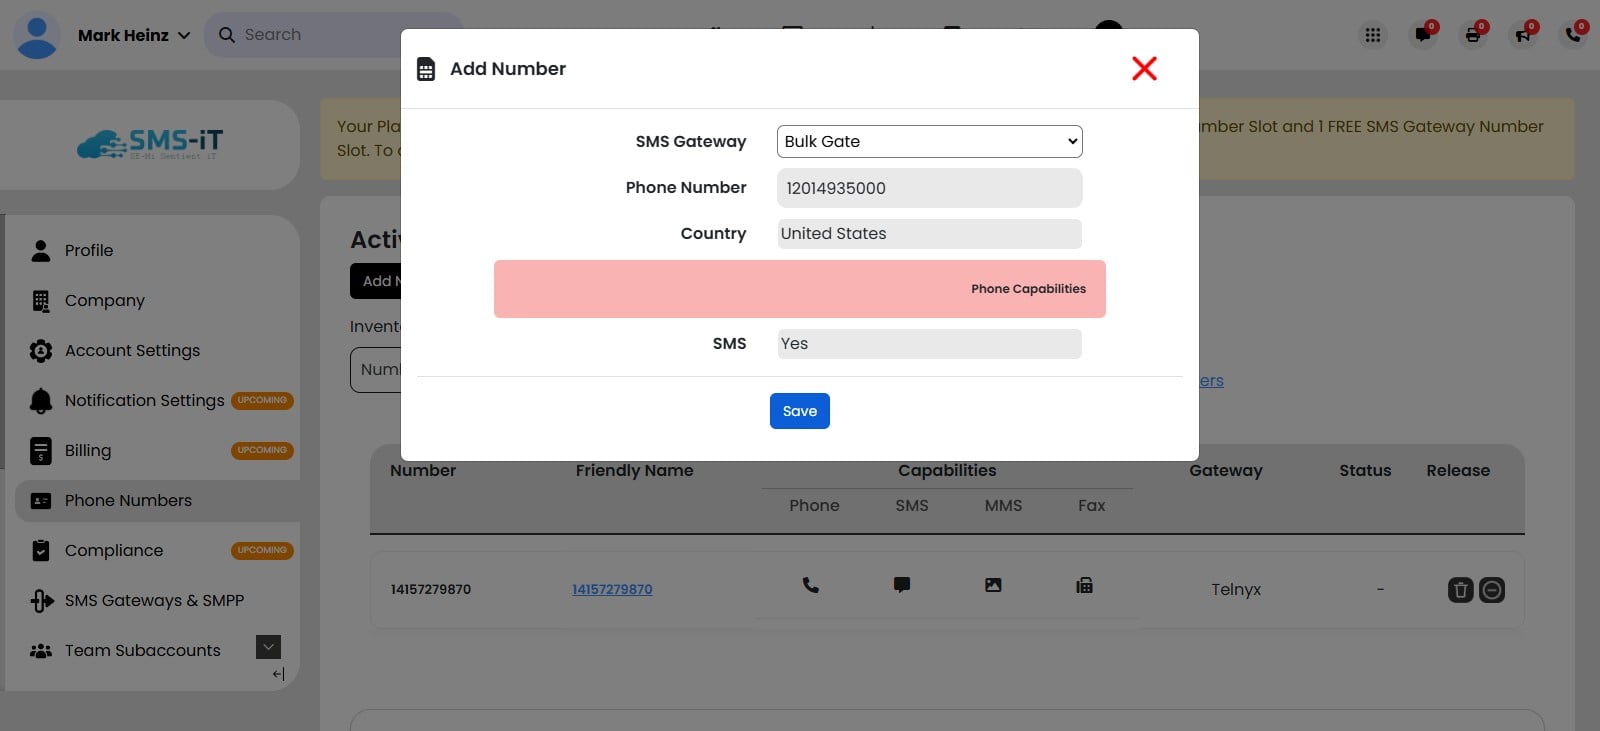
**Important Note: ** Bulk Gate will assign you a system number, which is the same number provided to all users. It will take up to 60 days for Bulk Gate to register a unique number for you. In the meantime, when adding a Bulk Gate number in SMS-iT, please use your SIM card number that you’ve already configured in SMS-iT. This will allow you to receive messages and responses directly in SMS-iT, if desired.
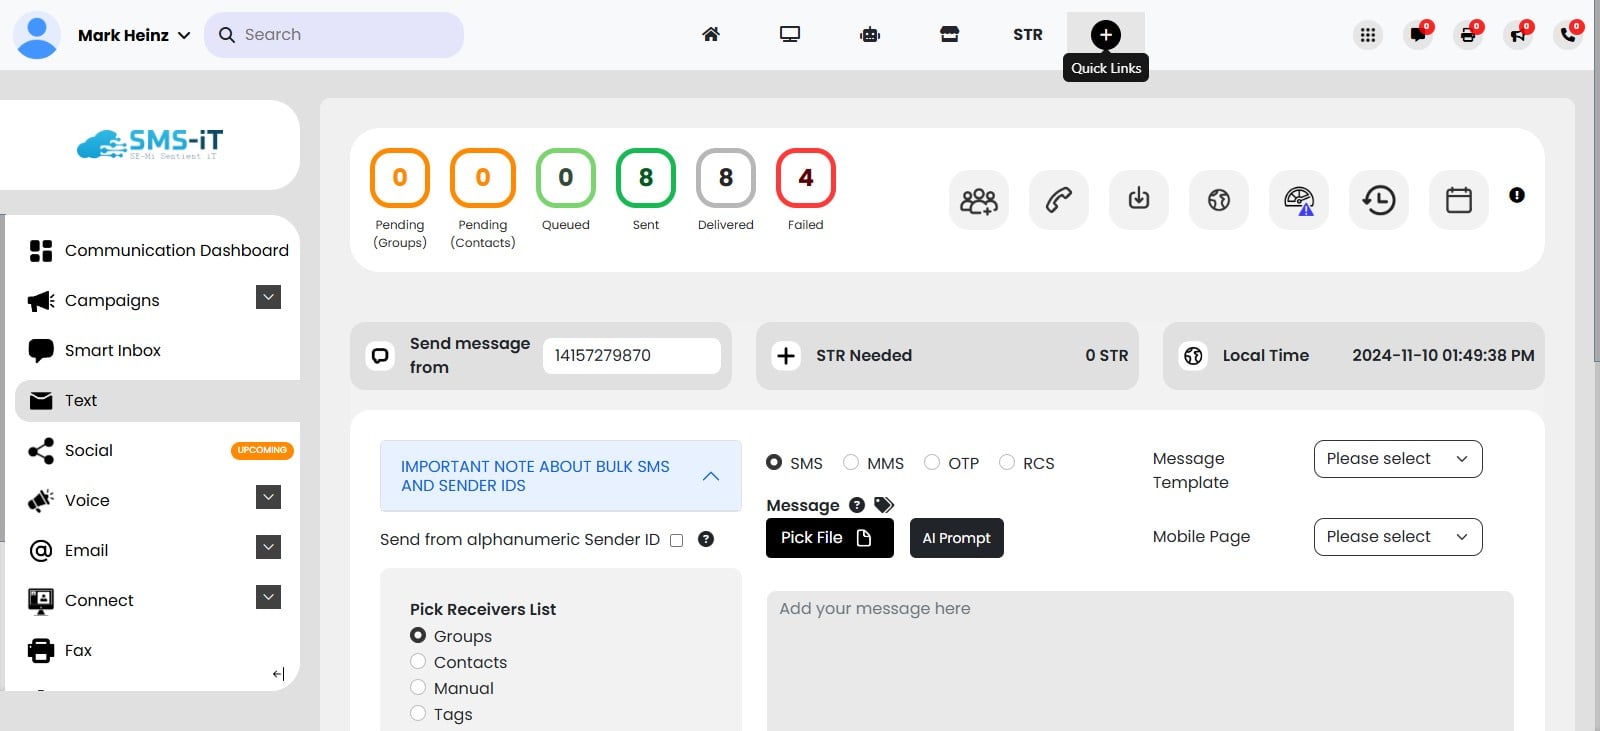
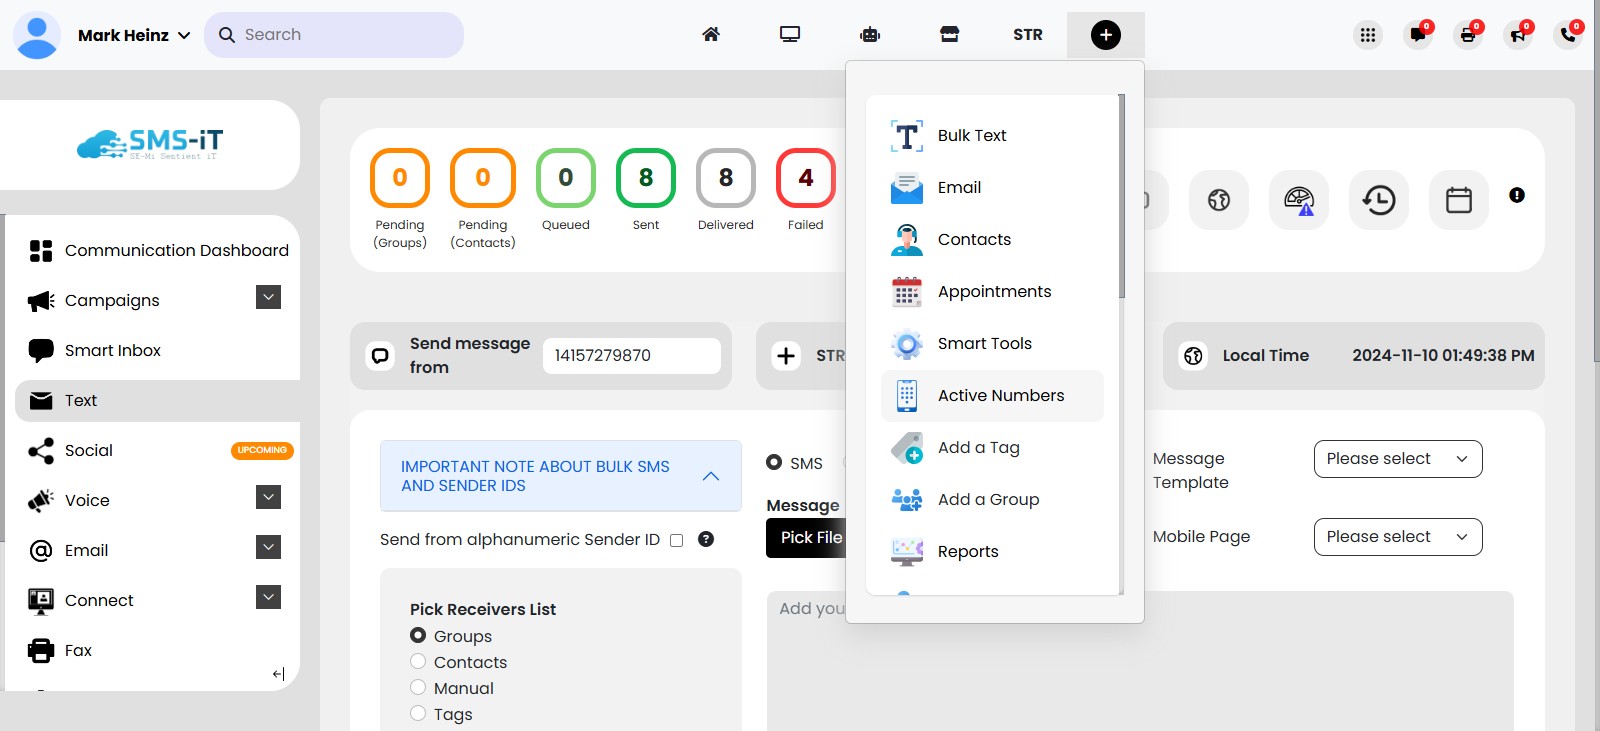
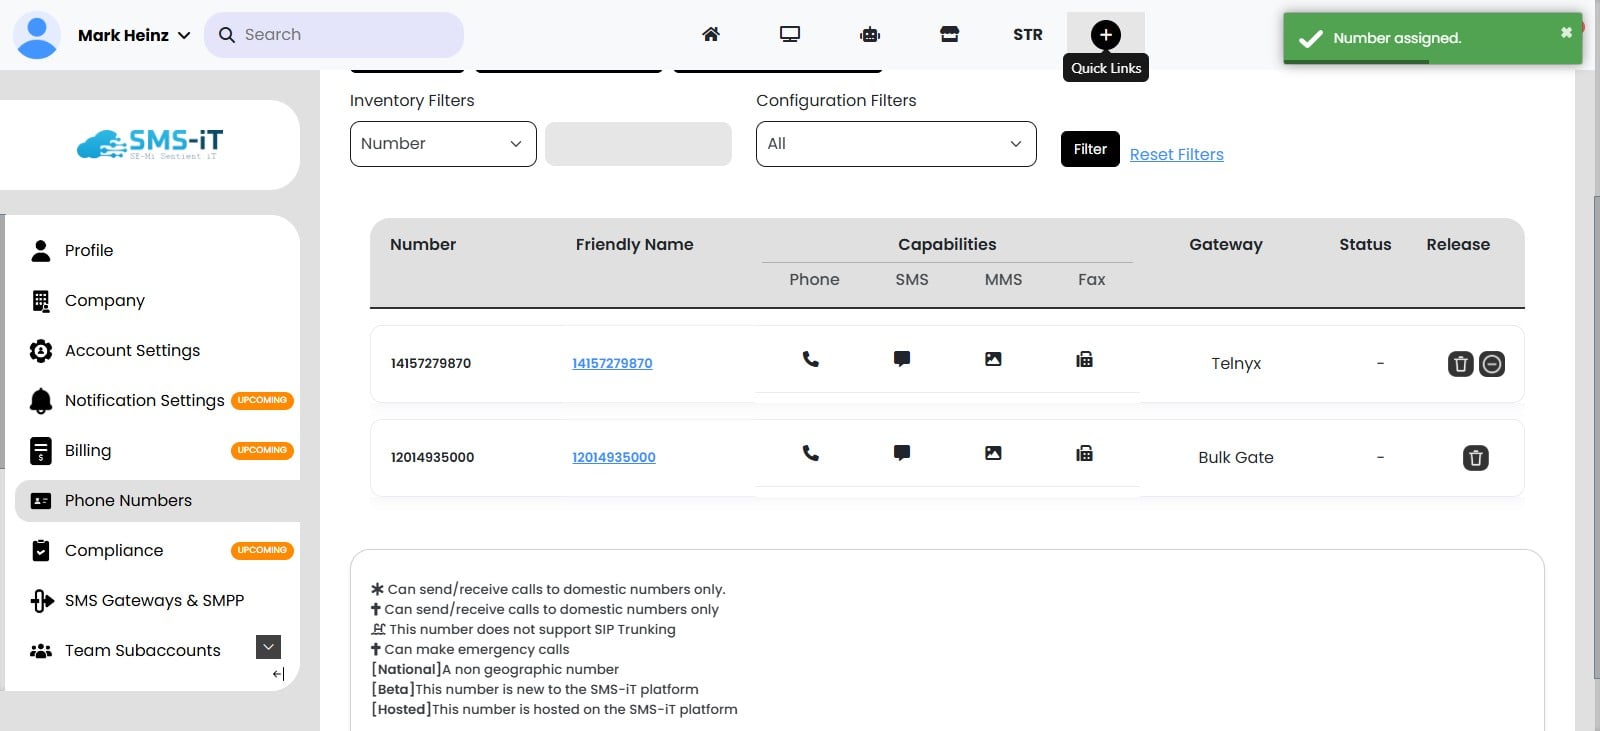
To add a Bulk Gate number in SMS-iT, Click this Quick Links icon
Click on "Active Numbers"
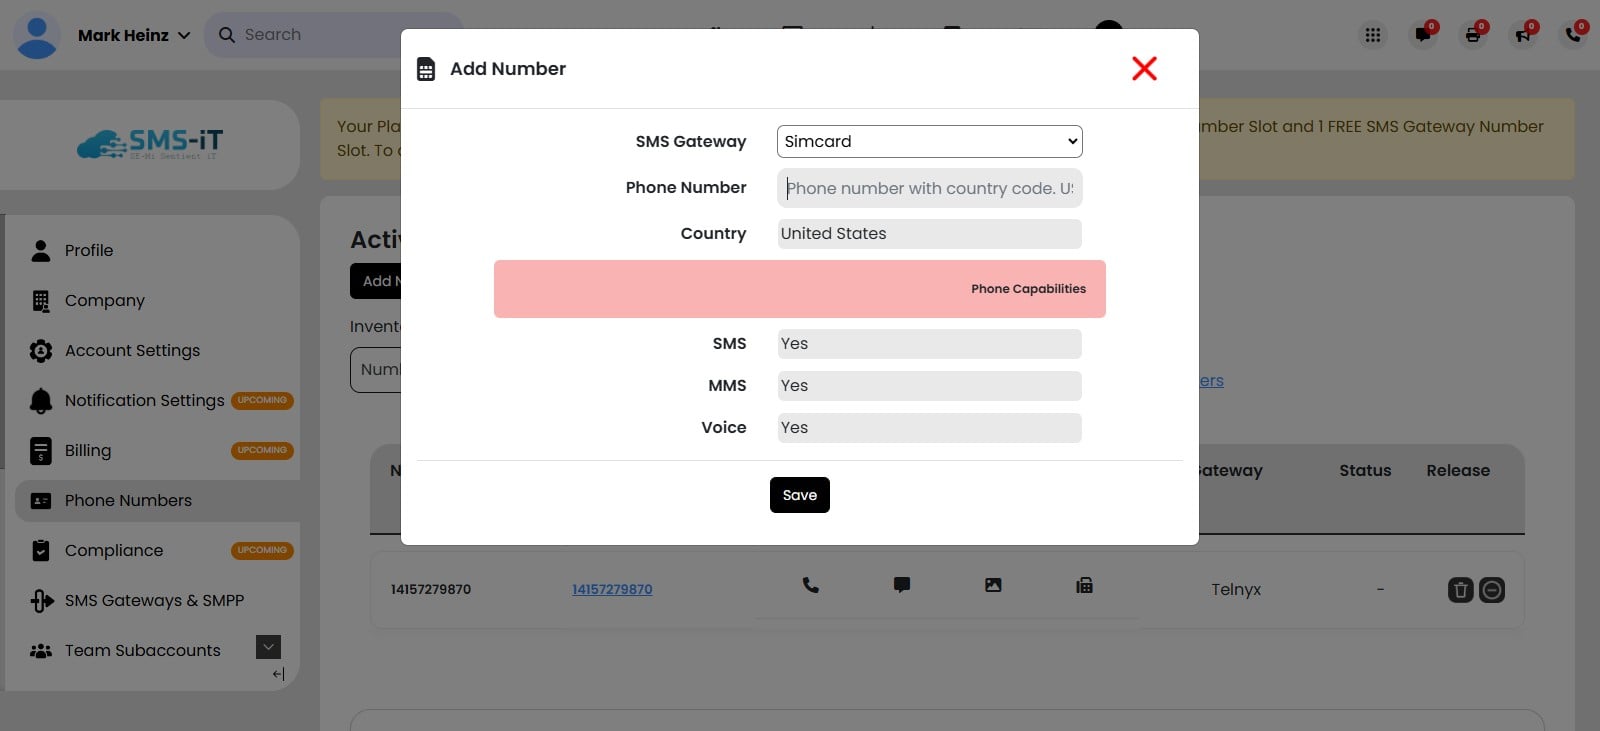
Click on "Add Number"
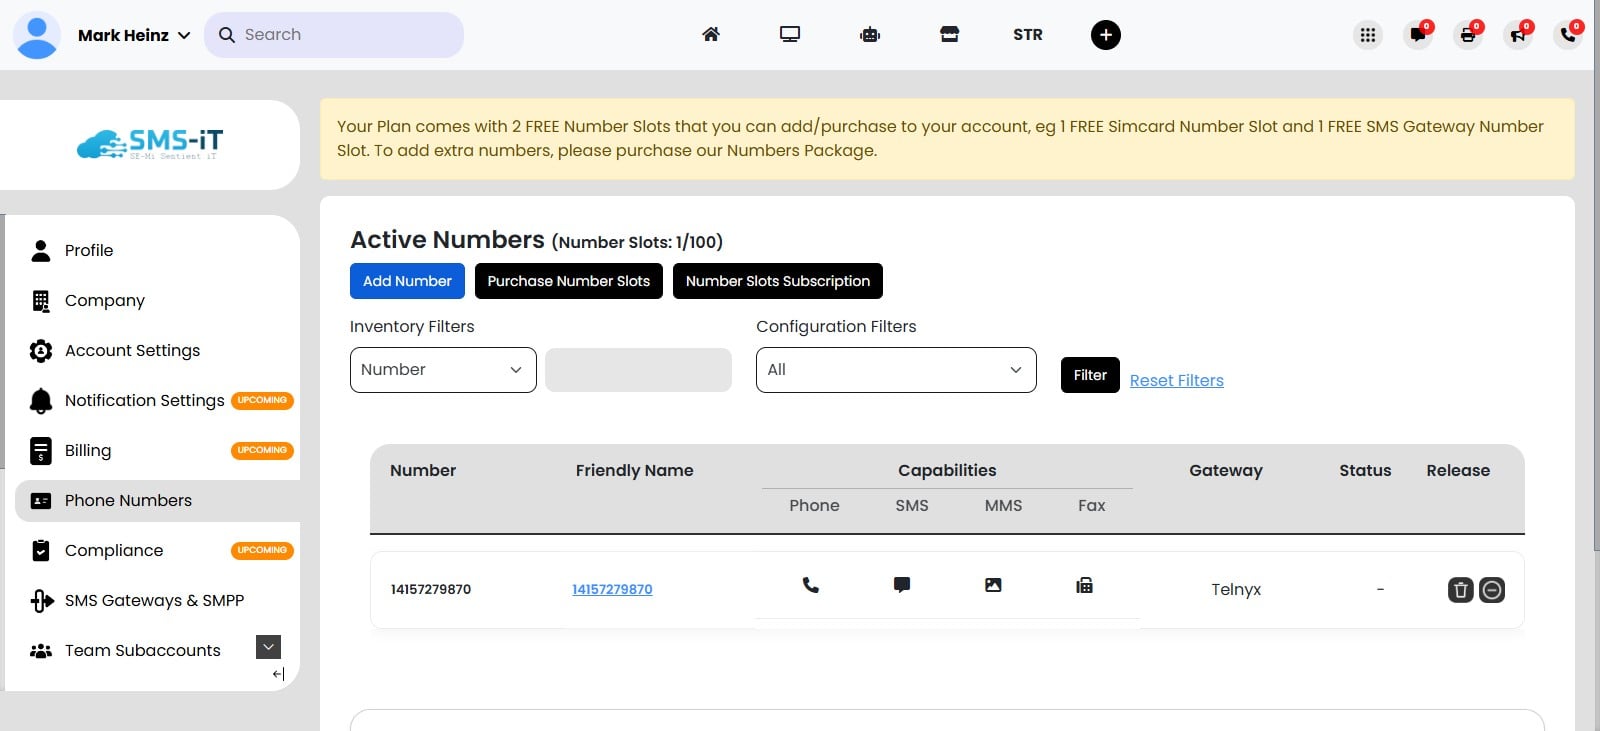
Click on the SMS Gateway field and select Bulk Gate
Enter your SIM card number or any desired number in the Phone Number field, click "Save," and your integration is now fully complete!
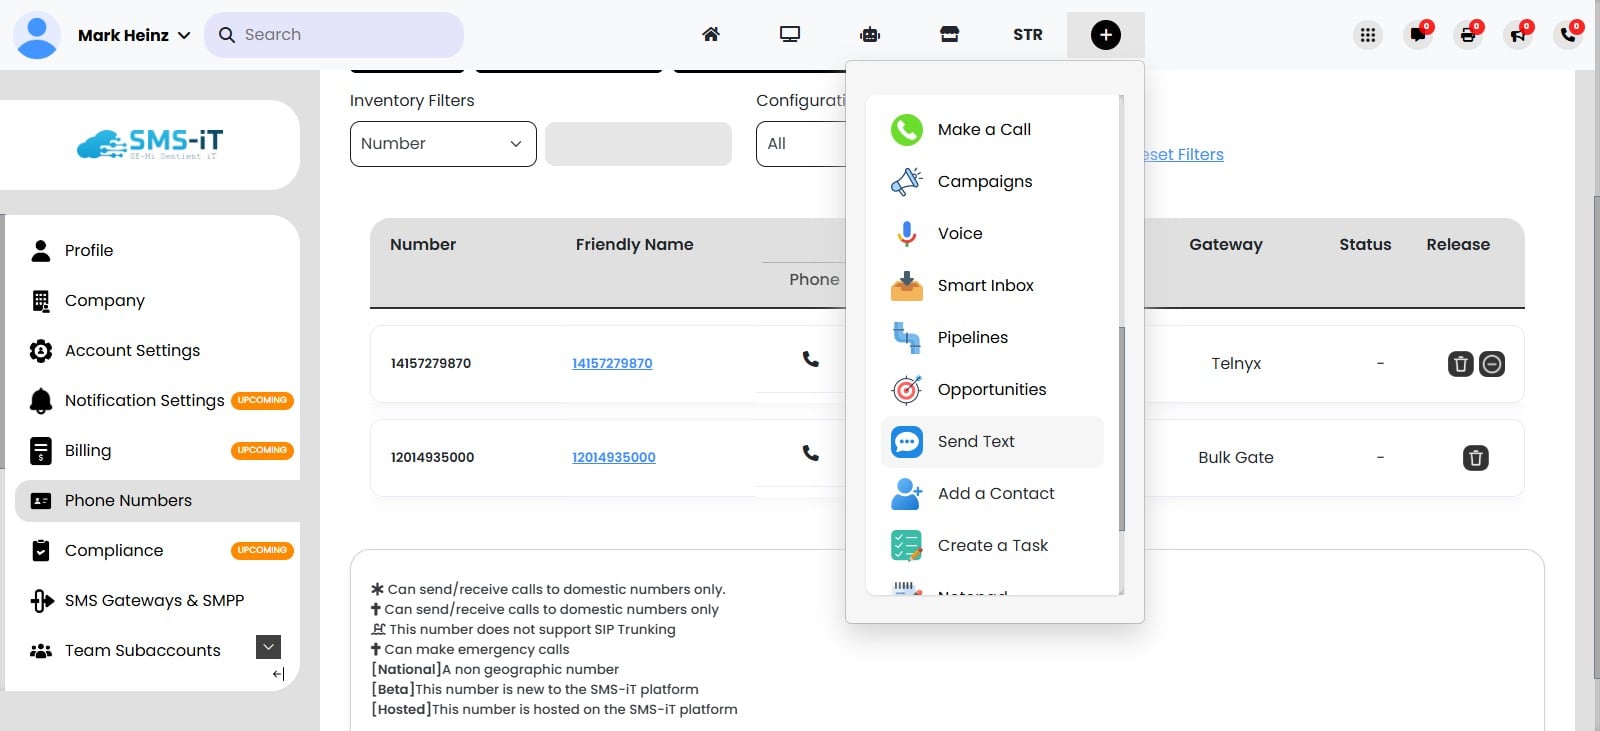
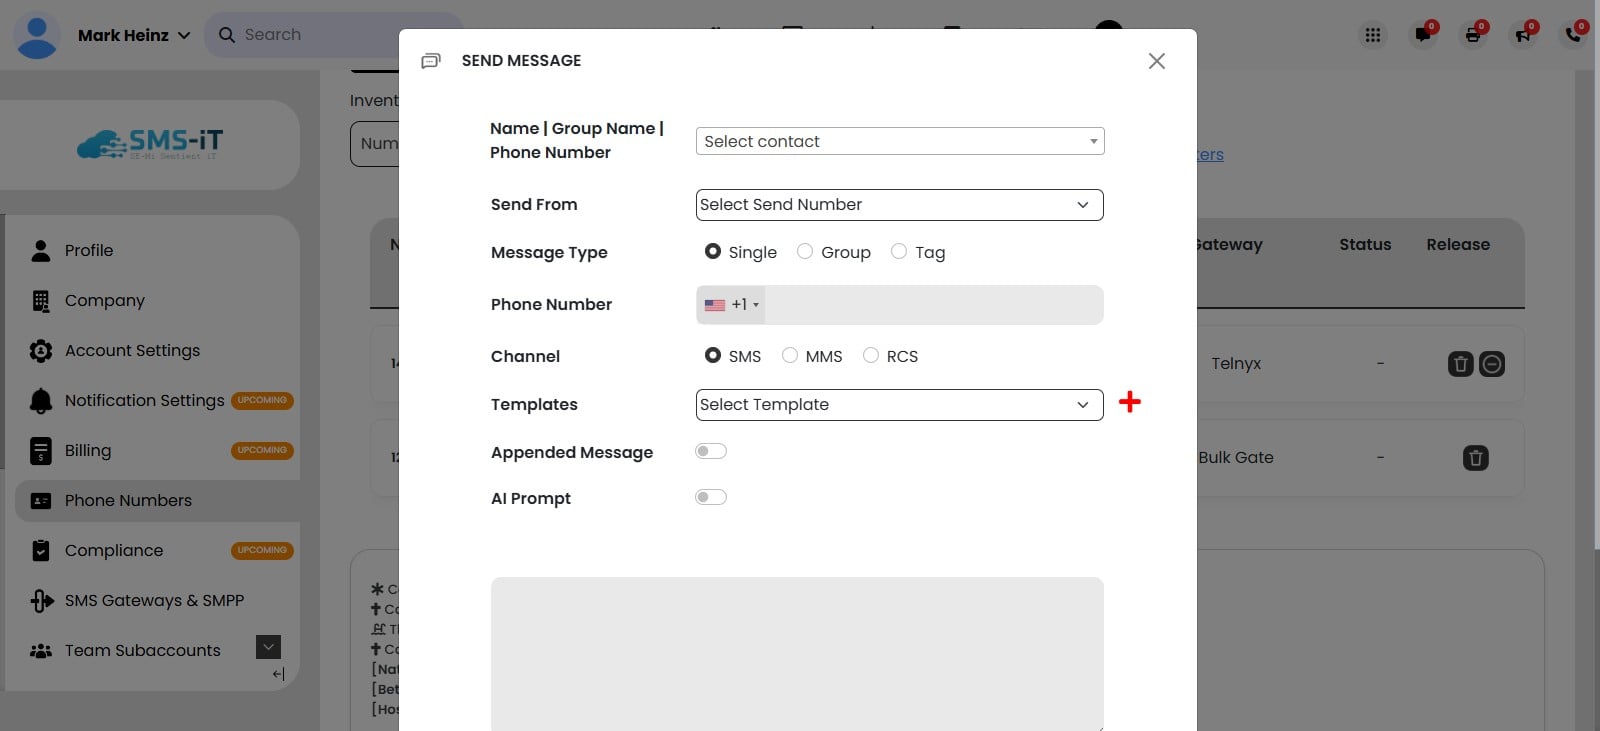
Now that the integration is complete, lets test the Bulk Gate integration by sending a text message using our new Bulk Gate integration. To start, Click on the Quick Links icon
Click on "Send Text"
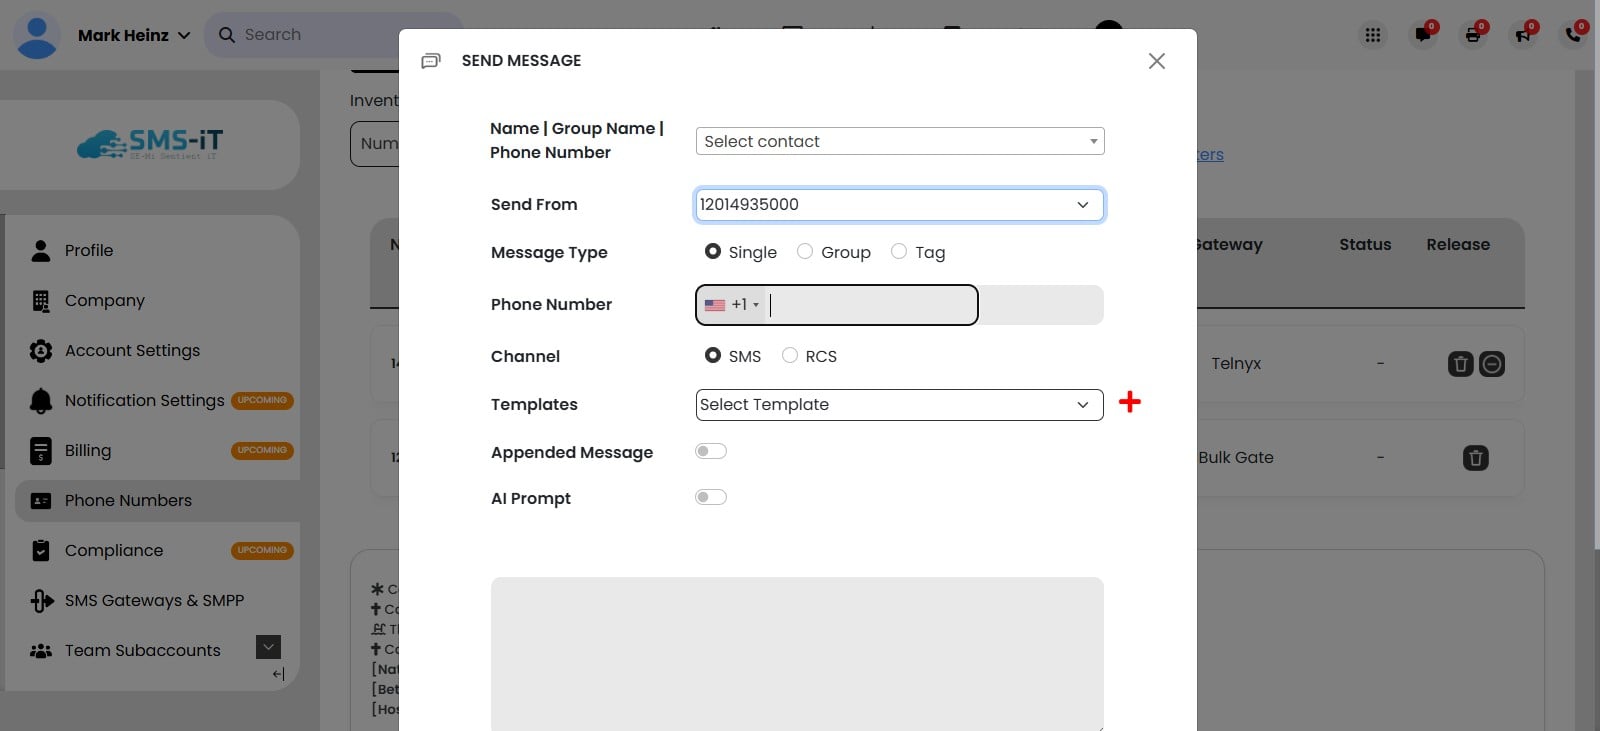
Click on "Select Send Number"
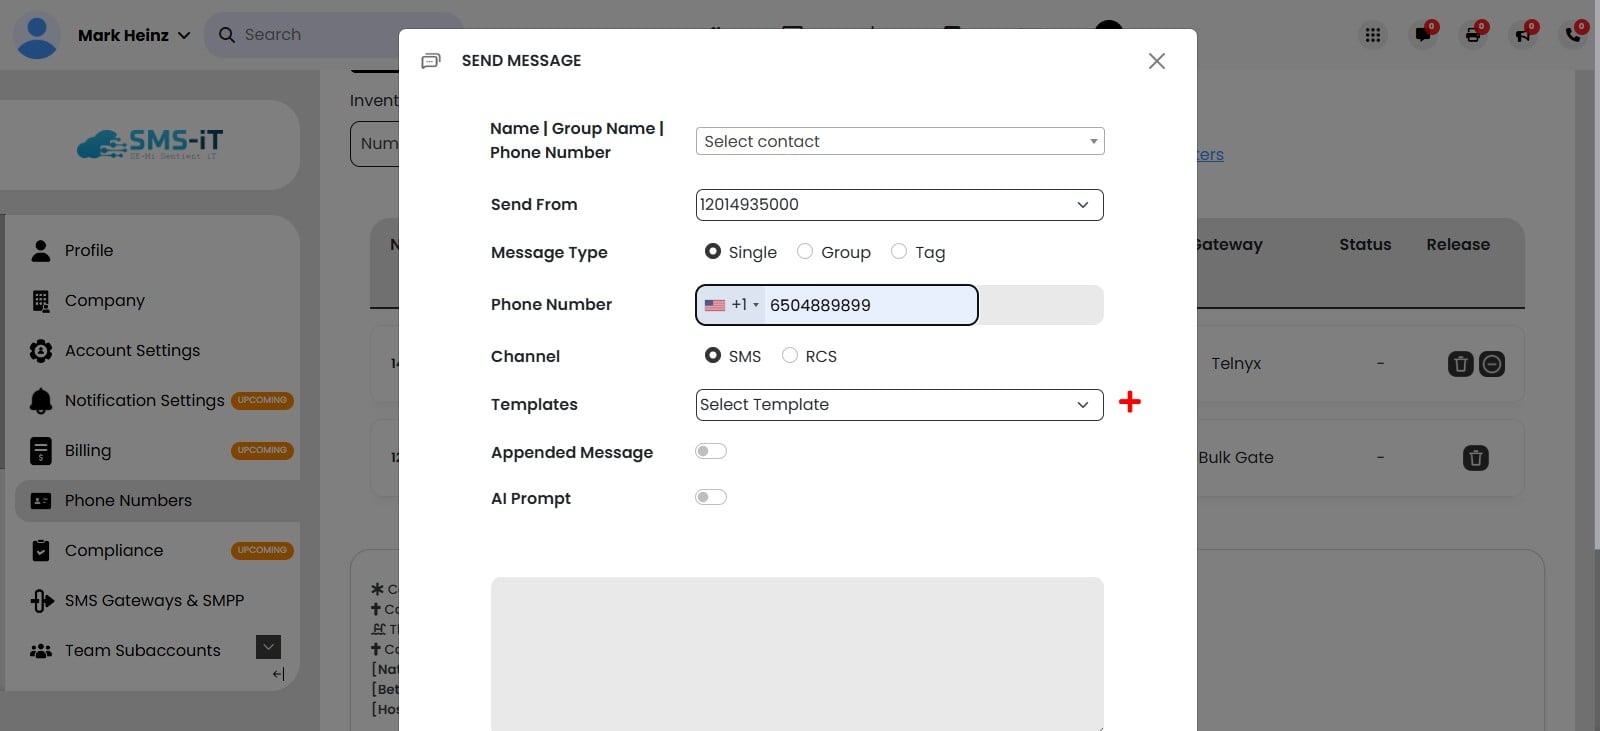
Add your Phone Number in the Phone Number field, where you want to receive the text message for the Bulk Gate configuration test.
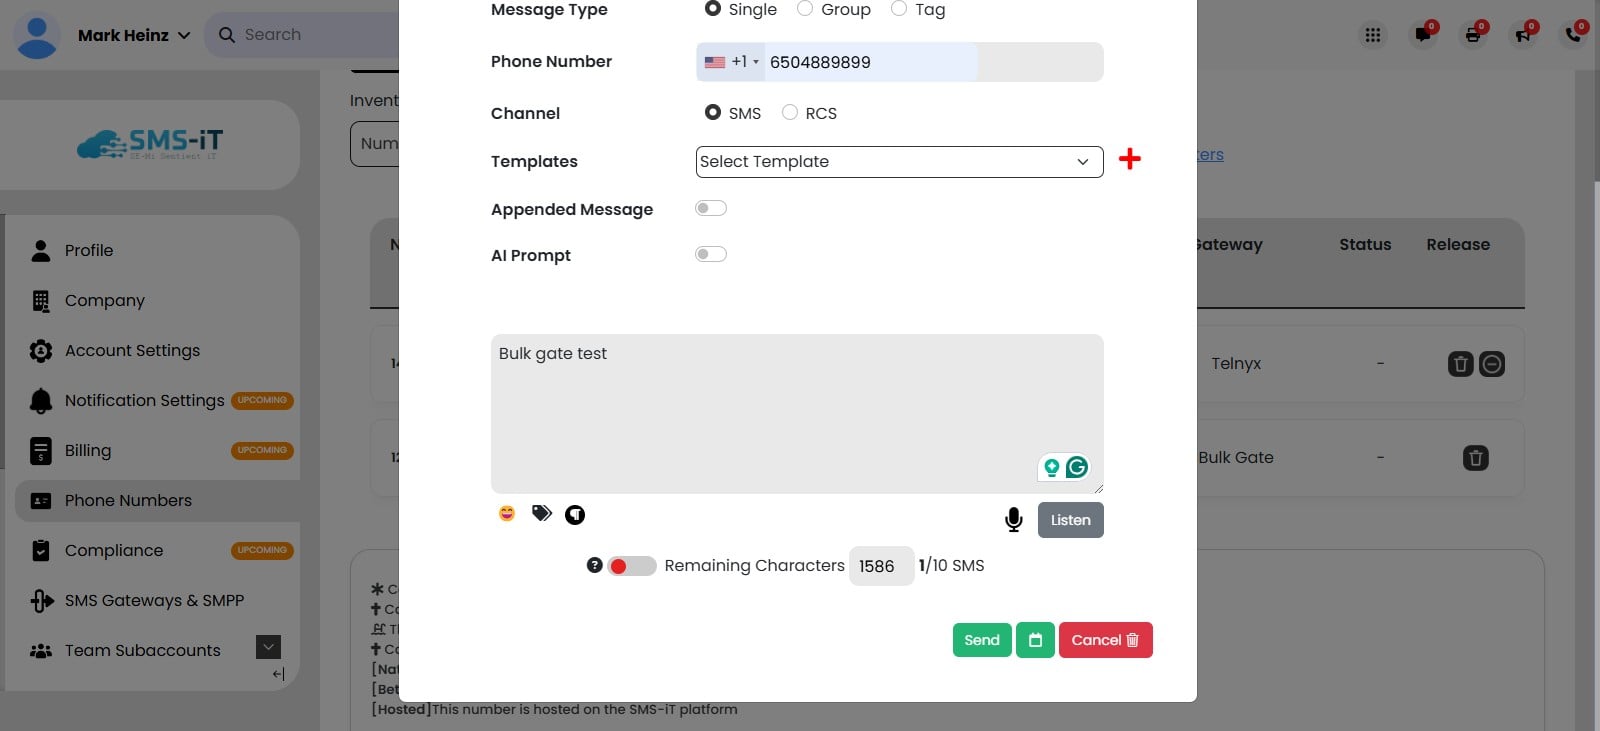
Add your message.
Click on "Send" and you will receive the text message, confirming that your Bulk Gate integration was successfully completed.
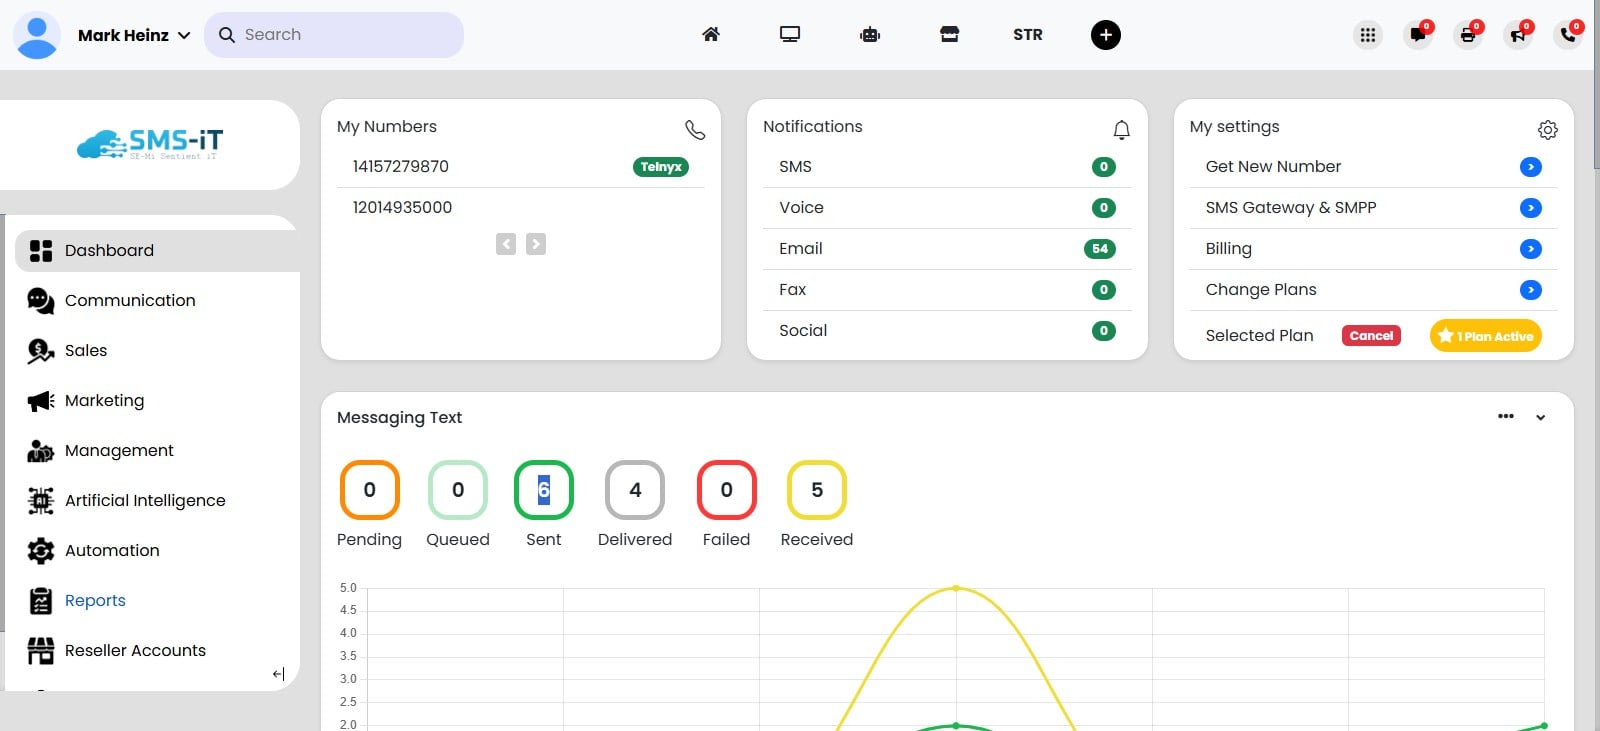
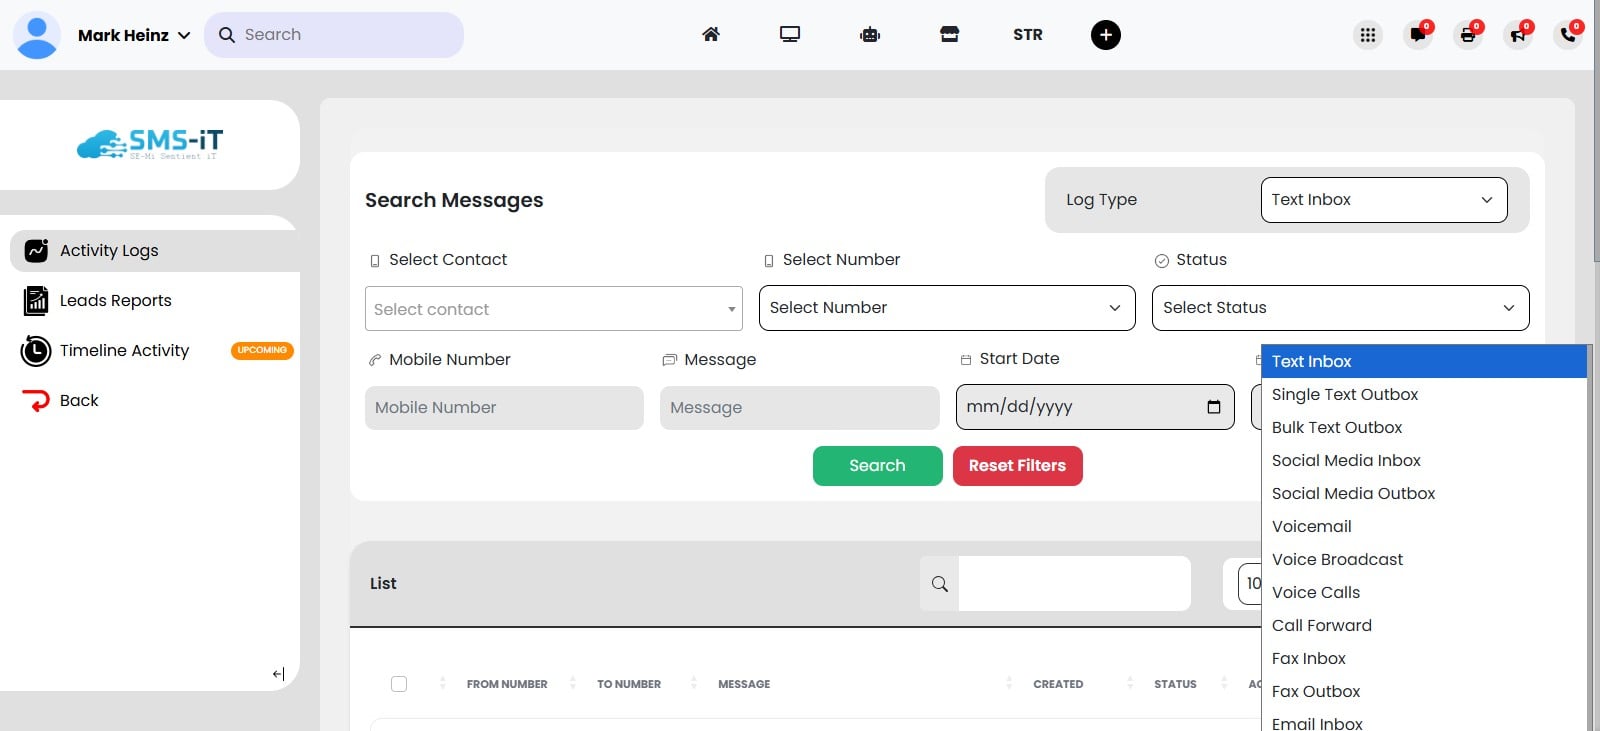
To view the message you just sent in SMS-iT, go back to the Dashboard and Click on "Reports"
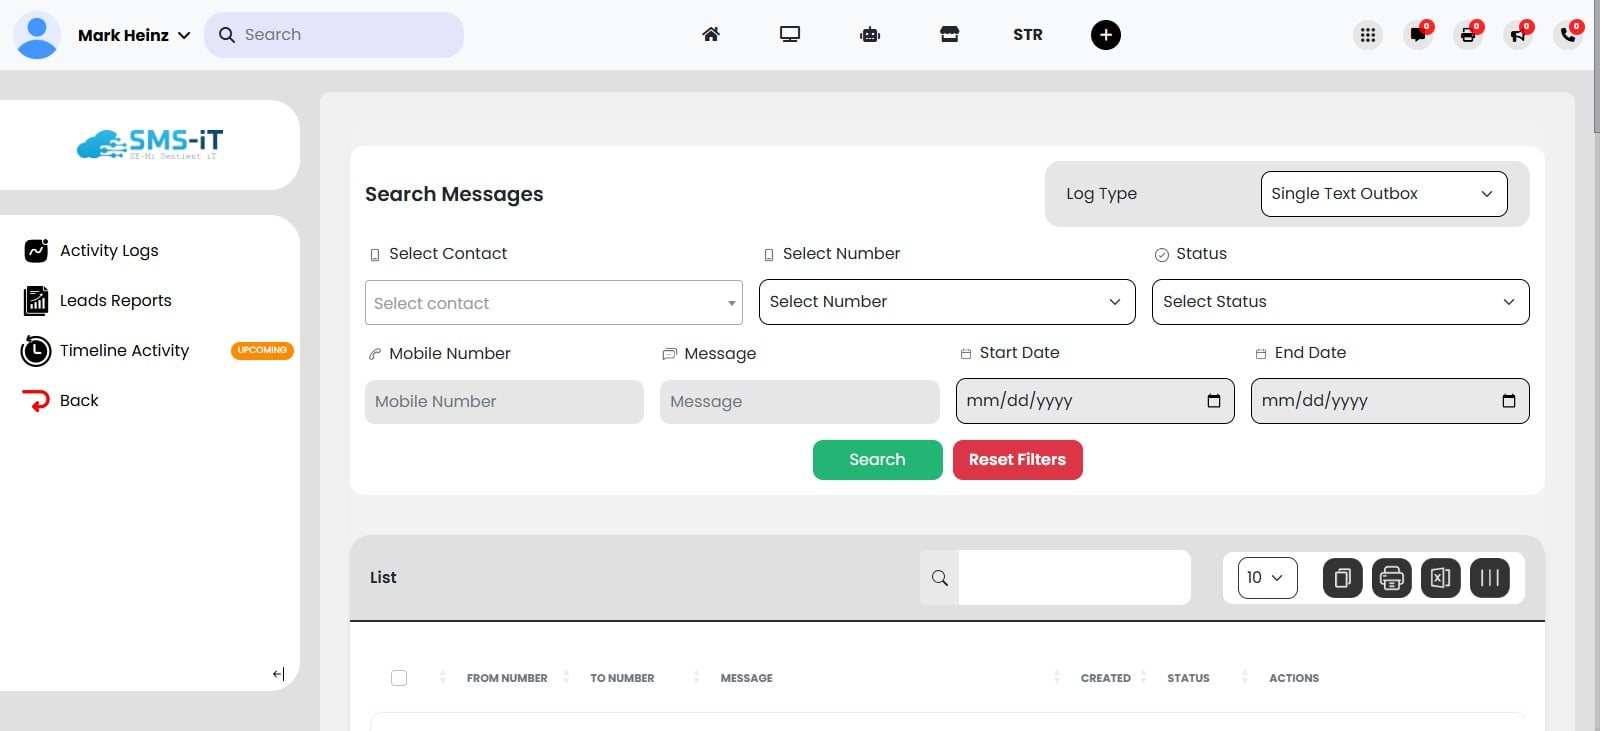
Click on Log Type and select "Singe Text Outbox"
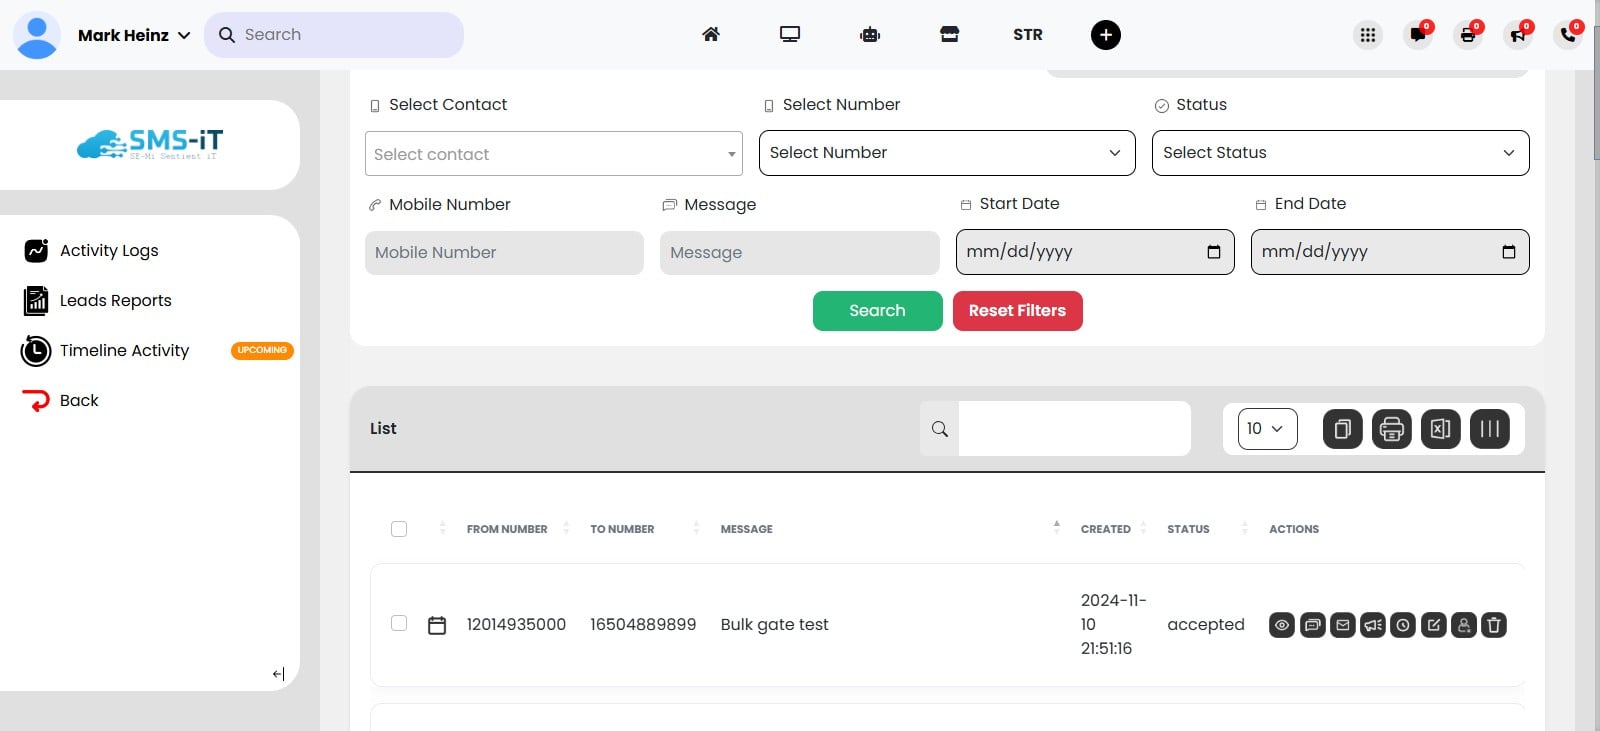
The page will show the Reports data for all single message sent.
Scroll down the page to view your sent messages.

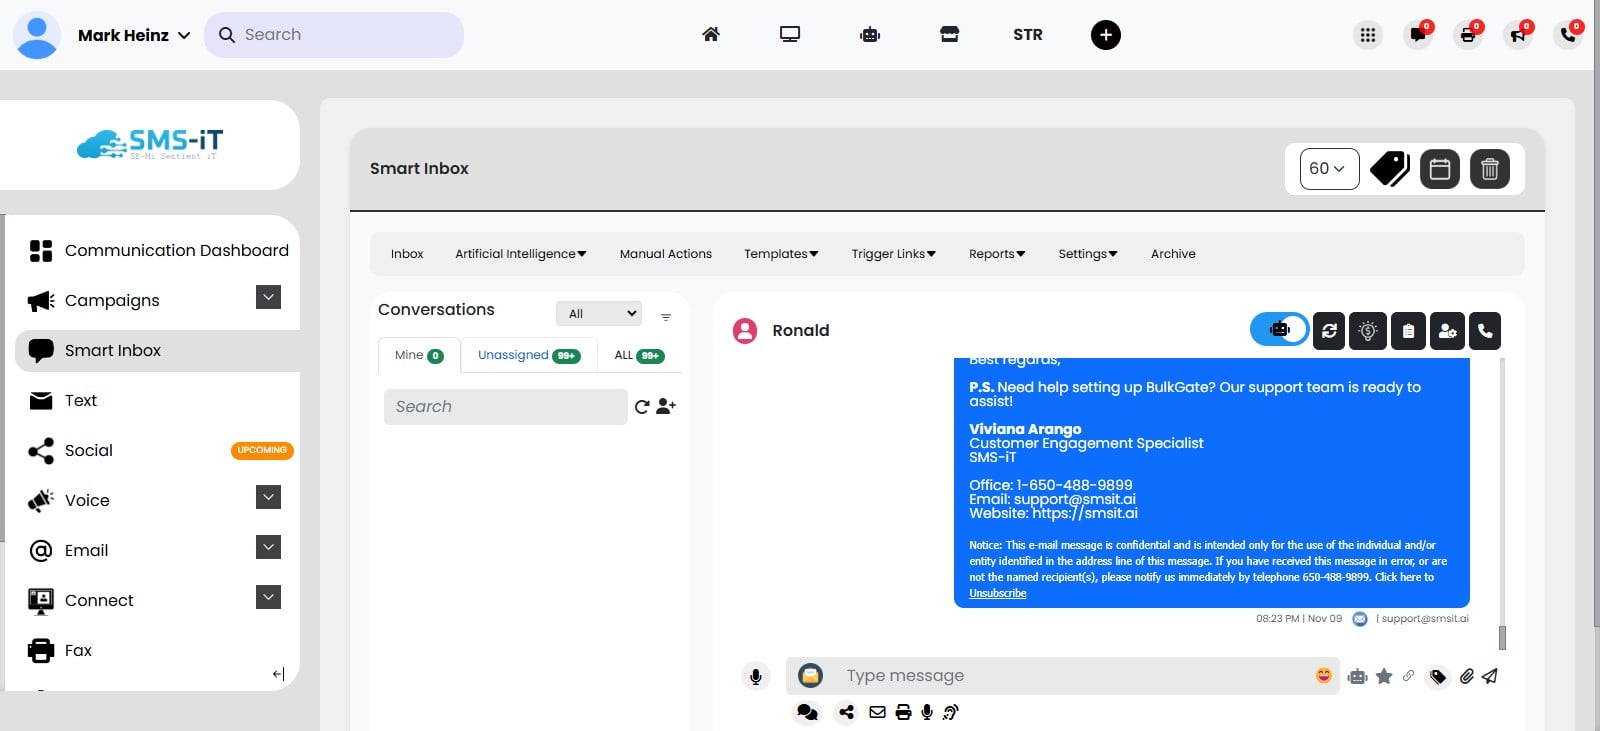
You can also view the sent messages by going to your Smart Inbox. To do this, go back to the Dashboard and click on Communication.
Click on "Smart Inbox"
Click on "Unassigned" or "ALL" to view your incoming and outgoing messages.