
Signalwire Connect to SMS-iT (Add number in SMS-it Platform)
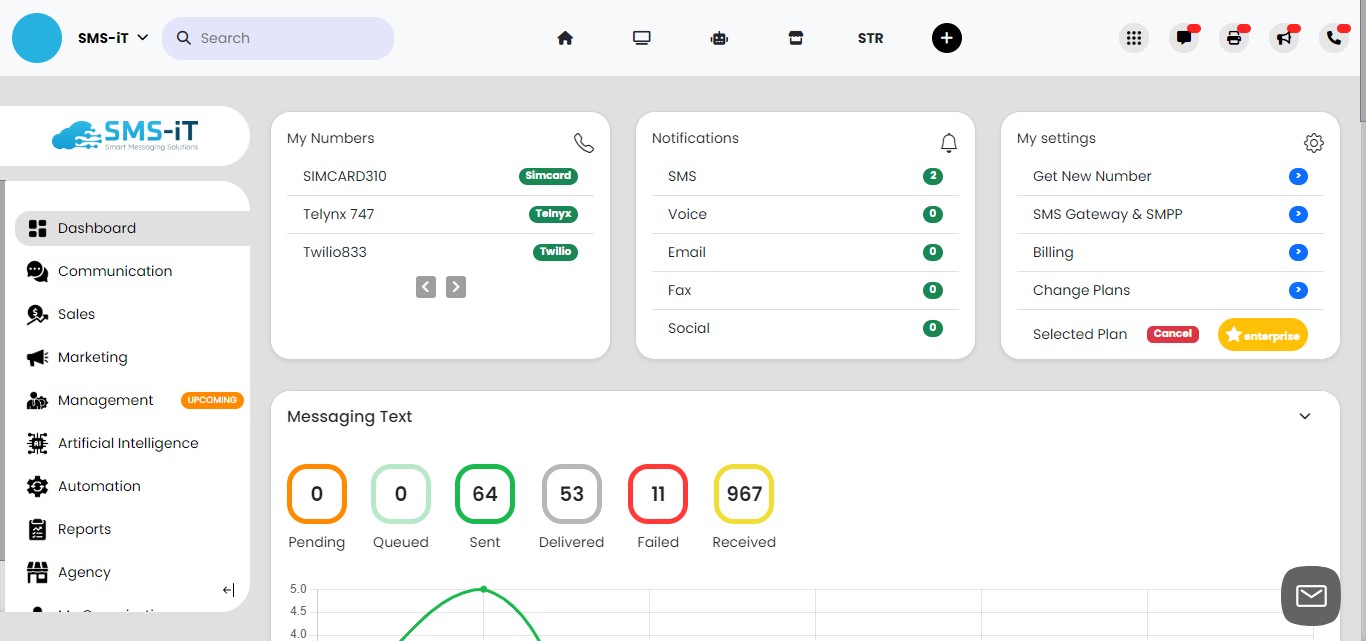
Navigate to https://aicpanel.smsit.ai/home
This guide will walk you through adding a number through the SMS-iT platform and ensuring that the API and all settings are configured correctly. This will enable you to utilize the SignalWire SMS Gateway for various purposes, including bulk messaging, promotional campaigns, OTP (One-Time Password) delivery, and leveraging SMS-iT Smart Tools for customer acquisition and retention strategies.
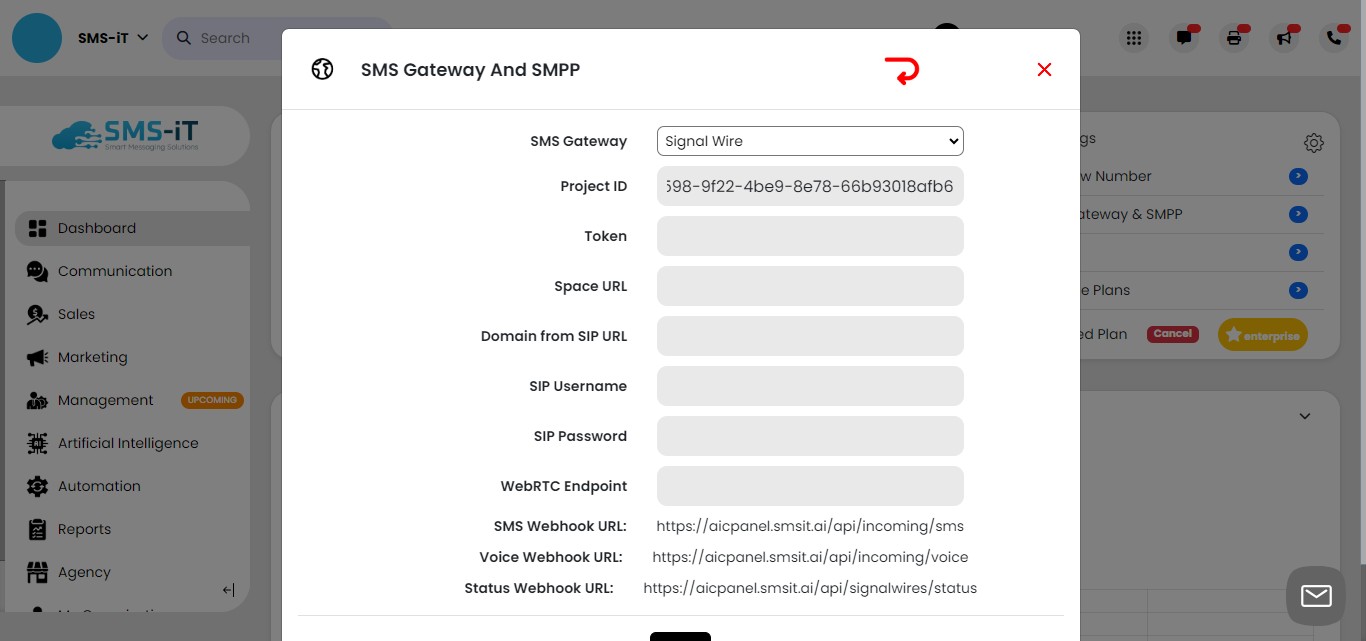
Click on "SMS Gateway & SMPP"
Click on "Connect"
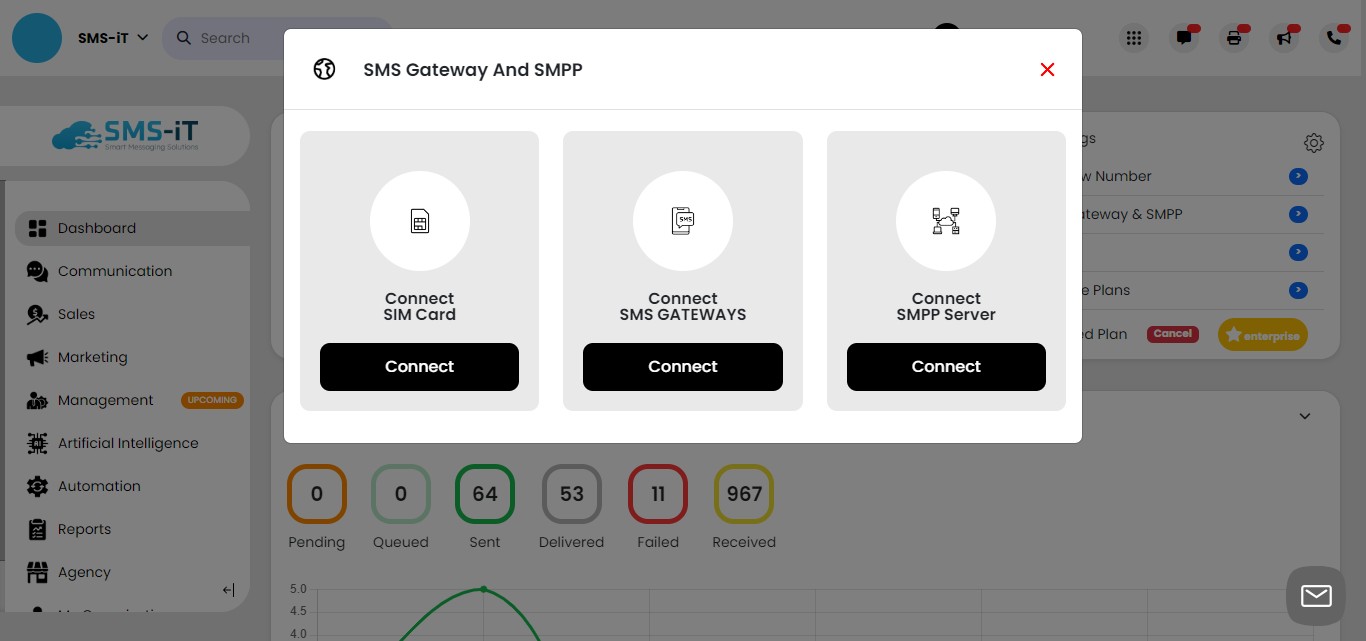
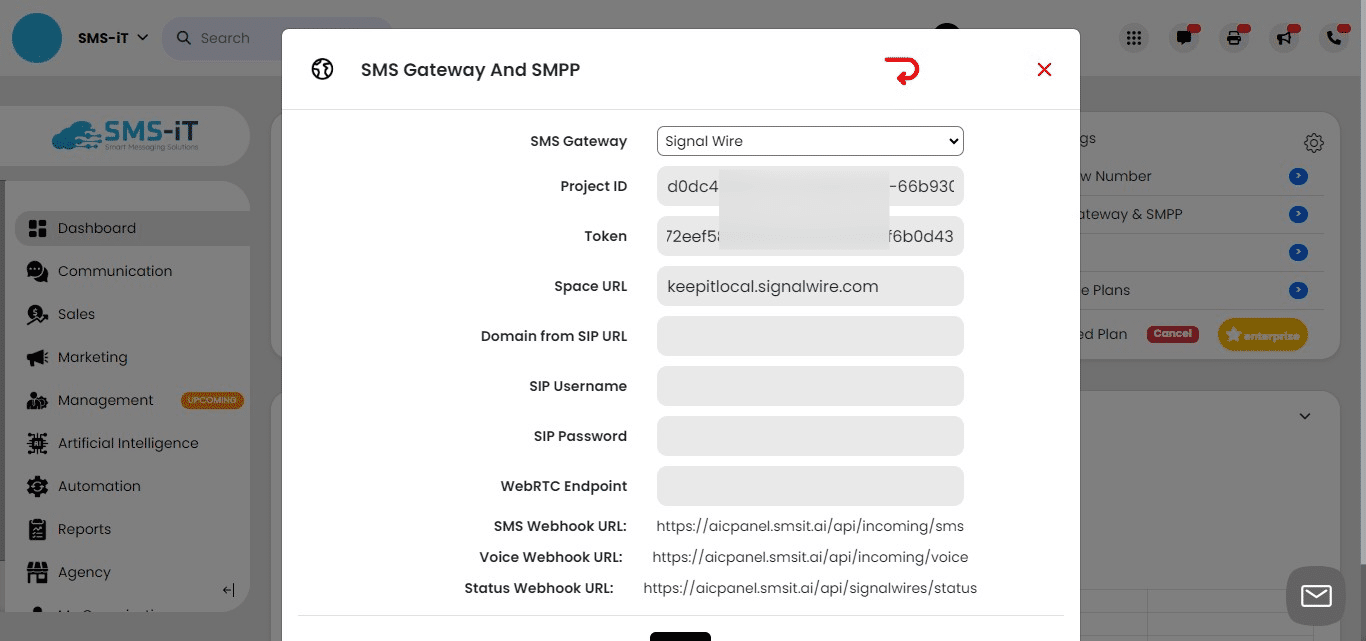
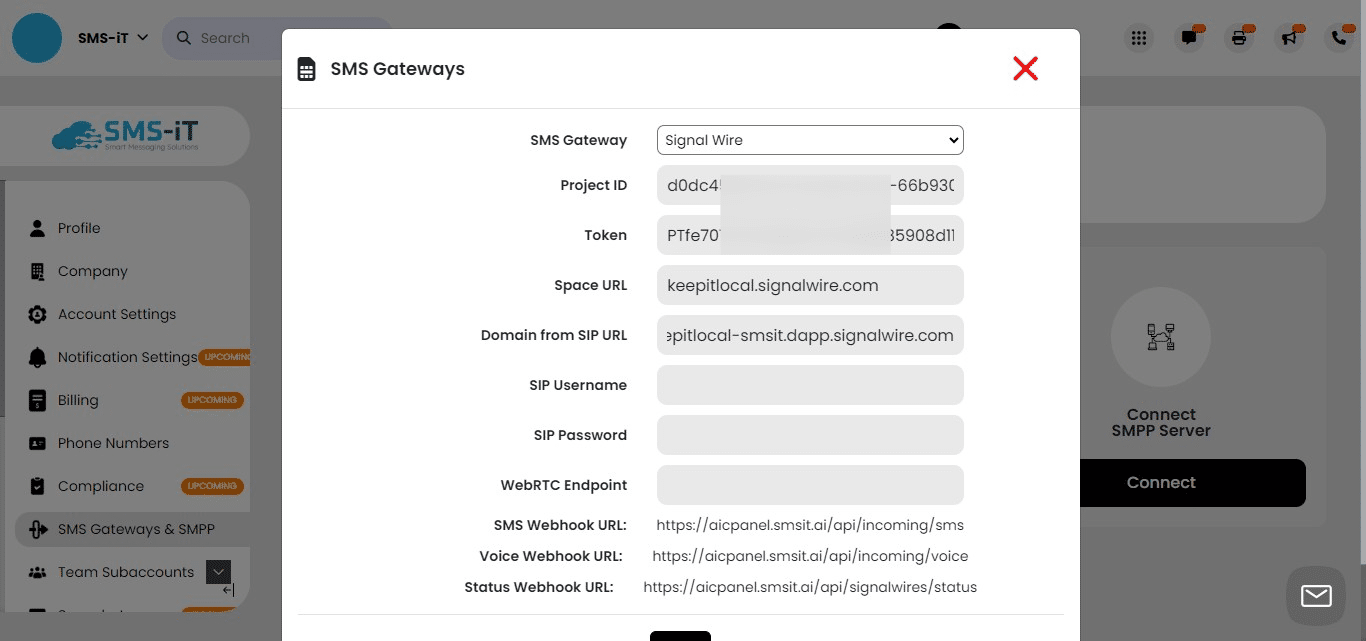
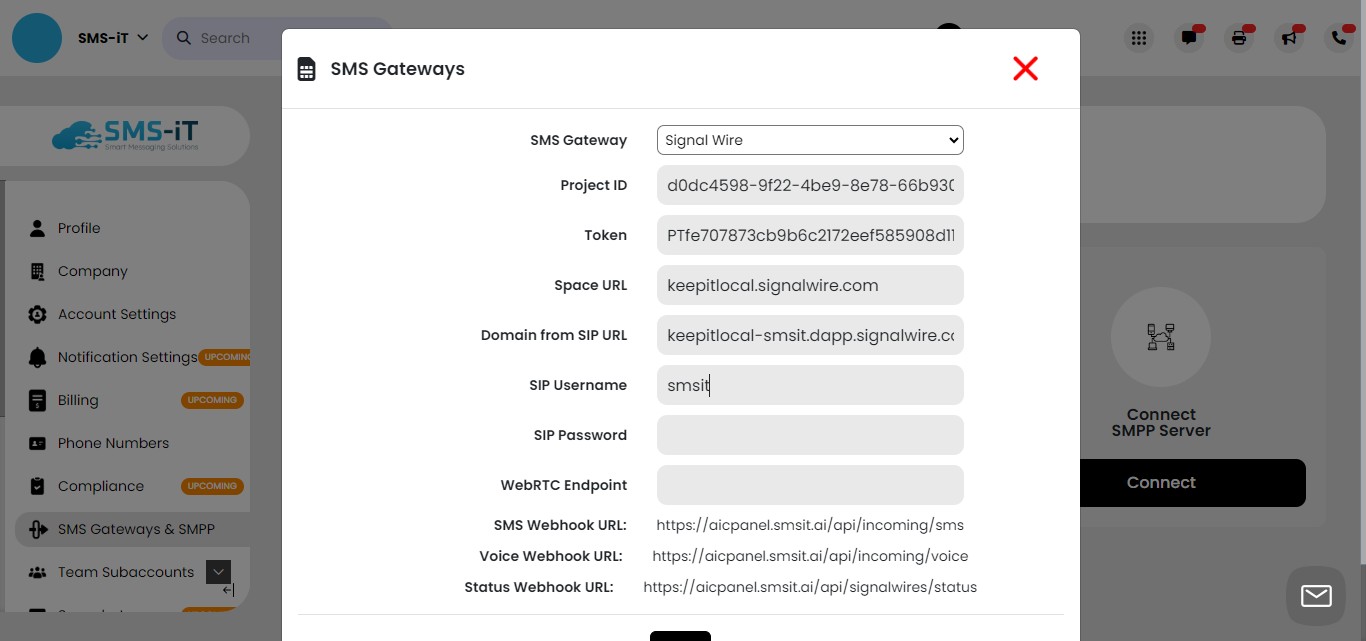
Select "Signalwire" from the drop-down menu.
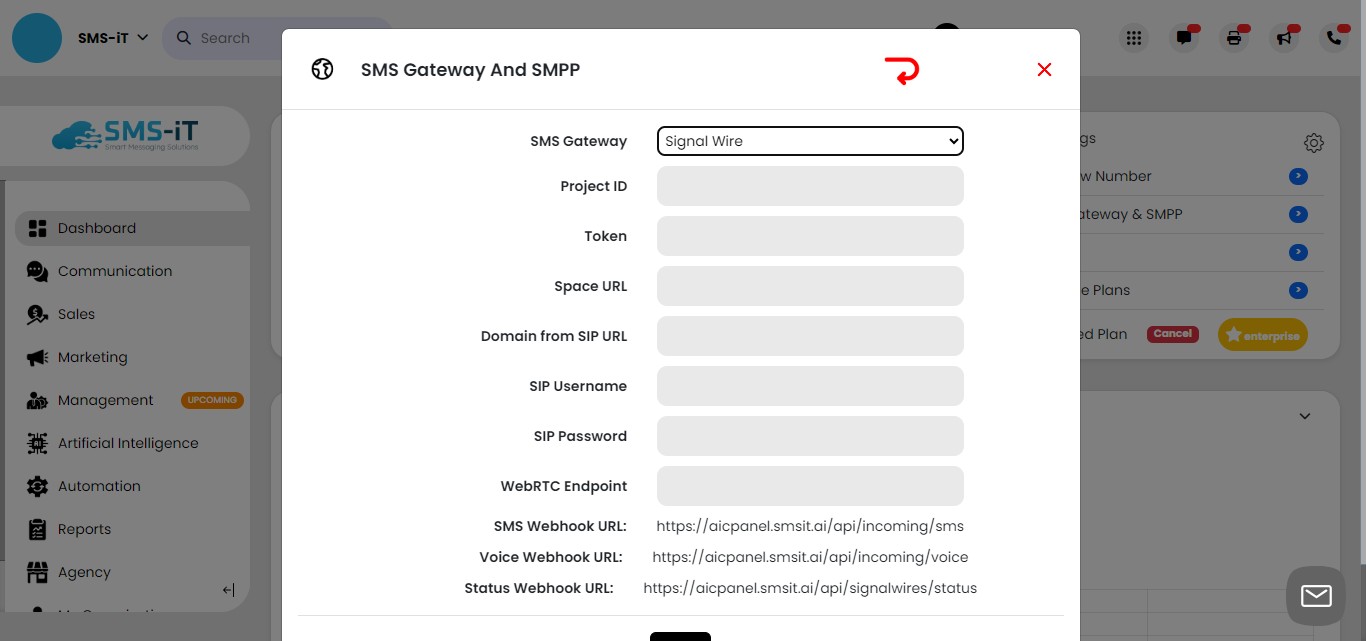
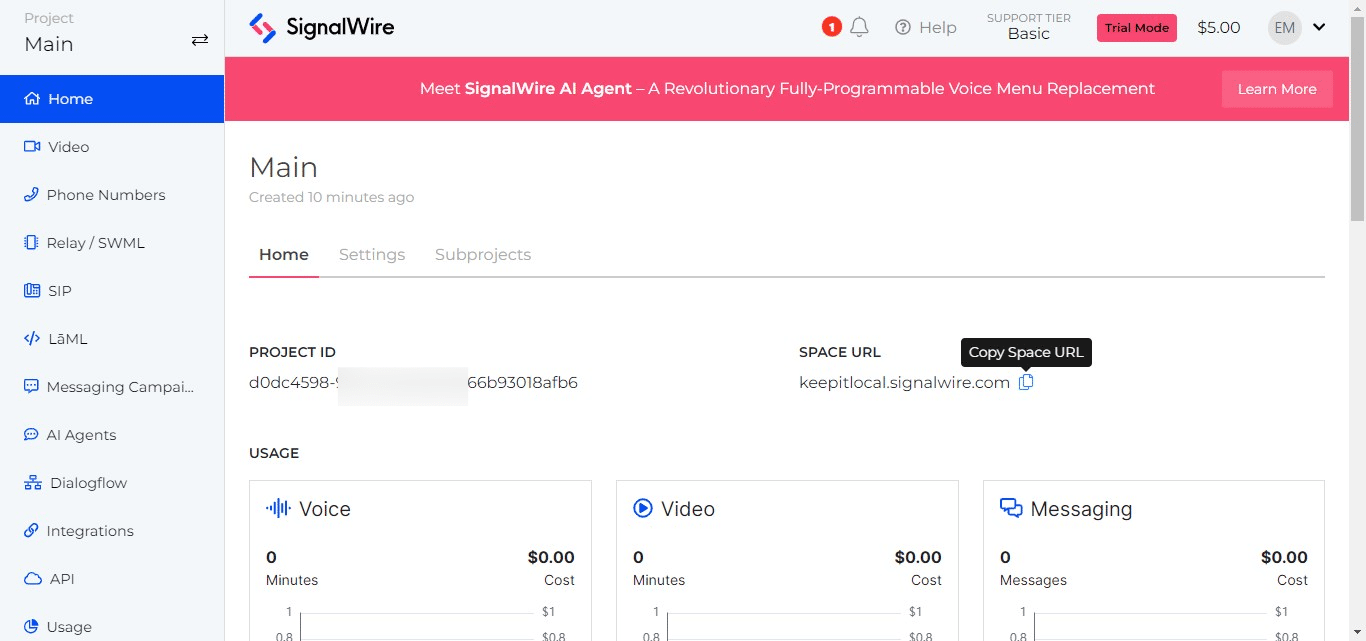
Adding Project ID and Space URL
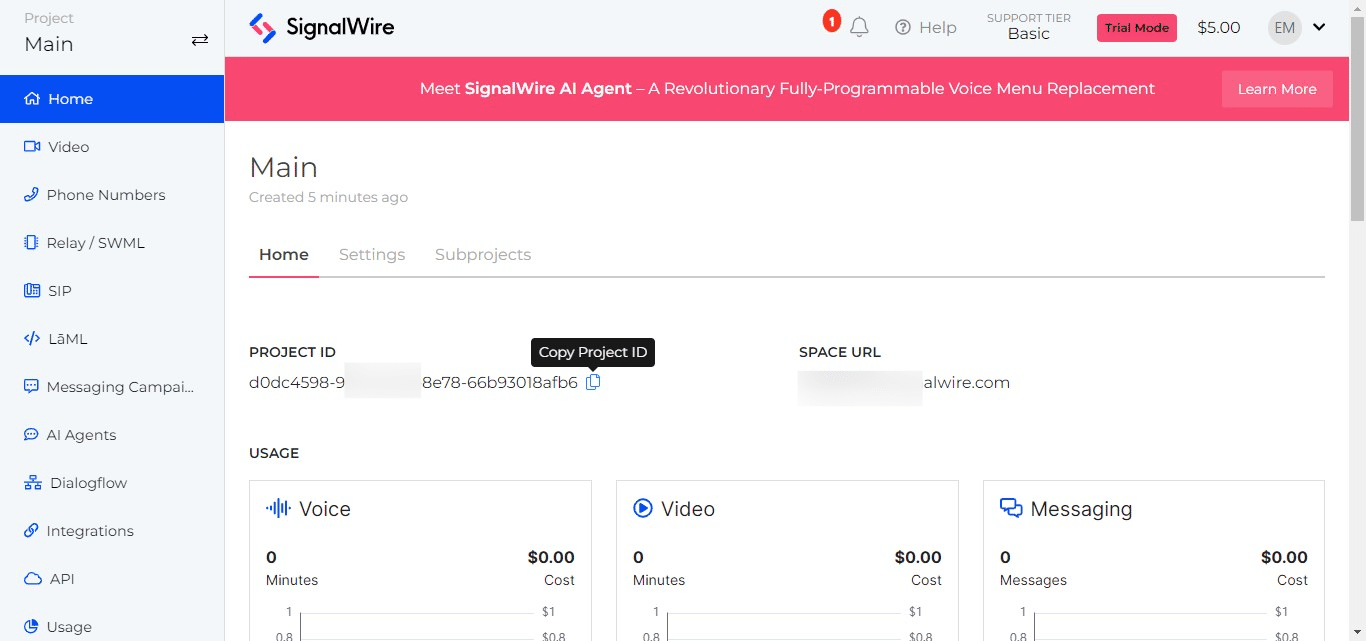
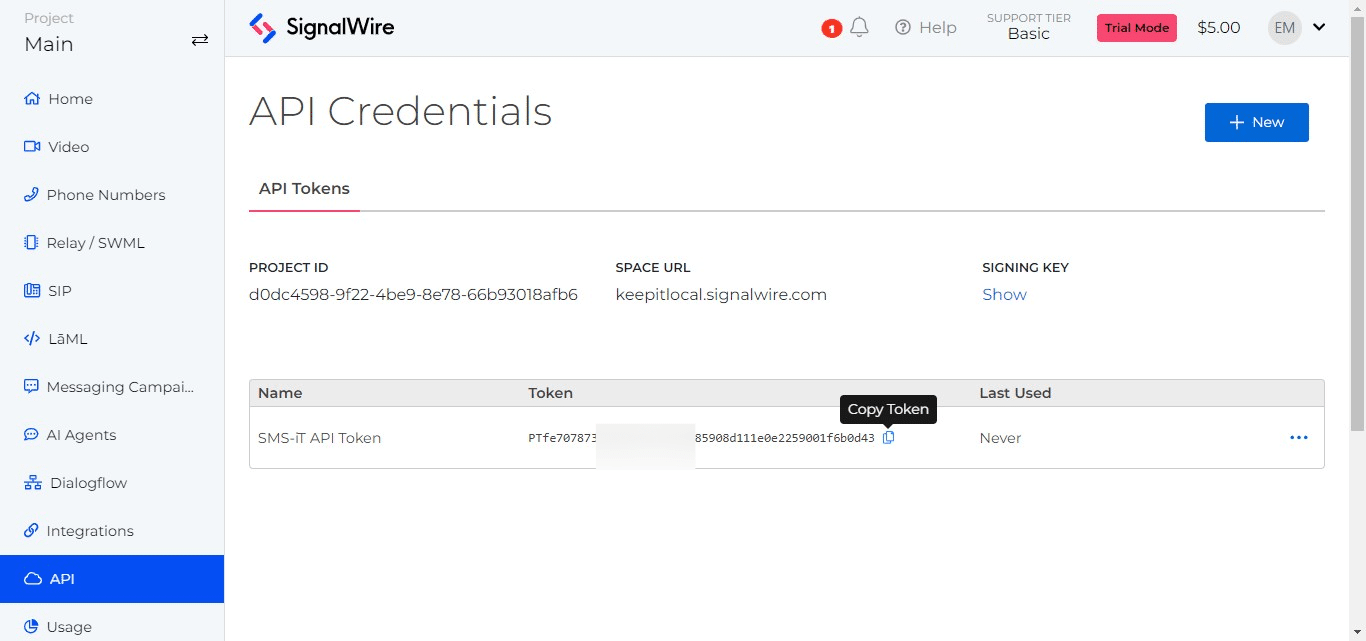
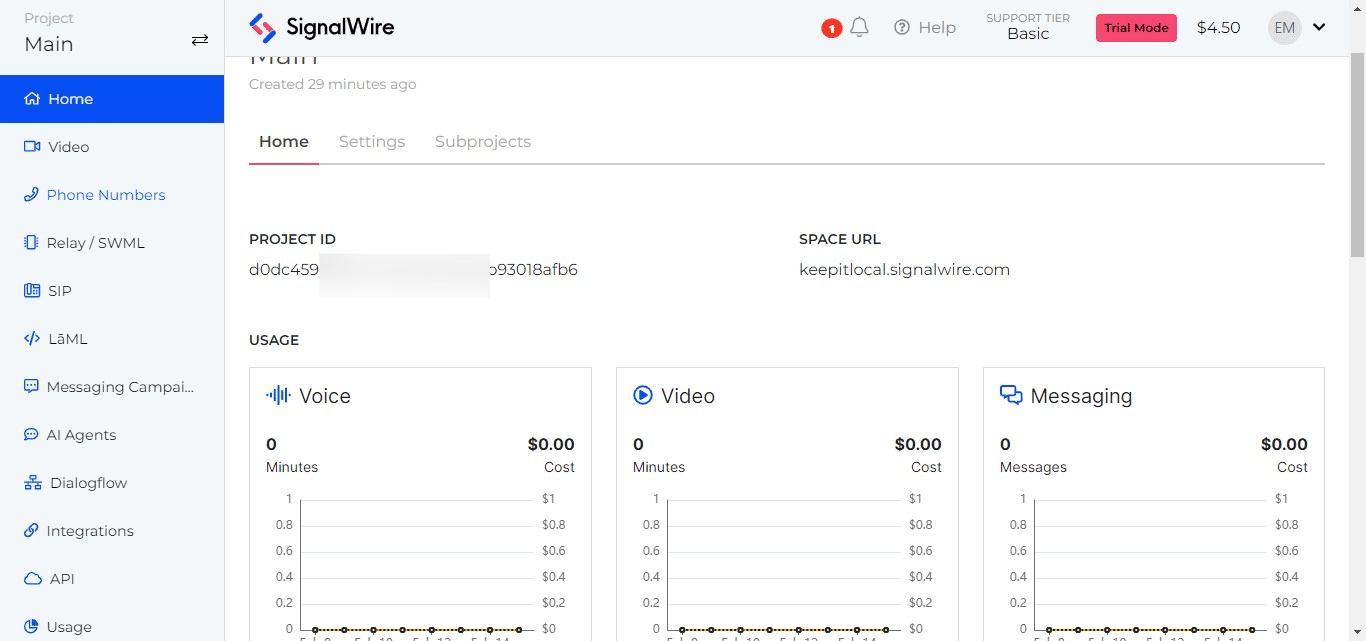
Click on "Home" and copy "Project ID"
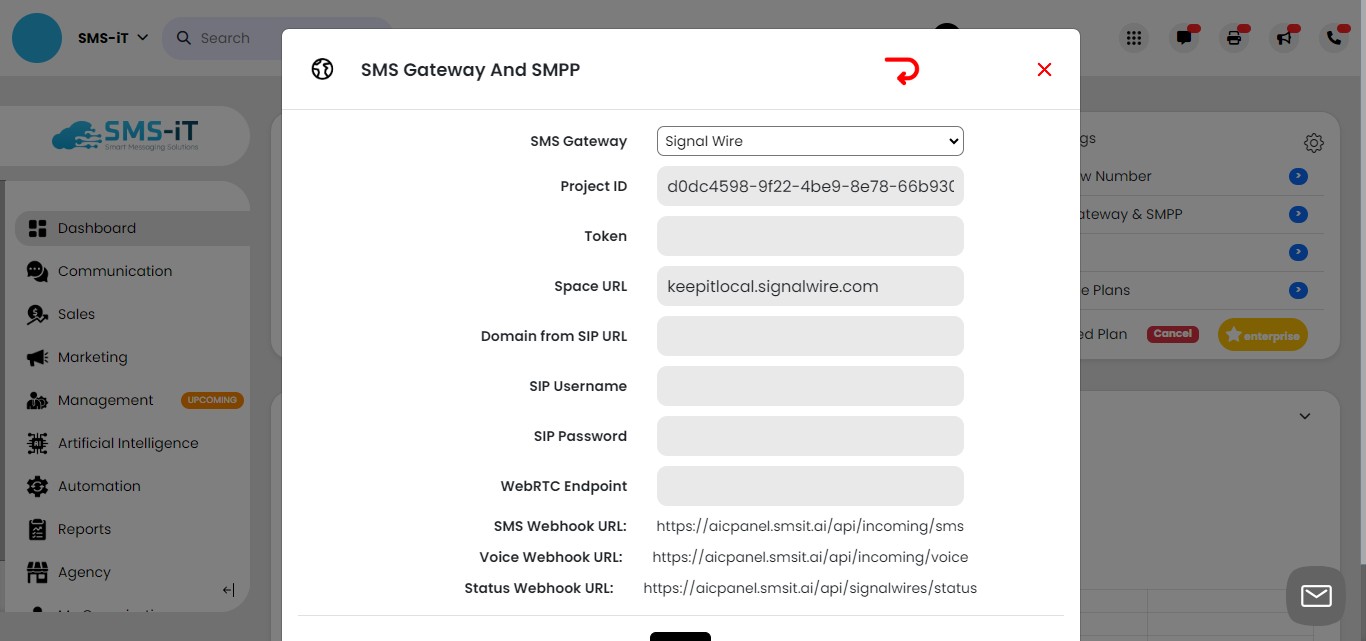
Paste into "Project ID"
Copy "Space URL"
Paste into "Space URL"
Create API Token
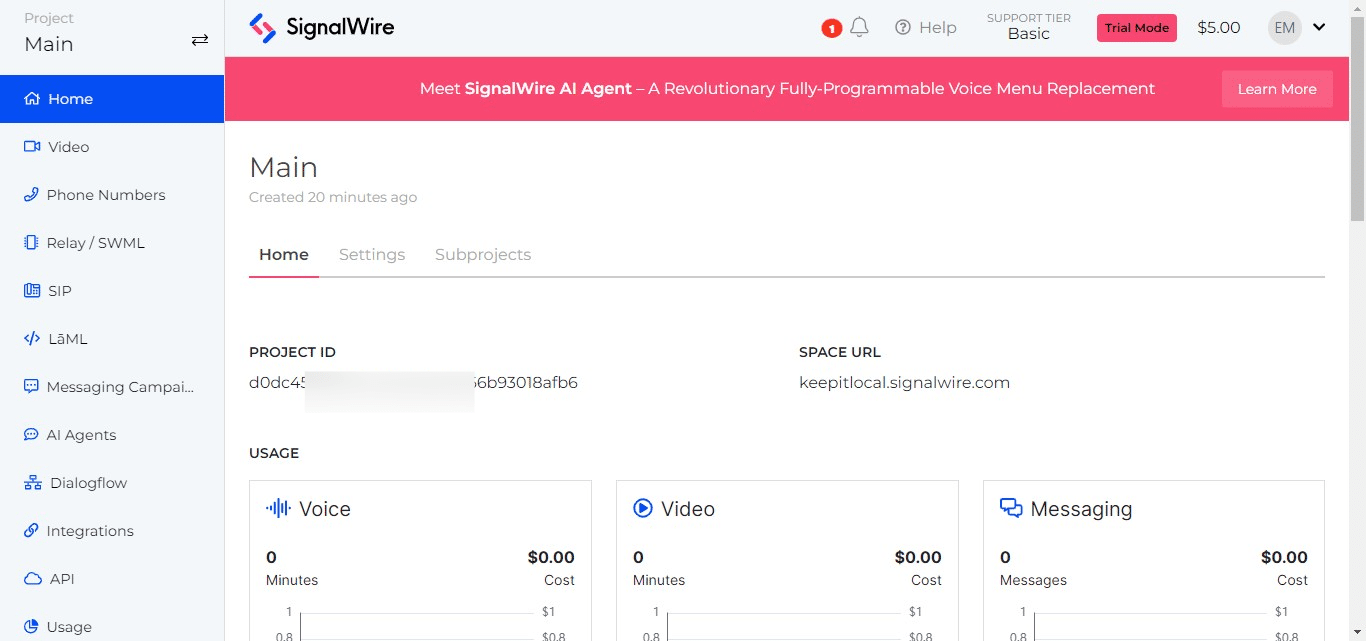
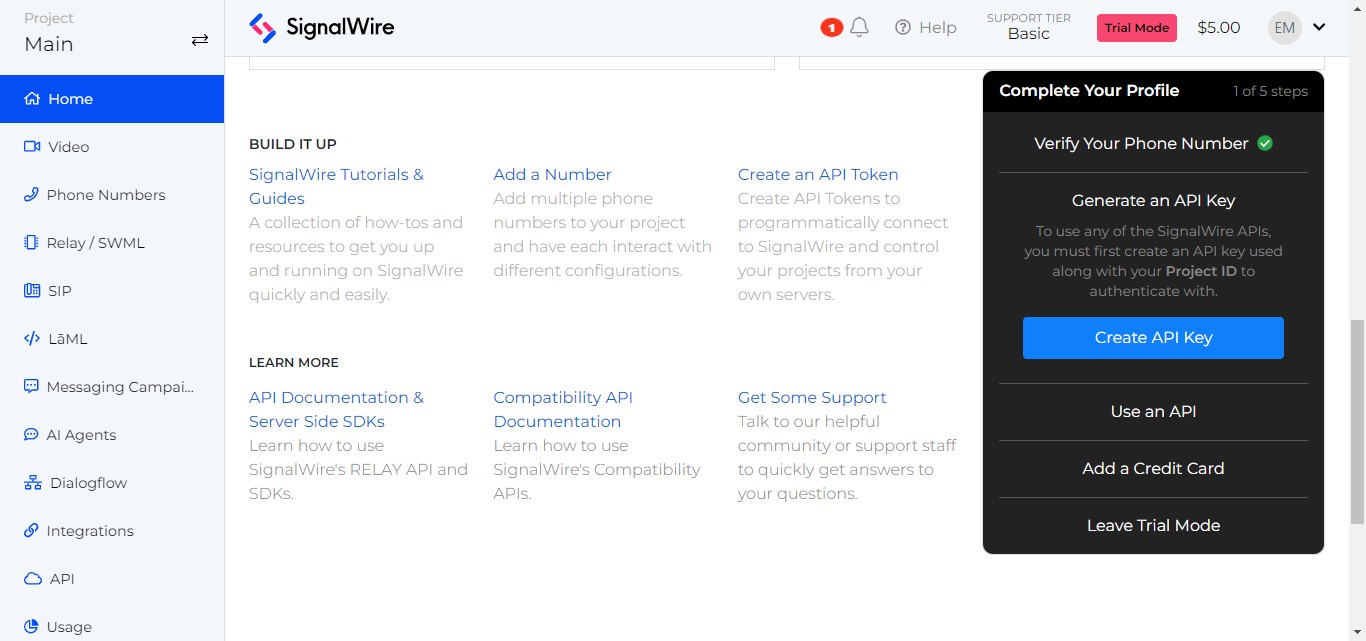
Scroll down Home page
Click on "Create API Key"
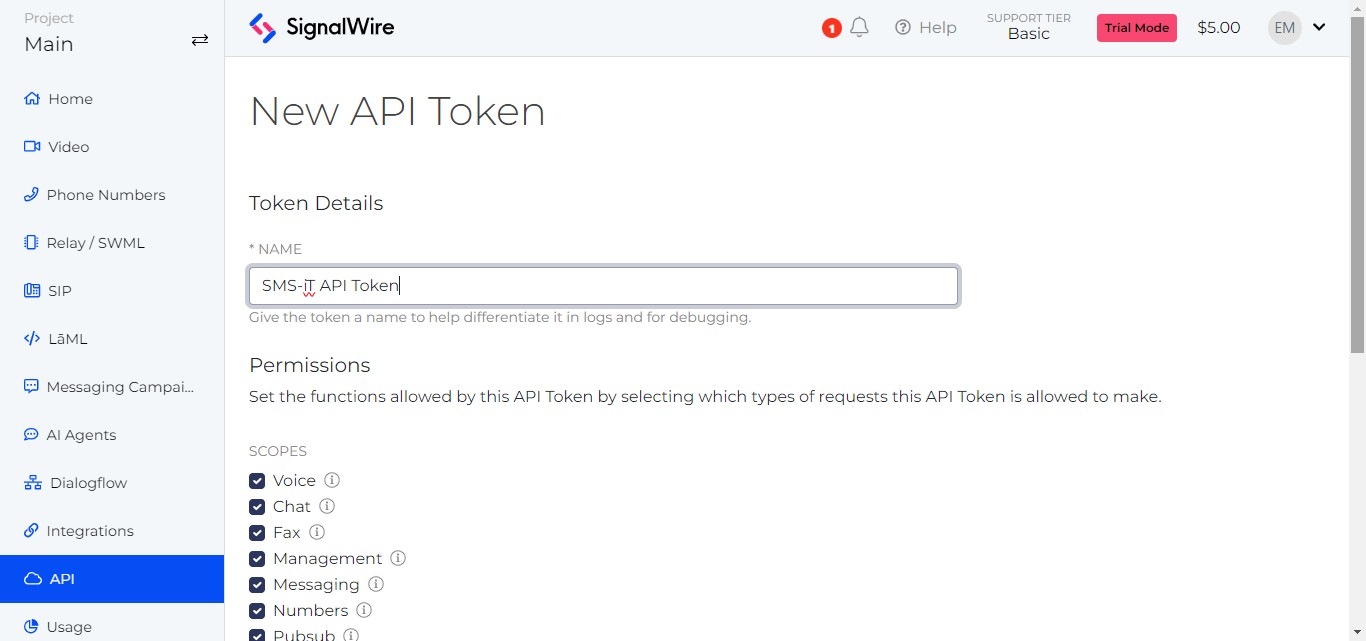
Name New API Token
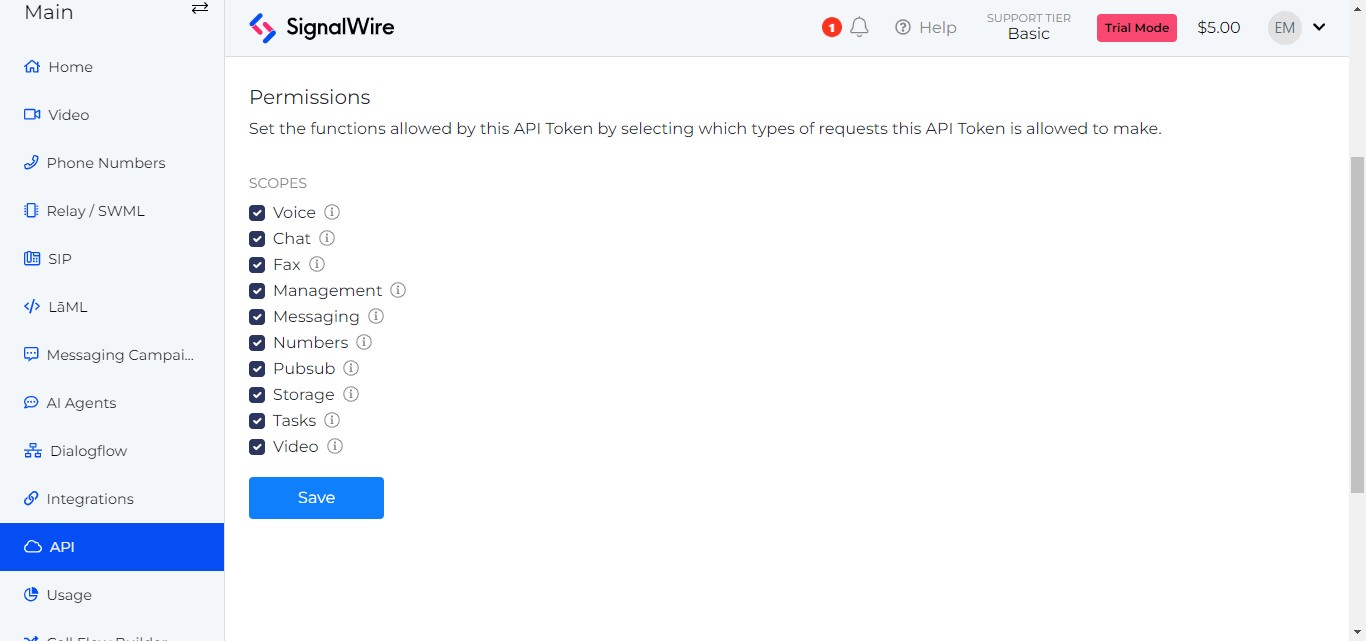
Click "Save"
Click on "Show"
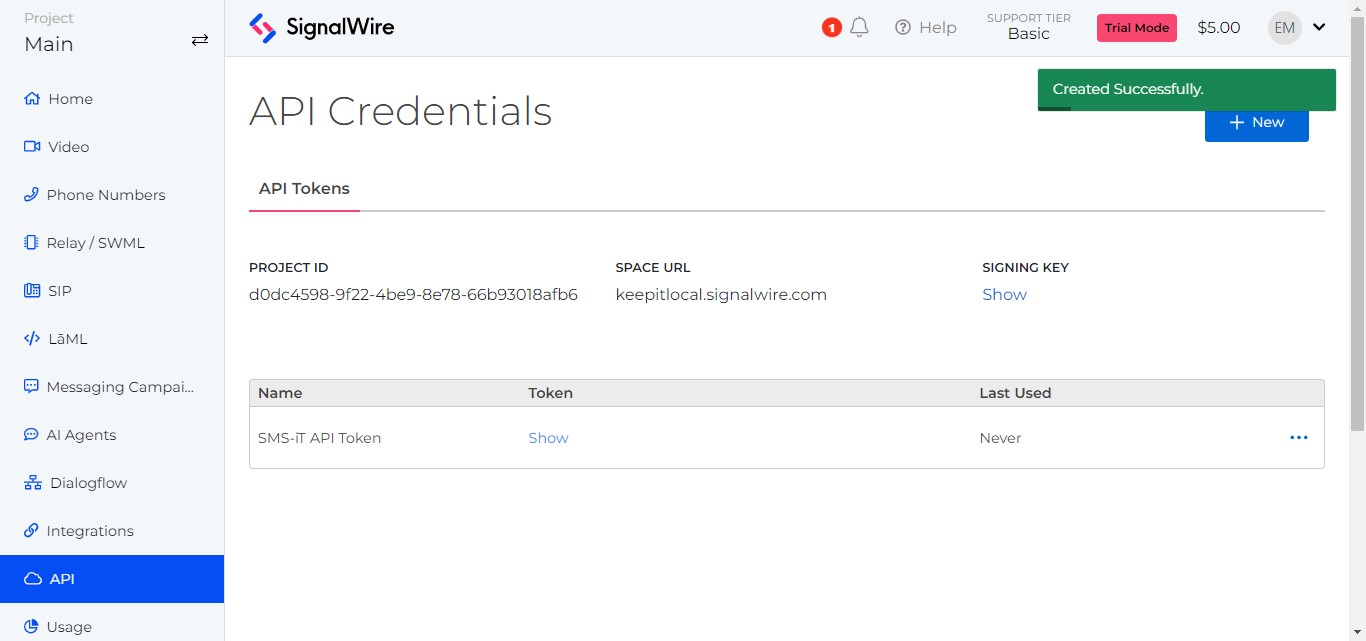
Copy Token
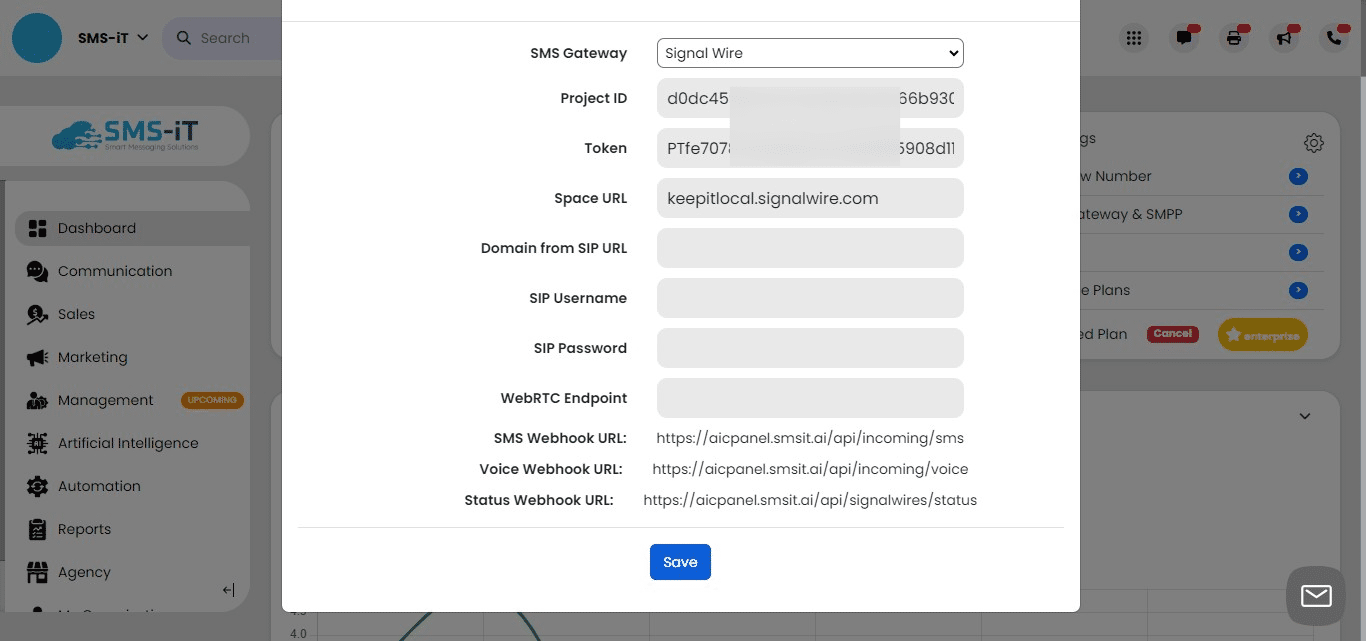
Paste into "Token"
Click on "Save"
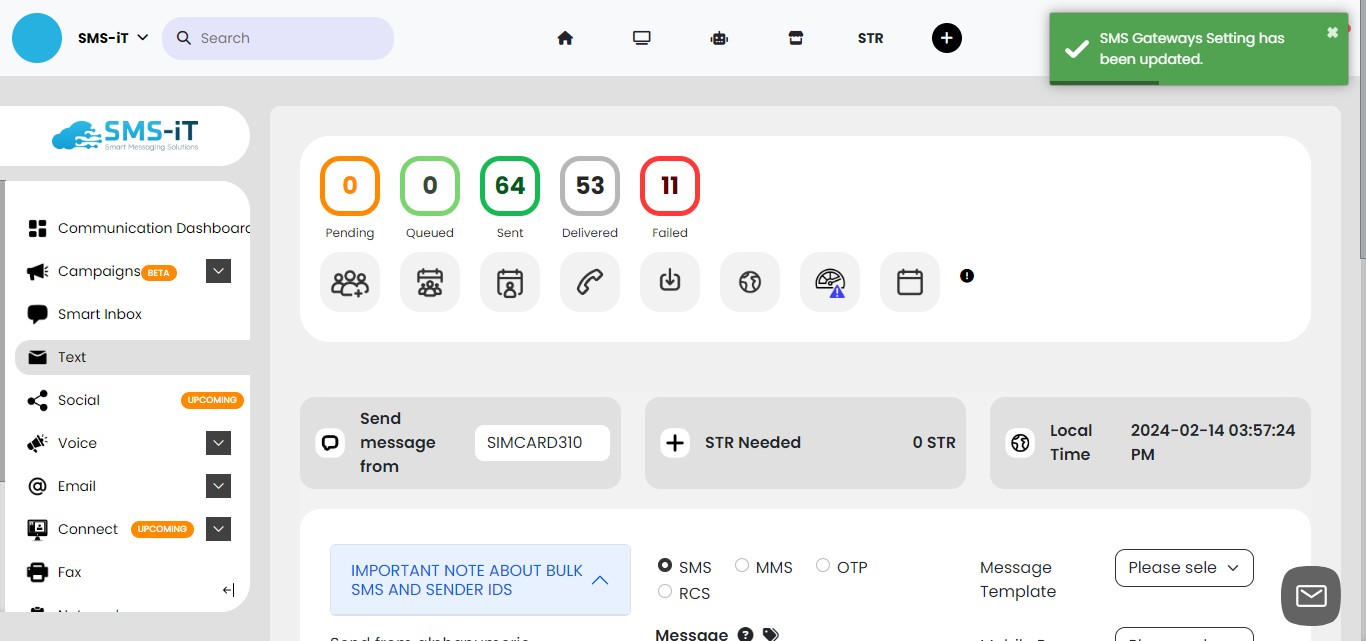
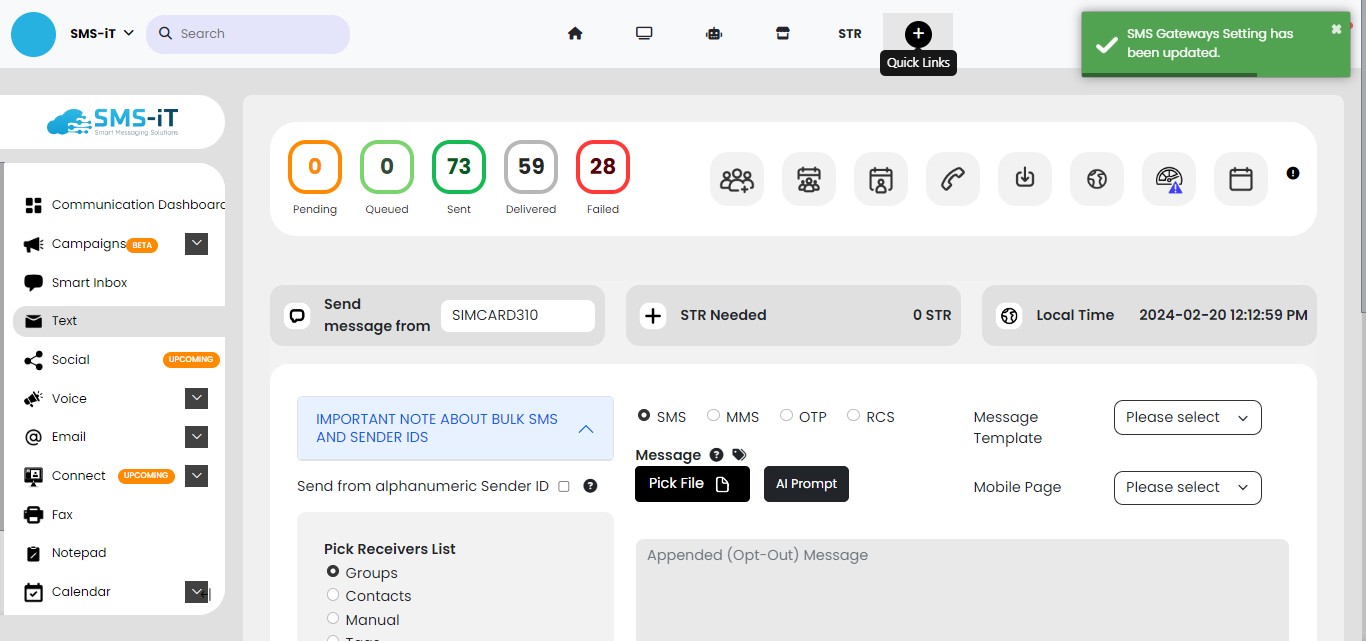
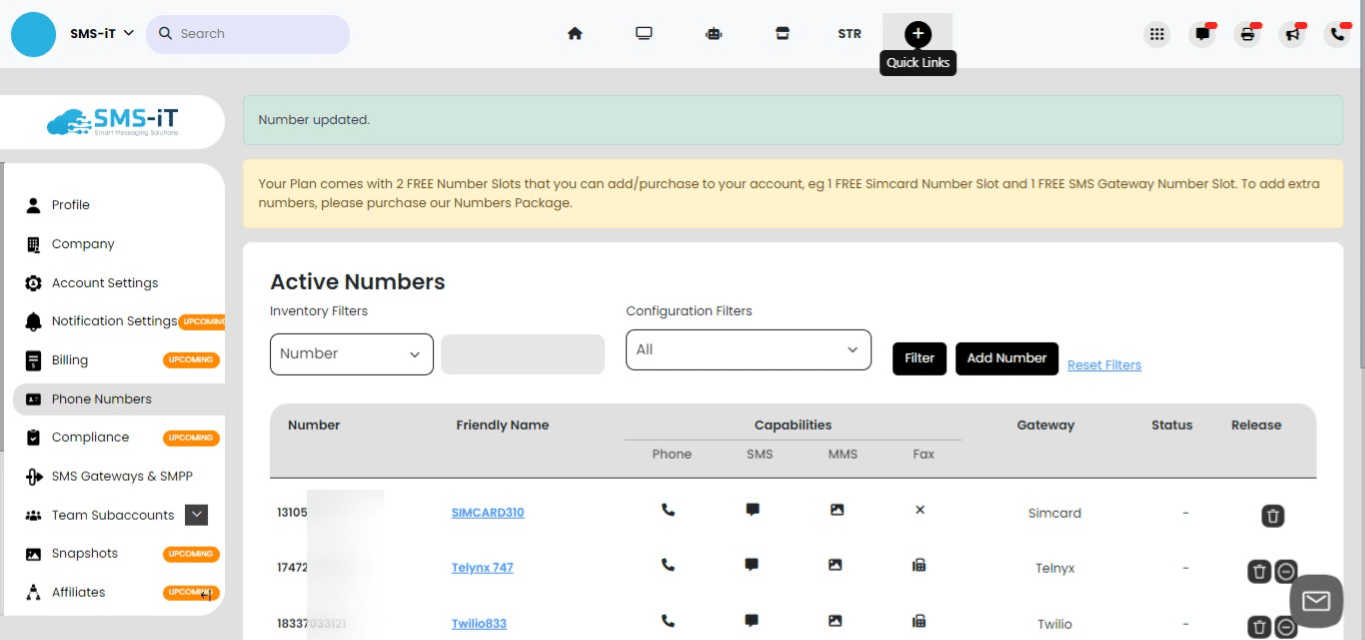
Settings saved.
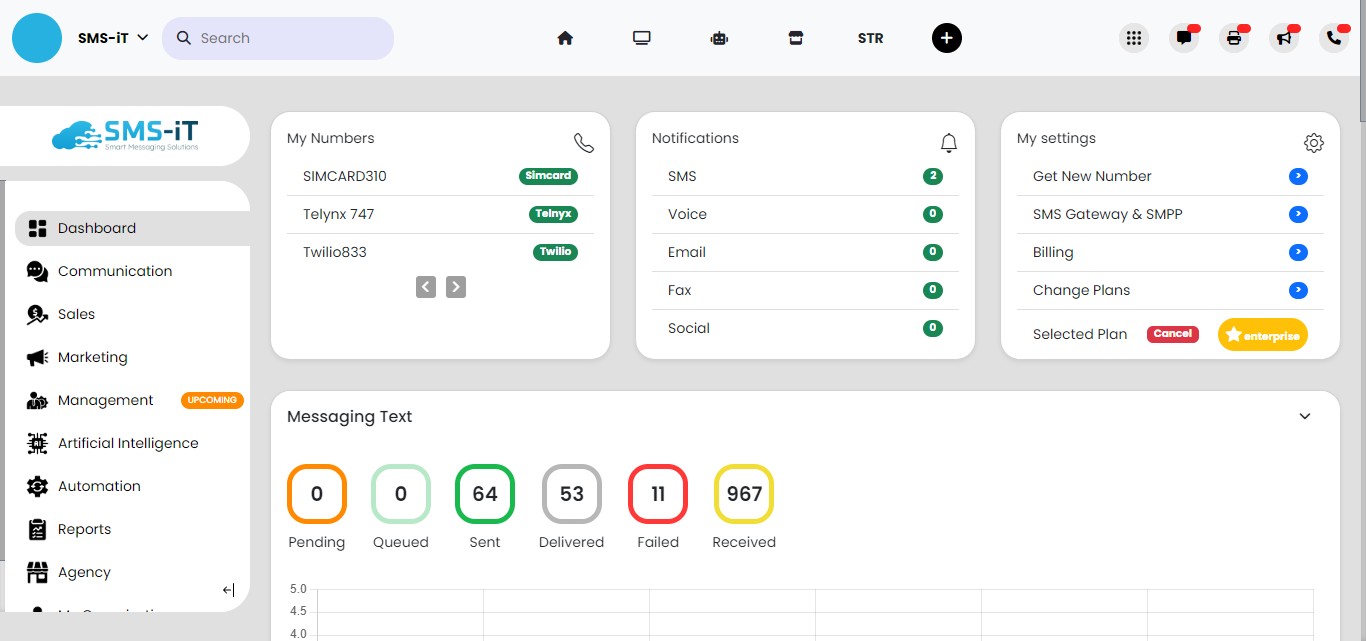
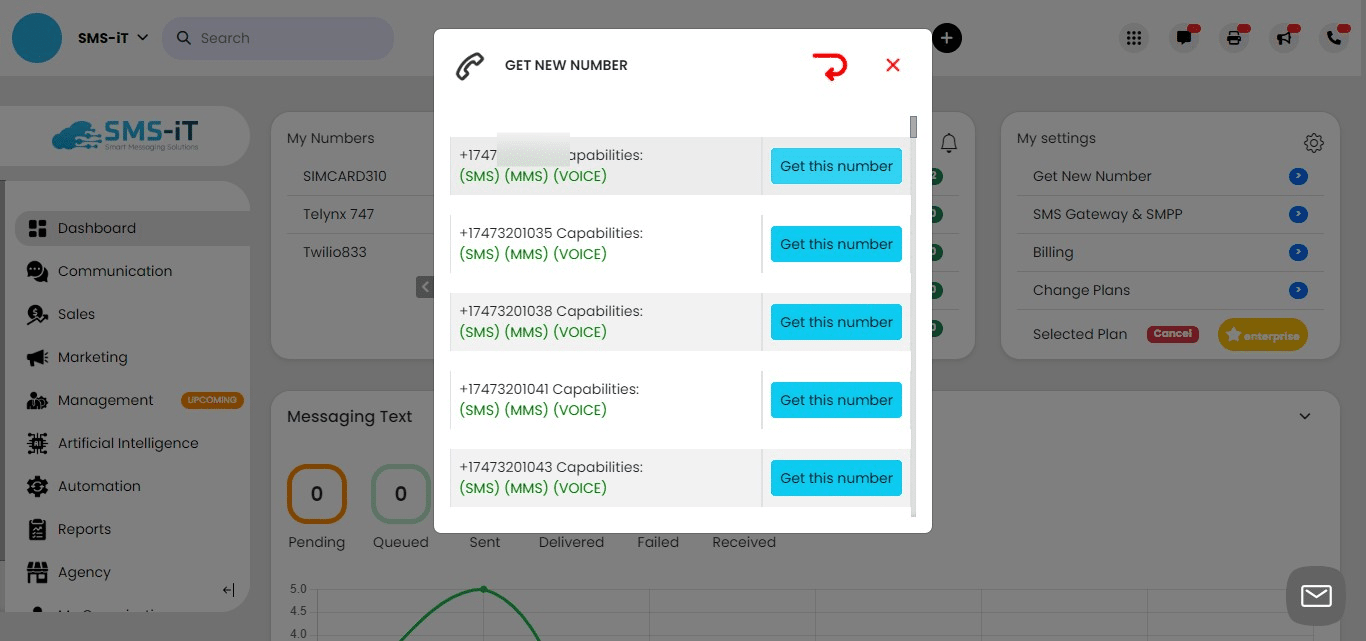
Get new SignalWire number from SMS-iT platform.
Click on "Get New Number"
Select "SignalWire" from the pull-down menu.
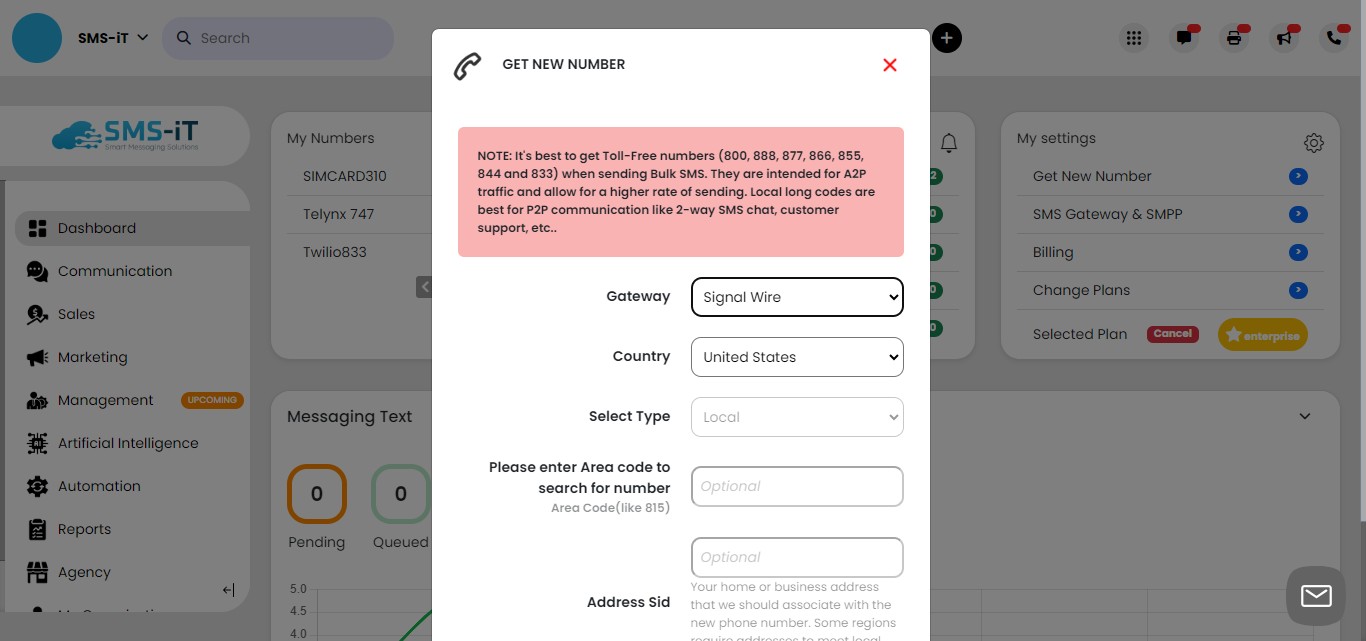
You can choose a local or toll-free number. For this example, we will obtain a local number.

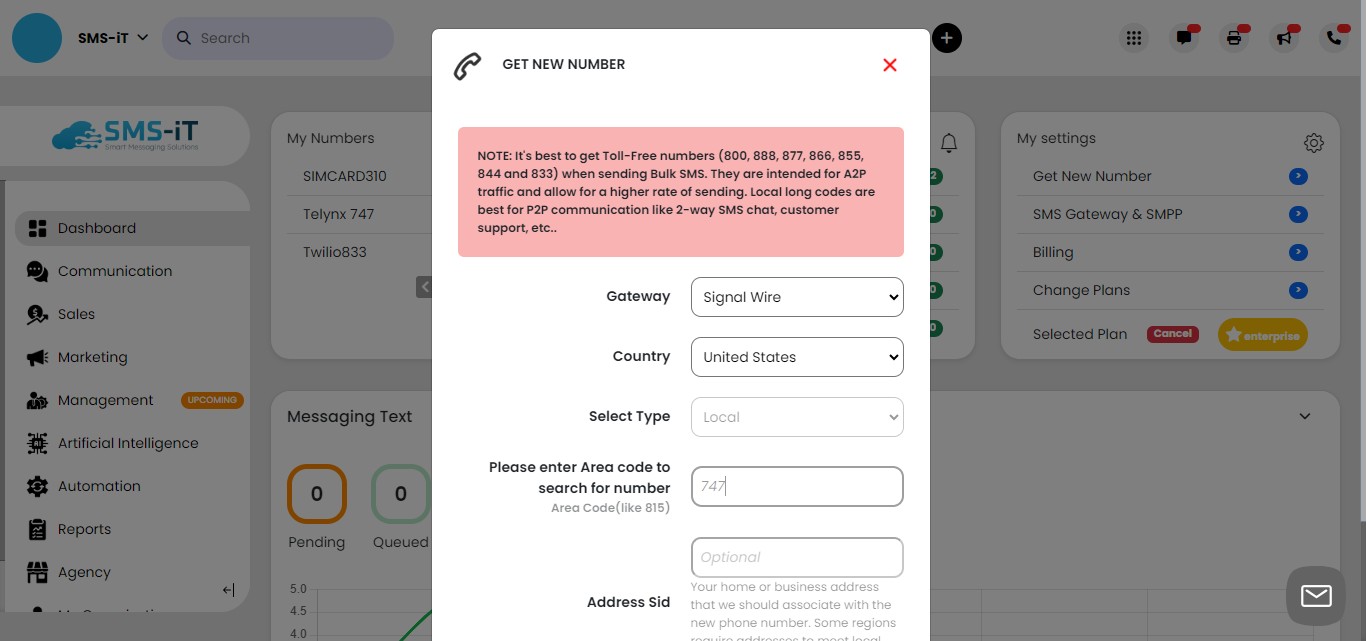
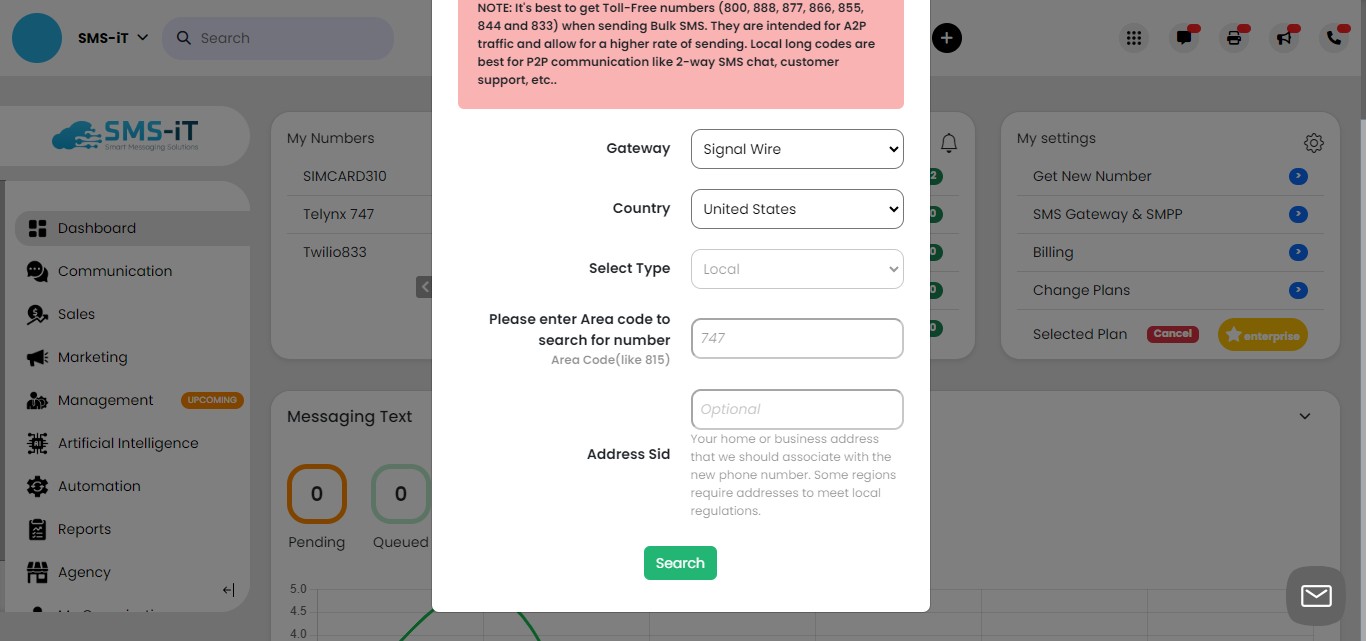
Adding an area code to refine the results.
Click on "Search"
Choose the number you would like and click on "Get this number"
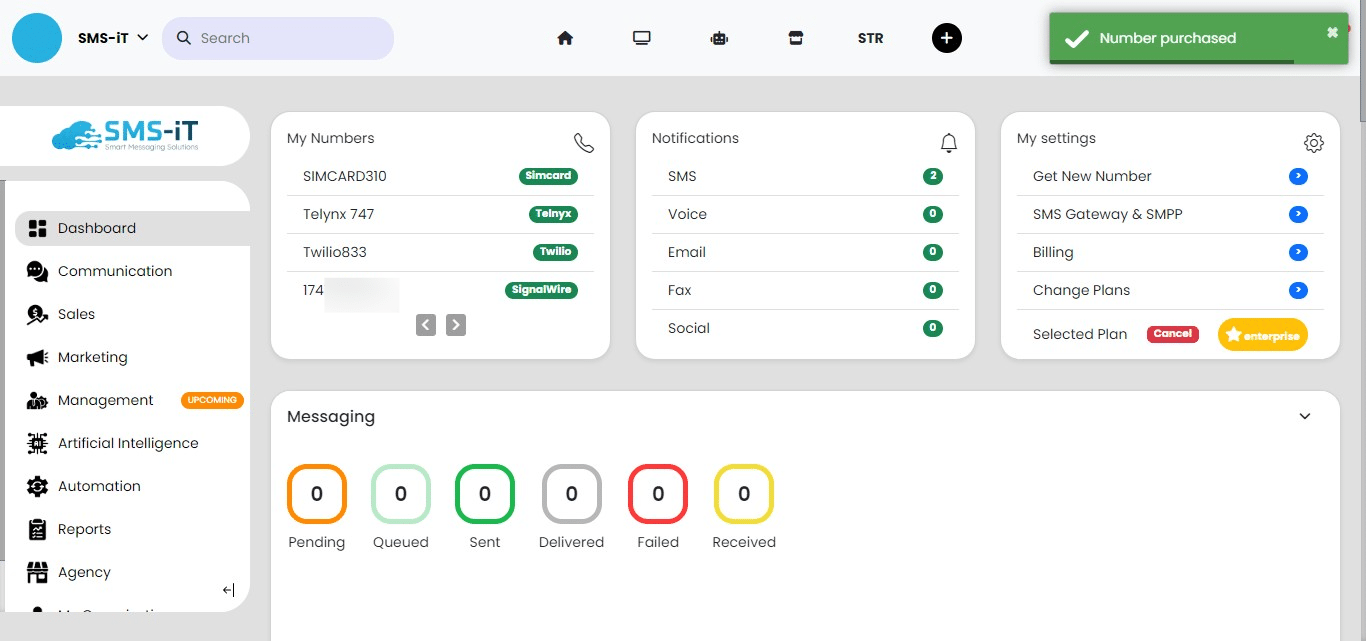
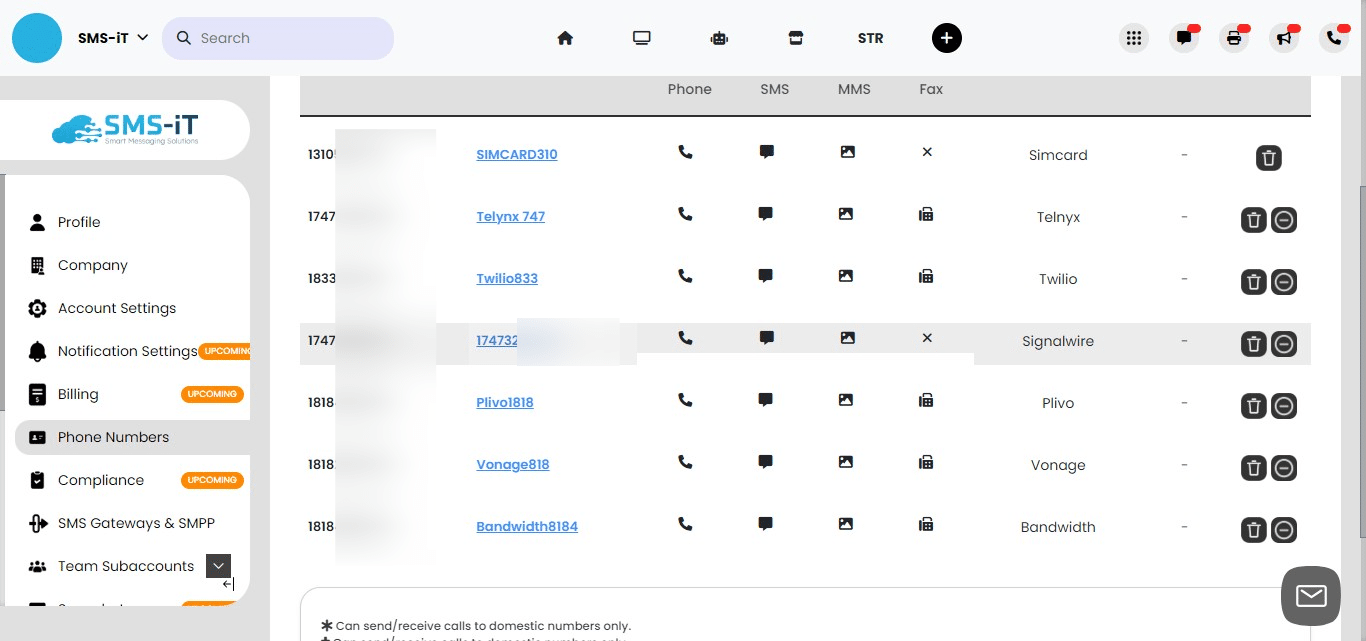
The number purchased will show up in the "My Numbers" field.
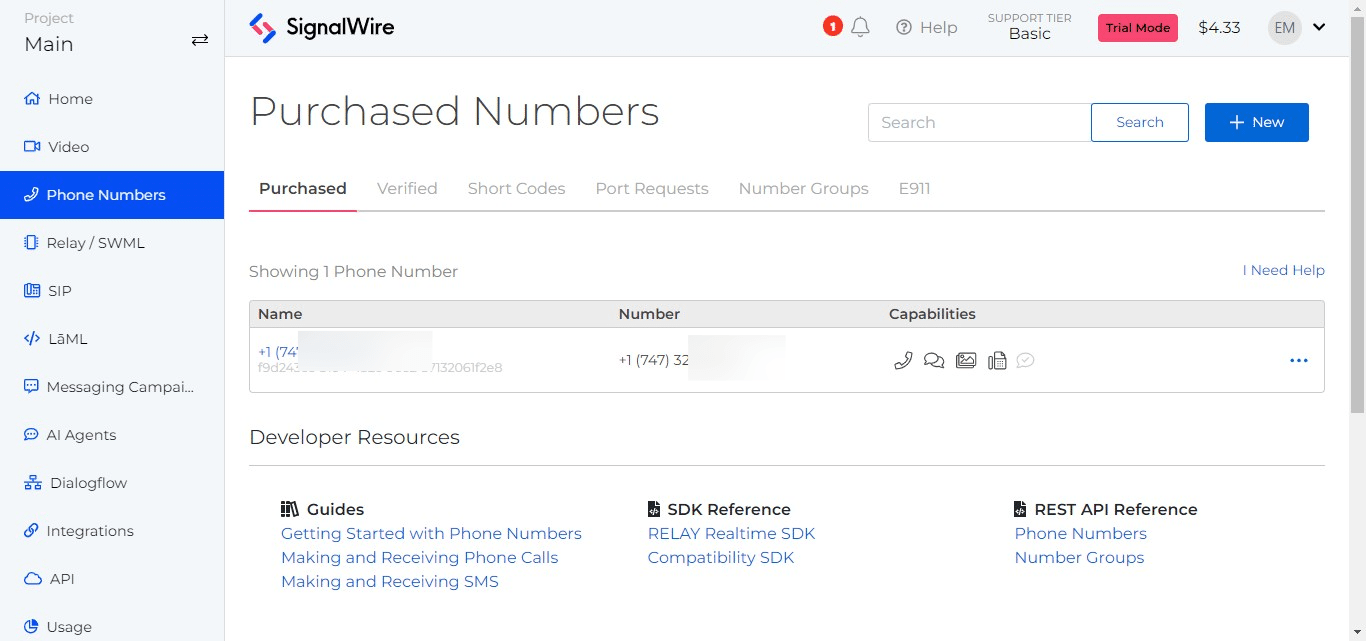
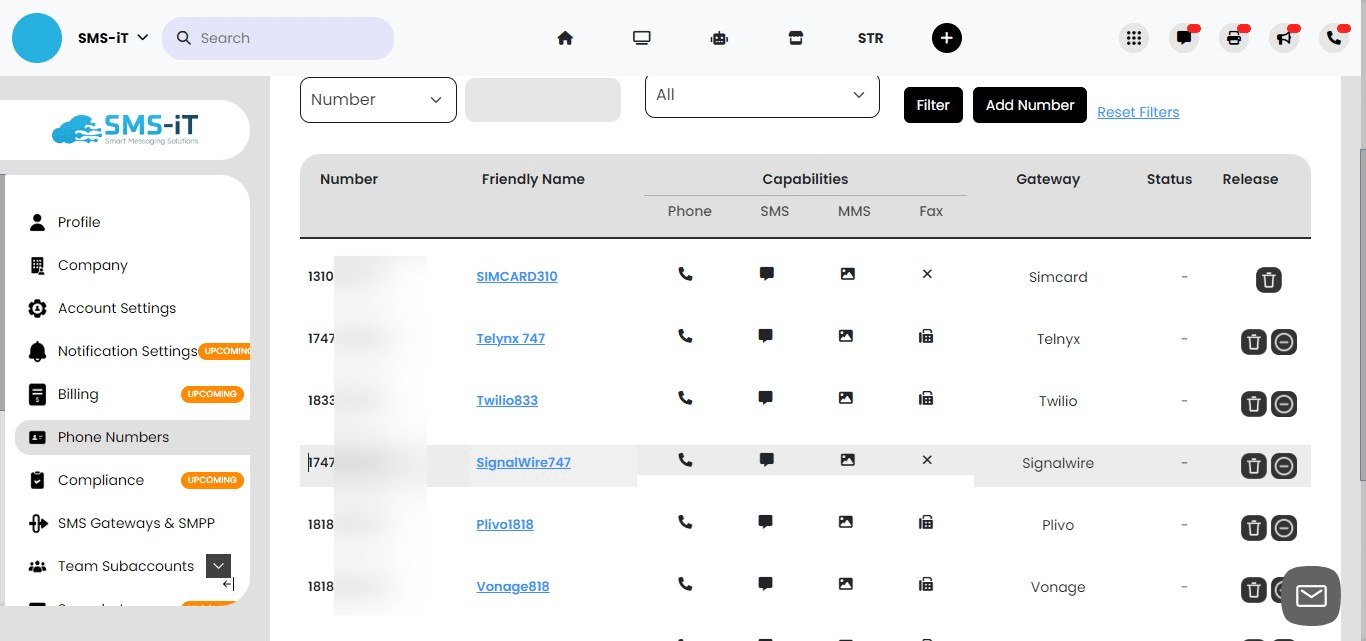
Click on "Phone Numbers"
Check to ensure that your number has been added to the "Purchased Numbers" section.
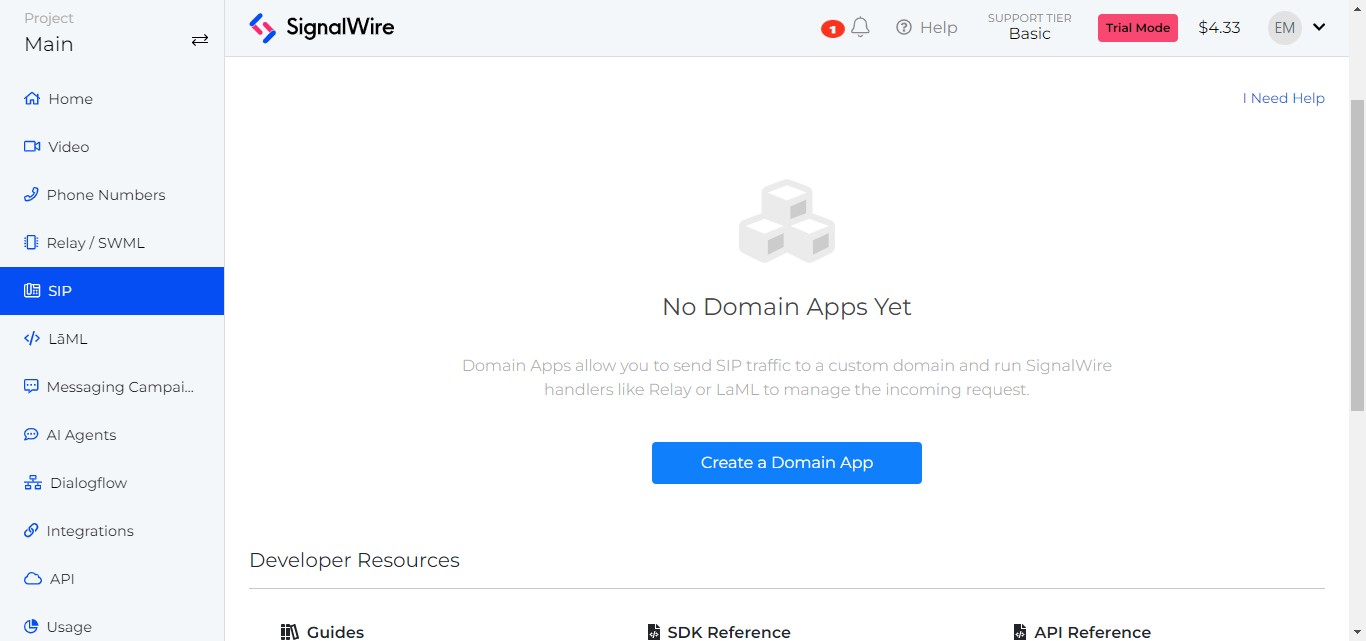
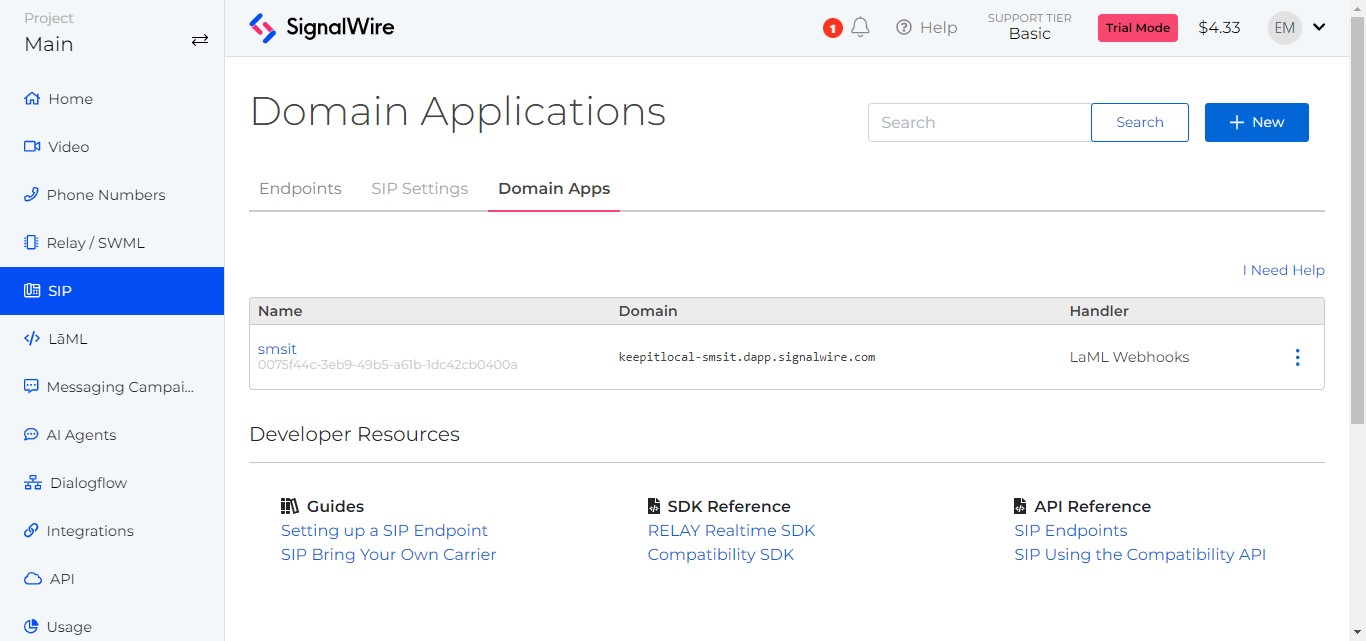
Adding Domain from SIP URL
Click on "SIP"

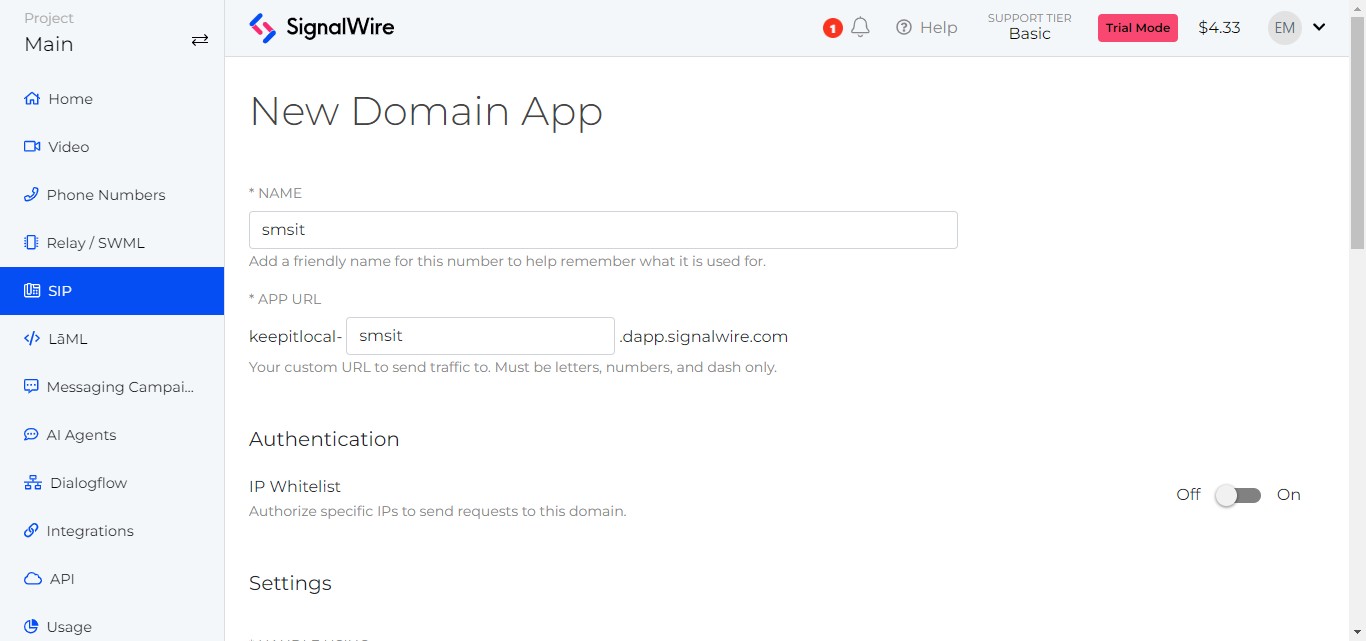
Click on "Domain Apps"
Click on "Create a Domain App"
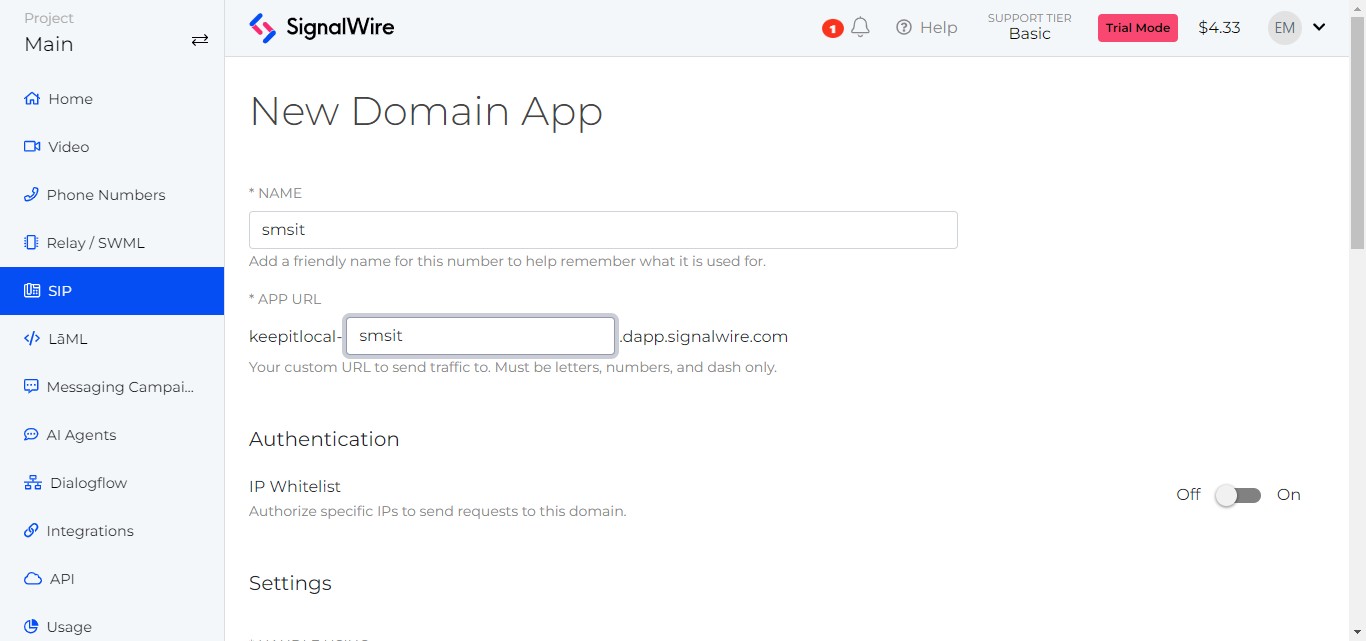
"Name" is a field where you can add a friendly name to help remember the use case.
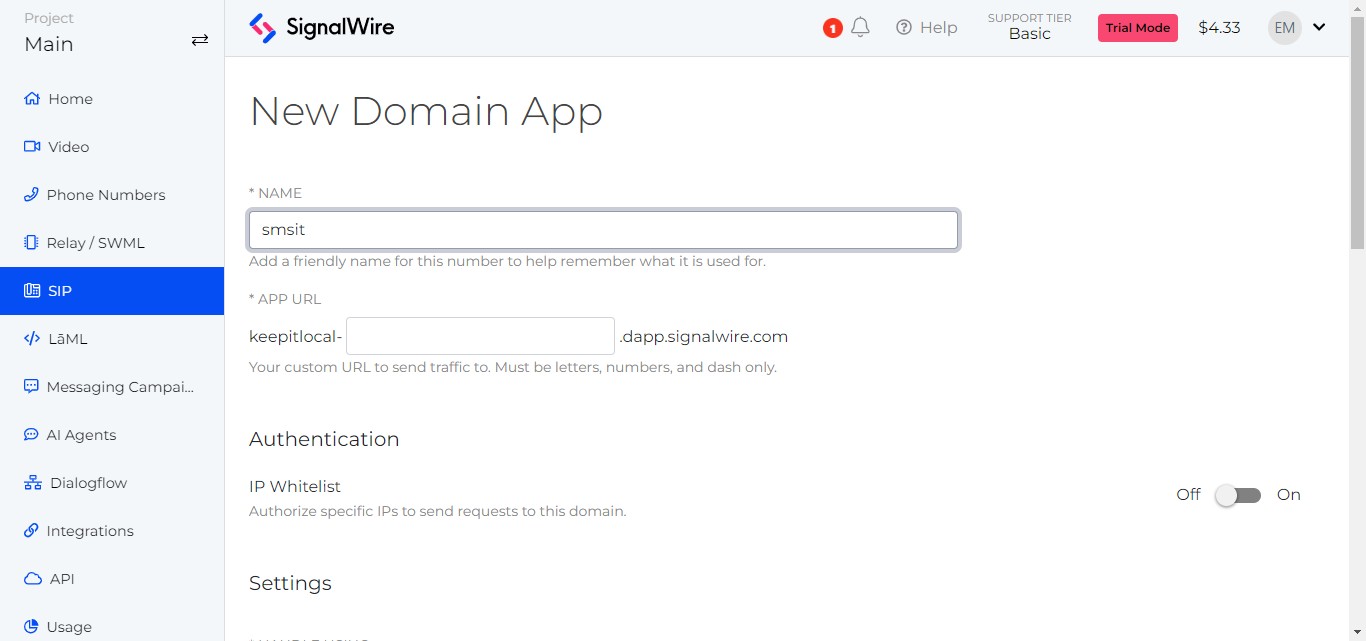
Add URL field. Here you can customize your URL. You must use letters, numbers, and dash only.
Scroll down
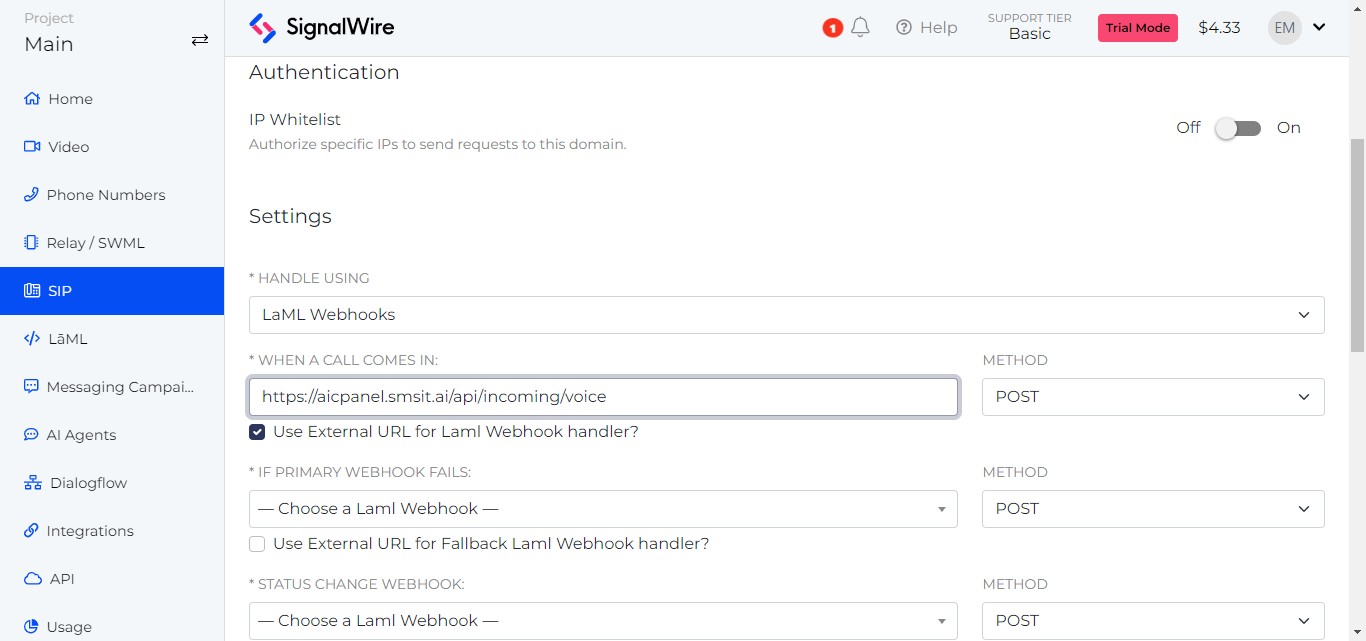
Select "LaML Webhooks" from the "Handle Using" pull-down menu.

Check "Use for External URL for Lami Ebhook handler?"

Copy Voice Webhook URL
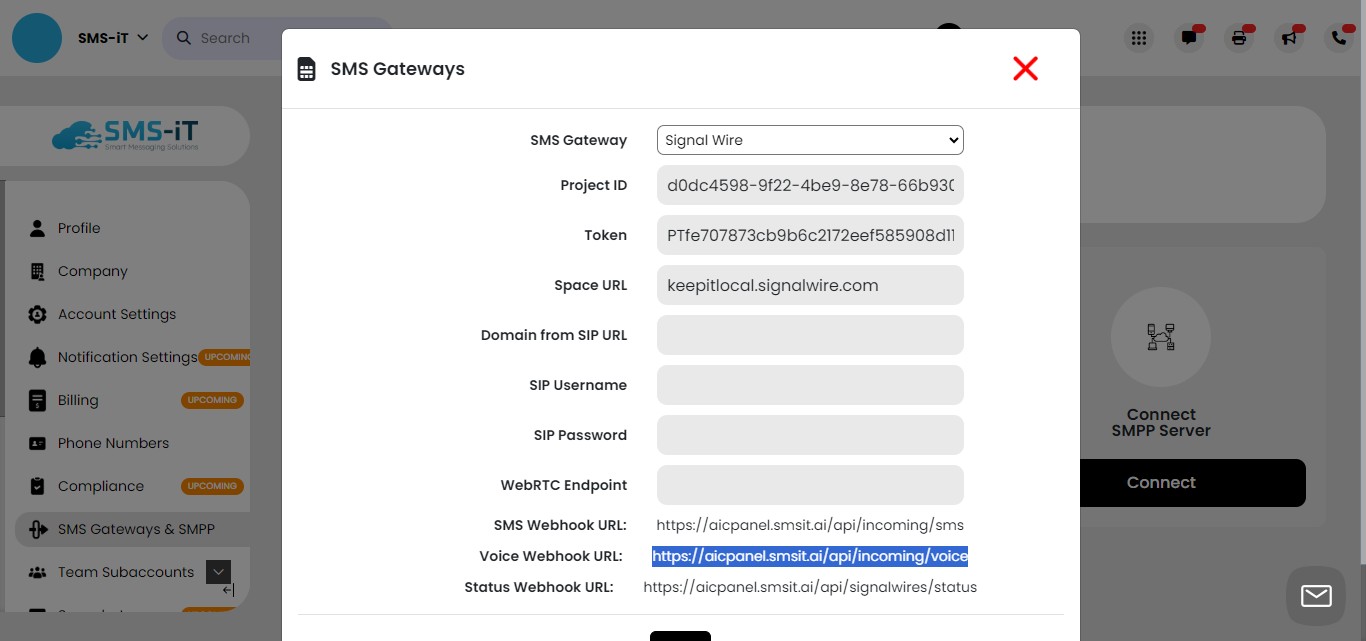
Paste into "WHEN A CALL COMES IN"
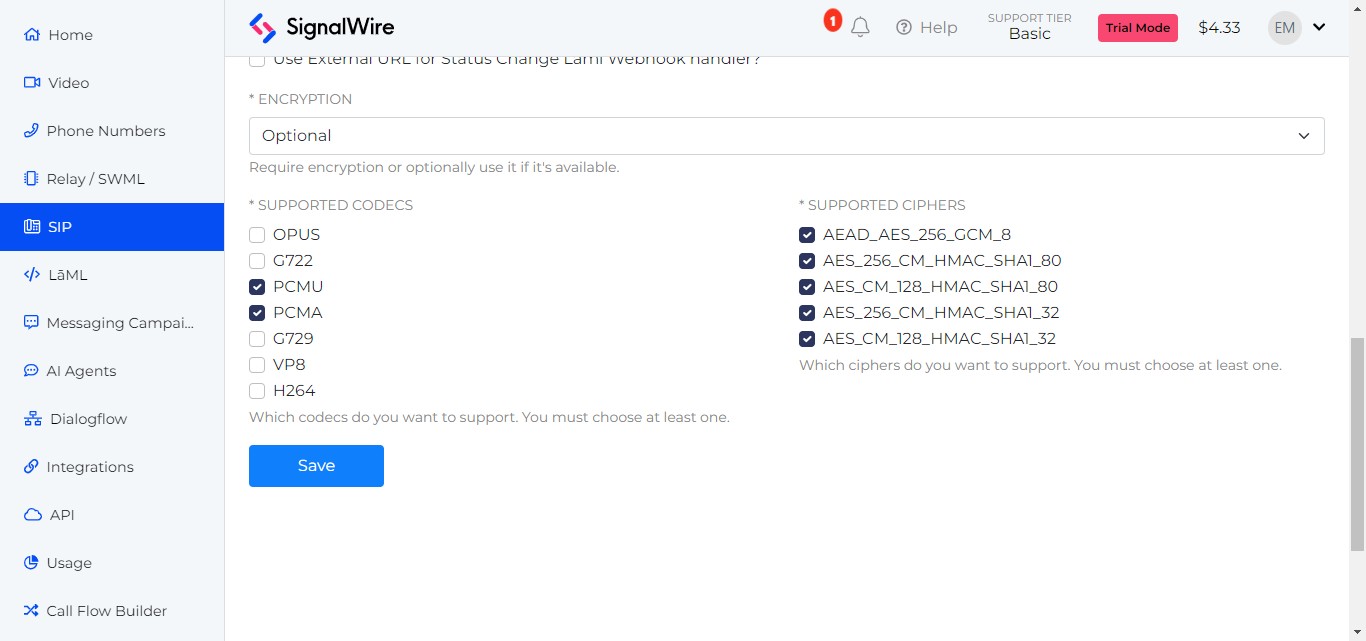
Scroll down

Click "Save"
Copy "Domain" address.
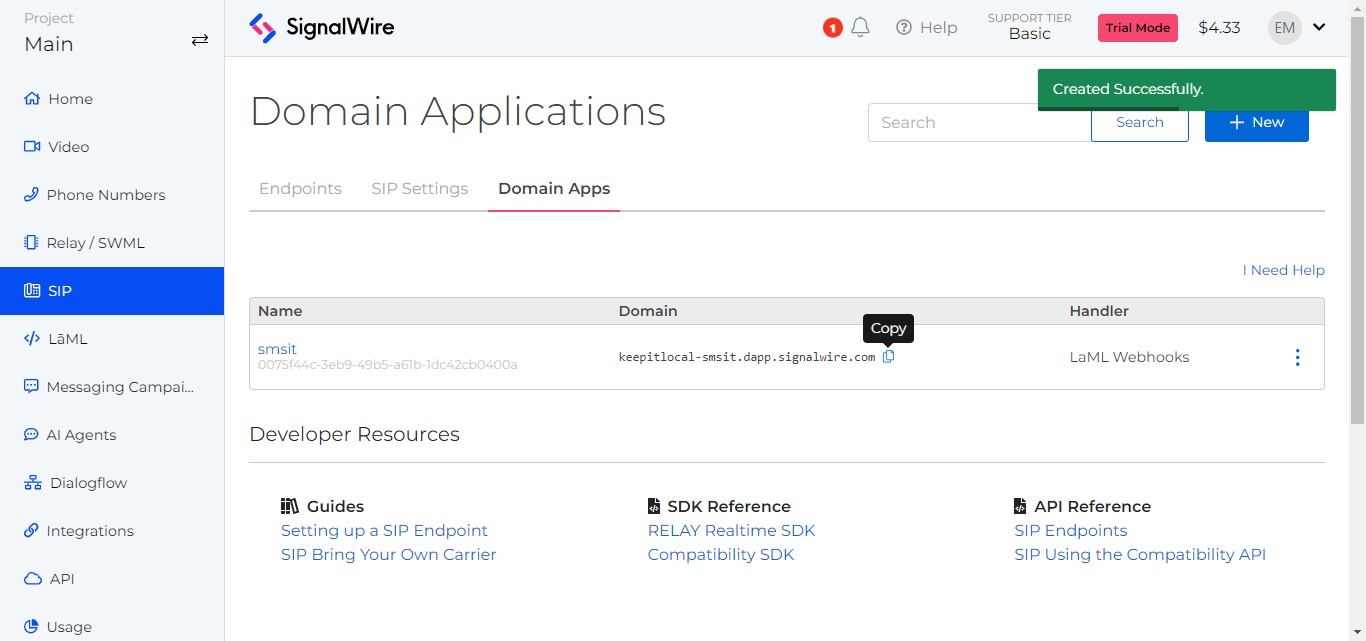
Paste into "Domain from SIP URL"
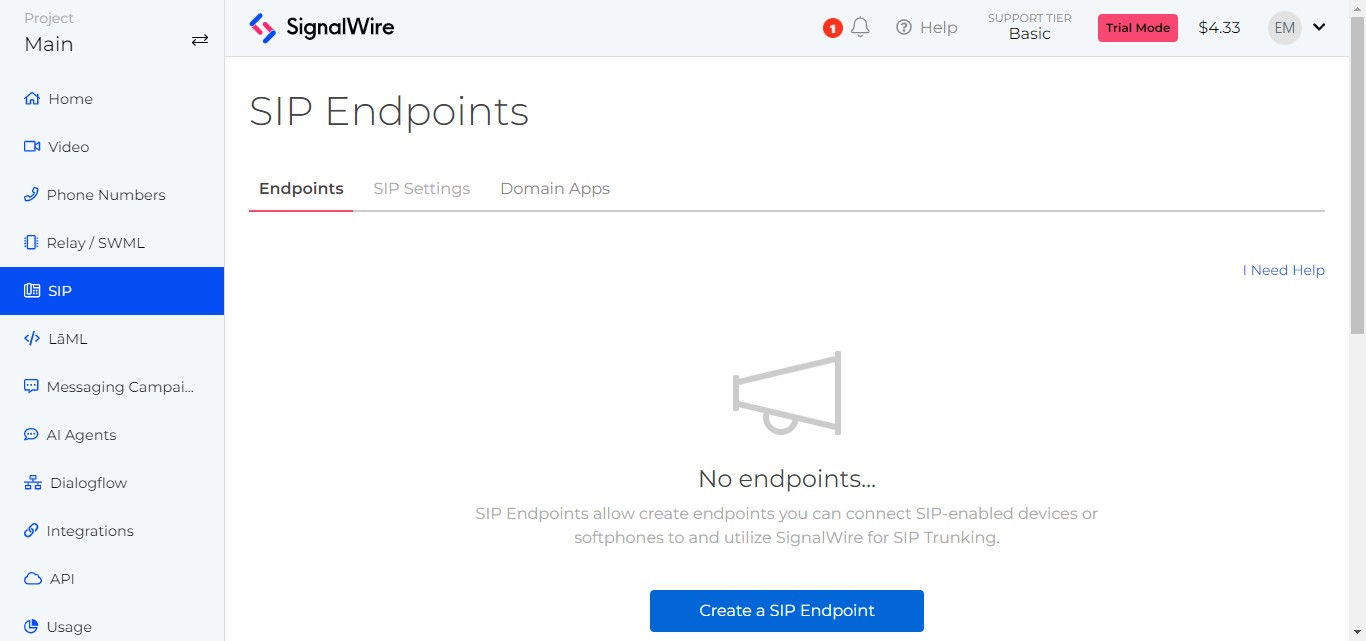
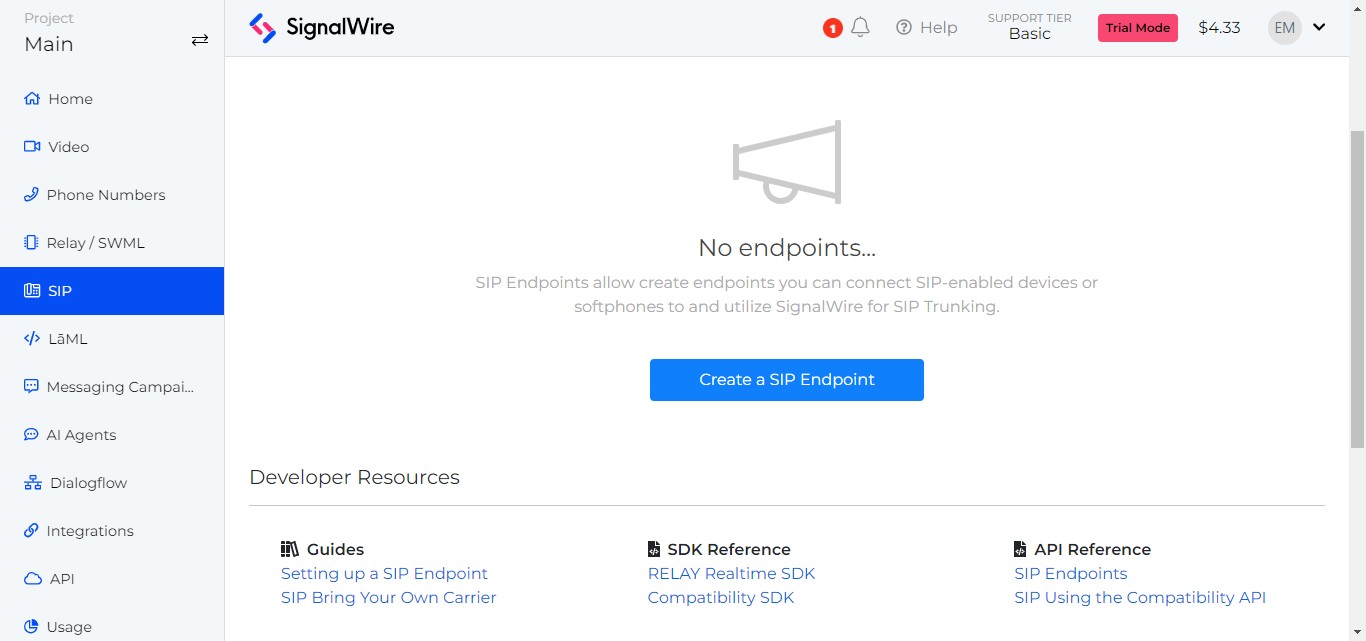
Creating Endpoints
Click on "Endpoints"
Click on "Create a SIP Endpoint"
Create a username.
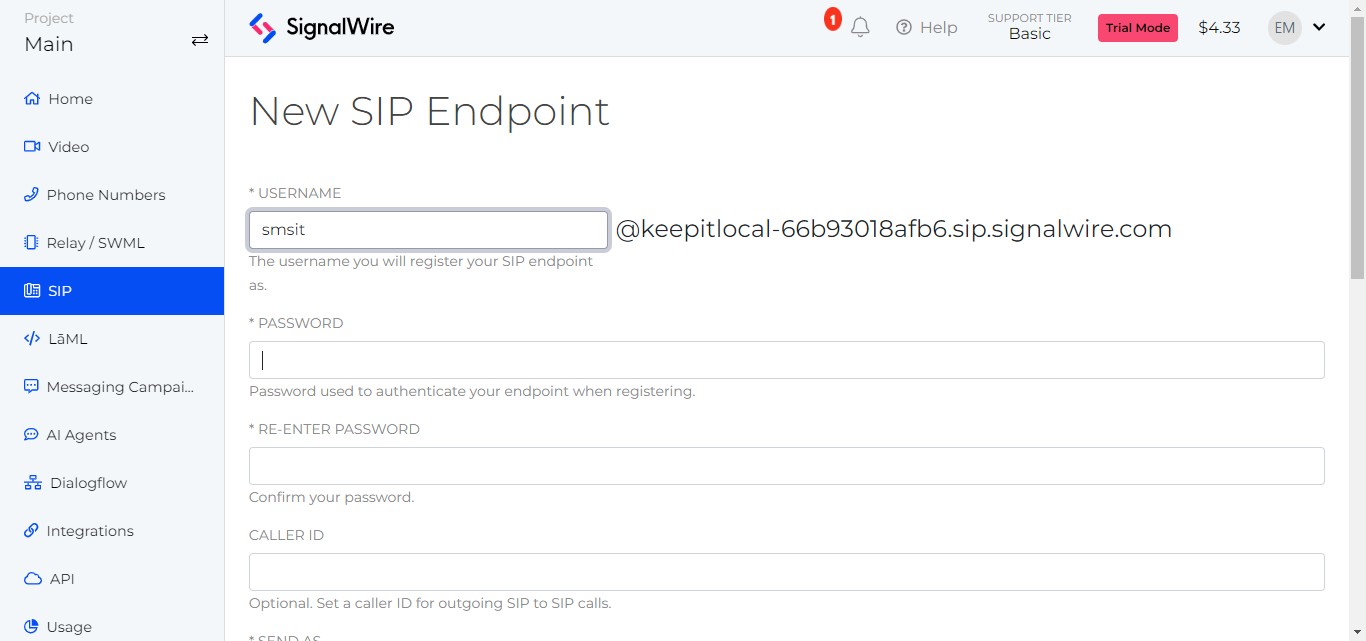
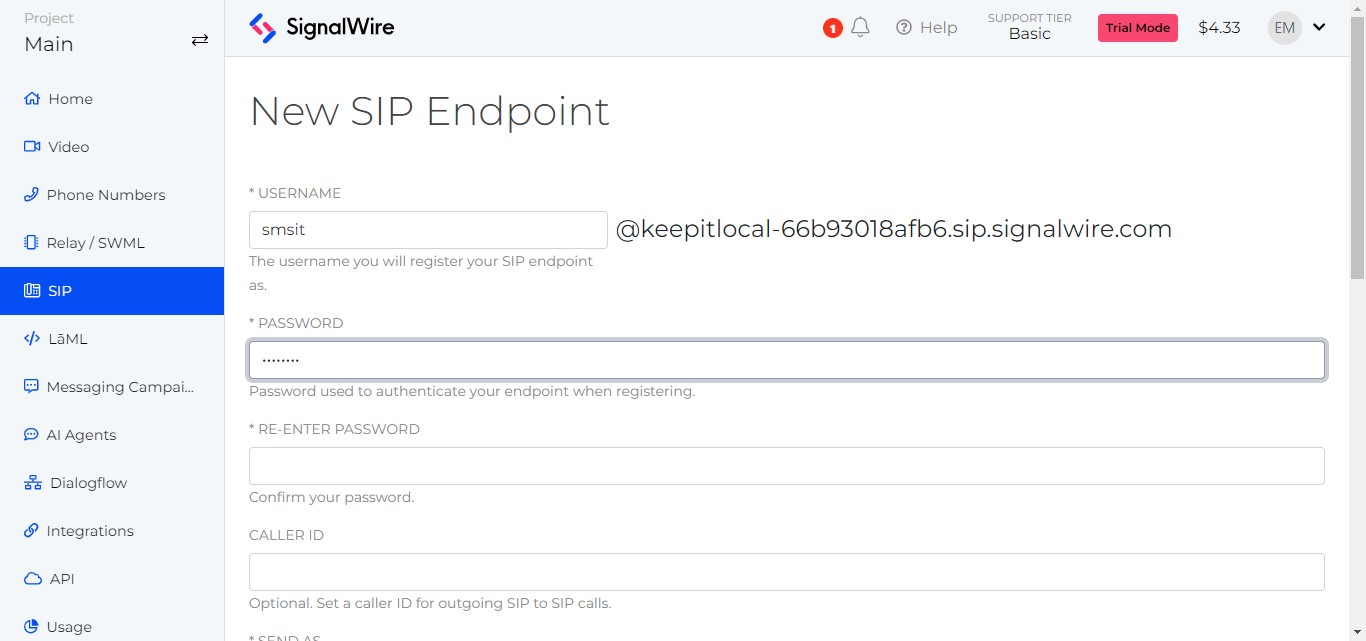
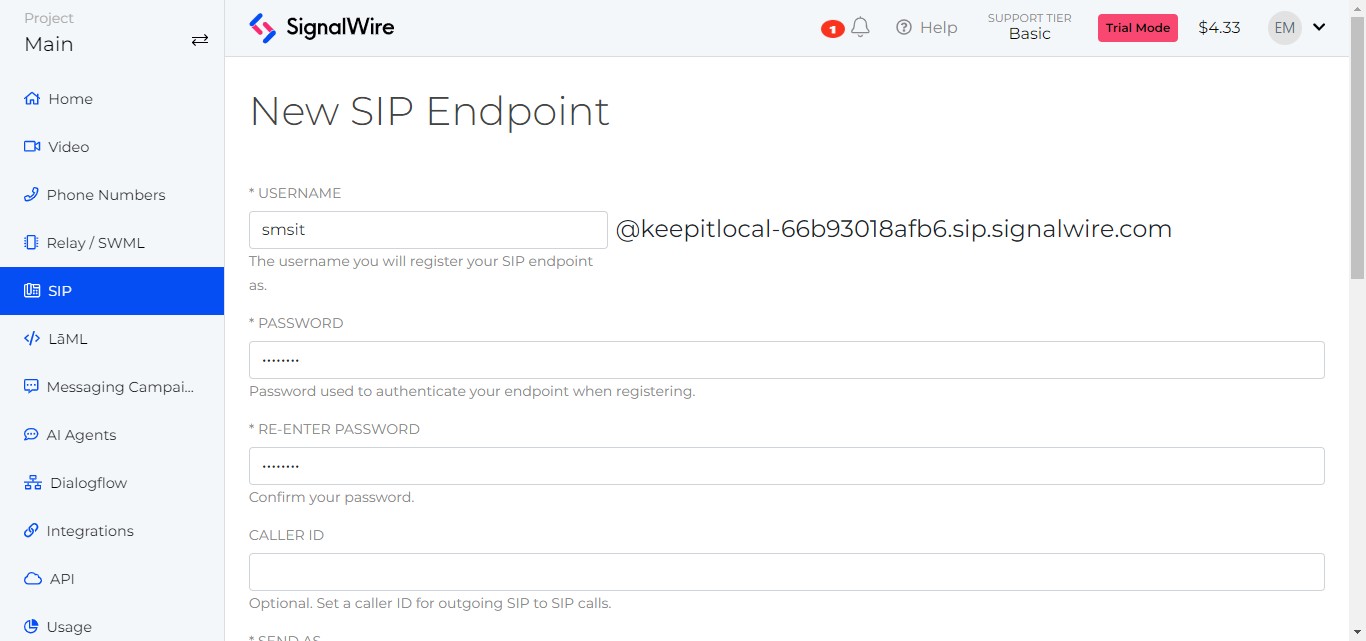
Create a password (copy the password to a notepad, you'll need to paste it into the SMS-iT settings.
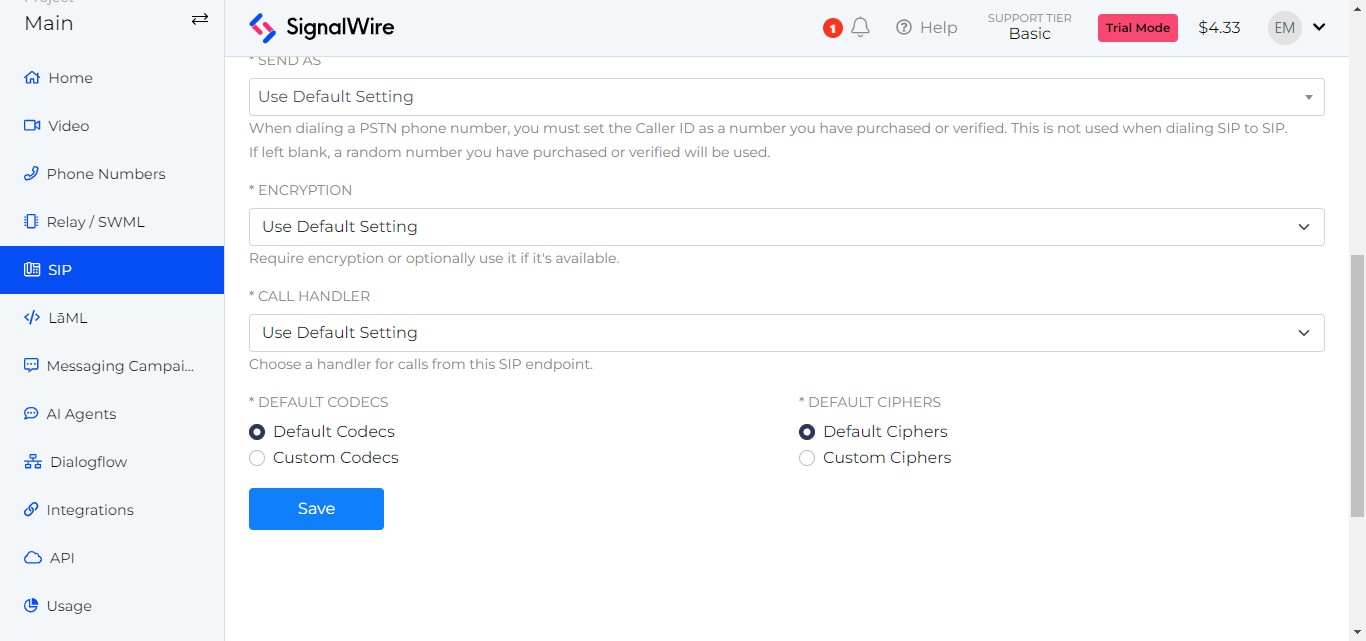
Scroll down.
Click "Save"
Copy "Username:"
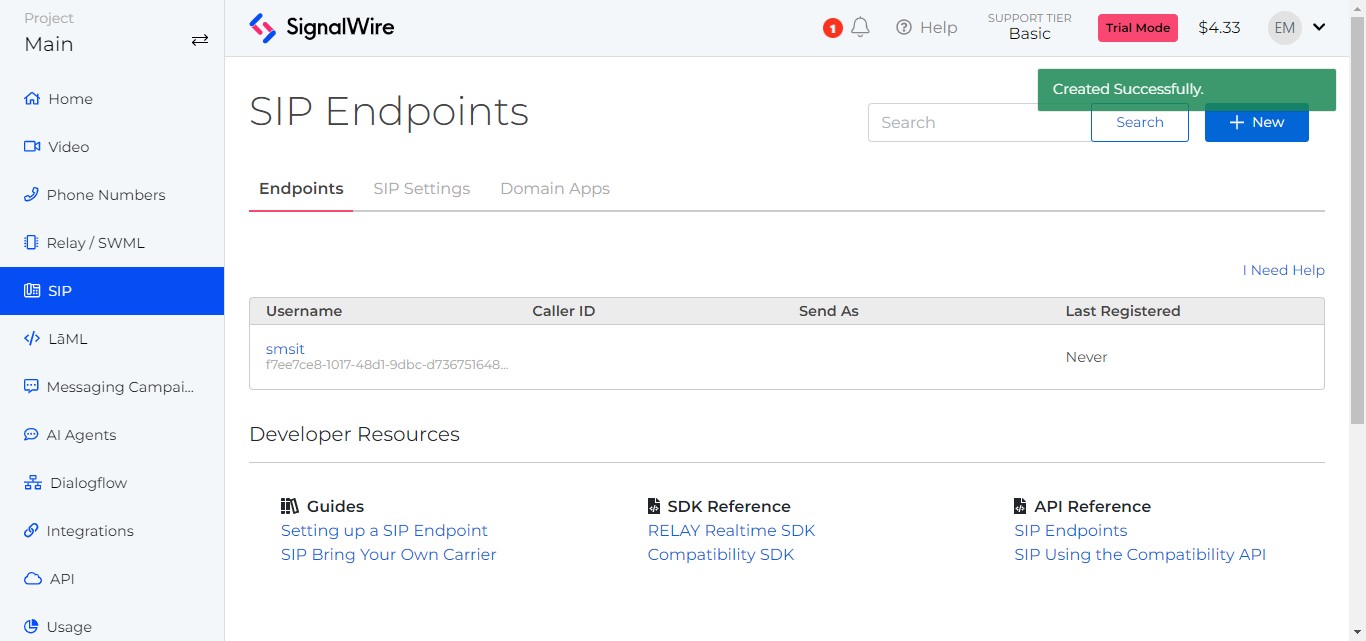
Paste into "SIP Username"
Paste your saved password into "Sip Password" (If you forgot your password you can create a new one by clicking on SIP > under "Username" click the SIP account you just created > you can reset the password there.)
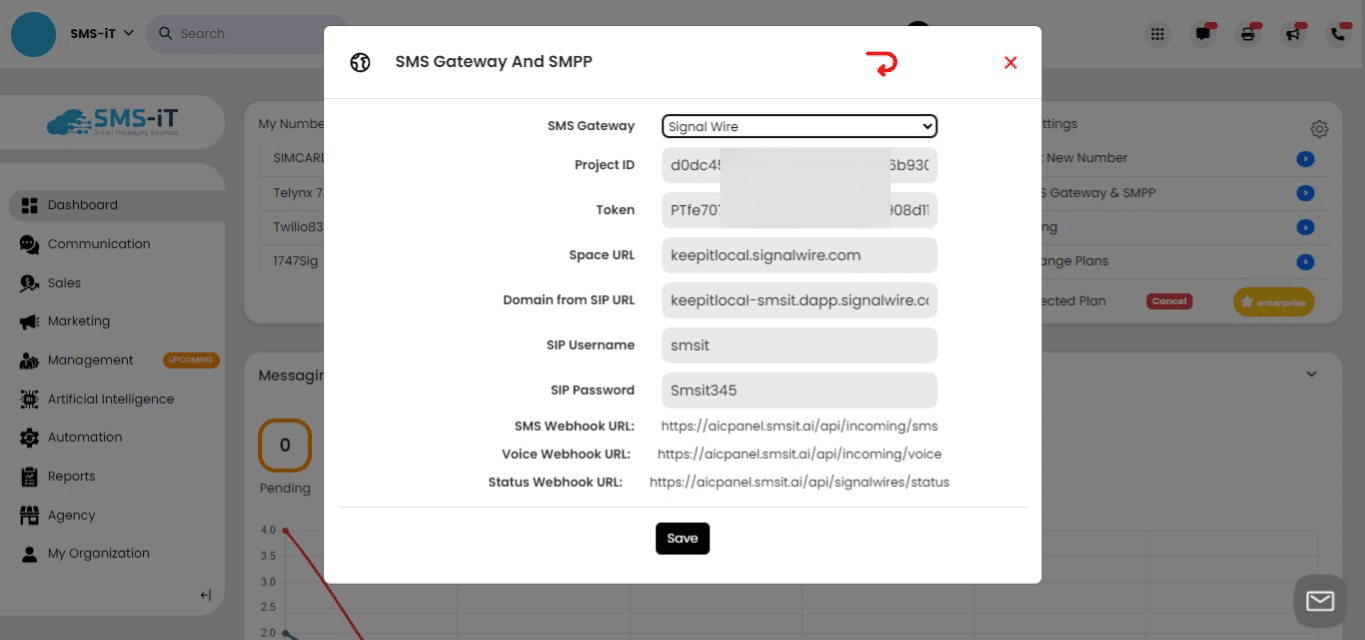
Click on "Save"
Saved.
Add a Friendly Name for your new SignalWire number.
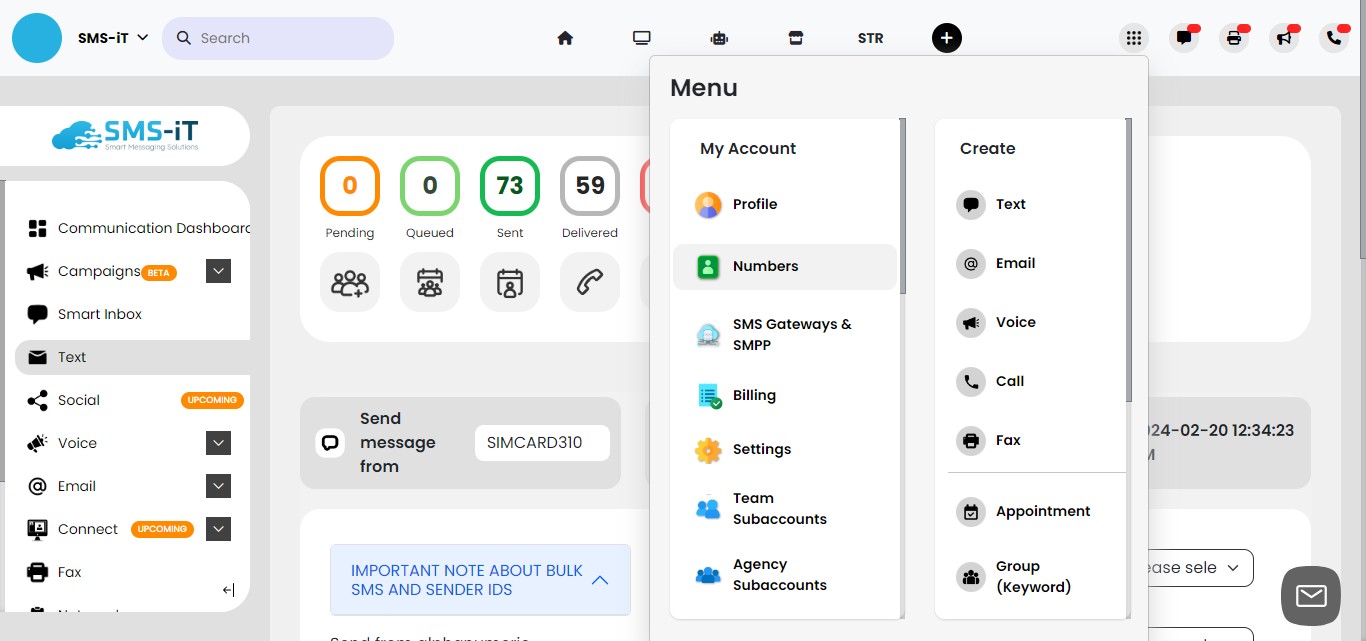
Click on the "Menu" icon.
Click on "Numbers"
Click on your new SIgnalWire number.
create a "Friendly Name", a name that you'll be able to recognize on the platform.
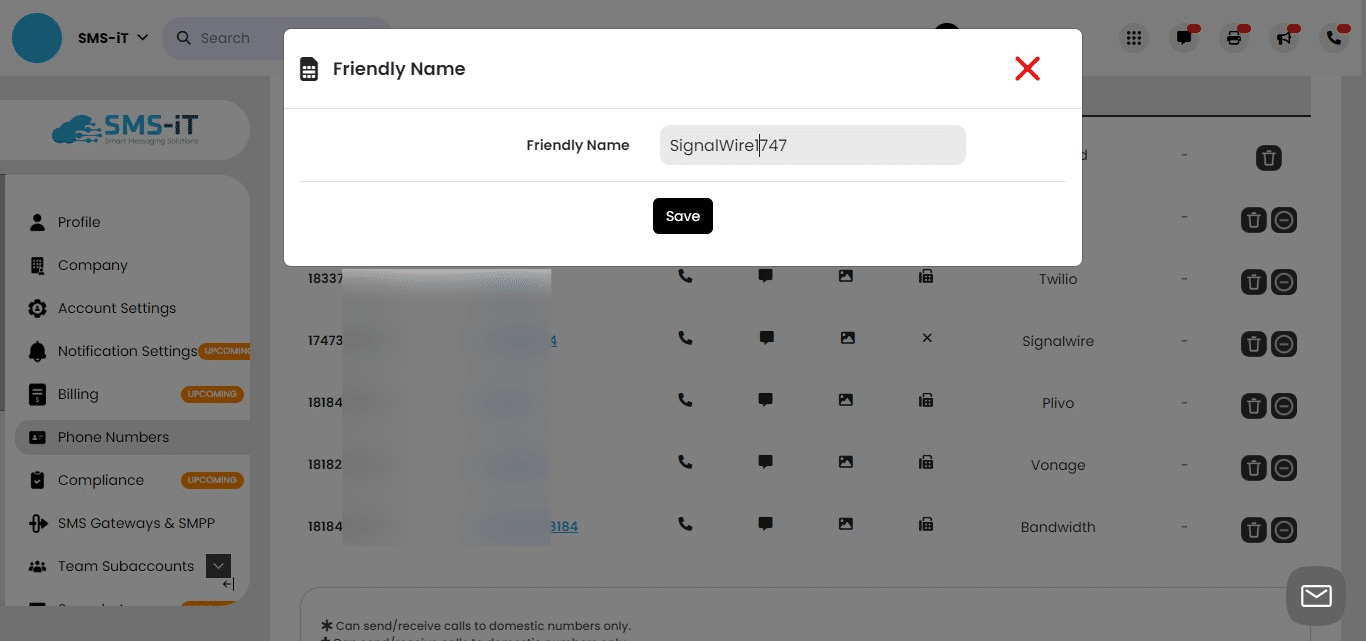
Click on "Save"
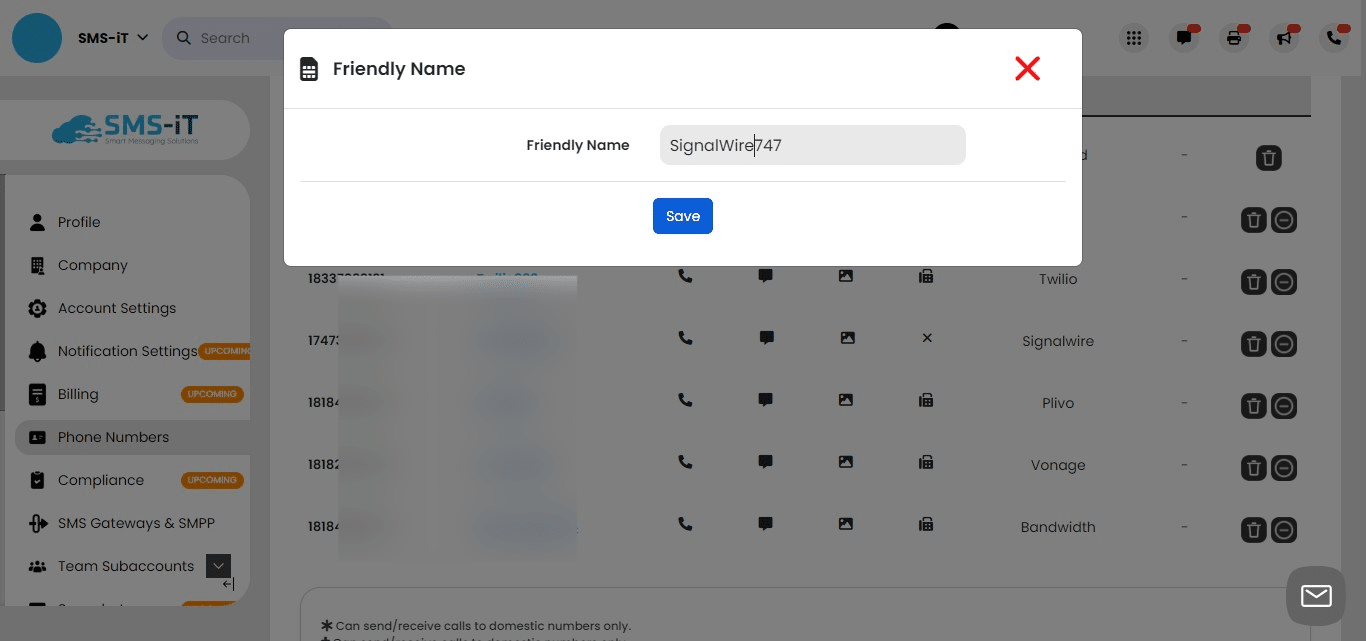
Friendly name added
Test your new SignalWire number.
You won't be able to fully test your SMS capabilities until you register your number and brand (company) in the United States. However, you will still be able to make calls. Learn more on the SignalWire website about 10DLC registration.
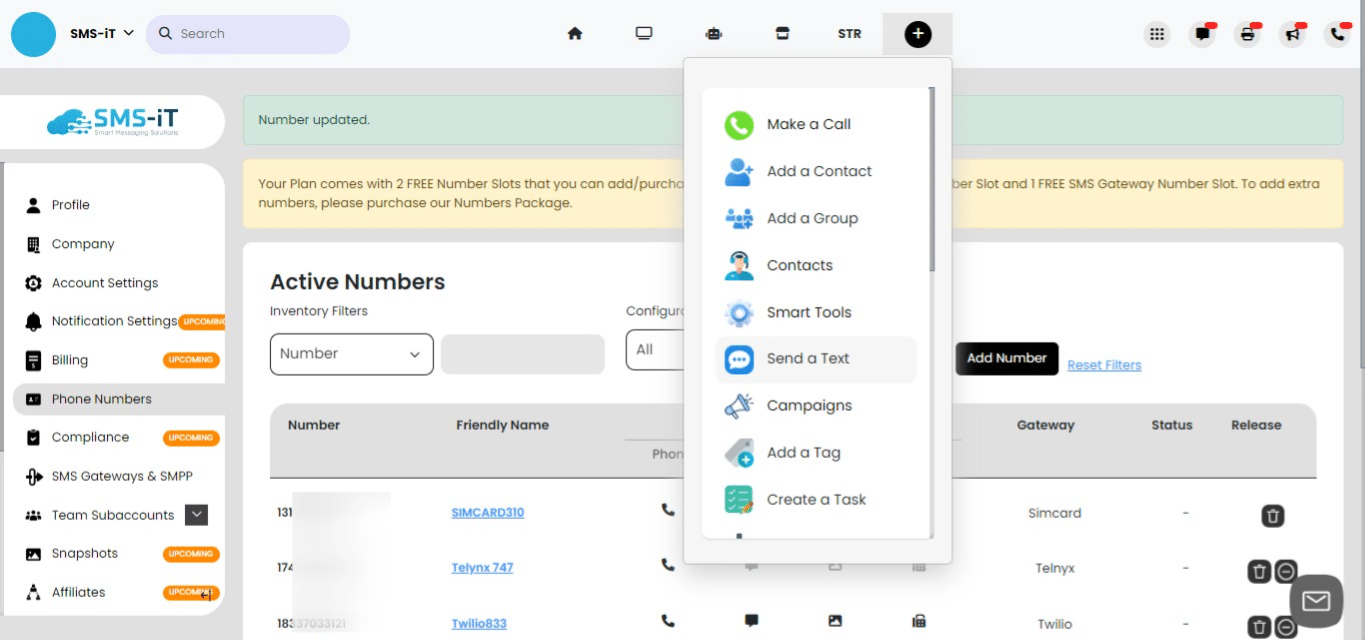
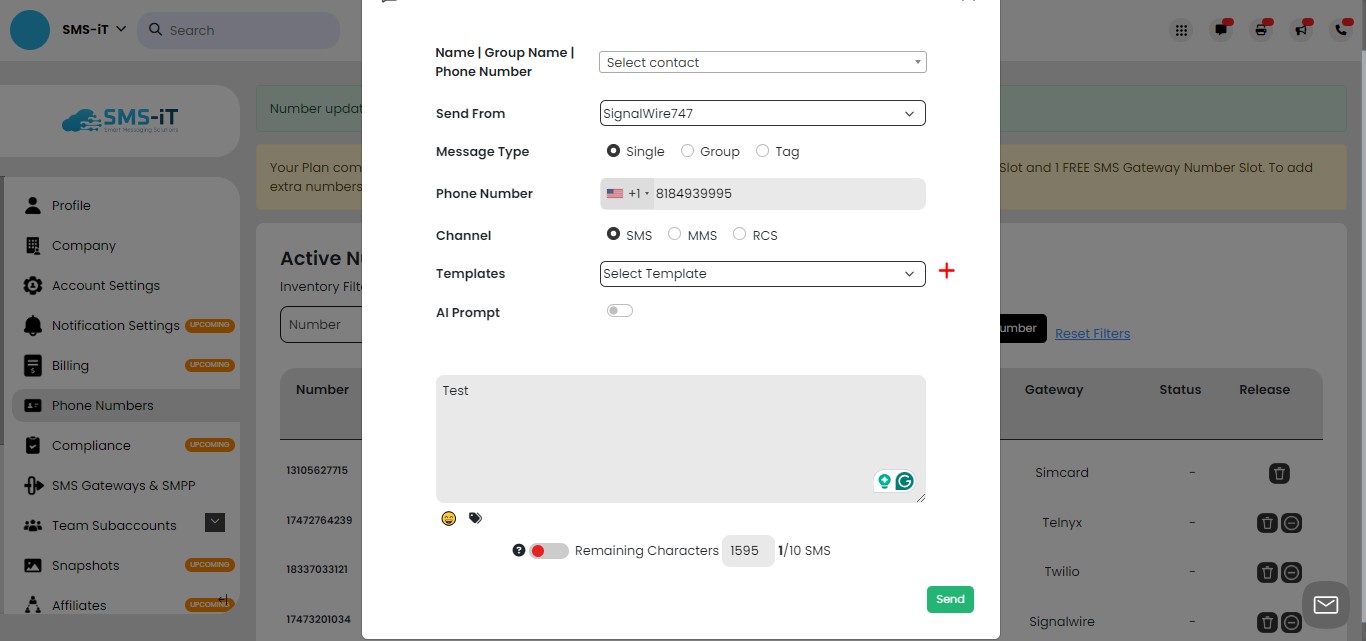
Click on "Quick Links"
Click on "Send a Text"
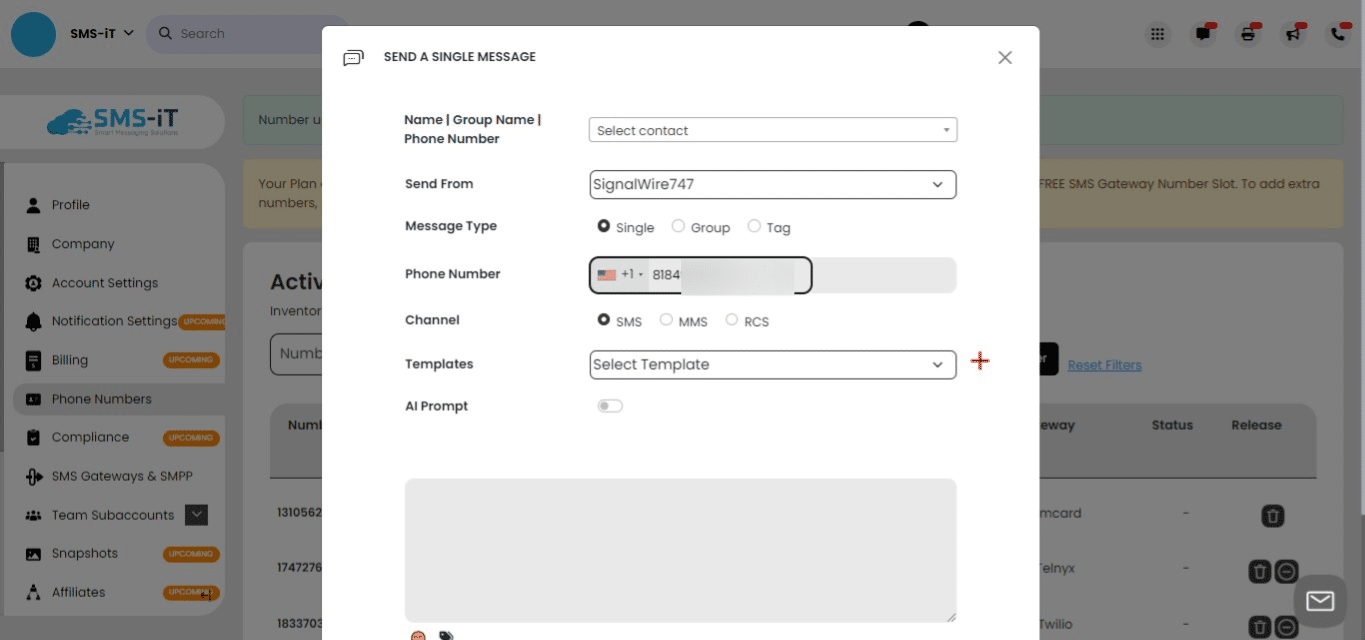
Select your SignalWire number
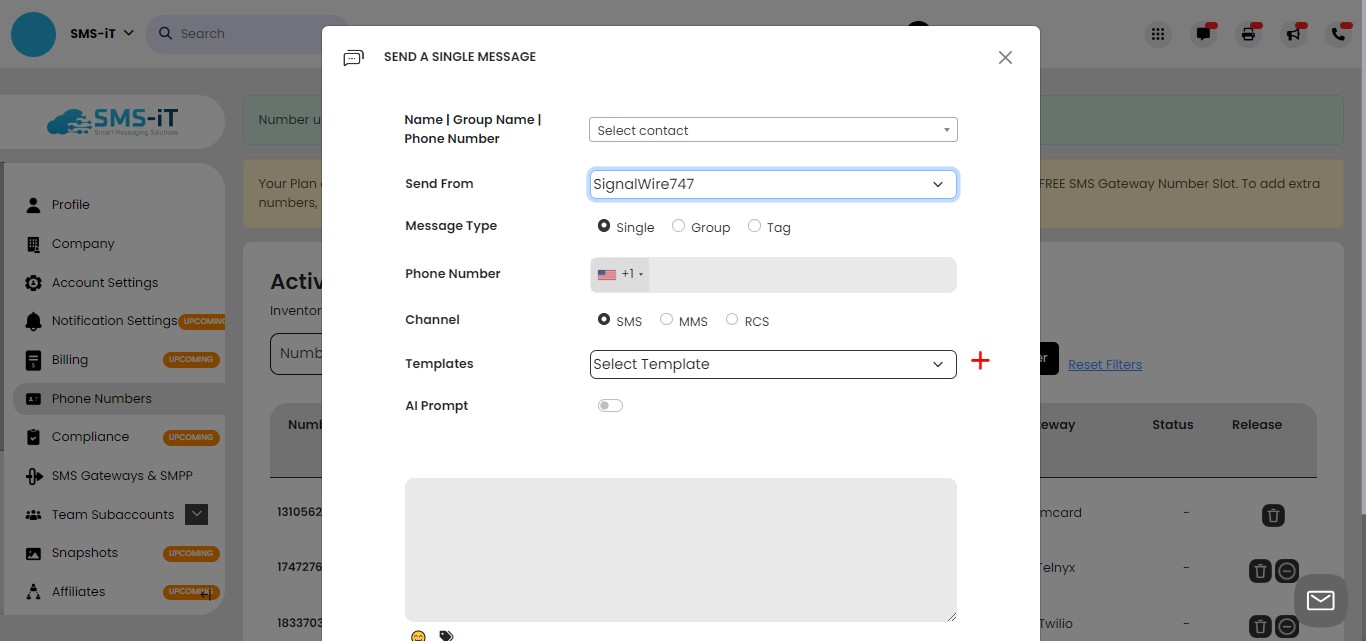
Enter a number to receive the text.
Create a message
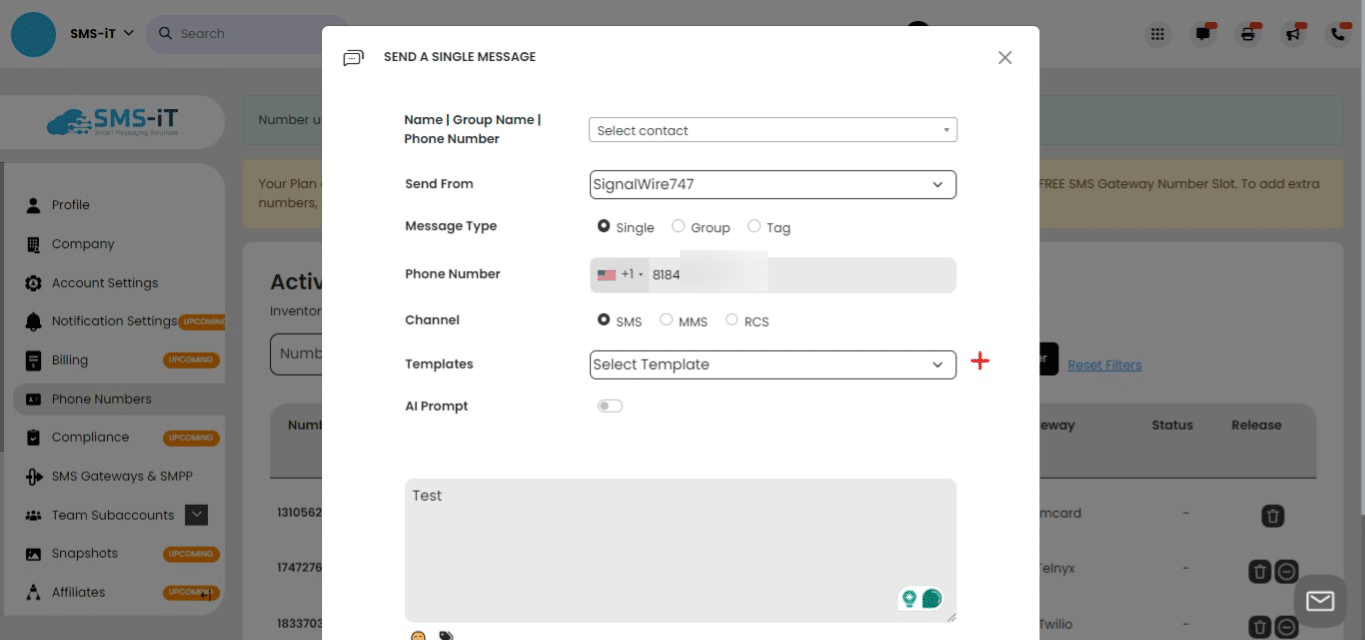
Click on "Send"
If you receive the red banner indicating "from (number) must belong to an active campaign," it means the SMS-iT platform is operating correctly. SignalWire is sending that message to indicate that you must register your number first before starting a campaign.
