WhatsApp Connect to SMS-iT Smart Inbox
This guide will help you to connect your Business WhatsApp number to the SMS-iT Smart Inbox.
A Facebook Business Account is required (you'll need to have or add a payment method).
Note: While connecting your WhatsApp Business Account is not required for this guide, we will only be connecting a test number from Facebook to verify the connection between SMS-iT and Facebook. However, if you intend to use your actual WhatsApp Business number, you'll need to link your Facebook Business Account with your WhatsApp Business Account.
Here's a link to help you connect your Facebook Business Account to your WhatsApp Business Account: https://www.facebook.com/business/help/1583303048513172?id=2129163877102343. You'll eventually need to connect your Facebook Business Account and your WhatsApp Business Account to use your WhatsApp number in the SMS-iT Smart Inbox. But first, let's connect the test number from Facebook to get the SMS-iT platform and Facebook platform integrated.
We'll be toggling between the SMS-iT platform, the Facebook Business platform, and the Facebook Developer platform. The URLs will be in the guide as we go.
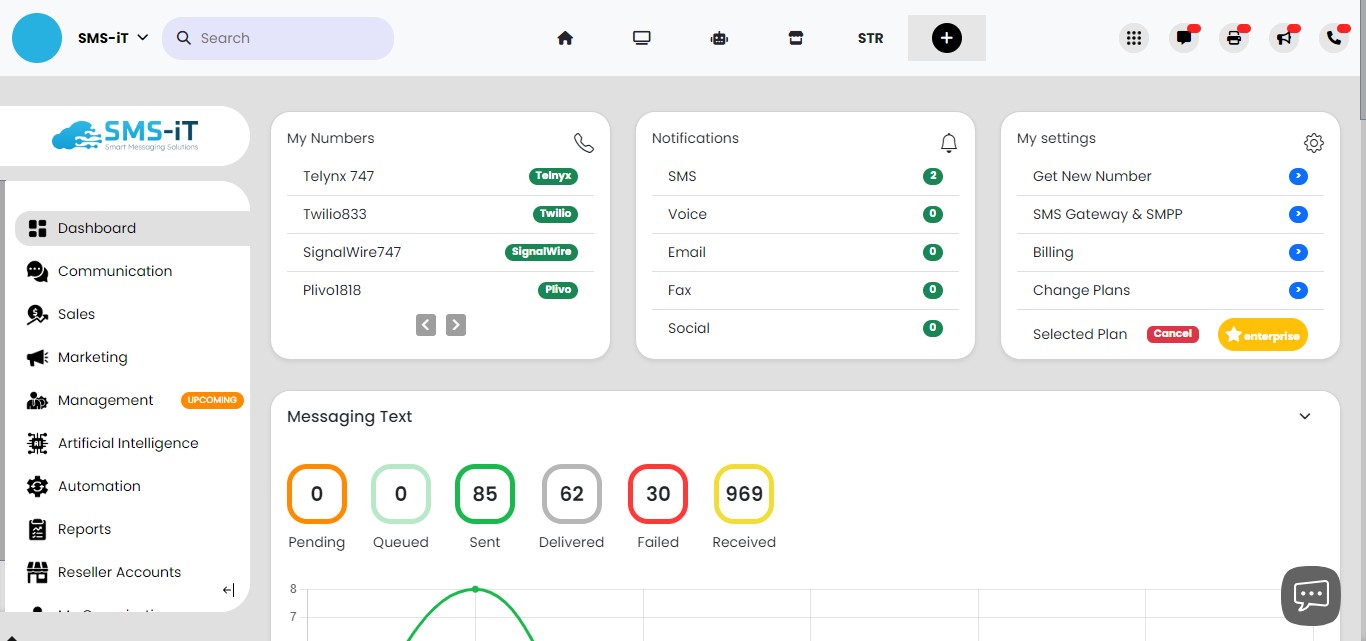
Navigate to https://aicpanel.smsit.ai/home
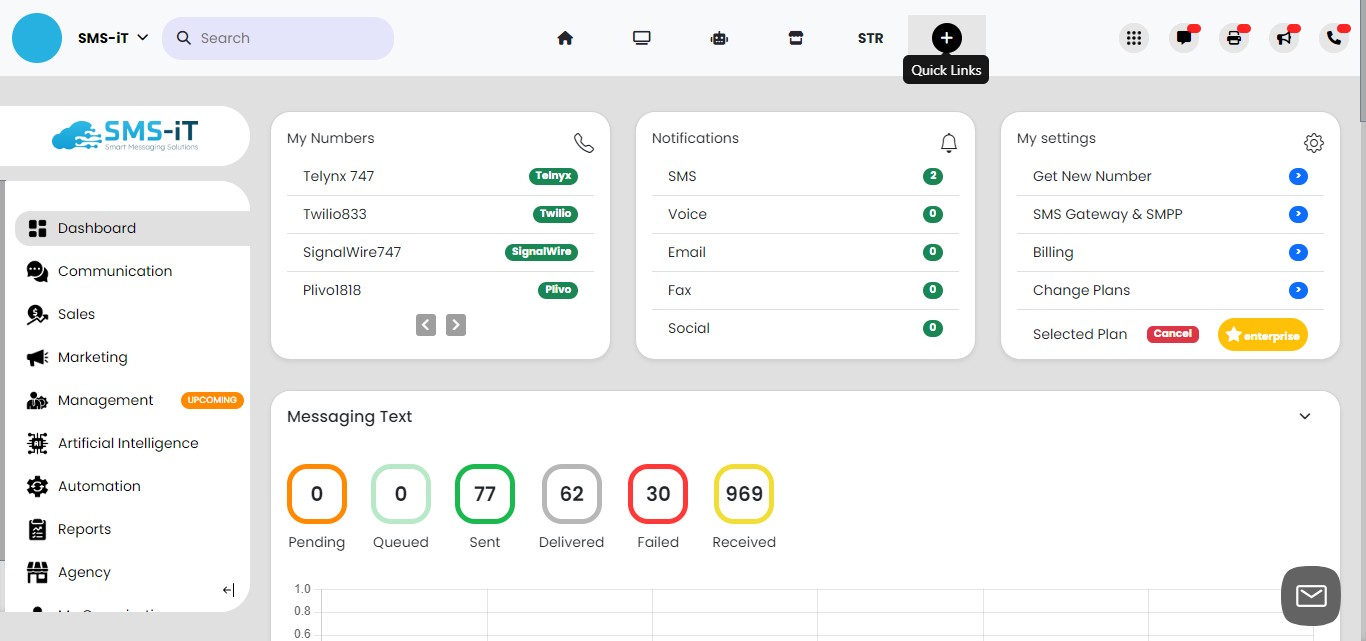
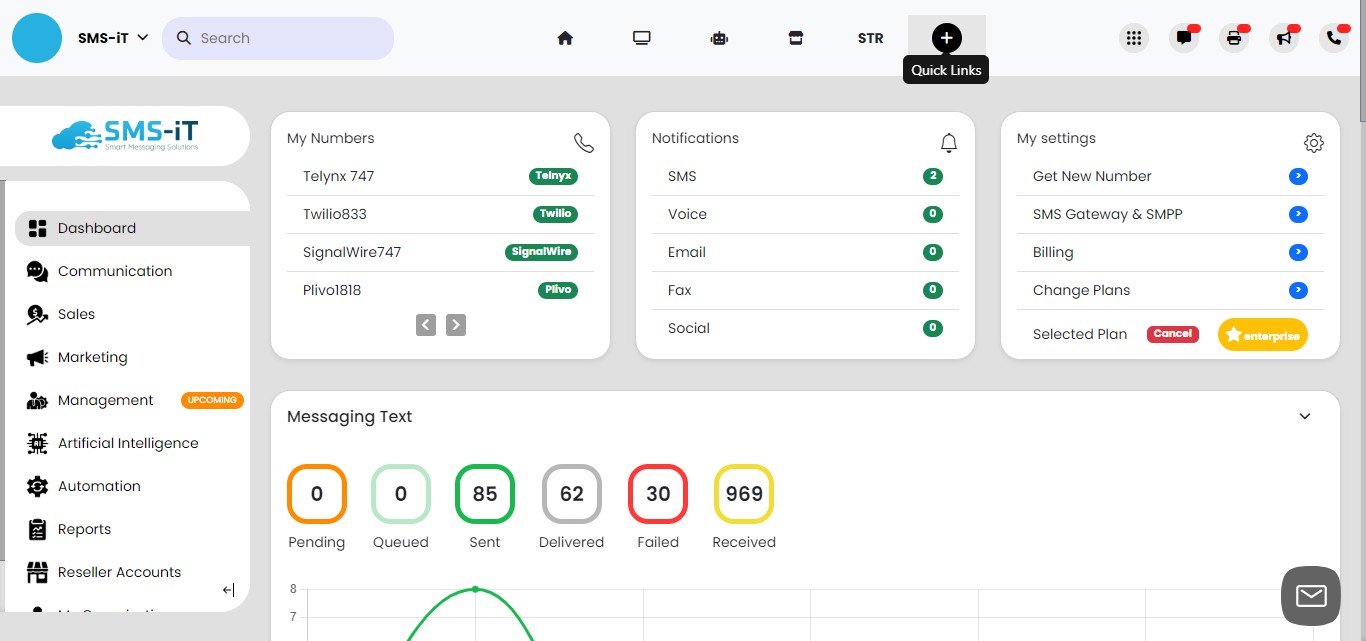
Click on "Quick Links"
Click on "Smart Inbox"

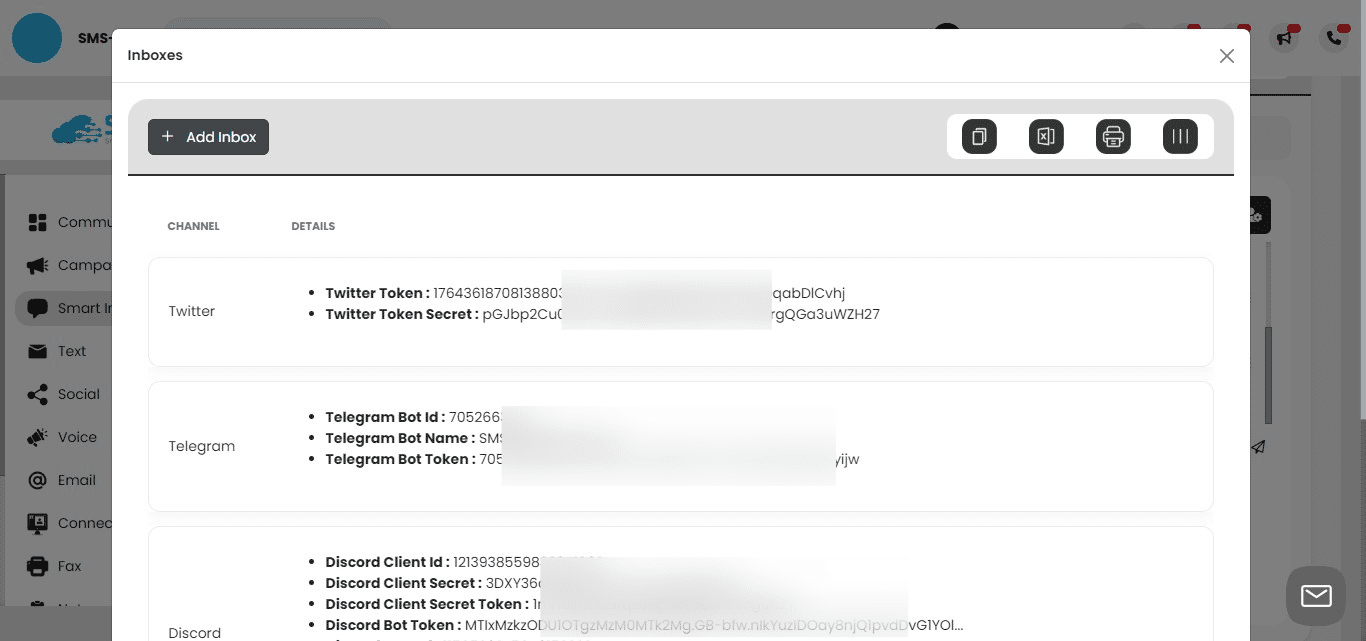
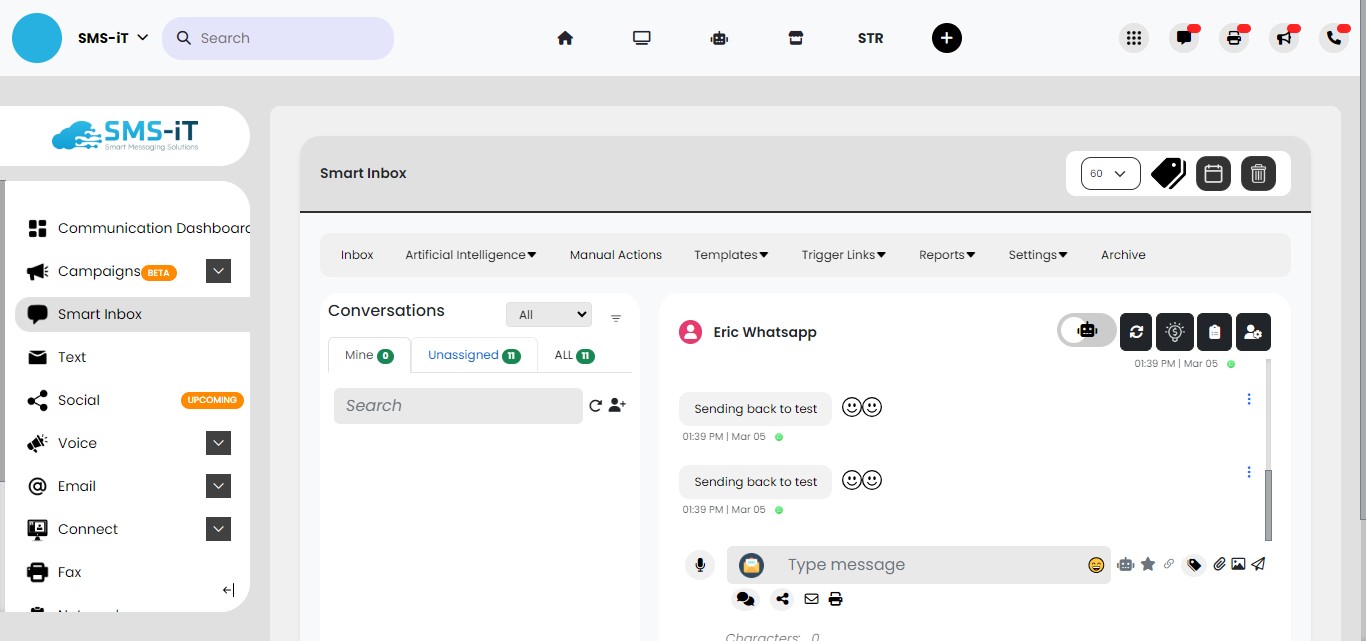
Click on "Inbox"

Click on "Add Inbox"
Click on "WhatsApp".
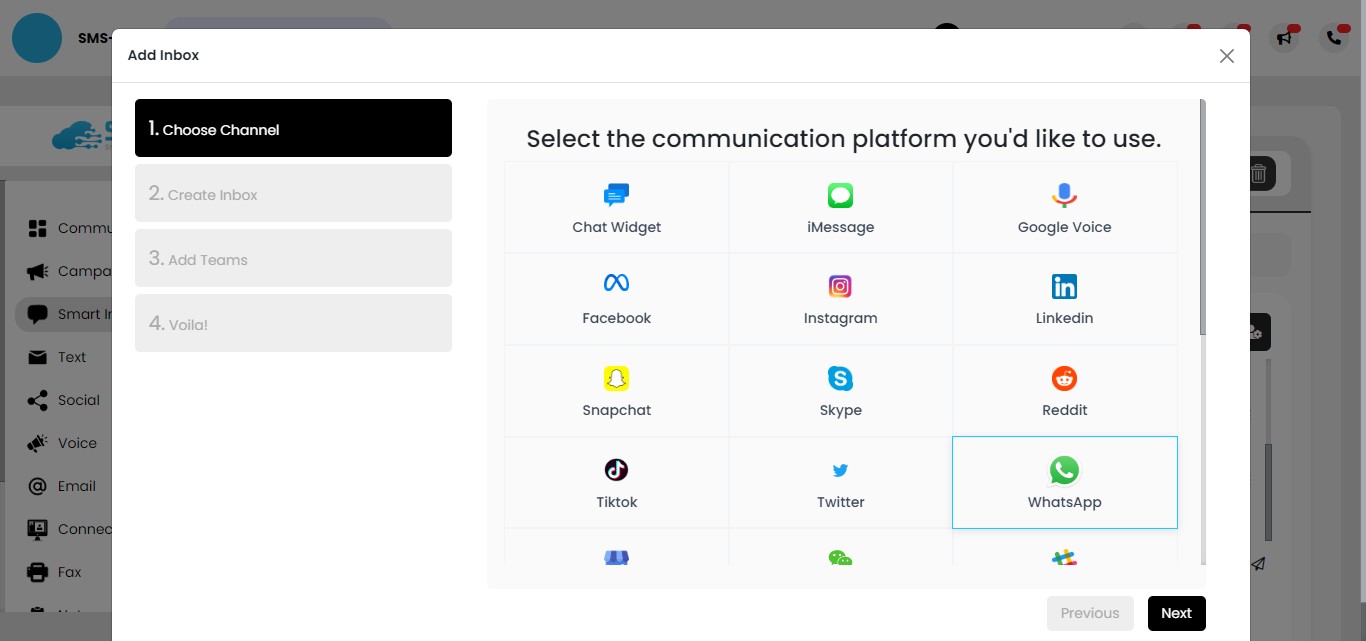
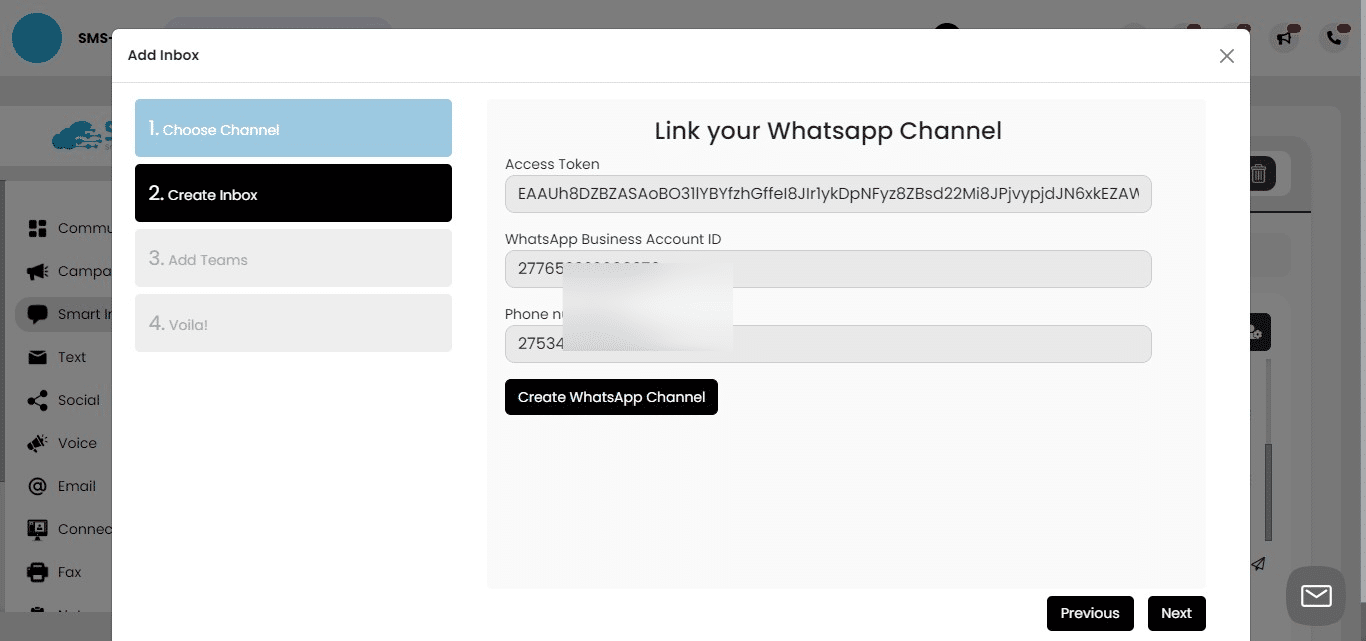
Click on "Next"
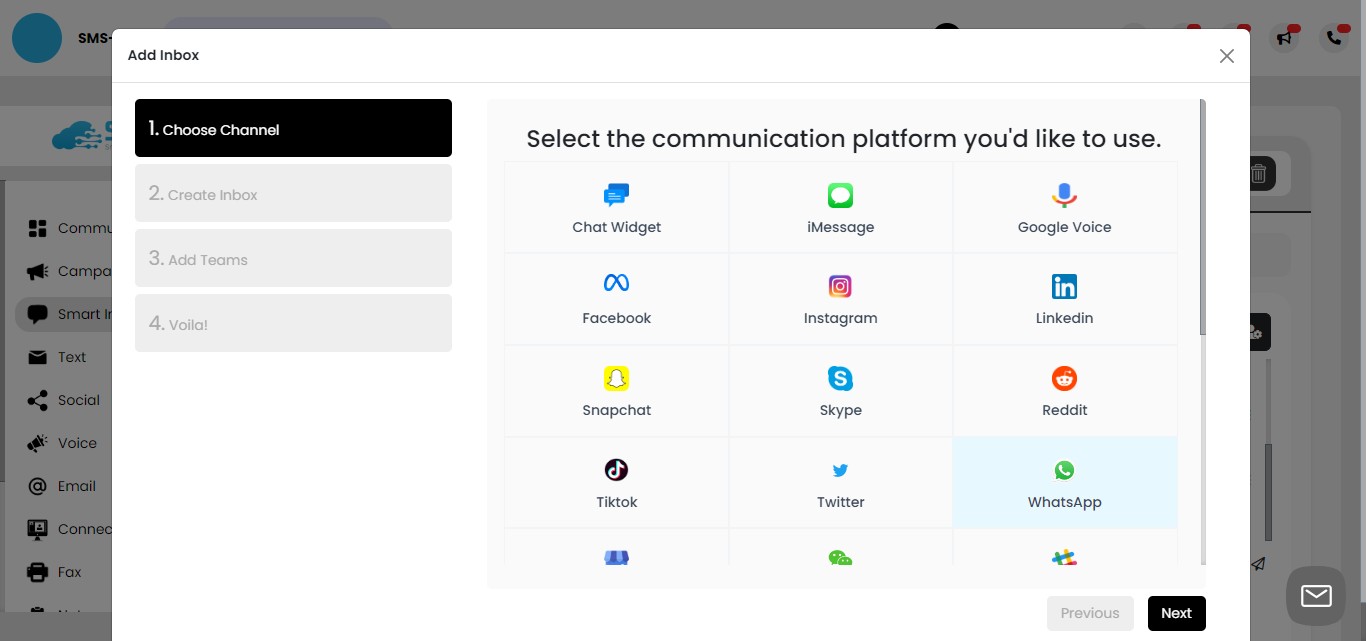
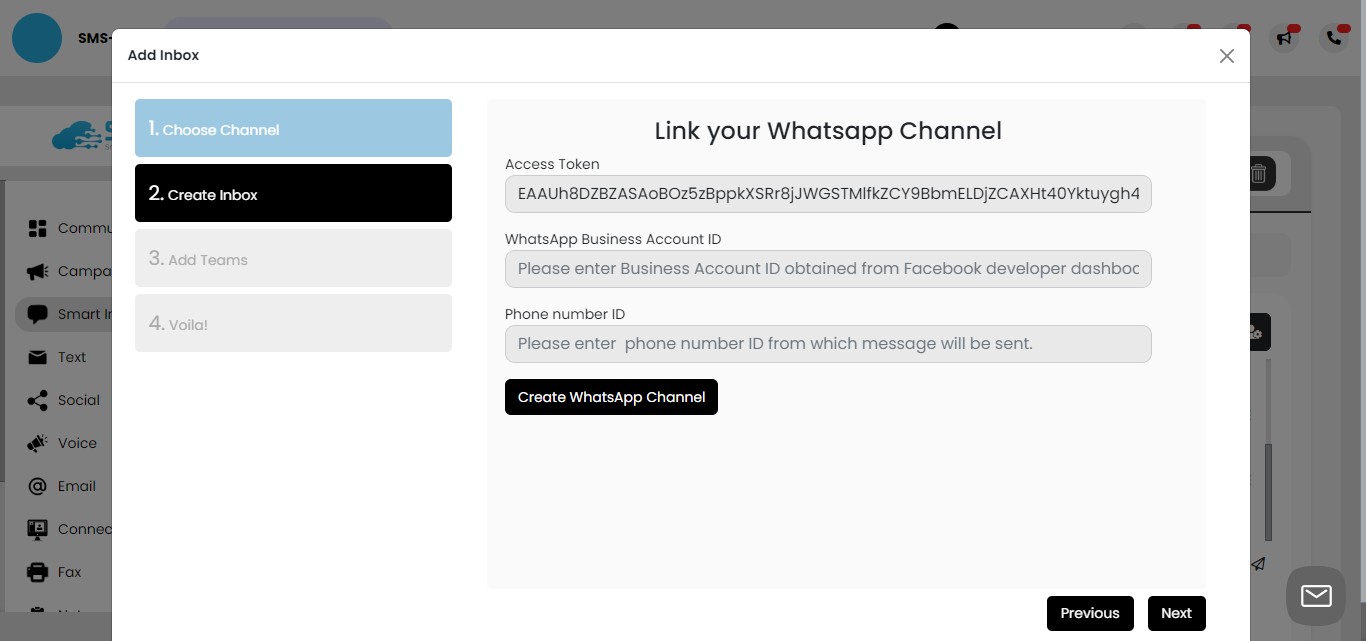
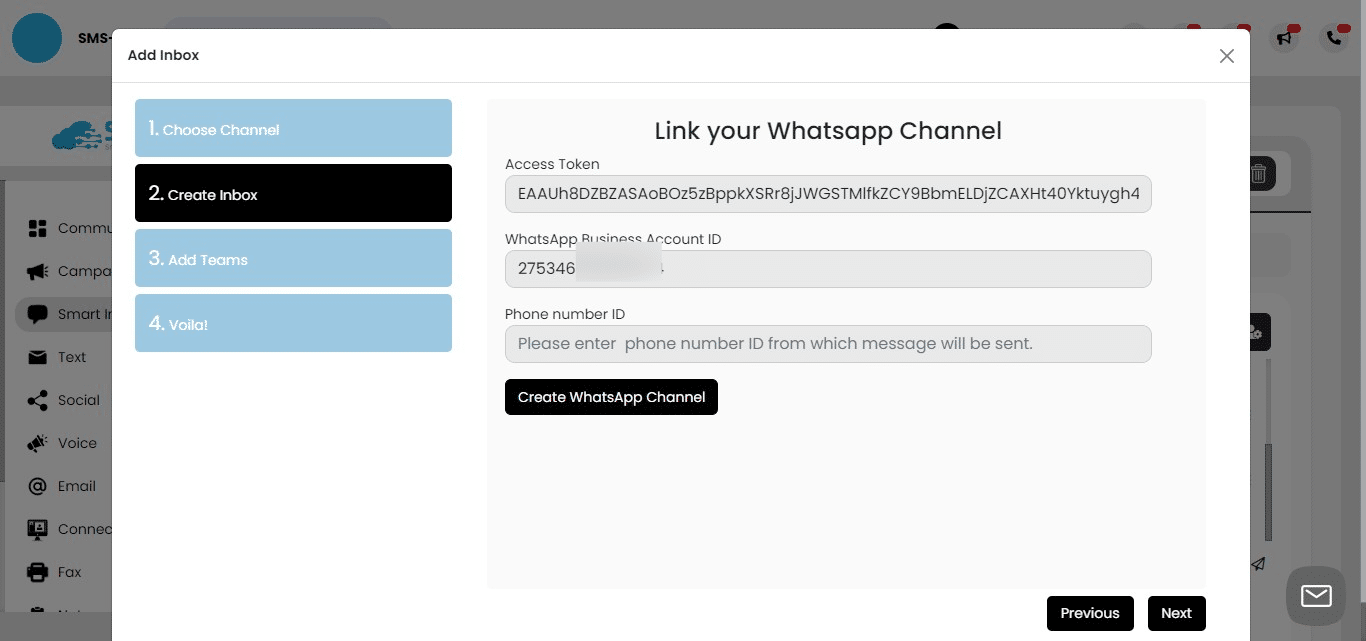
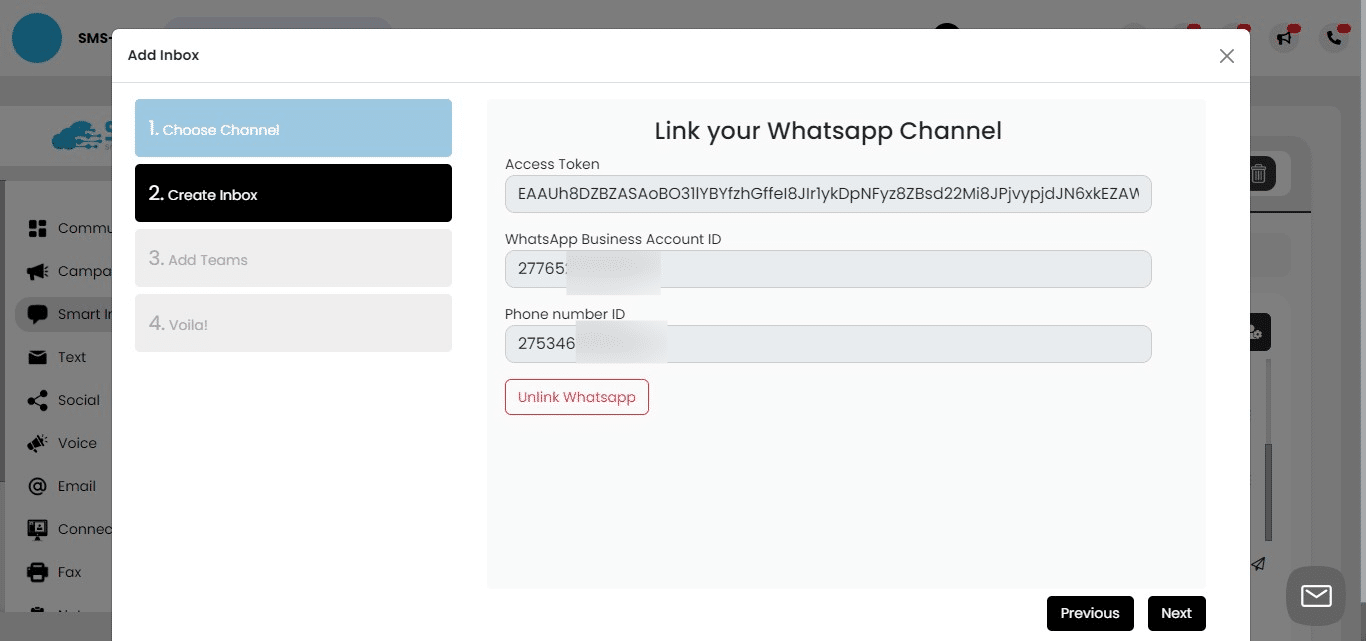
We will fill in this info.

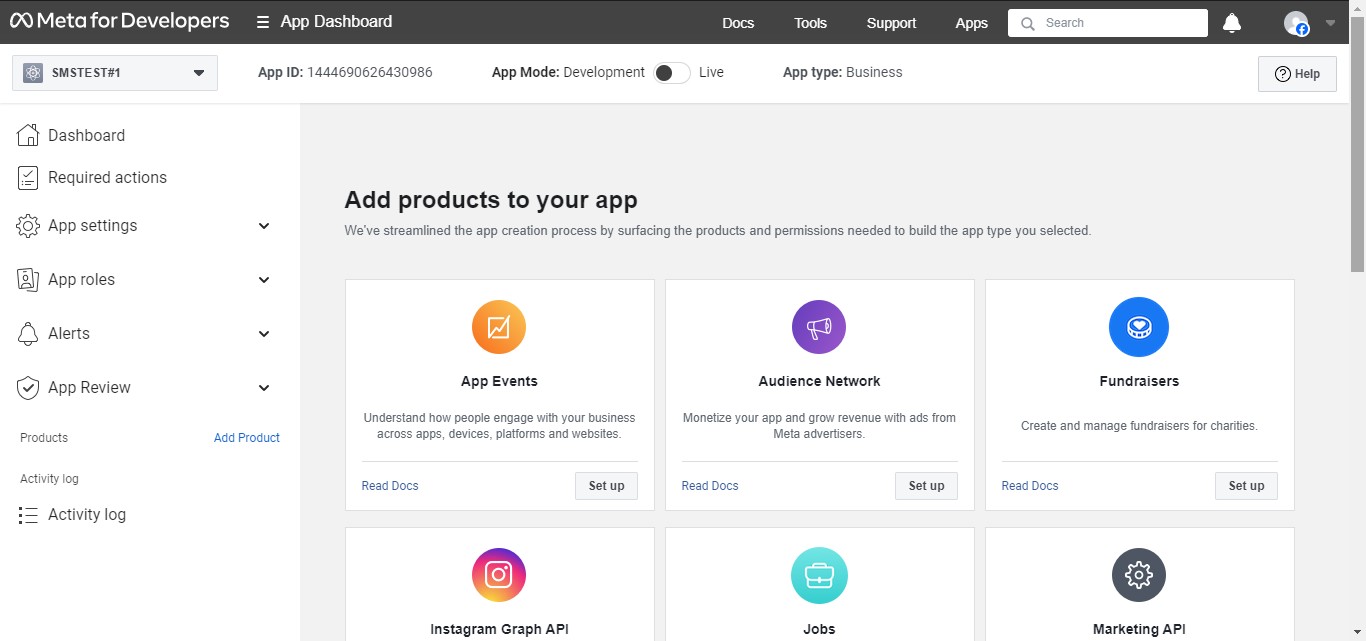
Create App in Facebook
To successfully integrate with the SMS-iT Platform, the following prerequisites are required:
A Facebook Business Account. (You'll need to have or add a payment method.) A WhatsApp Business Account. It's important to note that your WhatsApp Business Account must be linked to your Facebook Business Account. (Please note that this tutorial does not cover the process of linking these accounts, although it is relatively simple to do so).
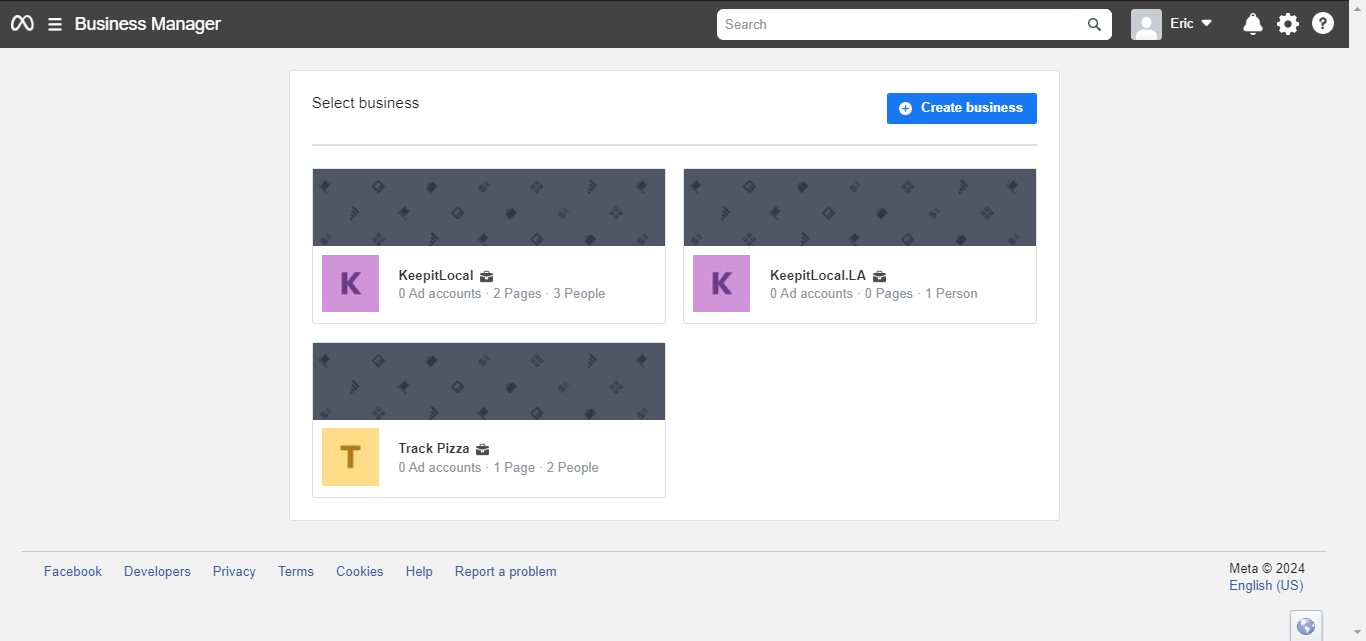
Navigate to: https://business.facebook.com/settings/system-users/
Click on the account you'll be using.
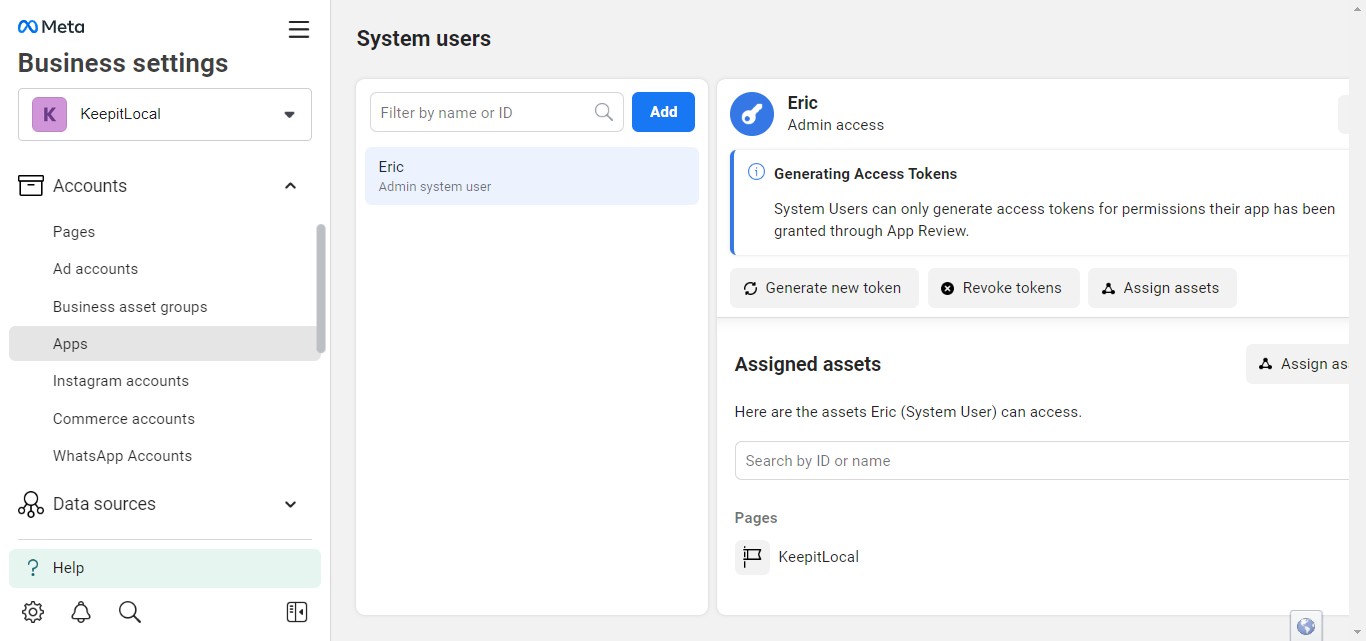
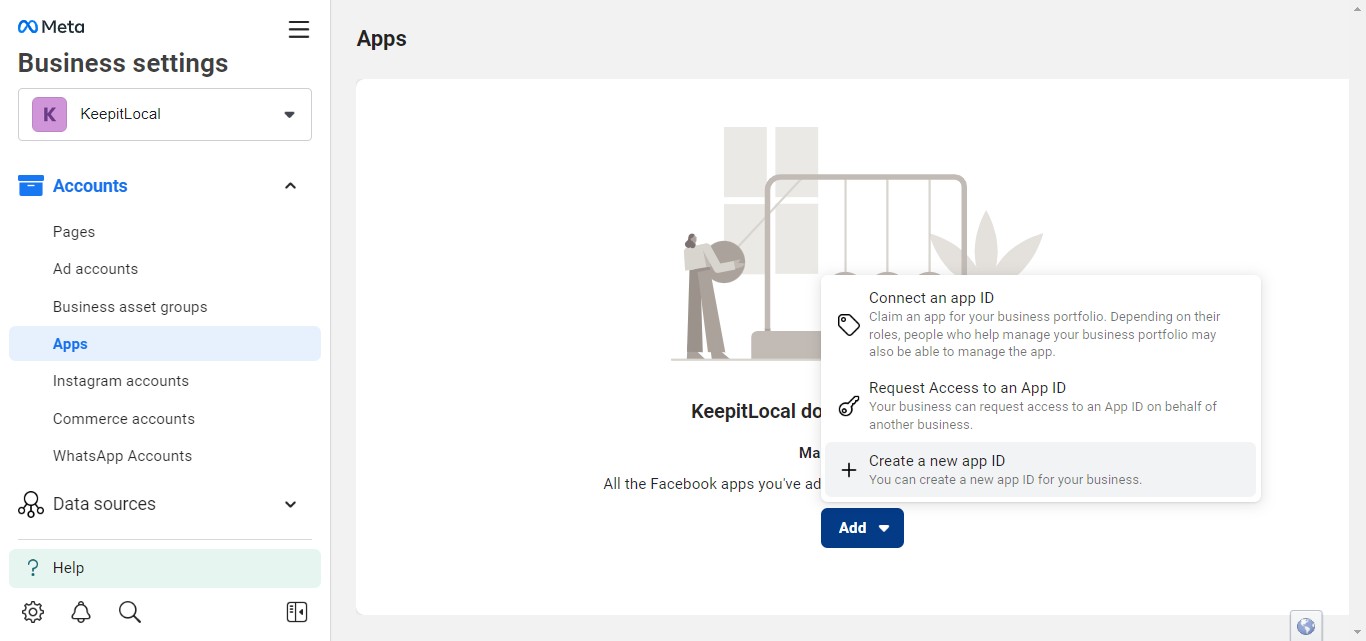
Click on "Apps"
Click on "Add"
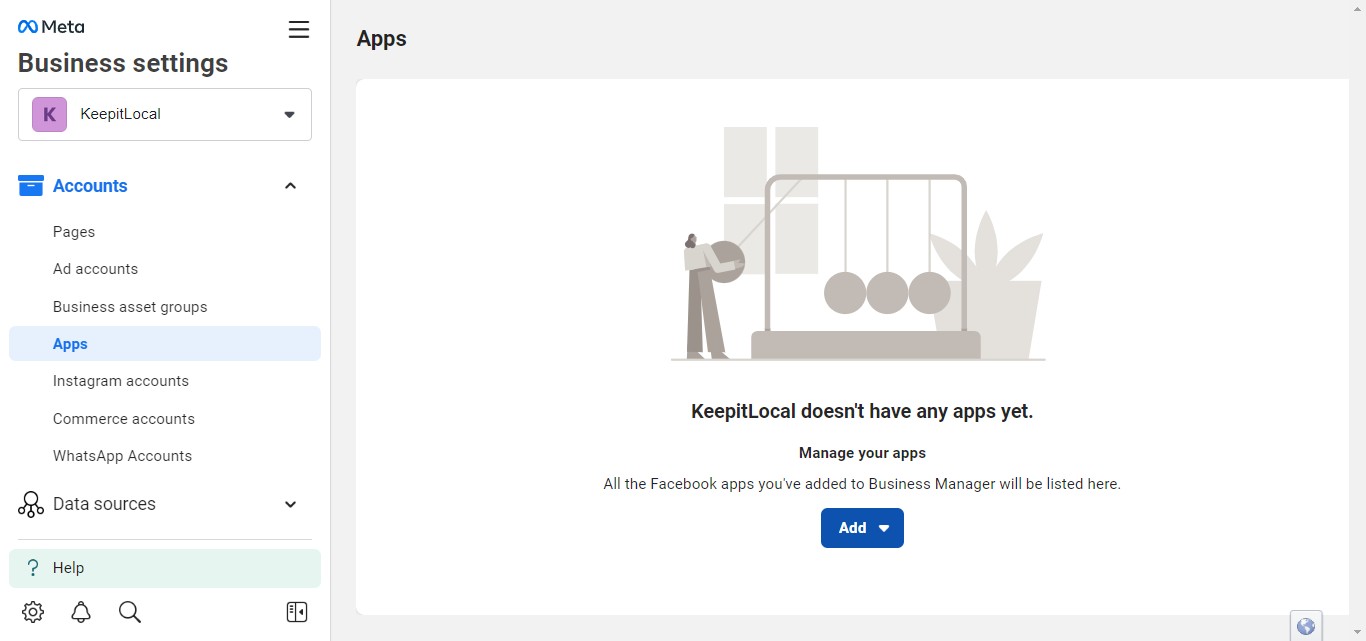
Click on "Create a new app ID."
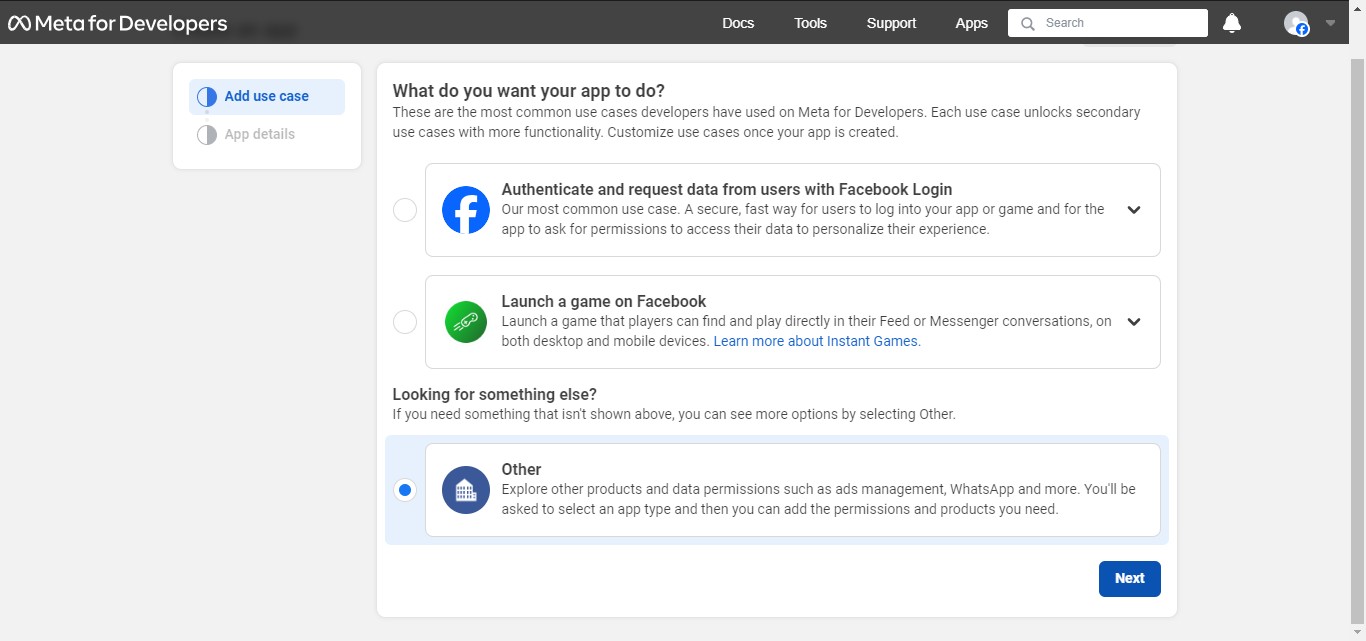
Click on "Other"

Click on "Next"
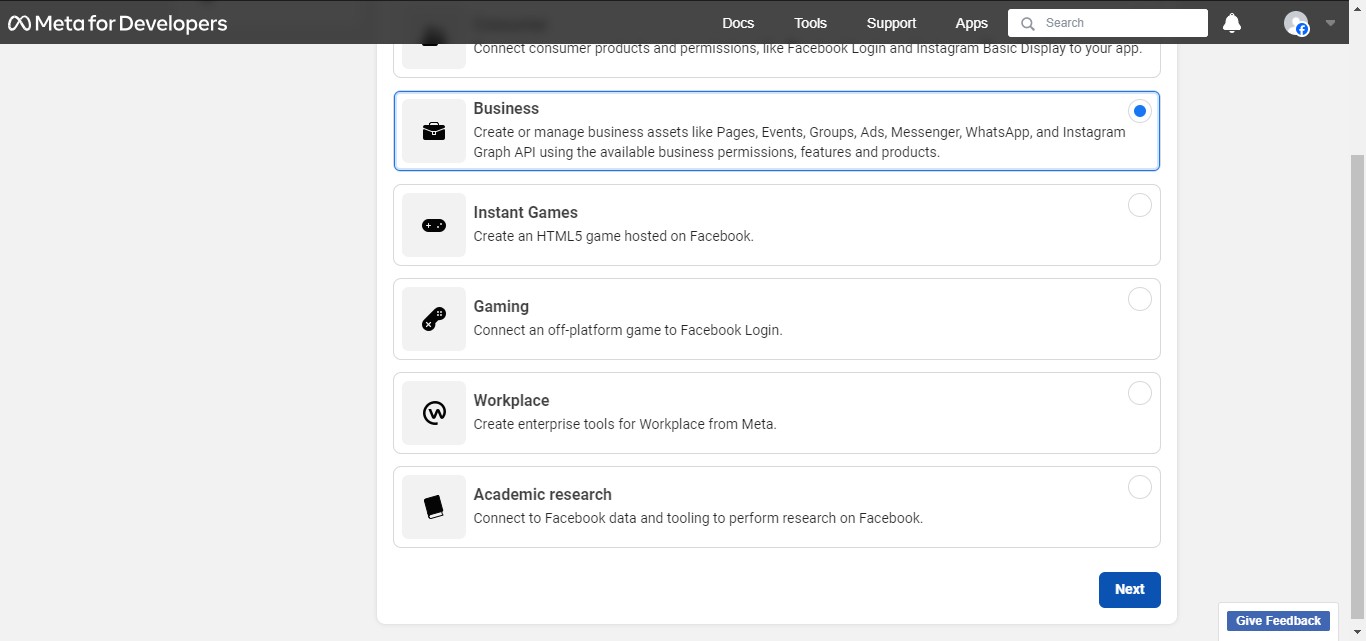
Click on "Business"
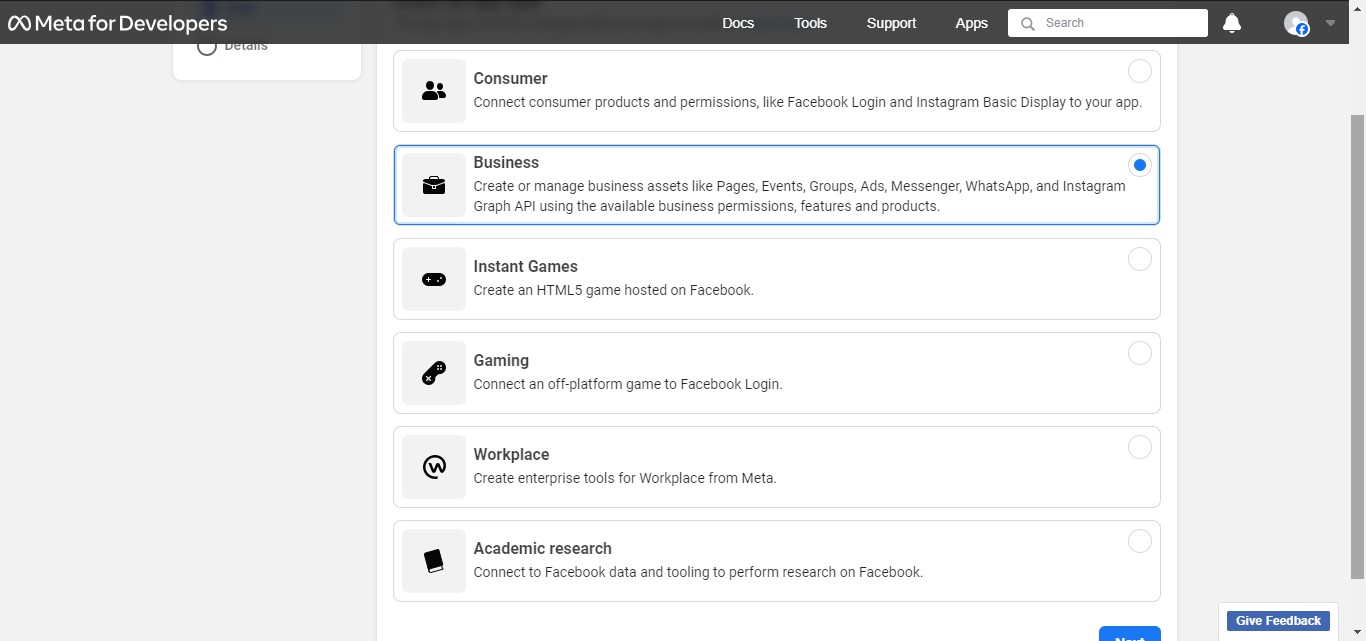
Click on "Next"
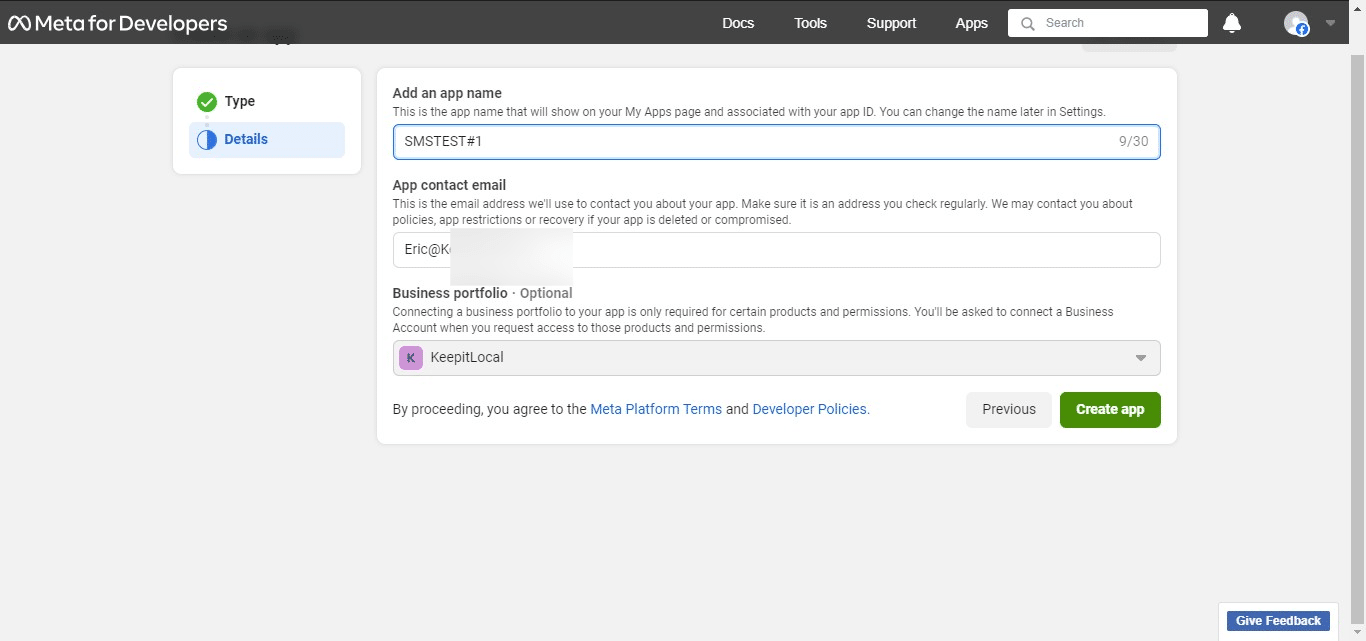
Name your app in the "Add an app name" field.
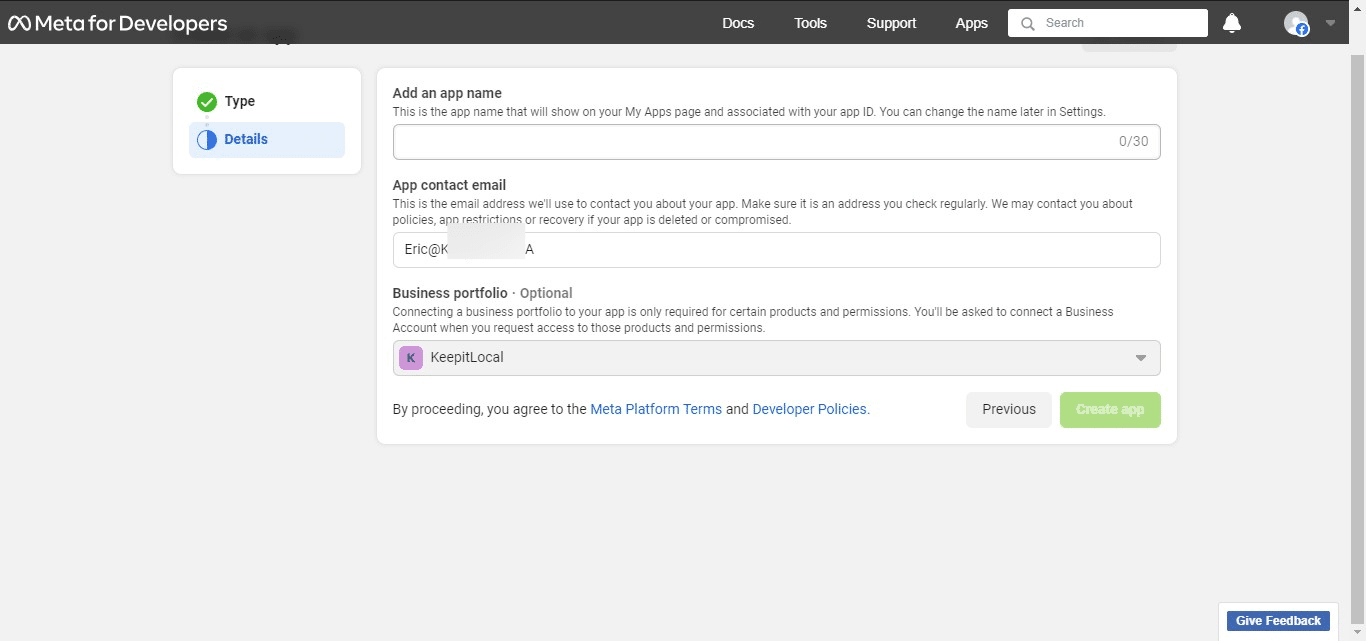
Click on "Create app"
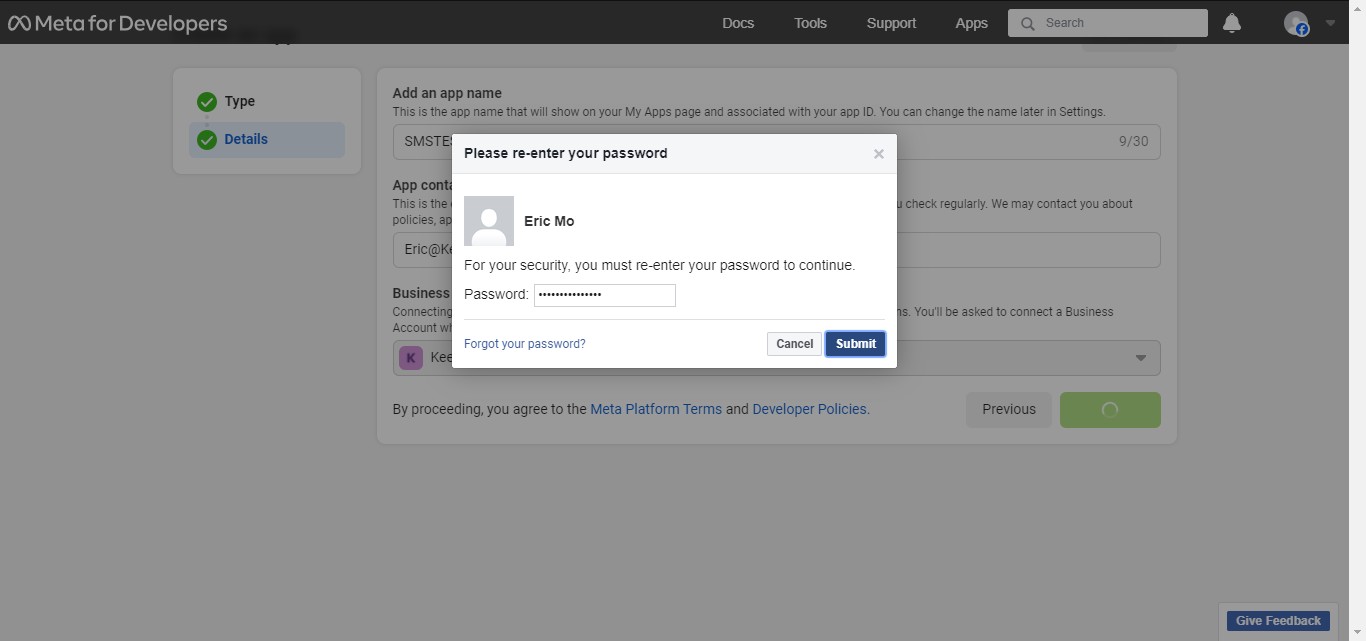
You'll be required to re-enter your password.
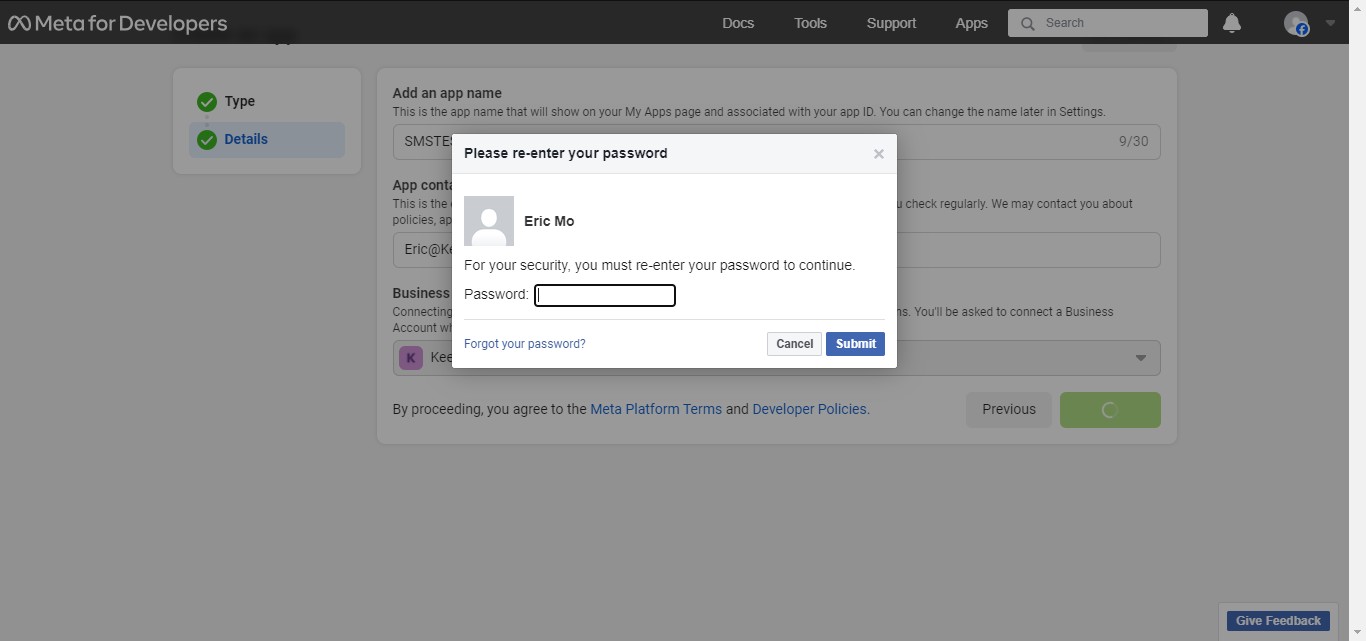
Click on "Submit"
Your App has been created navigate back to: https://business.facebook.com/settings/system-users/
Create Token
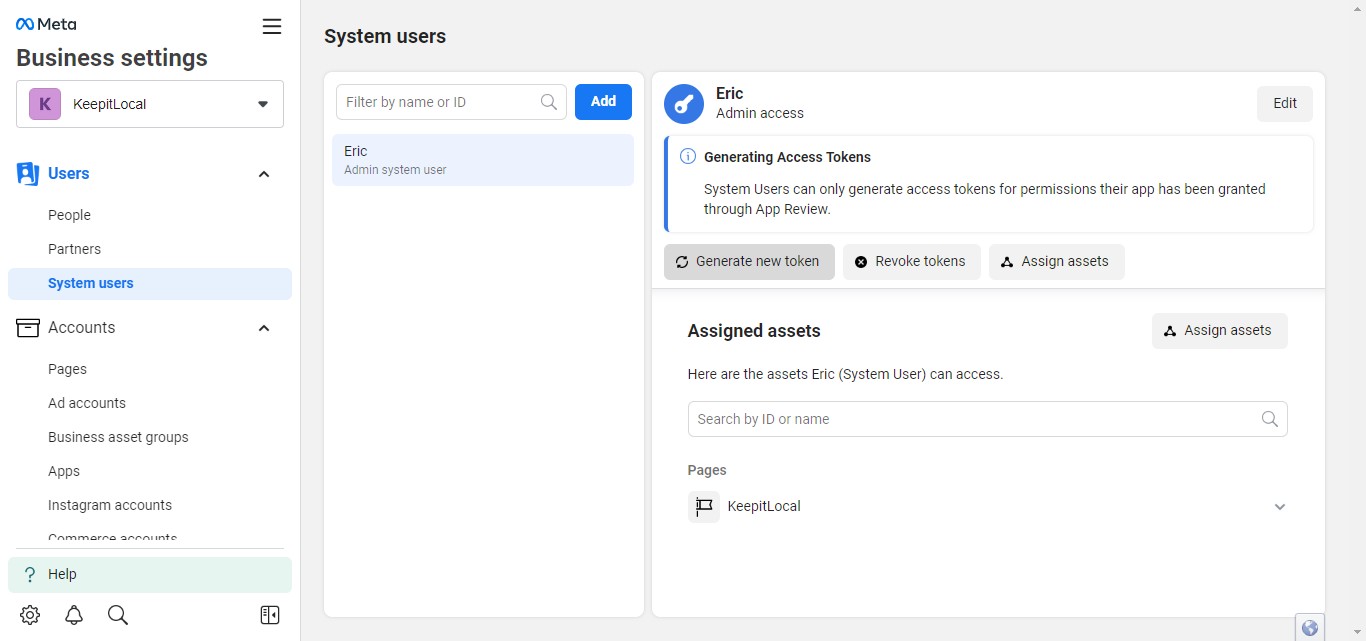
Navigate back to: https://business.facebook.com/settings/system-users/
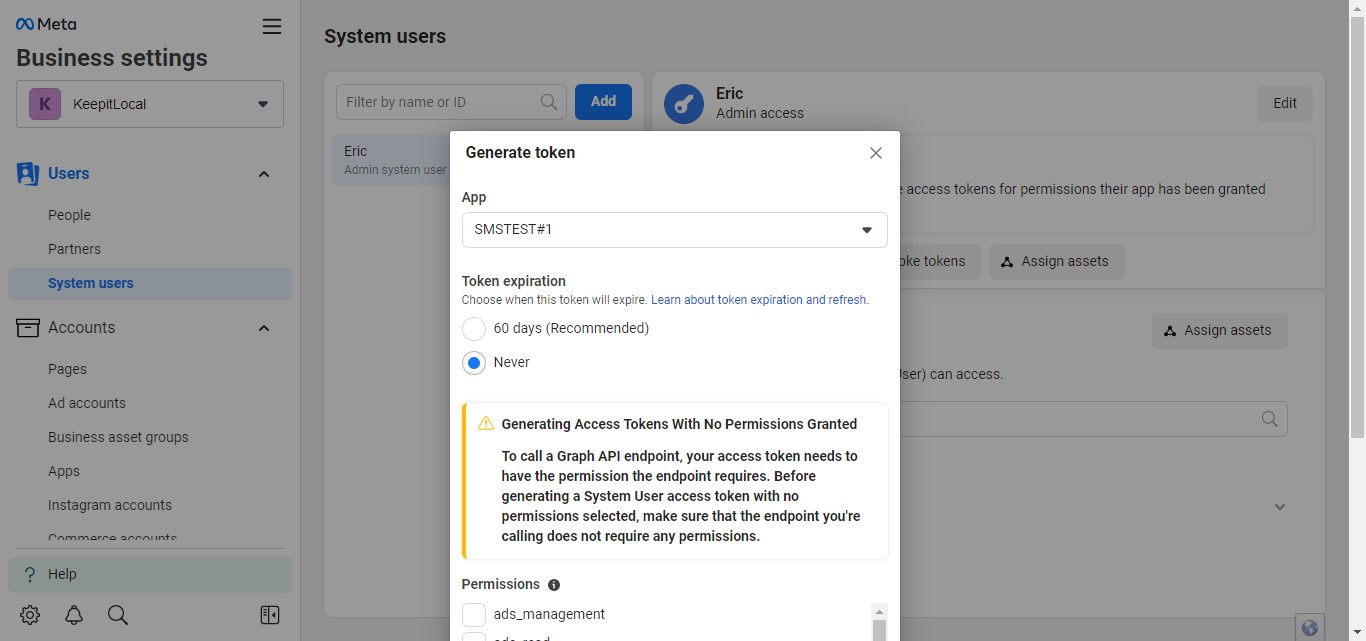
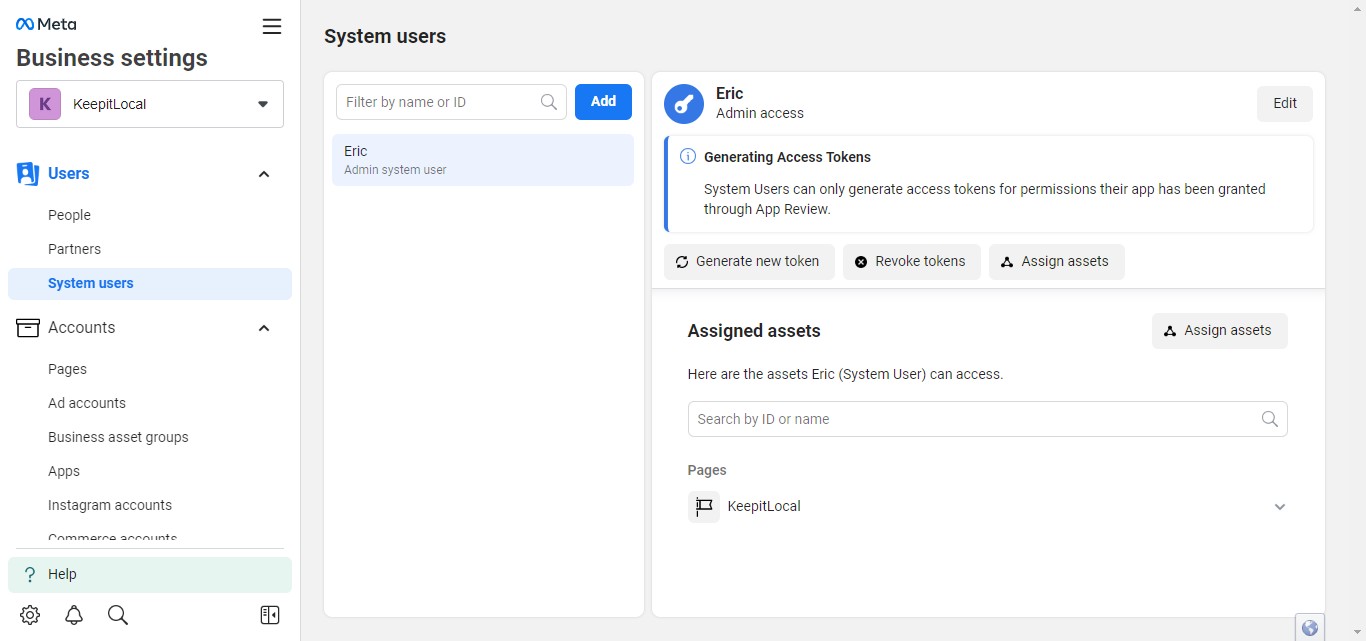
Click on "Generate new token"
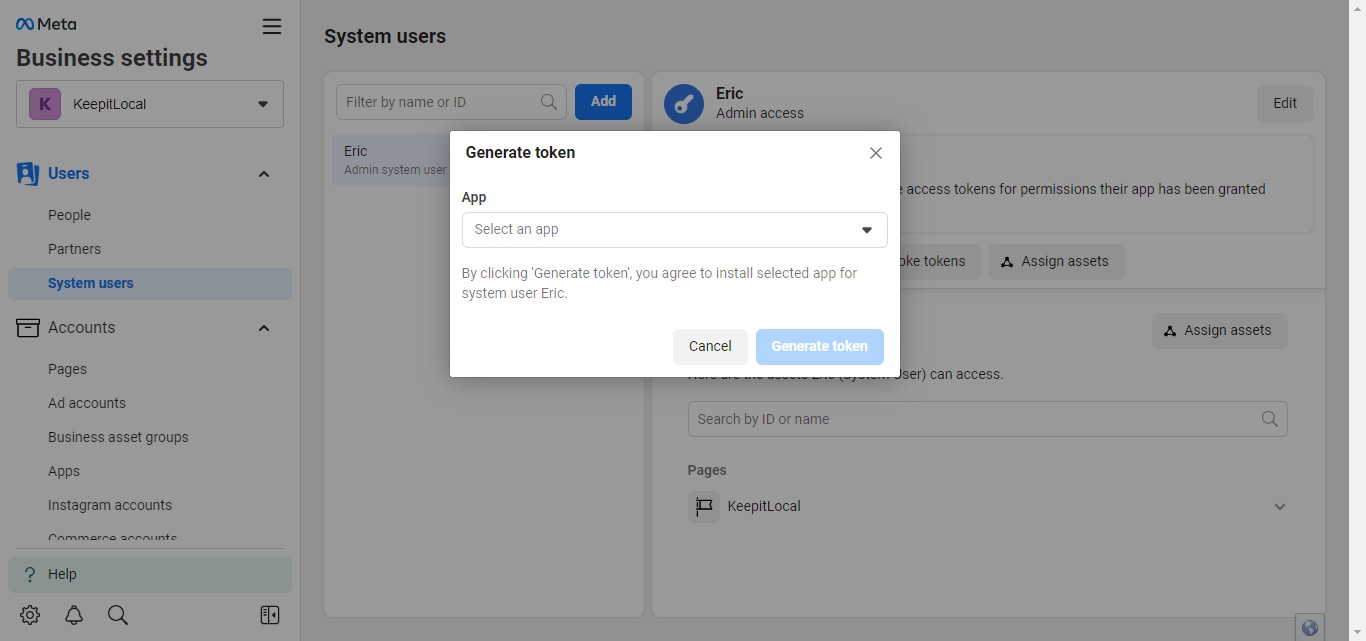
Click on "Select an app"
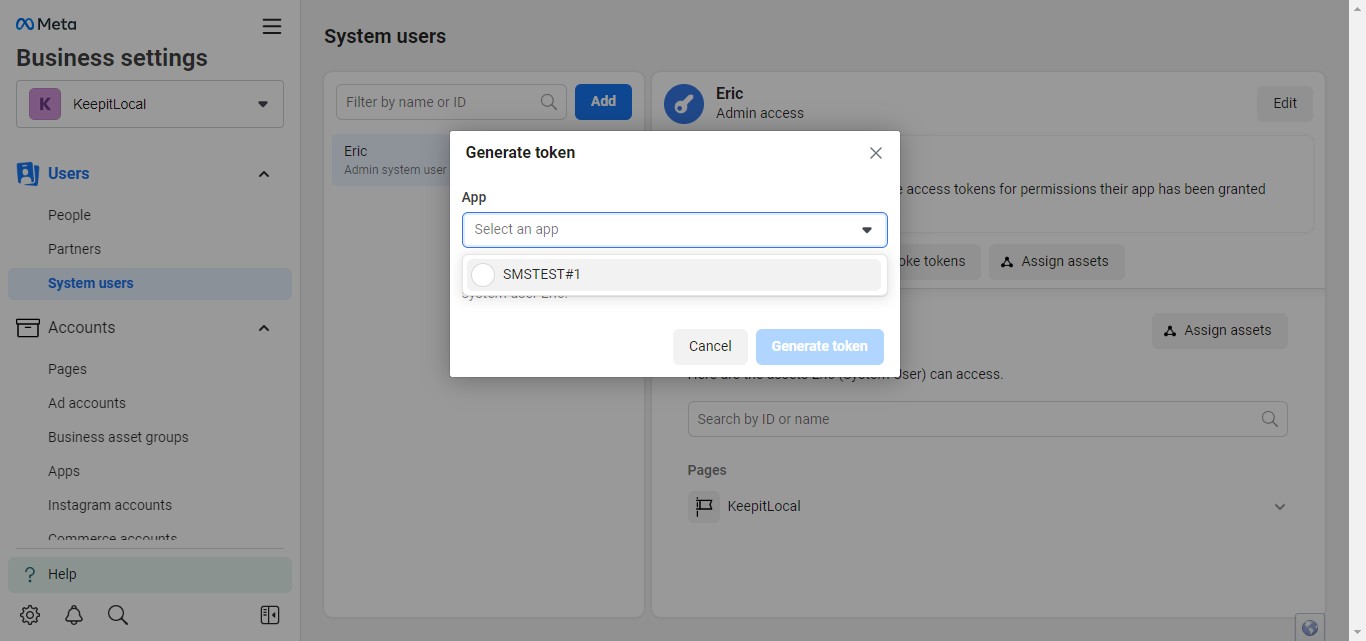
Click on "Your New App" that you just created.
Click on "Never" expires.
Scroll down.
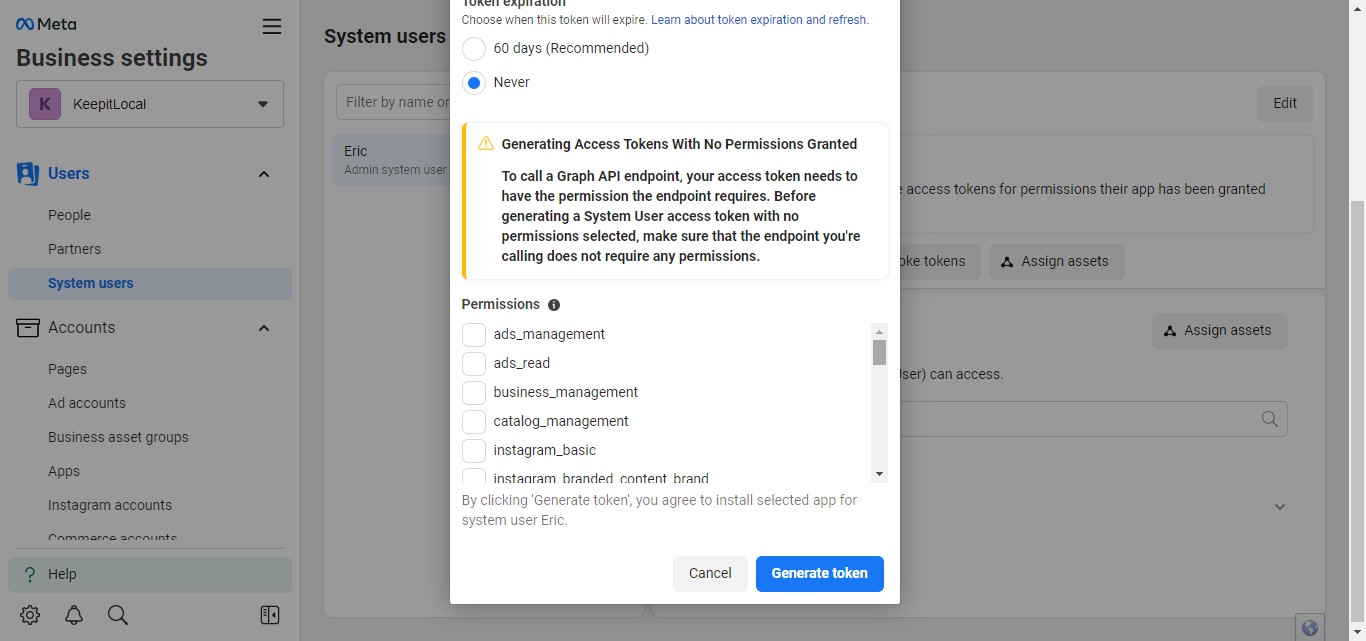
Select "whatsapp_business_management" and "whatsapp_business_messaging"
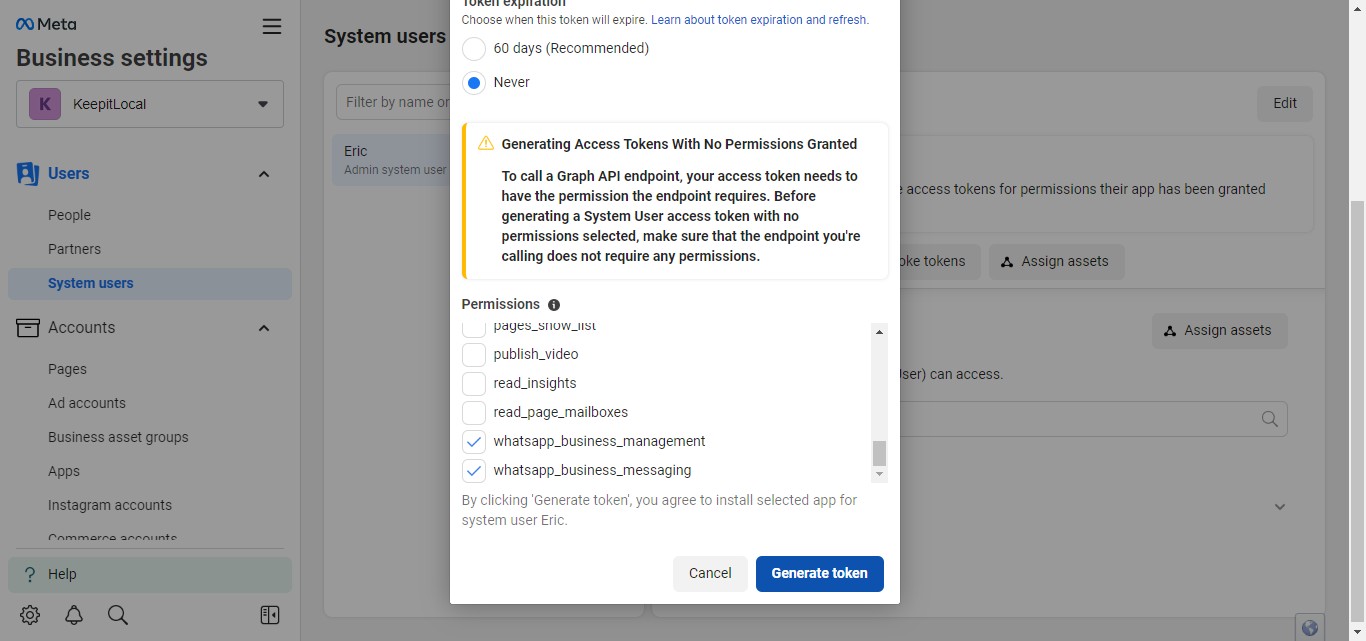
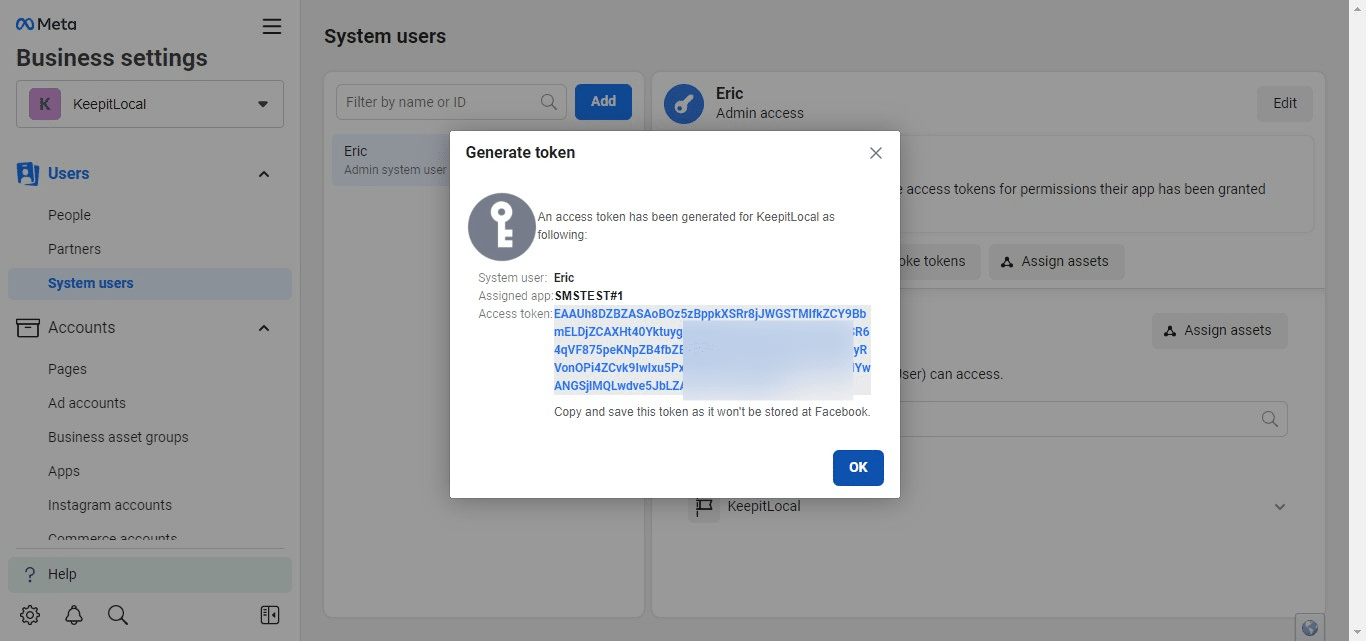
Click on "Generate token"
Do not click on "OK" until you have copied your token.
Before proceeding, manually highlight and copy your token. Do not click "OK" before copying it and pasting it into the SMS-iT field labeled "Access Token".

Paste into "Access Token"
Click on "OK"
Token copy/pasted.
Take App "Live"
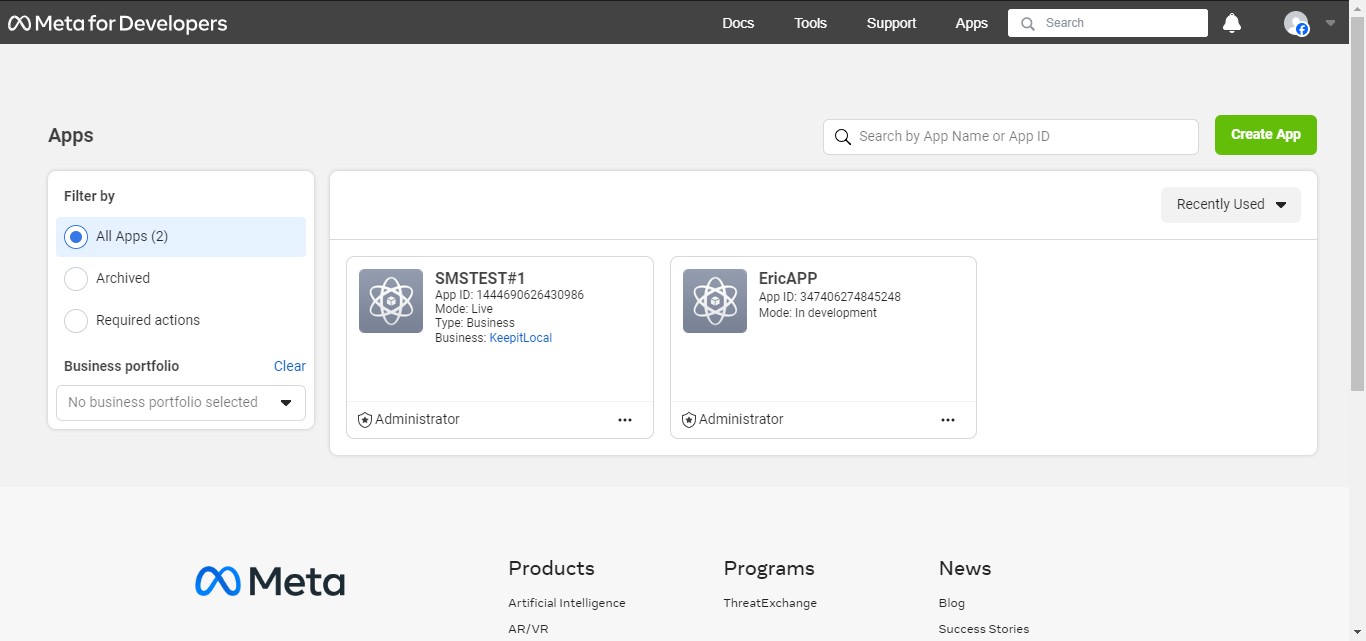
Navigate to: https://developers.facebook.com/
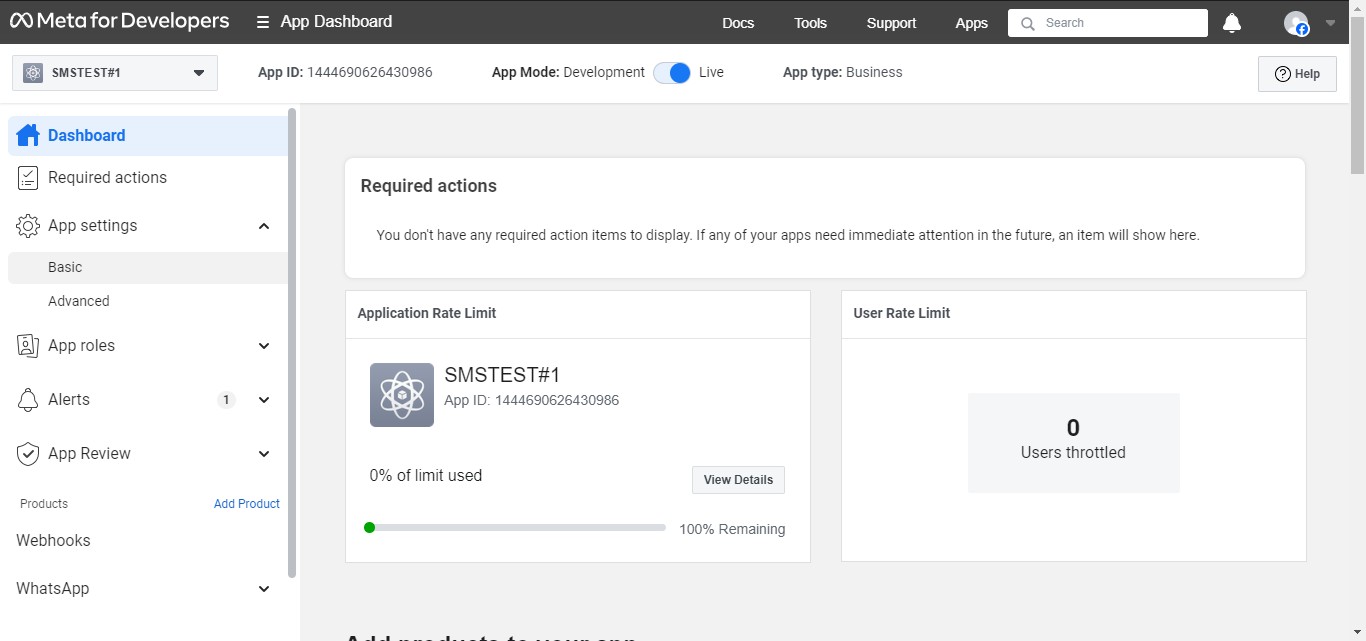
Click on "My Apps"
Click on image
Click on "App settings"

Click on "Basic"
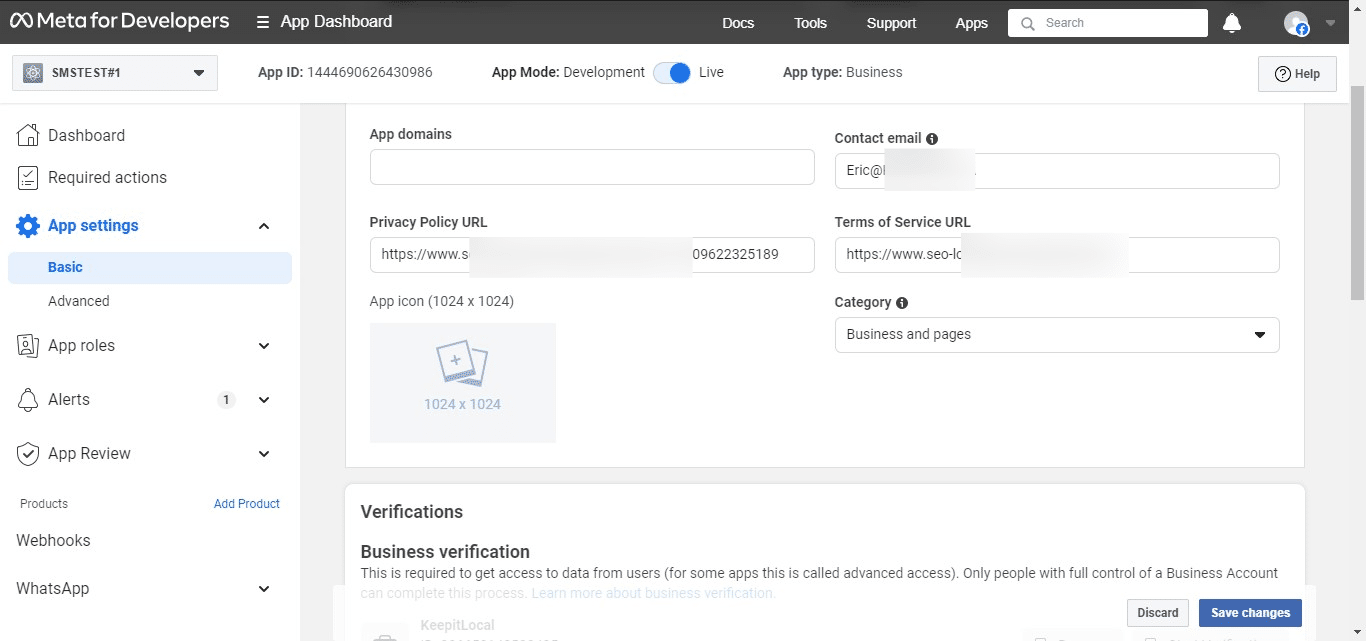
Paste your Privacy Policy URL into the field.
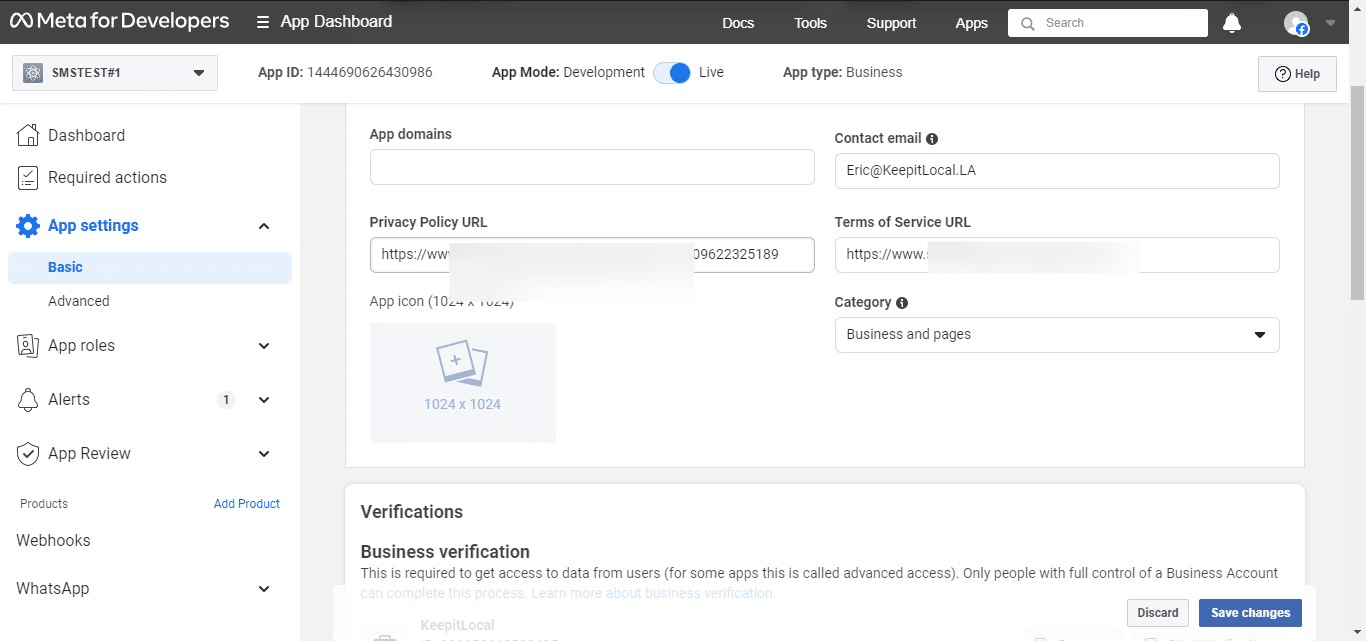
Paste your "Terms of Service URL" into the field.

Click on "Save changes"
This should be all the fields required to go "Live". If you need other requirements follow the Facebook prompts.
Get WhatsApp API details.
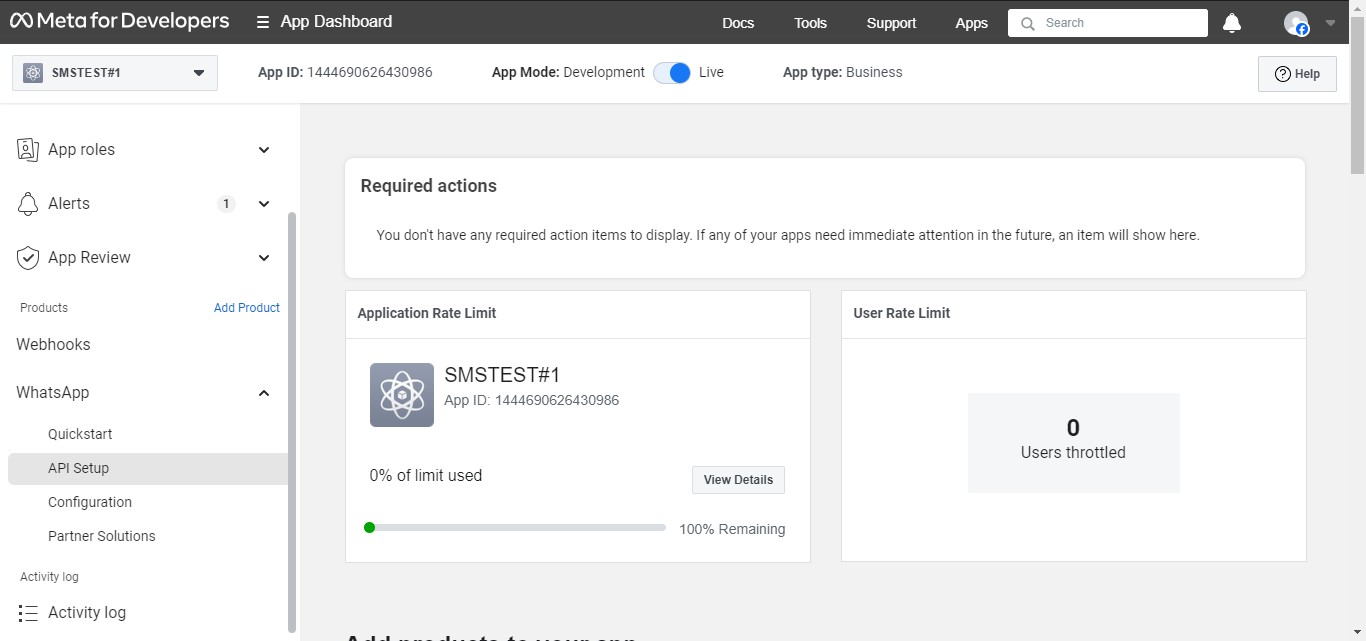
Click on "Whatsapp"
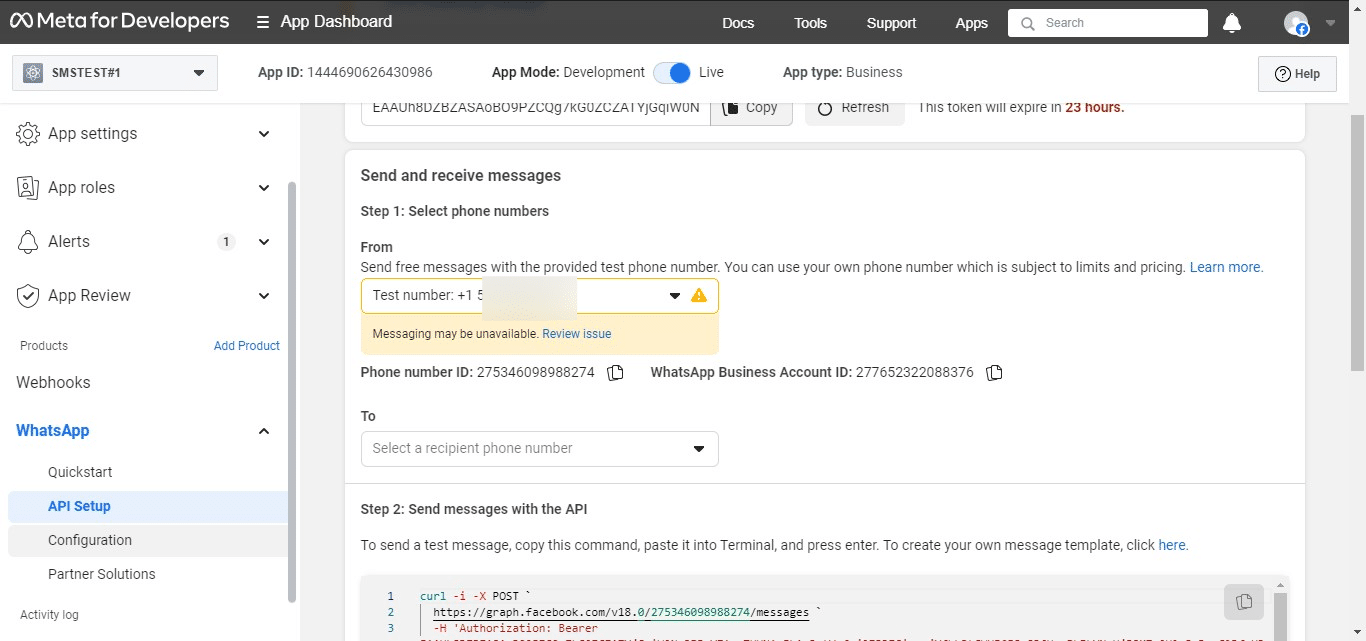
Click on "API Setup"
Click on "Whatsapp Business Account ID"
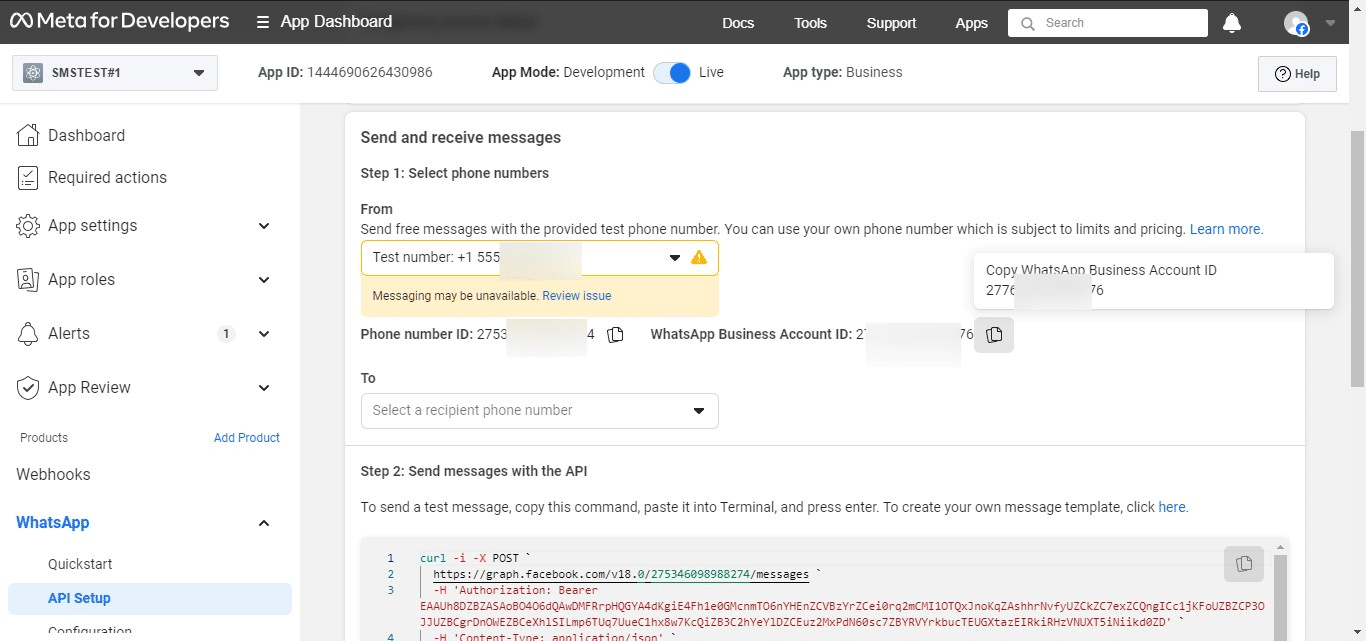
Paste into "WhatsApp Business Account ID"
Copy "Phone number ID"
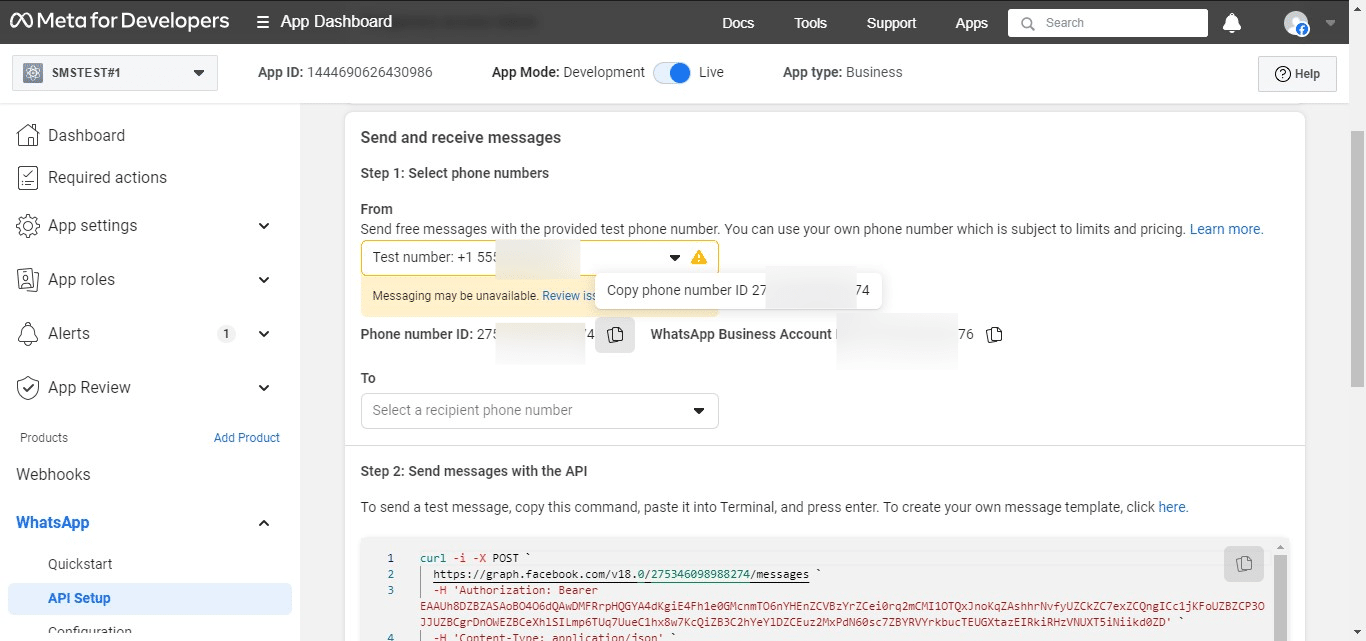
Paste into "Phone number ID"
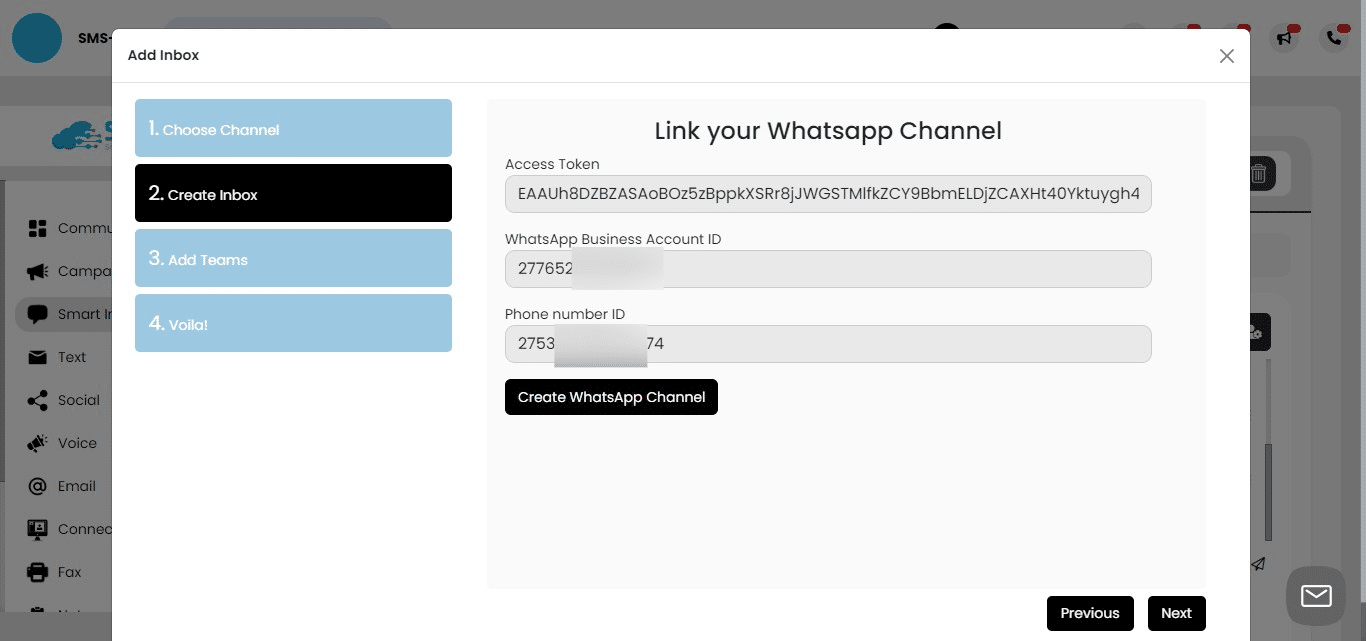
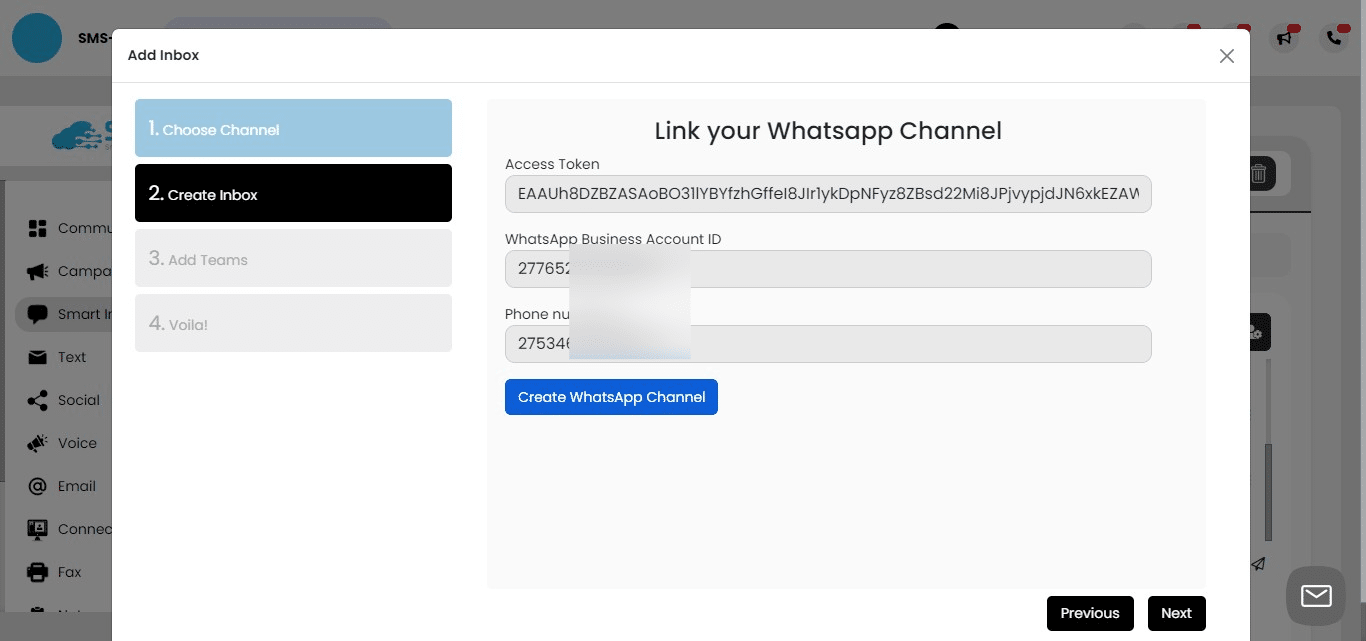
Click on "Create WhatsApp "
Click on "Create WhatsApp Channel" "
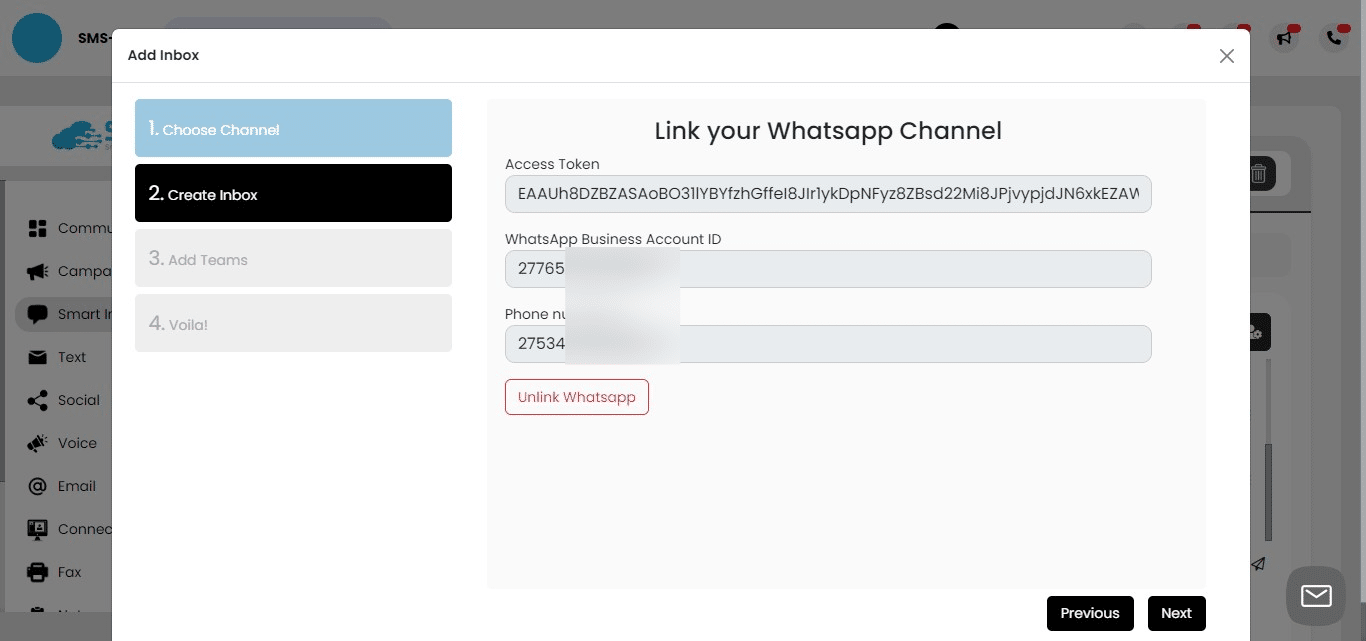
Channel connected. Note: You'll see the "Unlink Whatsapp" icon if the system is linked.
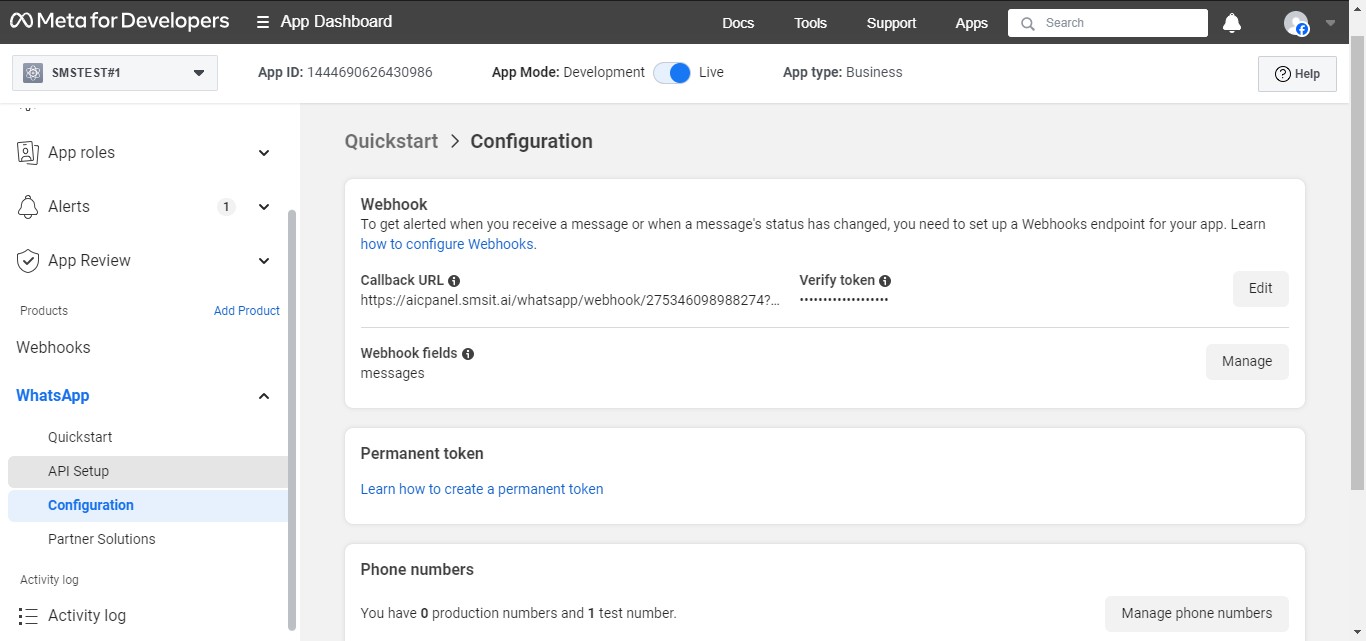
Add Webhook and Verify Token
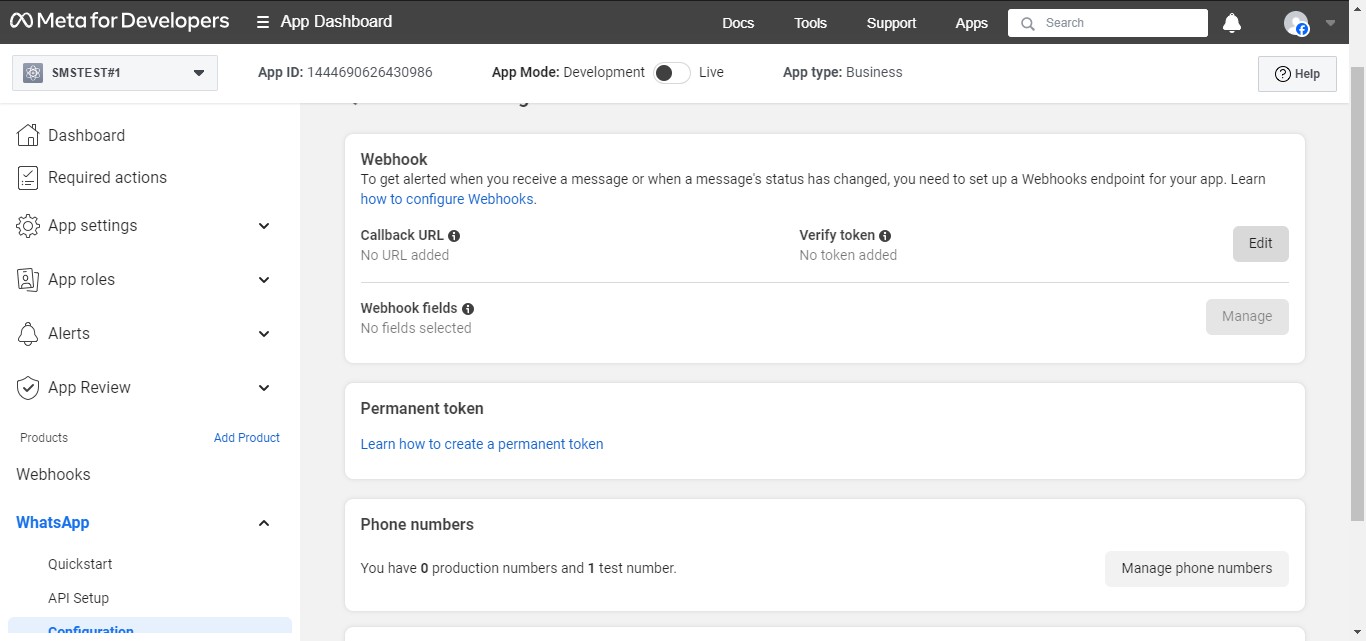
Click on "Configuration"
Click on "Continue"

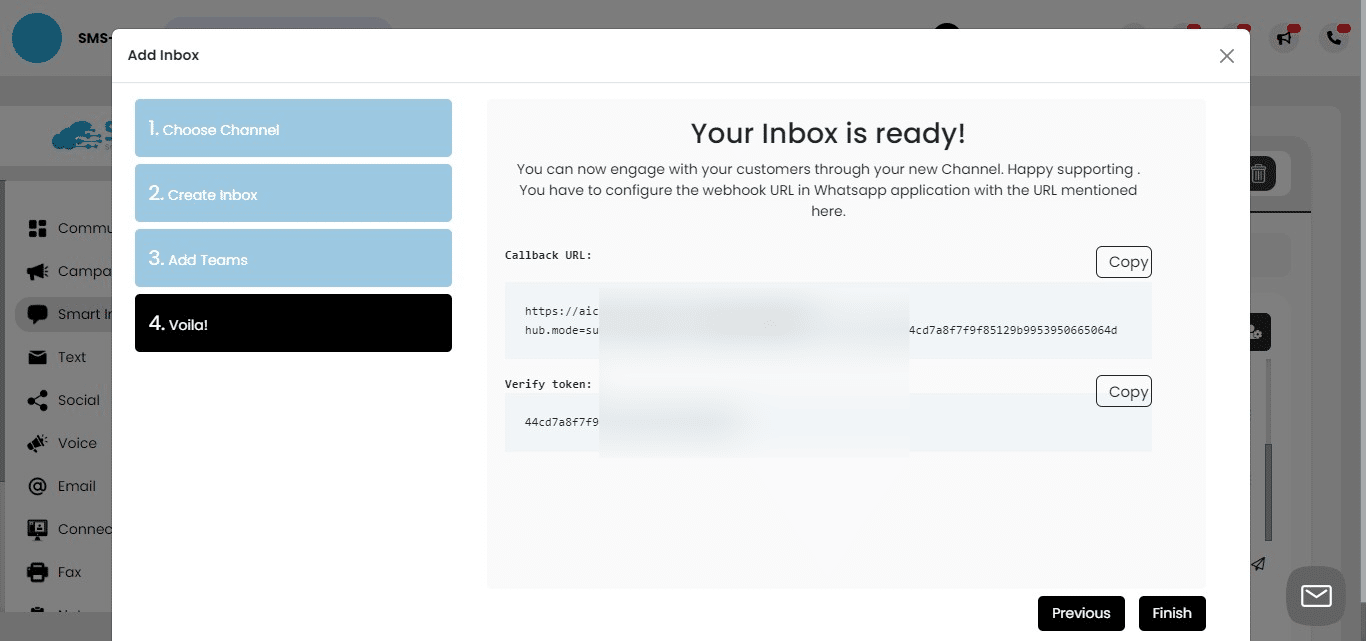
We'll retrieve Callback URL and Verify Token

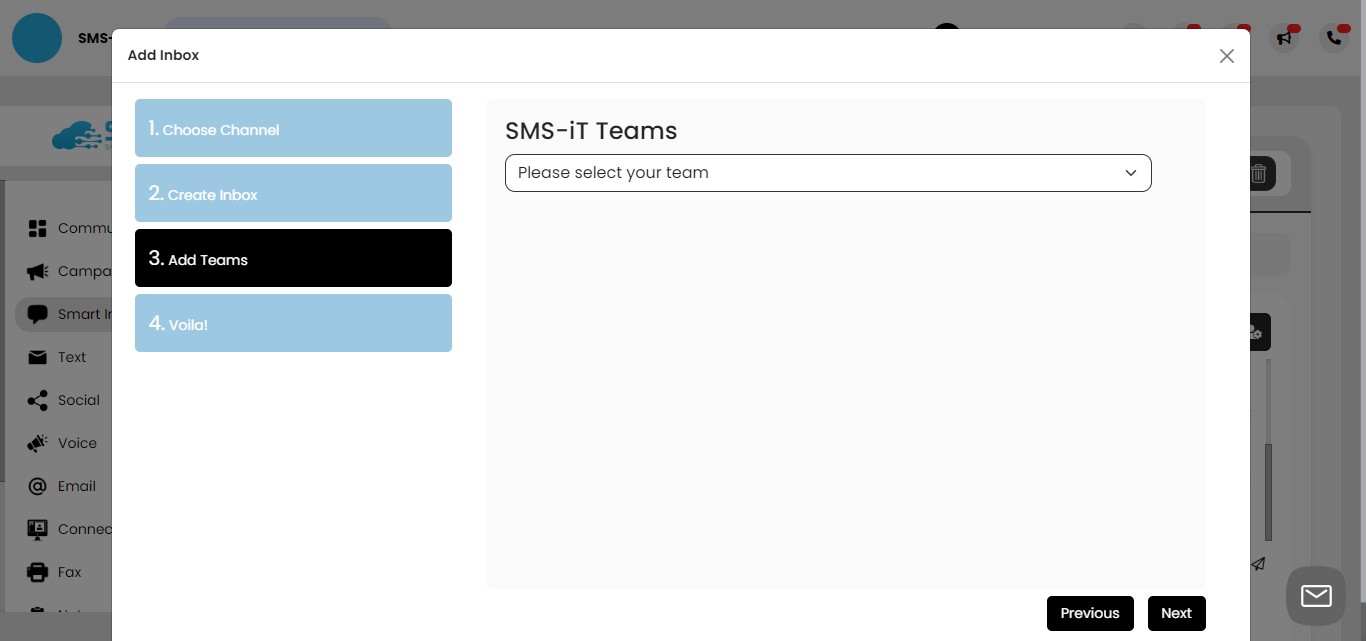
Click on "Next"
Click on "Next"
Click on "Copy" Callback URL

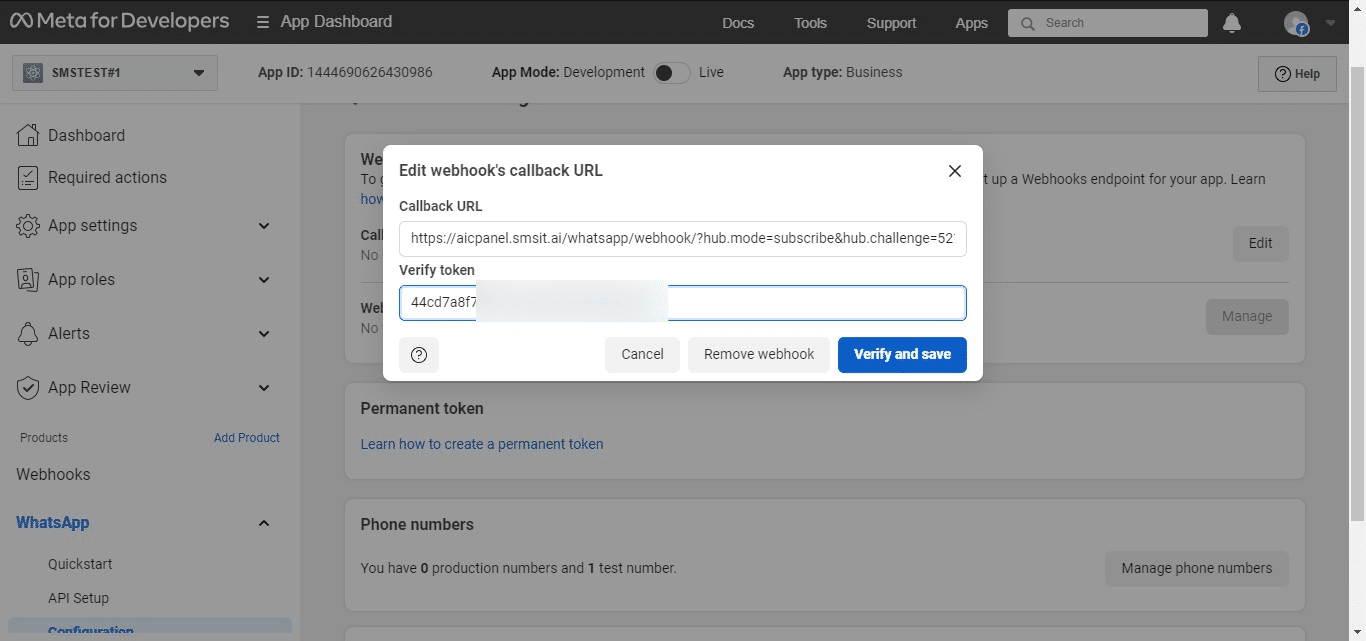
Click on "Edit"
Paste "Callback URL"
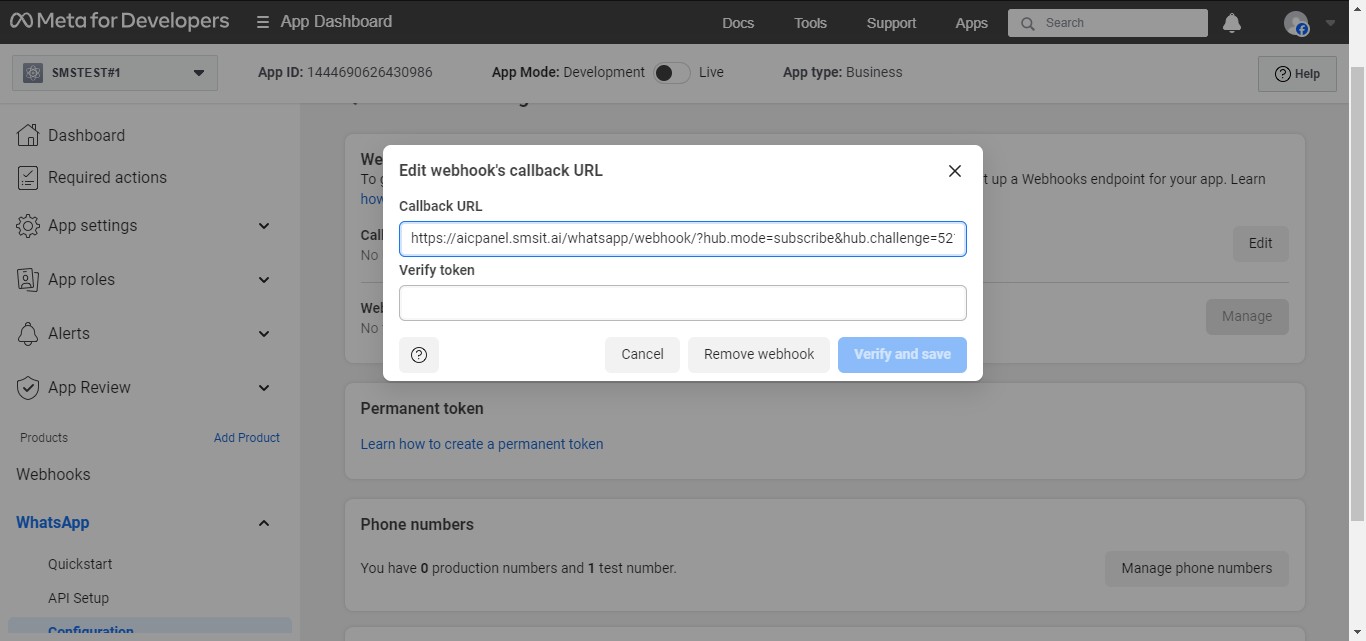
Click on "Copy" Verify Token.
Paste "Verify Token" and click "Verify and save"
Your webhook is verified
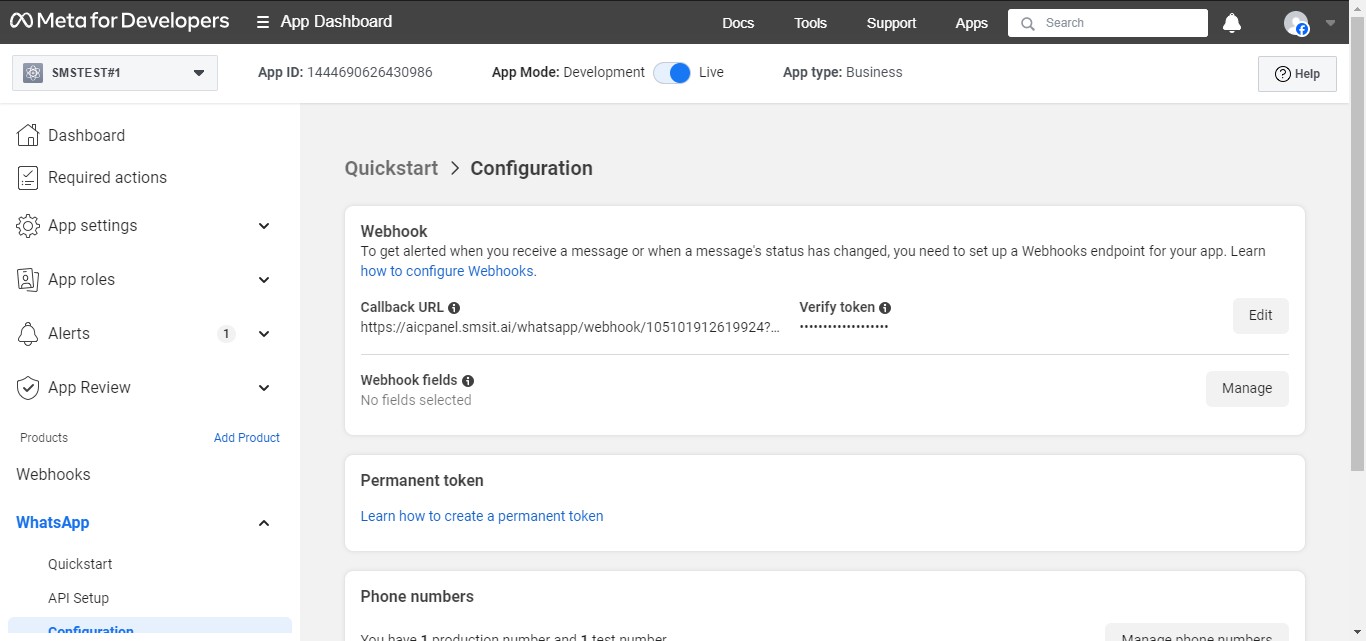
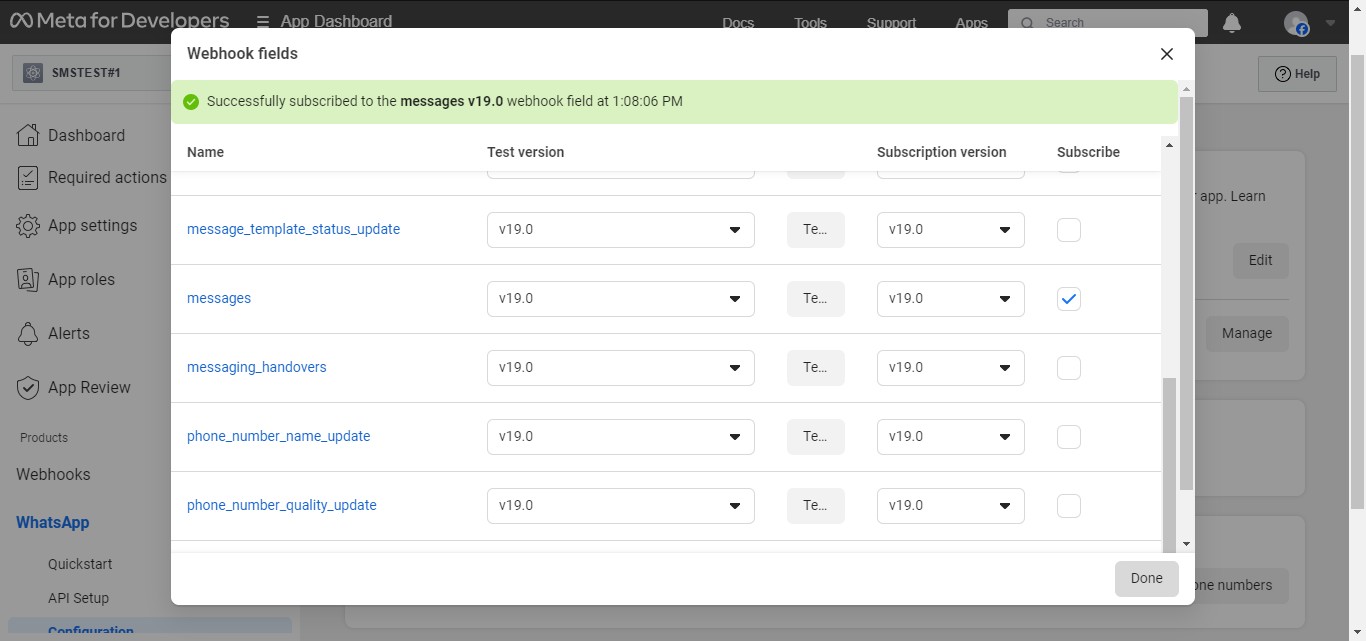
Click on "Manage"
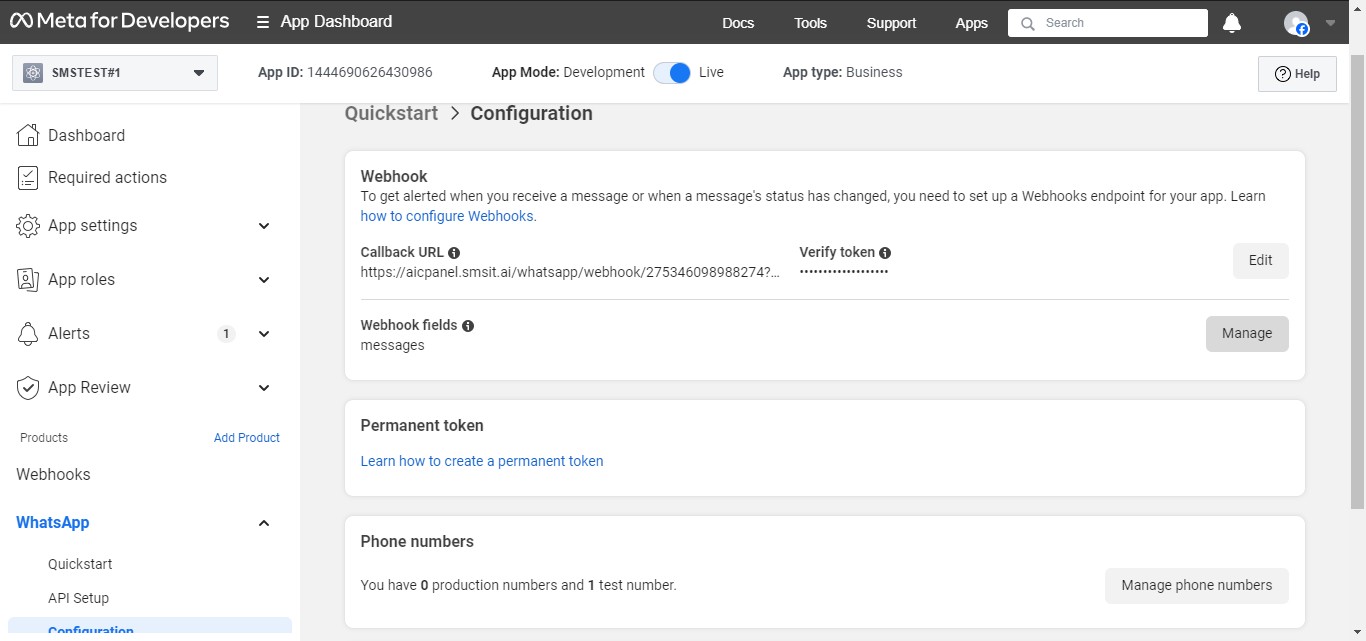
Scroll down.
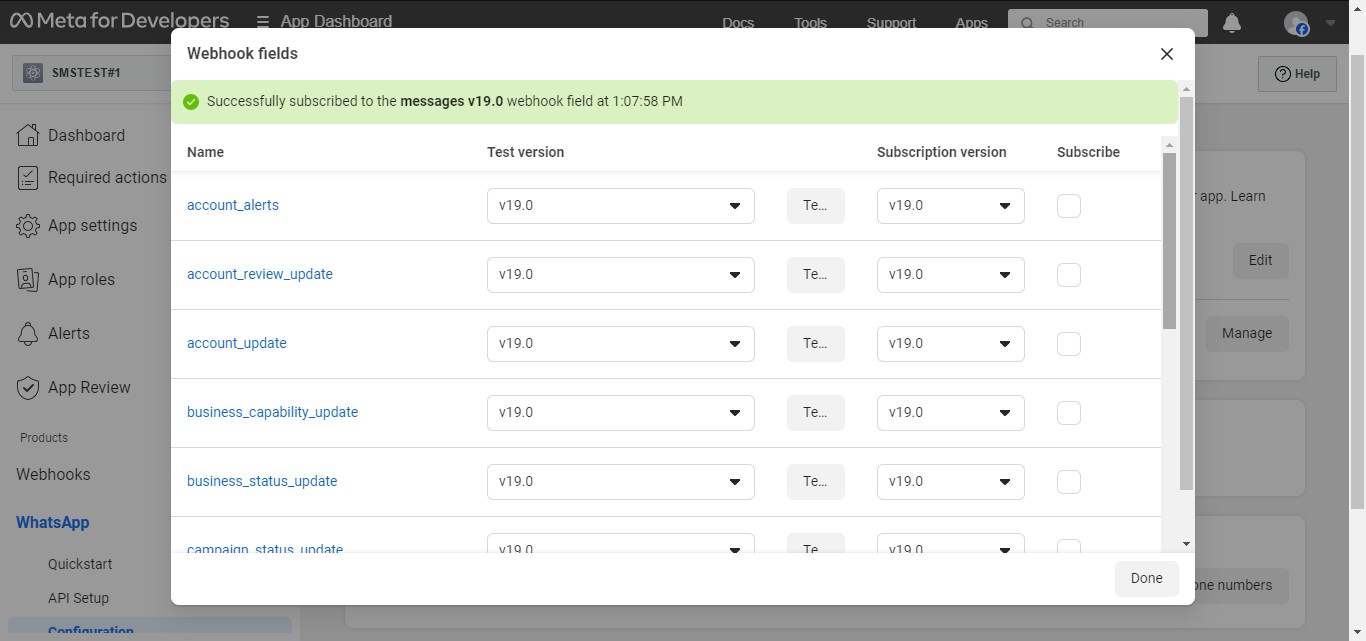
Click here

Click on "Done"
Ready to test.

Test SMS-iT inbox
First, we will verify a WhatsApp number in Facebook. Then, we will test that number in Facebook.
NOTE: Use a WhatsApp number that isn't connected to your Facebook account, such as a personal WhatsApp number.
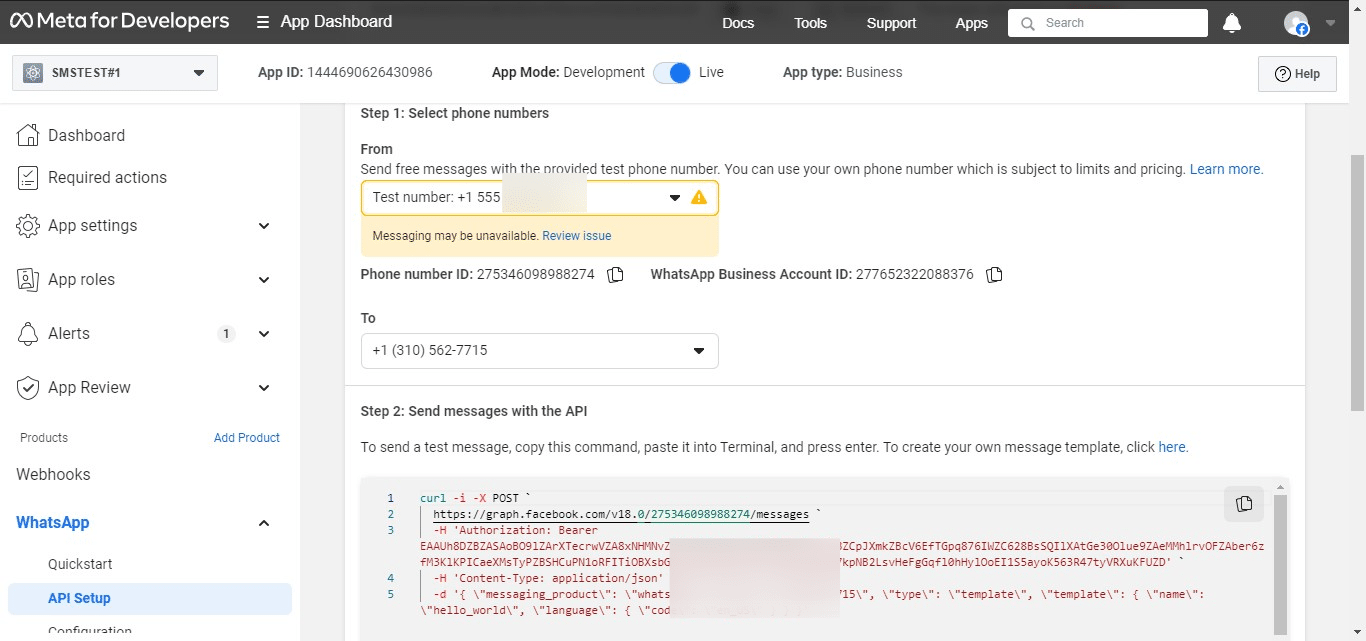
Click on "API Setup"
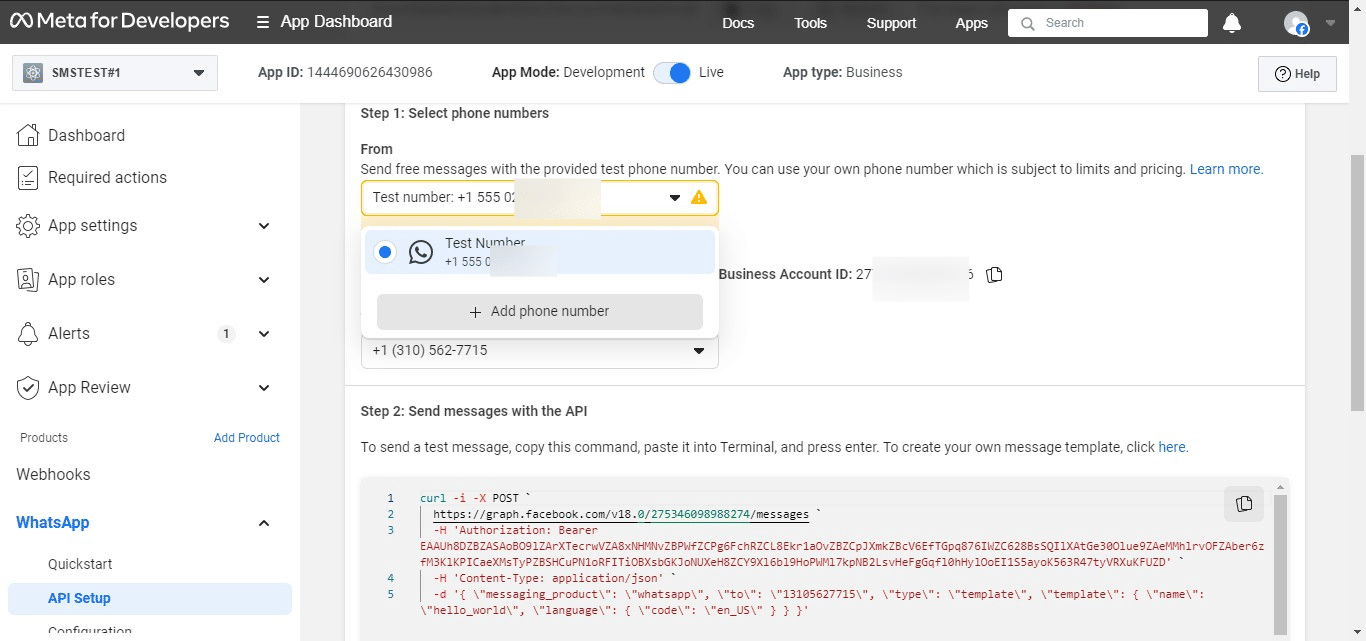
You'll automatically be given a "Test number" to send and receive messages.
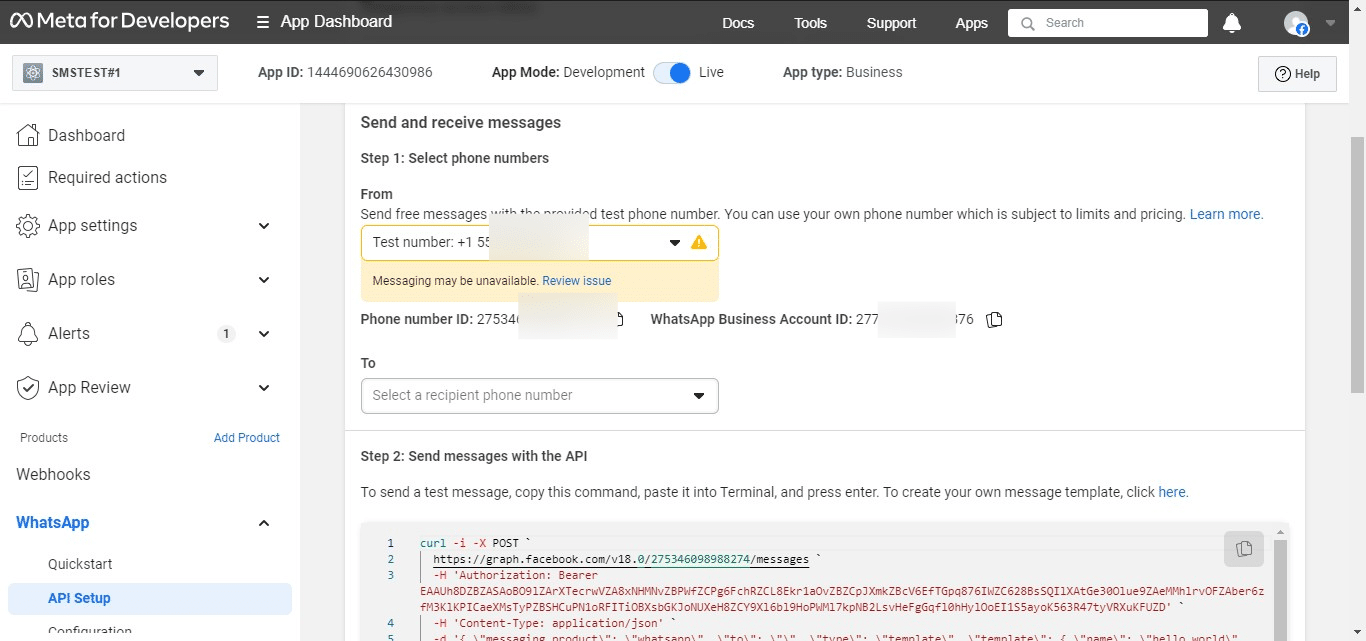
Click on "Select a recipient phone number". In these steps, you'll add a number that is a WhatsApp number that you either own or have access to. This will be your test number to test the SMS-iT system.

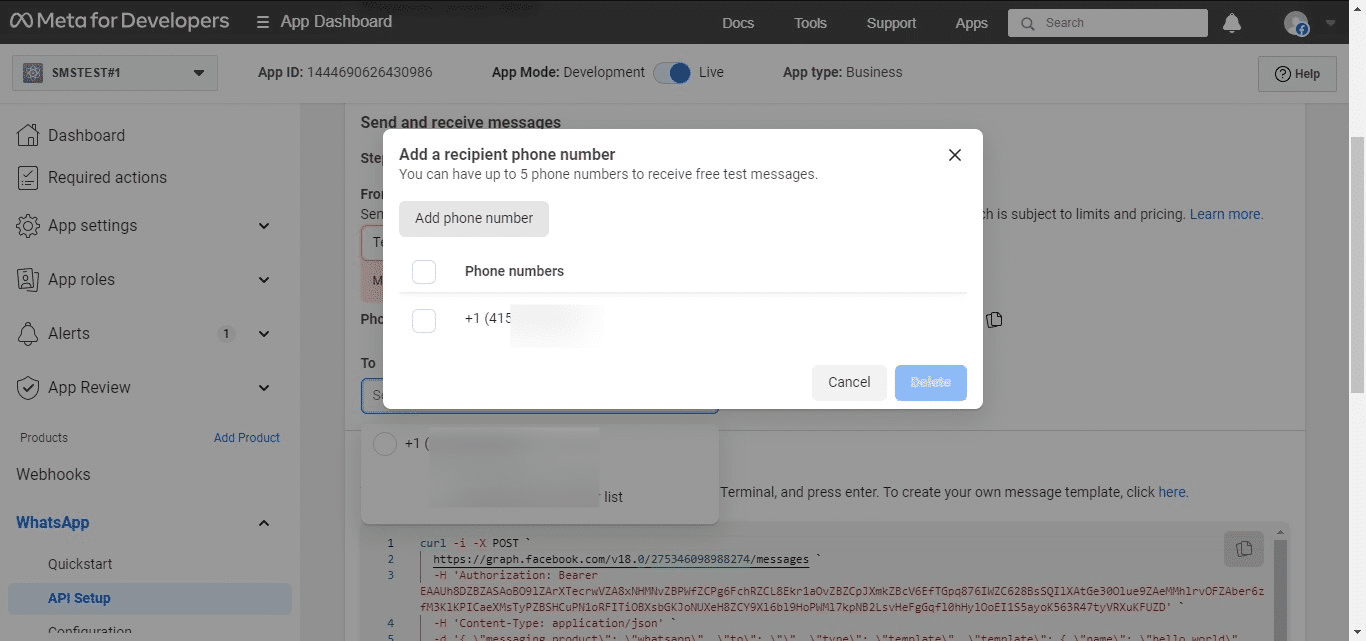
Click on "Manage phone number list"

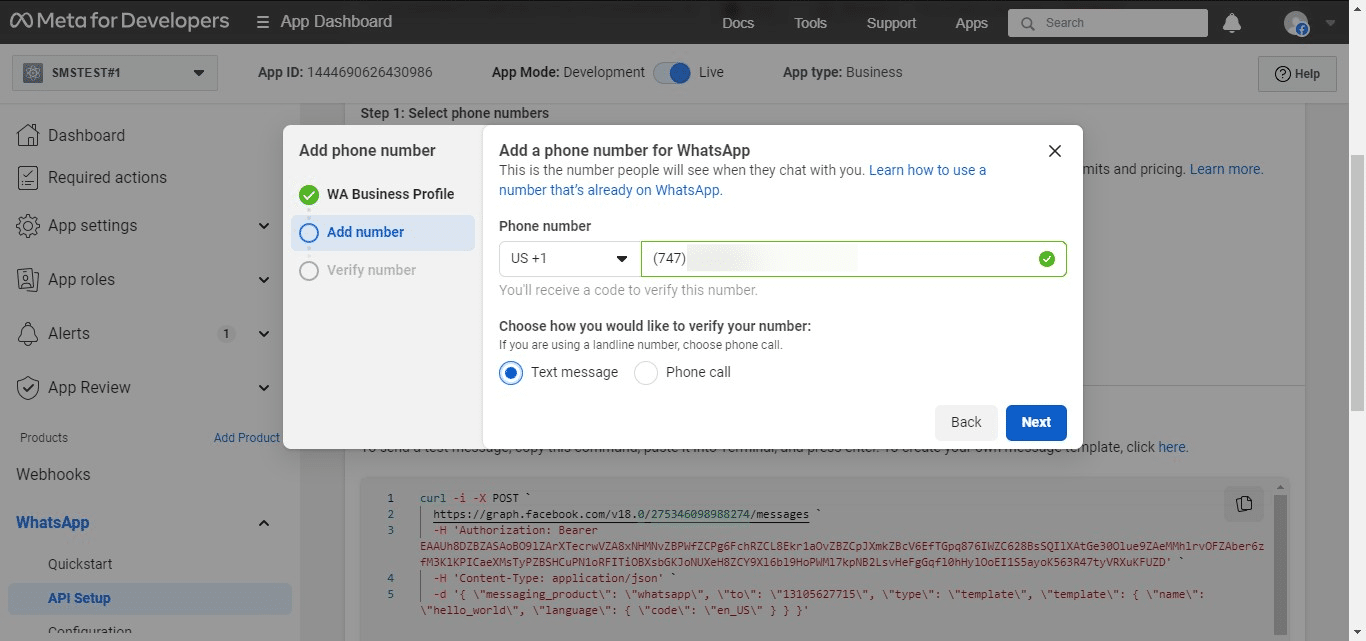
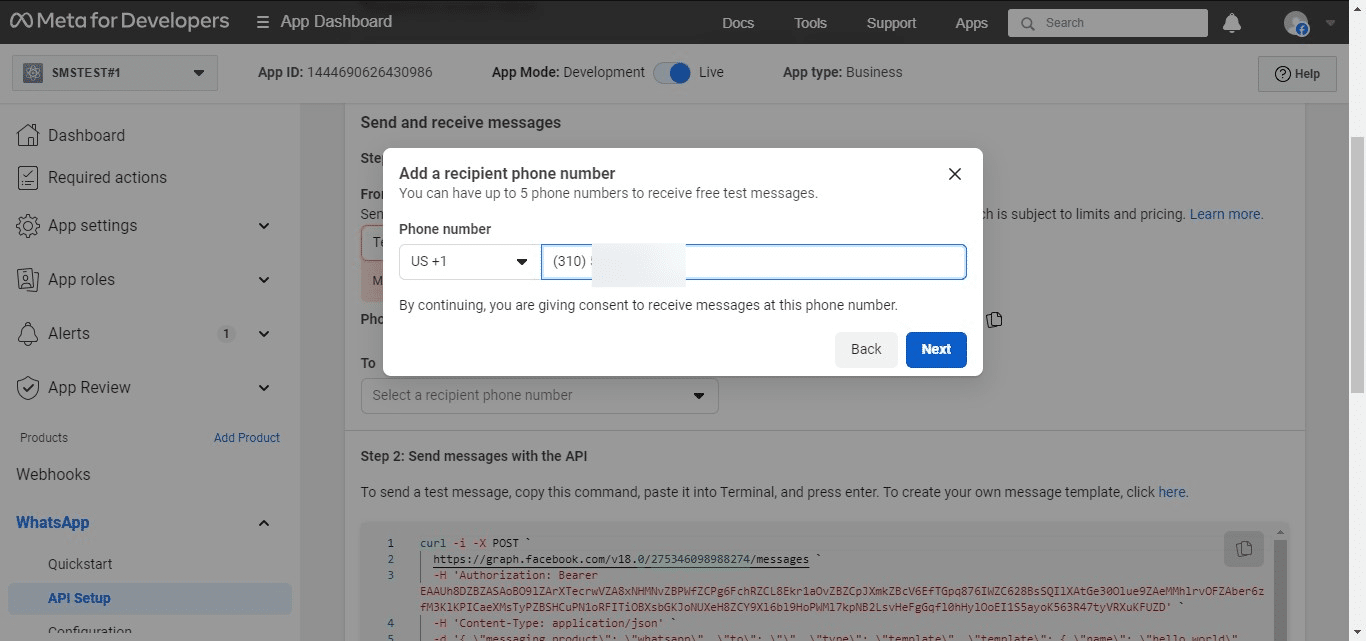
Click on "Add phone number"
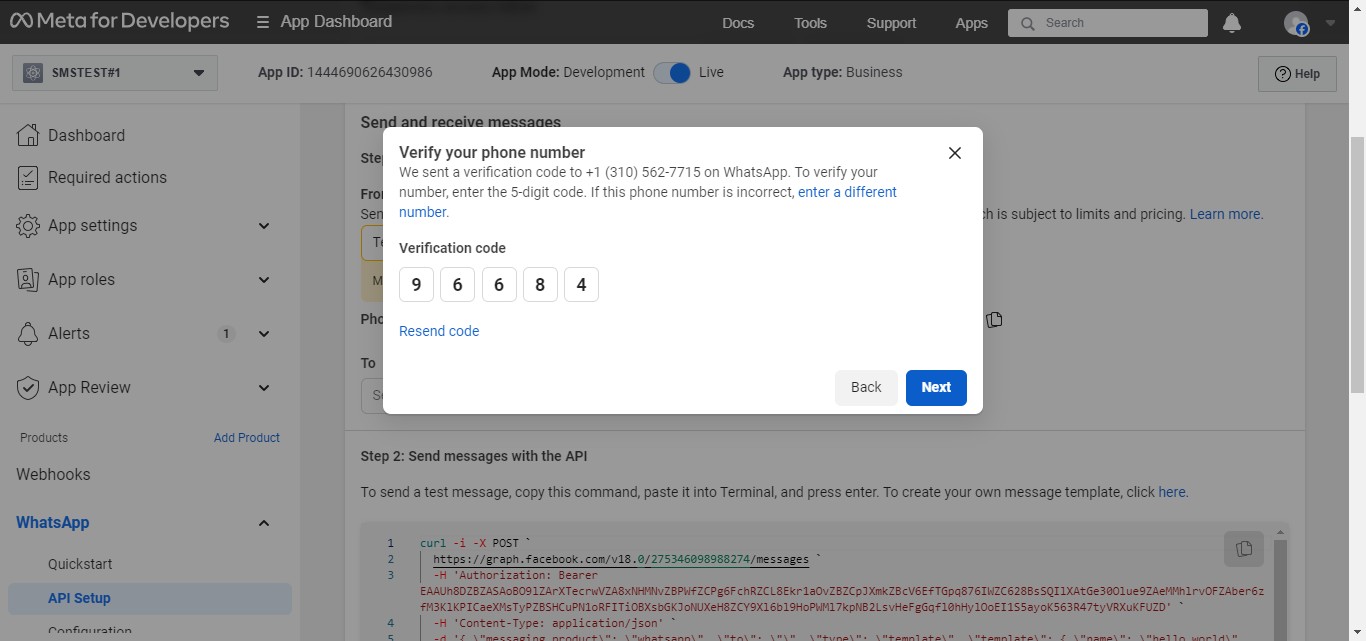
Click on "Next"
You'll get a verification code in your Whatsapp messages on your phone or desktop.
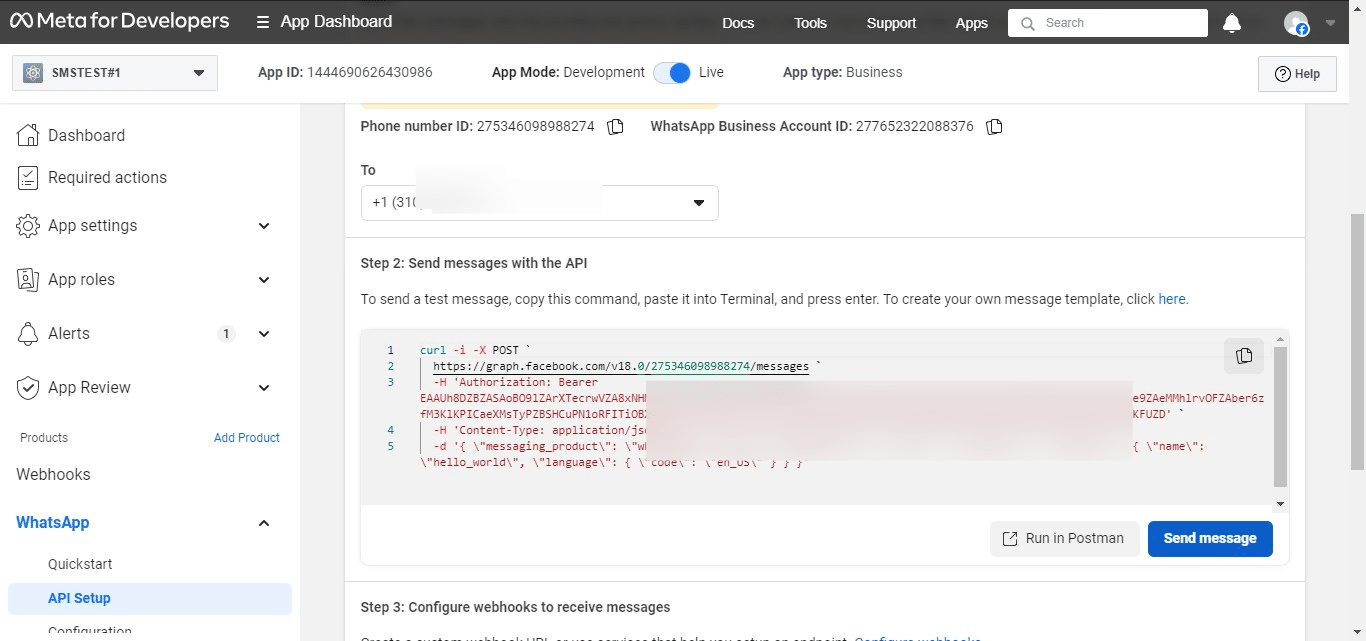
After you verify your WhatsApp number for testing, click on "Send message". This will send a message generated from your Facebook test number and will land in your WhatsApp messages.
Add new contact and test Smart Inbox.
Click on "Quick Links"
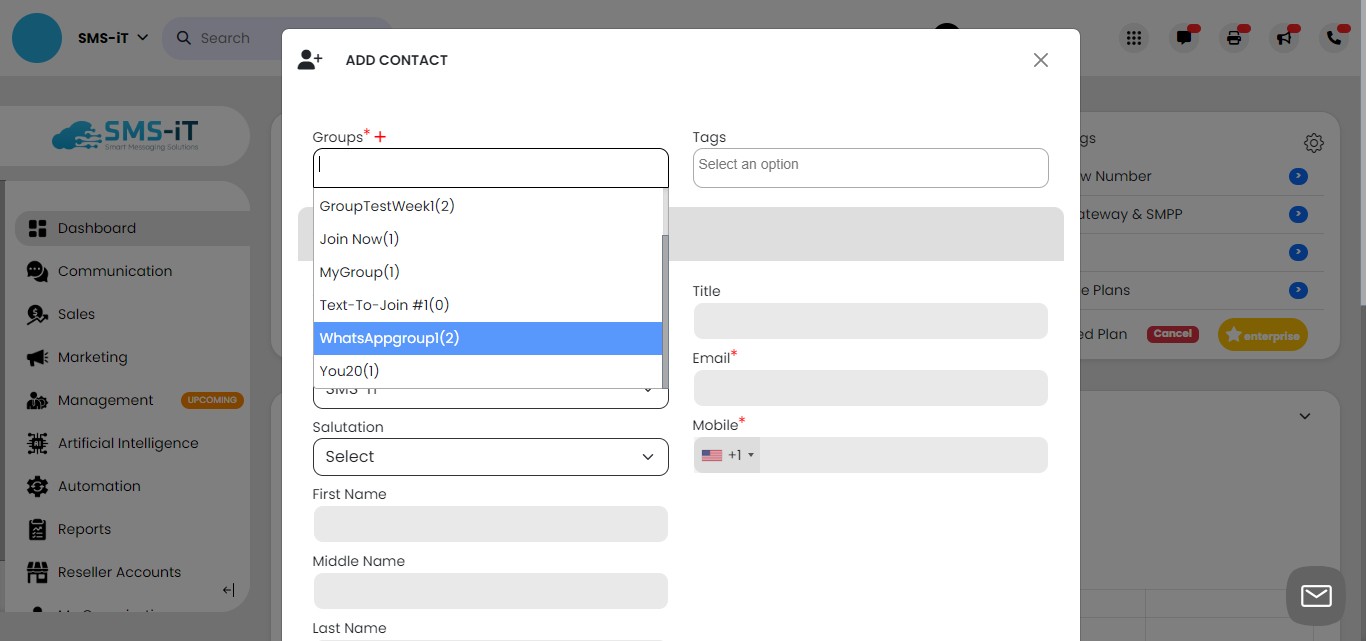
Click on "Add a Contact"

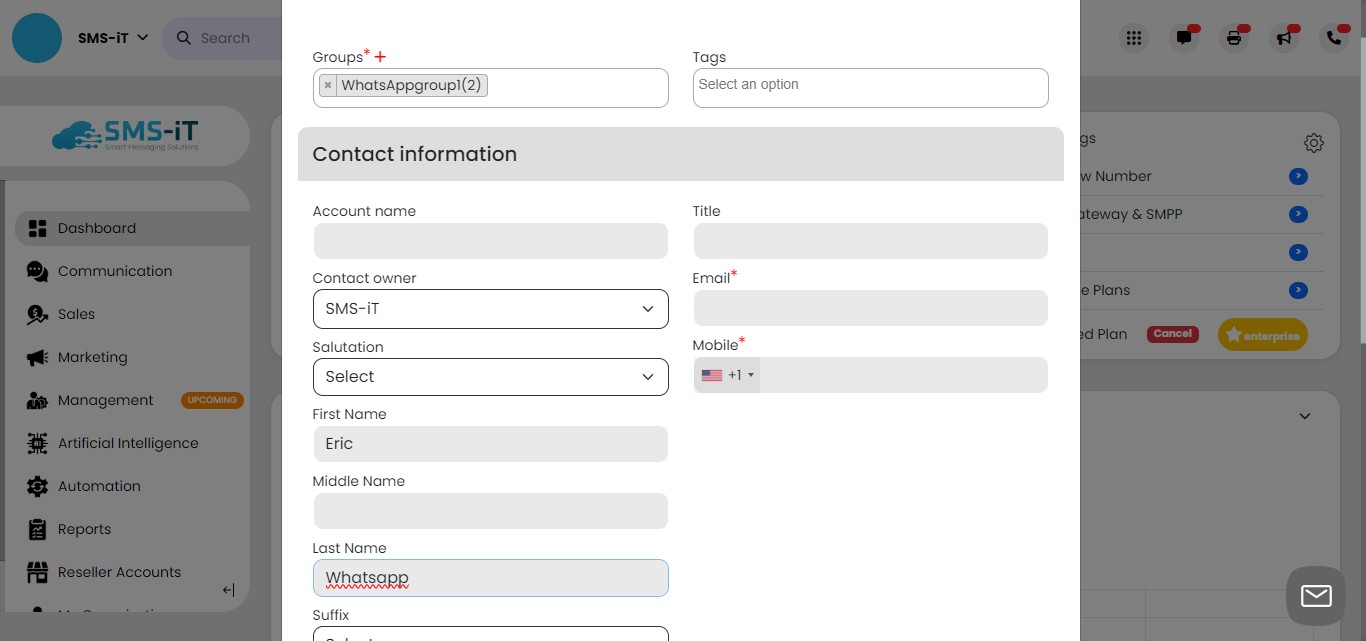
Select a group.
Enter a first and last name (entering a name isn't mandatory; we're doing this just for easy reference).
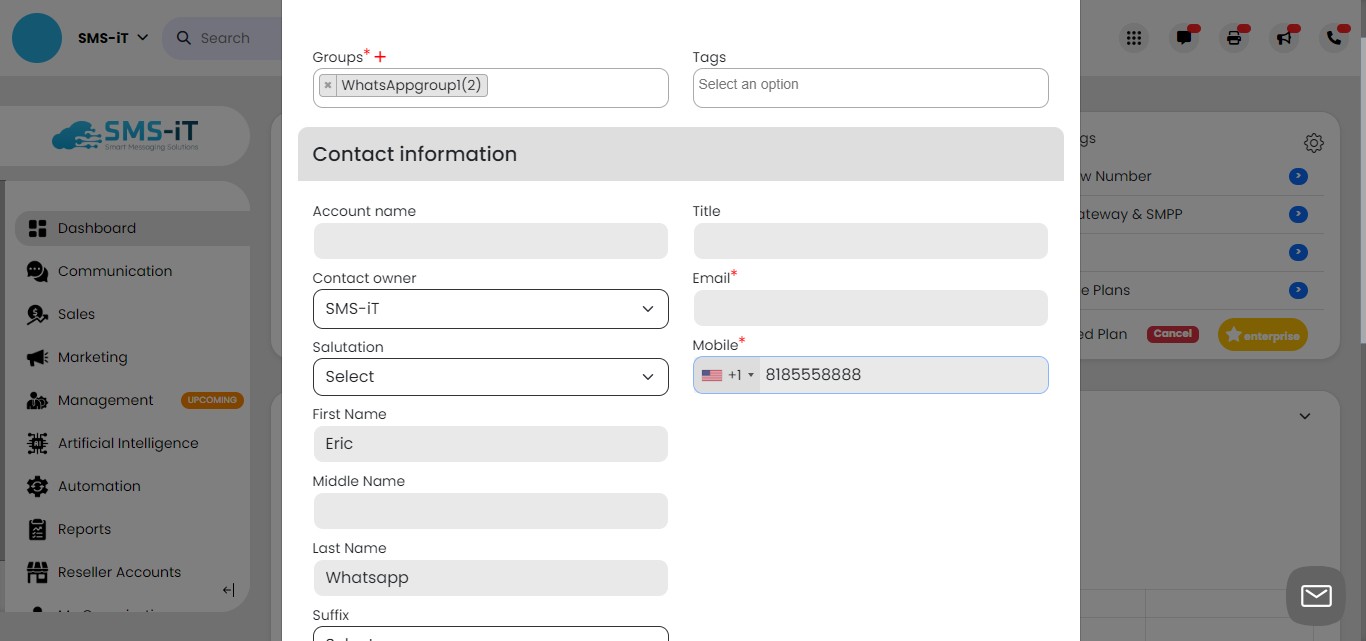
Enter a "dummy" phone number. This is not the WhatsApp number, but you need to enter this field to save. It is mandatory.
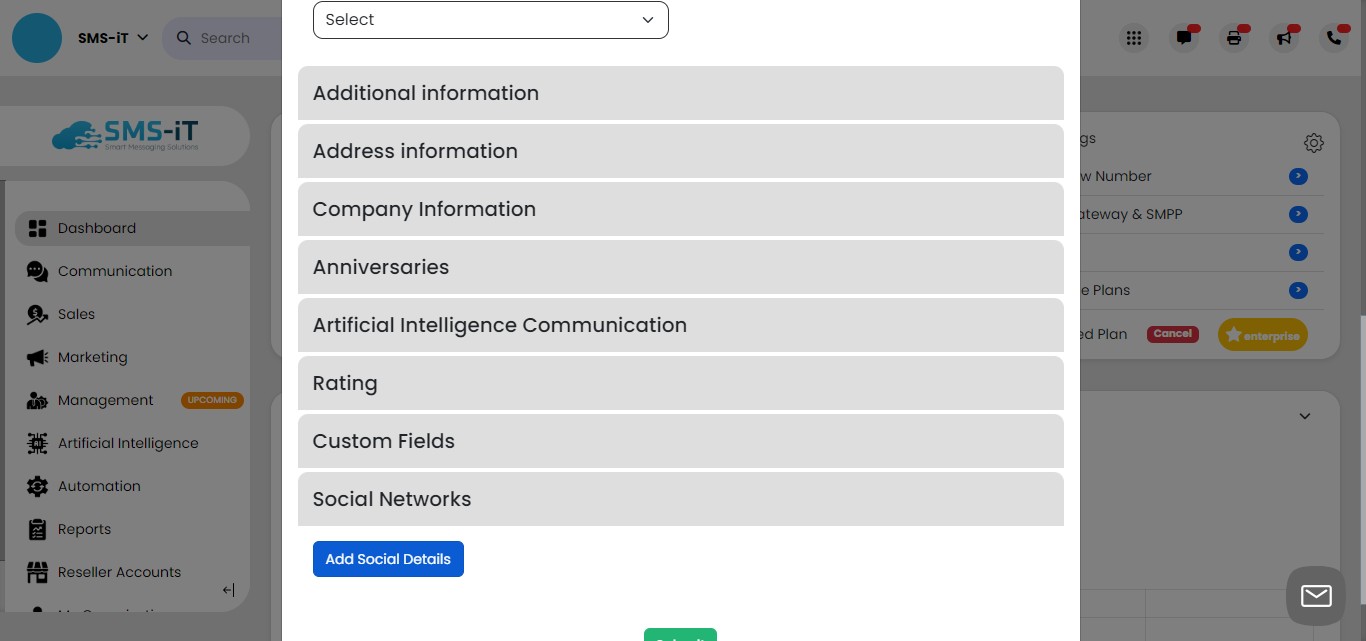
Click on "Social Networks"
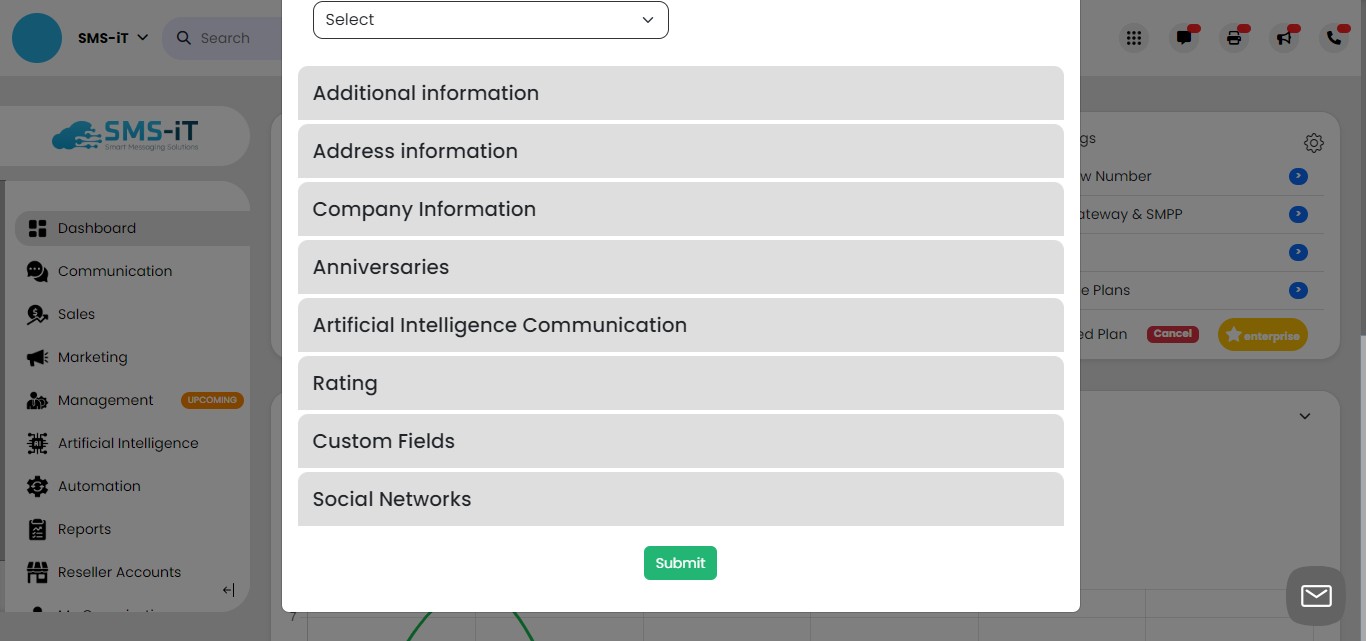
Click on "Add Social Details"
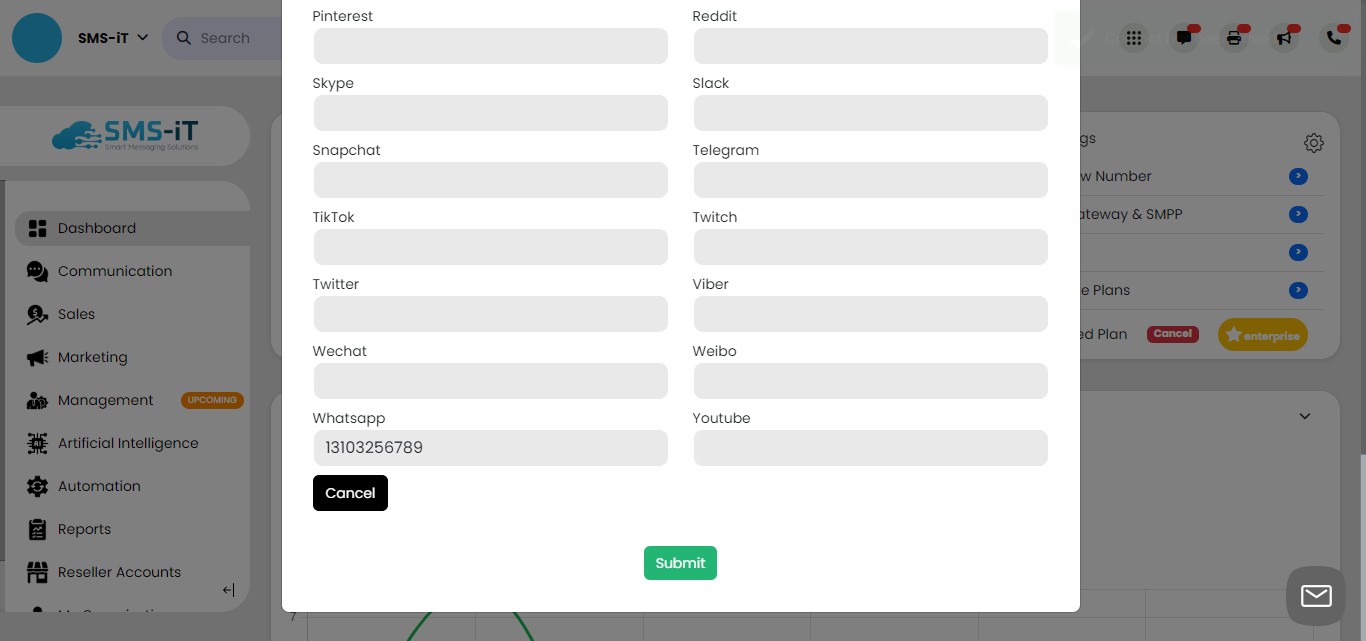
Please enter the WhatsApp number that you verified in your Facebook account in the previous steps.
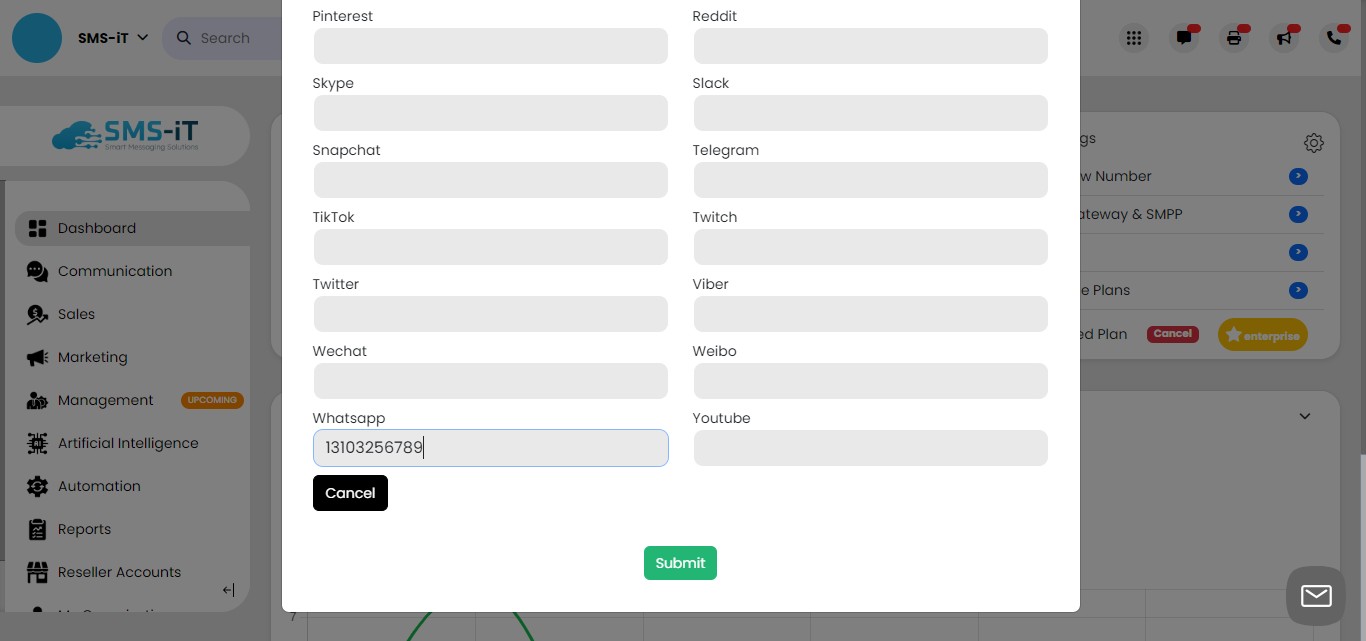
Click on "Submit".
Testing Whatsapp in Smart Inbox
Click on "Quick Links"
Click on "Smart Inbox"

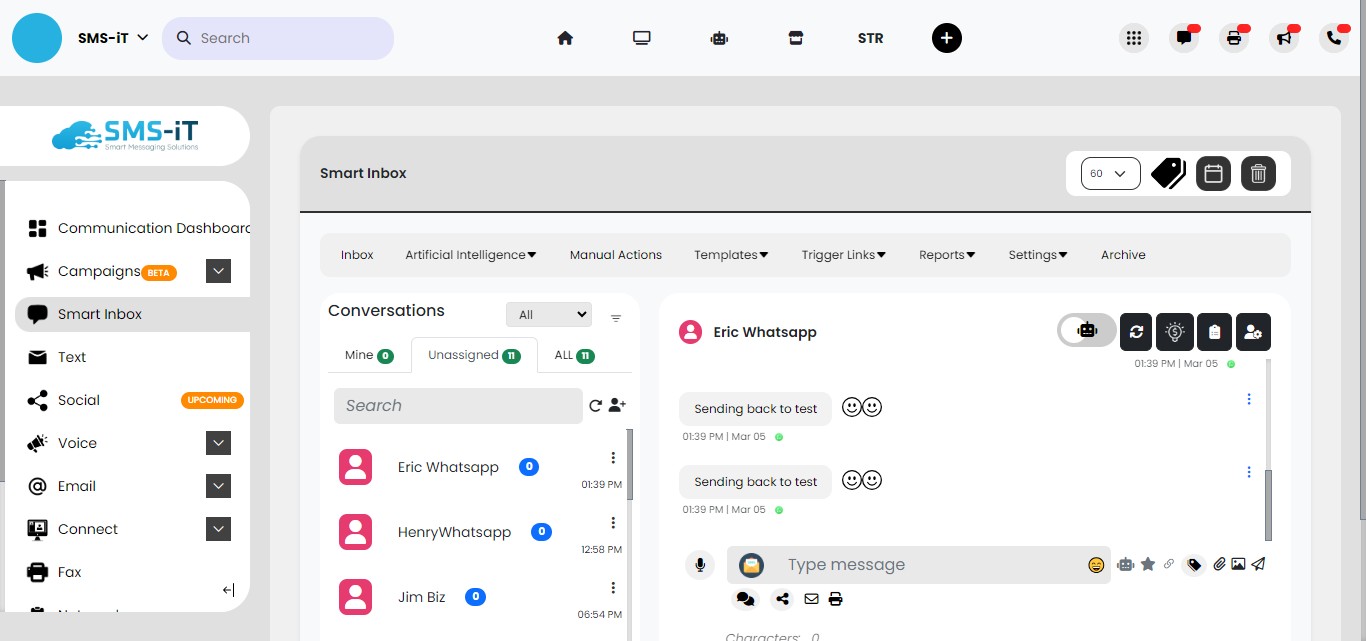
Click on "Unassigned"
Click on your newly added contact with the WhatsApp number.
Click "Social Media" icon.
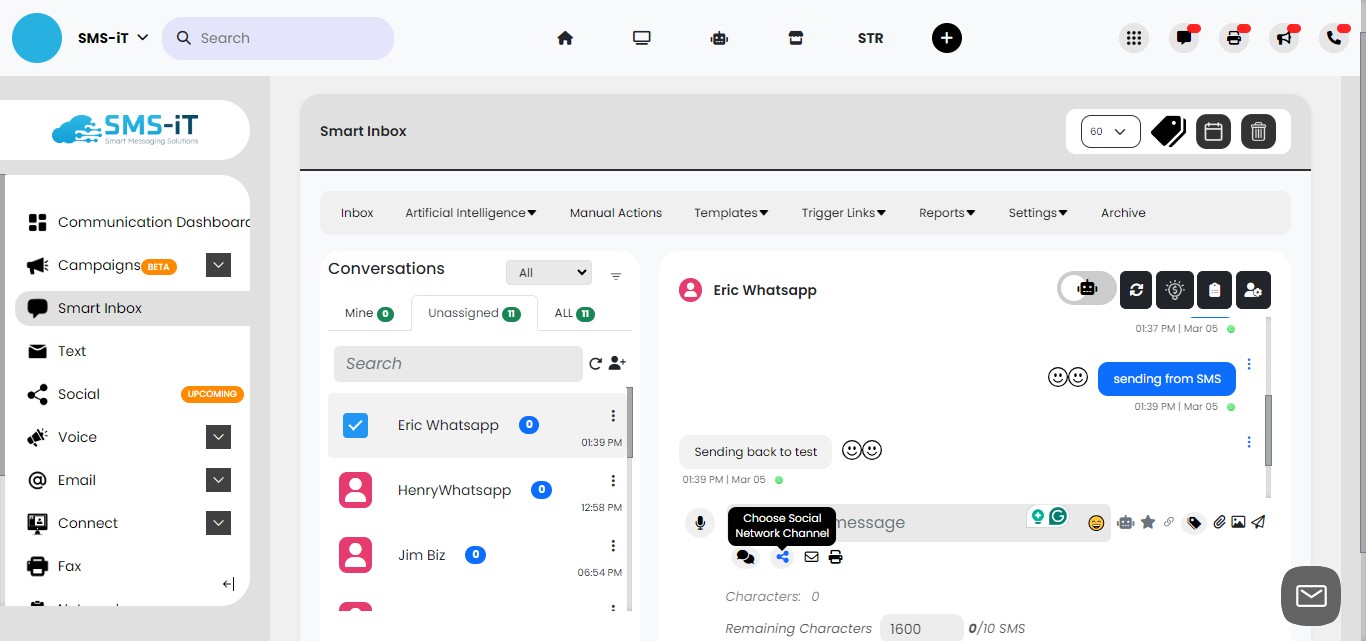
Click "Whatsapp" icon
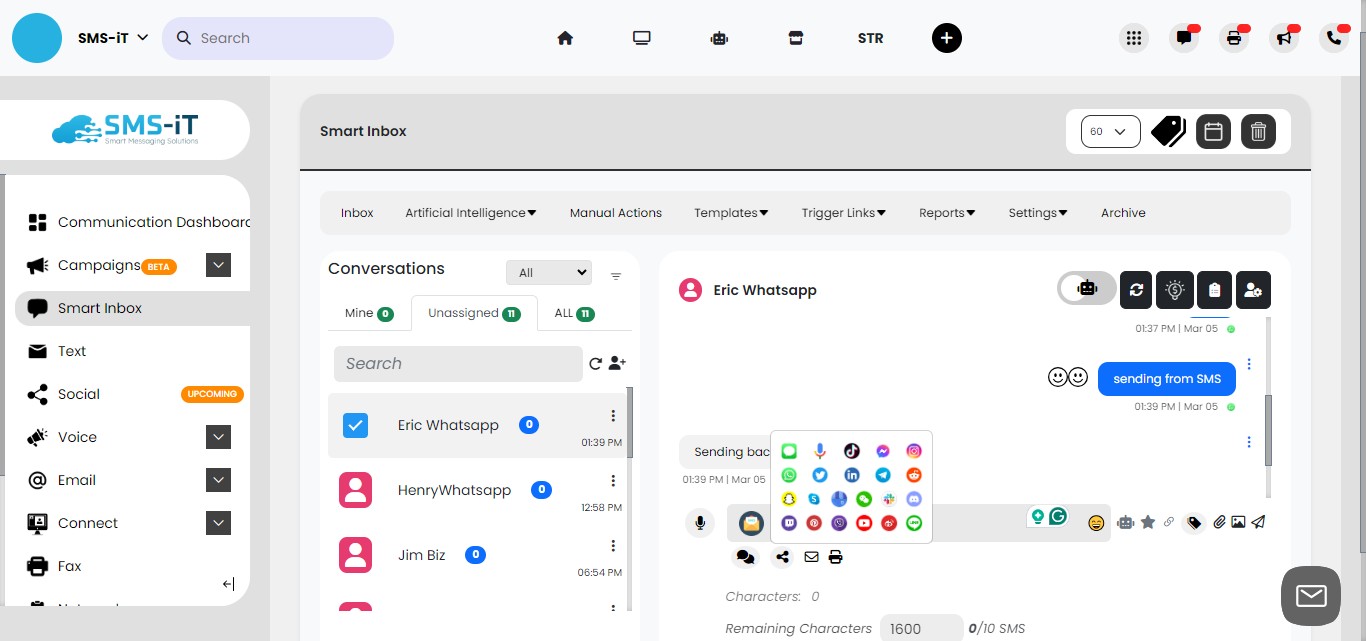
Send Message
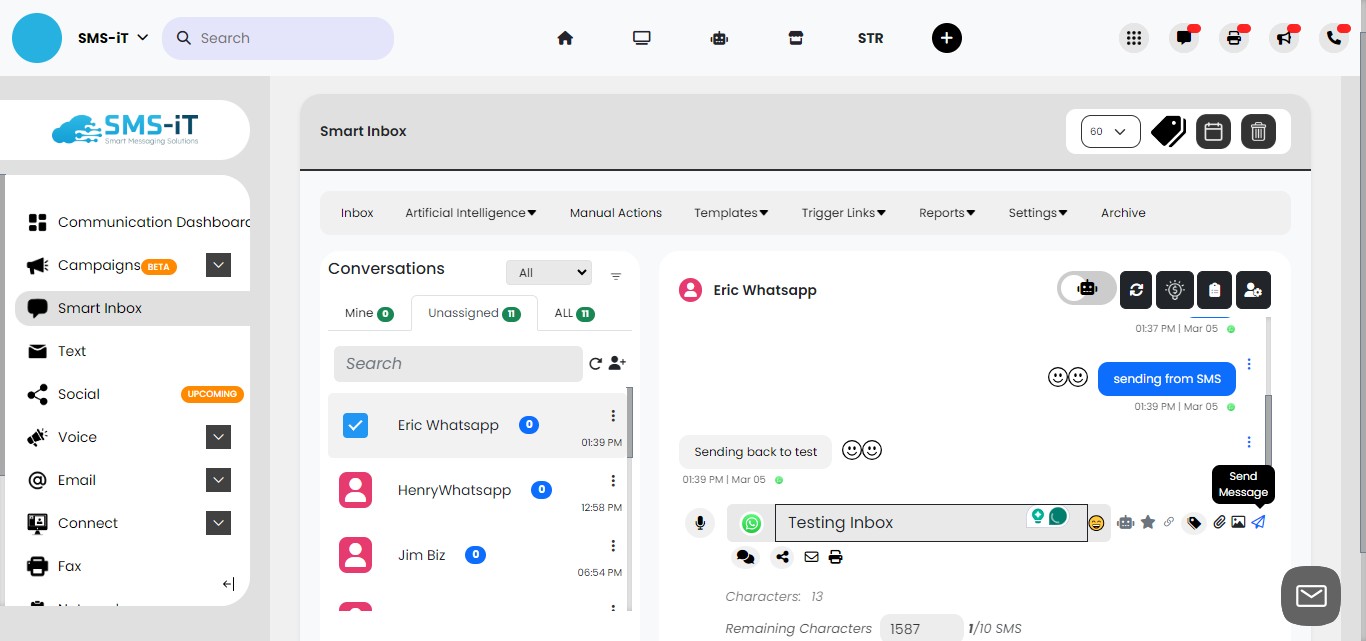
Important: If you do not receive the message, reply to the message you received from Facebook using the test message number.
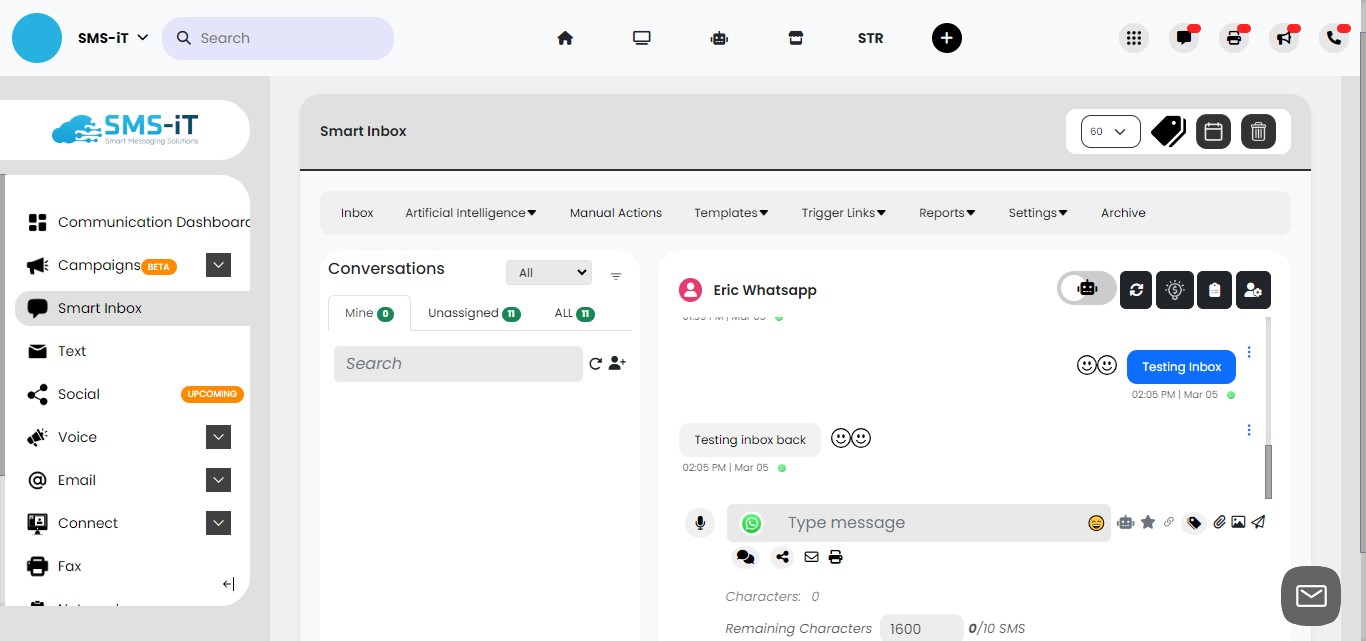
After a few tests back and forth, the inbox should work properly. You may need to refresh the screen to get the first few messages to appear.
Adding WhatsApp Business number.
From "API Setup" click on the free number.
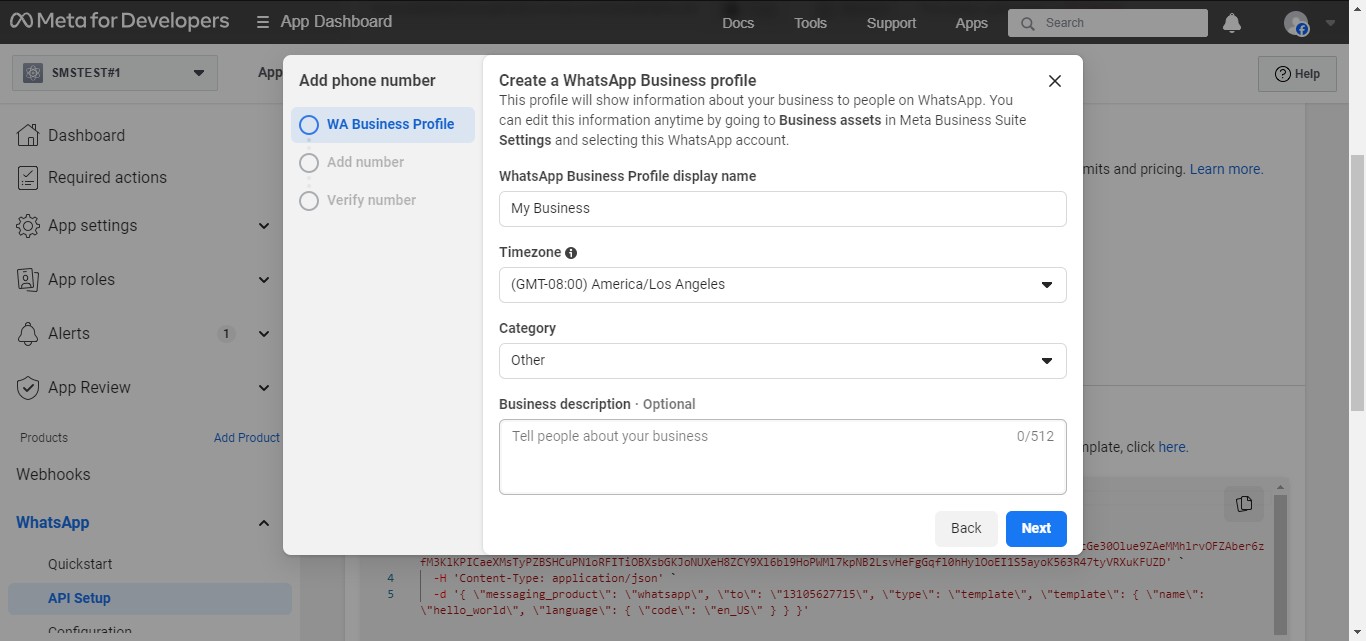
Click on "Add phone number"
Fill in the info.
Select a number you'd like for your WhatsApp business number. IMPORTANT: If you're adding your existing business number, you'll have to delete it first and then re-add it here, as well as to your phone and other applications. (Ensure you back up all your chats, etc.)
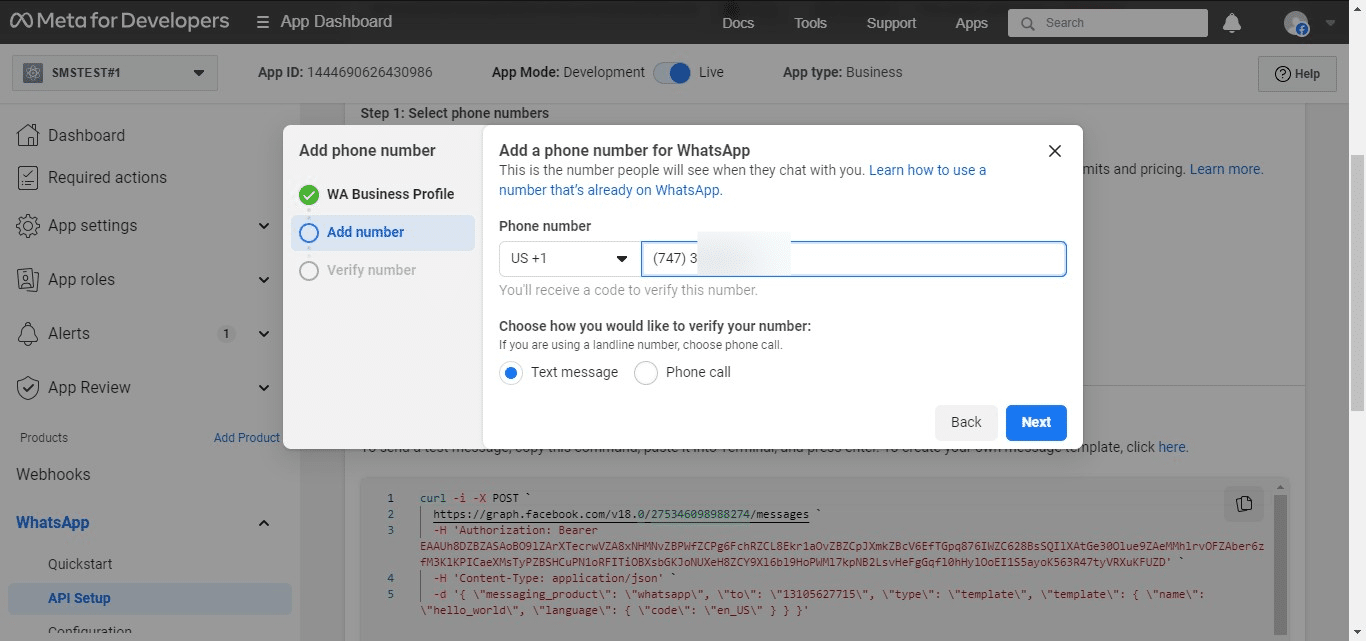
Click on "Next" and enter the verification number to complete the setup process.