
Gmail Integration for the Smart Inbox
Navigate to https://aicpanel.smsit.ai
Overview and Benefits of Integrating Gmail into the Smart Inbox
Revolutionize Your Communication Strategy with SMS-iT's Smart Inbox Gmail Integration!
Overview: SMS-iT's Smart Inbox is about to become your ultimate communication command center. By seamlessly integrating your Gmail account alongside SMS, social media channels, and WhatsApp, you'll have a 360-degree view of your customer interactions all in one place. This powerhouse combination brings email, messaging, and social media management under one roof, streamlining your workflow like never before. Benefits: 1. Unified Communication Hub: Imagine having every customer touchpoint at your fingertips. With Gmail in your Smart Inbox, you'll never miss a beat, whether it's an urgent email, a WhatsApp query, or a social media comment. 2. Time-Saving Efficiency: Say goodbye to tab-hopping and app-switching! Our integration cuts down response times dramatically, allowing you to engage with customers faster than ever before. 3. Enhanced Customer Profiling: By centralizing all communications, you'll gain unprecedented insights into your customers' preferences and behaviors across all channels. 4. Streamlined Workflow: Prioritize, categorize, and respond to all communications from a single interface, boosting your team's productivity and reducing the risk of overlooked messages. 5. Seamless Collaboration: Enable your team to work together effortlessly, with shared access to all customer interactions, regardless of the original platform. 6. Data-Driven Decision Making: Harness the power of comprehensive analytics that span across email, SMS, and social media to inform your marketing and customer service strategies. 7. Consistent Brand Voice: Maintain a cohesive brand message across all channels, ensuring your communication is always on-point, regardless of the medium. 8. Mobile Optimization: Access your Smart Inbox on-the-go, allowing you to manage all your communications from anywhere, at any time. 9. Customizable Notifications: Set up smart alerts to never miss critical emails or messages, while filtering out the noise. 10. Future-Proof Communication: As new channels emerge, SMS-iT's Smart Inbox is designed to integrate them seamlessly, ensuring you're always at the forefront of customer communication. By integrating Gmail into your Smart Inbox, you're not just adding another feature – you're unlocking the full potential of omnichannel communication. This is more than an upgrade; it's a complete transformation of how you connect with your customers. Don't just keep up with your competition – leave them in the dust. With SMS-iT's Smart Inbox Gmail integration, you're not just managing communications; you're mastering them. Ready to take your customer engagement to the next level? Let SMS-iT's Smart Inbox be the catalyst for your communication revolution!
This tutorial will guide SMS-iT CRM users through the process of integrating Gmail into the Smart Inbox platform.
Key steps include: 1. Creating a Google Cloud account (if needed) 2. Setting up a new project in Google Cloud Console 3. Enabling the Gmail API 4. Creating OAuth credentials 5. Adding test users 6. Configuring the Smart Inbox with the obtained credentials
Create cloud account
Important Note: If you don't have a Google Cloud account, follow these steps to create one. If you already have an account, skip to the next section: "Integrate into the Smart Inbox"
Accessing Your Gmail Account
Open Google Chrome browser Sign in to the Gmail account you want to use with Smart Inbox Navigate to the following link: https://console.cloud.google.com/
Google Cloud Account Creation If you don't have a Google Cloud account, a popup will appear to guide you through the account creation process. If you already have an account, proceed to the "Integrate into the Smart Inbox" section.
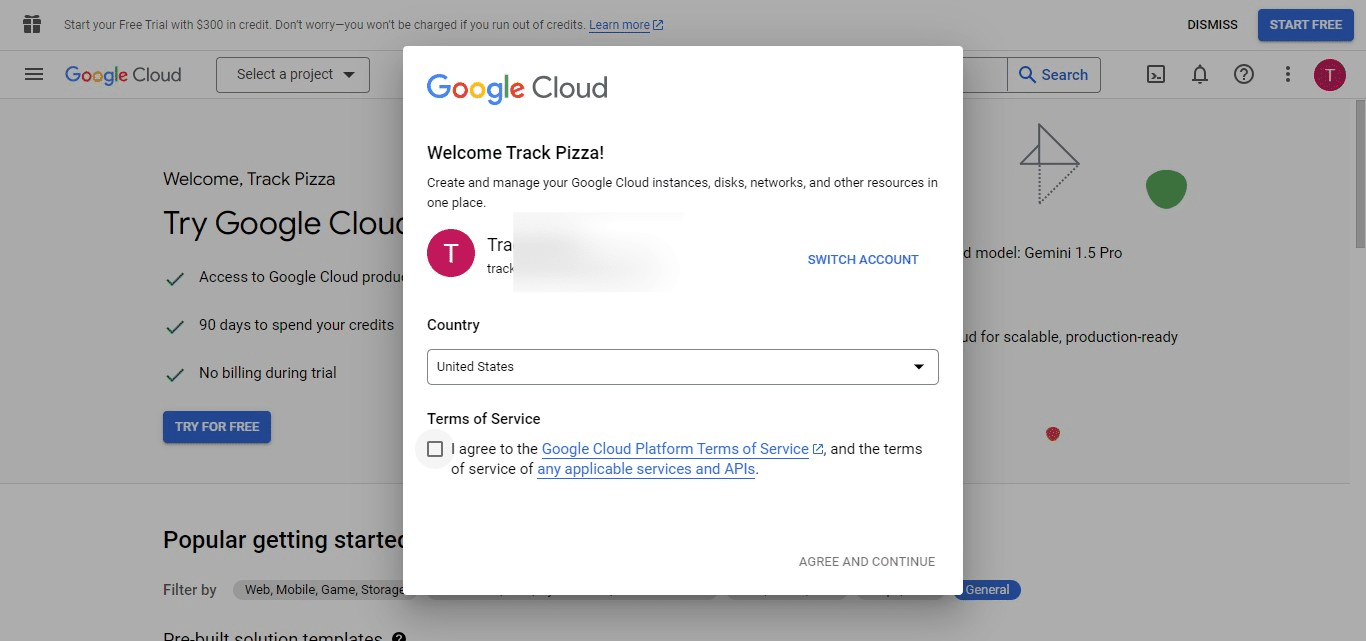
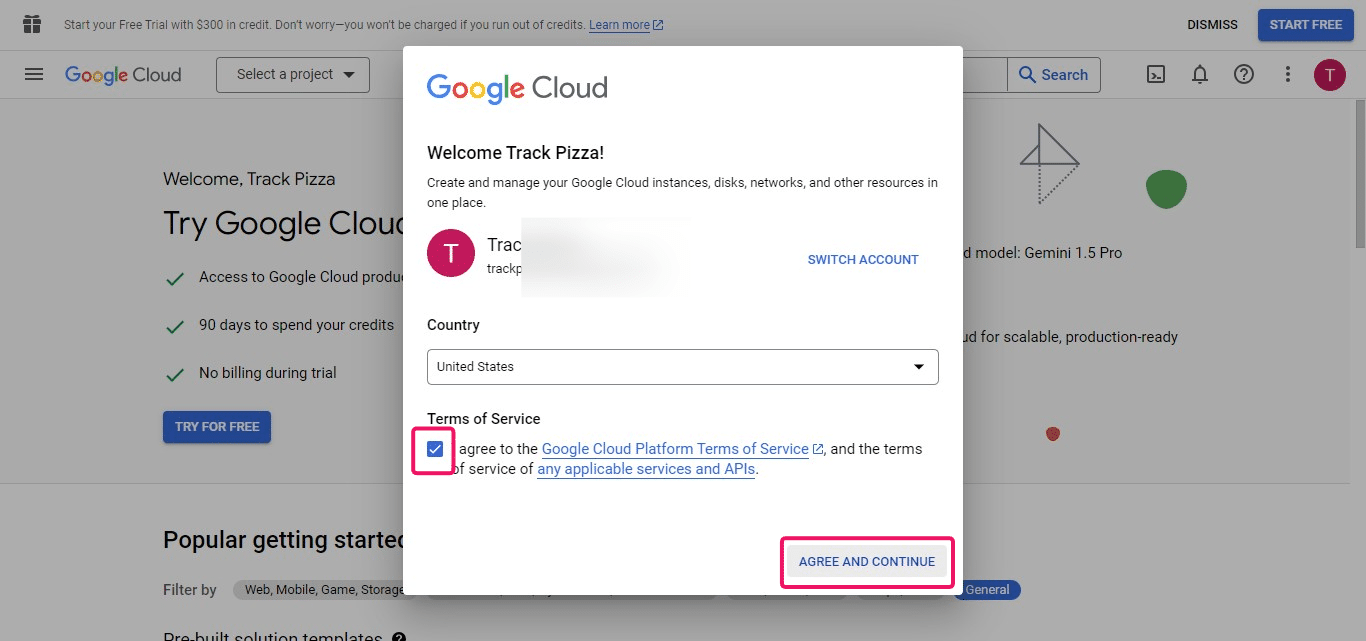
Agreeing to Terms of Service To create your Google Cloud account:
Read the Terms of Service Click the checkmark Click on "Agree and continue" to proceed
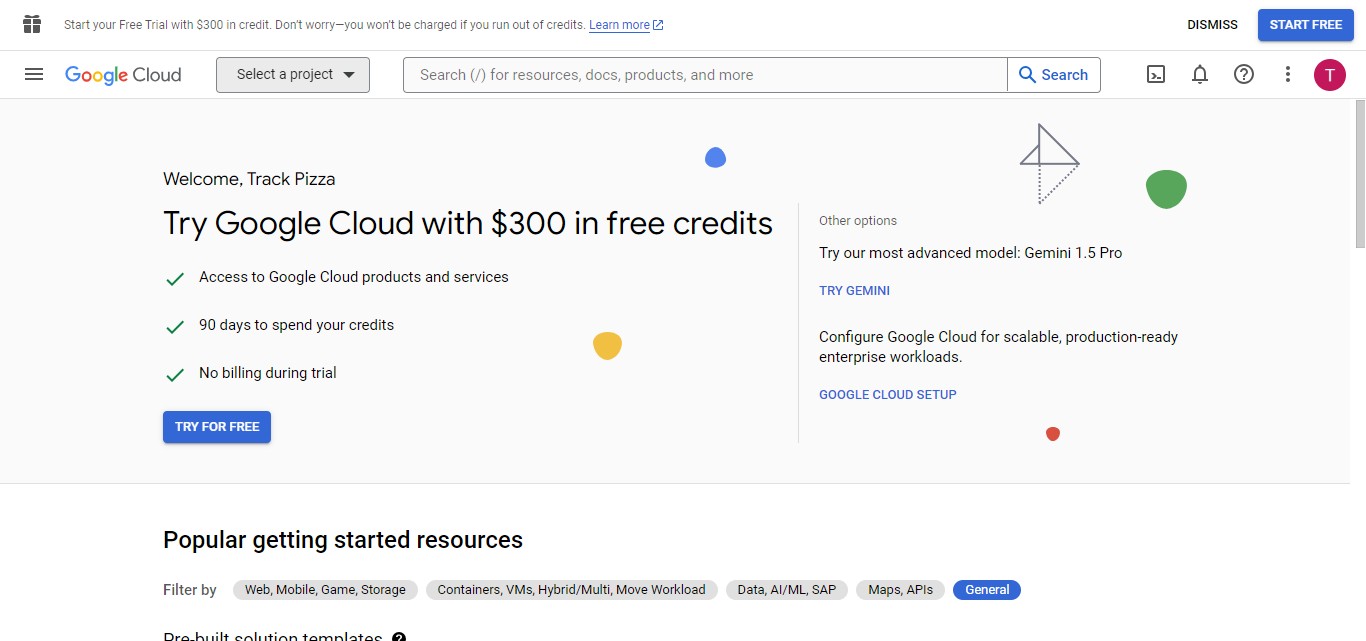
You've created your Google Cloud account.
Integrate into the Smart Inbox
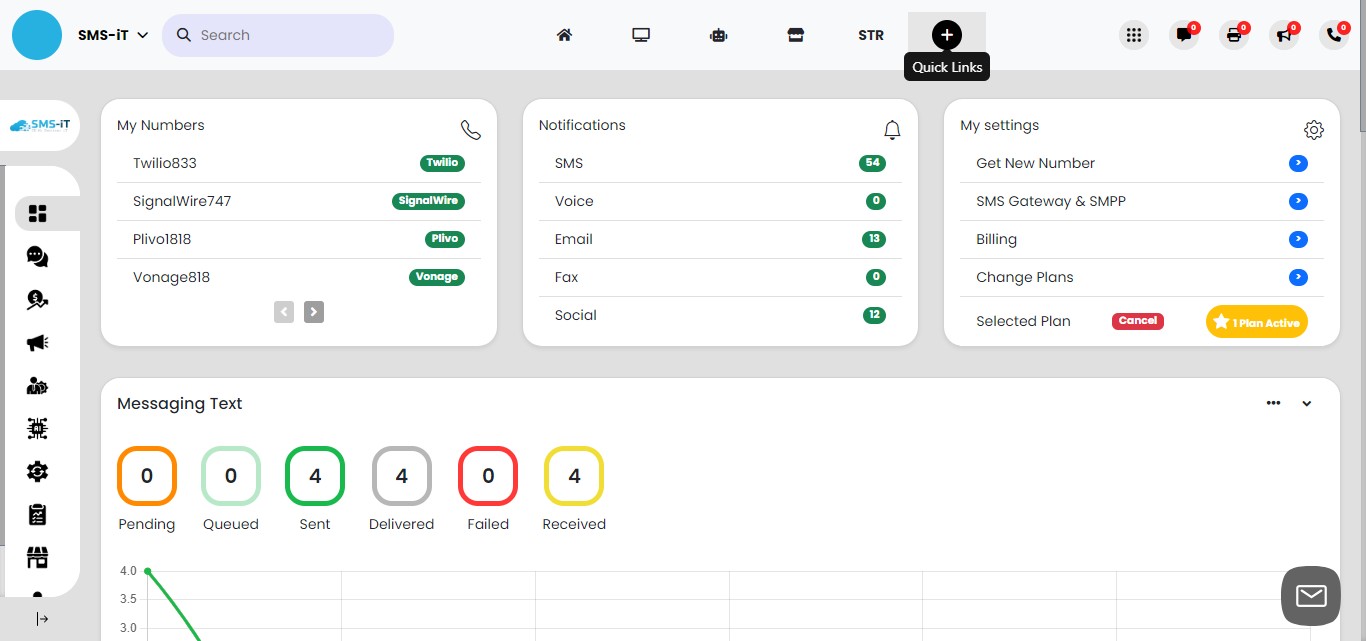
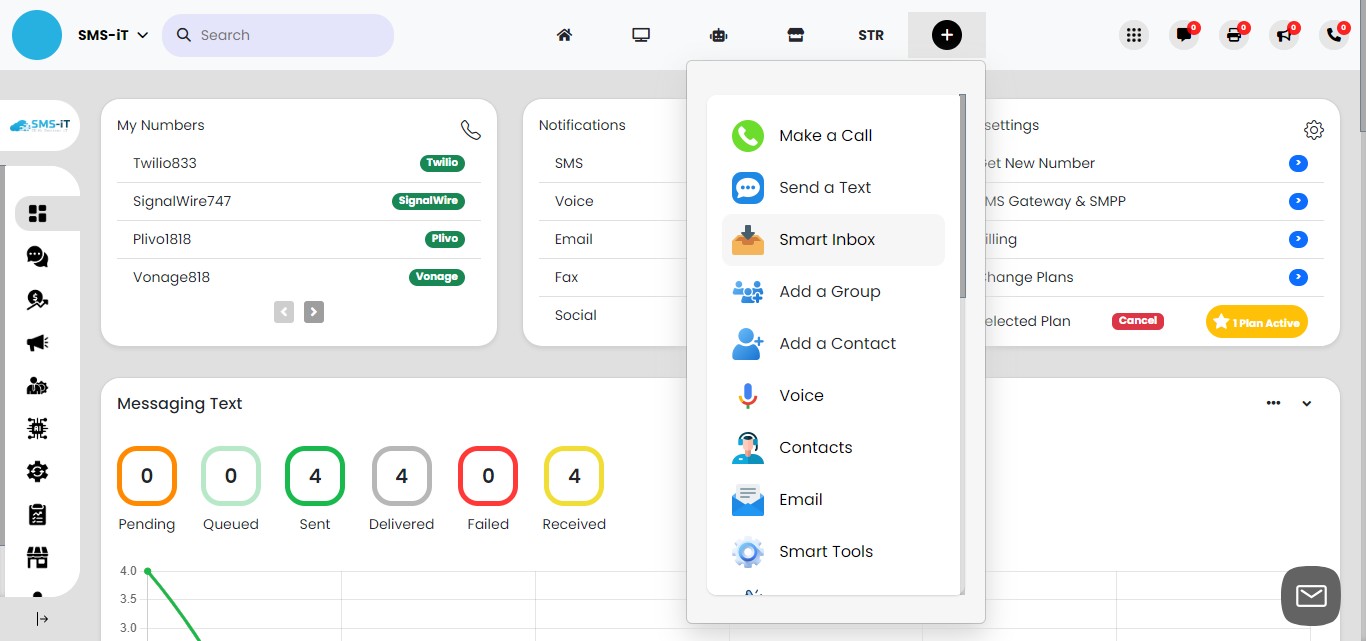
Click on "Quick Links"
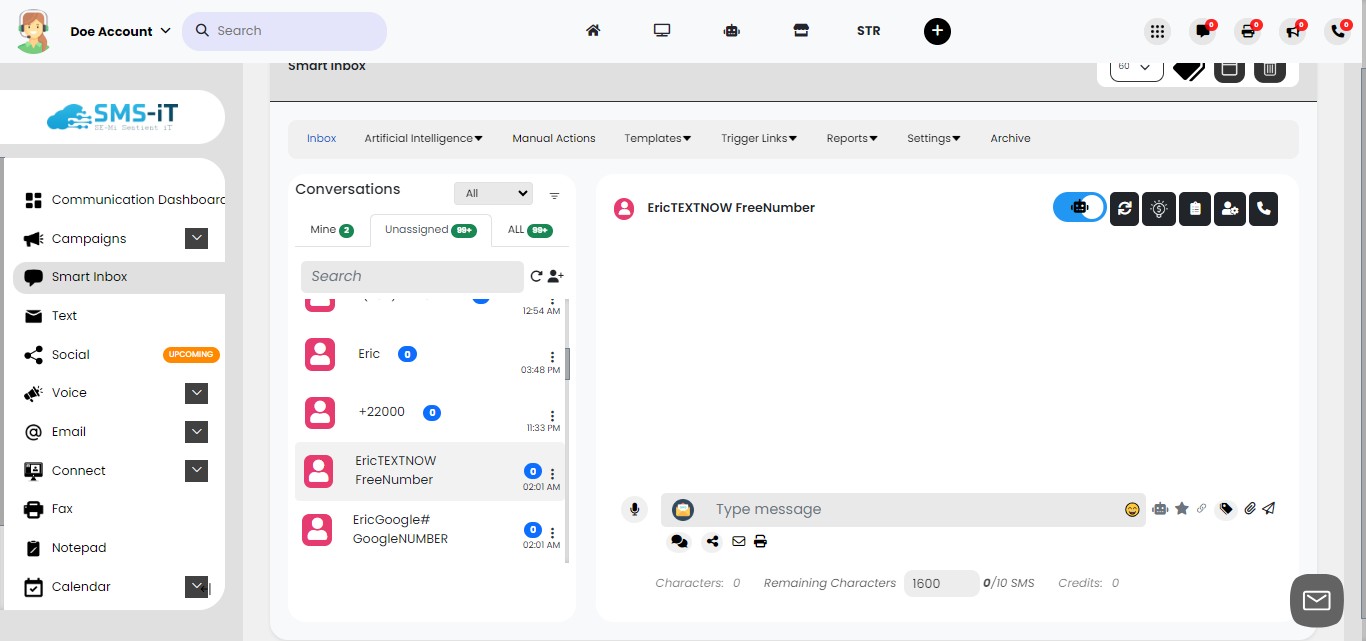
Click on "Smart Inbox"
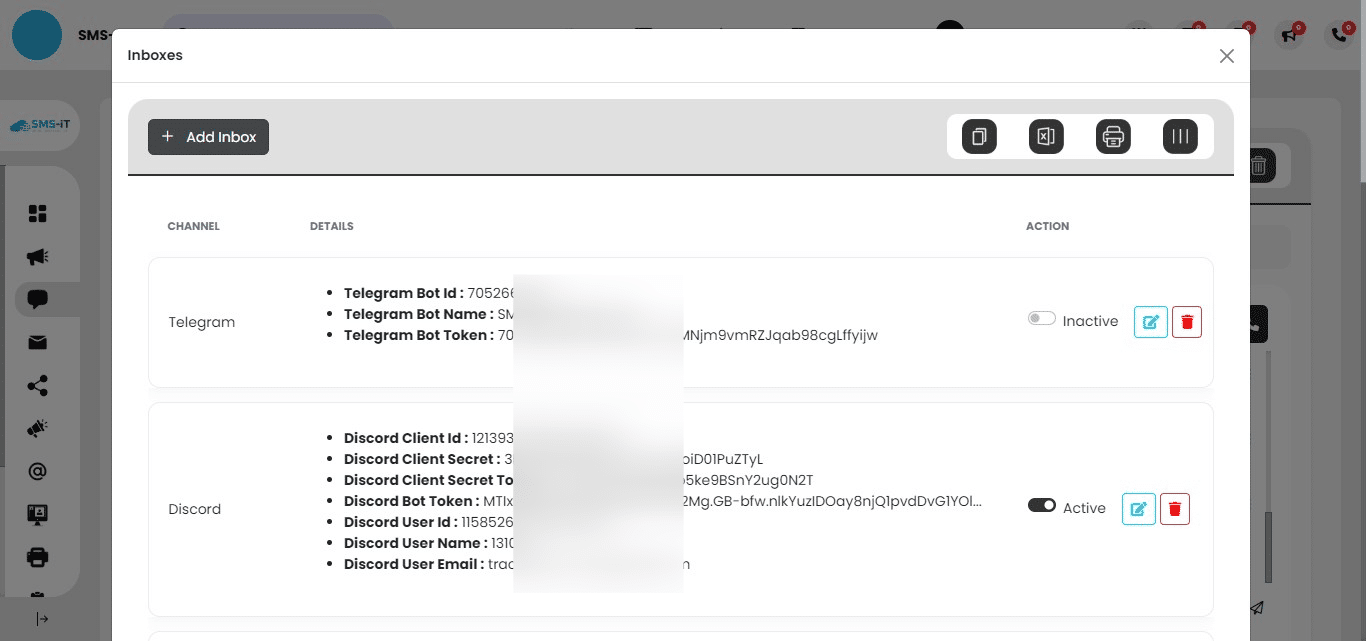
Click on "Inbox"

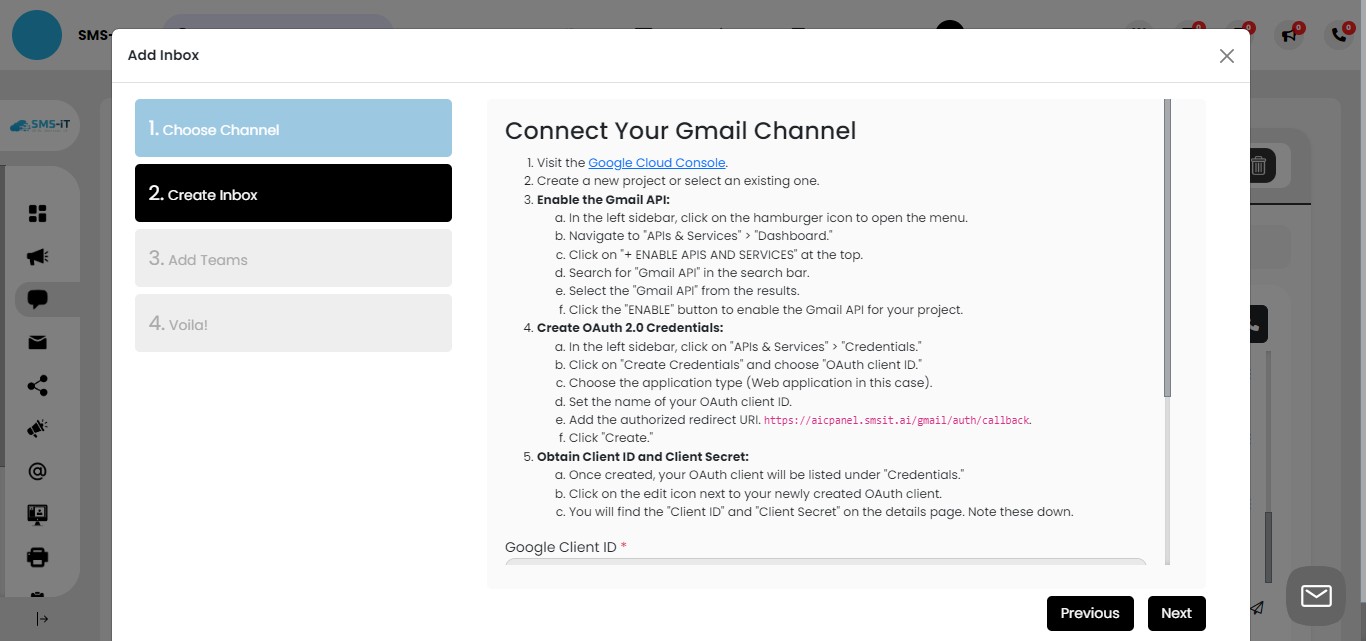
Click on "Add Inbox"
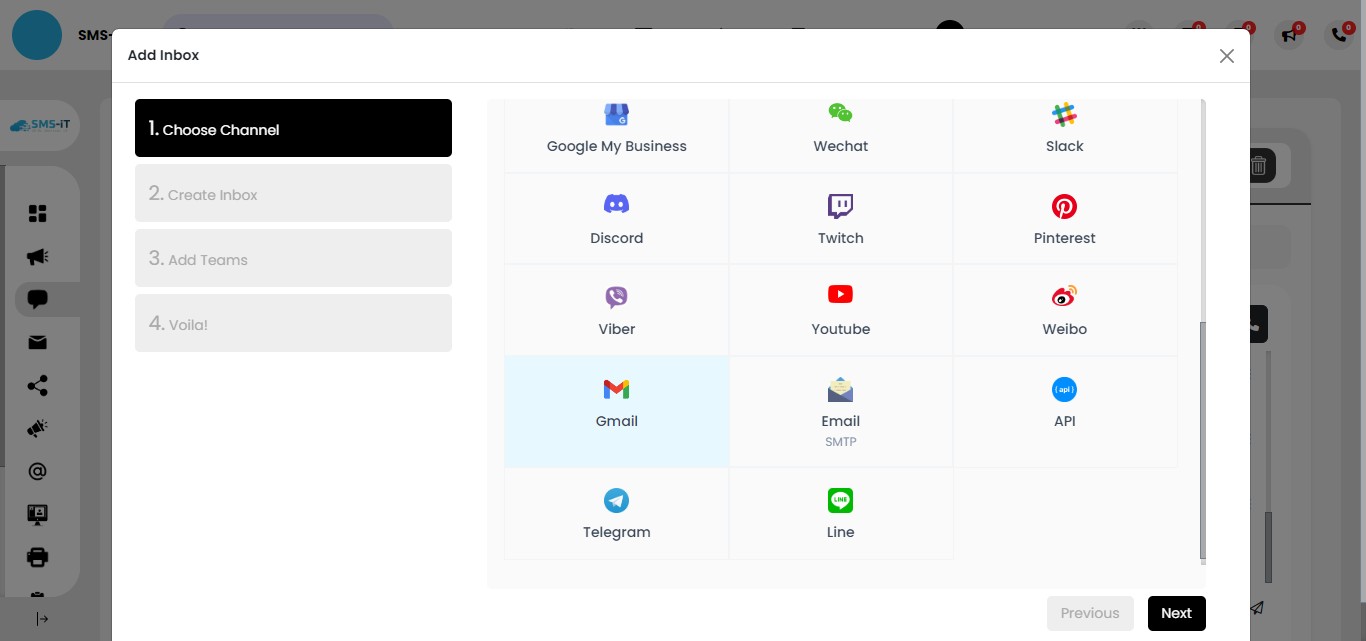
Click on "Gmail"
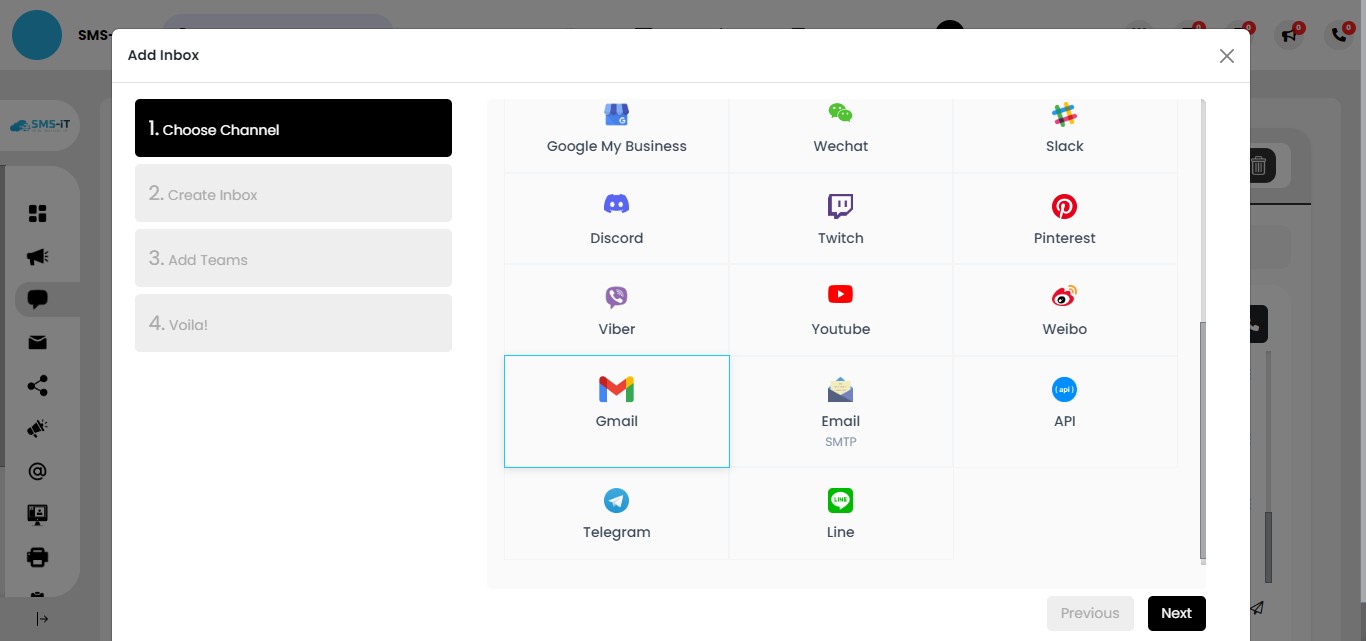
Click on "Next"
Click on "Google Cloud Console" or go to: https://console.developers.google.com/
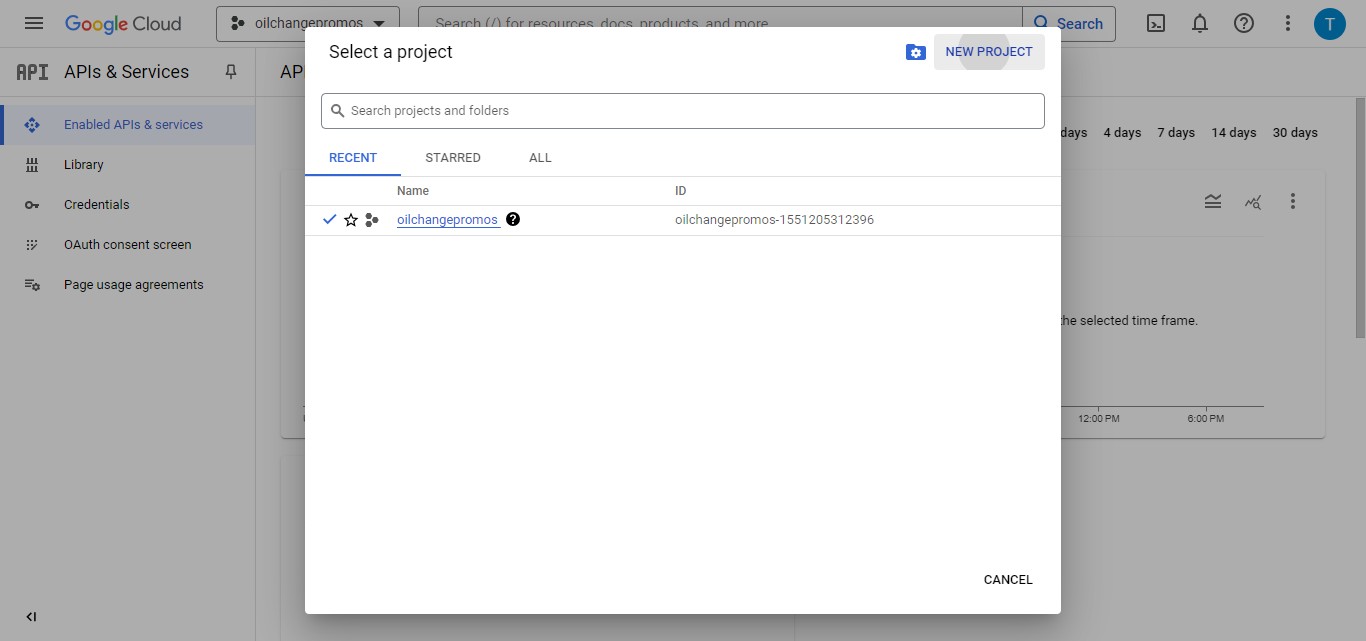
Create new project
Selecting Your Gmail Account In the Google Cloud Console, click on the email address of the Gmail account you want to integrate
Click on "New Project"
Enter a name for your new project Click "CREATE" to generate the project
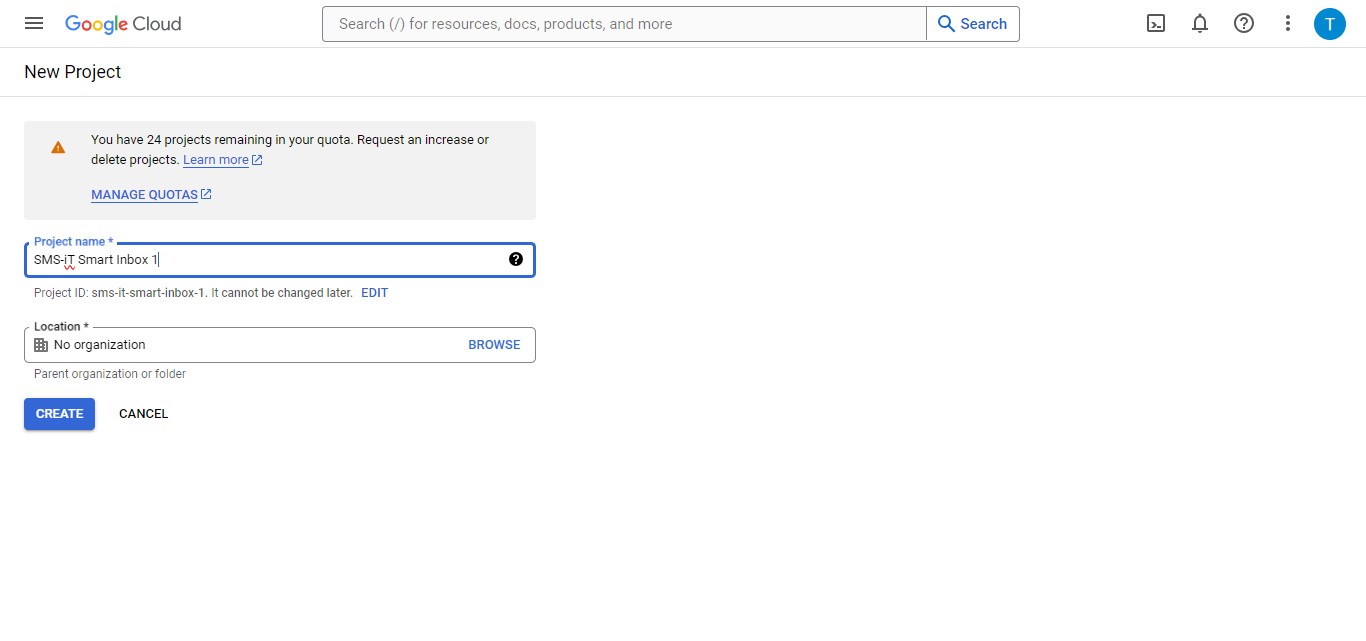
Click on "Select Project"
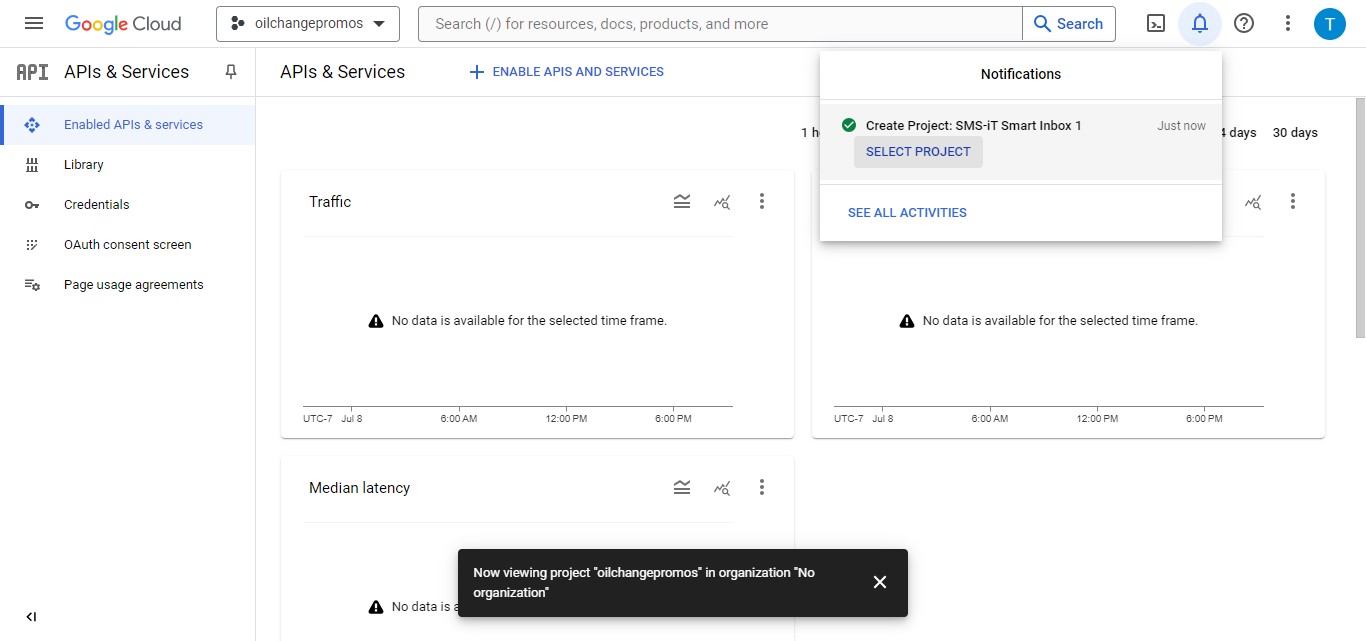
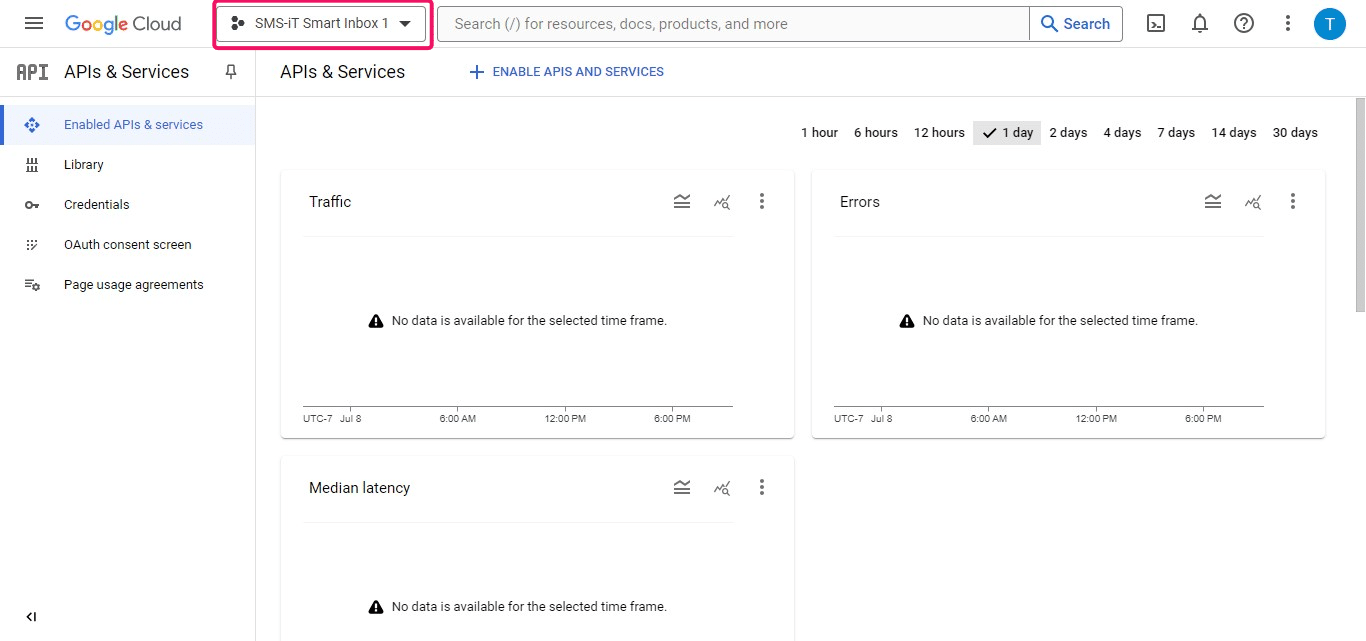
Confirming Project Selection Verify that your new project appears in the pulldown menu at the top of the page
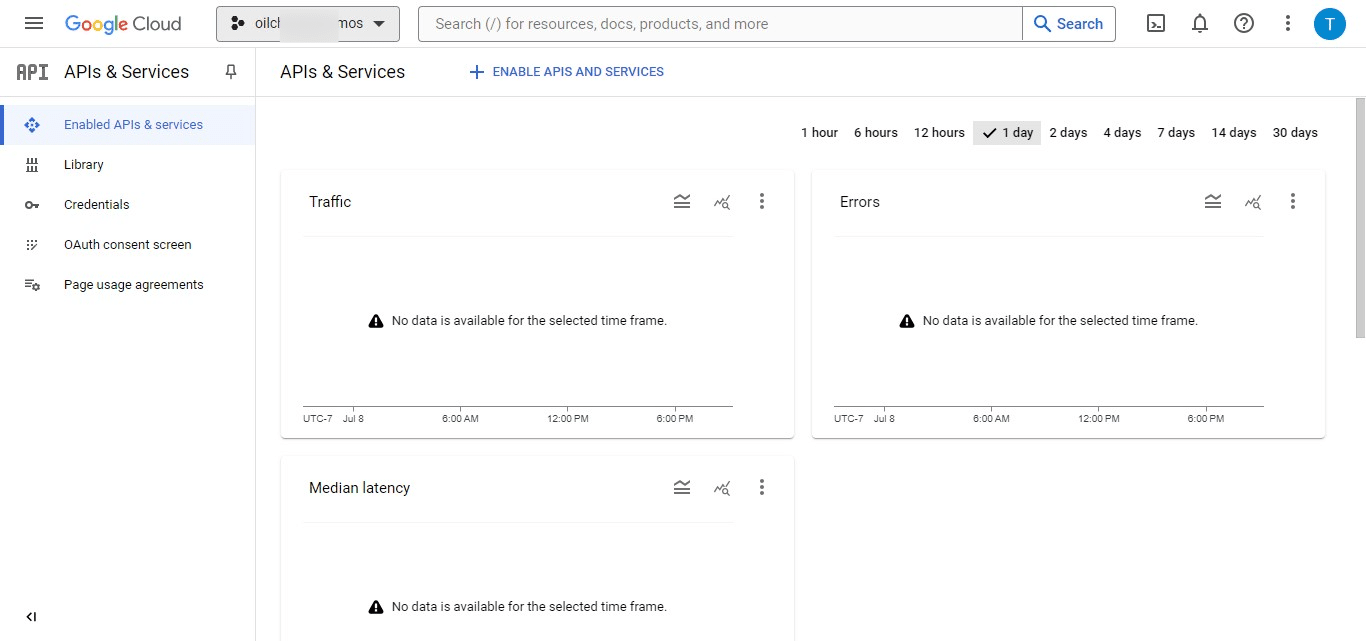
Enable Gmail API
Click on "Enable APIs and Services"

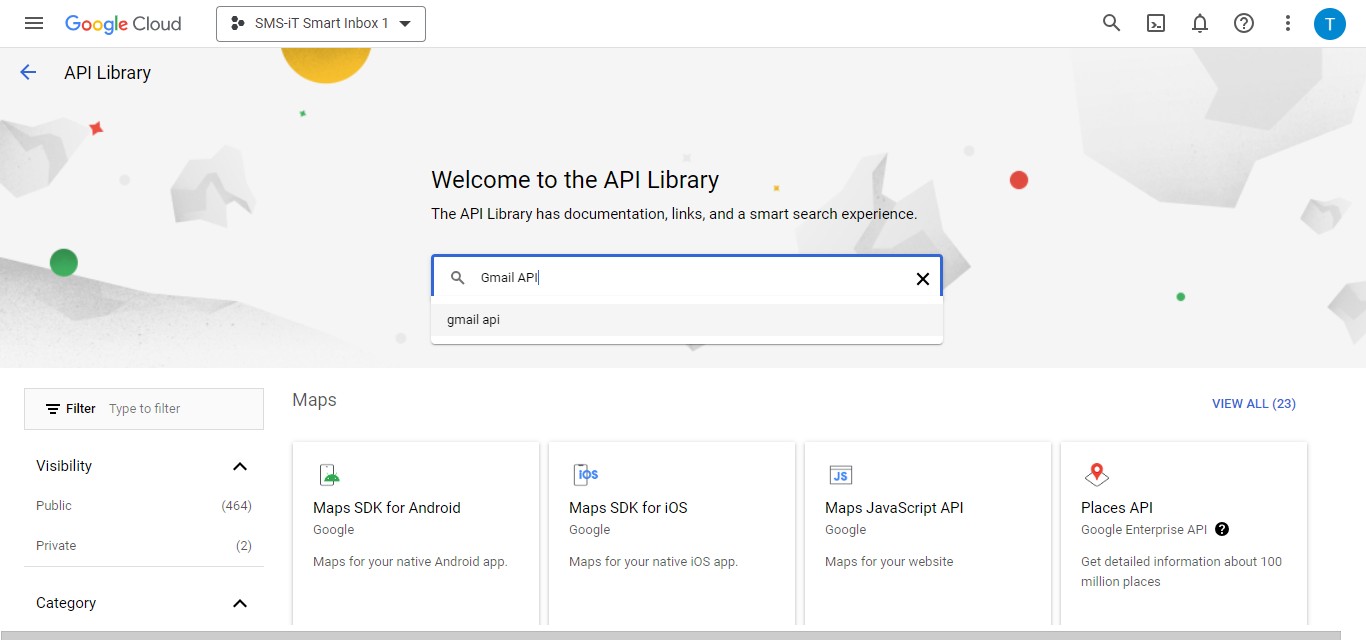
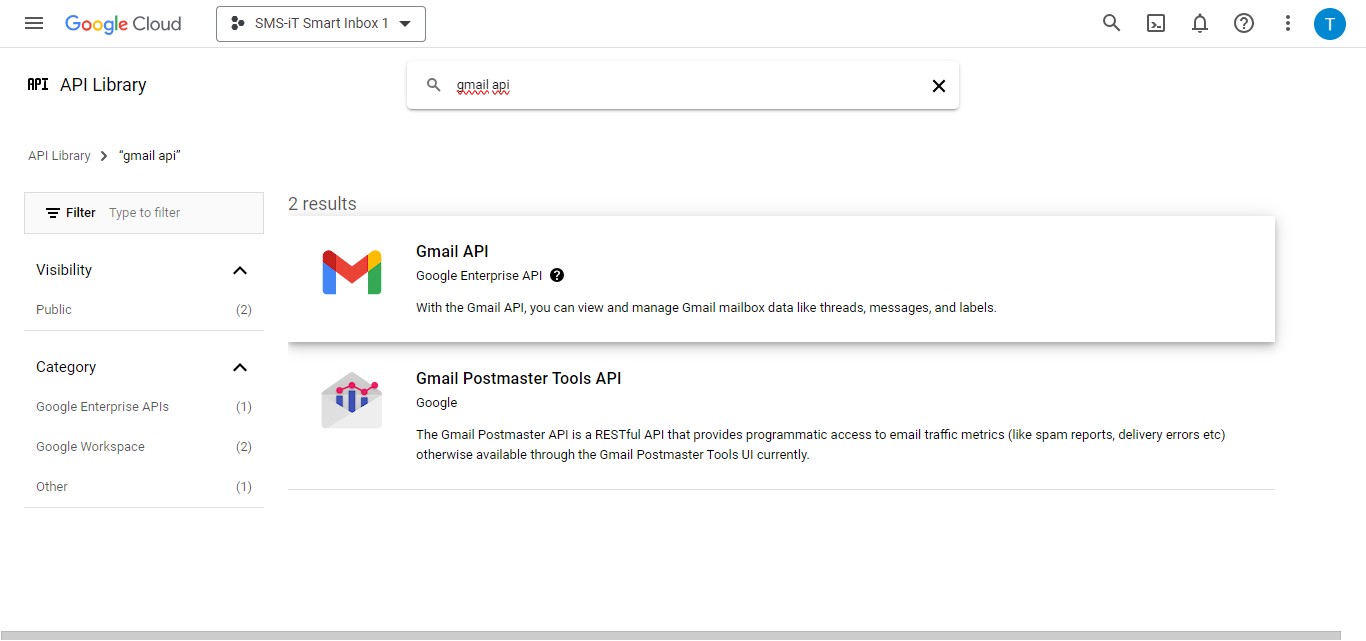
Search for "Gmail API"
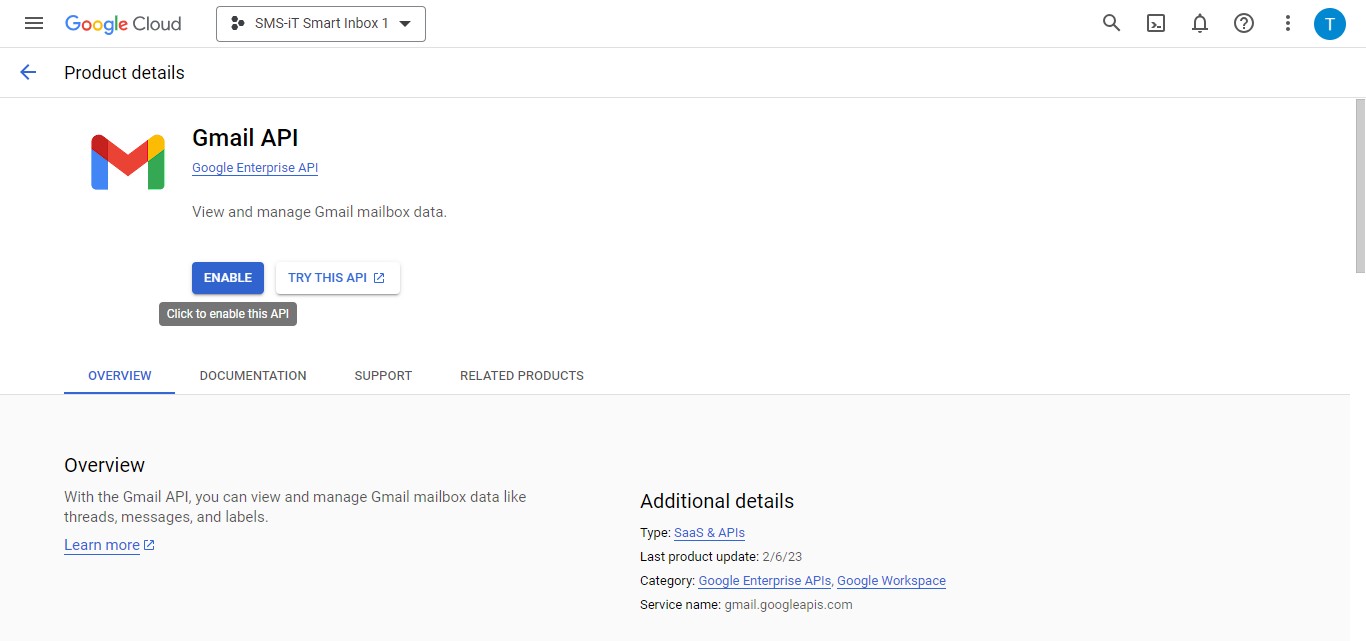
Click on "Gmail API"
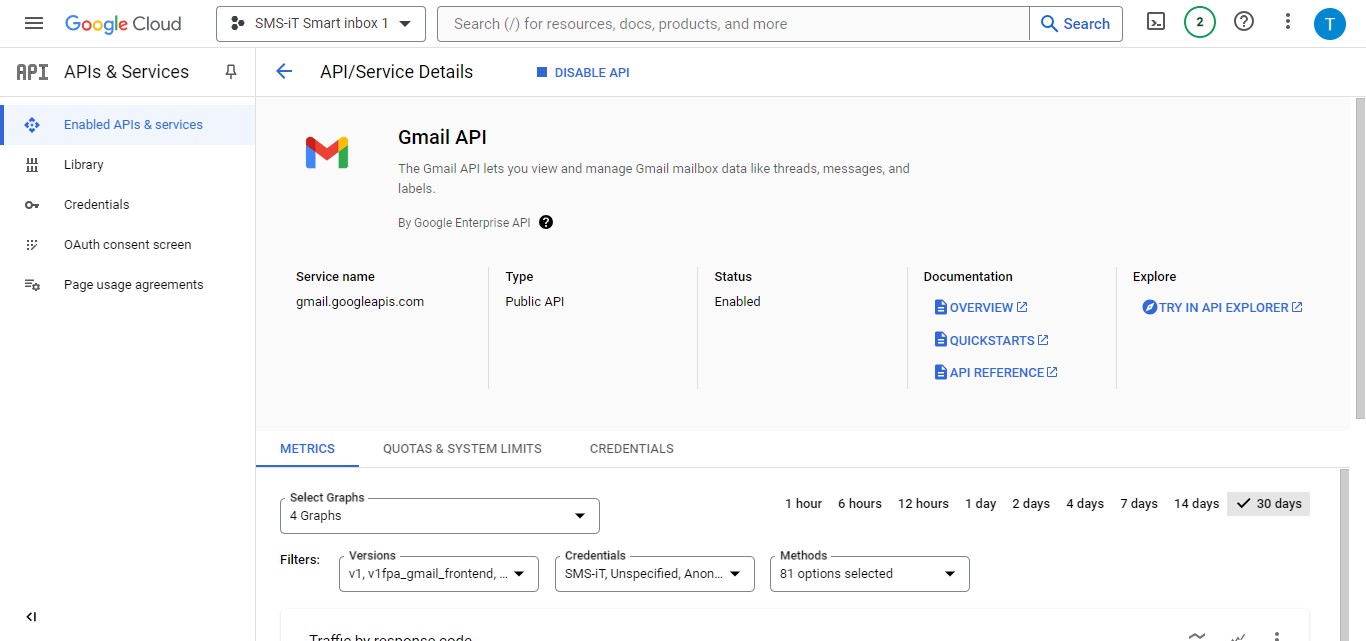
Click on "Enable"
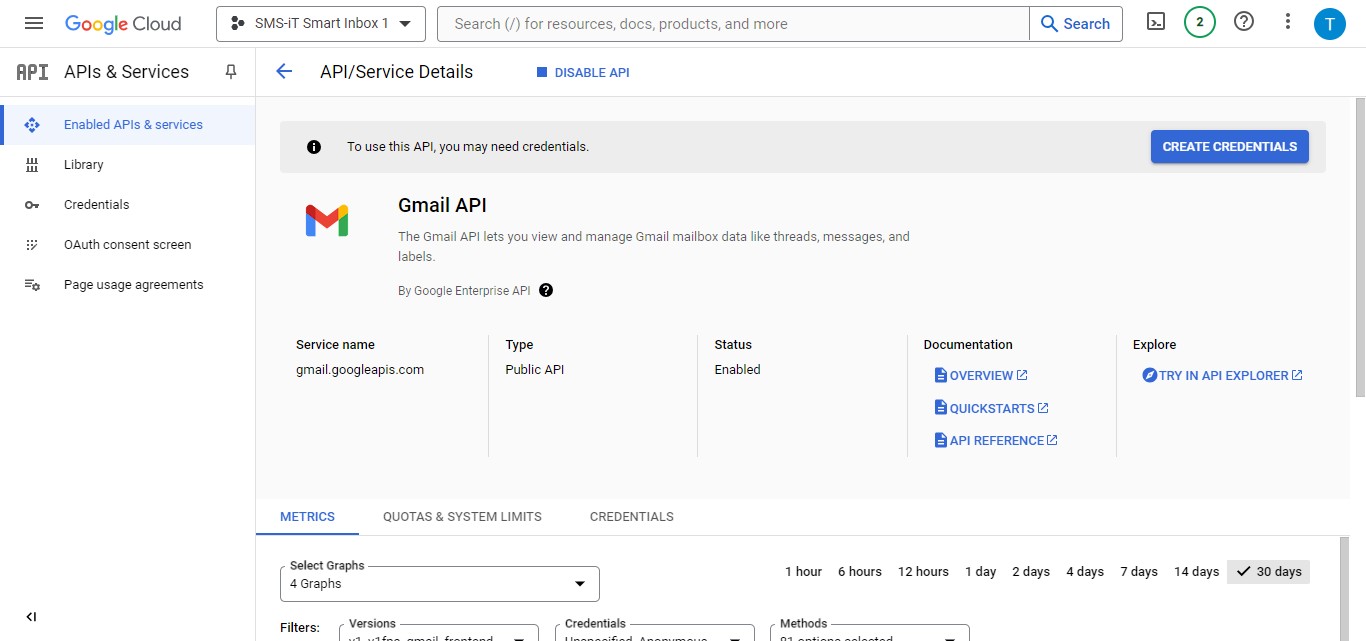
Your Gmail API has been enabled
Create Credentials
Creating API Credentials To set up access, click on "Create credentials"

Specifying API Usage From the pulldown menu, select "Gmail API" as the API you'll be using
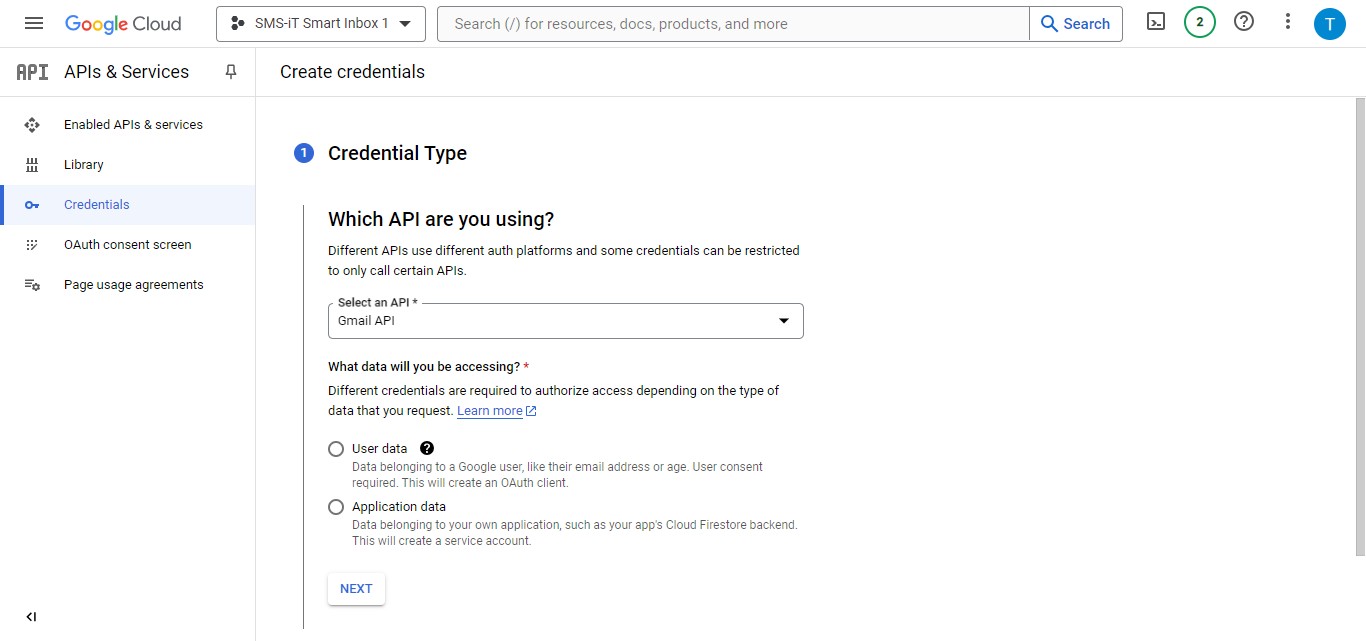
Click on "User data"
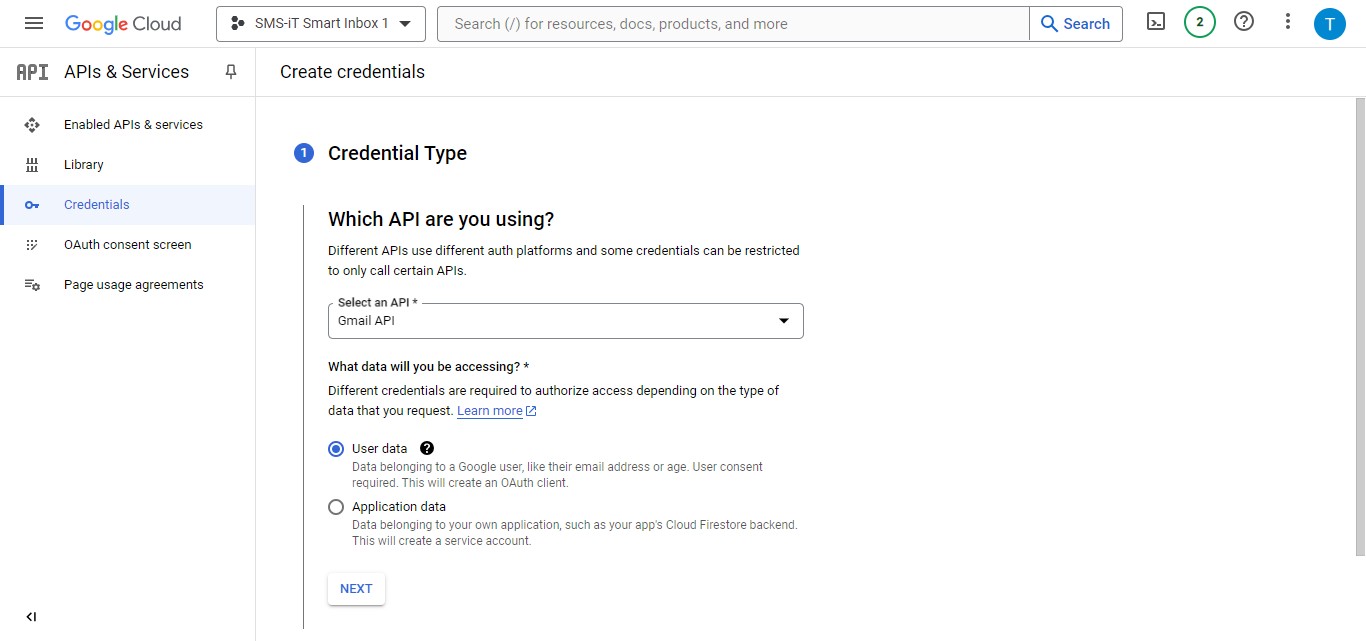
Click on "Next"

Naming Your Application Enter a name for your application This name will be visible to users during the OAuth consent process
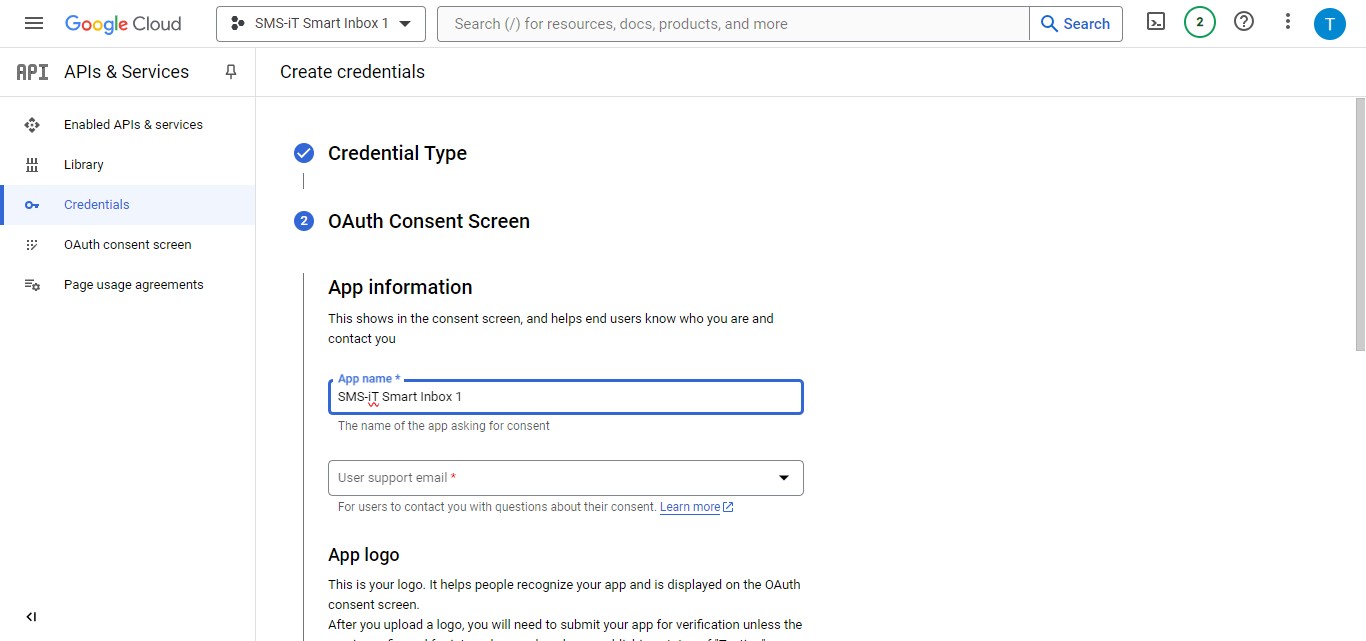
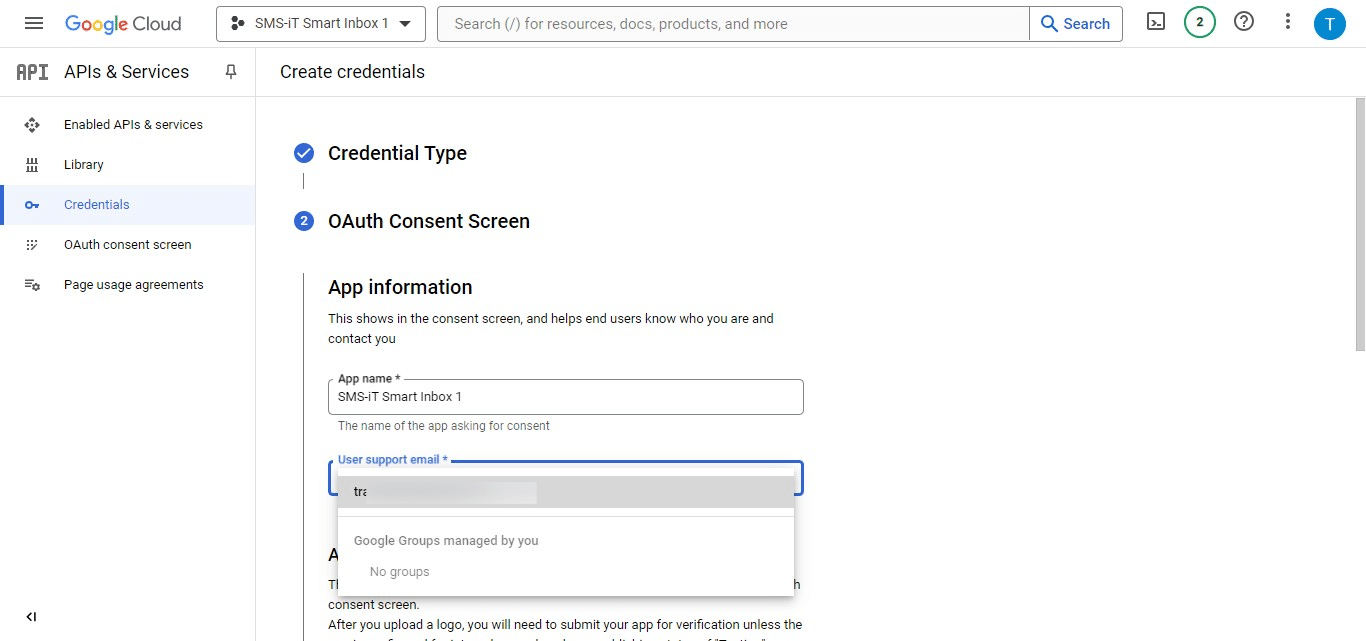
Setting Support Email From the pulldown menu, select a "User support email" Note: Since this application is for your personal Smart Inbox use, you can use your own email as the support email.
Adding an Application Logo Click on "Browse" to upload an app logo Note: You can use any logo of your choice as this application is private and only for your Smart Inbox use.
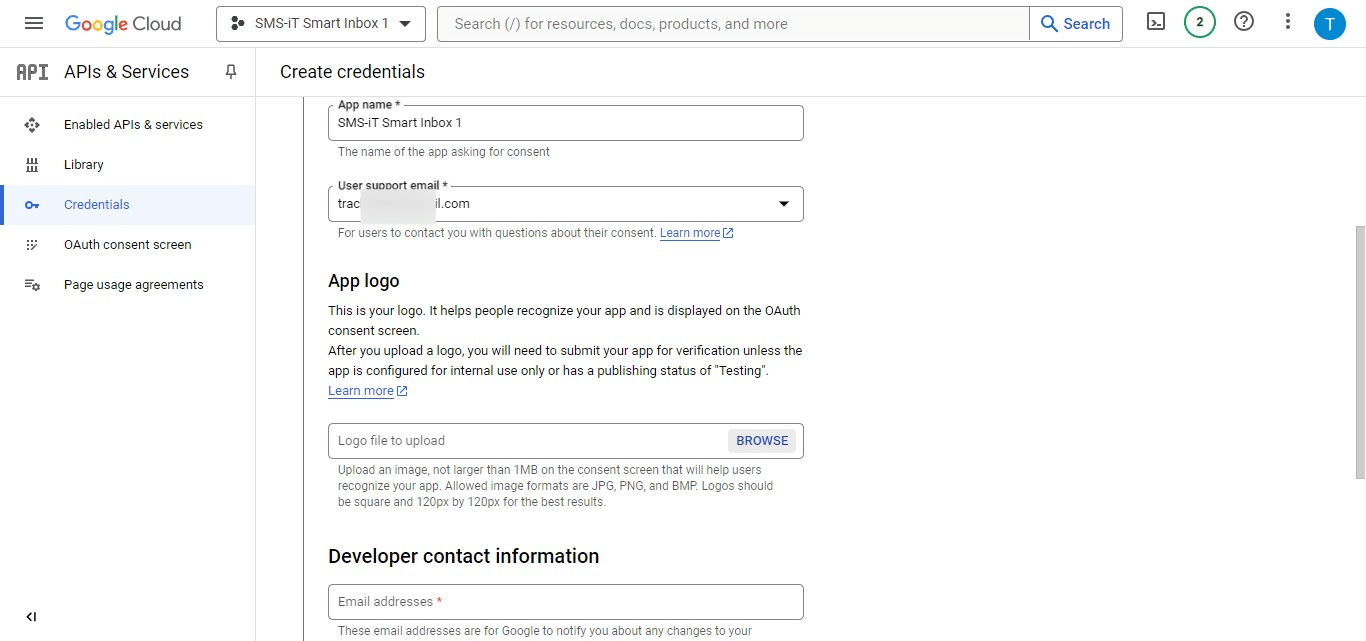
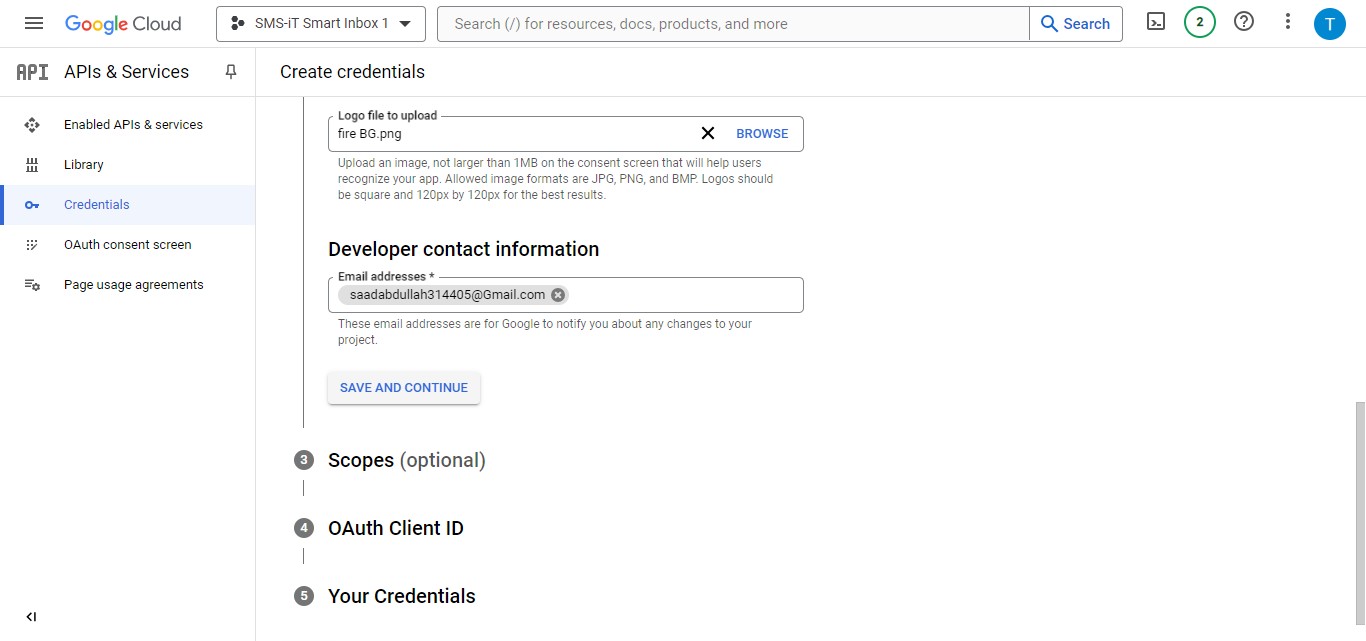
Providing Developer Contact Click on "Developer contact information" Add the email: [email protected] This ensures our developer will be notified of any application changes.

Click on "Save and Continue"
Saved
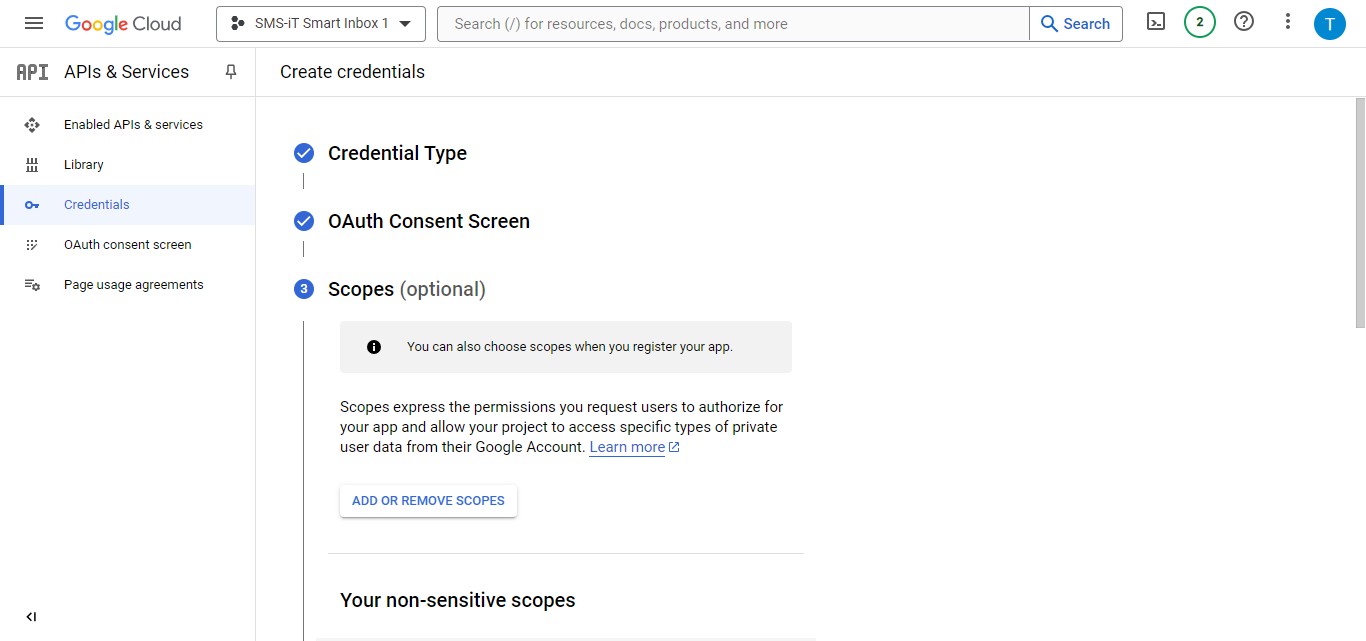
Add Scopes
Managing API Scopes Click on "Add or Remove Scopes" to specify the permissions for your application
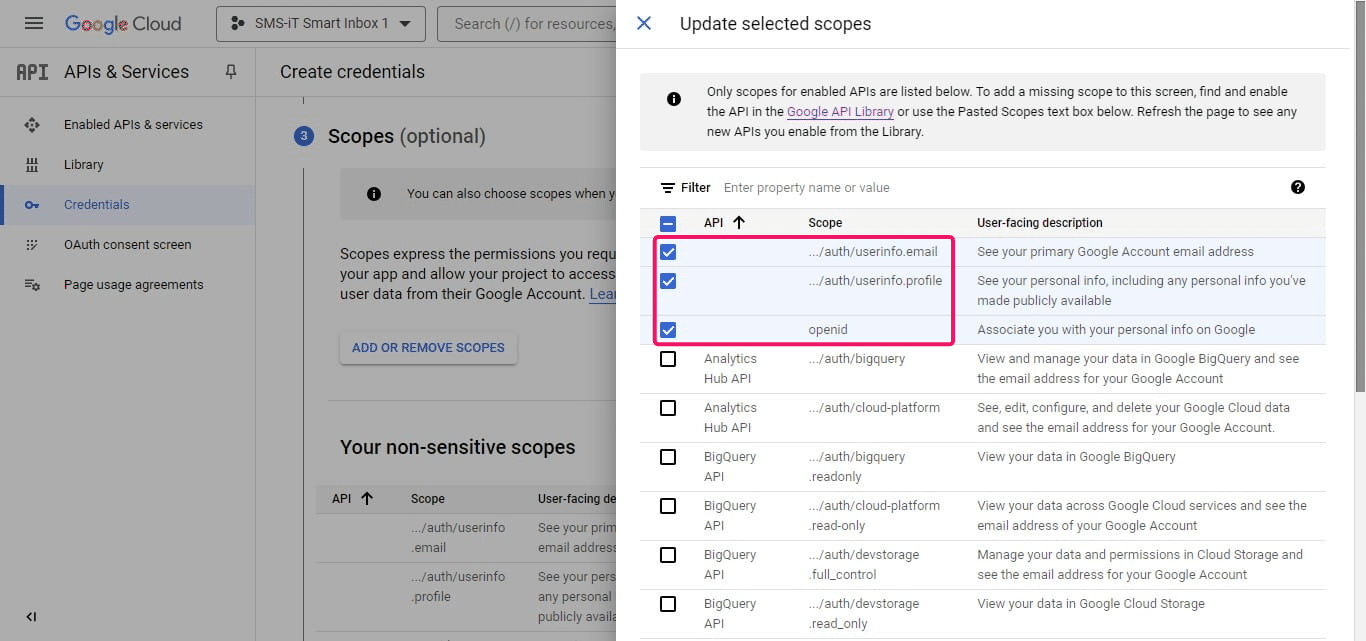
Adding Initial Scopes Add the following scopes:
/auth/userinfo.email /auth/userinfo.profile openid
Click on "50" to display more available scopes
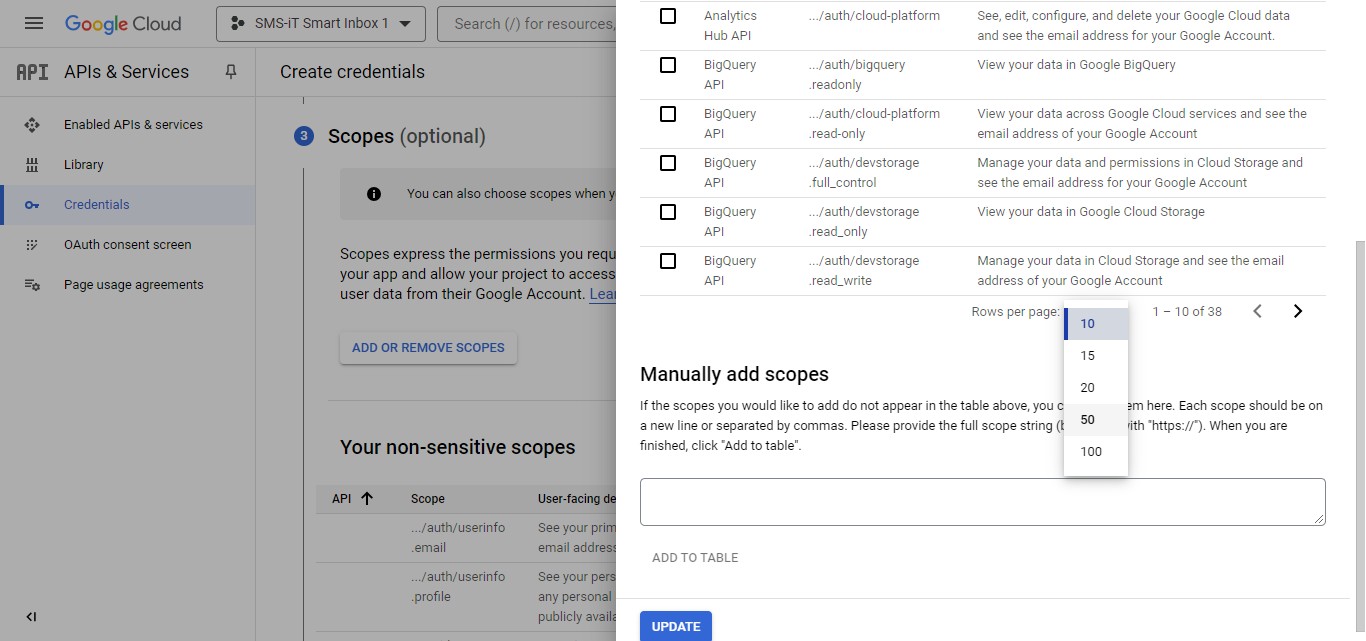
Scroll down
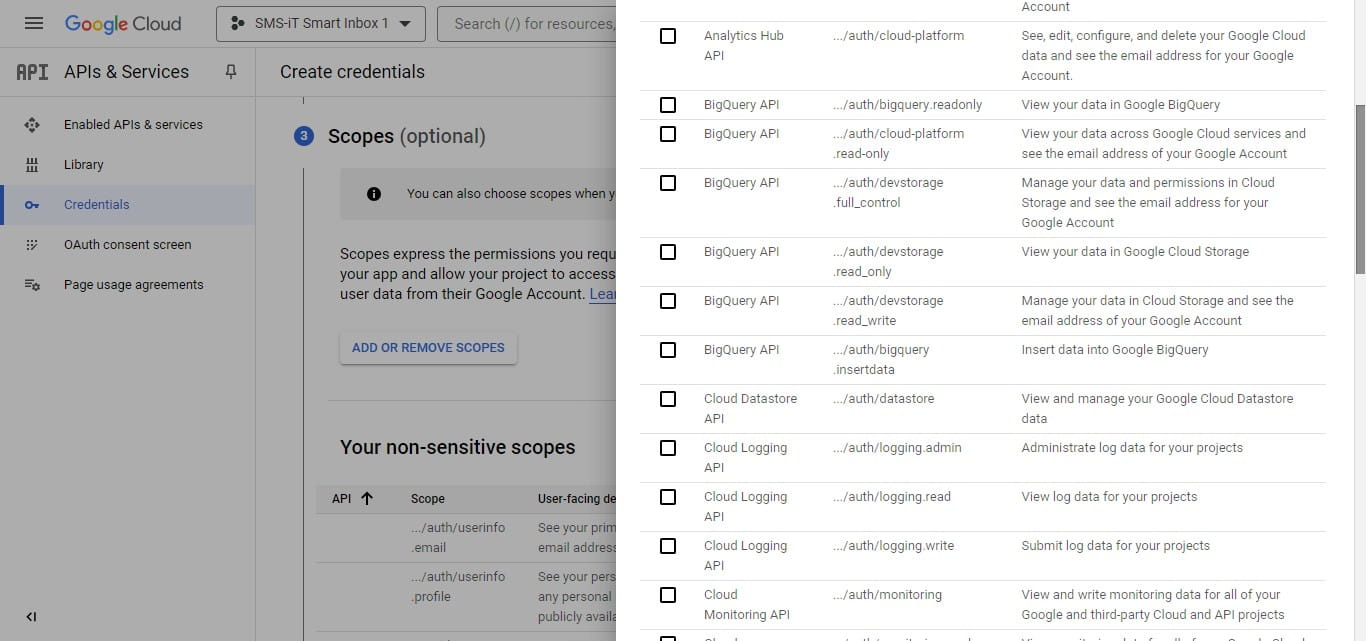
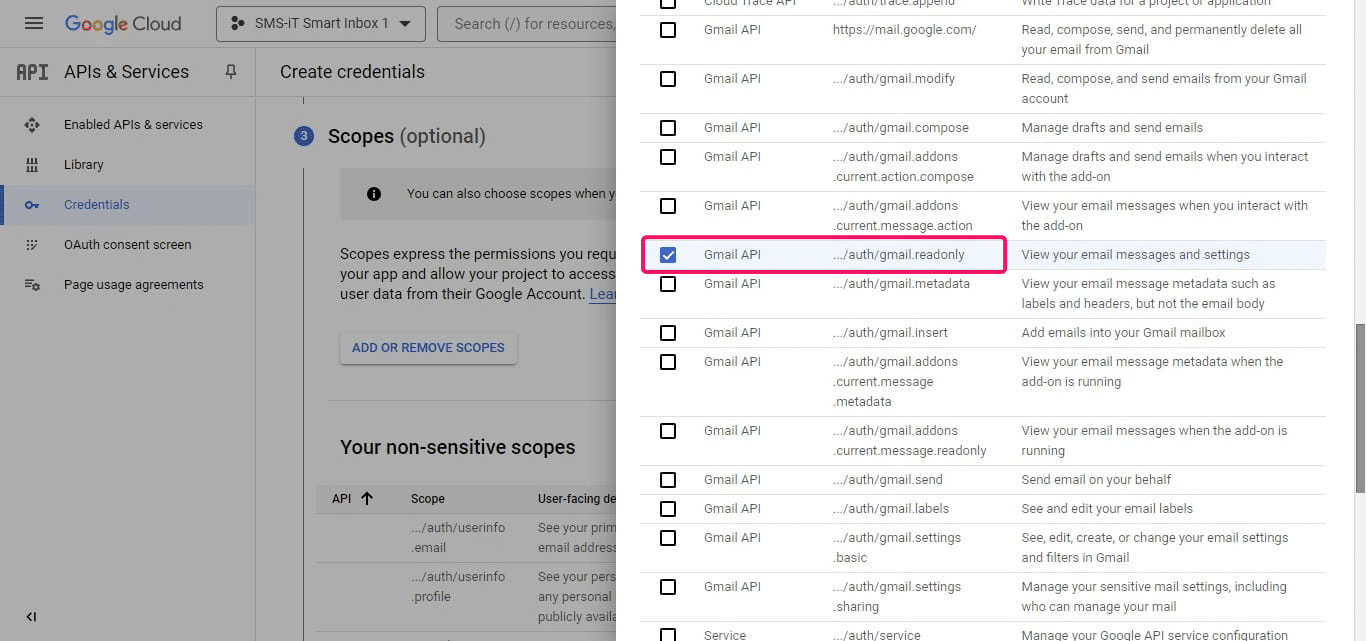
Locate and add the following scope:
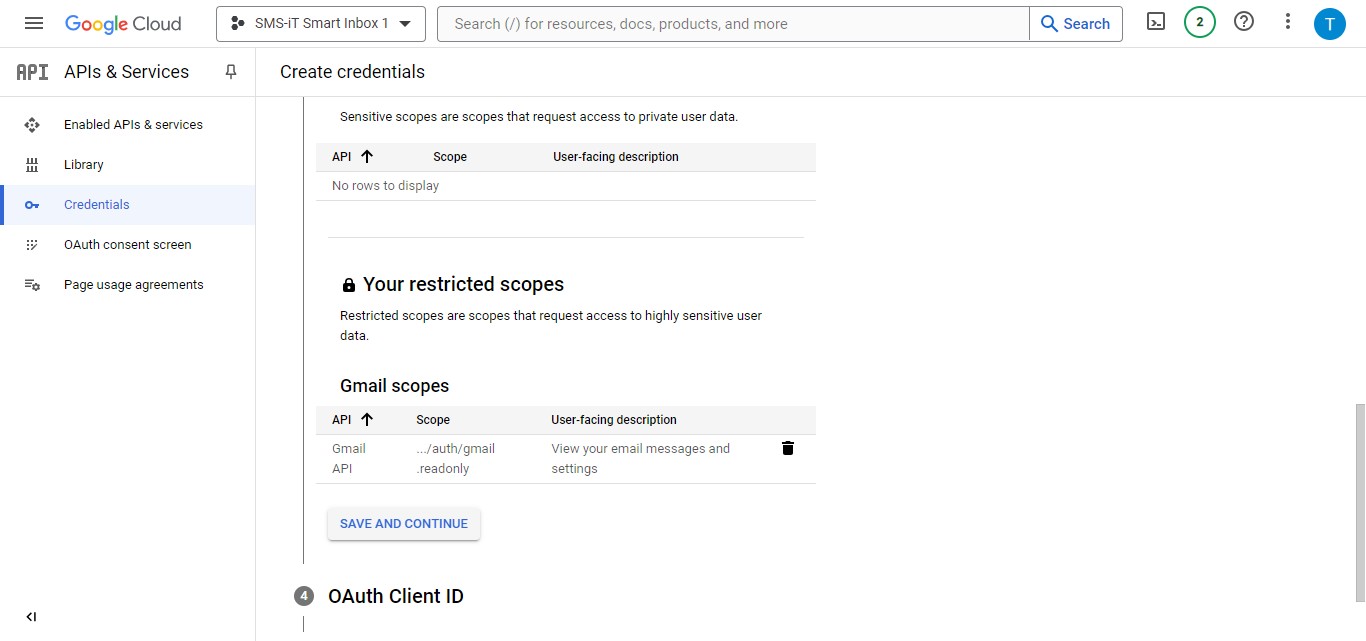
/auth/gmail.readonly
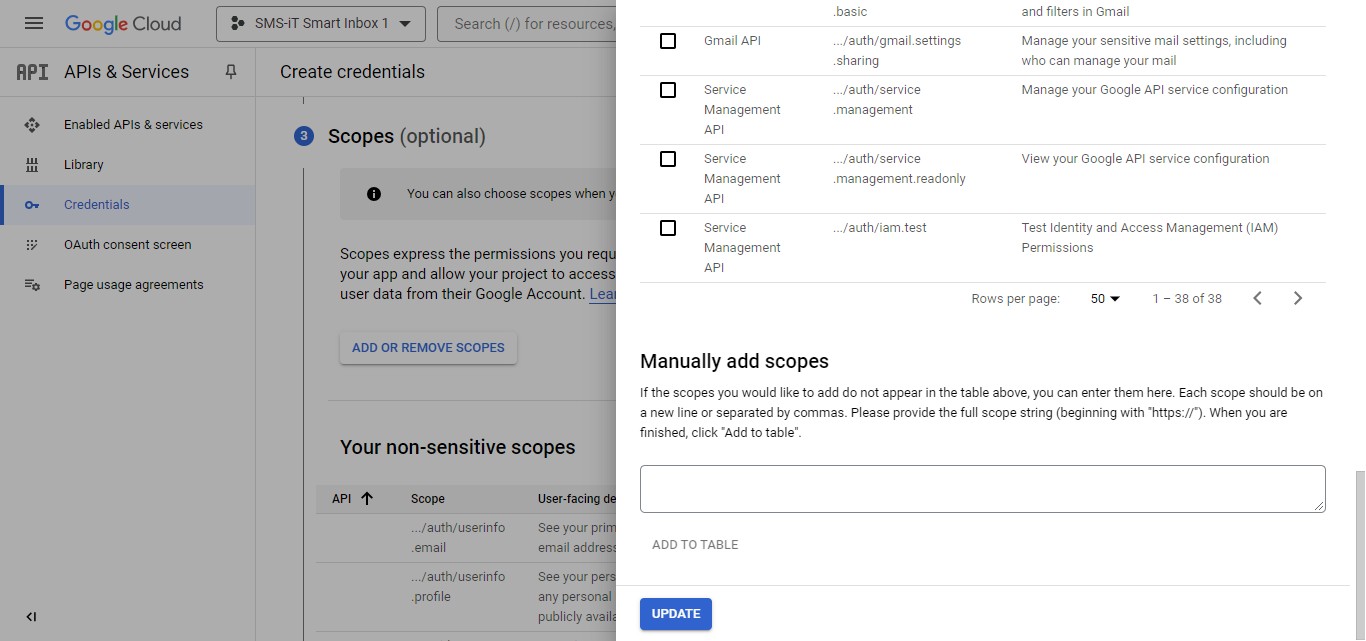
Click on "Update"
Click on "Save and Continue"
Saved
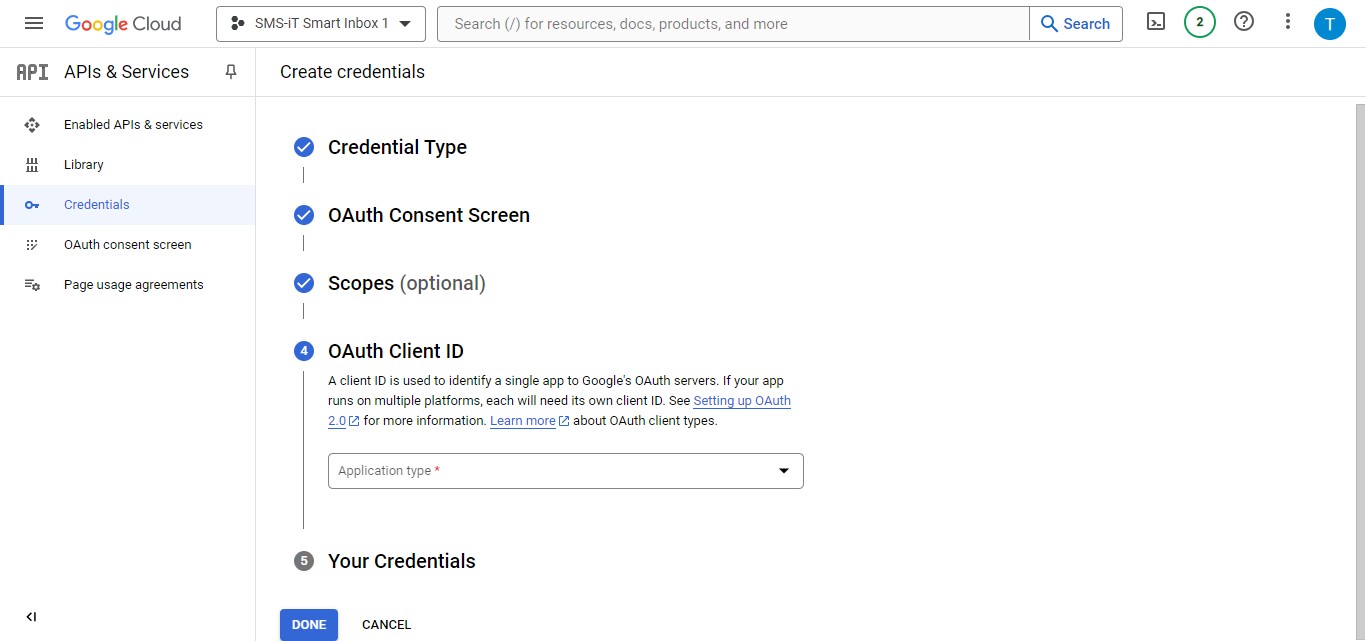
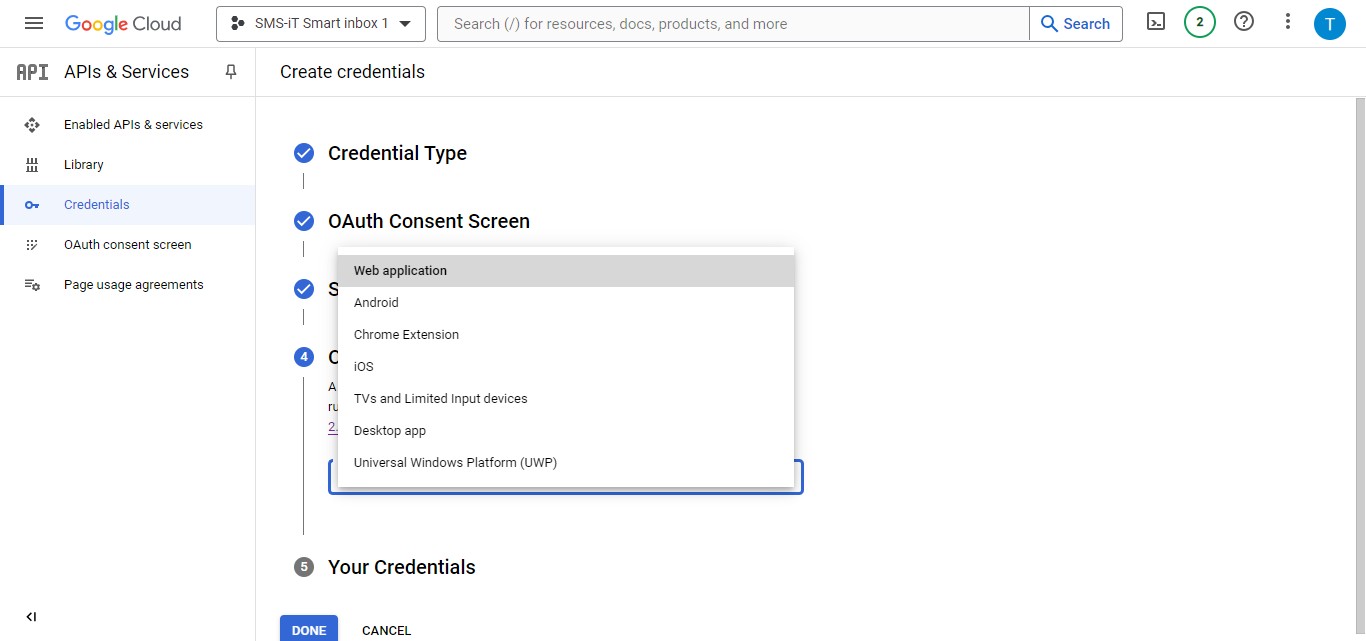
OAuth Client ID
Specifying Application Type In the OAuth Client ID creation process, click on "Web application"
Naming OAuth Client Provide a name for your OAuth Client ID

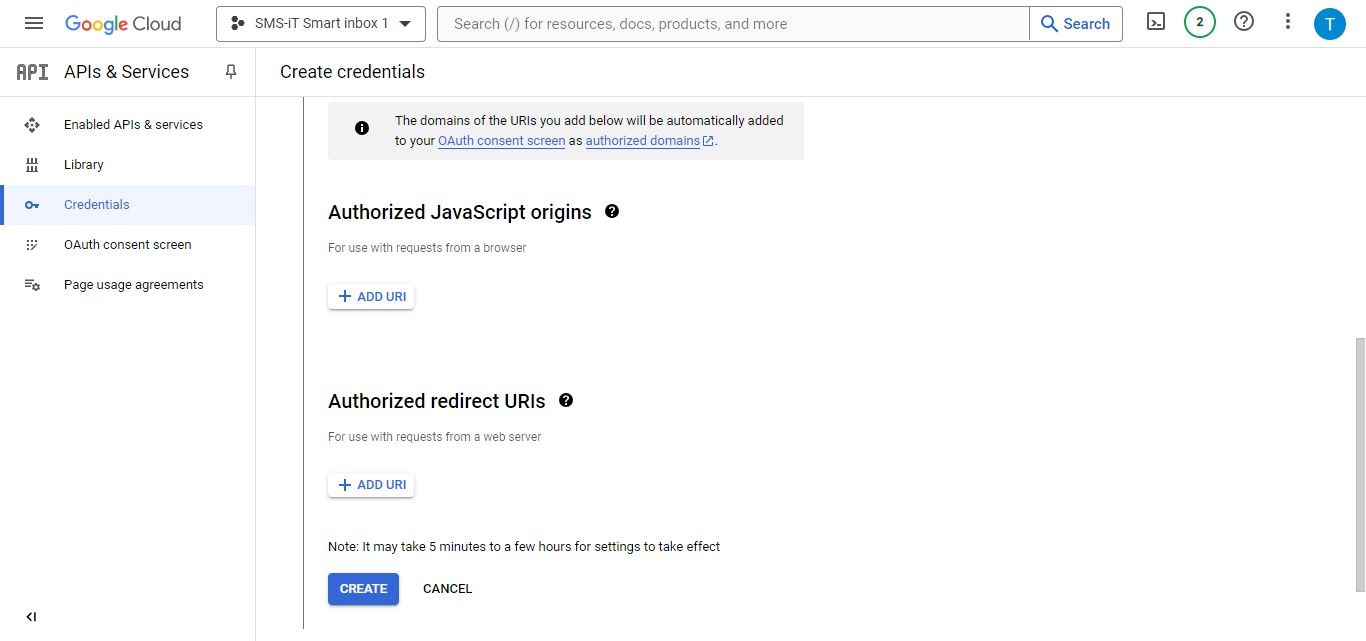
Setting Redirect URL Locate "Authorized redirect URIs" Click "Add URI" to input the redirect URL
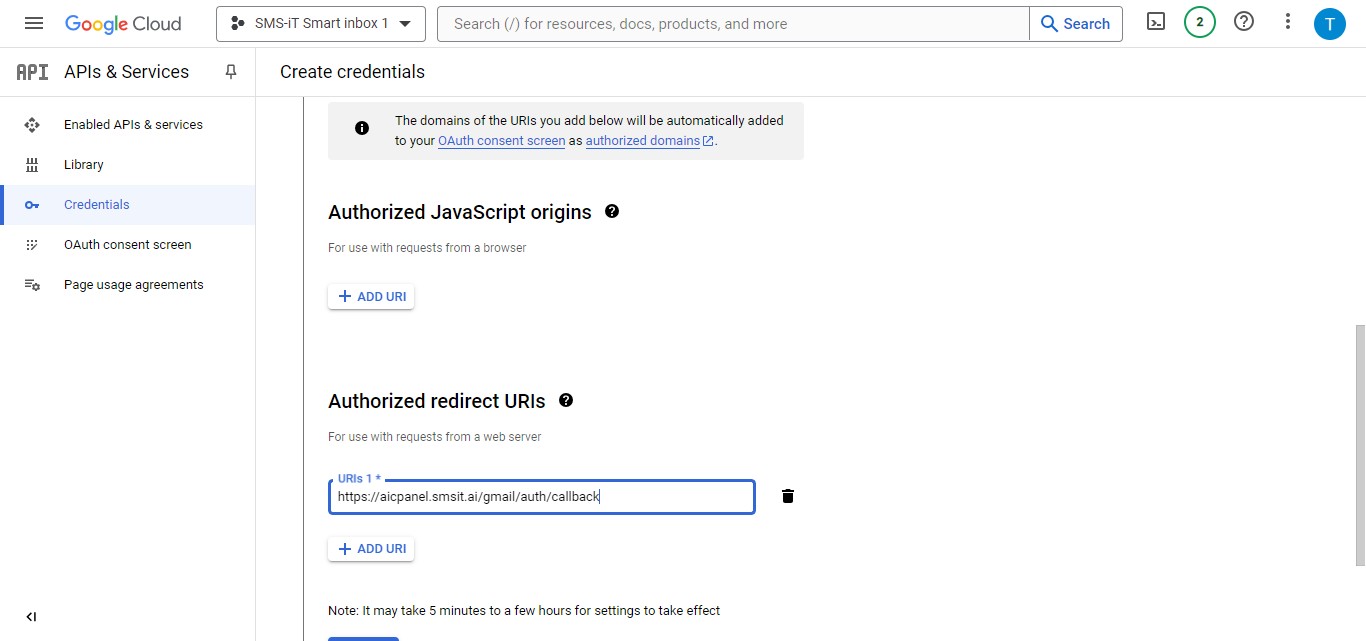
Adding Redirect URI Paste the following redirect URI: https://aicpanel.smsit.ai/gmail/auth/callback
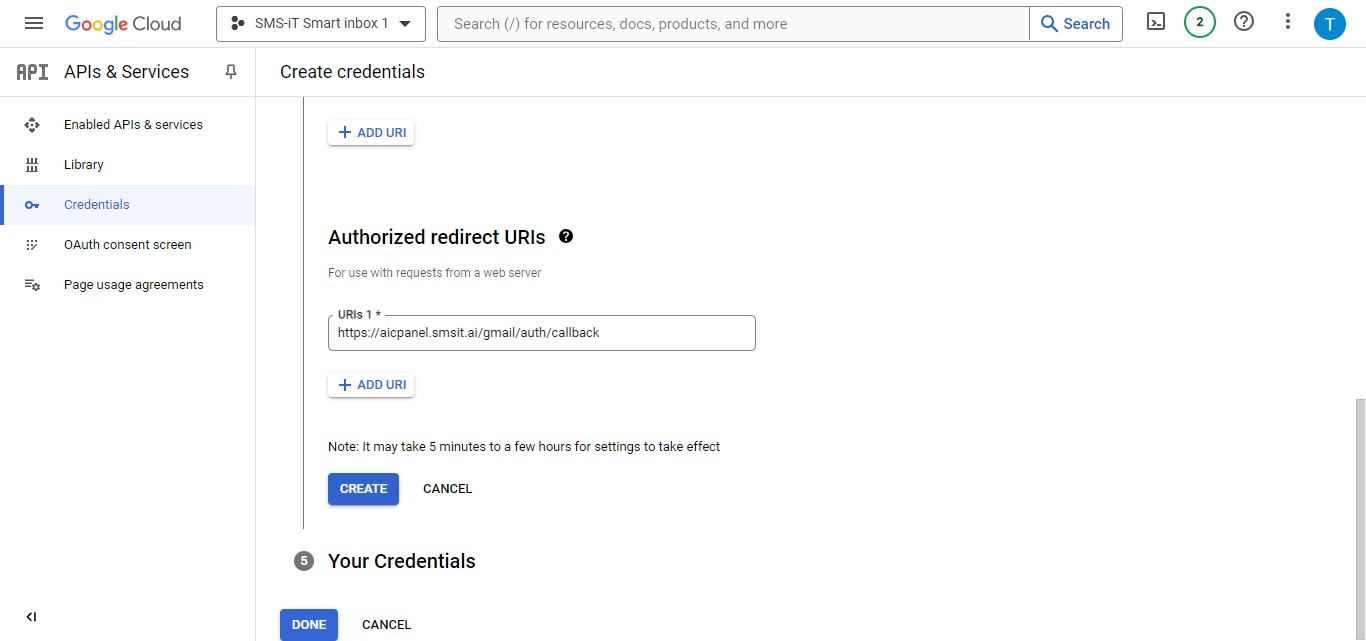
Finalizing Client Creation After entering all required information, click on "Create" to generate your OAuth Client ID
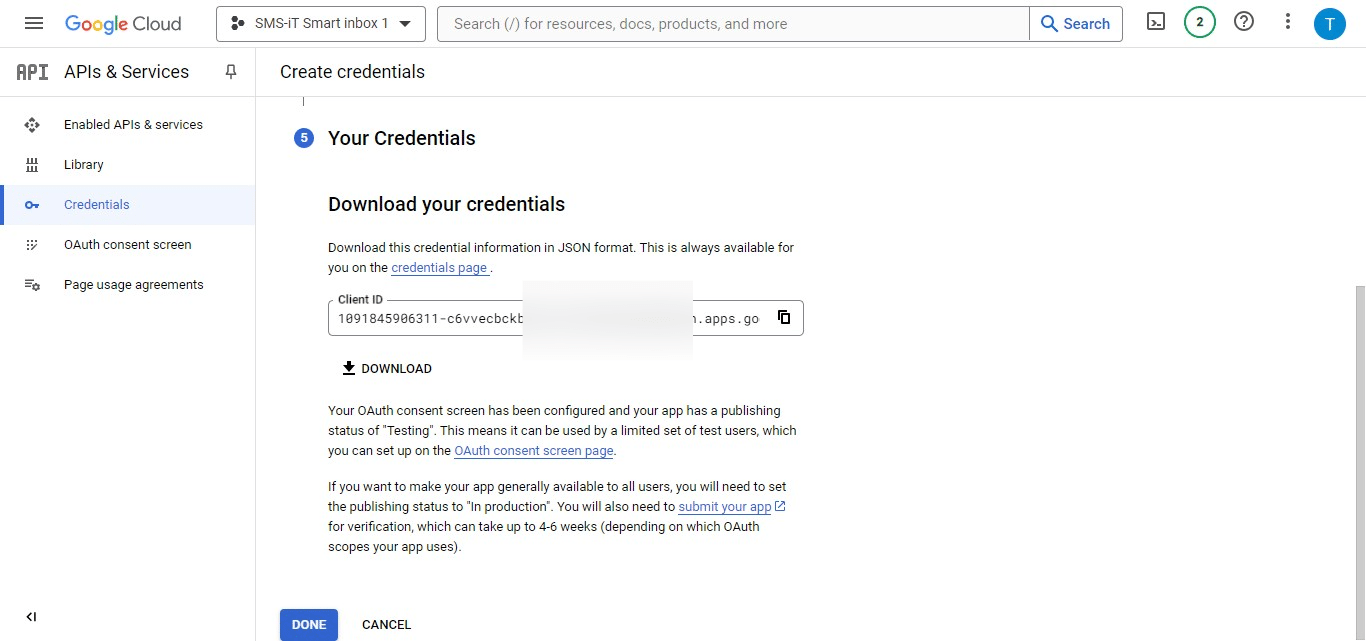
Downloading Credentials Click on "Download" to save your credentials file (JSON format)
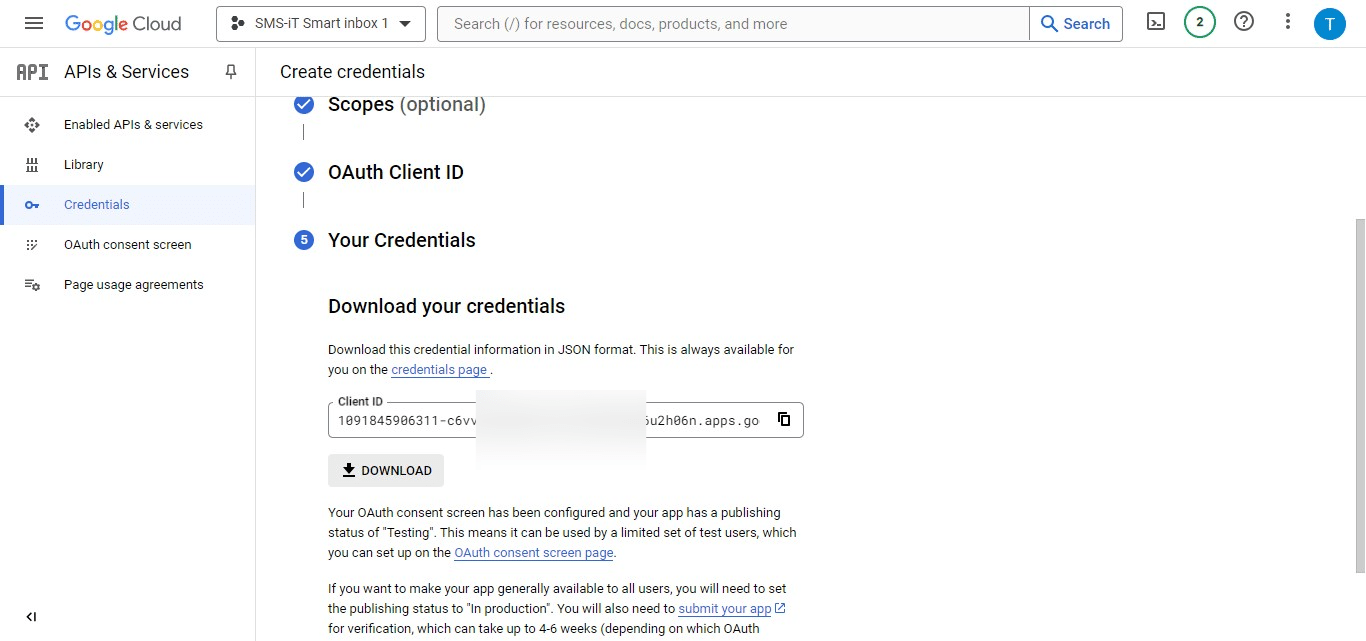
Click on "Done"
Task completed
Add test users
Important: Add test user emails to verify Smart Inbox functionality before Google authorization This step allows you to: - Test the Smart Inbox integration in a controlled environment - Ensure proper functionality without affecting your main Google account - Identify and resolve any issues before full implementation
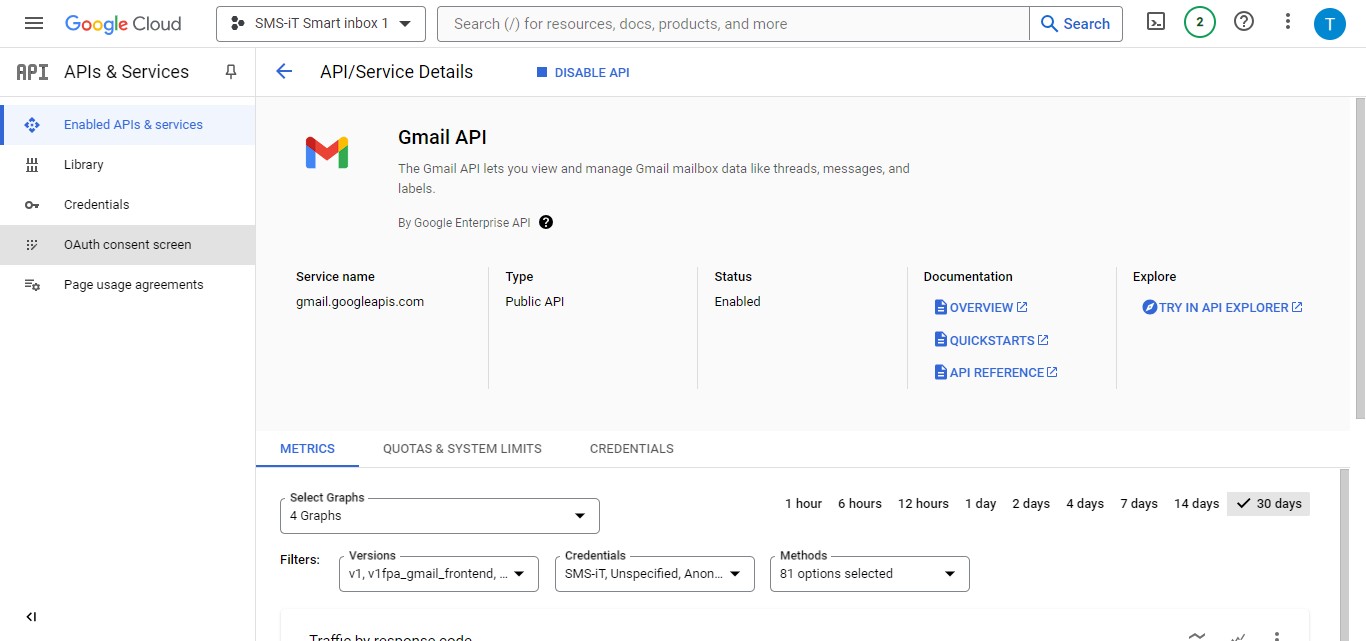
Click on "OAuth consent screen"
Scroll down
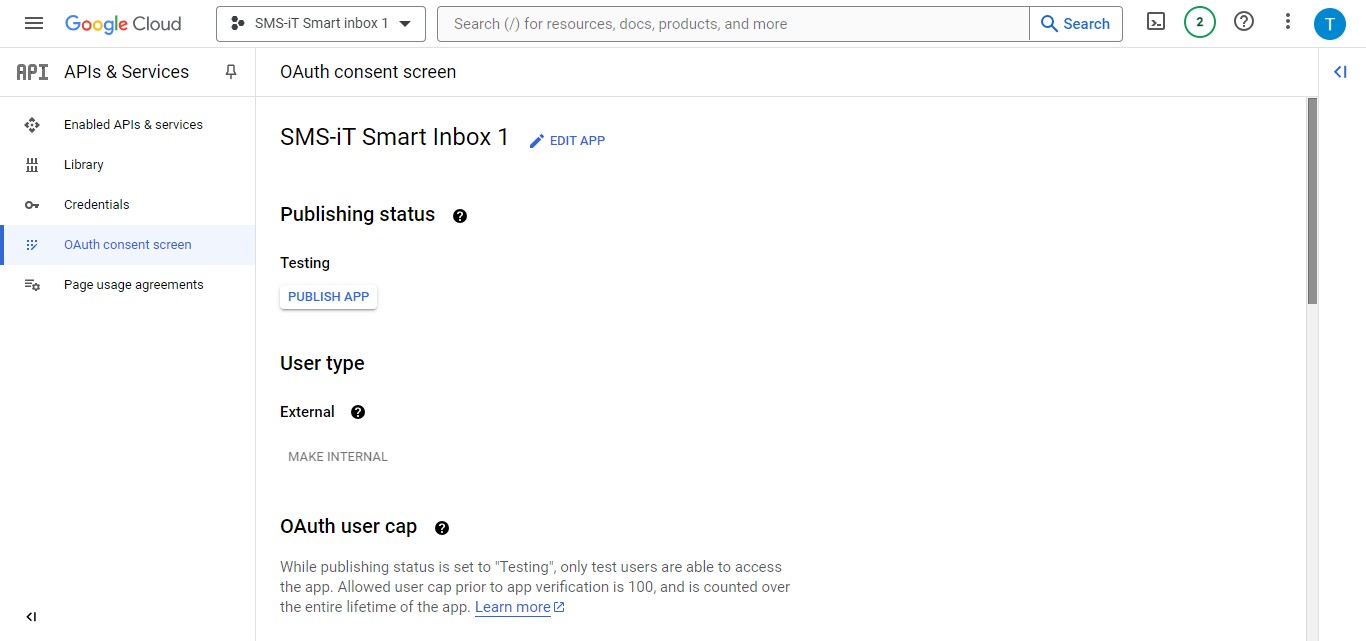
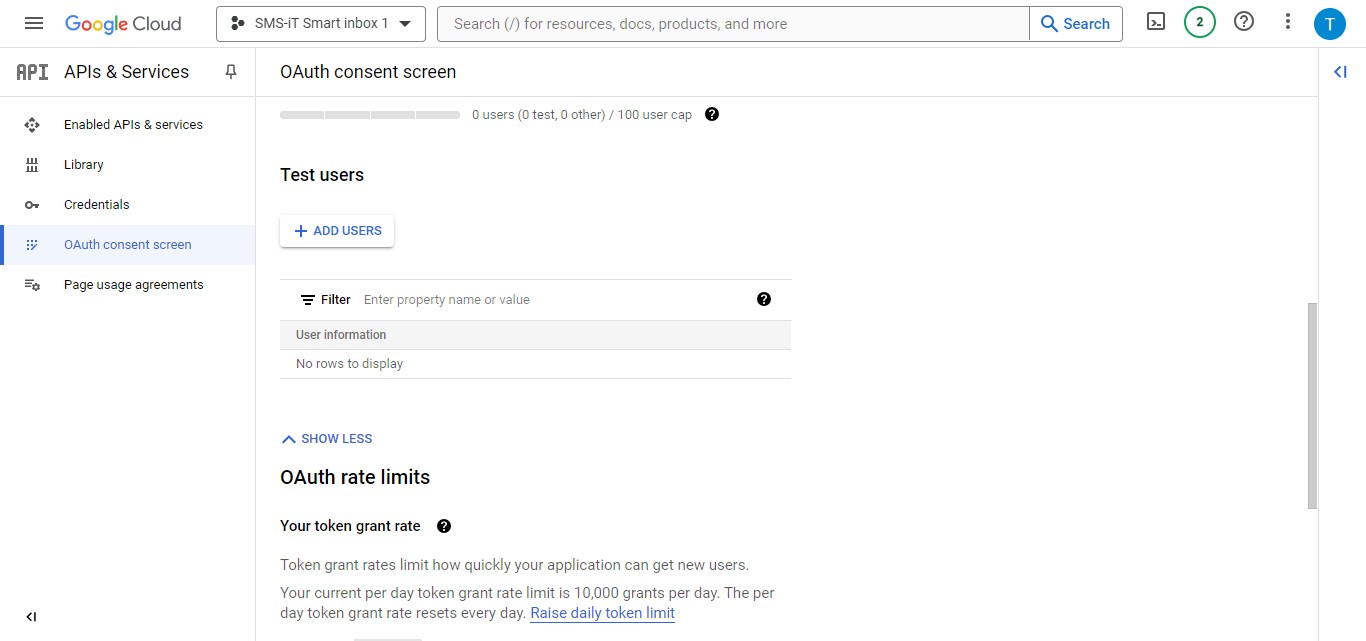
Adding Test Users Locate the "Test users" section Click on "Add users" to include test Gmail accounts
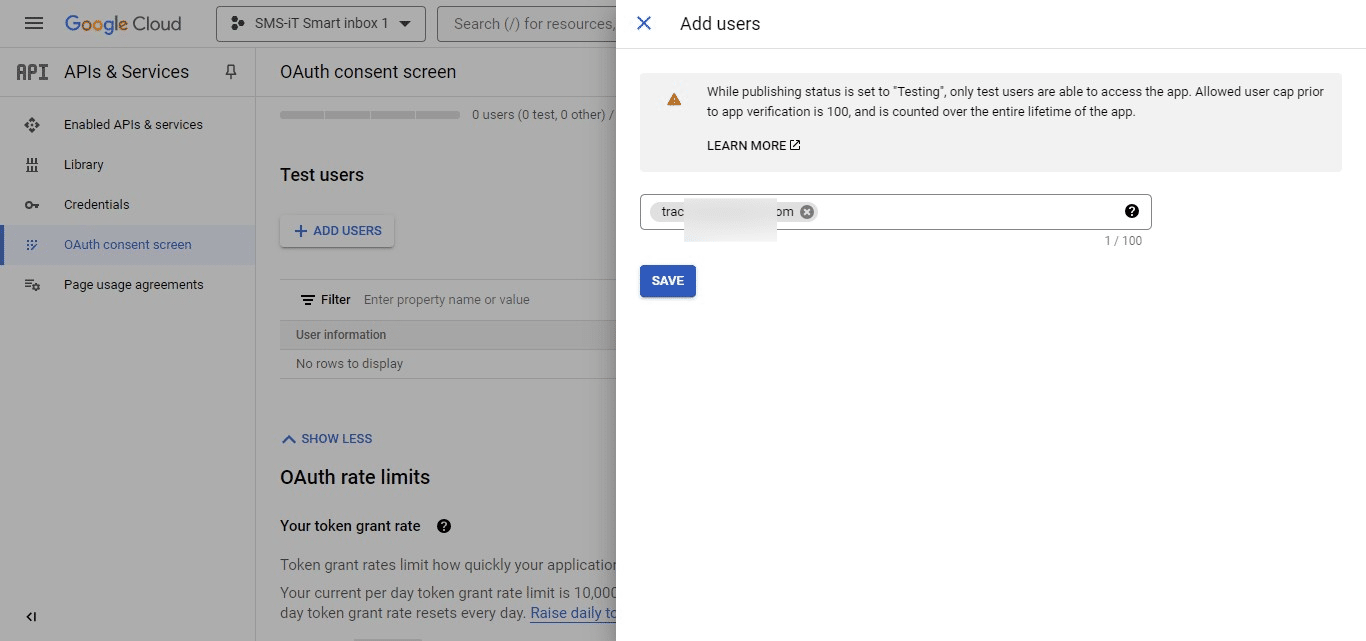
Specifying Test User Enter a Gmail account to use for testing Click on "Save" to add the test use
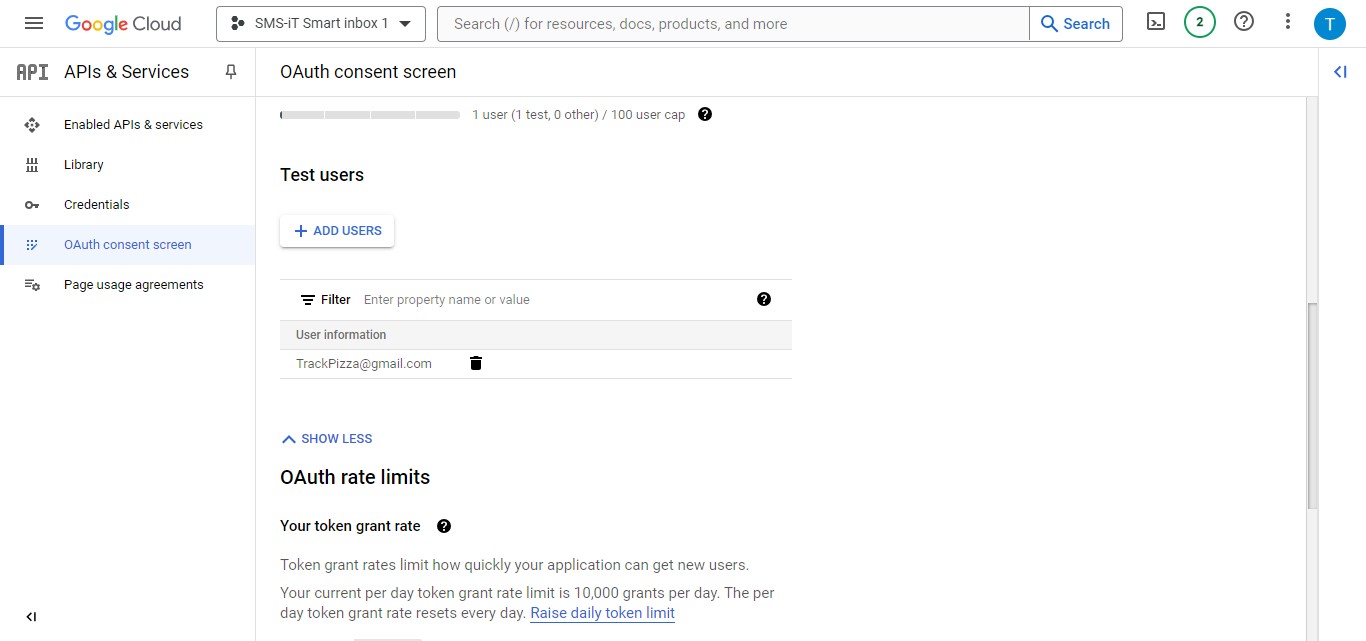
Test user added
Obtain Client ID and Client Secret
Accessing Credentials Open the previously downloaded JSON file to retrieve your "client id" and "client secret" Note: If you need a JSON file reader, you can download a free version of "Cool File Viewer" from: https://apps.microsoft.com/detail/9n29tp7zmkv3?hl=en-US&gl=US
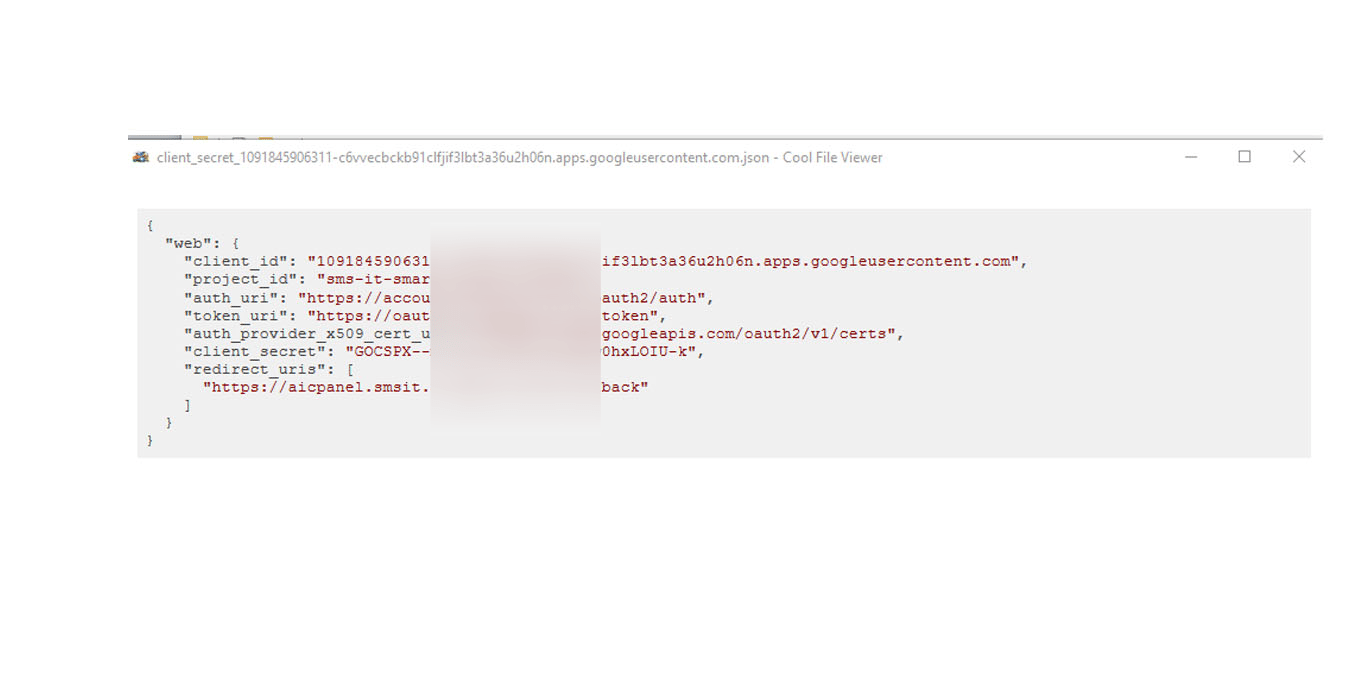
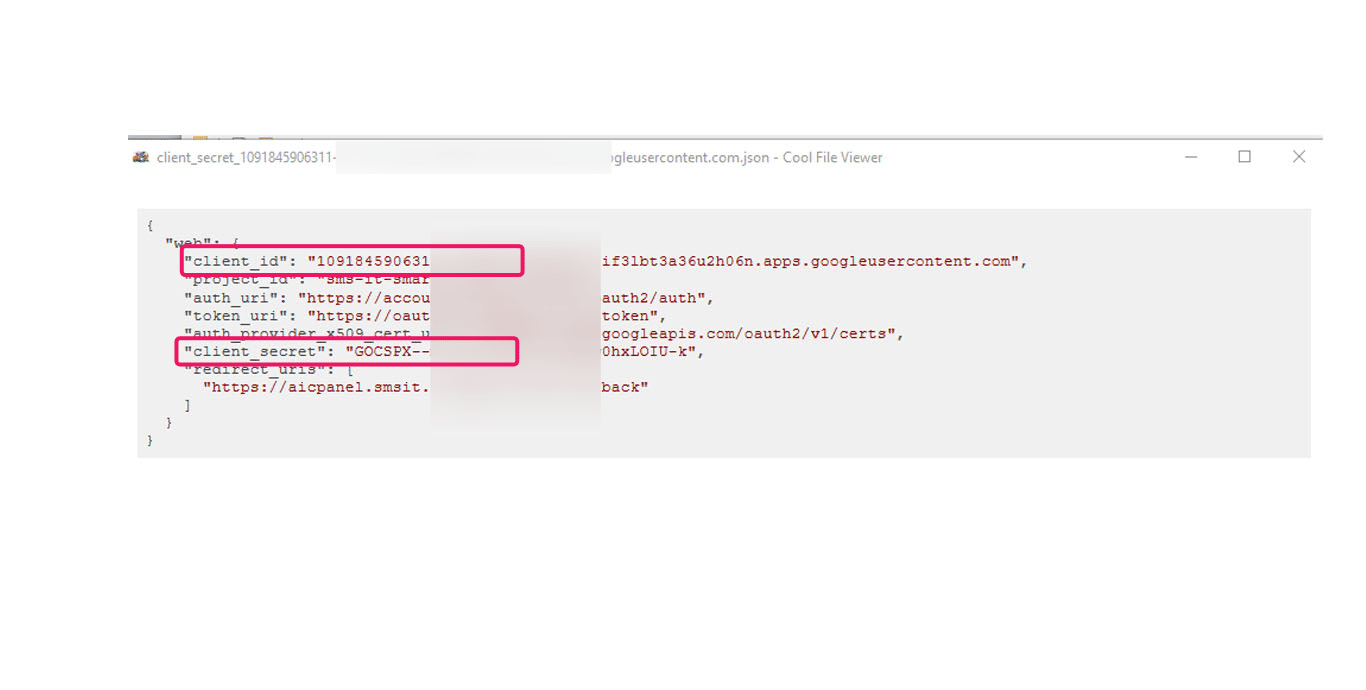
In the JSON file, locate the following information:
"client_id" "client_secret" You'll need these for the next steps.
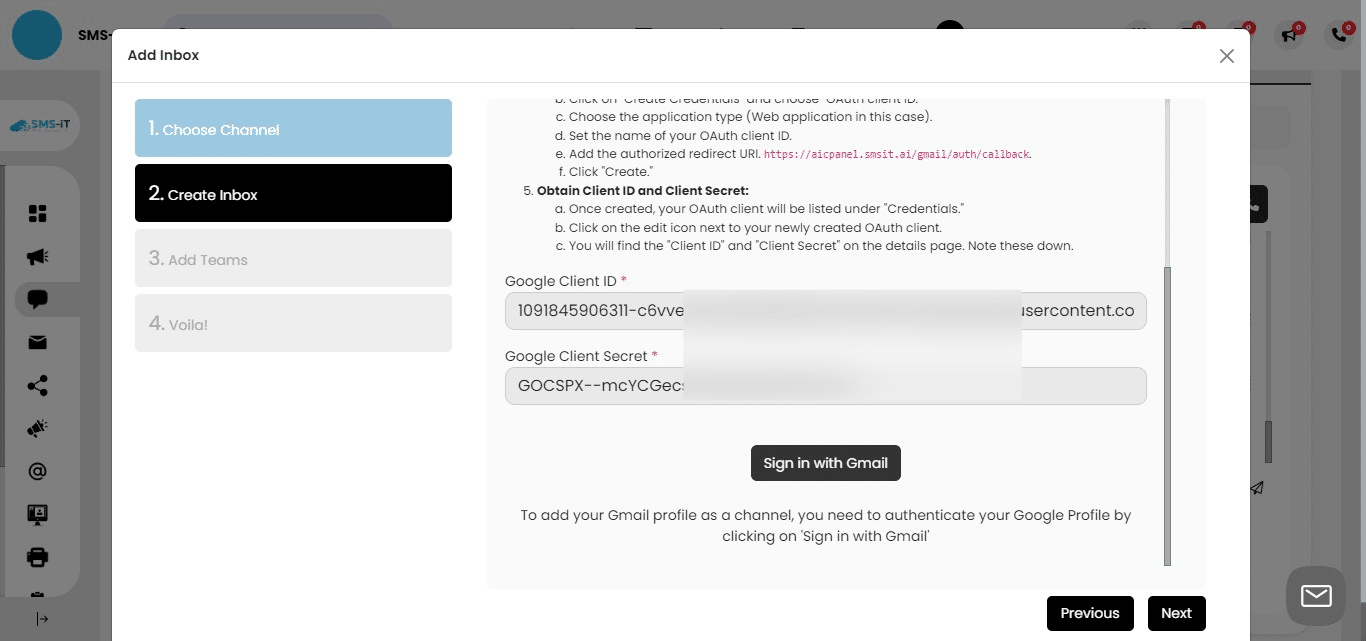
Entering Credentials in Smart Inbox Return to the Smart Inbox setup Enter the Client ID and Client Secret in the appropriate fields

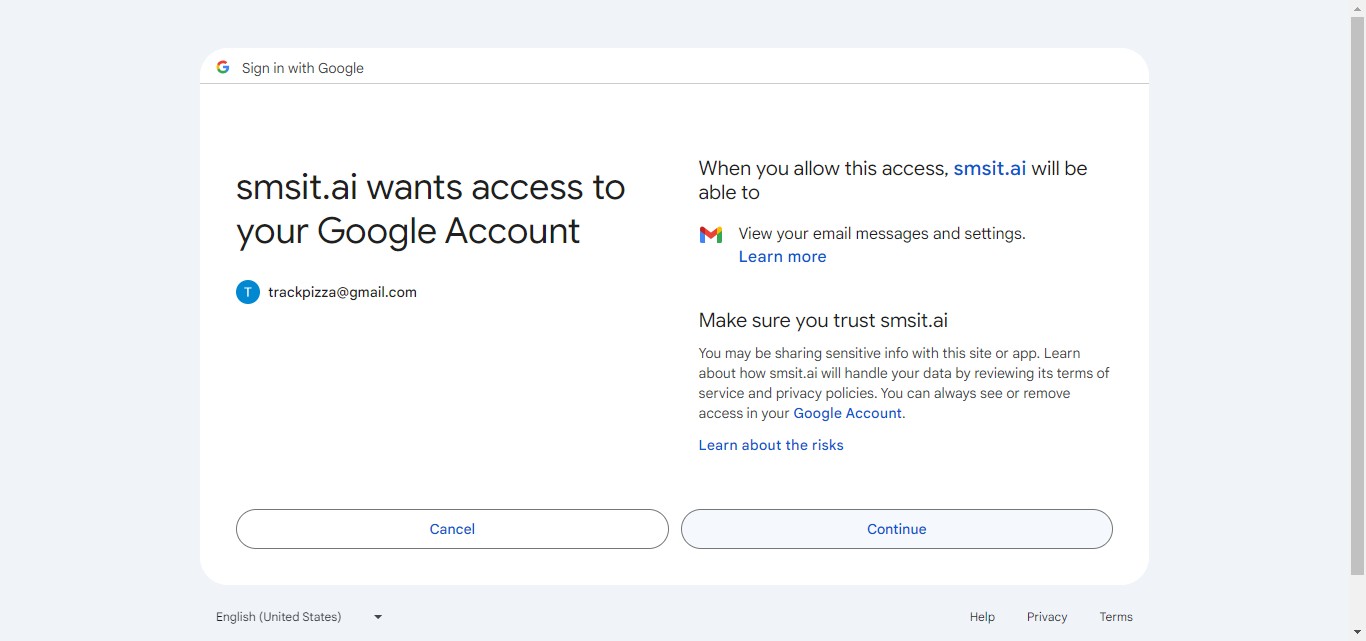
Initiating Gmail Sign-In Click on "Sign in with Gmail" to begin the authentication process
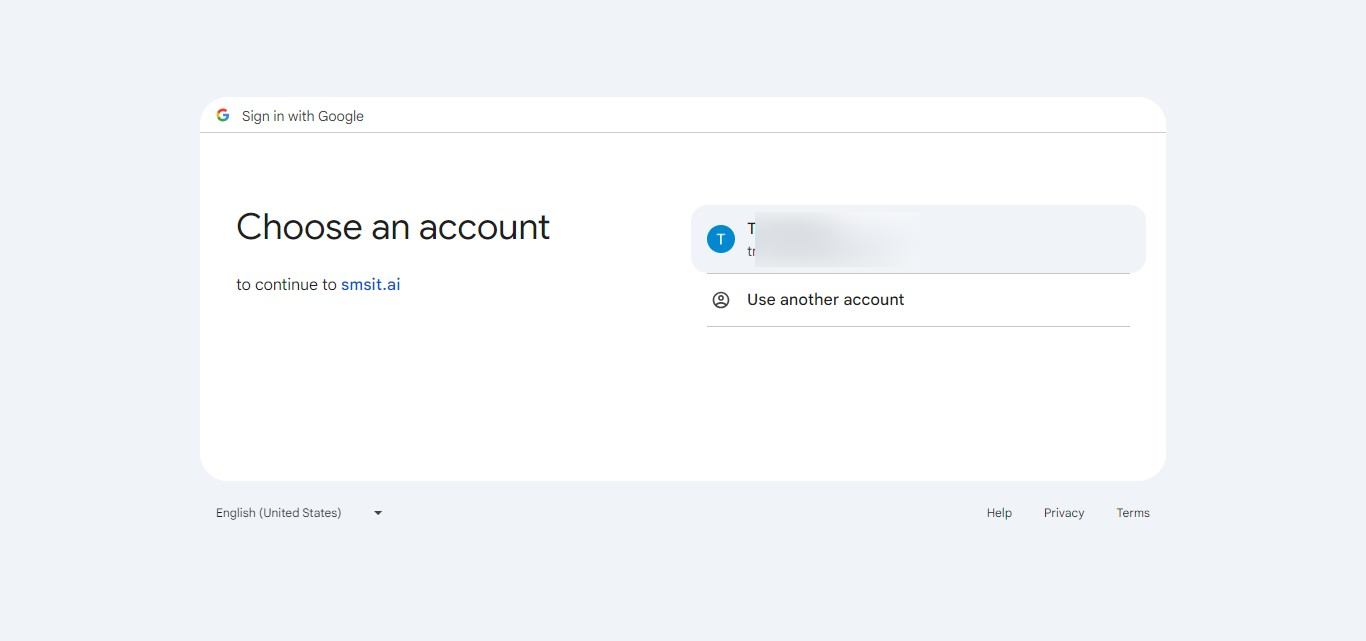
Click on your Google Gmail account
Authorizing Test Application You'll see a screen indicating the app hasn't been verified yet This is normal for test-mode applications Click on "Continue" to proceed
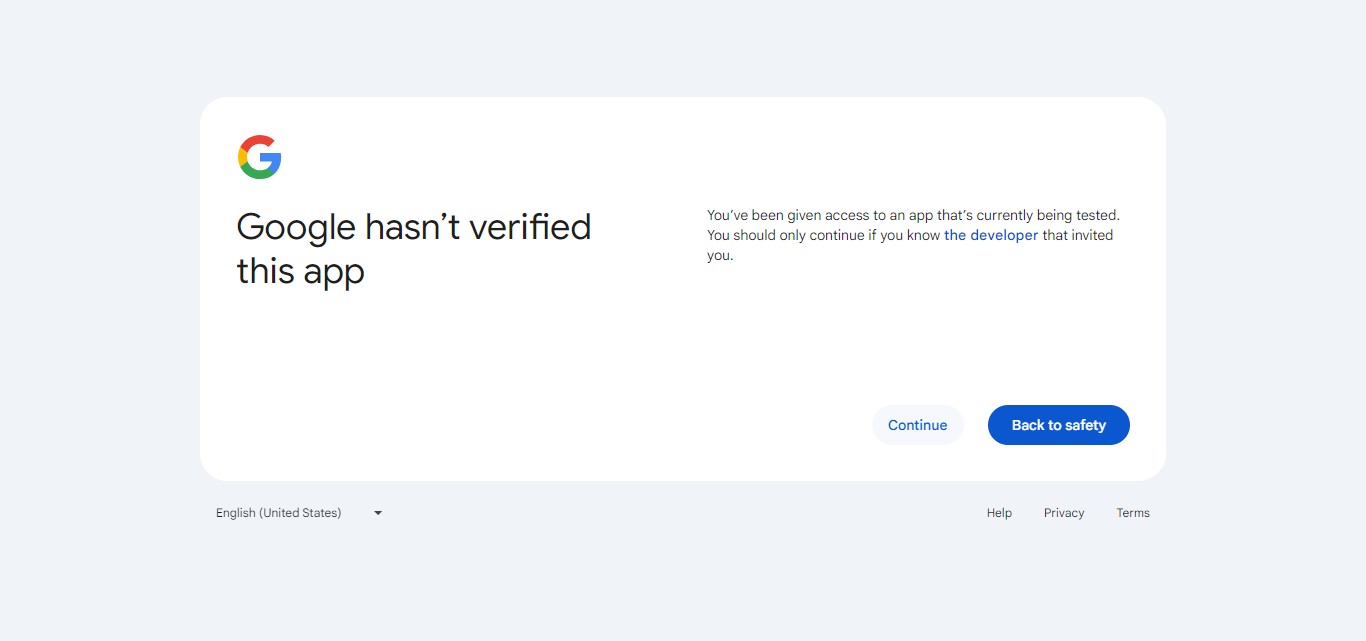
Click on "Continue"
Verify
Verifying Integration After authorization, return to Smart Inbox Click on "Inbox" to view your integrated accounts
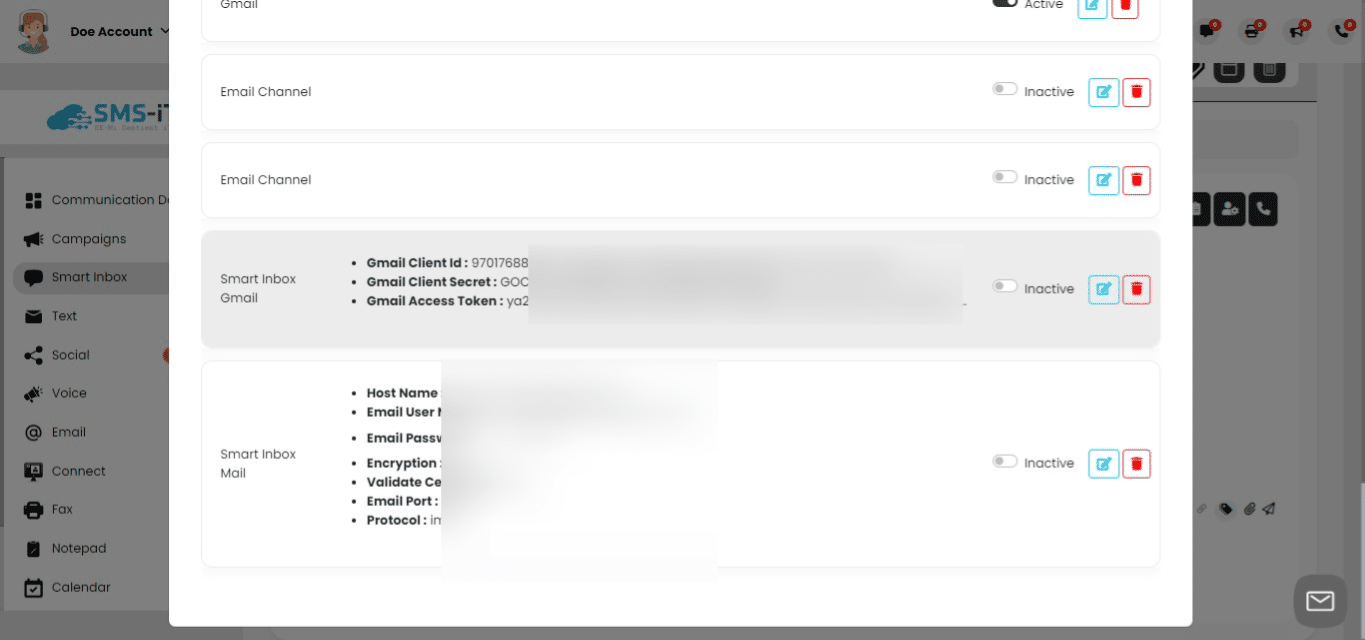
Confirming Gmail Integration Check that your "Smart Inbox Gmail" credentials are populated This confirms that your Gmail is successfully integrated and ready to use
Summary: This tutorial will guide SMS-iT CRM users through the process of integrating Gmail into the Smart Inbox platform.
Key steps include: 1. Creating a Google Cloud account (if needed) 2. Setting up a new project in Google Cloud Console 3. Enabling the Gmail API 4. Creating OAuth credentials 5. Adding test users 6. Configuring the Smart Inbox with the obtained credentials Important Notes:
Ensure you have the correct links for navigation and redirect URIs Keep your client ID and client secret secure The application will be in test mode initially, which is normal Closing Statement: By integrating Gmail into Smart Inbox, you'll streamline your email management process, bringing efficiency and organization to your daily communications. This powerful combination allows you to leverage the familiarity of Gmail with the advanced features of Smart Inbox, creating a more productive and user-friendly email experience.