Connecting Telnyx to SMS-iT and Getting a Number Through the SMS-iT Platform
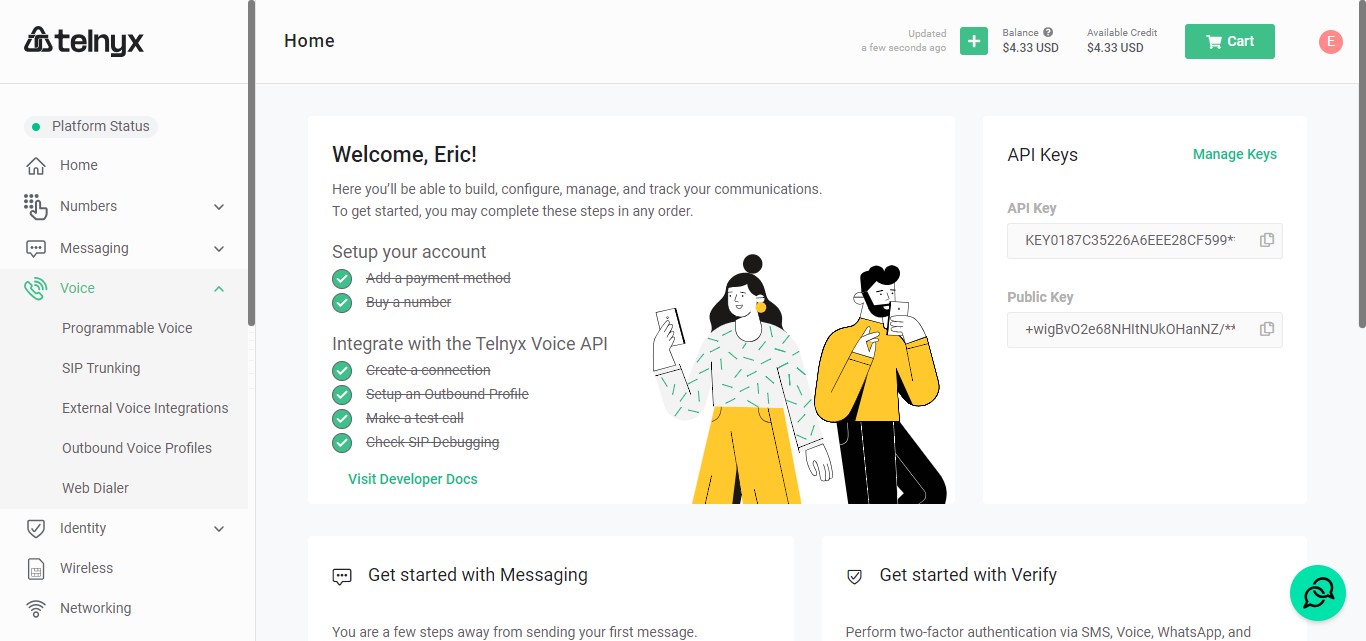
Navigate to https://portal.telnyx.com/#/app/home to create a new Telnyx account
This guide is intended for individuals who wish to add a number to Telynx through the SMS-iT platform. You will still need to have a Telynx account and your billing for the number and charges will come from Telynx.
URGENT: We have identified a critical requirement for SmS-iT CRM users: To ensure high-quality audio during calls, it is essential to purchase a Telynx number with HD Voice capabilities. Without this, call quality may suffer significantly, resulting in poor audio with noticeable crackling.
After you create a Teleynx account you will need to add a payment source and add funds (typically $5 to start, that will cover getting a number and 300-400 SMS texts)
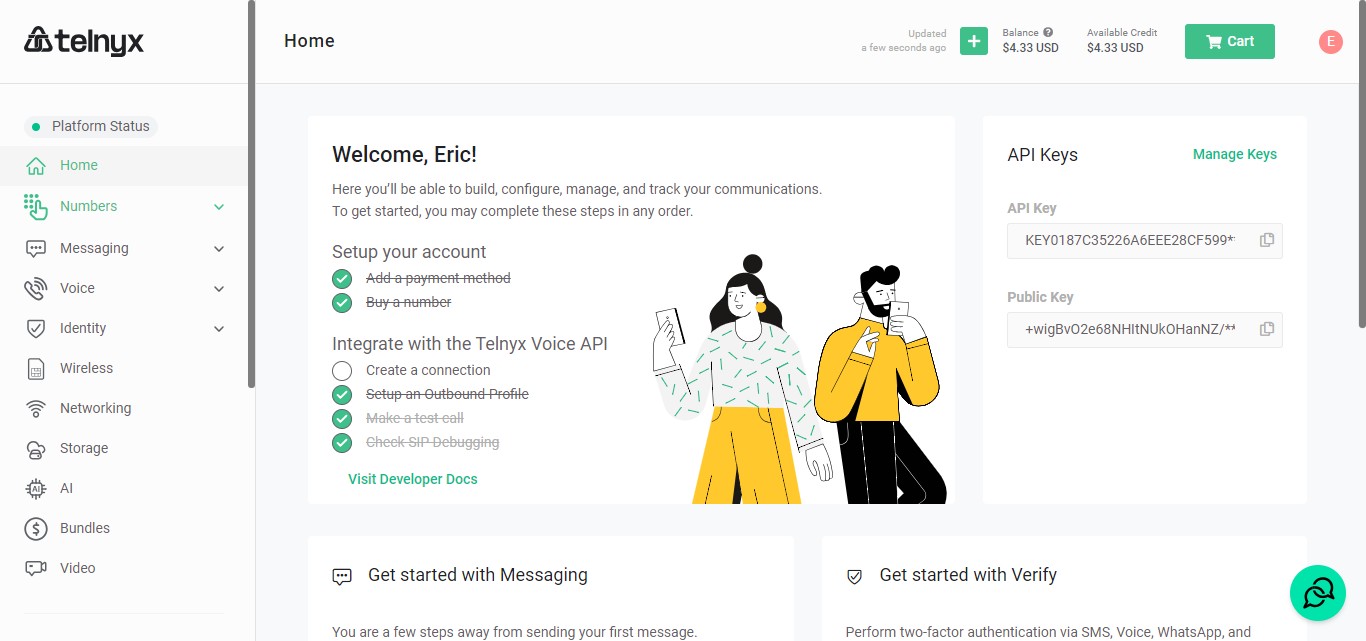
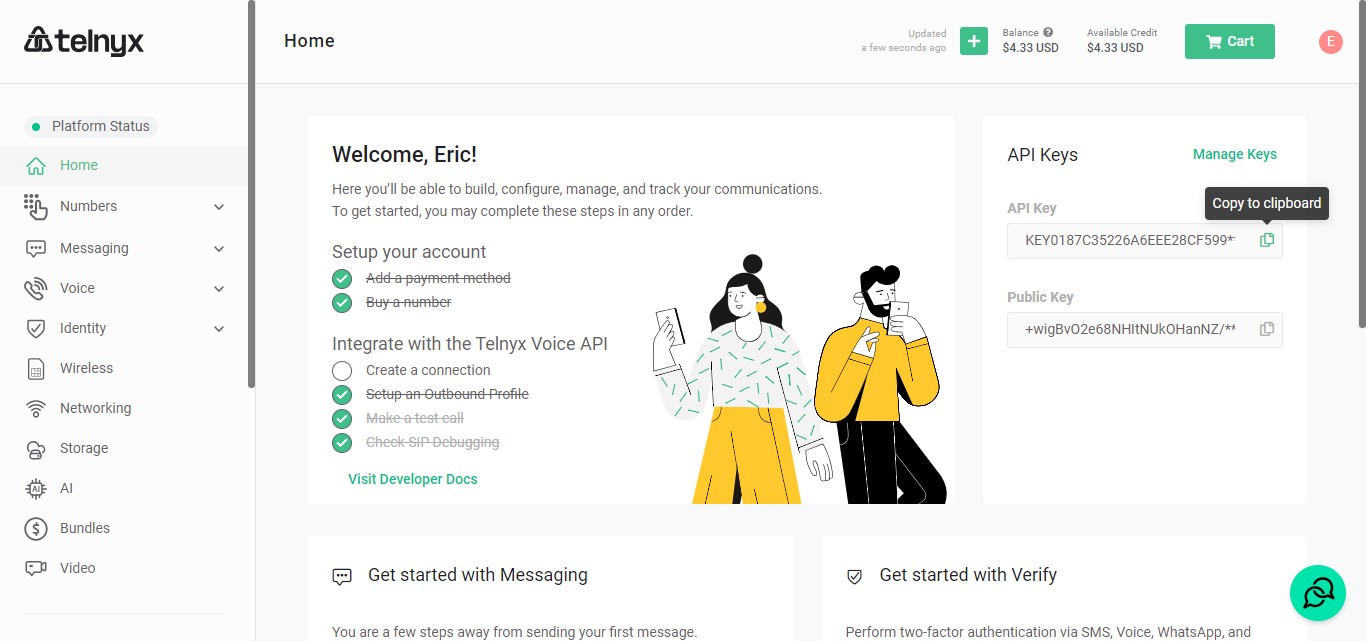
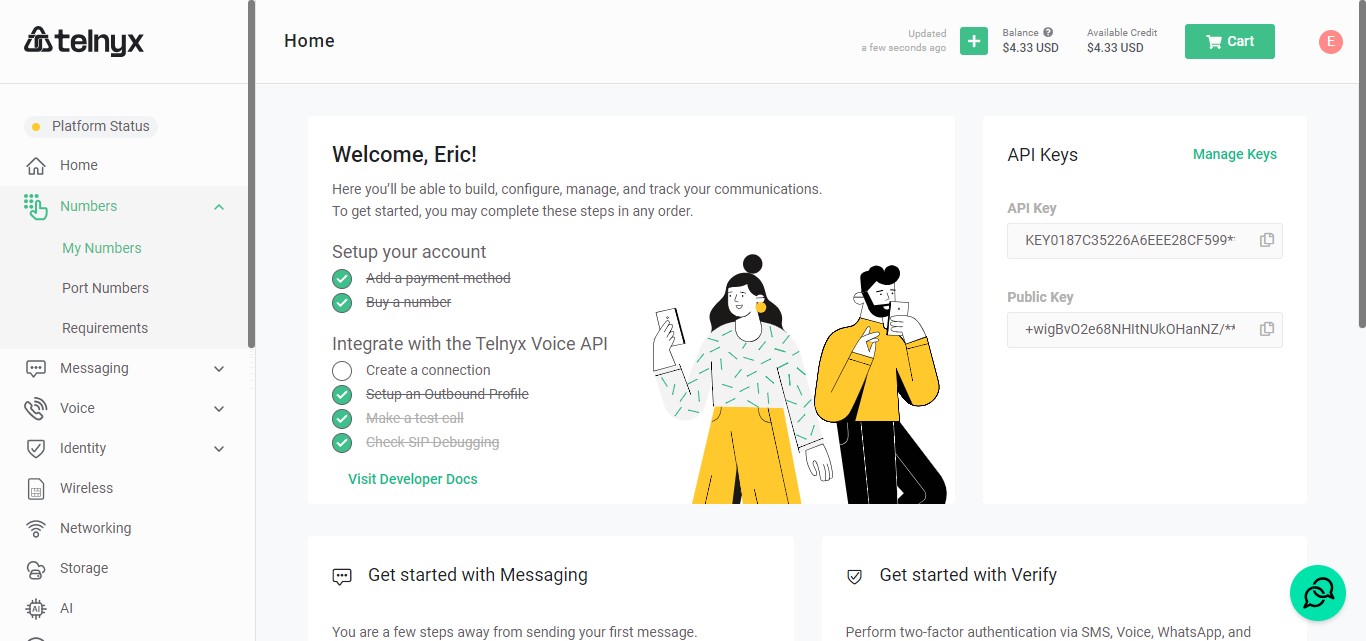
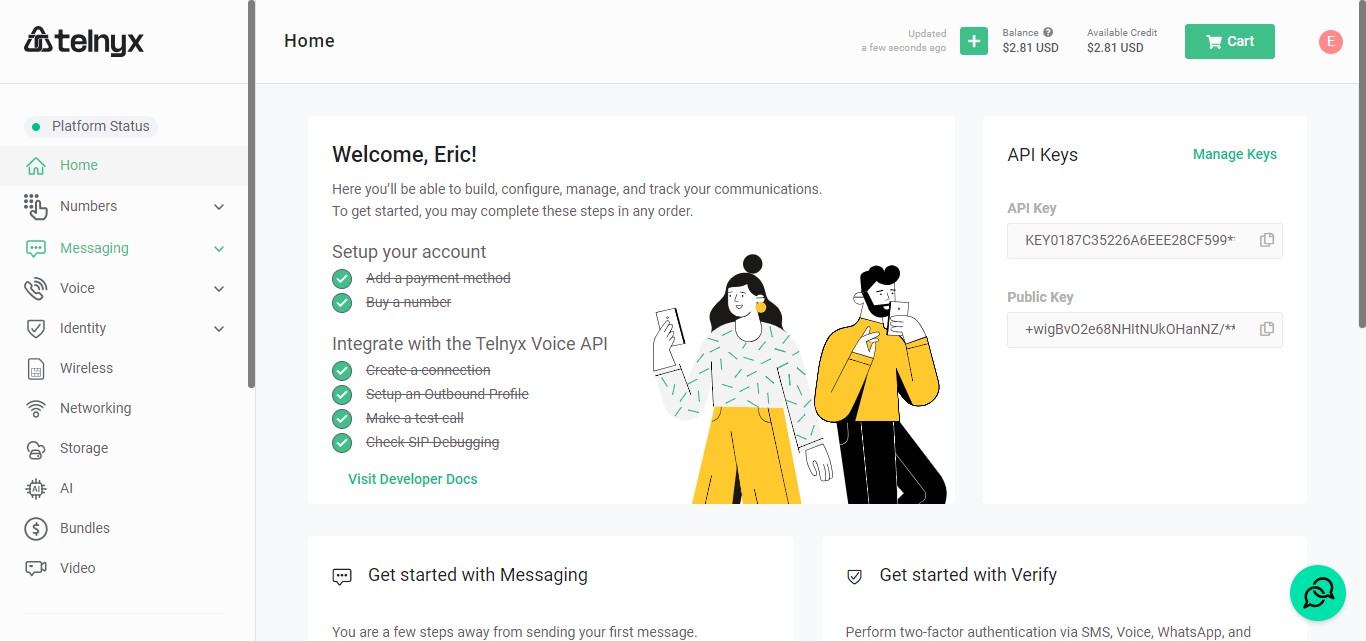
API Key Copy/Paste
At the Telnyx "Home" page copy the API Key
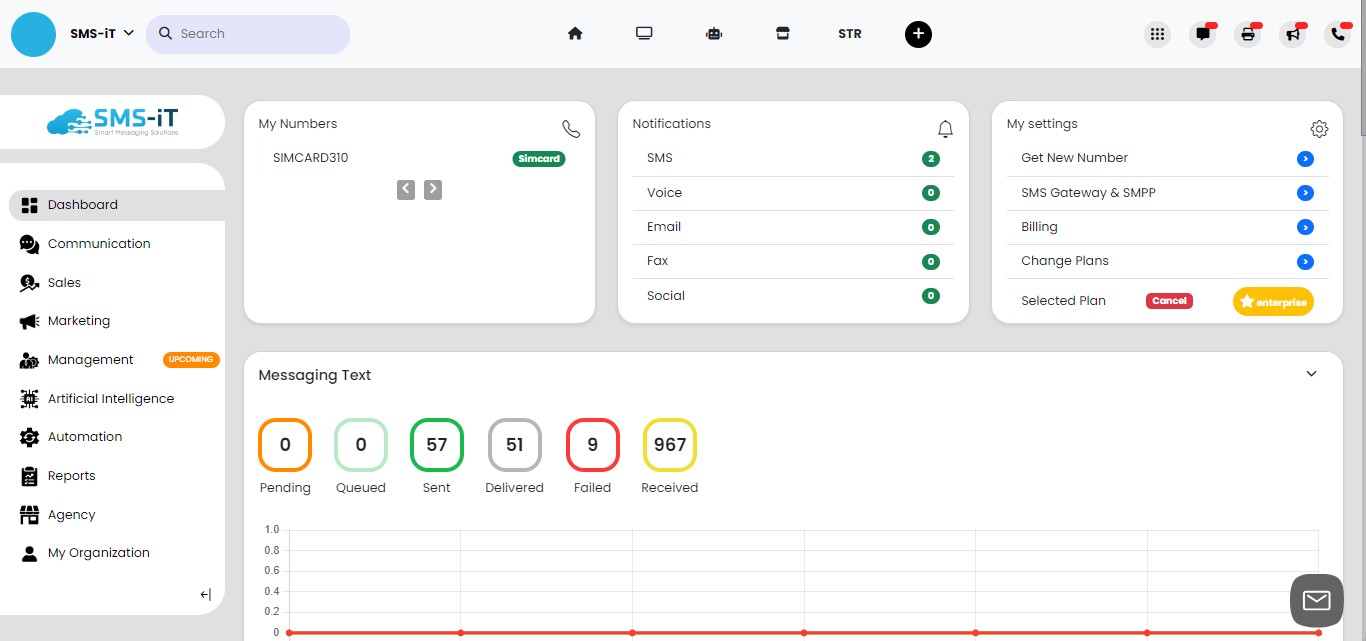
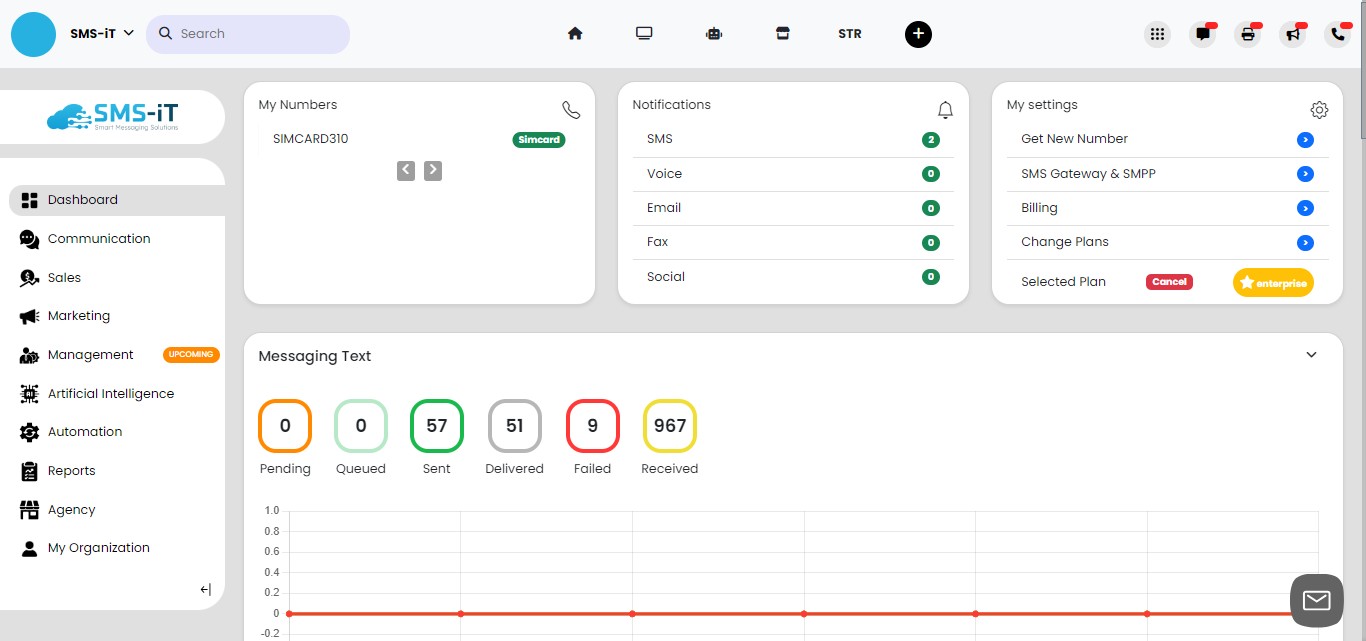
Navigate to: https://aicpanel.smsit.ai/
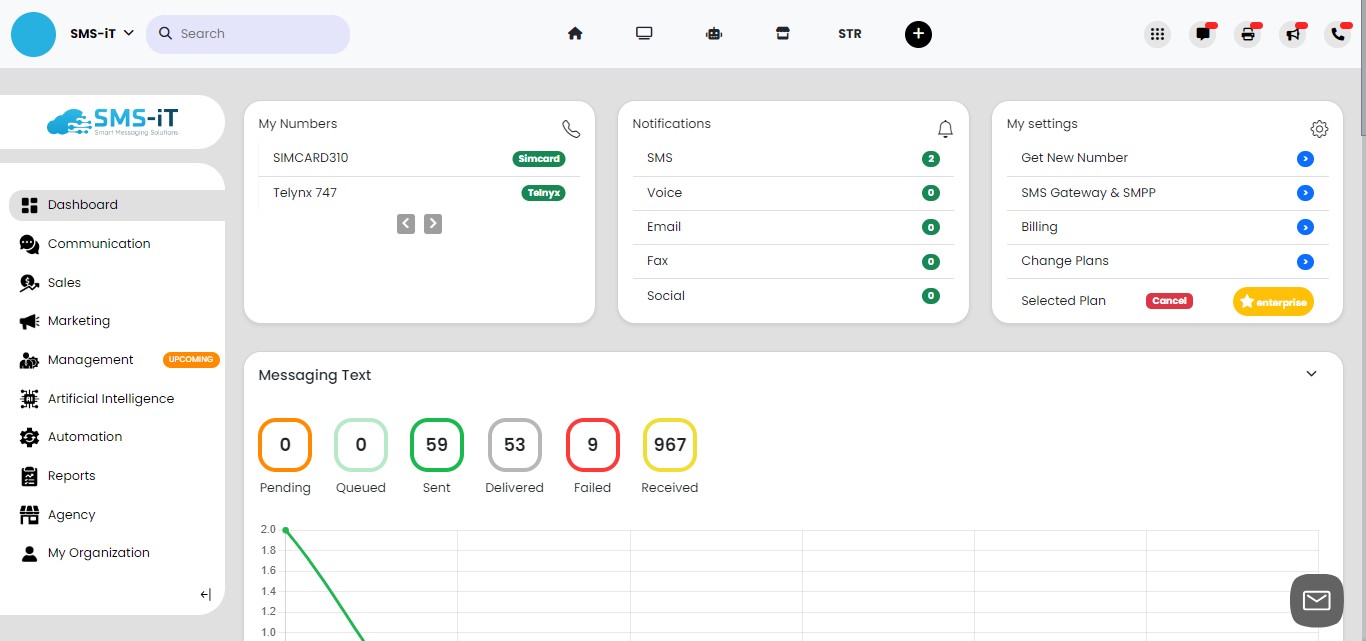
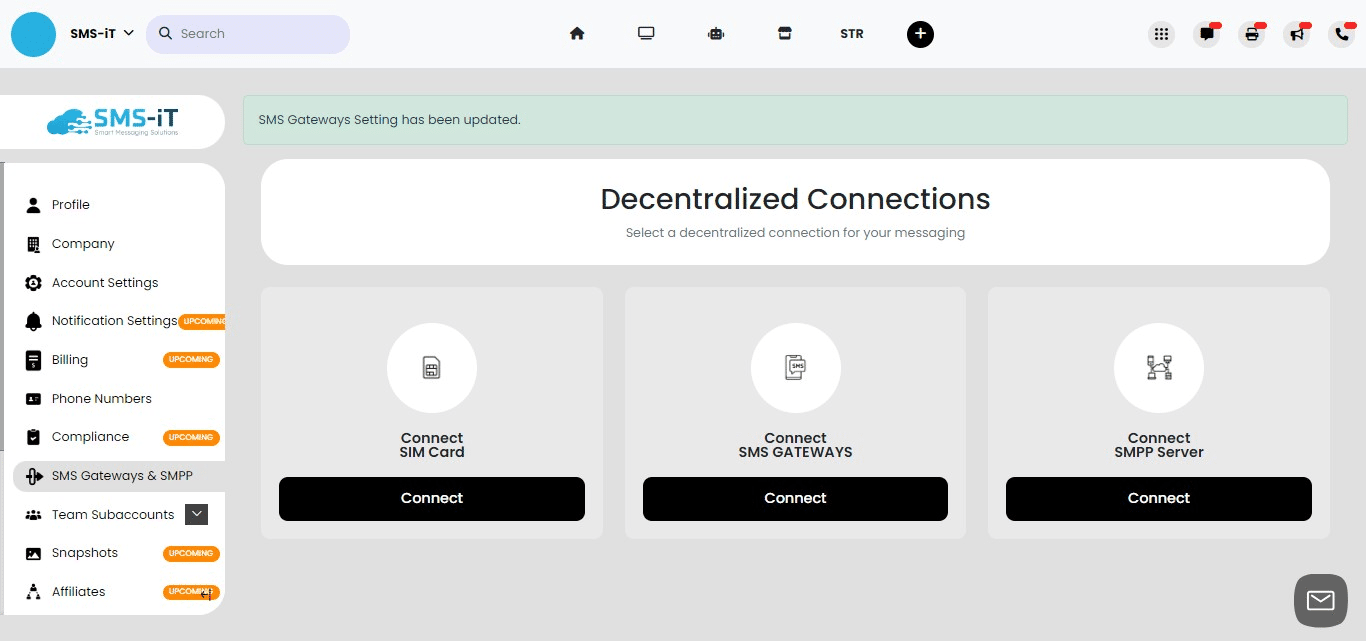
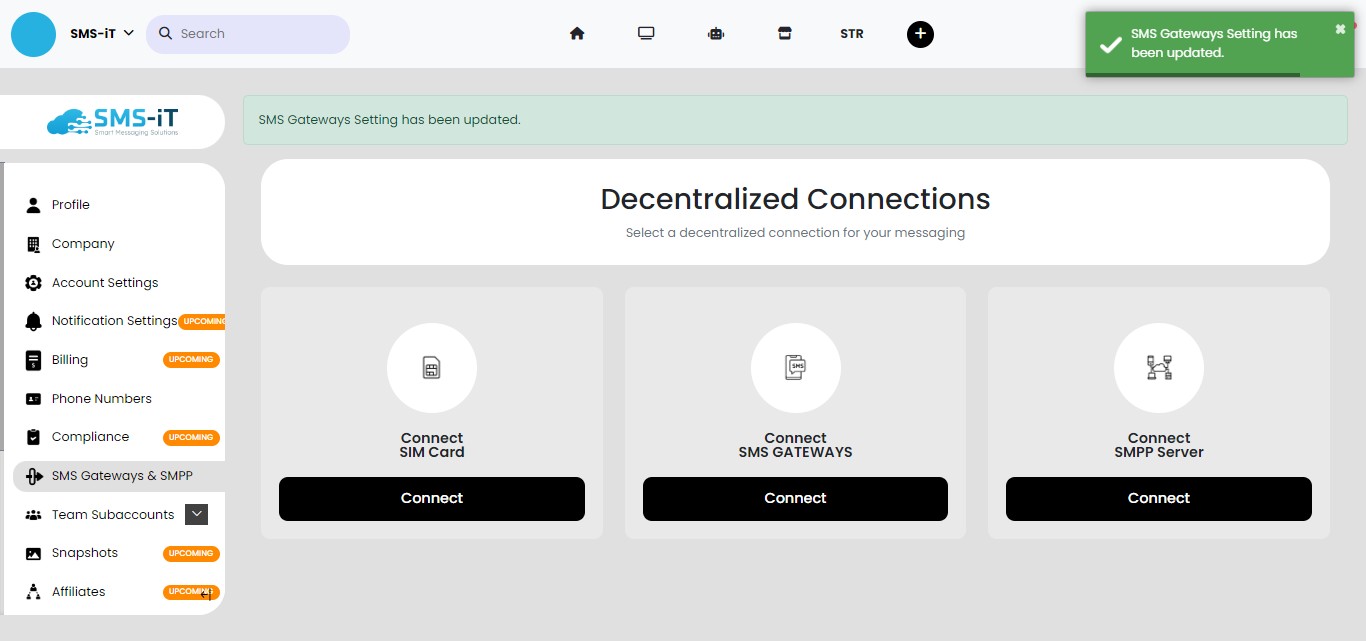
At the SMS-iT dashboard click on "SMS Gateway & SMPP"
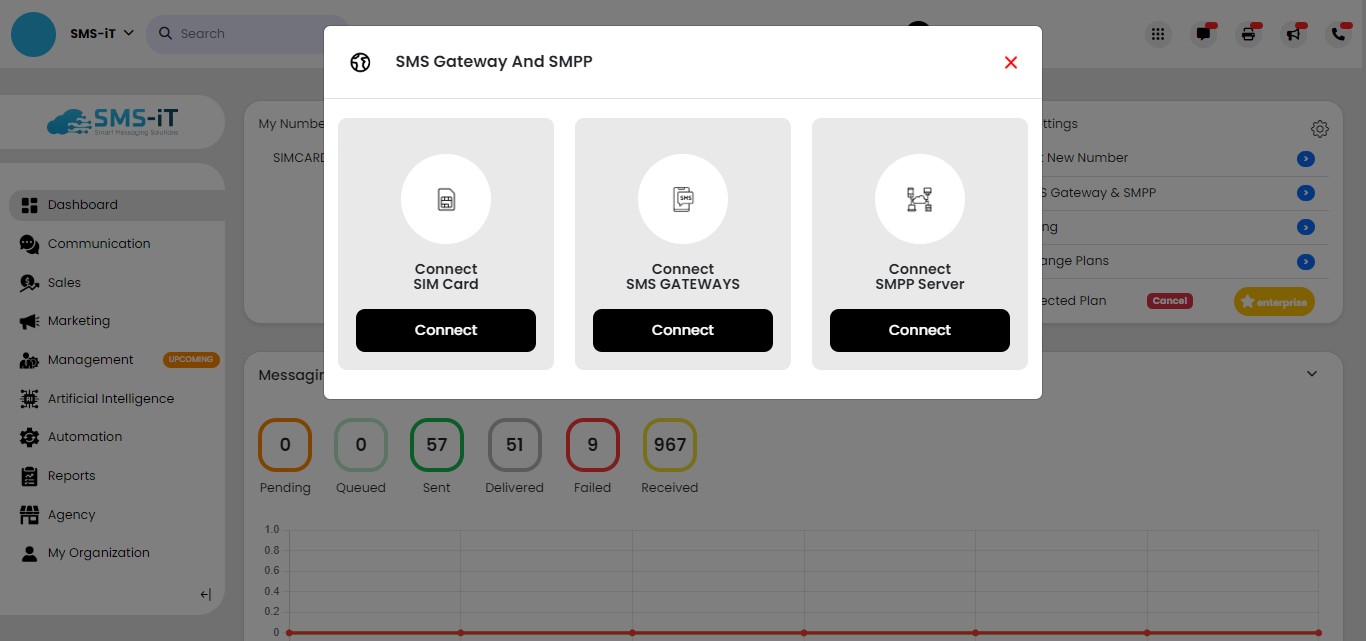
Choose Connect SMS Gateways and Click on "Connect"

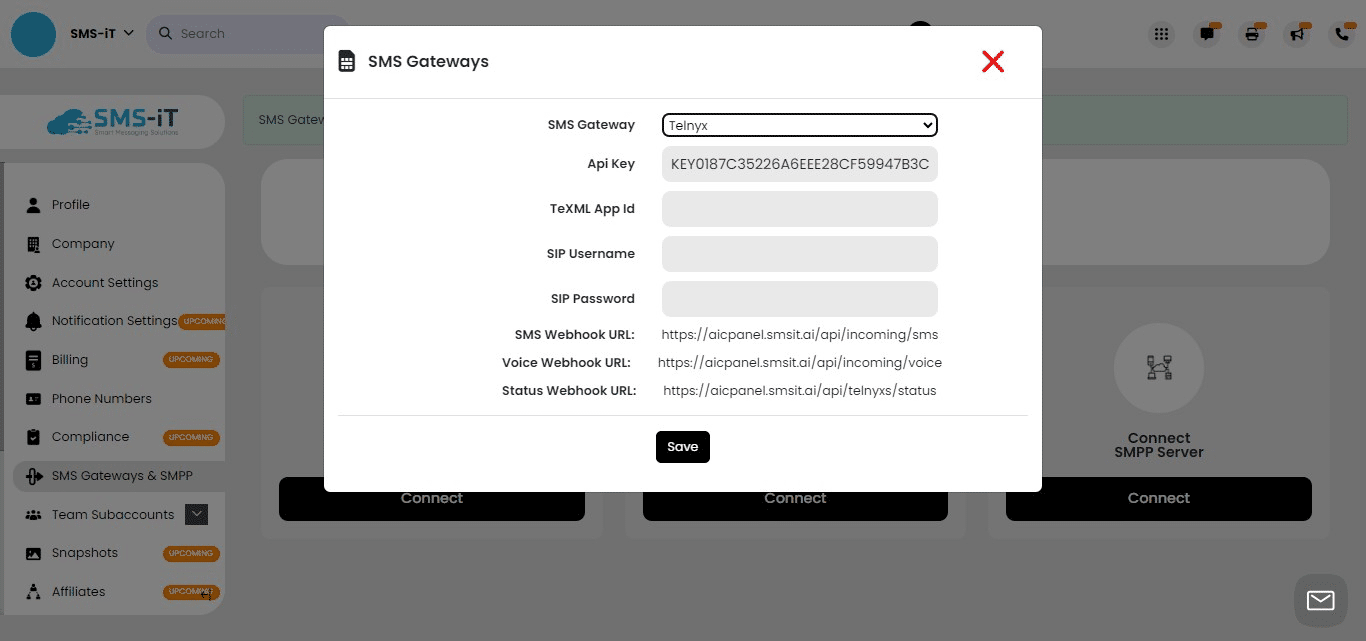
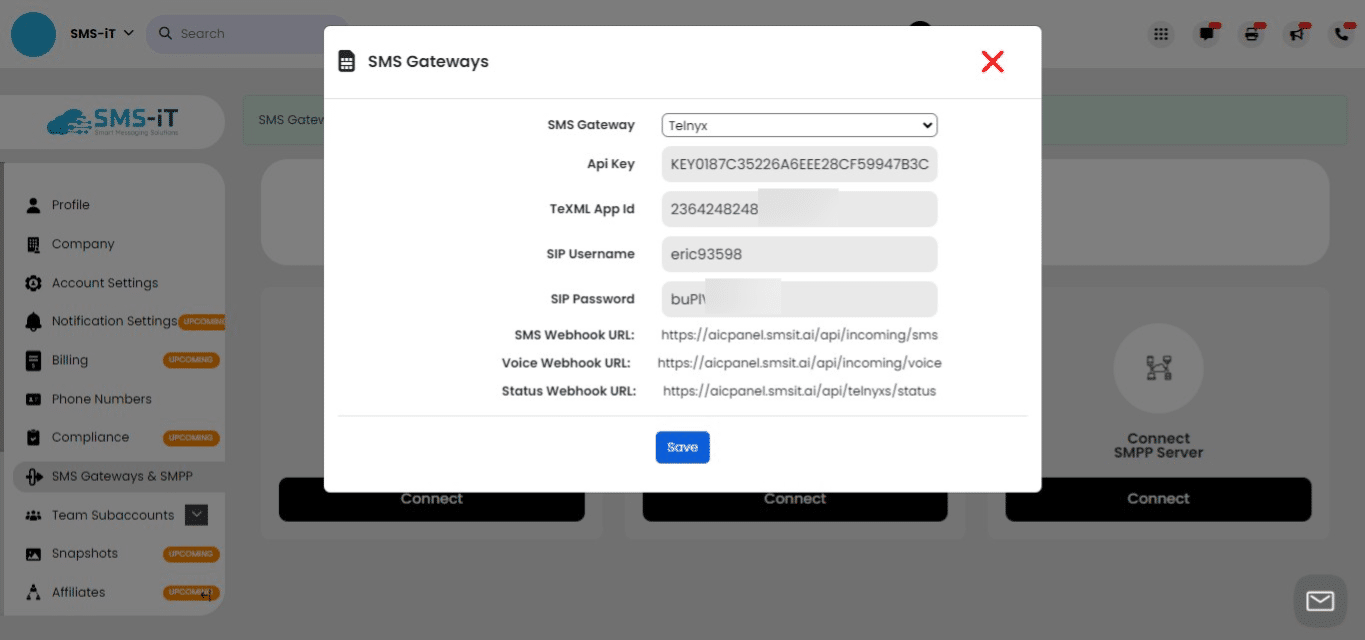
Click on the pull-down menu to select your gateway, Telnyx.
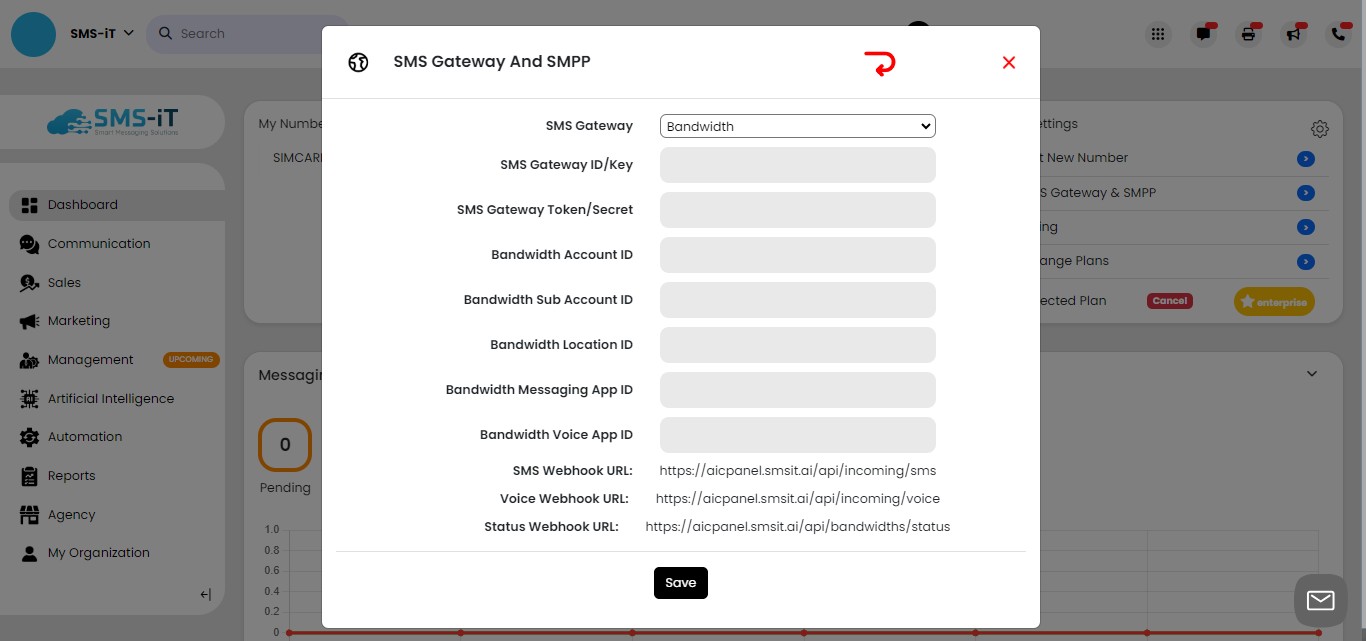
Find Telnyx and when you choose it, the Telnyx fields will appear to start your configuration.
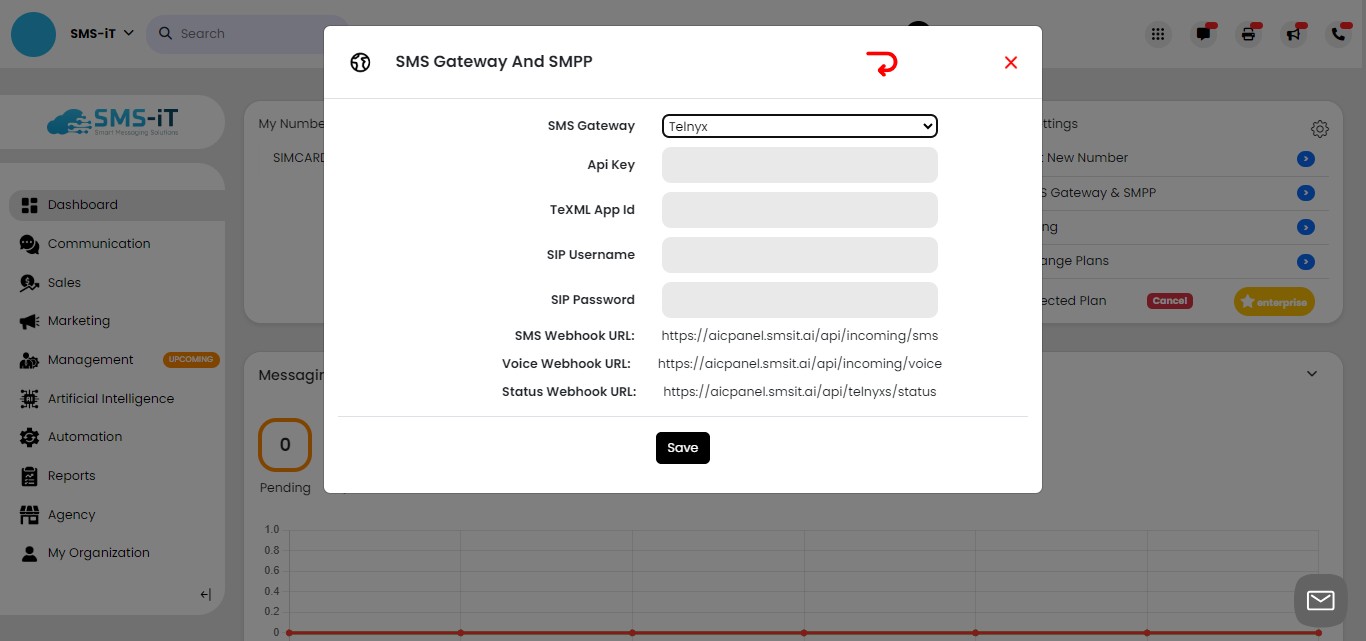
Paste the Telnyx API Key you copied from the Telnyx dashboard and click "Save"

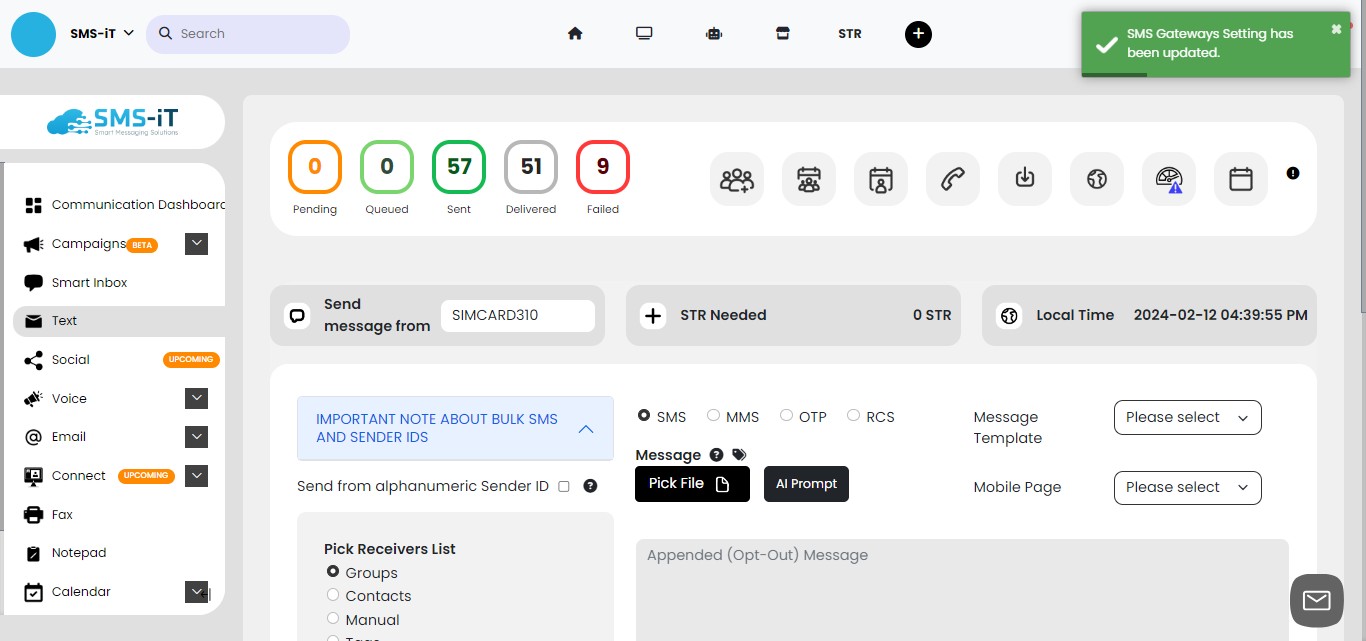
You'll see a green banner indicating that the SMS Gateway has been successfully updated.
Return to "SMS Gateway Connect"
And you'll notice the API Key displayed. This process will automatically fill in certain fields in Telnyx, removing the need for manual input.
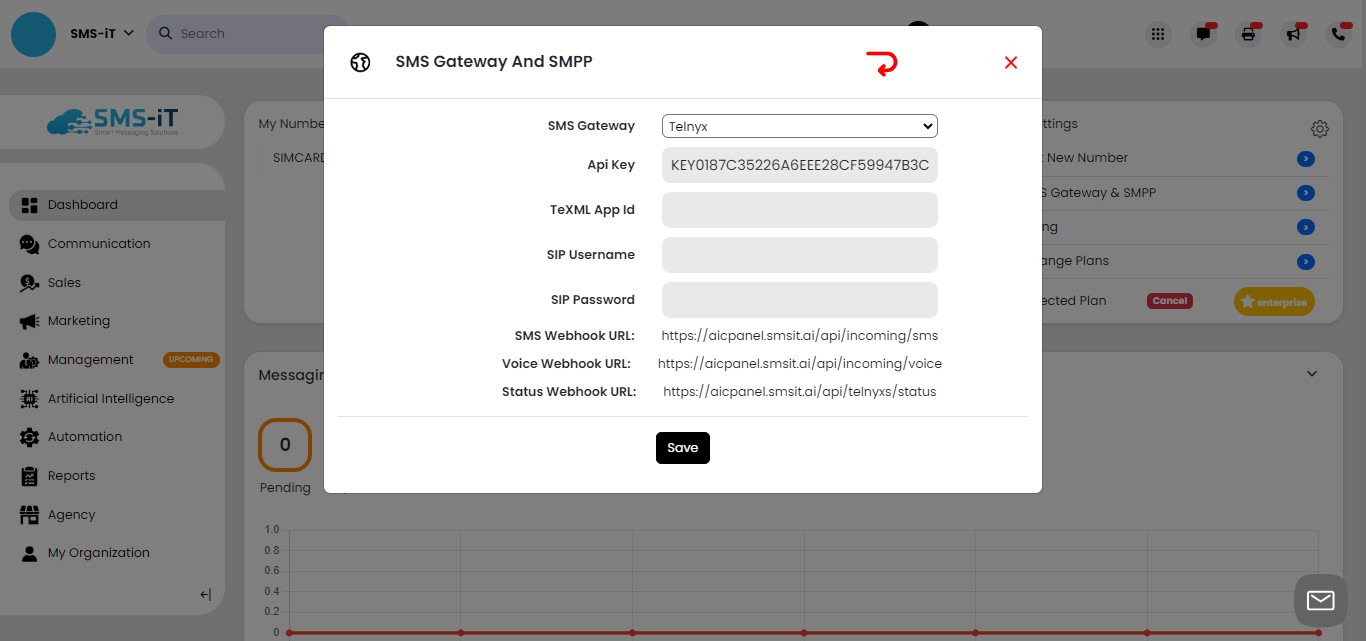
Before proceeding, ensure that you have pasted the API Key into the designated field and clicked "SAVE." Then, return to the SMS Gateway connection panel before continuing.
Add a number from SMS-iT
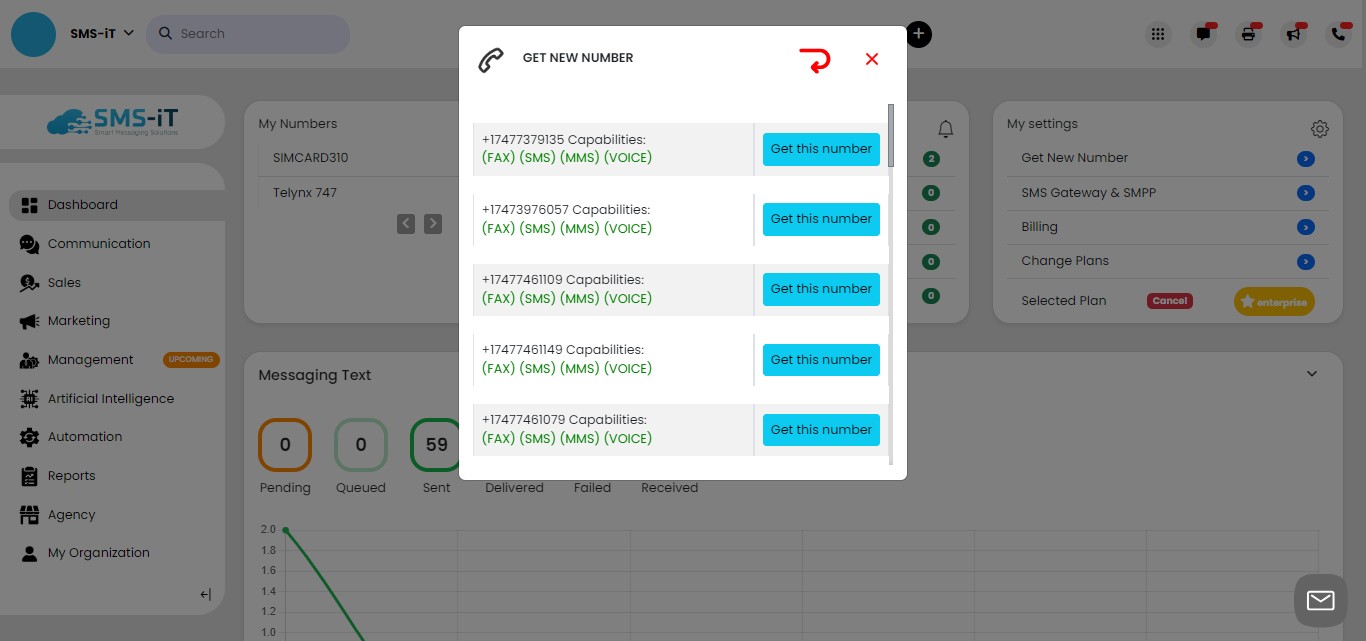
Click on "Get New Number"
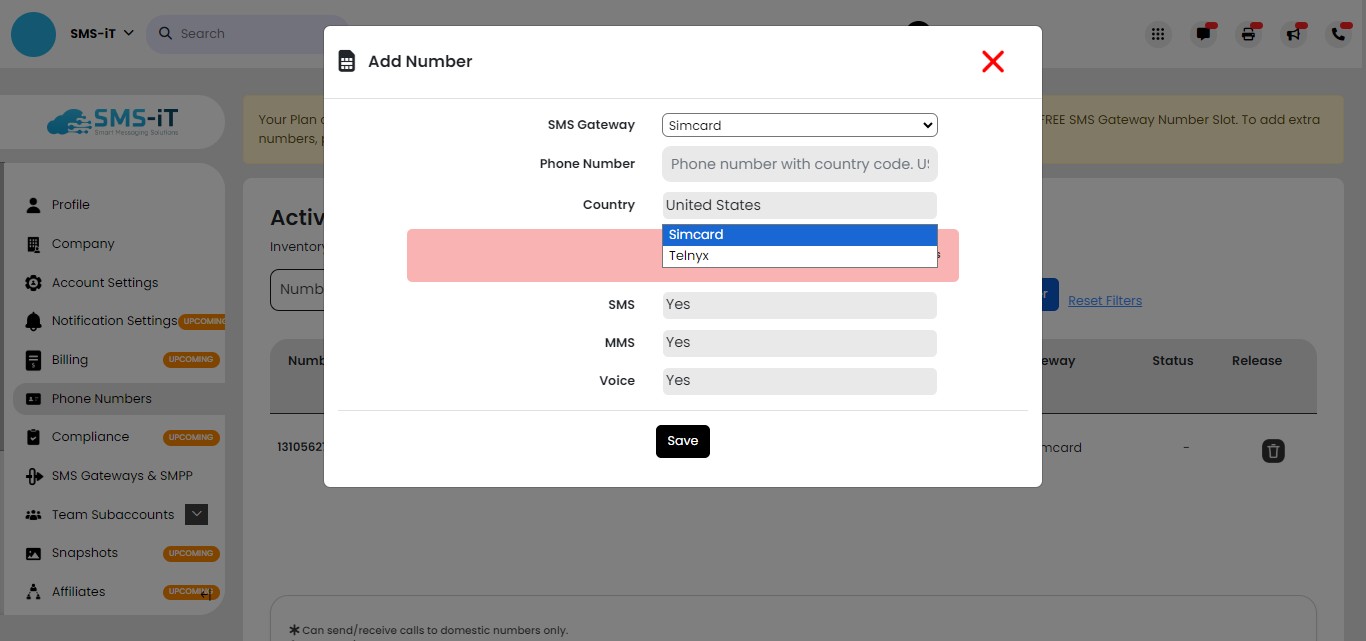
From the Pull-Down menu select Telynx
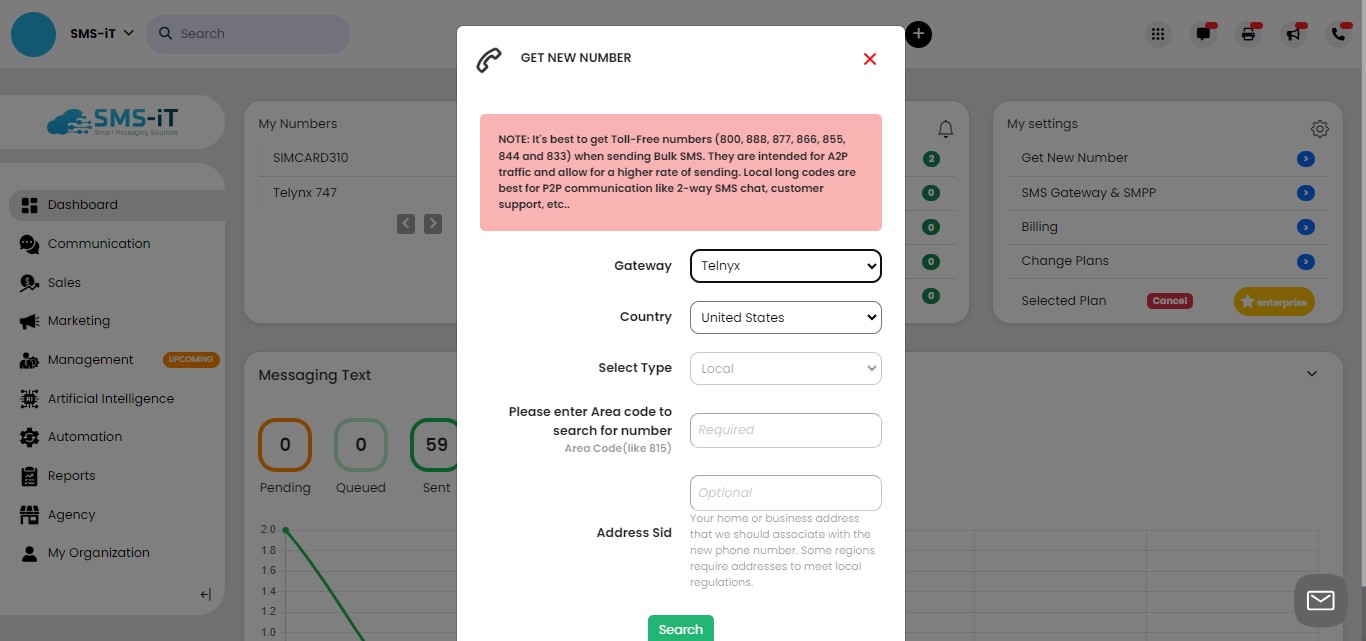
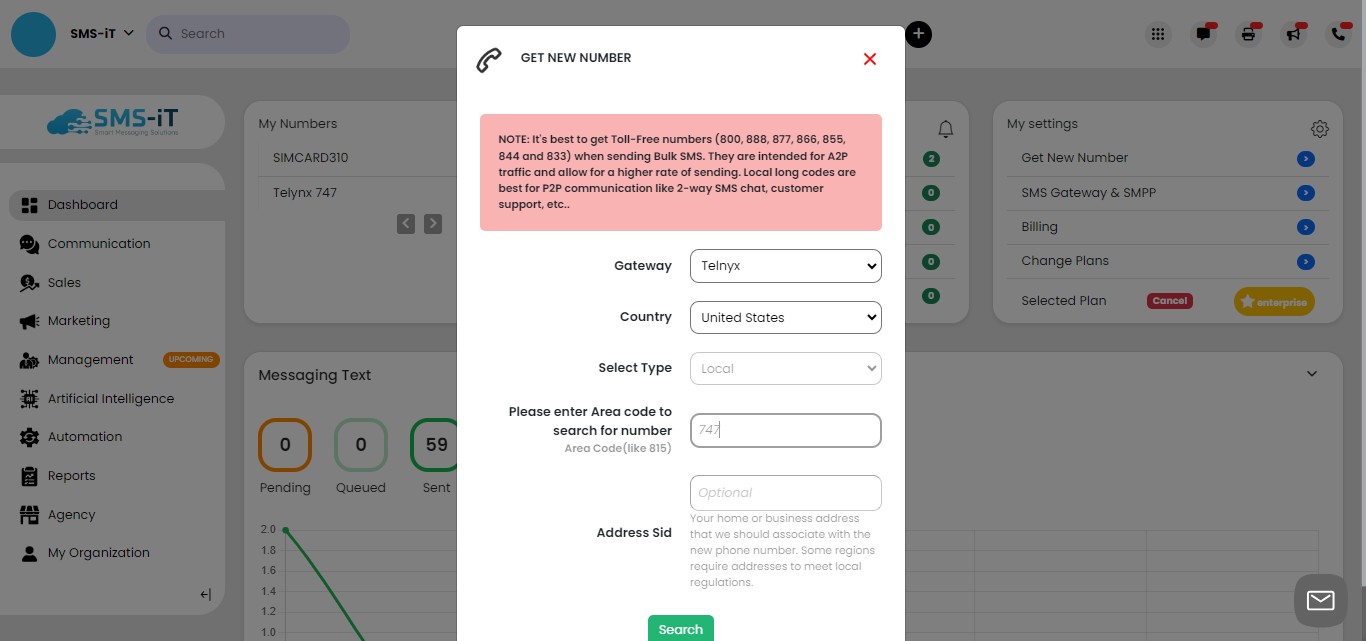
Select either a local number or a toll-free number and area code
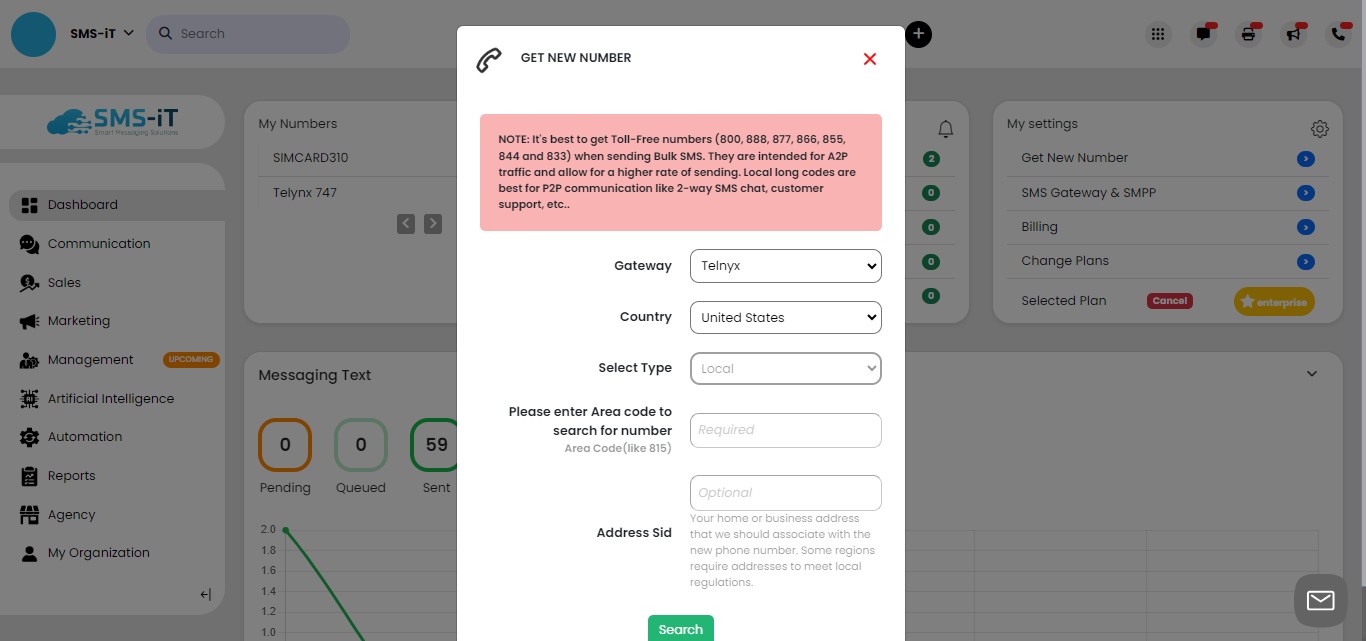
After inputting area code click "Search"
Select a number and click on "Buy this Number"
Now return to the Telynx dashboard to complete the next steps.
Setting SIP Connection and Messaging Profile
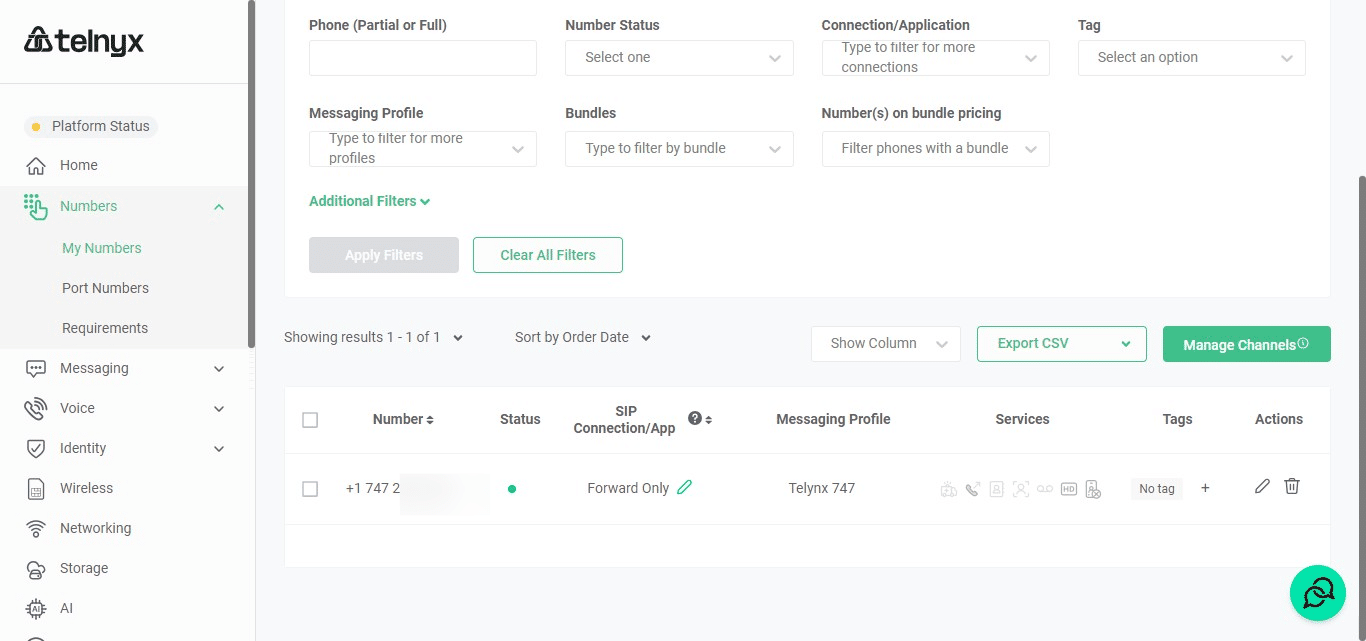
Go back to the Telnyx "Home" page, then click on "Numbers."

Click on "My Numbers"
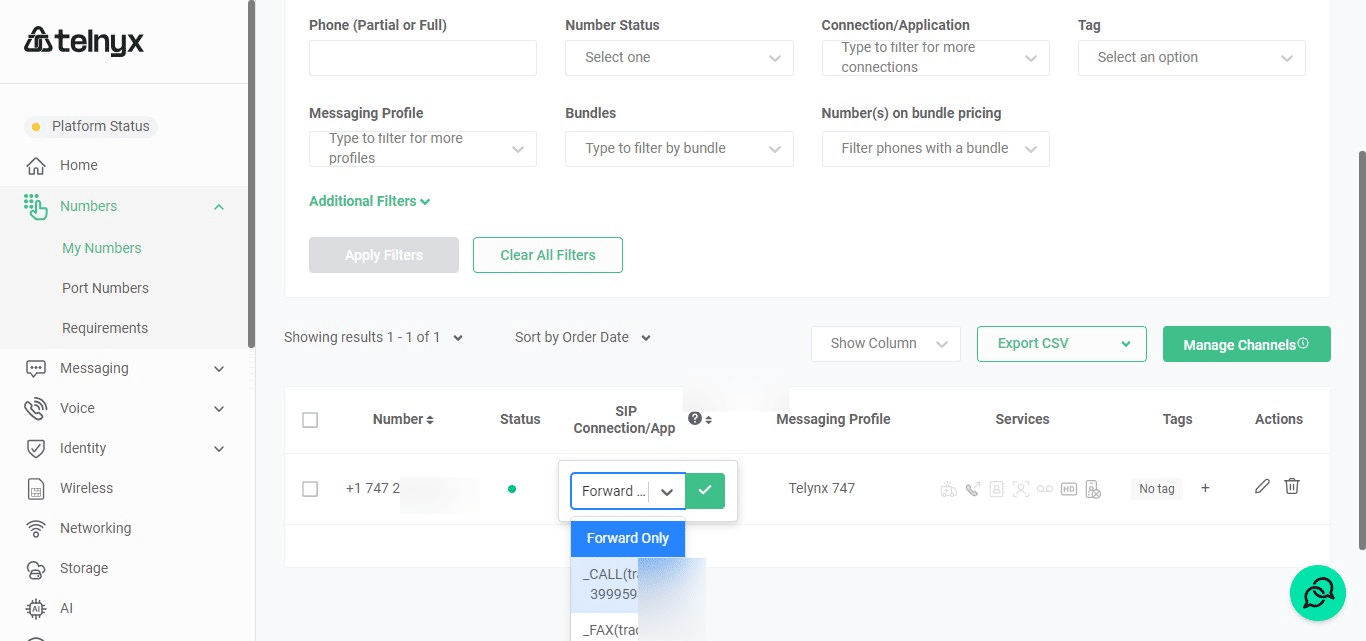
Click on "Forward Only" or set SIP Connection (it may be something different than "Forward Only")

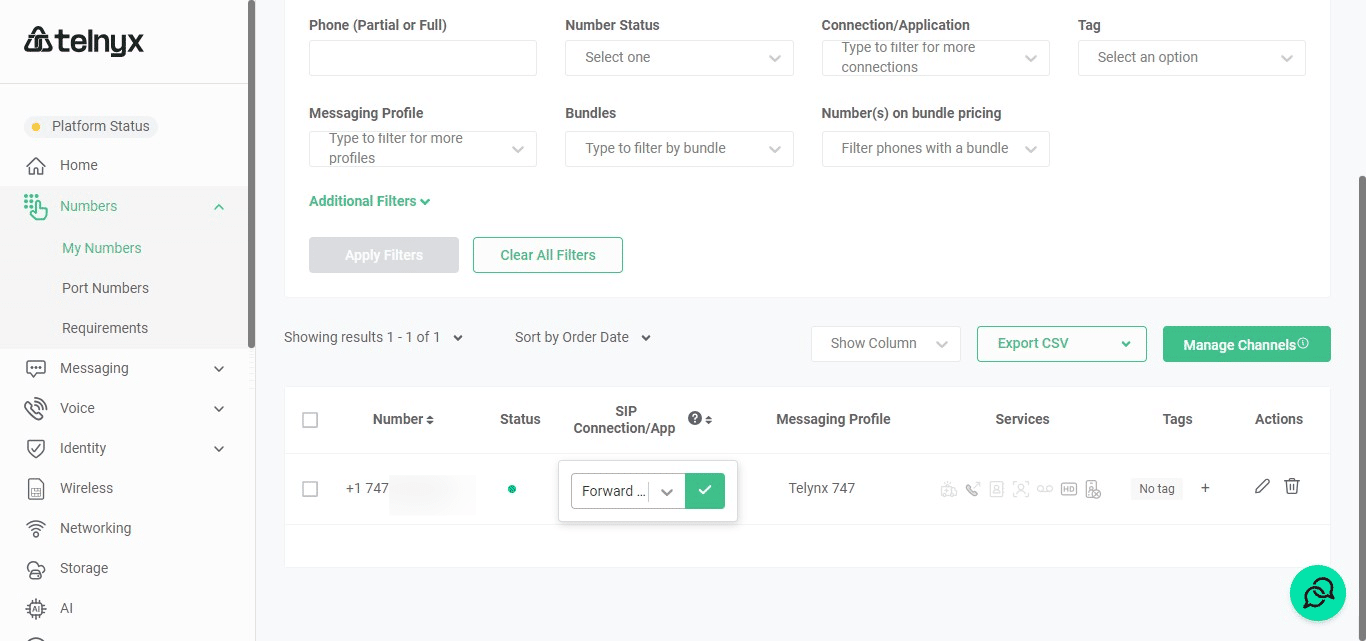
Click on the Pencil Icon
Click on the Pull-Down Menu
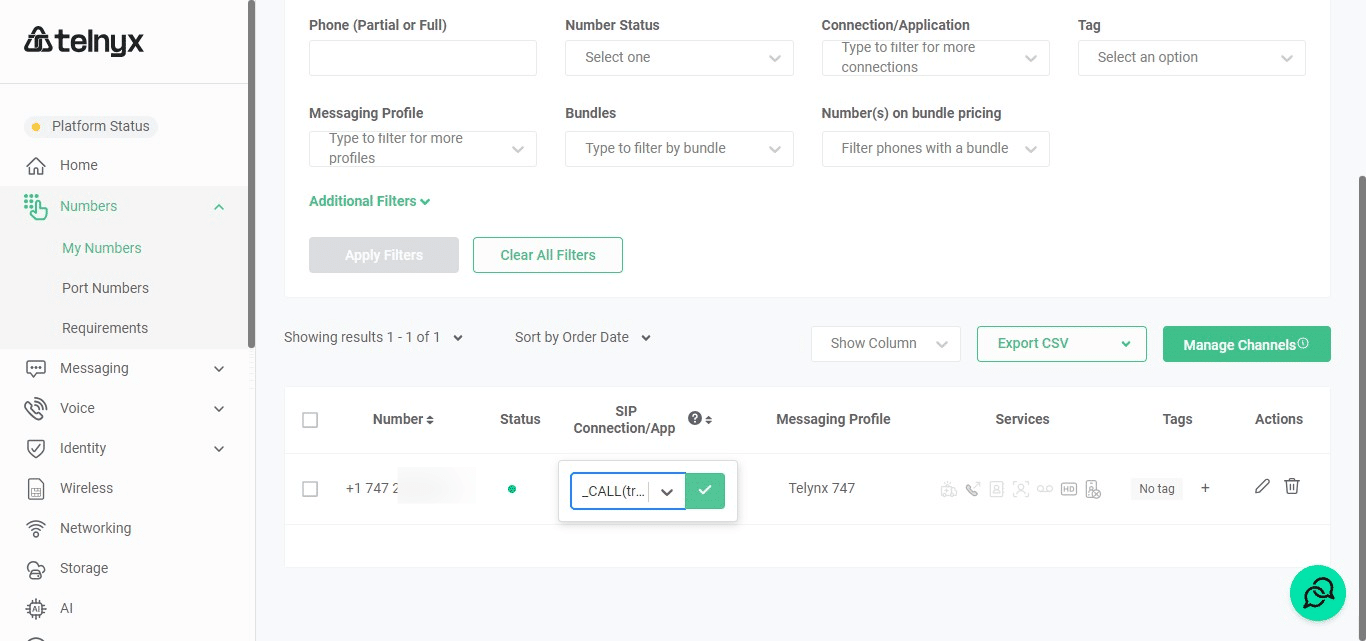
Click on "_CALL(youremail.com-xxxxx9409)" This is the auto-populated field that begins with _CALL and has your email signup from SMS-iT in the description
You'll see _CALL(.... Now click the the Green Checkmark to SAVE the setting
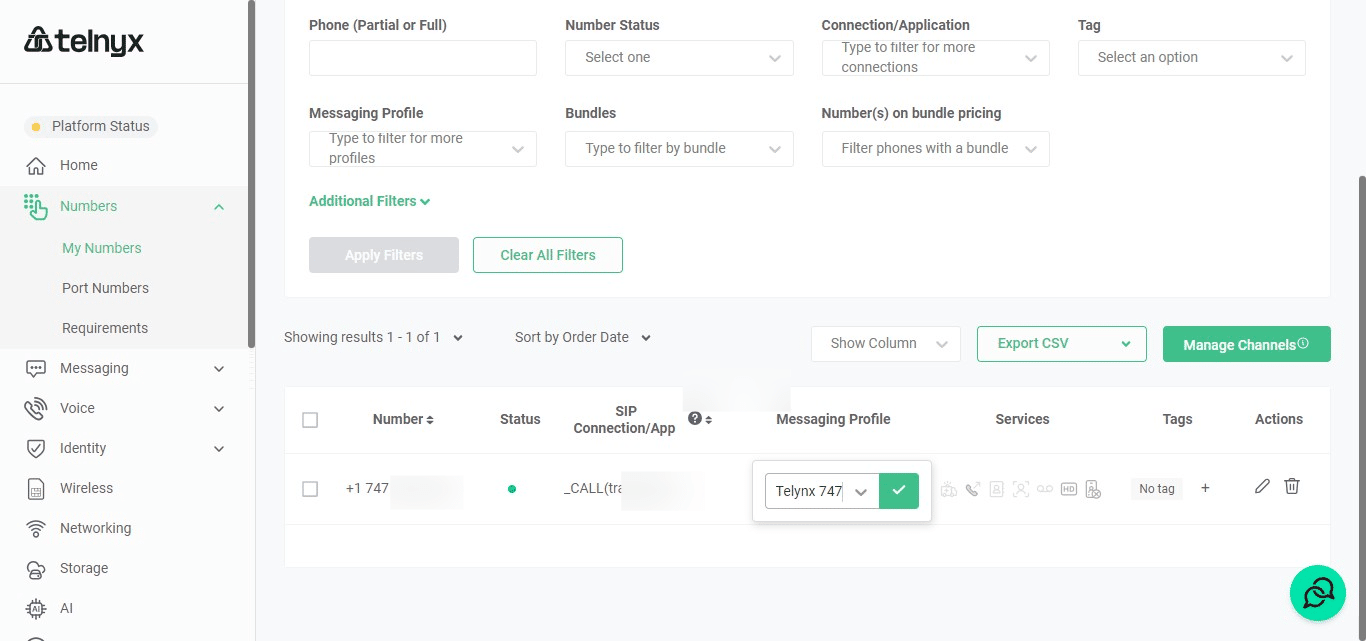
Now do the same procedure for "Messaging Profile"

Click this icon
Click on "_SMS([email protected])"
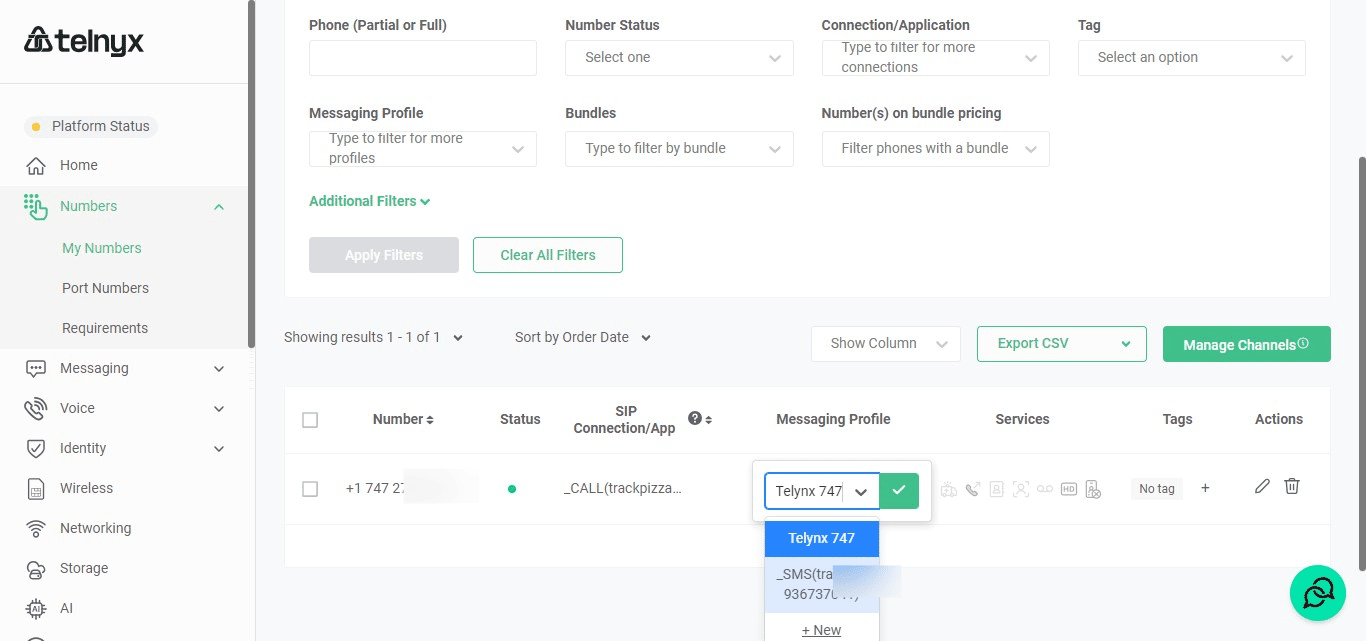
Click on the Check icon

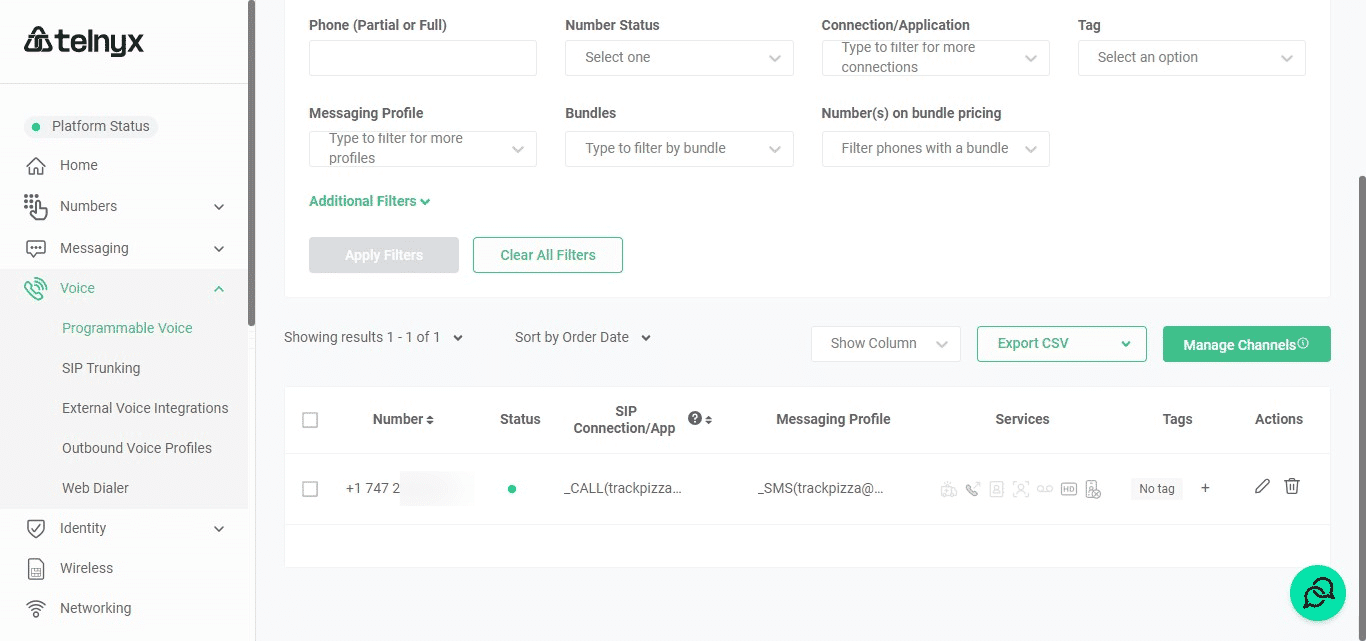
You'll see _CALL(...) and _SMS(...) Make sure these are set before continuing.
Add SMS webhook
Click on "Programmable Messaging"

Click on the Messaging icon at the left Navigation panel
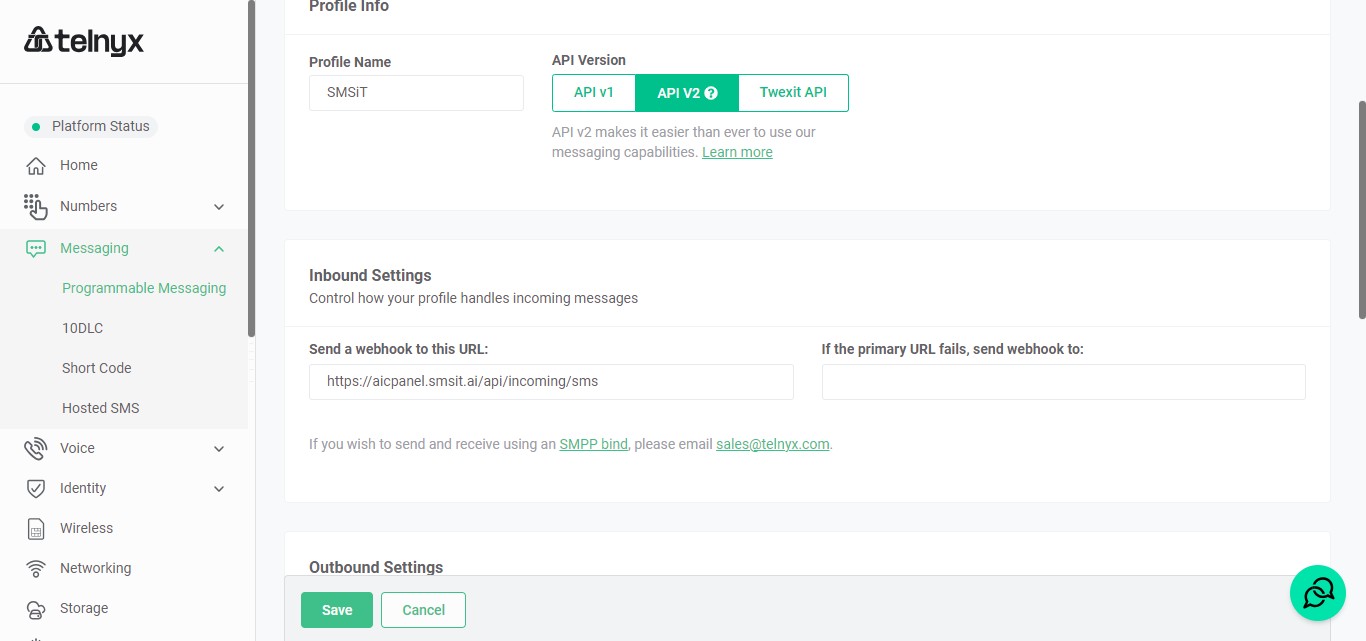
You will see your available auto-created Messaging Profiles. Select the _SMS(...) profile you set above and when the profile opens, Scroll down the page and click on Send a webhook to this URL to set your webhook at the Inbound Settings.
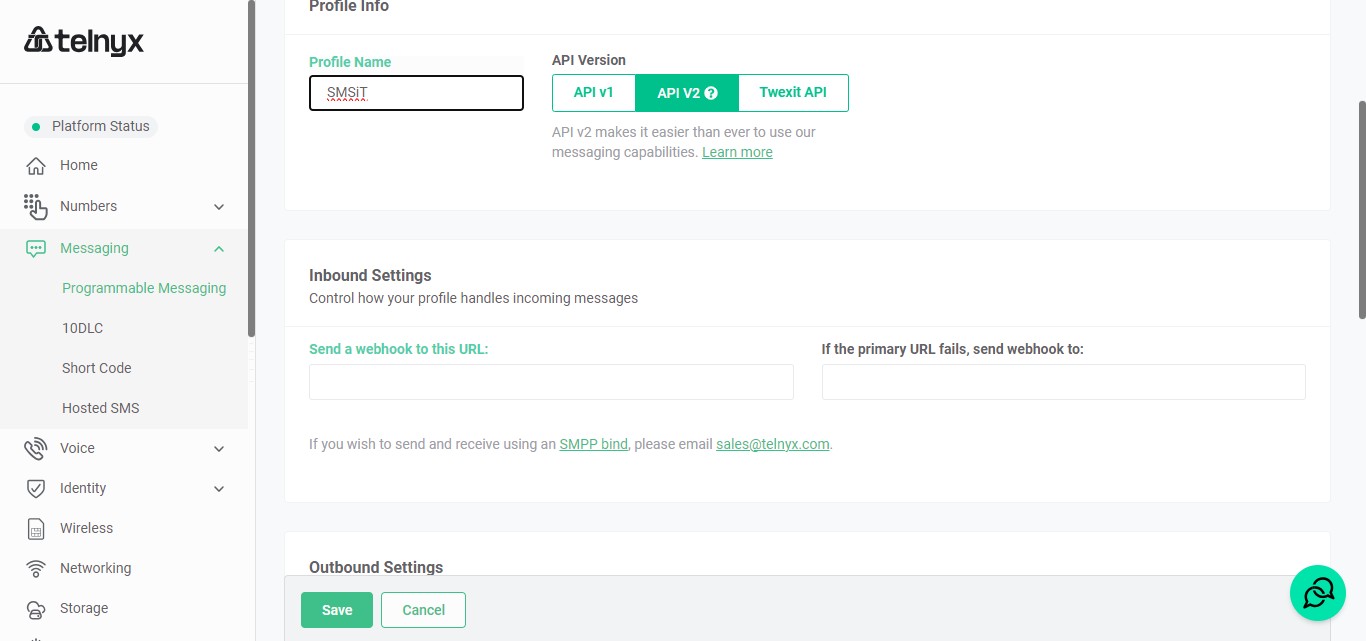
Add the webhook ( https://aicpanel.smsit.ai/api/incoming/sms ) there and click save.
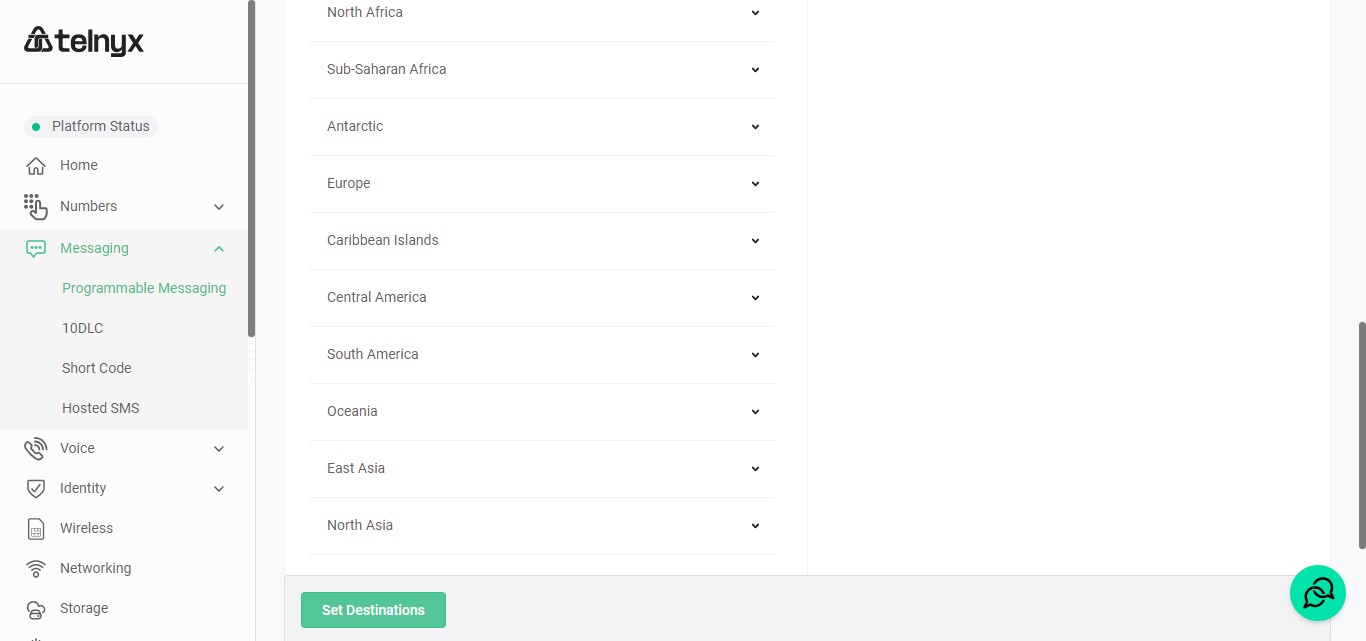
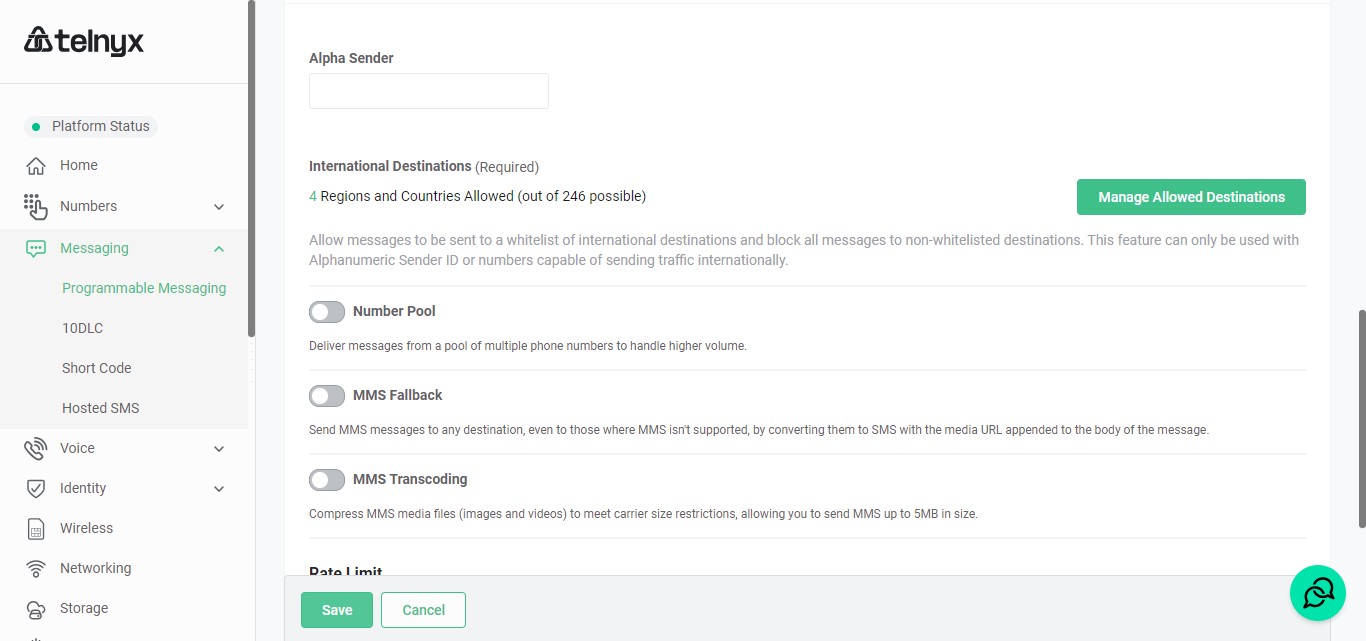
Click on "Manage Allowed Destinations"
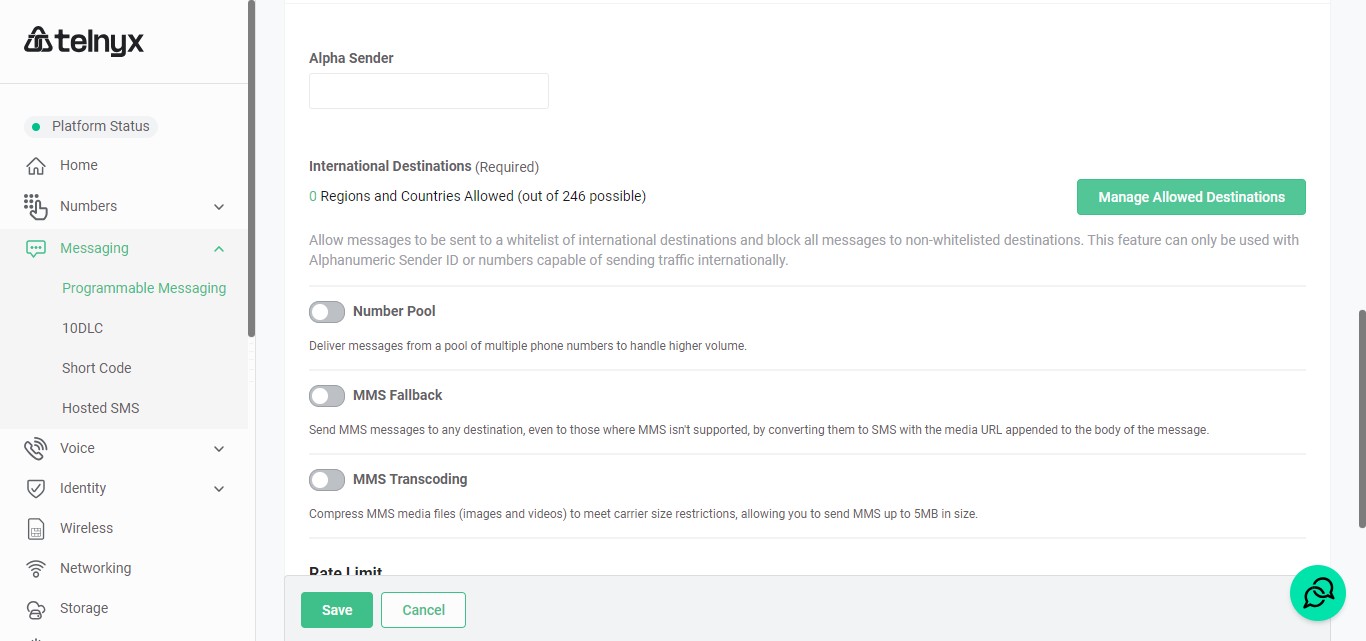
Select the Continent or country you want by clicking on the + icon

Click on "Set Destinations"
Click on "Save"
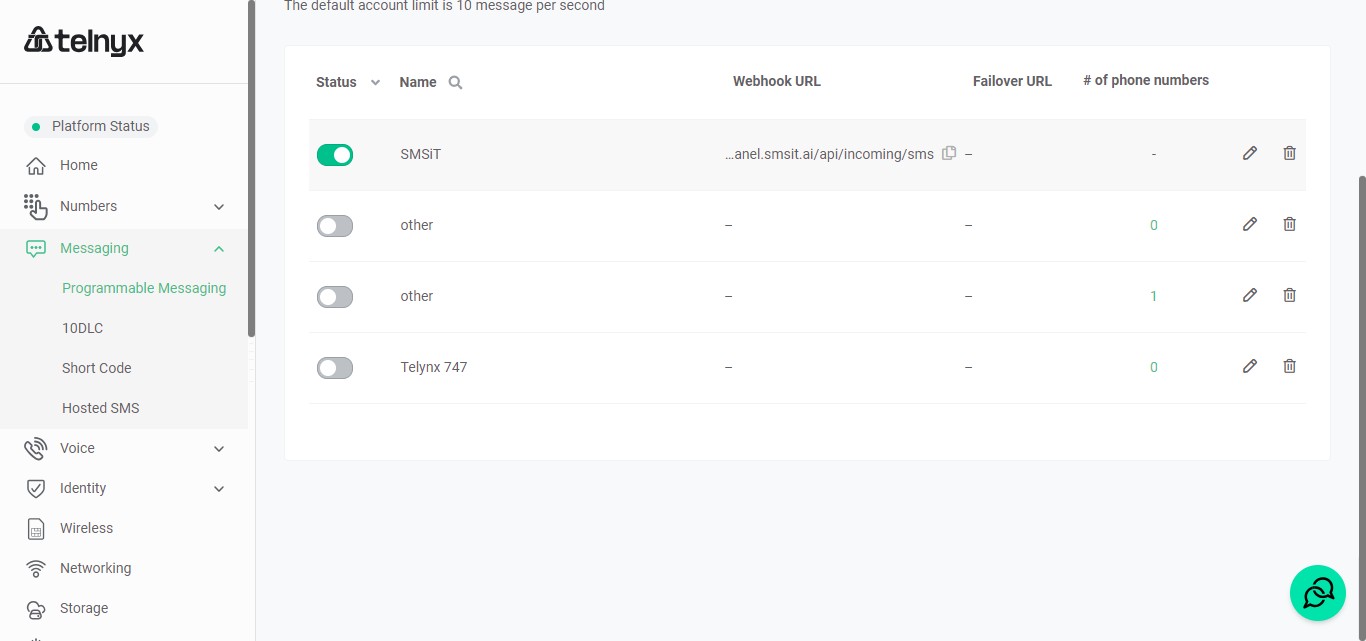
Click on Programmable Messaging at the left navigation, underneath Messaging and confirm that your profile Status is turned on which means its active. eg as we have for "SMSiT" in the image below.
Creating a TeXML ID
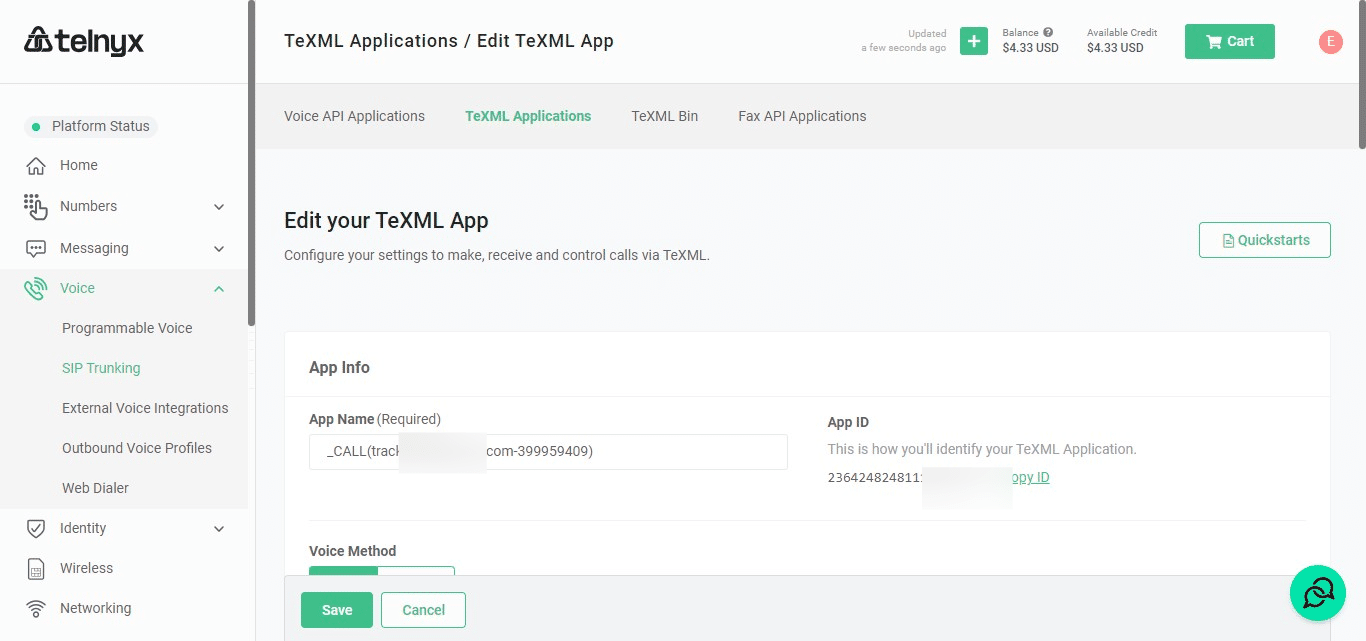
Click on "Voice"

Click on "Programmable Voice"
Scroll Up

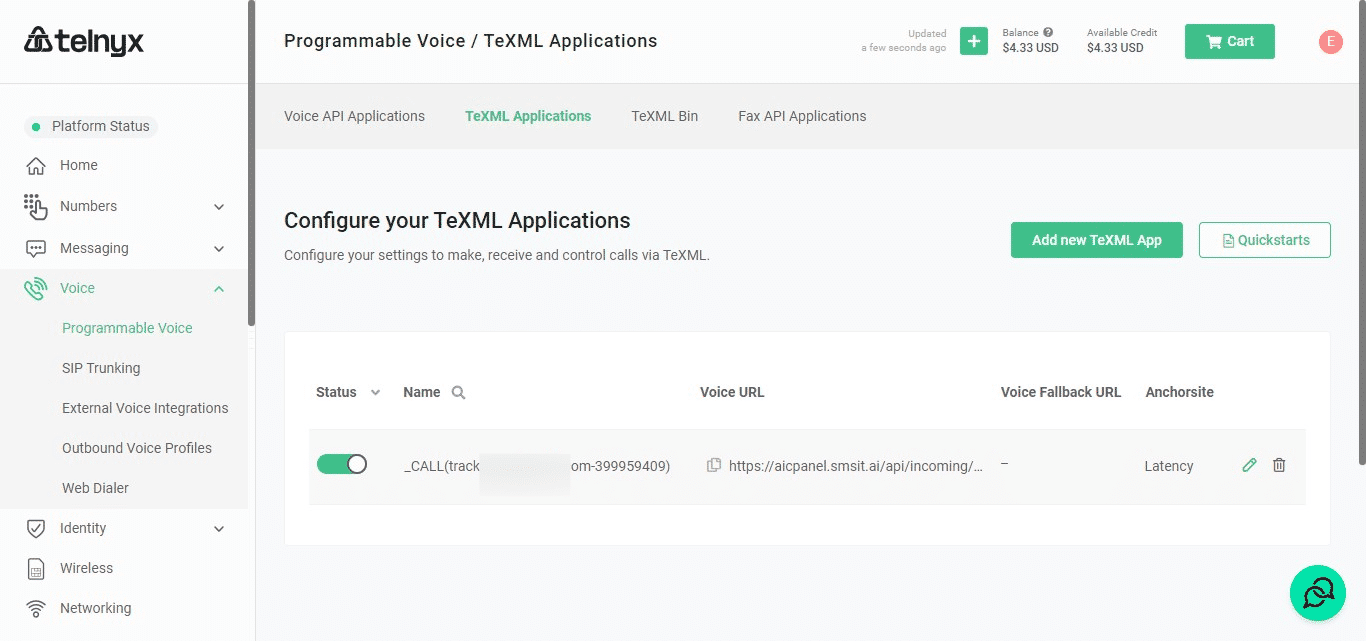
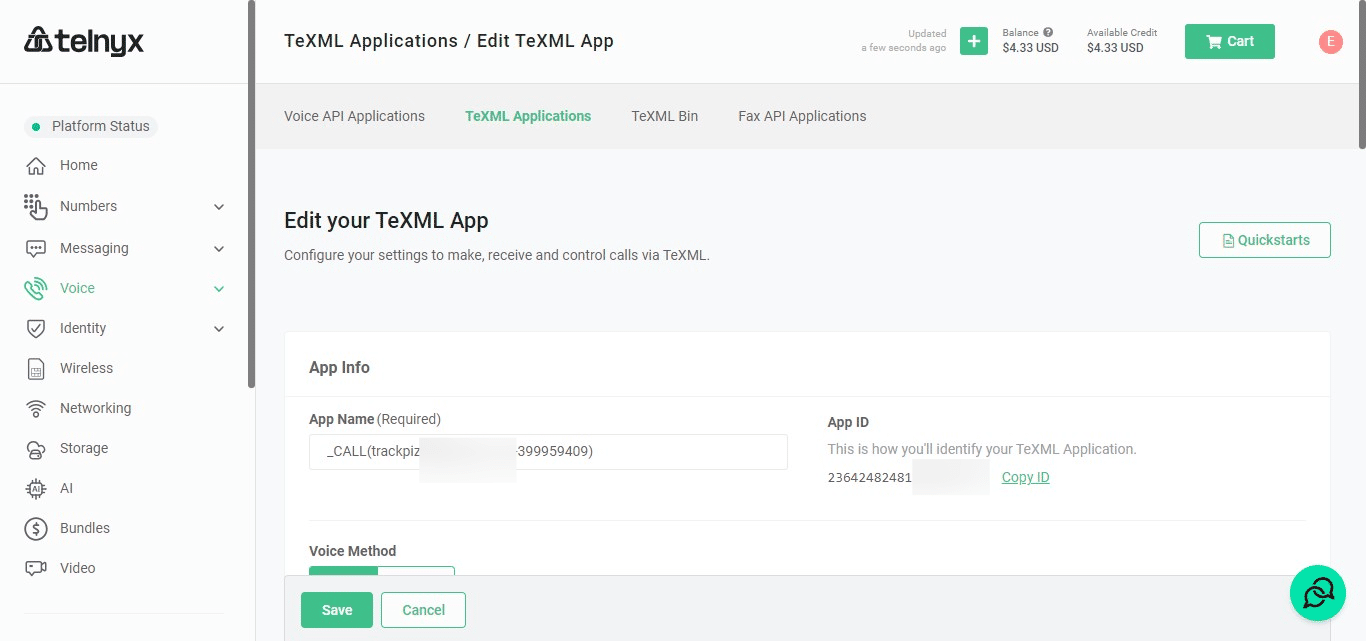
Click on "TeXML Applications"
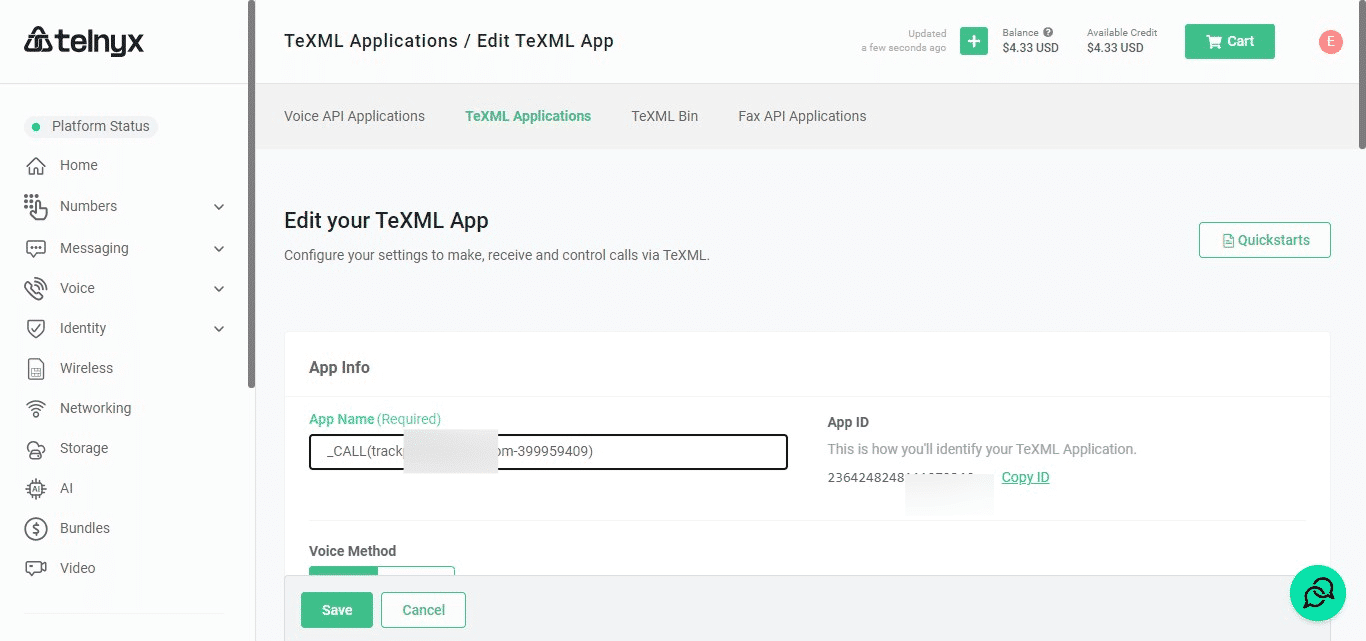
Click the "Pencil" icon
Click on "Copy ID"
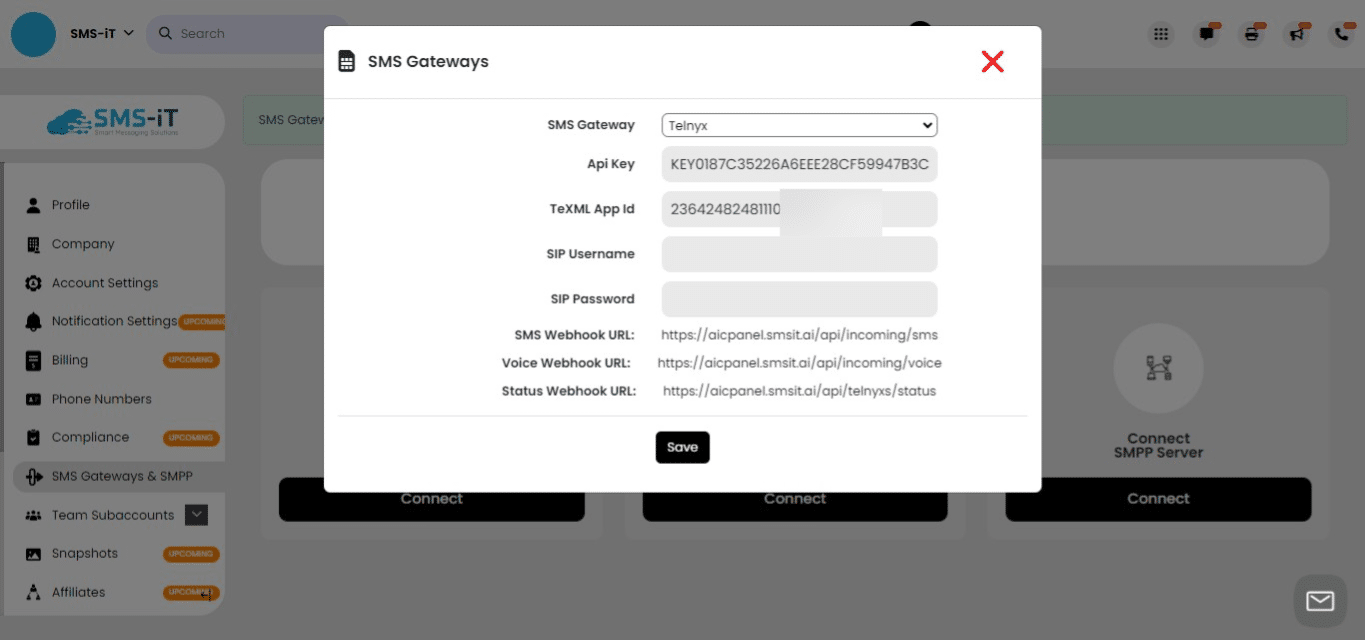
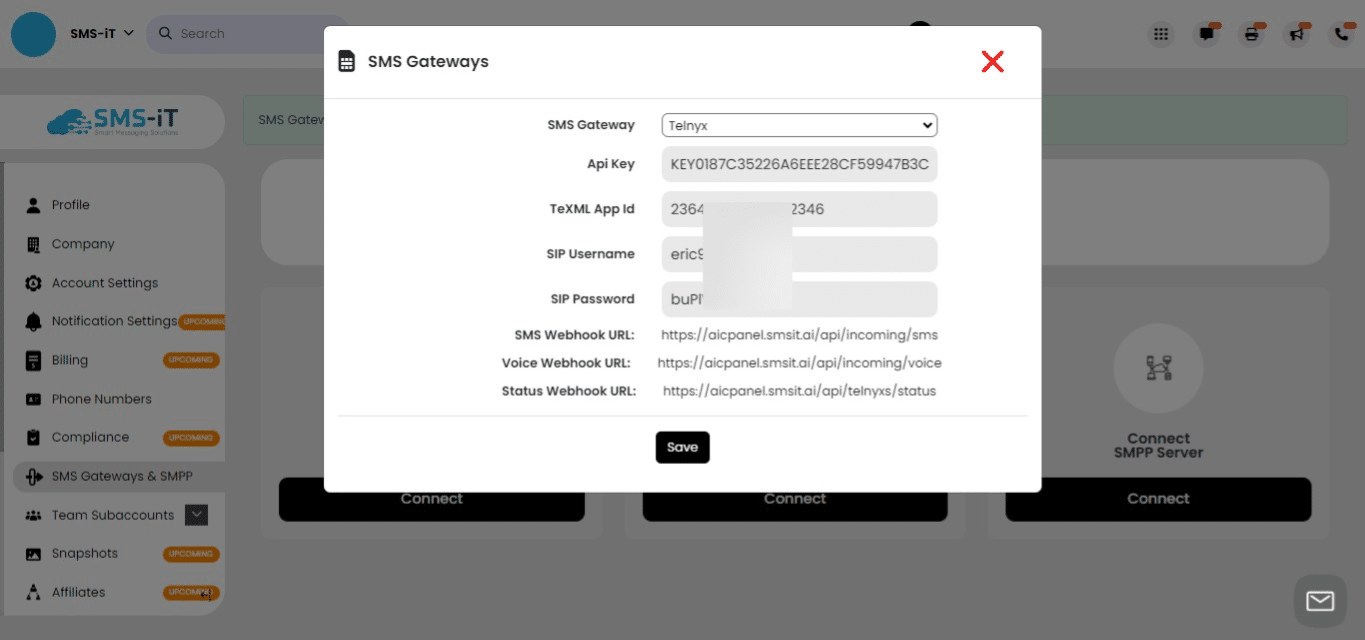
Return to SMS-iT and click on "Connect"
Paste to TeXML App ID
Now return to Telynx
Now we'll connect the SIP username and SIP password. Please return to Telnyx
SIP Username and SIP password
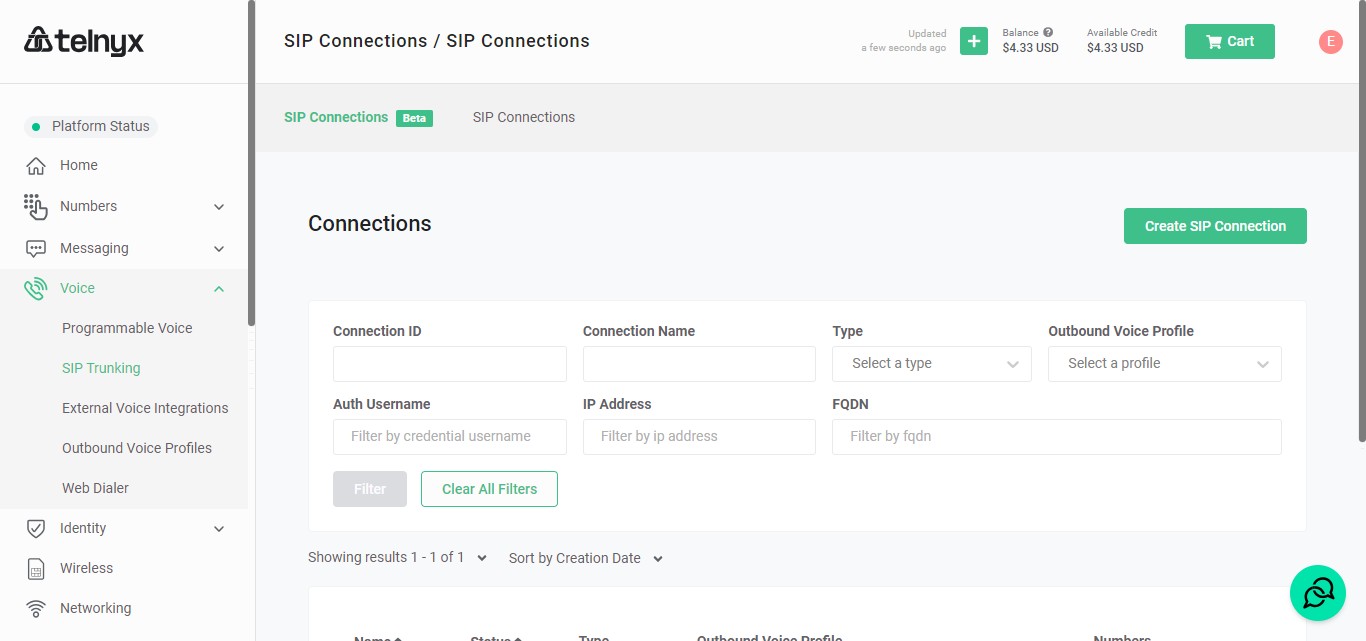
Click on "Voice"
Click on "SIP Trunking"
Click on "Create SIP Connection"

Name the connection "SMS-iT SIP"
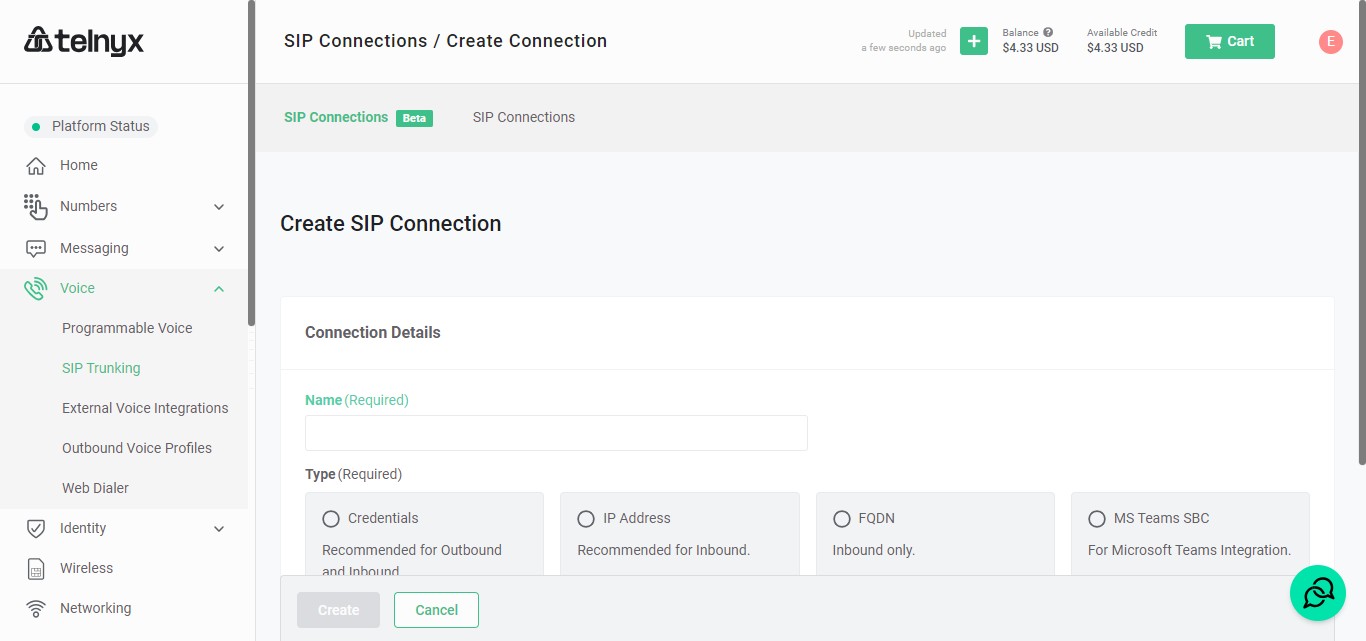
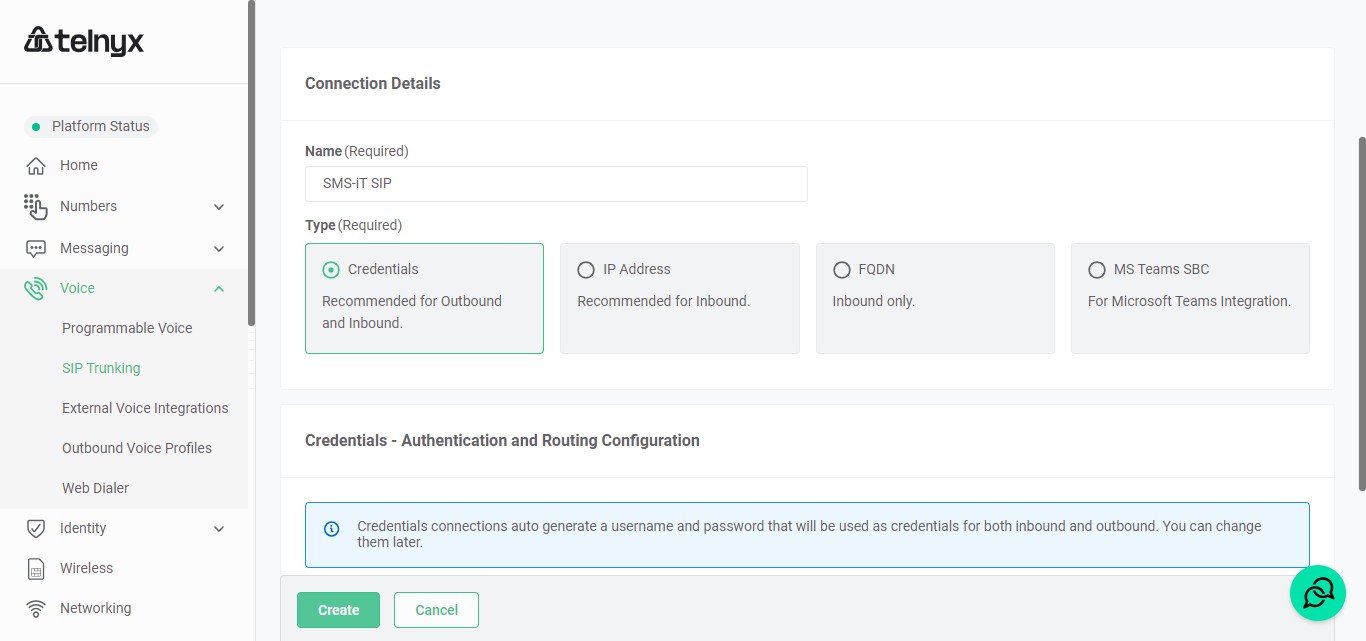
Select "Credentials"
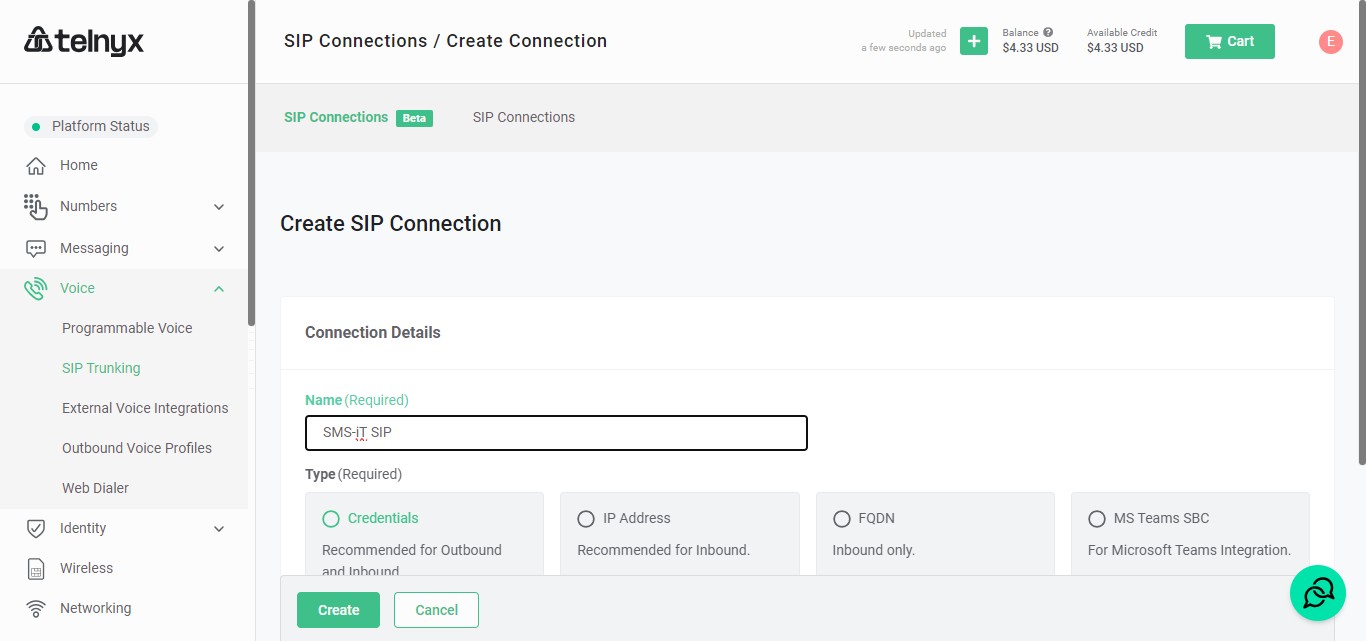
Click on "Create"
Scroll Down
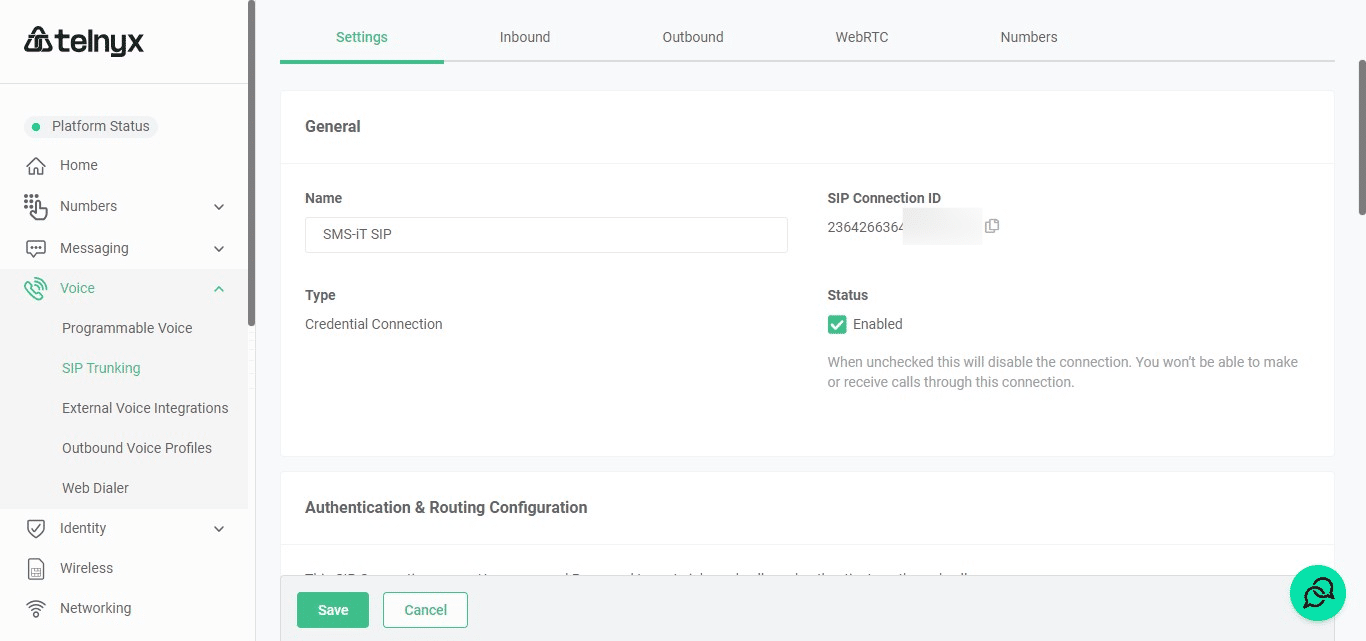
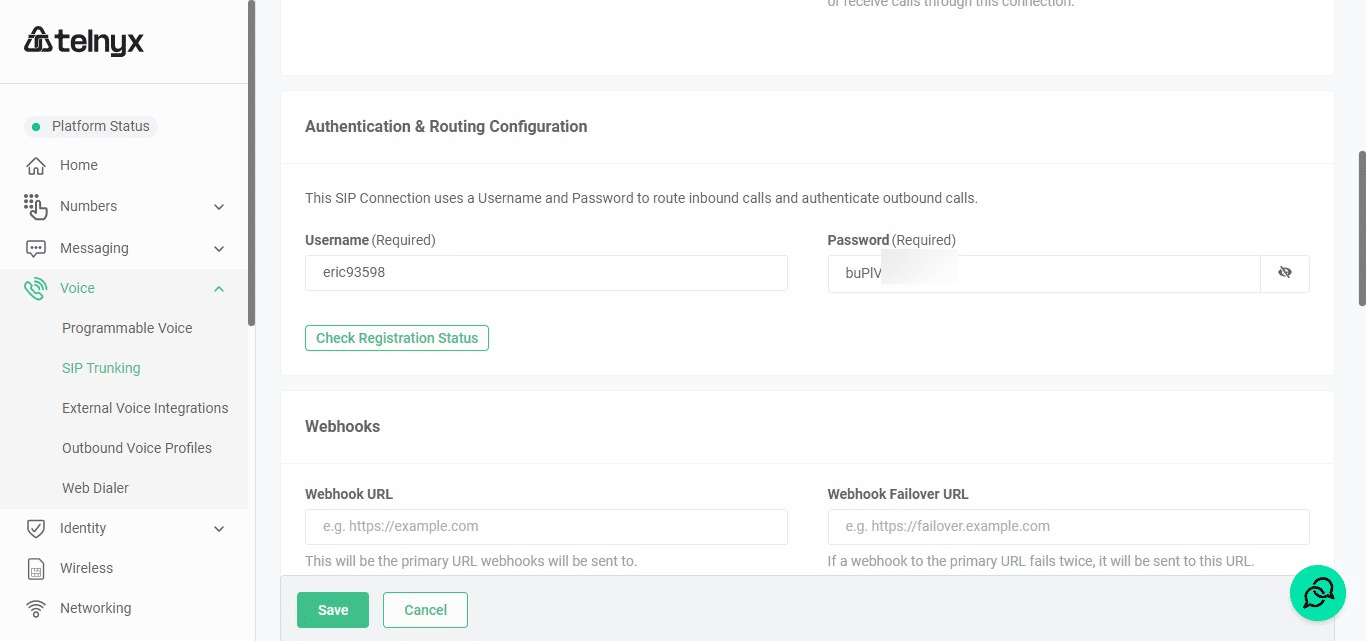
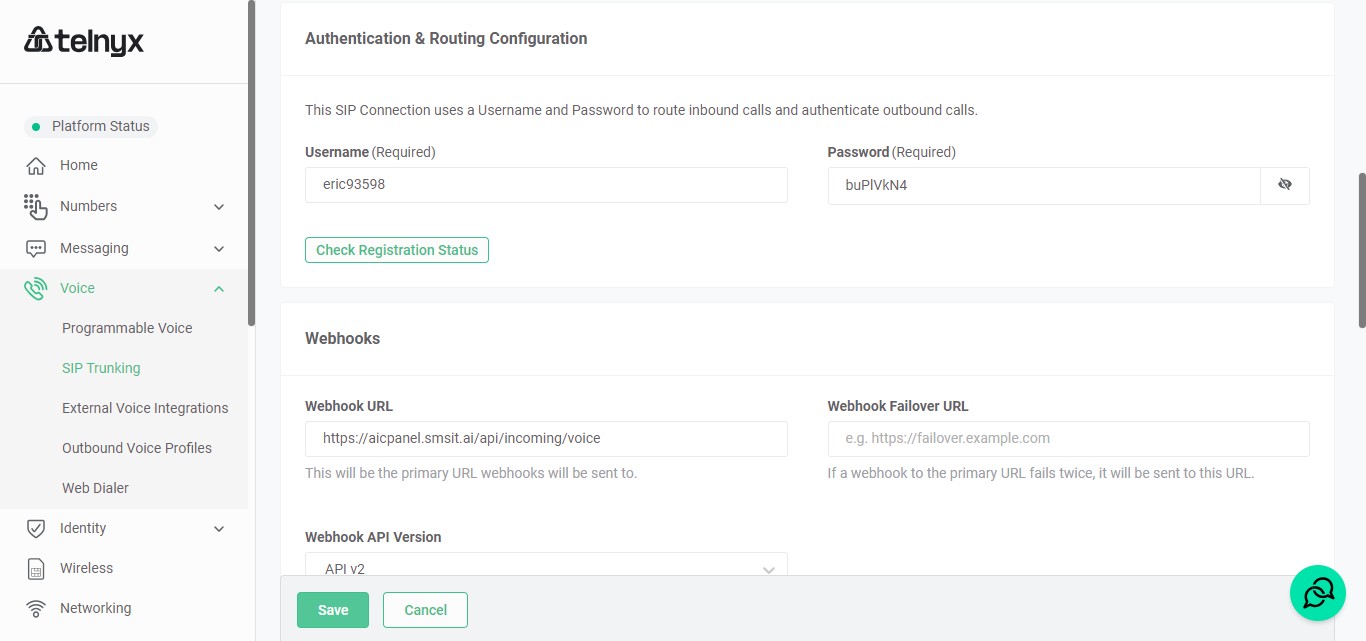
Copy Username to SMS-iT
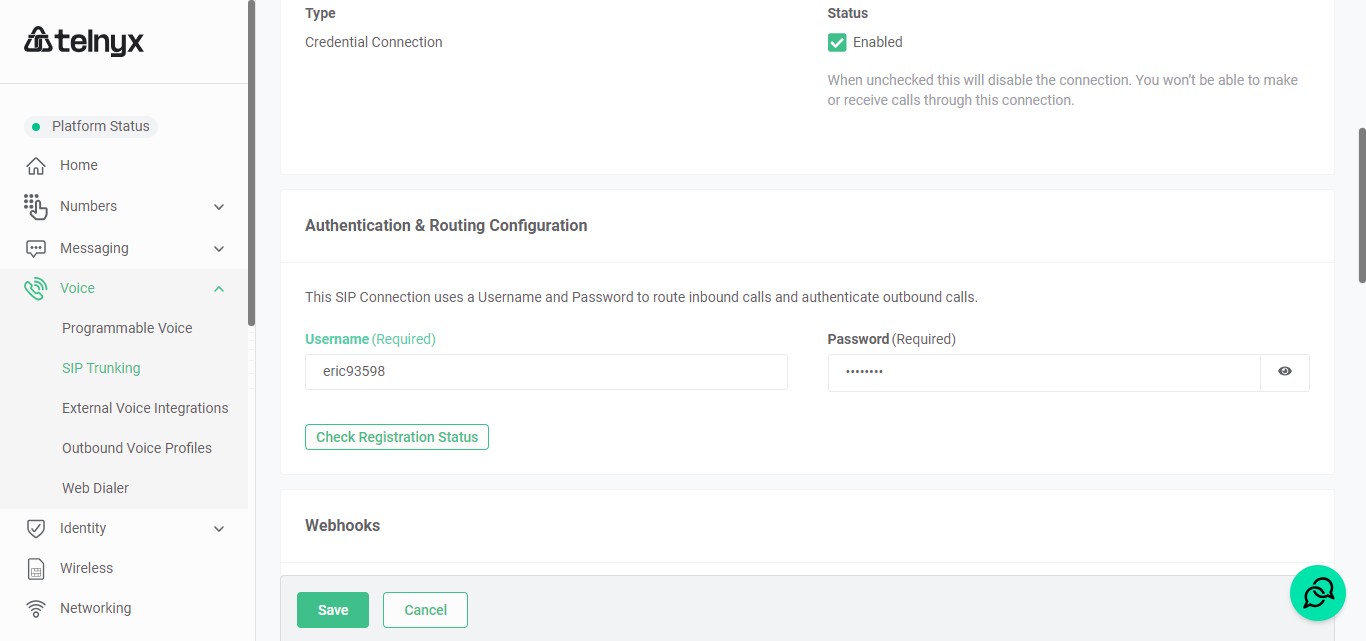
Paste into "SIP Username"

View Password
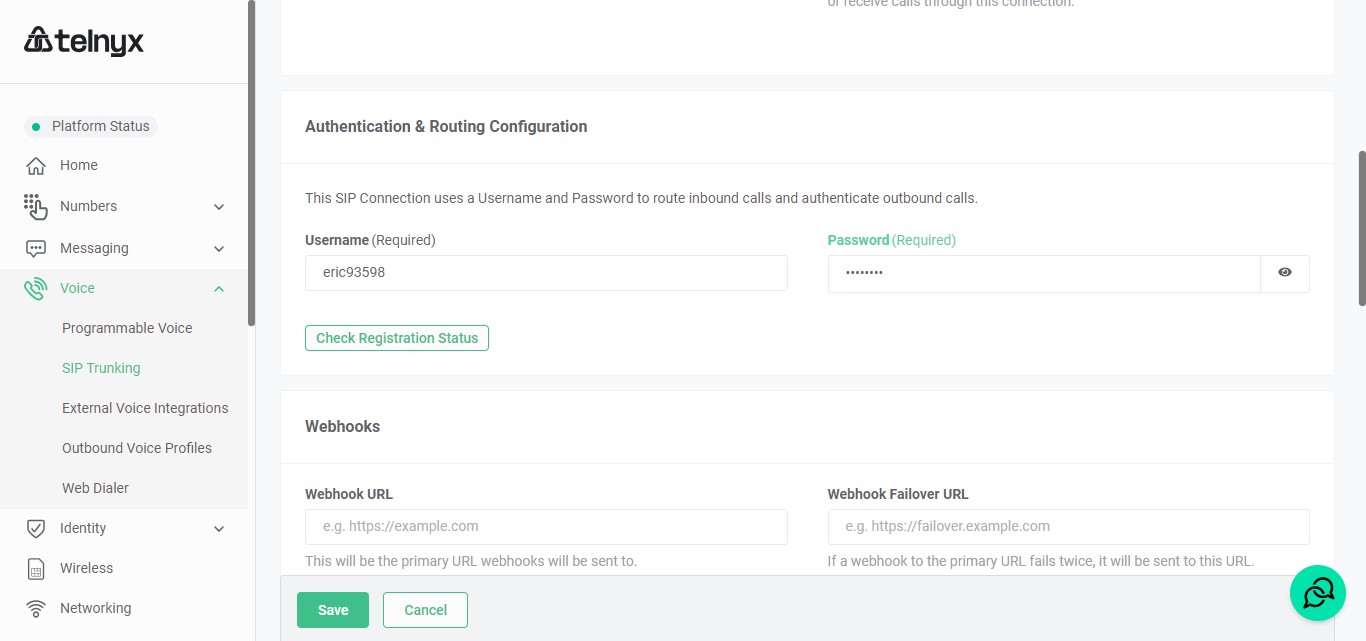
Copy Password
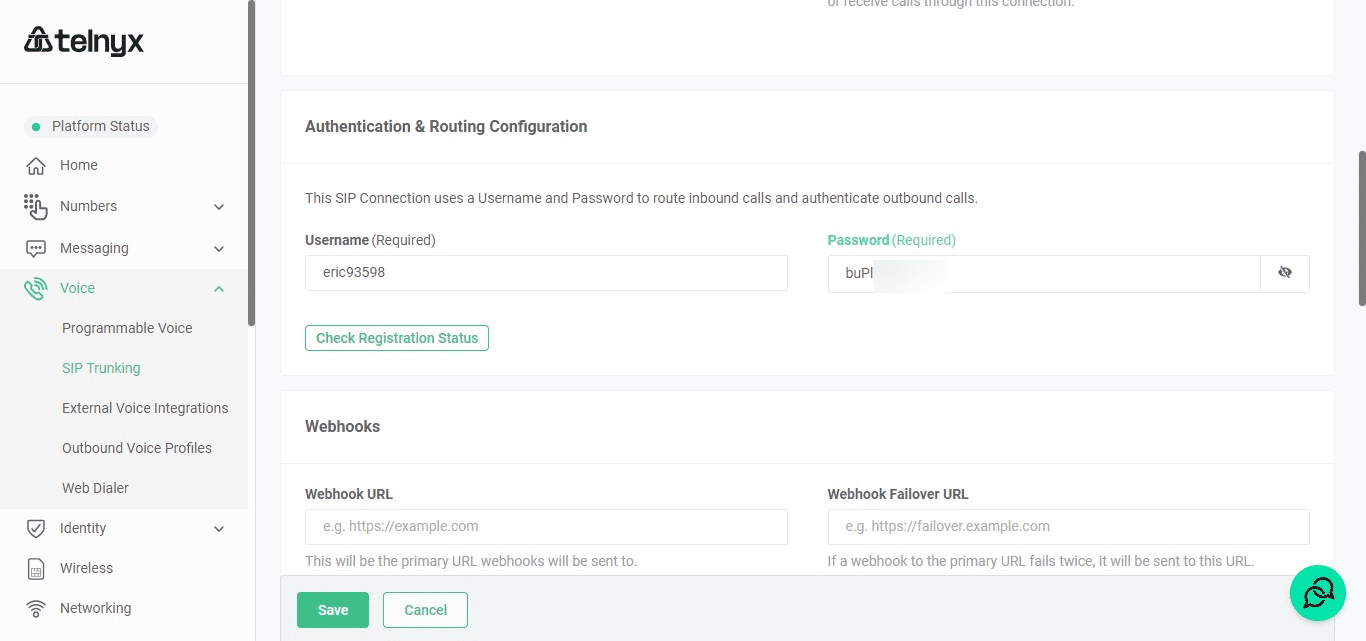
Paste password into "SIP Password"
Click on "Voice Webhook URL:" and COPY
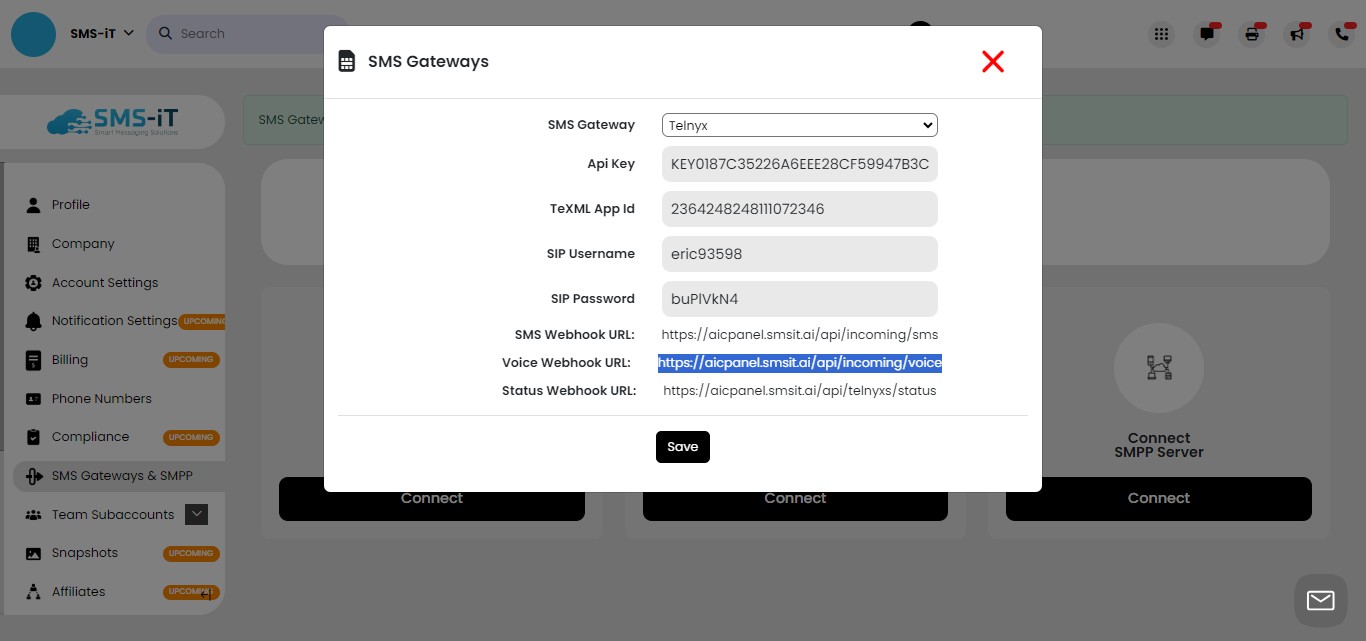
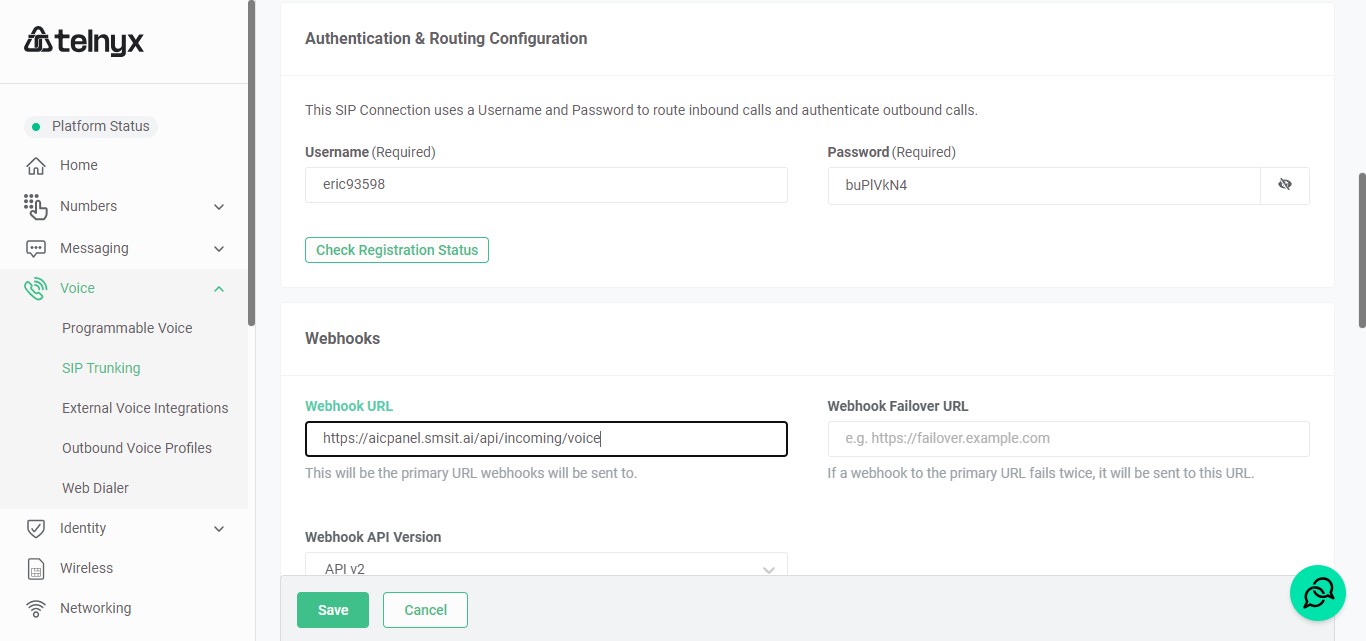
Return to Telynx and Paste it into "Webhook URL"
Pasted
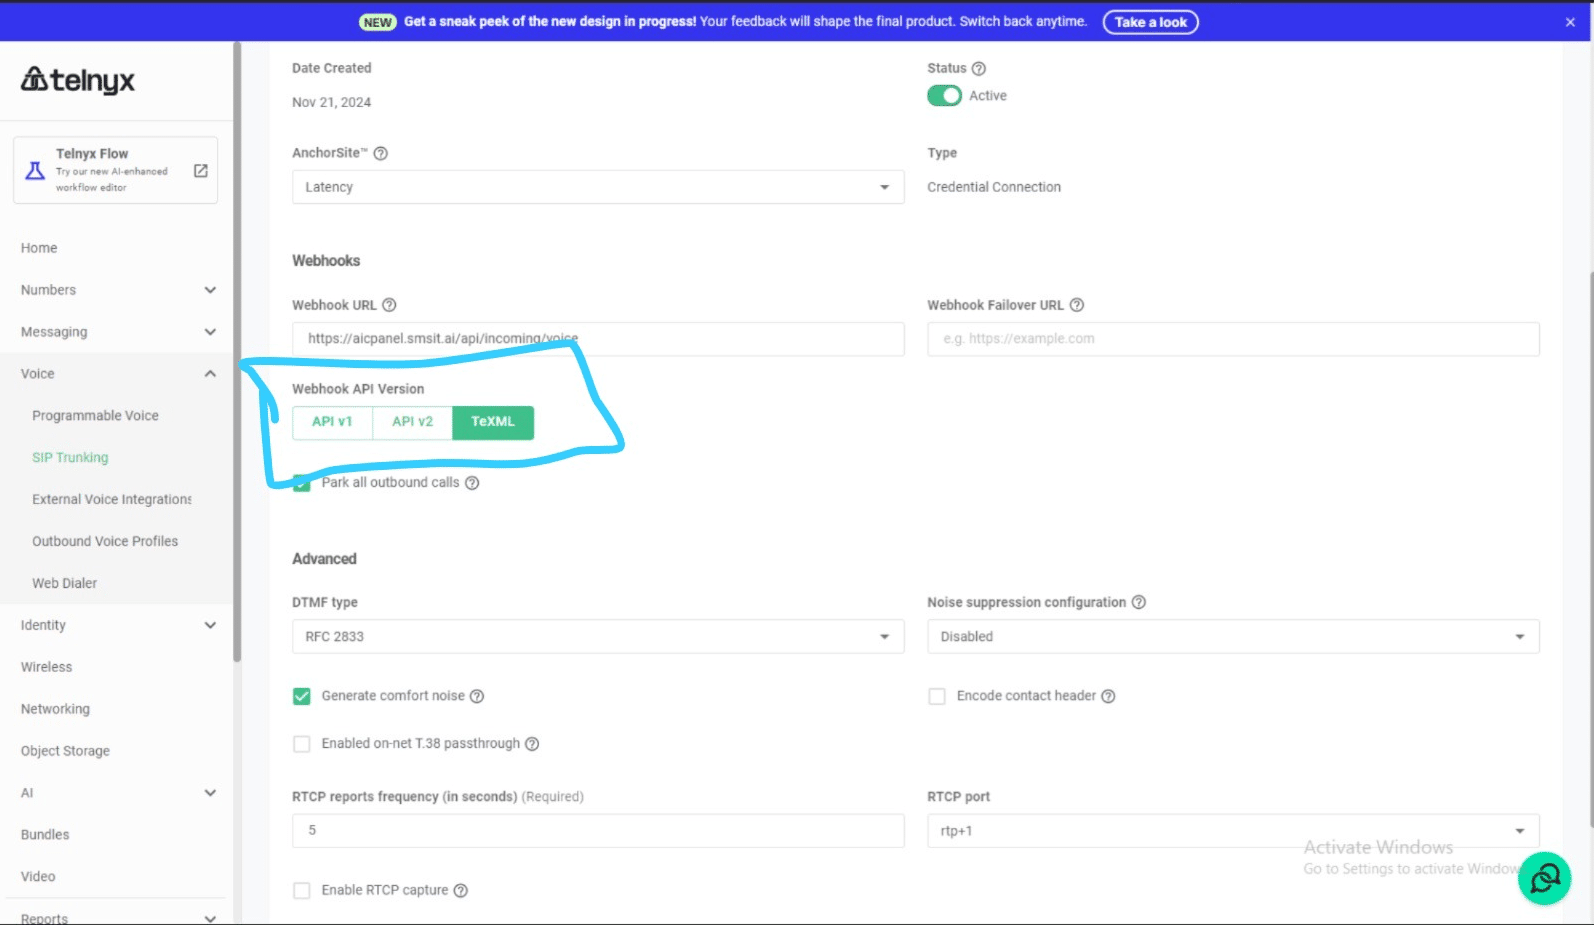
Change API v2 to TeXML. Without this step, you wont be able to view your calls logs in SMS-iT when you make and receive calls.
Scroll up and click on "Inbound"
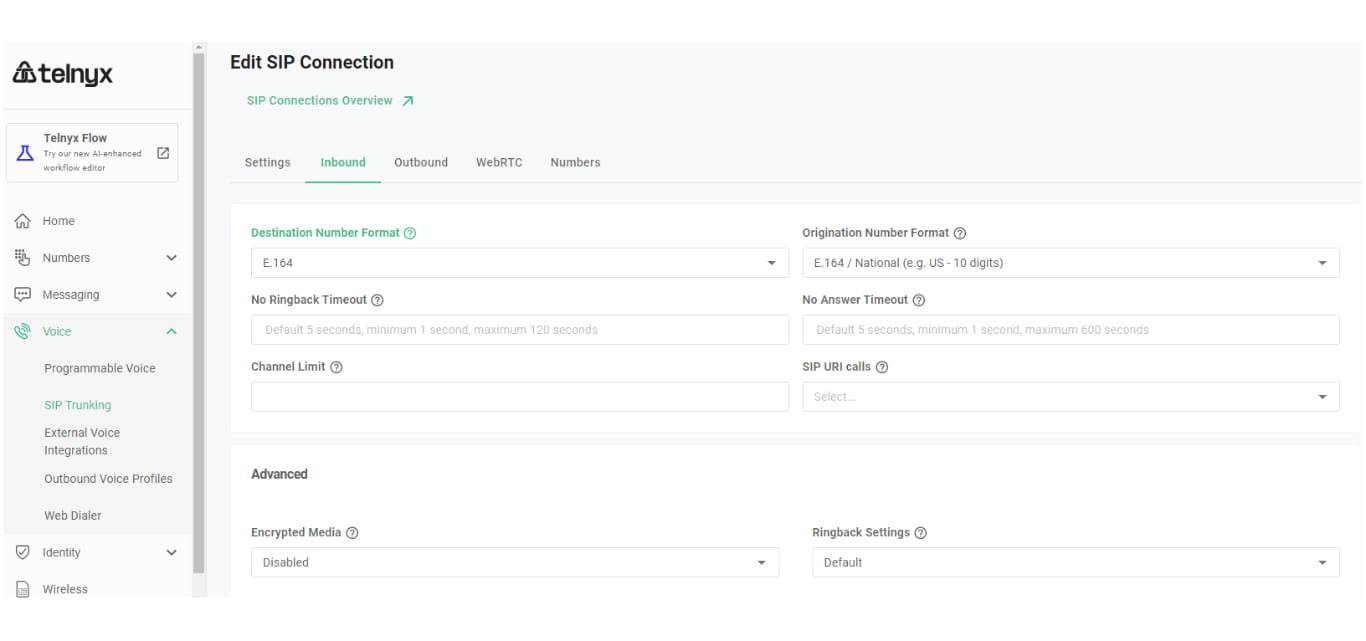
Click "SIP URI calls" and Select "From anyone"
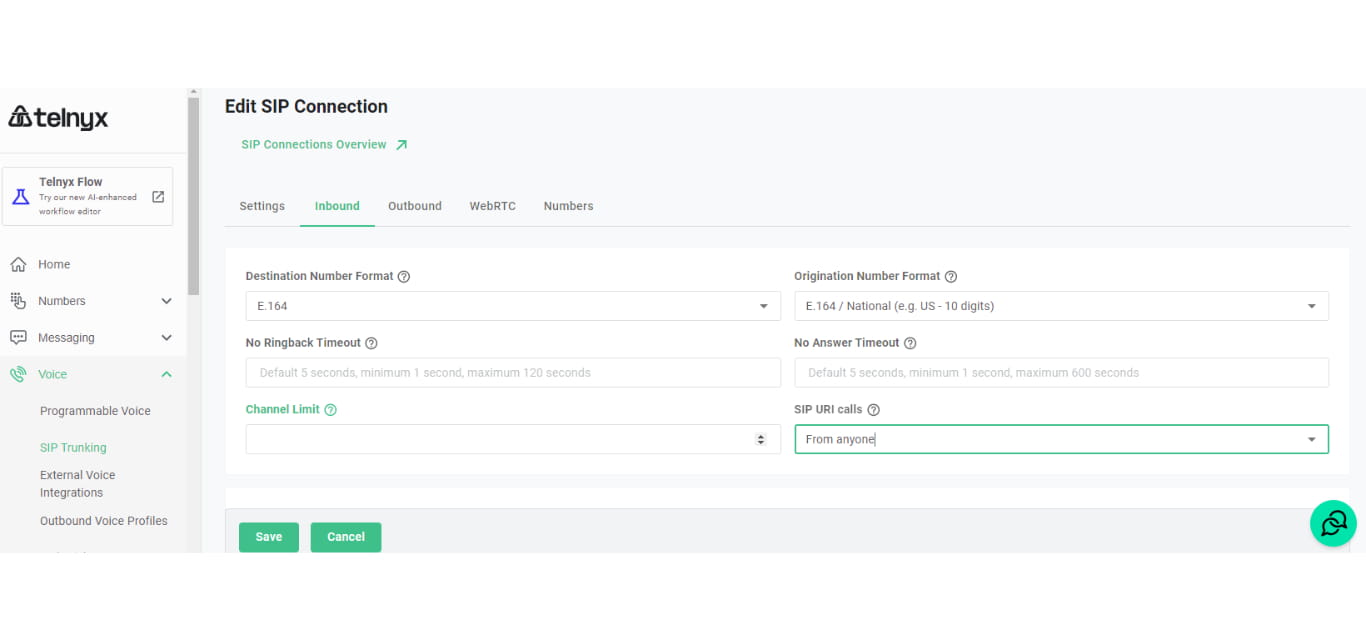
Click on "Save"
Go back to SMS-iT and click on "Save"
The Green Banner will appear signalling the SMS Gateway is updated.
OVP (Outbound Voice Profile)
Click on "Voice"

Click on "SIP Trunking"
Scroll down
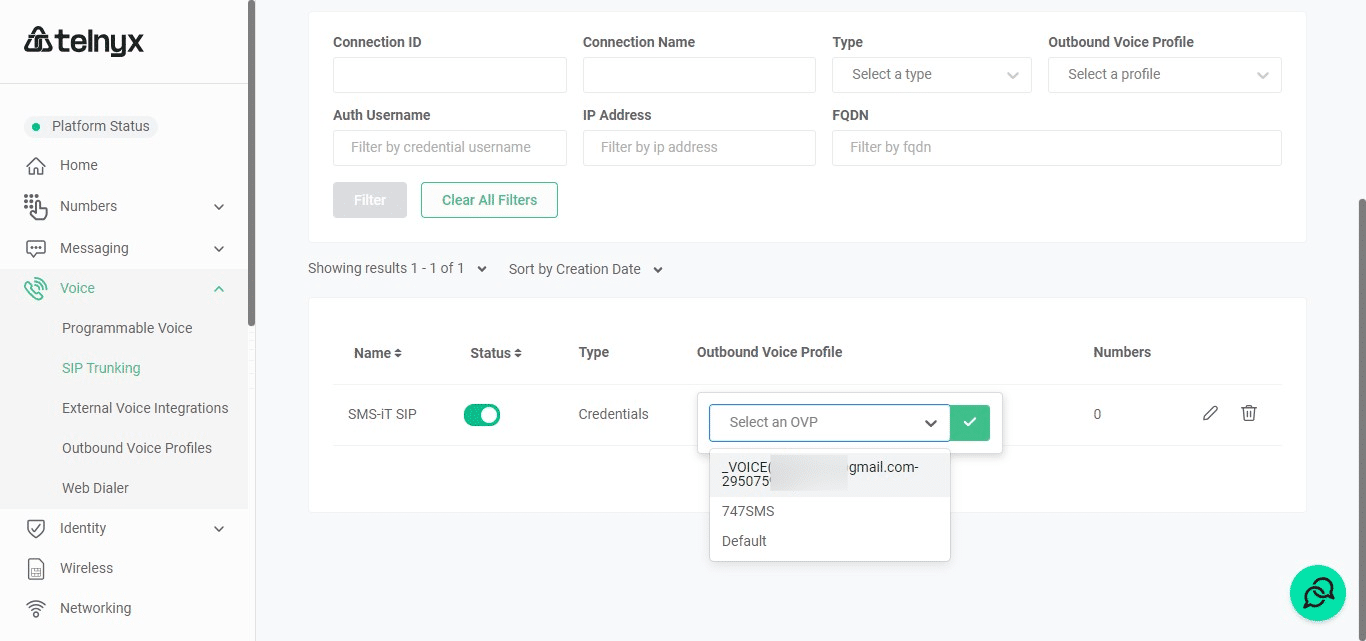
Click on "Select an OVP"
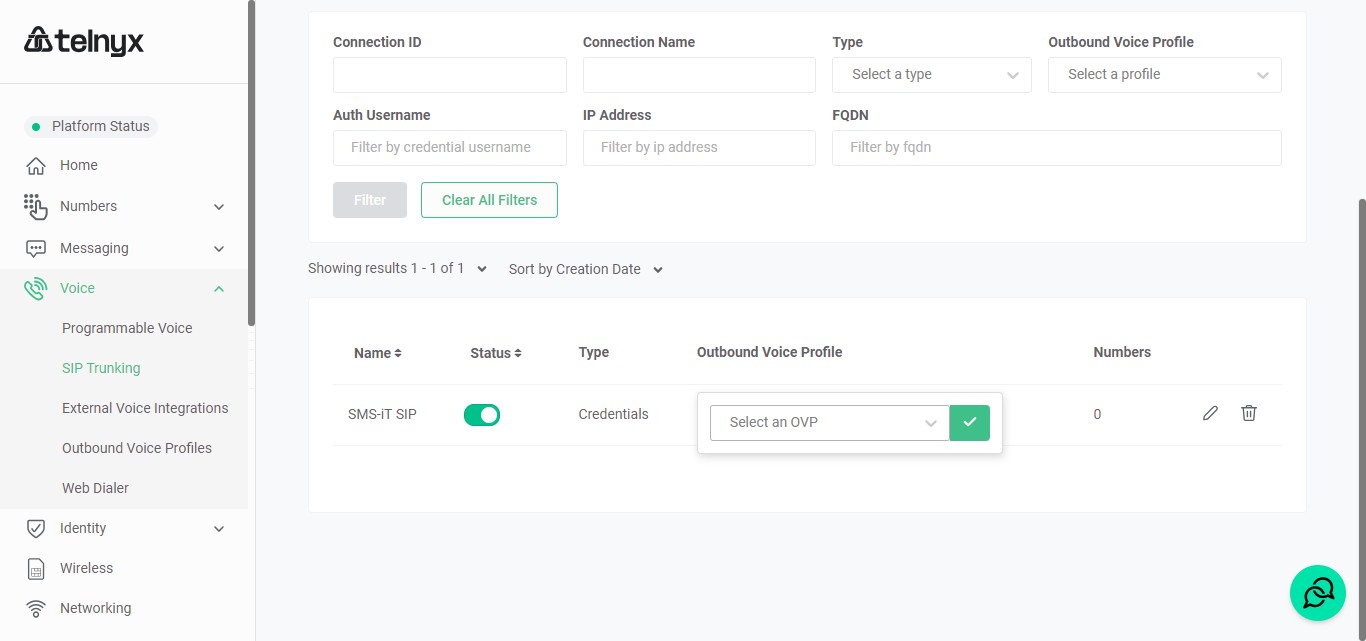
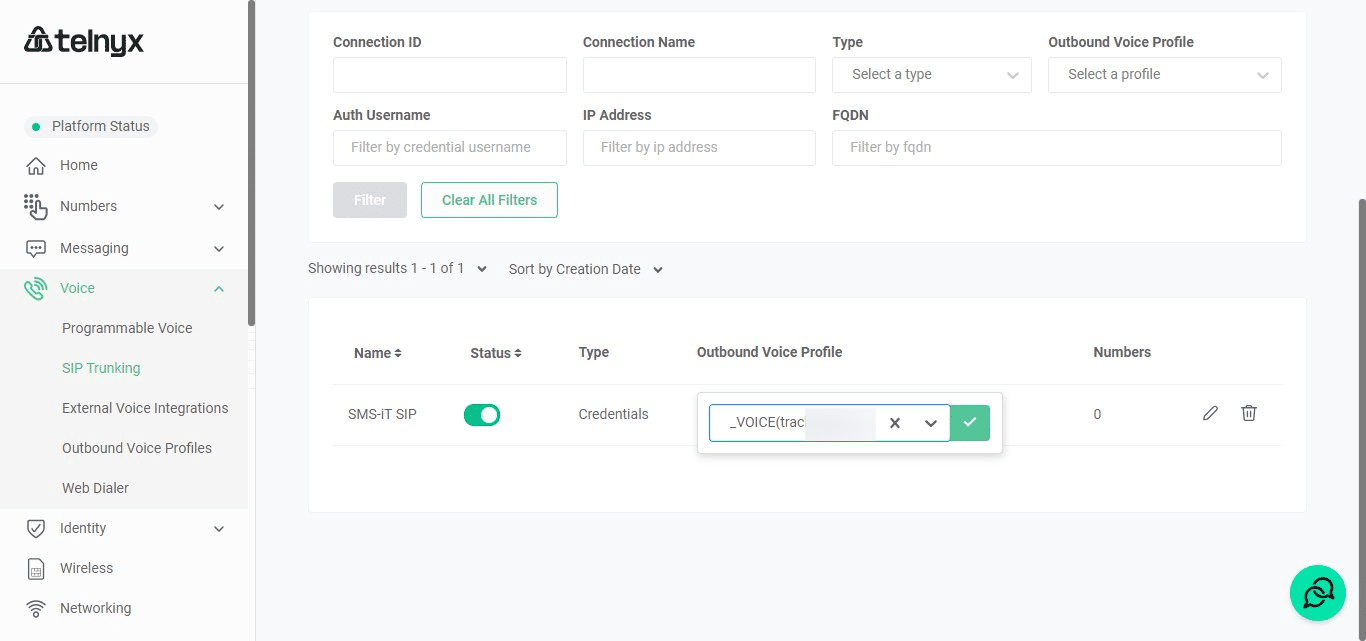
Click on "_VOICE([email protected])"
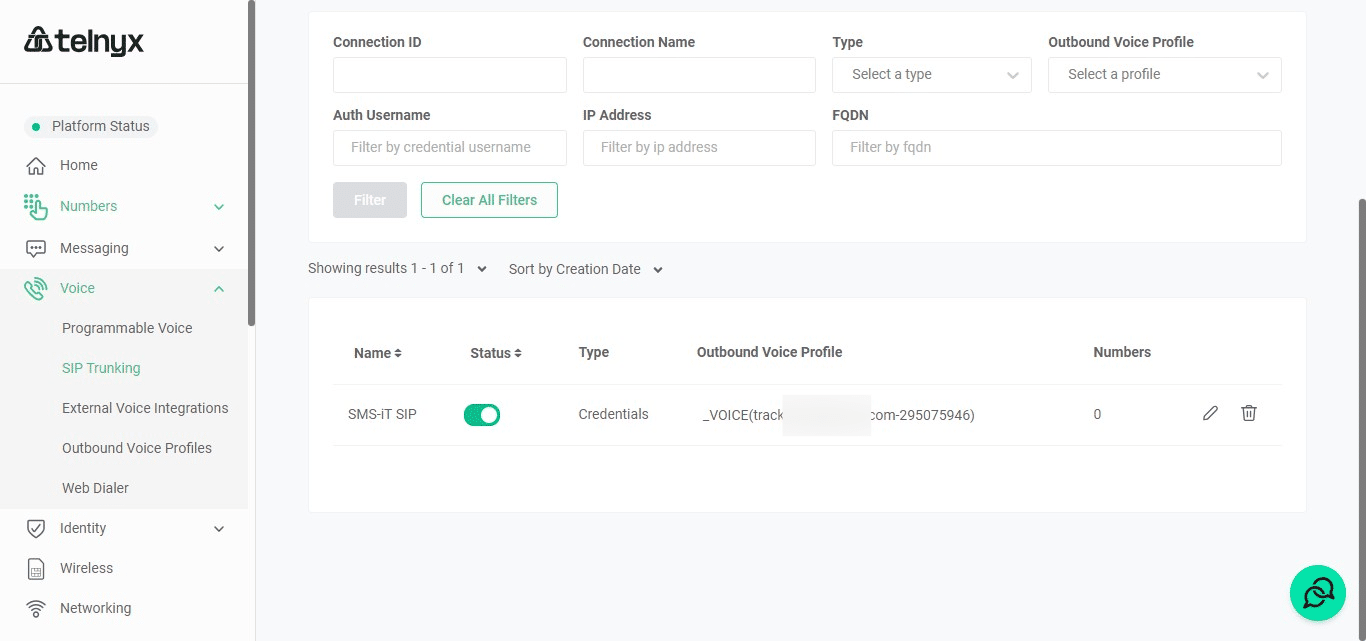
Click "SAVE"
Final Steps: Adding Number to SMS-iT and checking connection
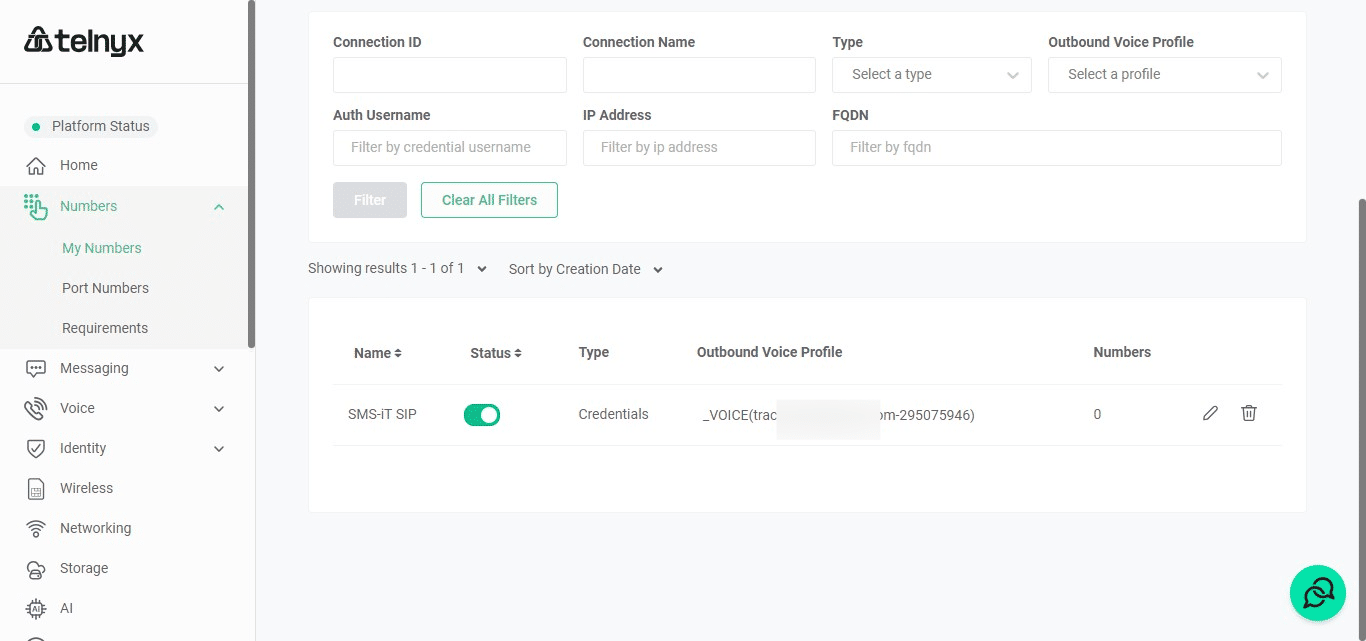
Click this "Numbers"
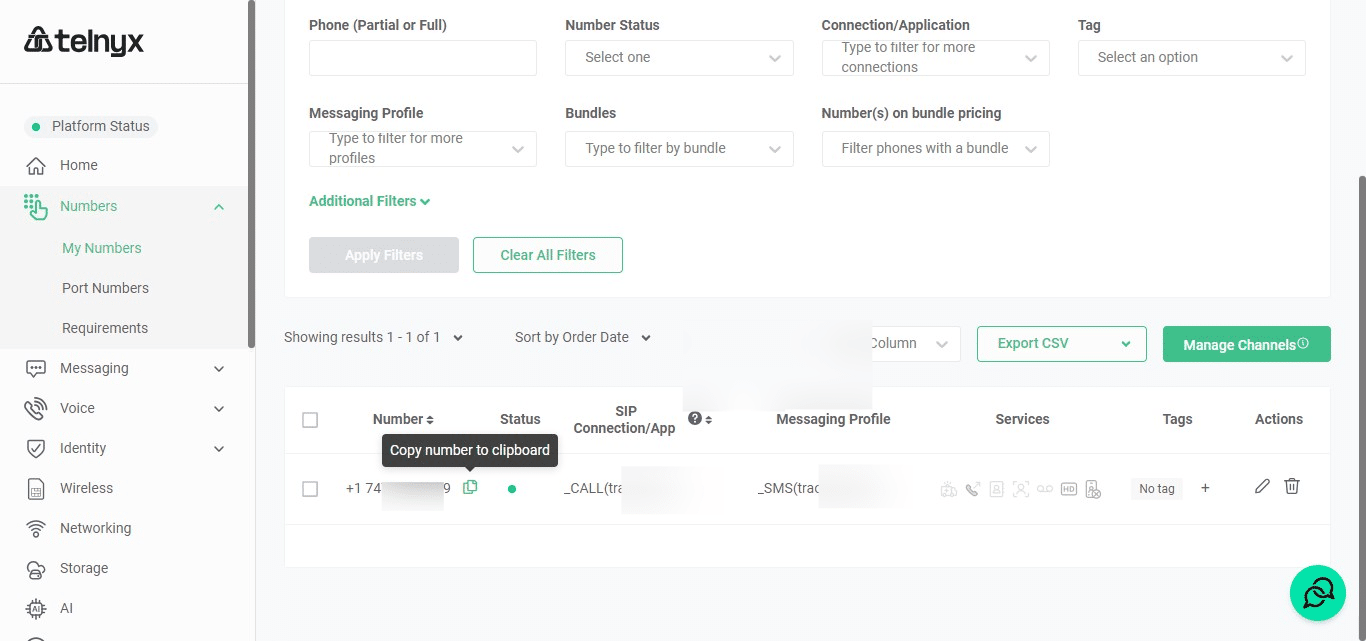
Click on "My Numbers"
Copy your number
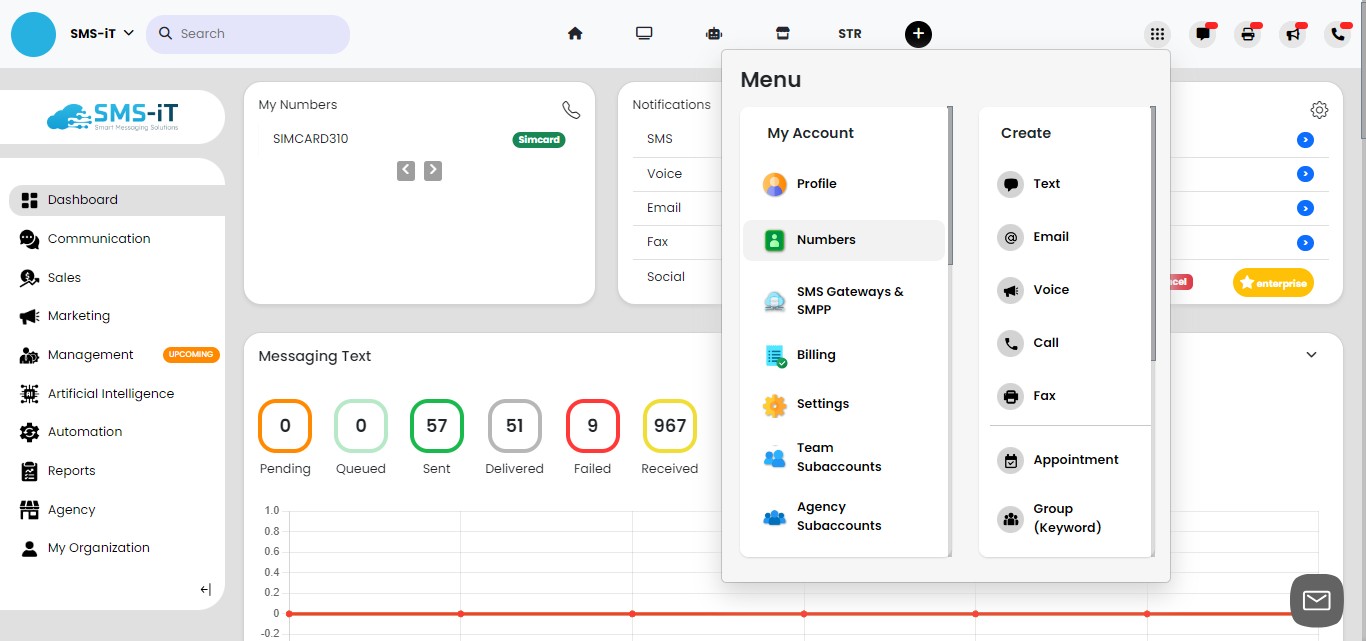
Click on "Menu"
Click on "Numbers"
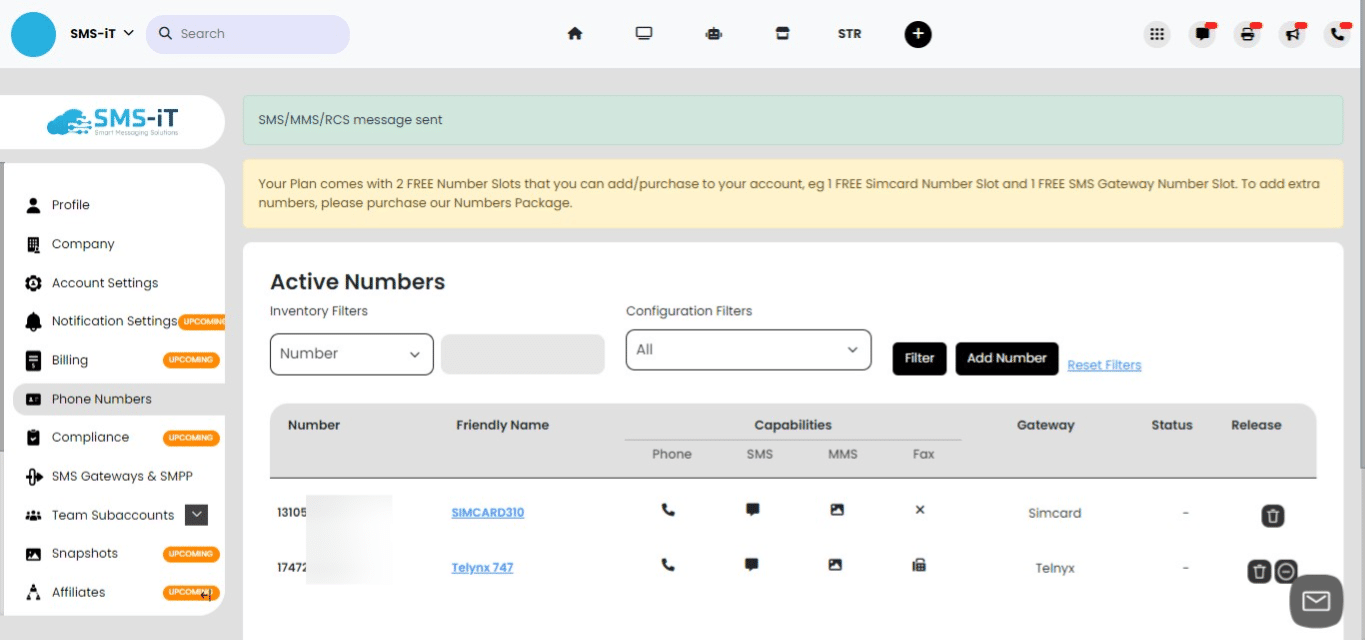
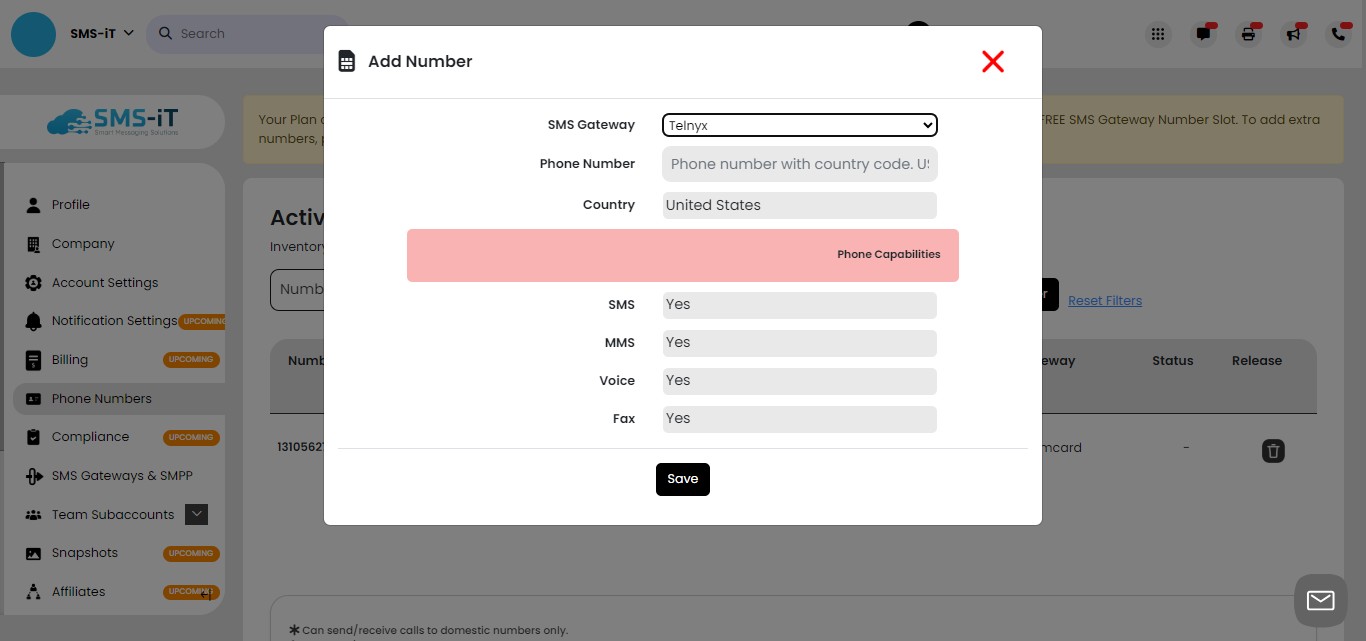
Click on "Add Number"
Click on "Telynx" in the pull-down menu
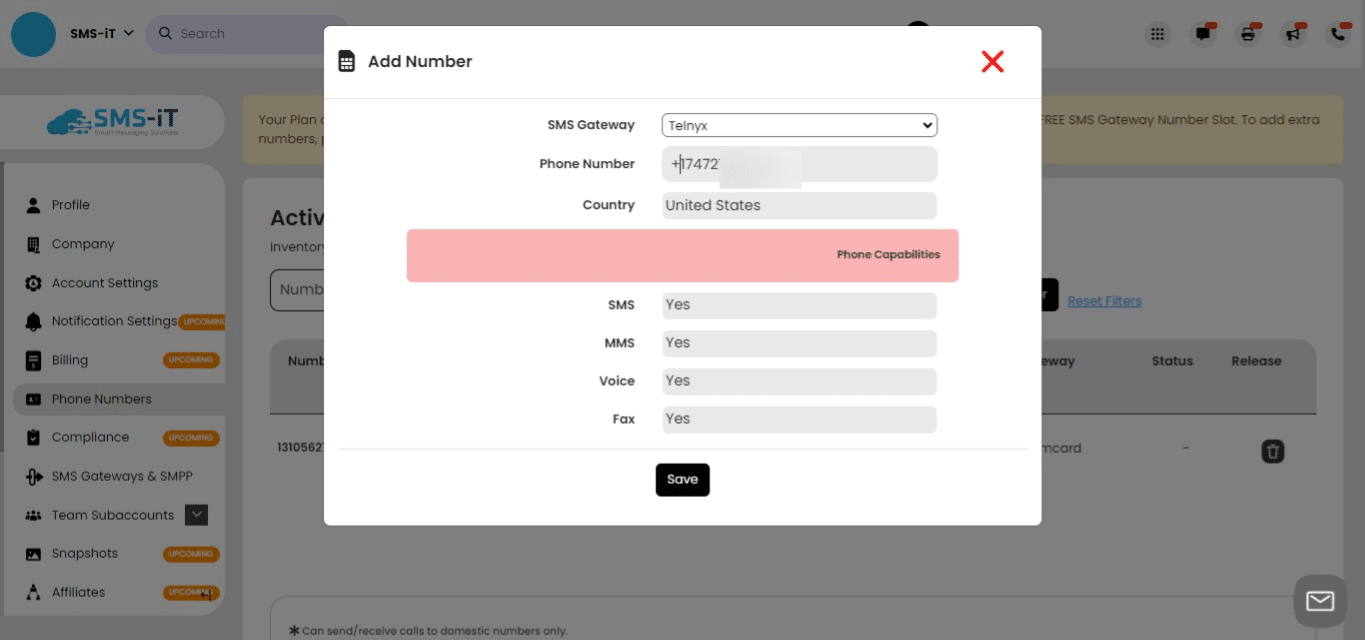
Paste your number
WARNING: You must remove the plus sign "+" from the front of the number before saving
Remove the "+" sign before saving.
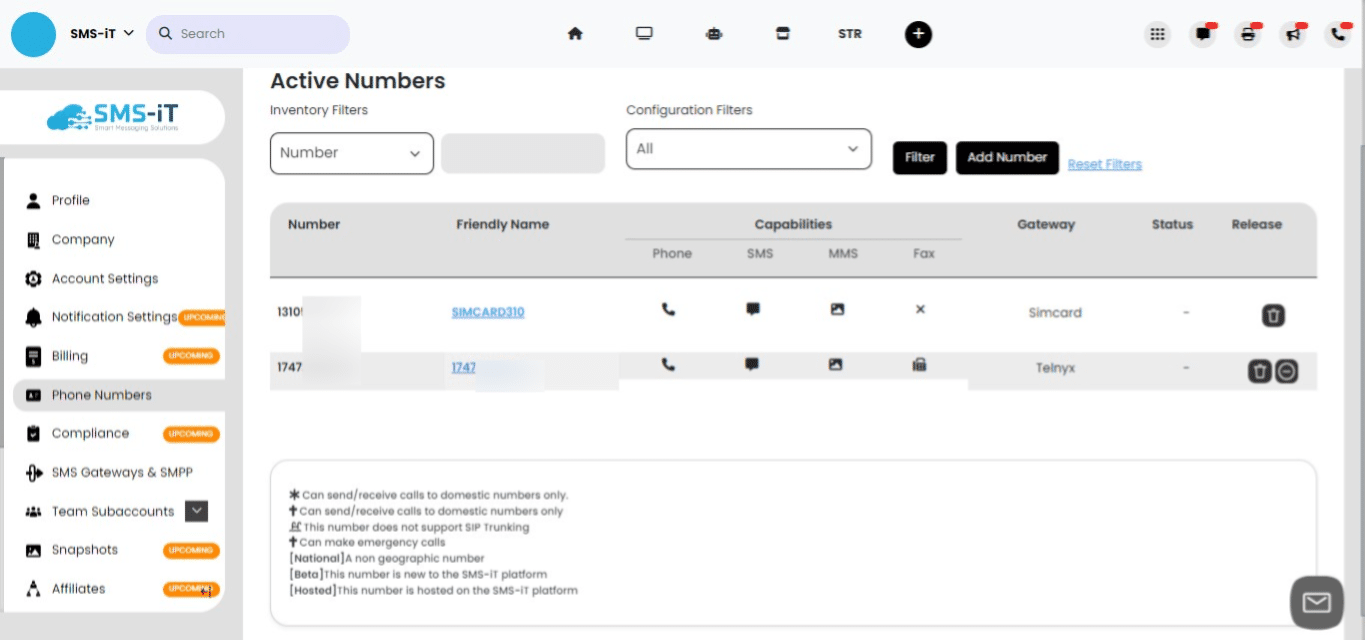
Number saved
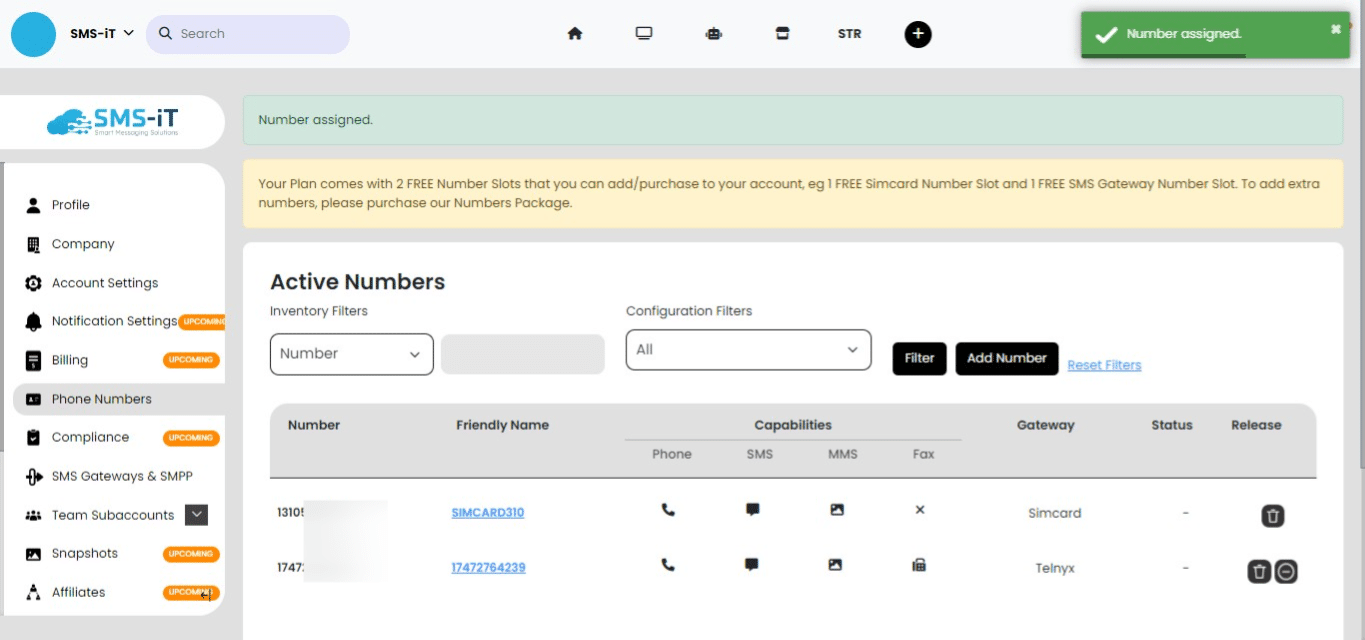
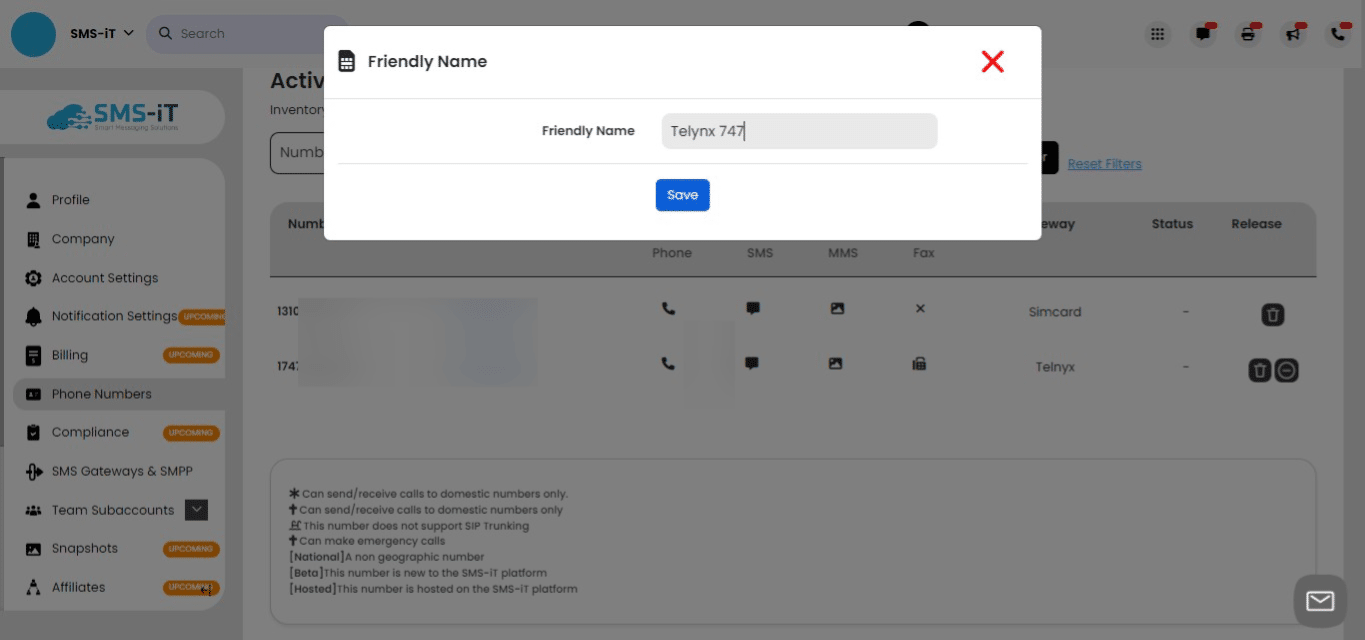
Click on the number to change to a "Friendly Number"
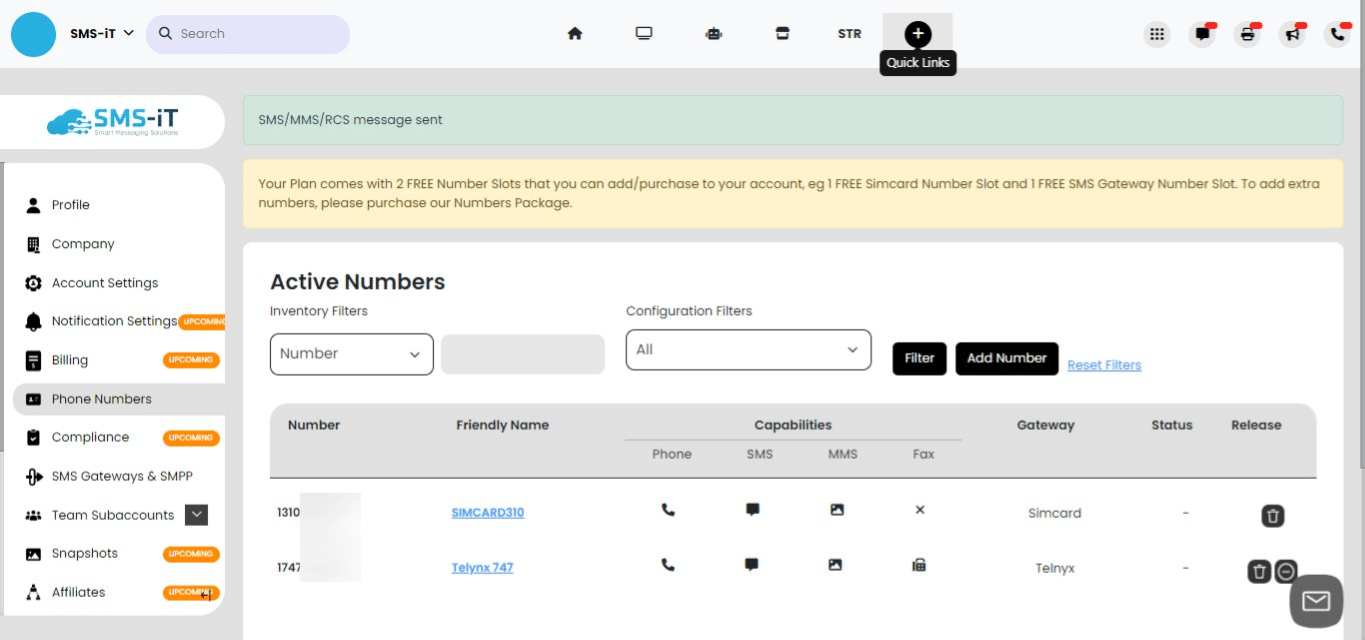
Edit to a name you'll be able to recognize and "Save"
Check your number is working
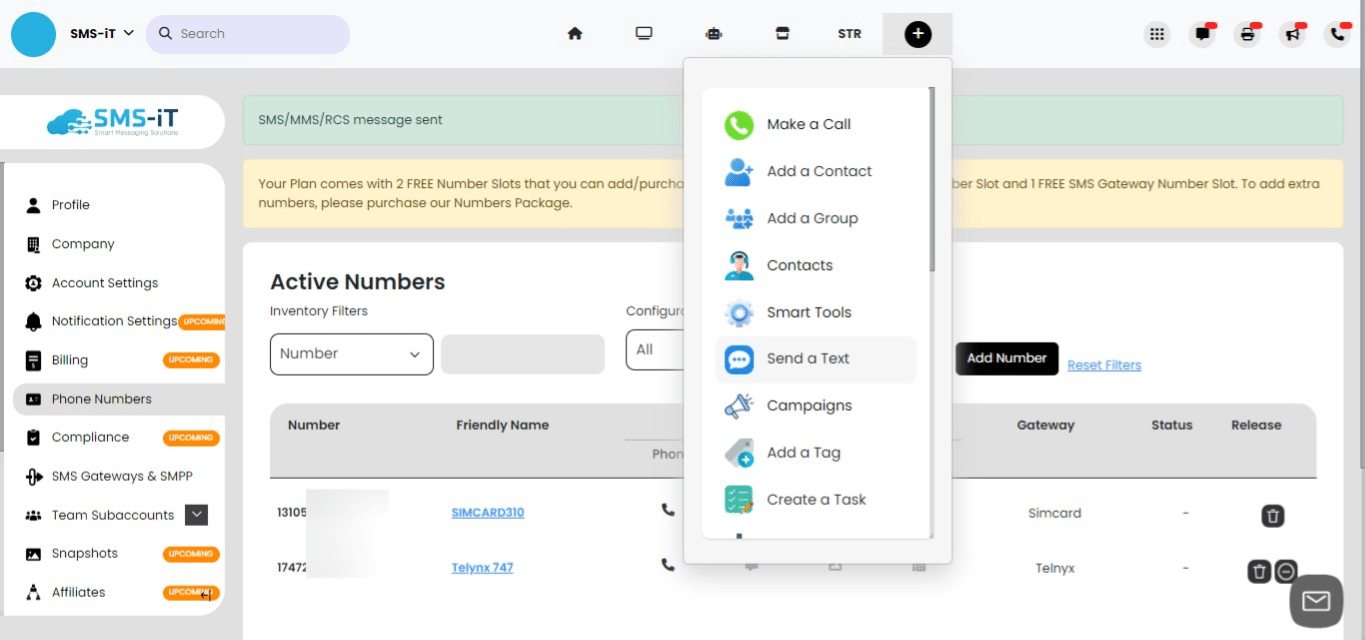
Click on Quick Links
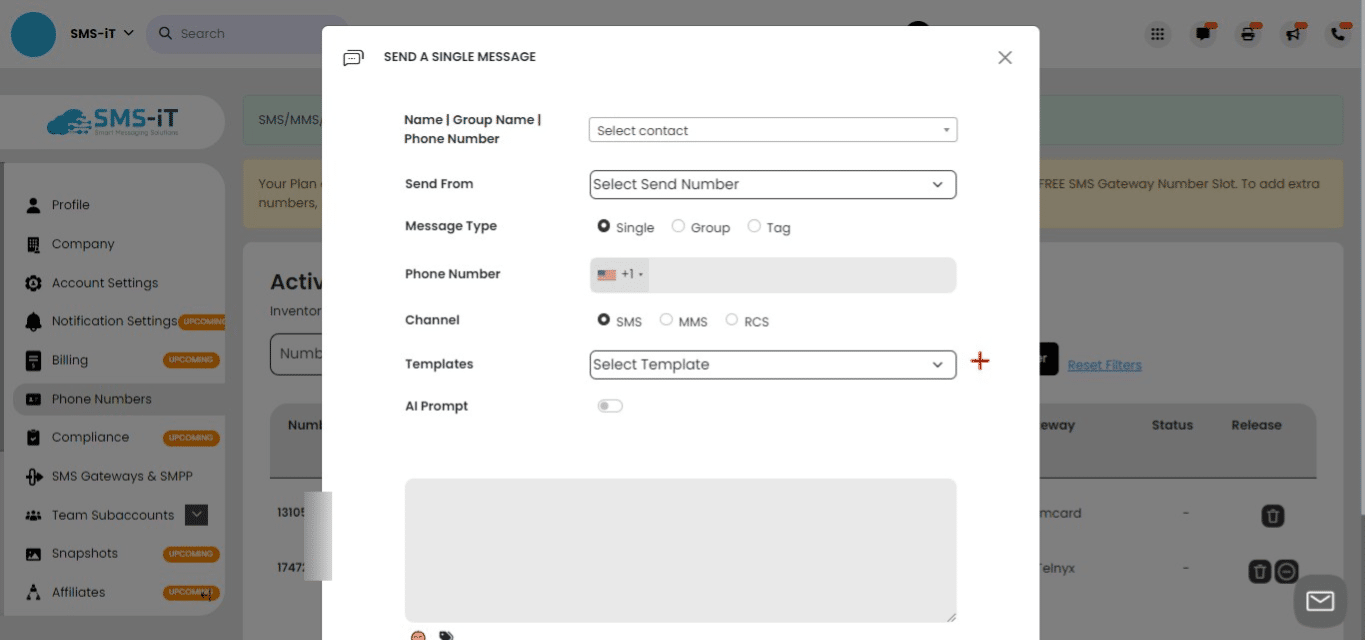
Click on "Send a Text"
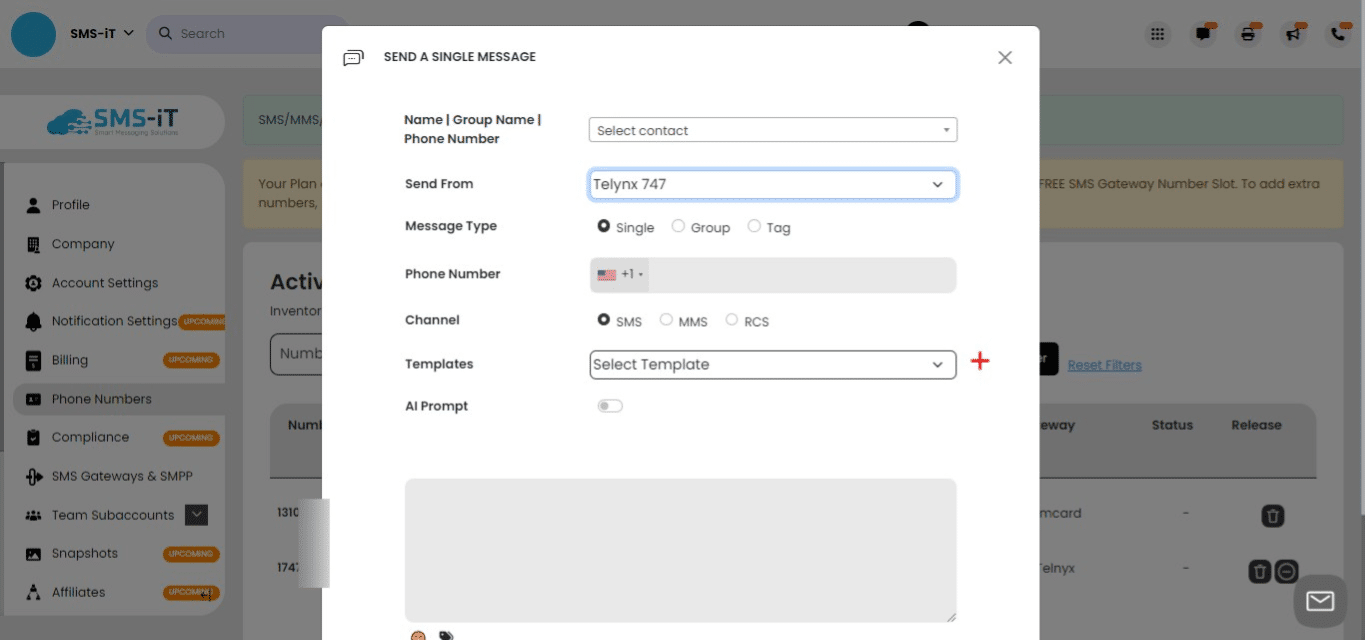
Click on "Select Send Number"
Choose your Telynx number
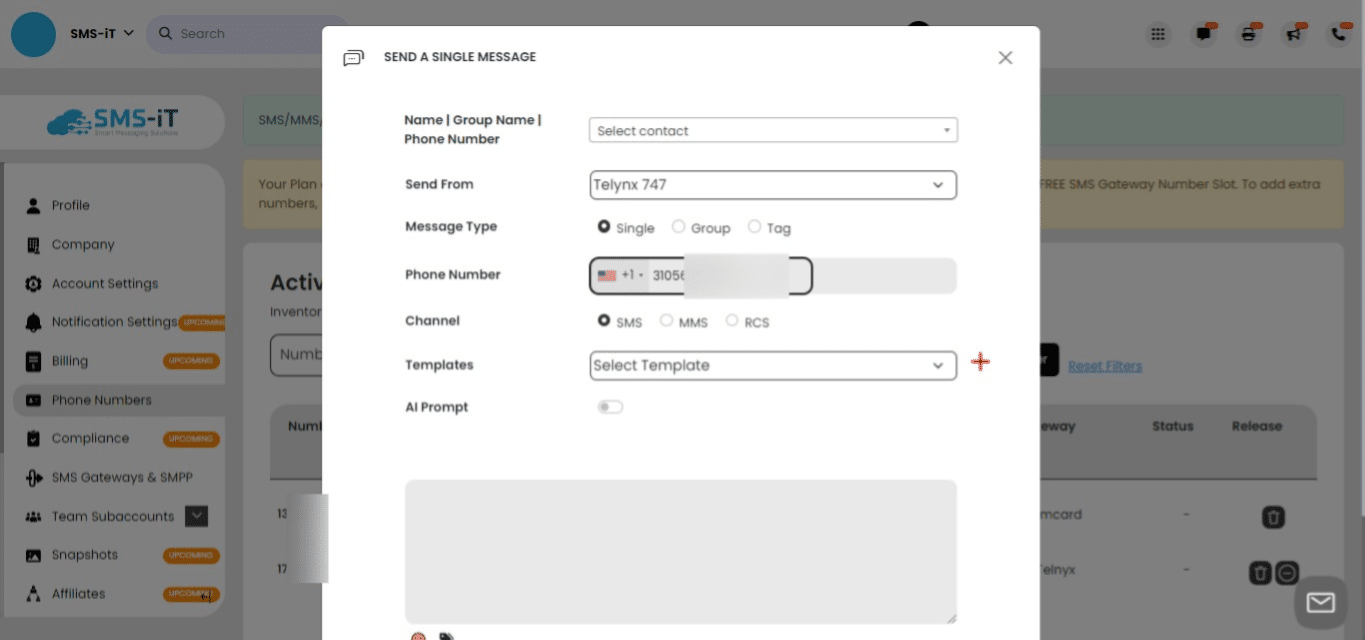
Manually input your cell number or a number that you can check
compose a simple text
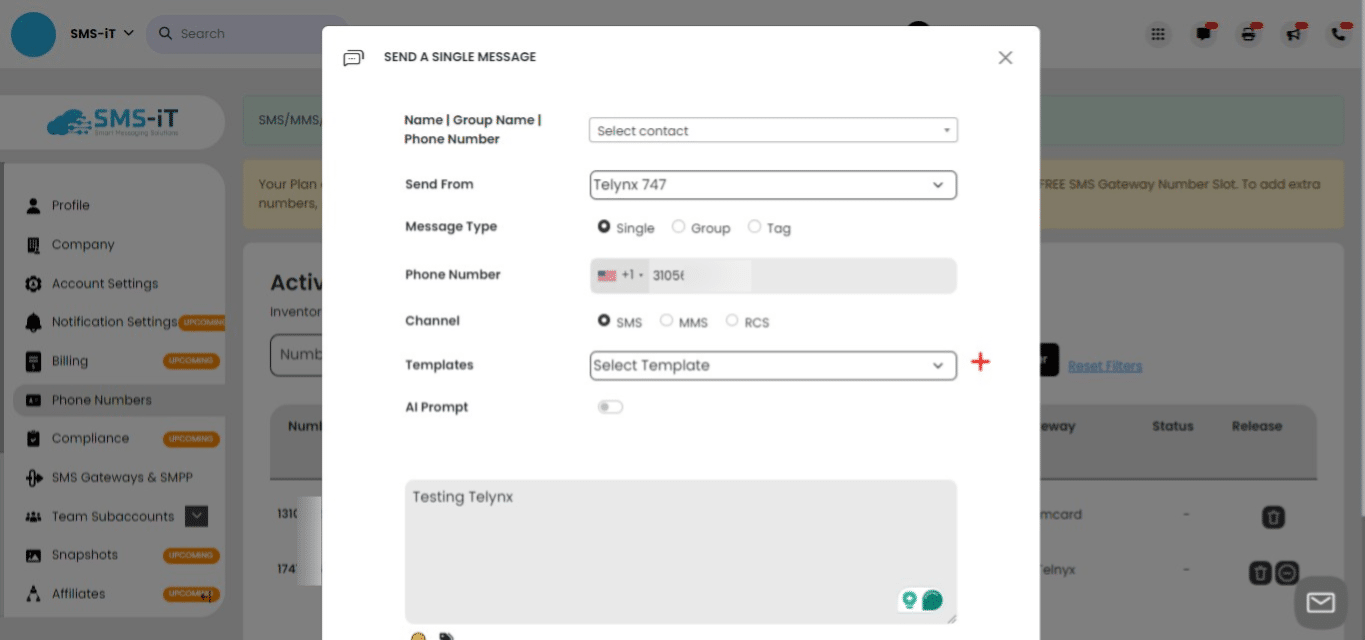
Click on "Send"
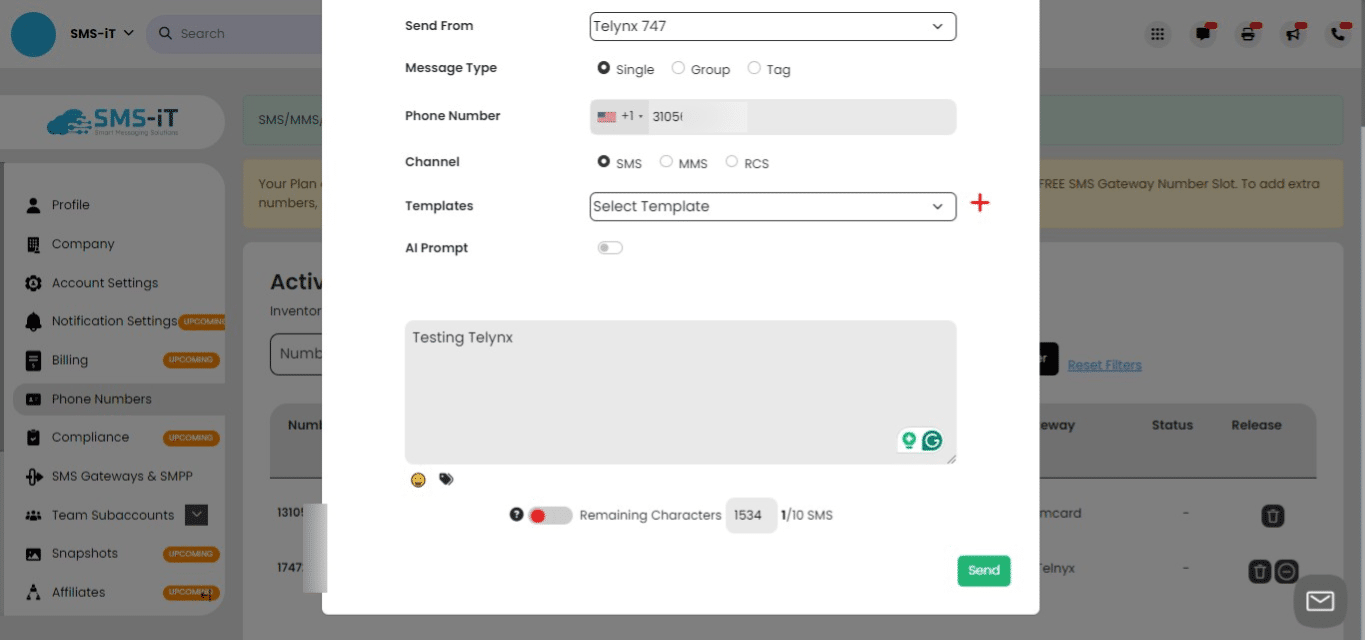
The green banner will indicate a successful message was sent, and verify the text is received on your cell phone.

Done