
Add a Group
Adding a group using name/keyword
Navigate to https://aicpanel.smsit.ai/home
Groups serve as the entry point for your customers and clients within the system, facilitating the creation of individual customer profiles. Leveraging these groups, you can activate various SMART TOOLS tailored for customer acquisition and retention. Moreover, you can initiate campaigns designed to guide each customer along their distinct customer journey.
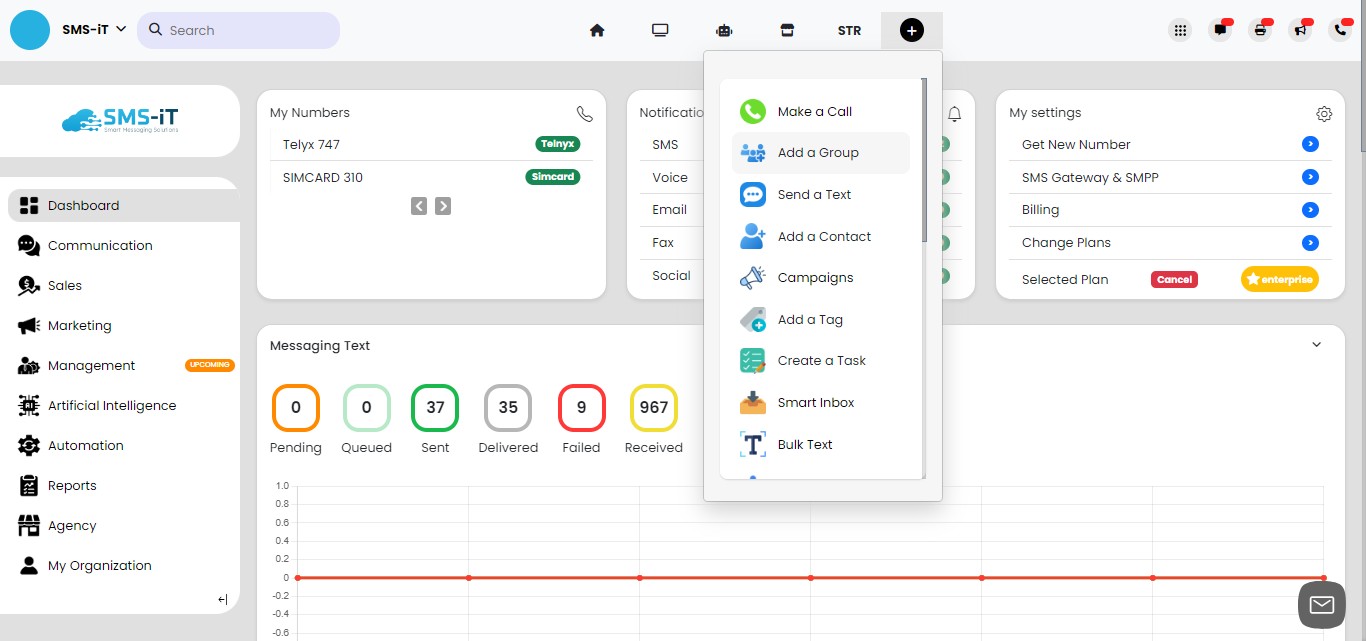
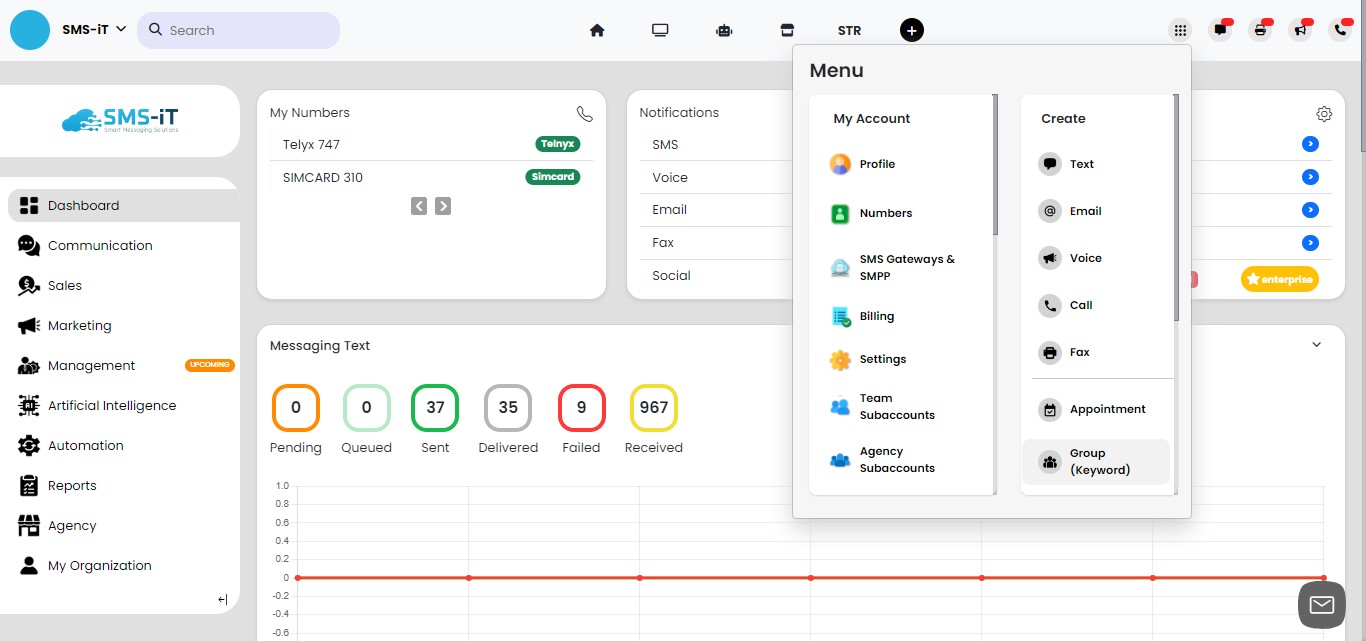
To add a group, click on the plus sign (+) located in the header you'll see "Quick Links" as you hover over the icon..

Click on "Add a Group"
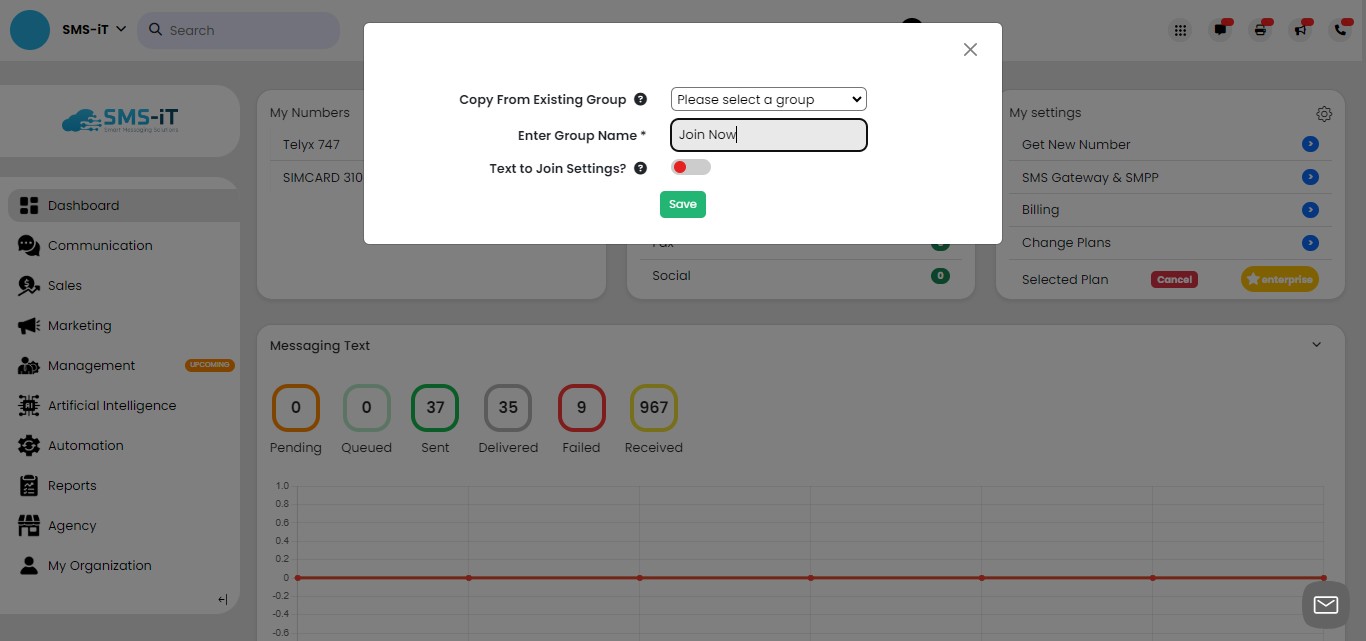
Naming Your Group: Enter a descriptive name for your group. This name will also serve as the keyword for customers to opt-in. Ensure the name reflects the purpose of the group and is easily recognizable by your customers.
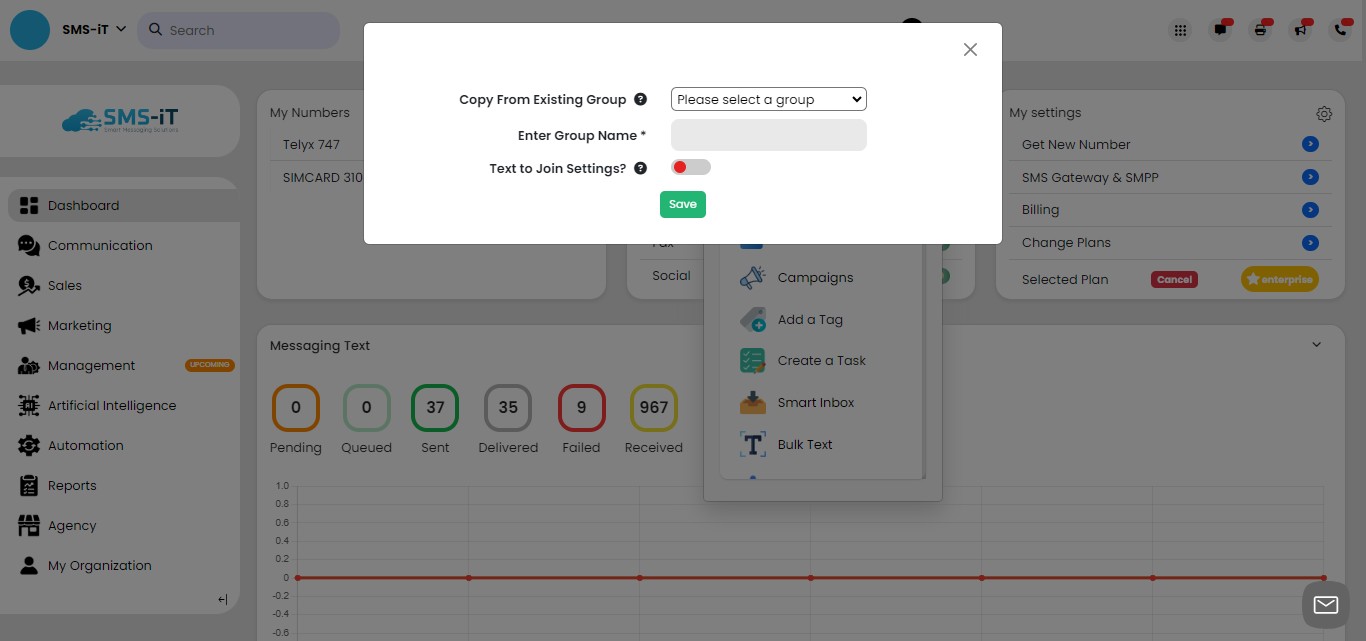
Click on "Save"
Check to see if your group has been added. Click the "menu" icon.
Click on "Group (Keyword)"
You'll see the Group name and Keyword displayed. In this example we used "Join Now"
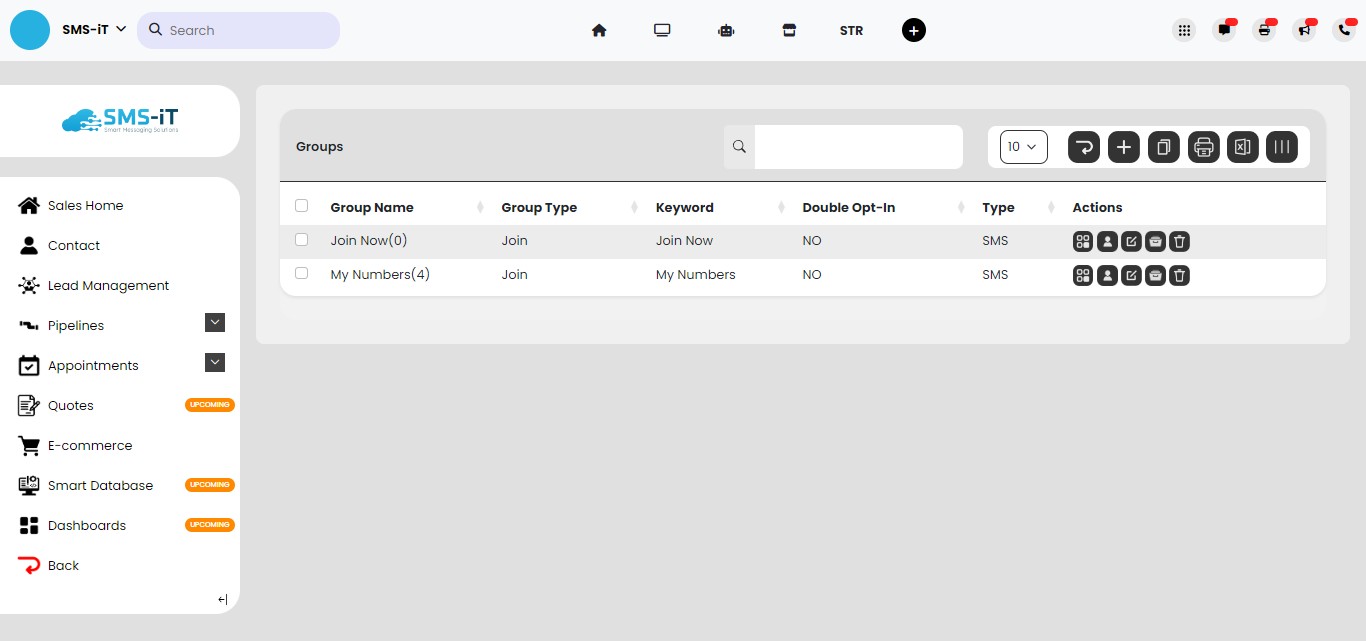
From this page, using the action icons you can:
- Delete a group
- Archive a group
- Edit a group
- View group contacts
- Create a QR code to acquire new customers/clients

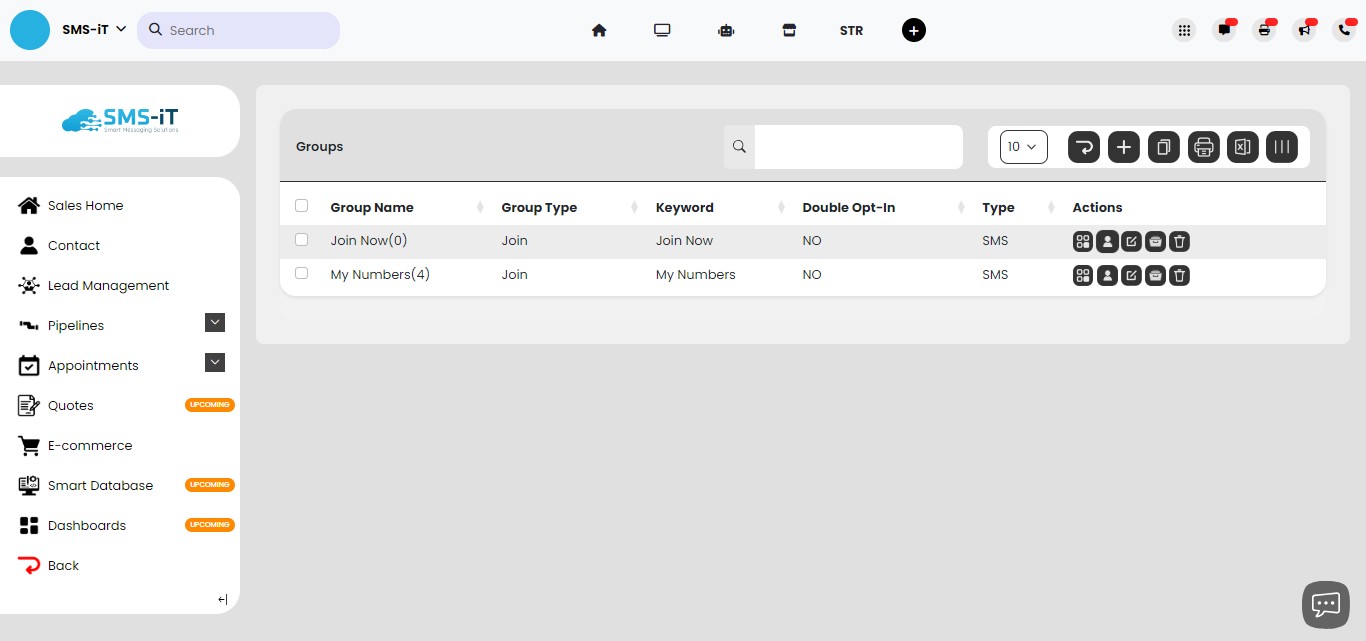
These actions are self-explanatory except for creating a QR code so let's review that one. Click on the icon shown below.
Title: Simplified Group Opt-In with QR Code
1. Generate Unique QR Code: In your SMS texting platform, generate a unique QR code for the group. This QR code will facilitate easy opt-in for customers. 2. QR Code Placement: Place the QR code in prominent locations such as on your website, social media profiles, physical store, or marketing materials. Or simply show it to your customer/client on a screen, like in a Zoom call, or tablet or your mobile. 3. Scanning the QR Code: Customers can scan the QR code using their mobile phones' camera. Upon scanning, the messaging app will open automatically with the group's keyword pre-populated in the text field. 4. Opting-In: Customers simply need to click "send" to opt-in to the group. This streamlined process eliminates the need for manual entry of the keyword, enhancing user experience. 5. Confirmation and Welcome: After sending the opt-in message, customers receive a confirmation message welcoming them to the group and providing any additional information or instructions. 6. Managing Subscribers: Monitor and manage group subscribers regularly. Ensure timely communication and provide valuable content to keep subscribers engaged. Implementing QR code-based opt-in simplifies the process for customers to join the group, enhancing user experience and increasing engagement.
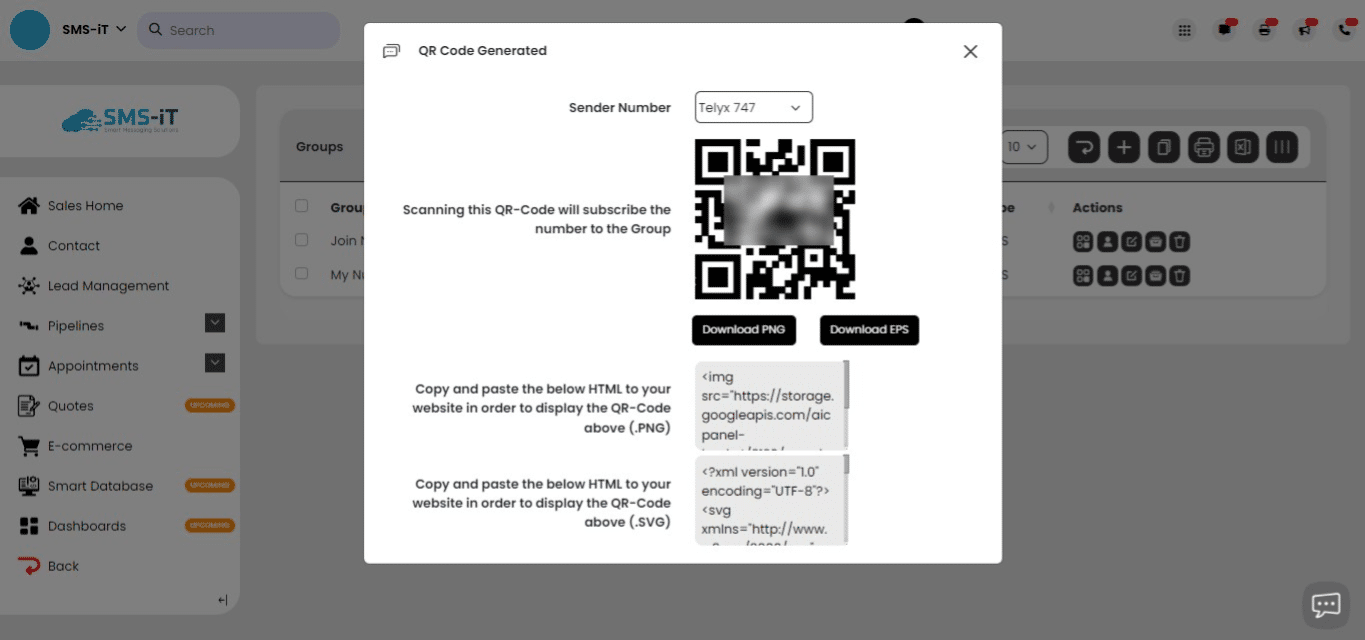
Give it a try: Scan the QR code with your phone to experience how it functions. Once you send the keyword back, you'll receive a mandatory message stating "STOP to opt out. HELP for help. Msg&Data rates may apply." Additionally, confirm your entry into the group by accessing group contacts through the group contact icon in the action icons.
Besides using QR codes, there are numerous ways you can bring your contacts, customers, potential customers, clients, and potential clients into a group. In other guides, we'll show you how to build a web-widget, import contacts, use all the SMART TOOLS, and other ways to gain new customers through the extensive tools SMS-iT provides.
And remember: Groups serve as the entry point for your customers and clients within the system, facilitating the creation of individual customer profiles. Leveraging these groups, you can activate various SMART TOOLS tailored for customer acquisition and retention. Moreover, you can initiate campaigns designed to guide each customer along their distinct customer journey.