
Voice Broadcast
Navigate to https://aicpanel.smsit.ai/home
Creating Voice Broadcasts with SMS-iT's CRM Interface
Introduction: This page allows you to create a voice broadcast to send to selected groups who have opted-in to receive voice messages from you. It's important to ensure there is clear messaging stating what contacts are signing up for when they subscribe to your SMS list.
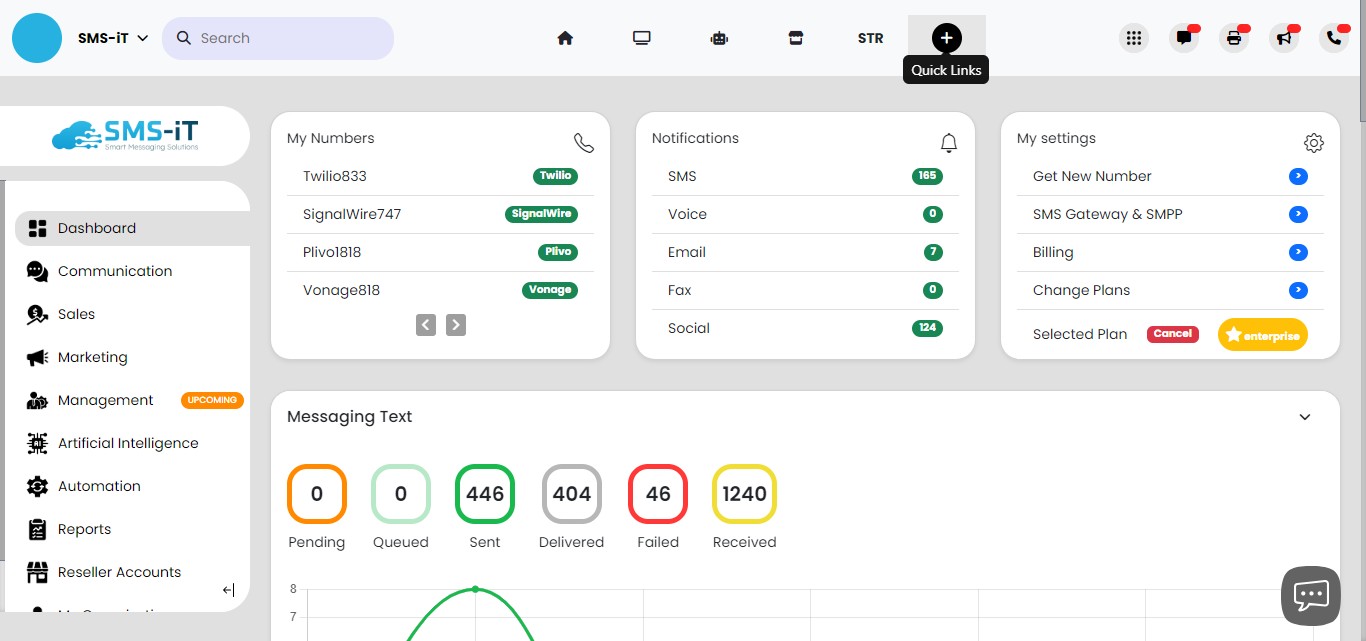
Click on "Quick Links"
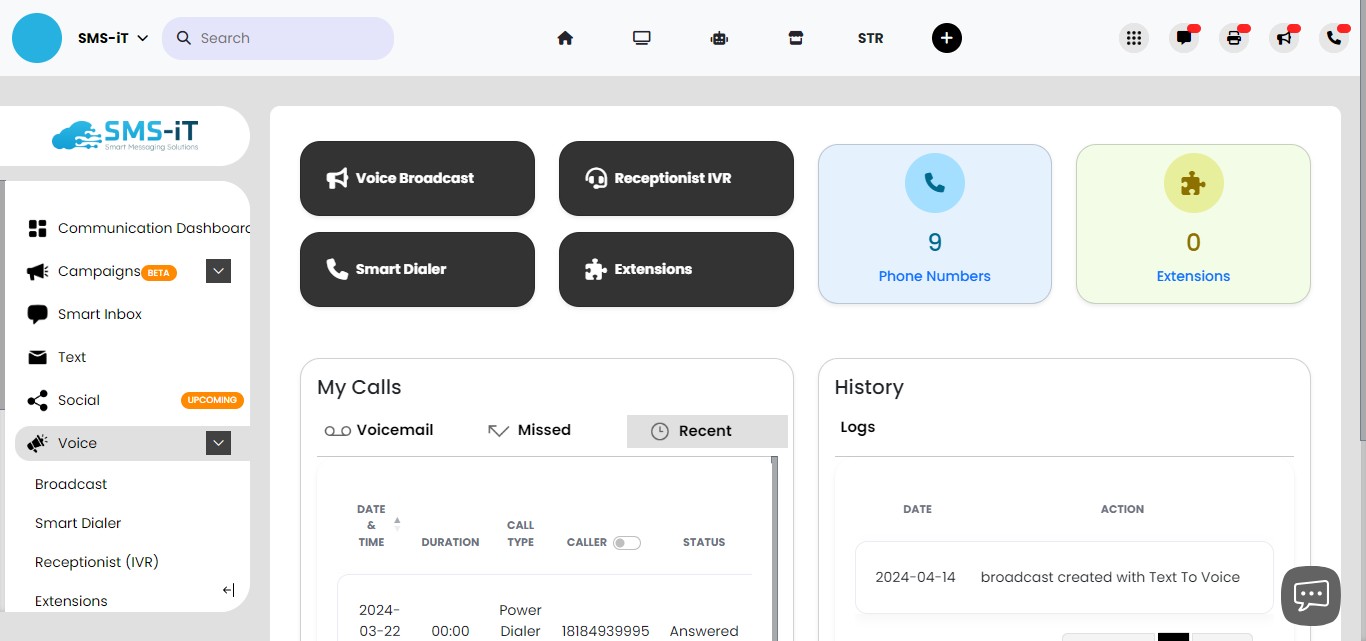
Click on "Voice"

Click on "Voice Broadcast"
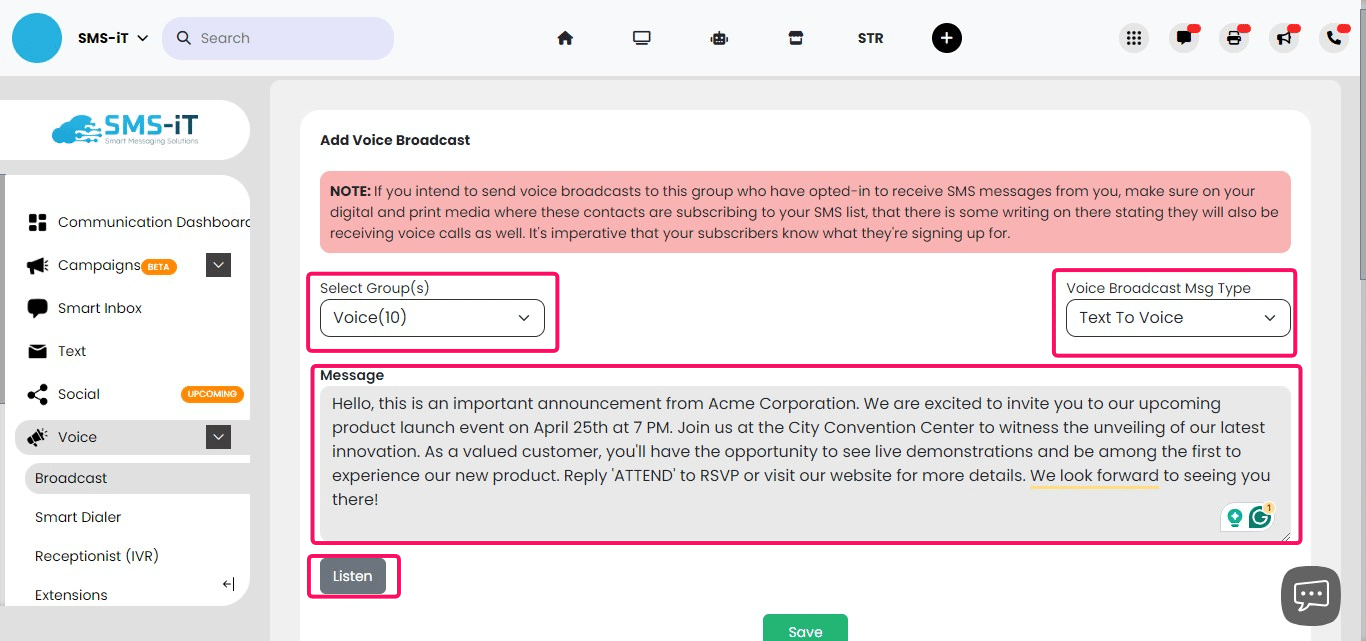
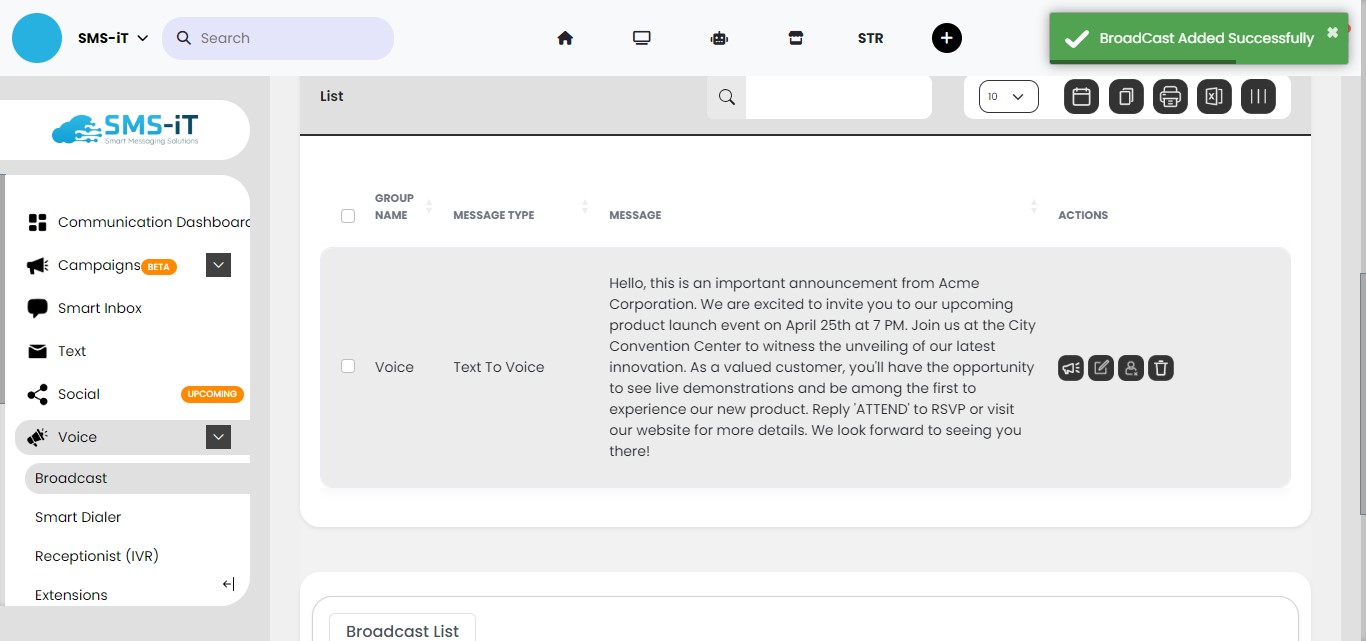
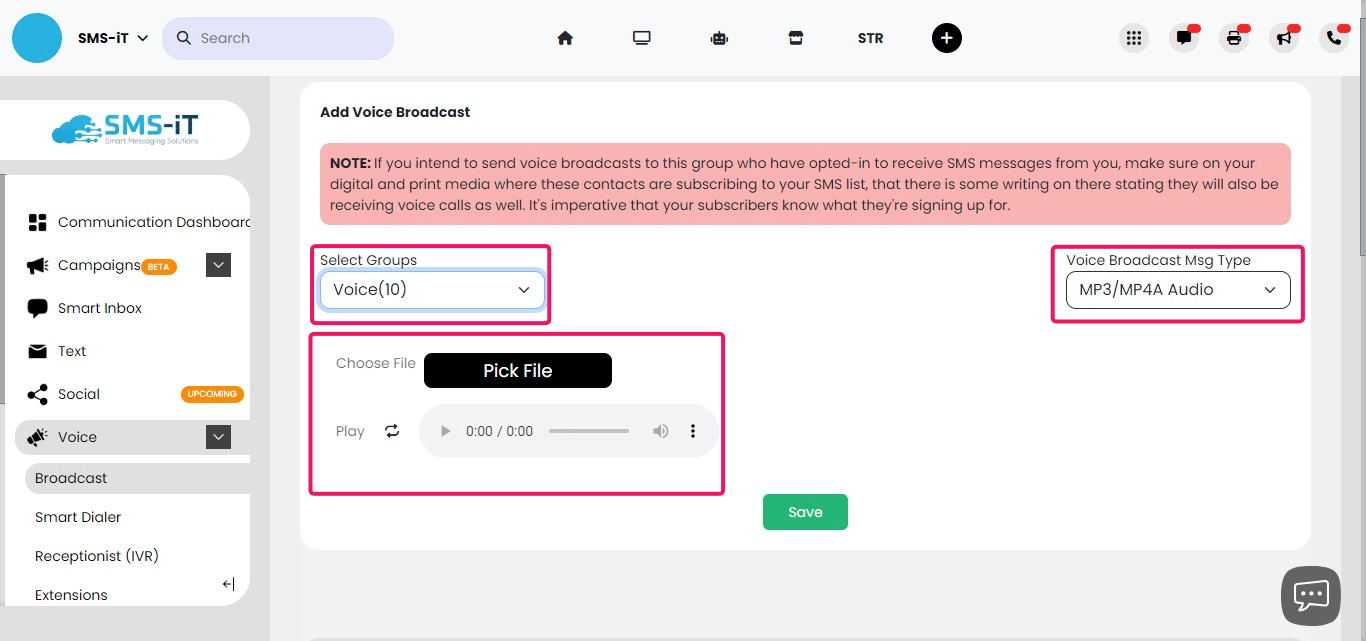
there are four options to send your voice broadcast they are: Text To Voice, MP3/MP4A Audio, Text to Voice OTP, and Voice Recording.
Text to Voice
Text to Voice is a technology that converts written text into spoken words using a synthetic voice. It allows you to input a message as text and have it automatically read aloud by a computer-generated voice.
In the context of SMS-iT's voice broadcasting feature, you would type your message into the "Message" field, and the system will convert that text into an audio file that can be played as a voice message to the recipients.
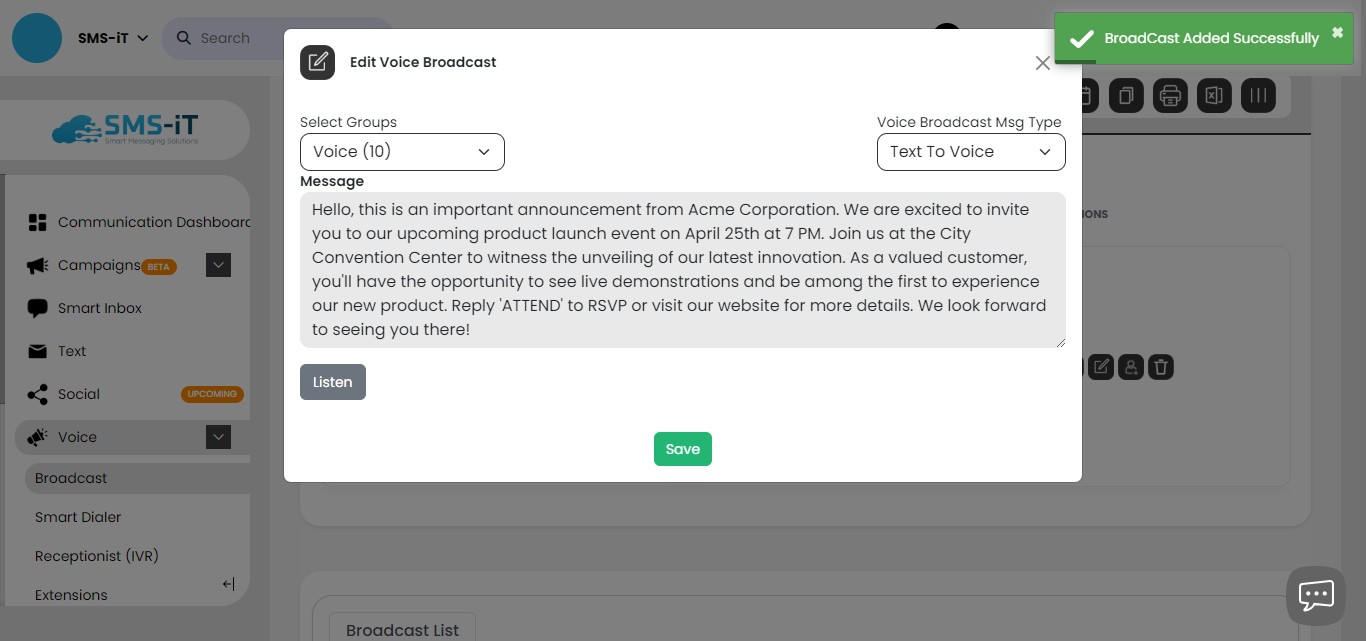
1. Click a group or groups from the Select Group(s) pulldown menu. 2. Select Text To Voice from the Voice Broadcast MSG Type. 3. Craft your message. 4. Click the Listen button to hear a preview of your message. This will give you an idea of how the text will sound when converted to speech. However, please note that the voice you hear during the preview may not be the same voice that your recipients will hear. The actual voice used for the broadcast will depend on the AI voice settings configured in your SMS Gateway provider or the API you are using for AI voices.
Click on "Save"
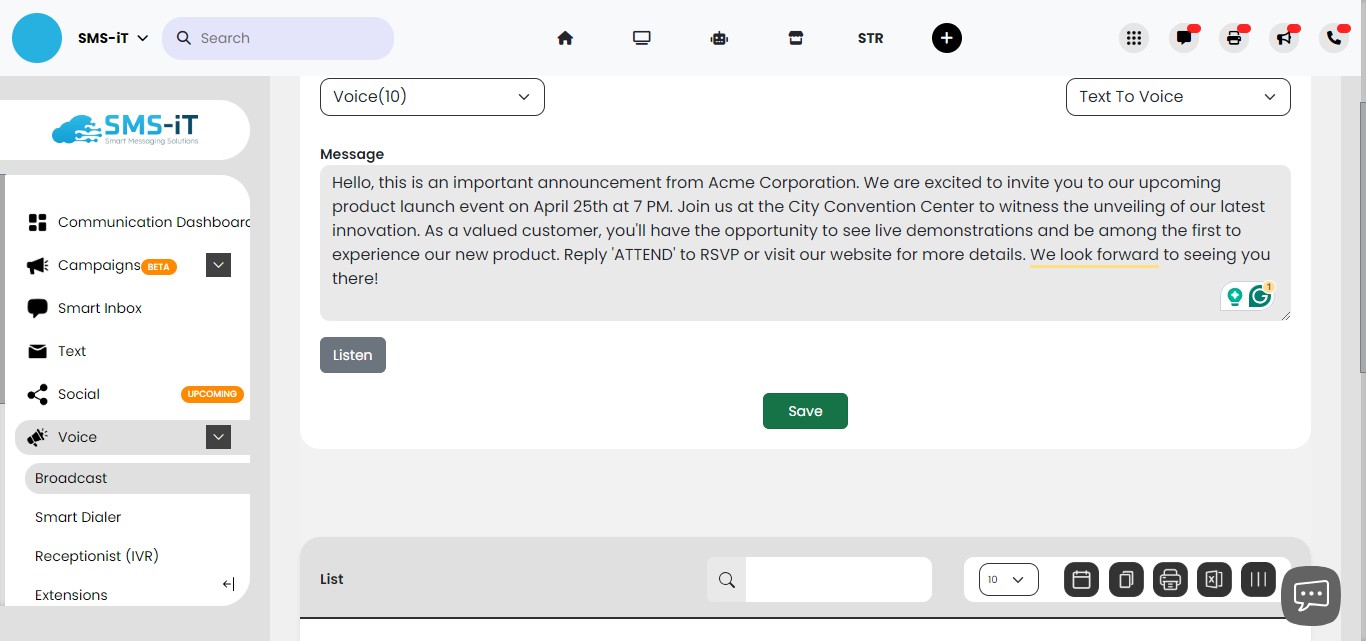
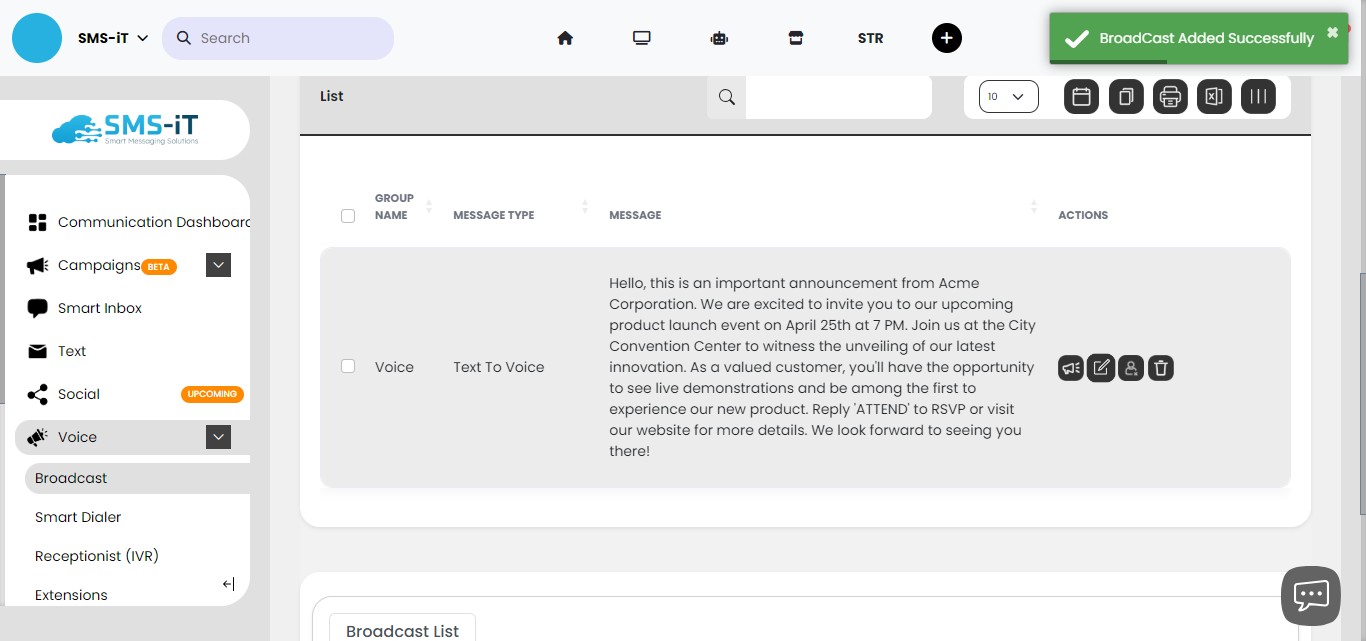
Your Voice Broadcast is saved.
Edit
To edit click the "Pencil" icon.
You can choose a new group, and/or edit your message. After you've edited "Save".
Send Voice Broadcast
Click on "Voice Broadcast"
Sending a Voice Broadcast
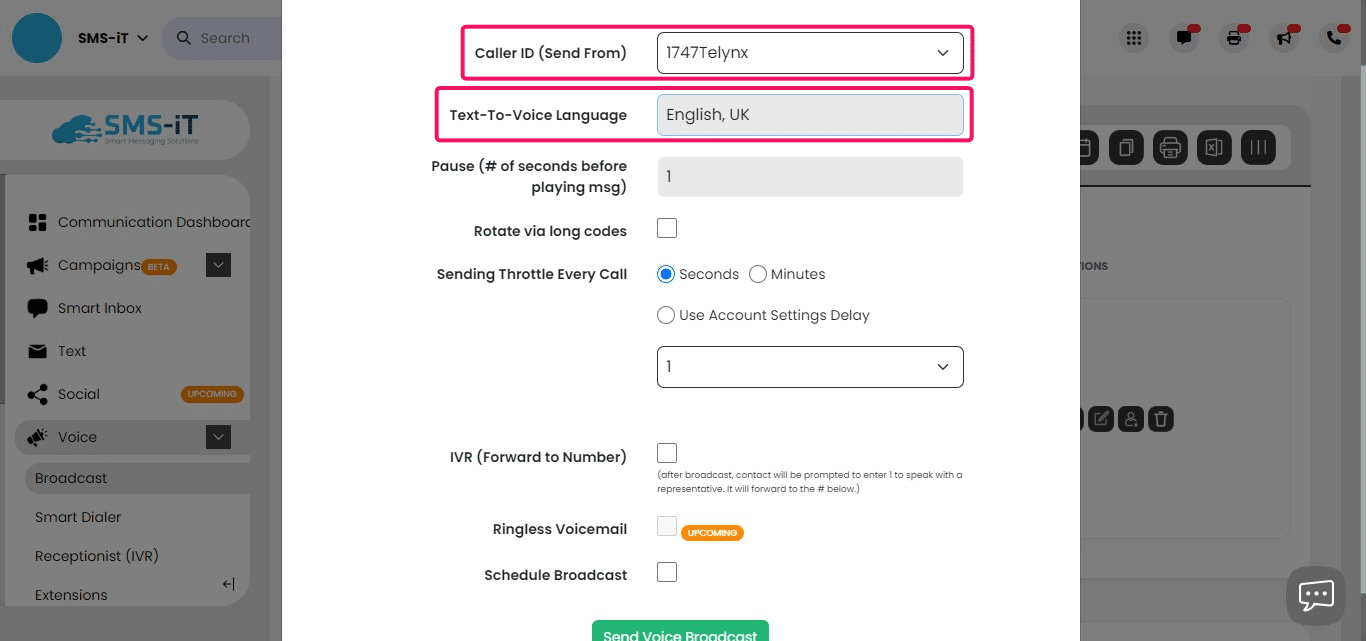
- Select a (Send from) number
- Select a language for your message
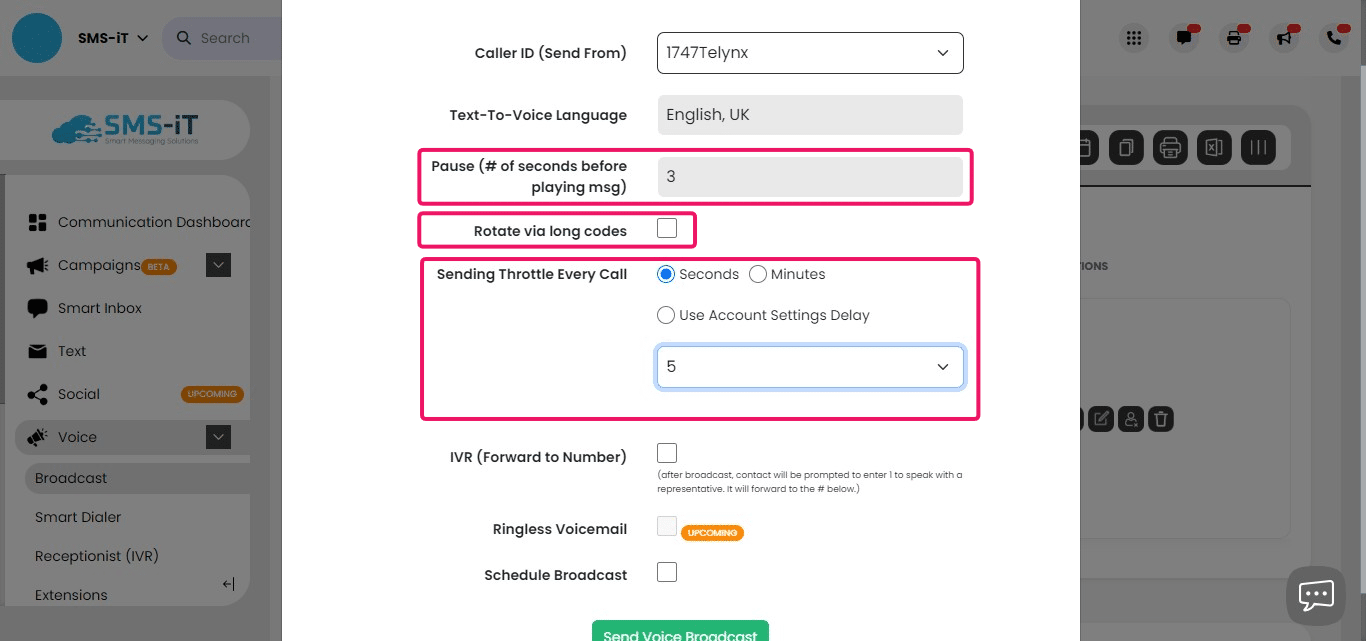
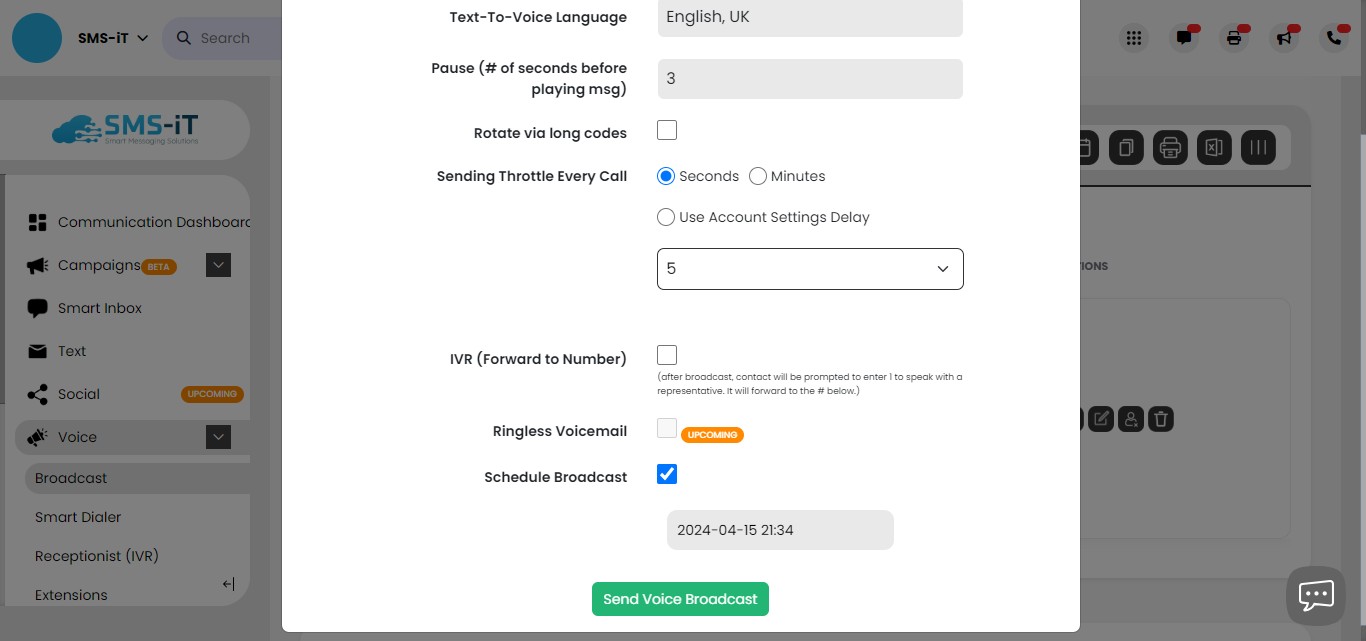
Pause (# of seconds before playing msg): This setting determines the number of seconds of pause before your voice message starts playing after the call has been answered by the recipient. You can set the desired number of seconds in the provided field. In the example image, it is set to 3 seconds.
Rotate via long codes: When this option is checked, the system will rotate through all the phone numbers in your system, including Local, SIM, and toll-free numbers, when sending the voice broadcast. This means that each call will be made from a different number in your pool of available numbers. In the future, an additional feature will be implemented allowing you to select specific numbers to include in the rotation.
Sending Throttle Every Call: This setting controls the time interval between each voice message send. You can choose to set the throttle in either seconds or minutes. This helps manage the rate at which the voice messages are sent out. Alternatively, you can opt to use the global account settings for the sending throttle by selecting the "Use Account Settings Delay" option. In the example image, the throttle is set to 5 seconds.
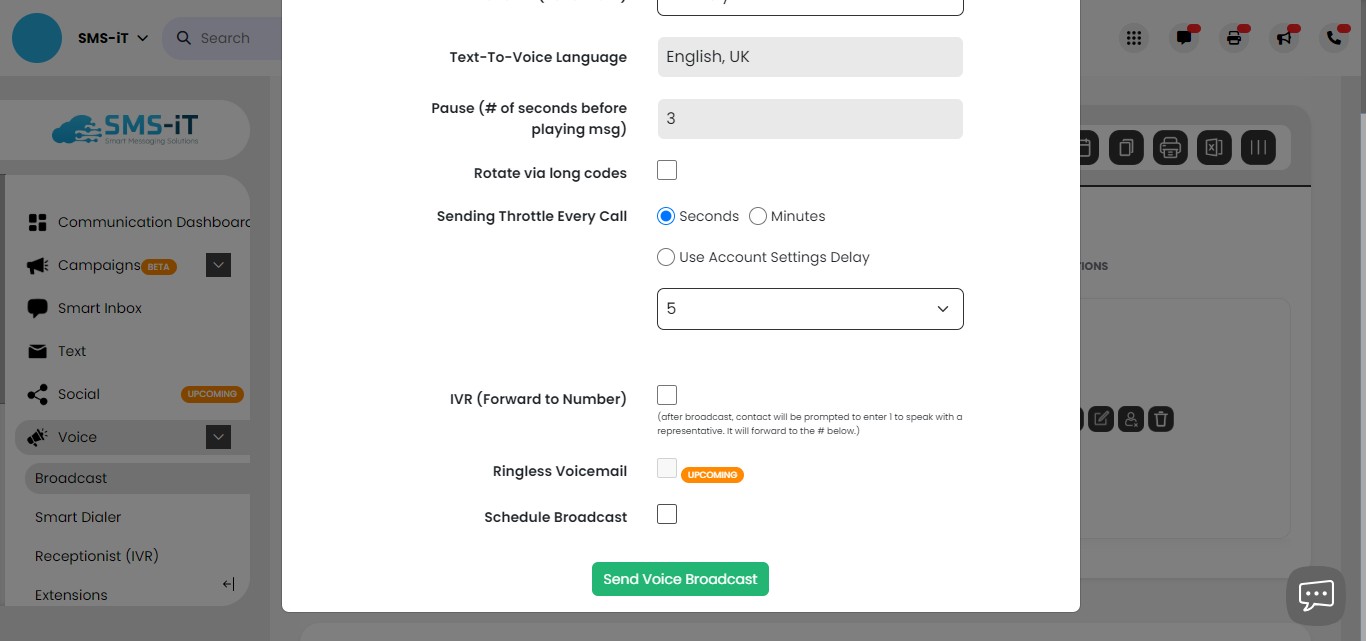
IVR will be covered in another tutorial "IVR". You can now send your broadcast or schedule it.
To schedule check the Schedule Broadcast box and schedule with the calendar.
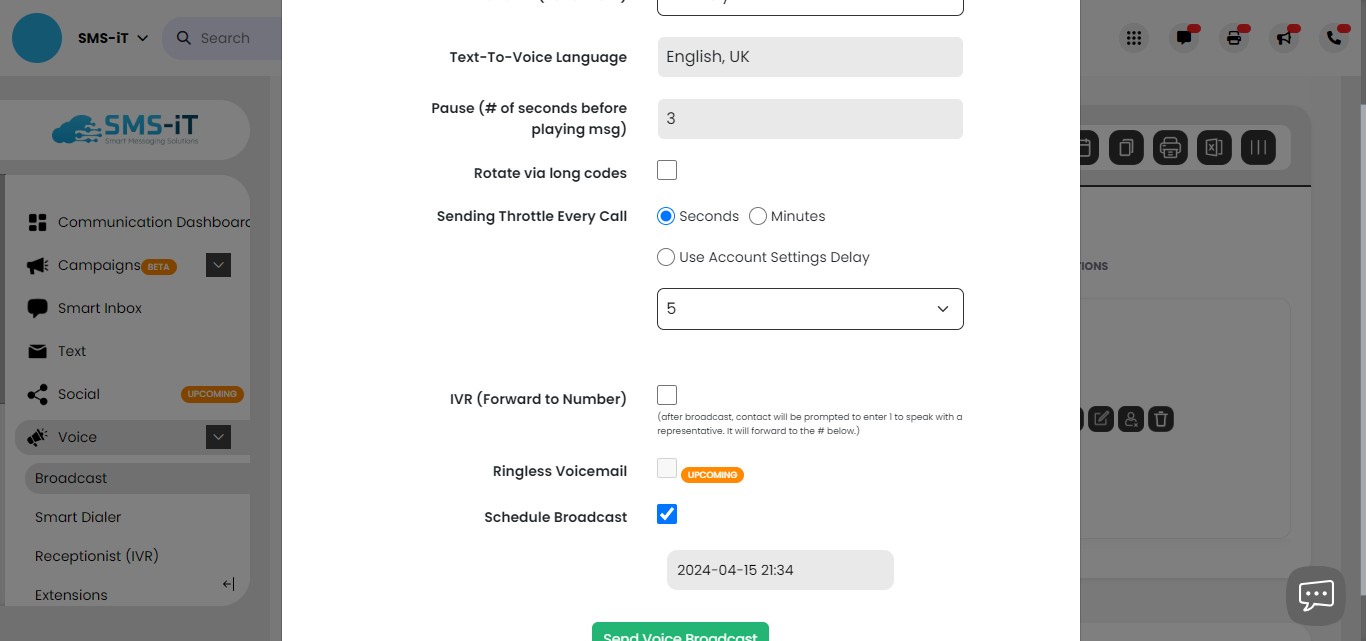
The click "Send Voice Broadcast"
MP3/MP4A Audio
If you prefer to use a pre-recorded audio file for your voice broadcast, you can upload an MP3 or MP4A file instead of using the Text to Voice option.
Select Group(s), MP3/MP4A Audio and Pick File. To listen click the play icon. Save.
Voice Recording
Select Group(s), Voice Recording, and Record your message.
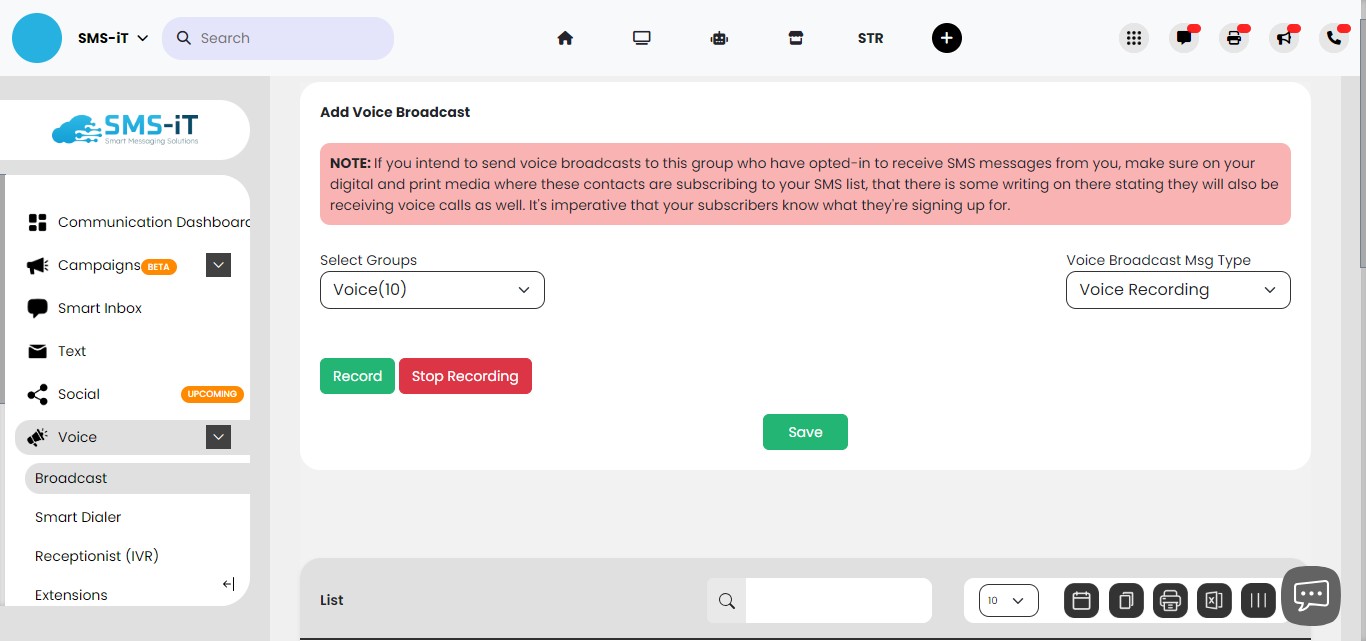
Click on "Stop Recording"
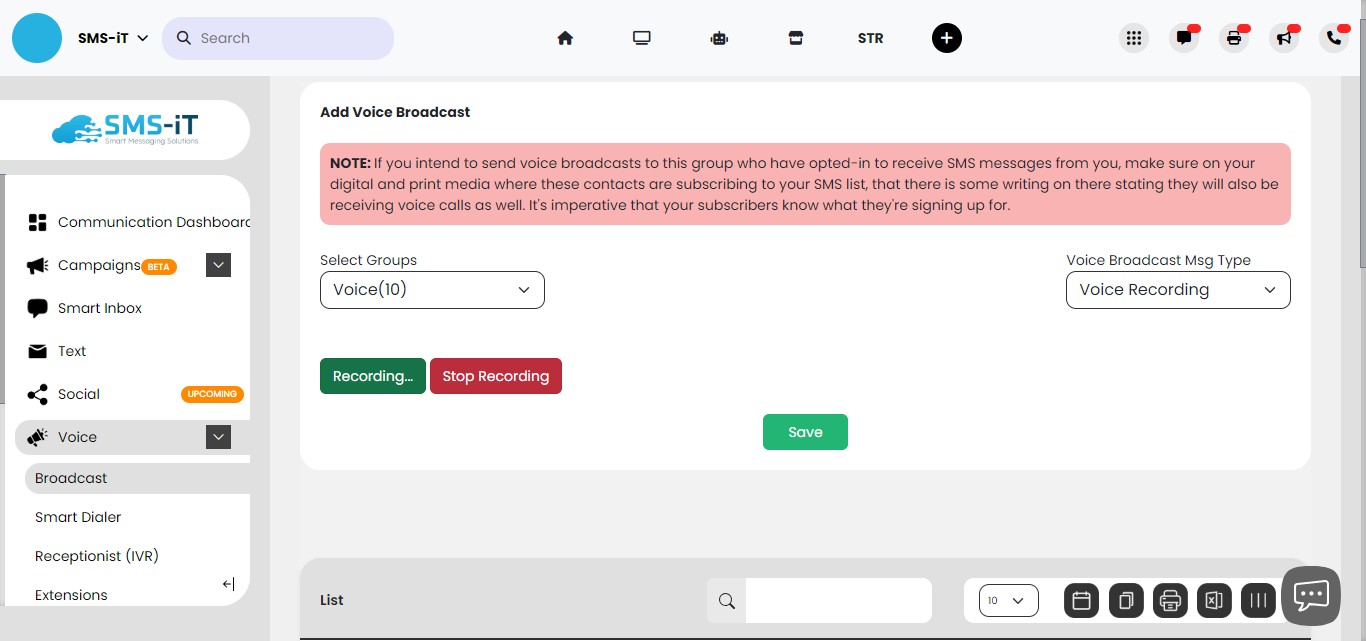
Playback and Save or Record again and Save.

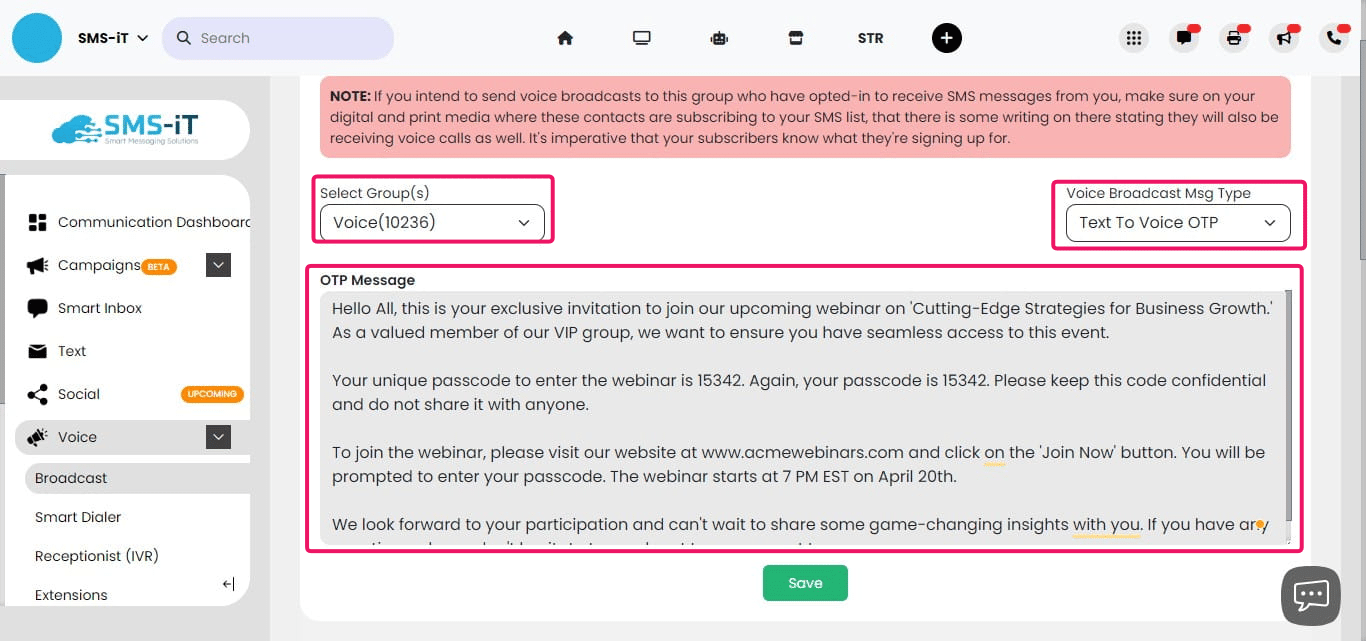
Text to Voice OTP
Here are 4 examples of using an OTP (One-Time Password) for a whole group:
1. VIP Webinar Access: As you mentioned, sending an OTP to a group can be a way to invite them to a VIP seminar or webinar. The OTP serves as a unique access code for each attendee, ensuring only invited participants can join the event.
2. Exclusive Content Release: If you have a group of subscribers or members who should receive access to exclusive content, such as an e-book, video series, or members-only area of your website, you can distribute OTPs to the group. They can use the OTP to unlock or access the content.
3. Limited-Time Offer: When running a special promotion or limited-time offer for a specific group of customers, you can send an OTP that they can use to redeem the offer. This ensures that only the intended group can take advantage of the promotion.
4. Event Check-In: If you're organizing an event, such as a conference, workshop, or training session, you can send OTPs to the registered participants. They can use the OTP to check in at the event, streamlining the registration process and ensuring only registered attendees can enter.
Select Group(s), Text To Voice OTP, OTP Message. Click Save.
Once you have created your voice broadcast message, whether it's Text to Voice, MP3/MP4A Audio, Text to Voice OTP, or Voice Recording, the process of sending the message to your selected group(s) is the same.