Joinify-iT© (Web Signup Widget)
Joinify-iT© (Web Signup Widget) Our web signup widget streamlines lead capture, boosting your subscriber base effortlessly. Crafted with an intuitive form builder for seamless engagement and conversion. When innovation counts, think SMS-iT.
You can create an embeddable form for your website or funnel, or an email link, or a QR code, or all of them, depending on your preference.
Create a "Group"
Before creating your web form, you need to establish a "group" or container within the SMS-iT CRM system where your prospects will be entered. This allows you to utilize various marketing tools to guide potential clients through the funnel, from initial engagement to becoming paying customers.
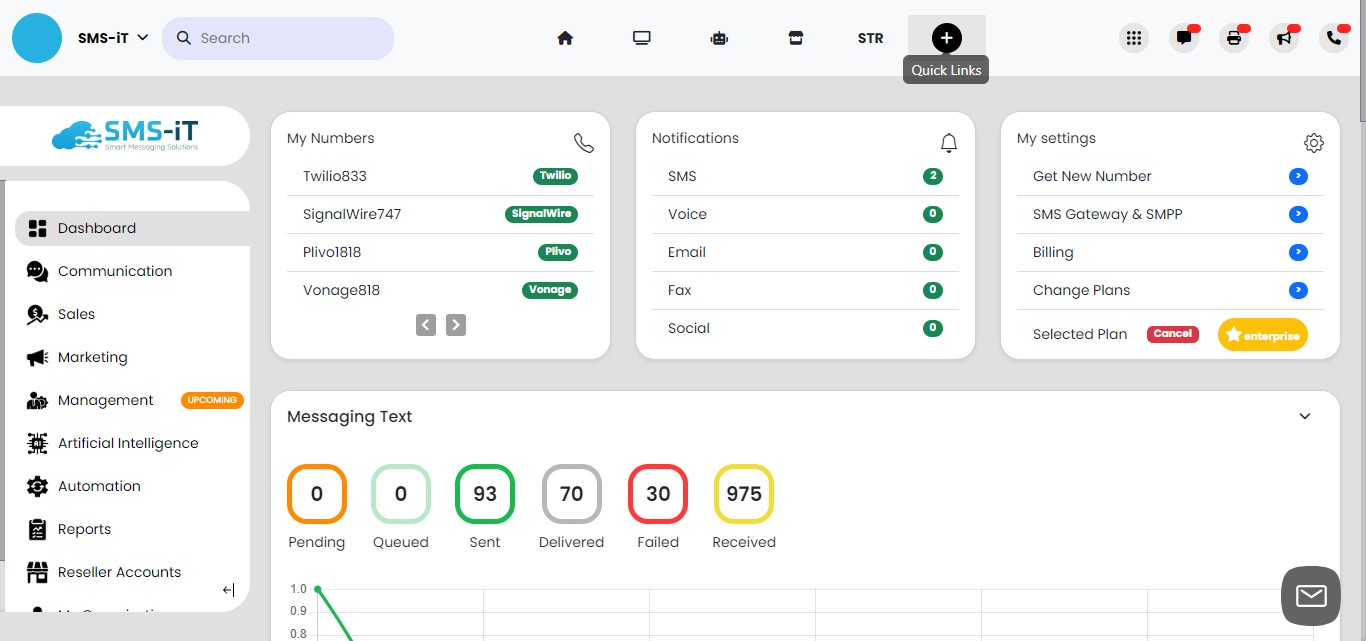
Click on "Quick Links"
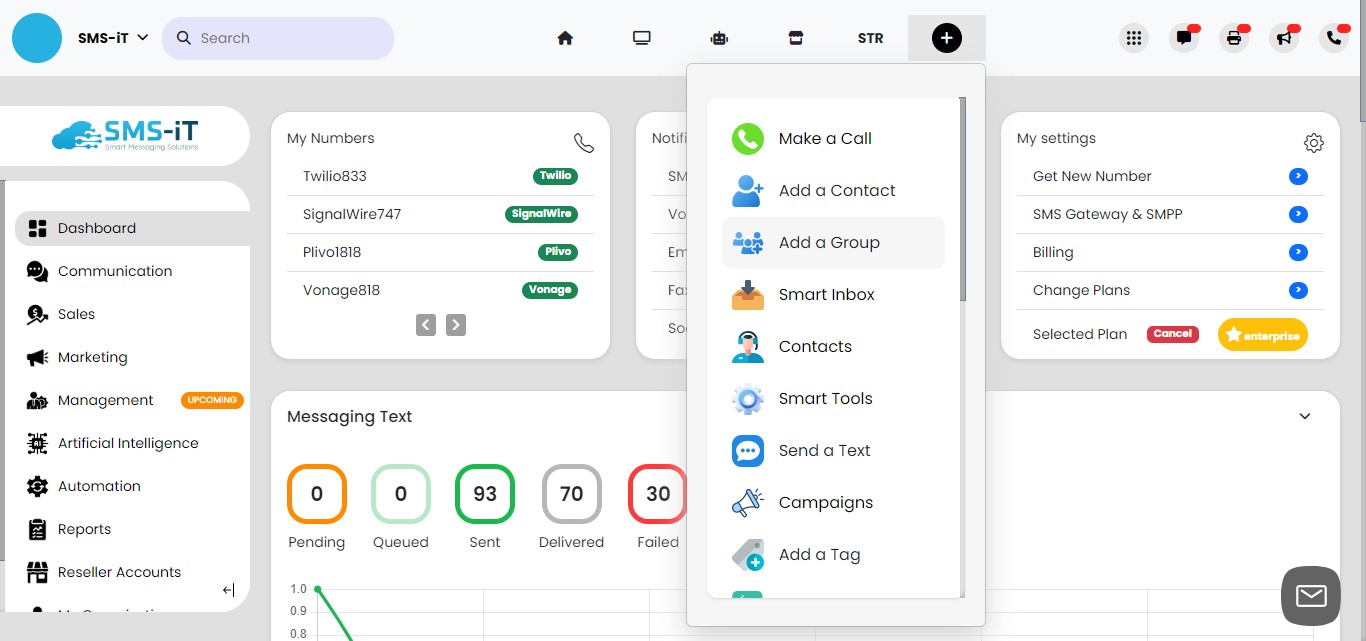
Click on "Add a Group"
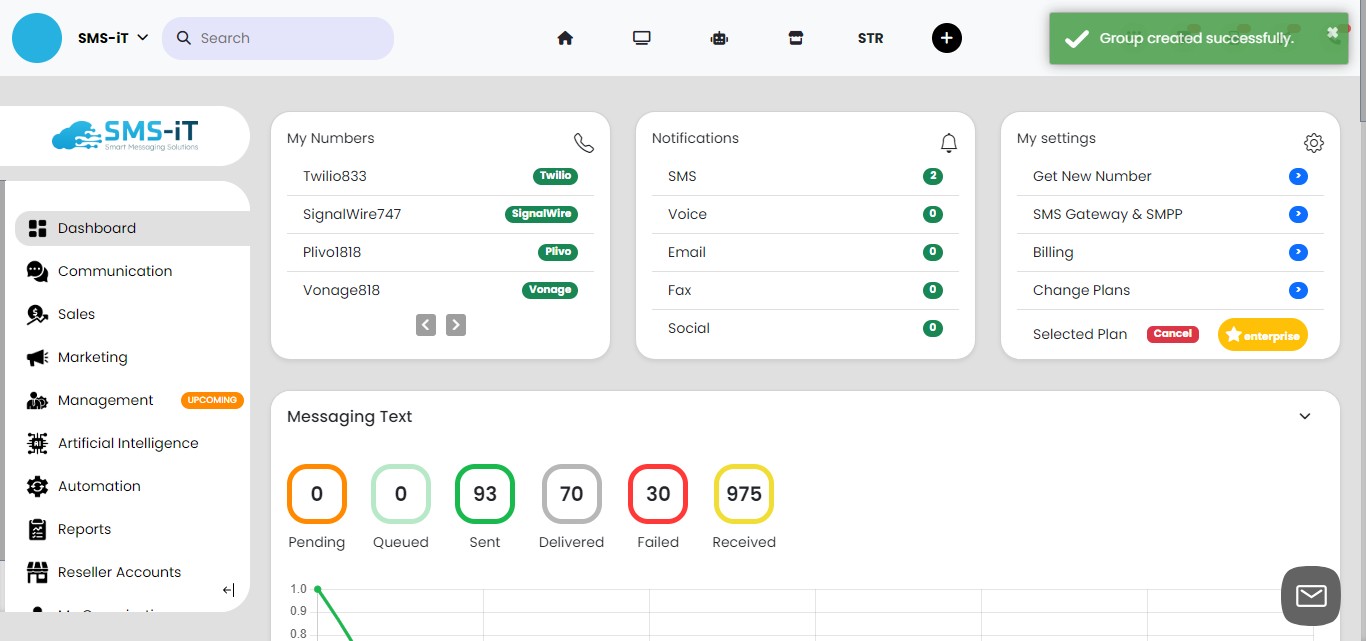
Name your group. Click on "Save"
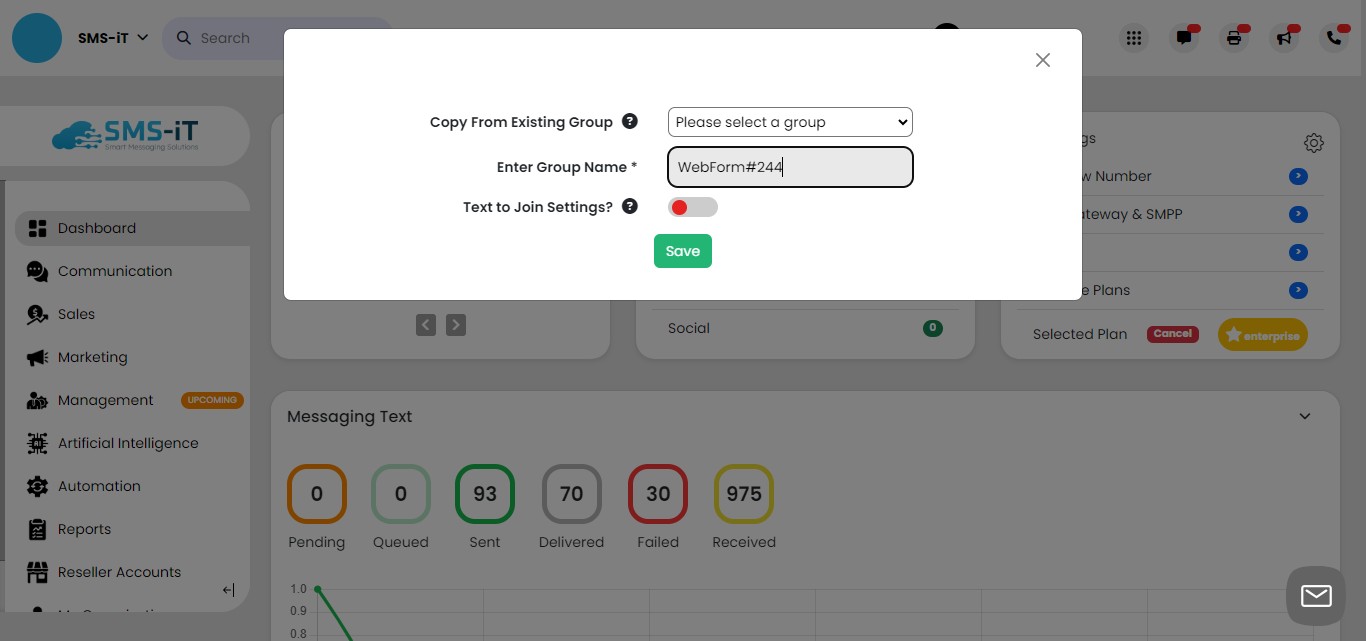
Group successfully added.
Create your web widget form.
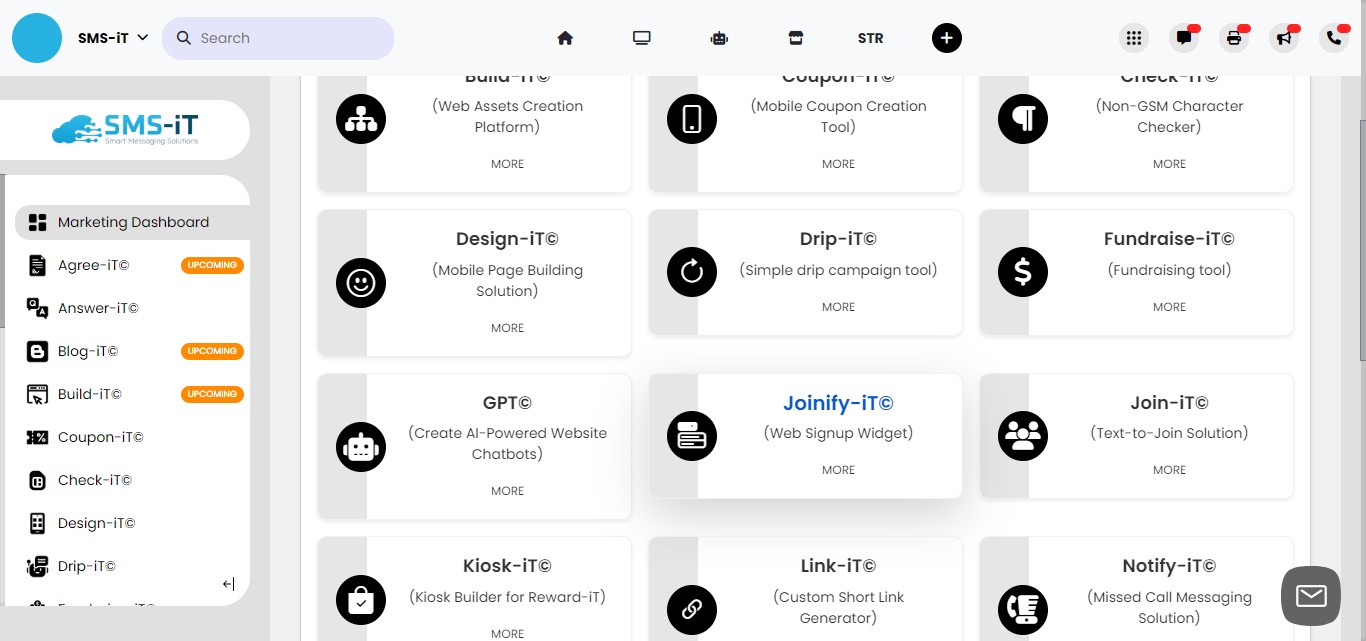
Click on the "Smart Tools" icon.

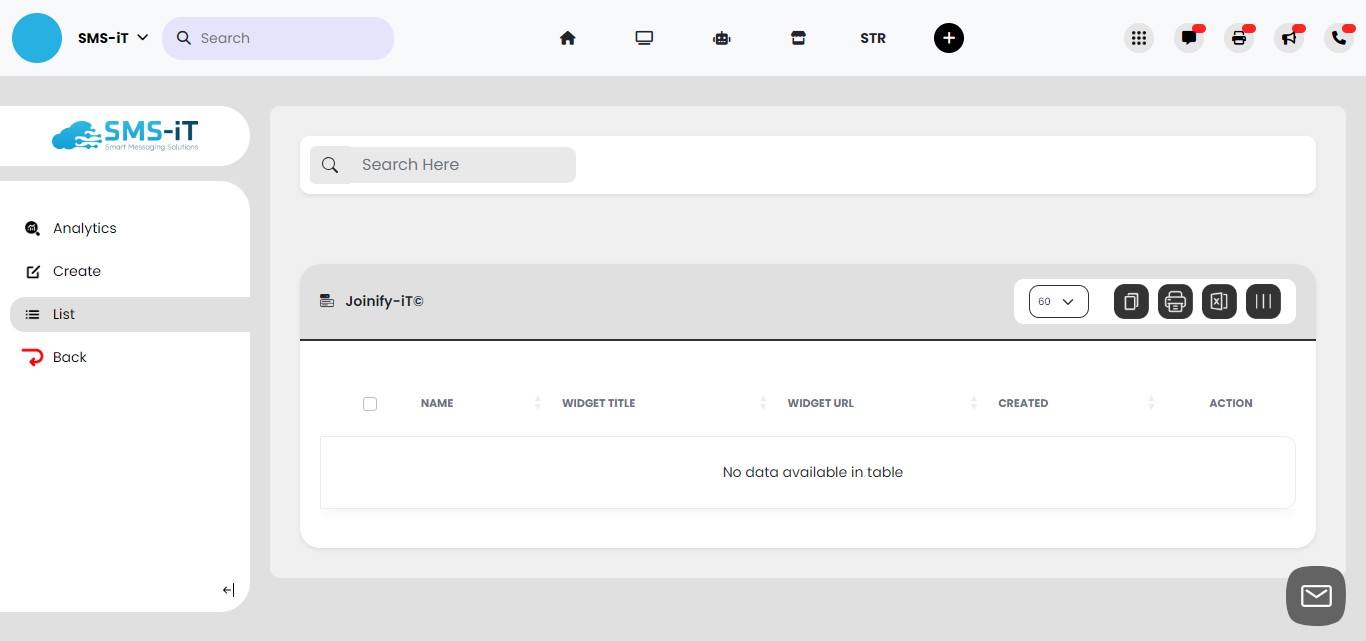
Click on "Joinify-iT©"
Click on "Create"
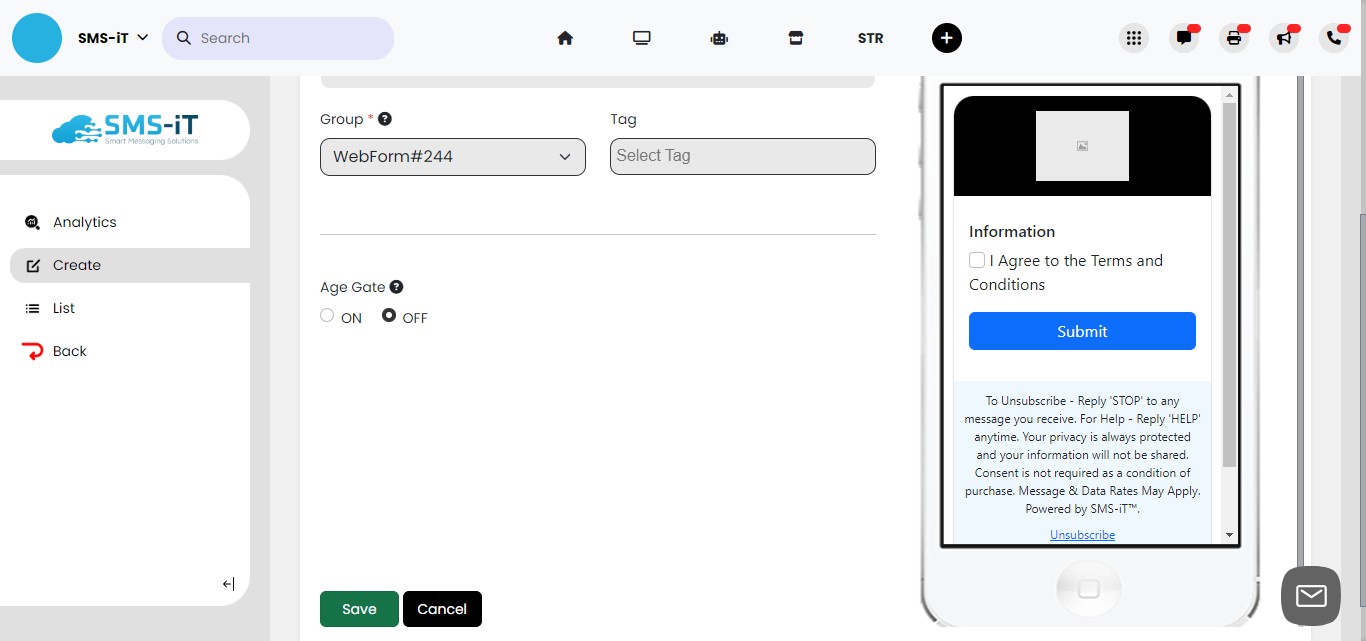
Section 1: Group
Specify a name for your web form widget. In this instance, we'll provide a complimentary e-book in exchange for fundamental details about a new customer/client. This facilitates their entry into your system, enabling the utilization of diverse marketing tools to lead potential clients through the funnel, from initial engagement to becoming paying customers.
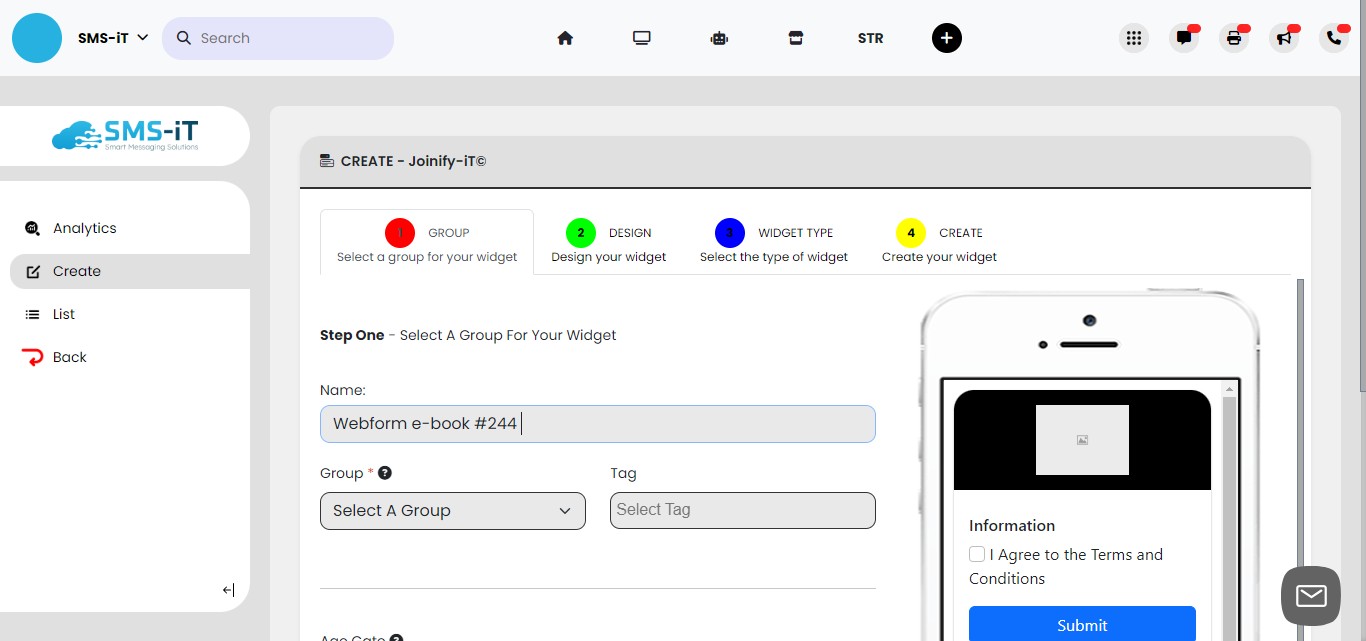
Select your "Group" from the pull-down menu. In this example, we're using the group we added previously.

Click on "Save"
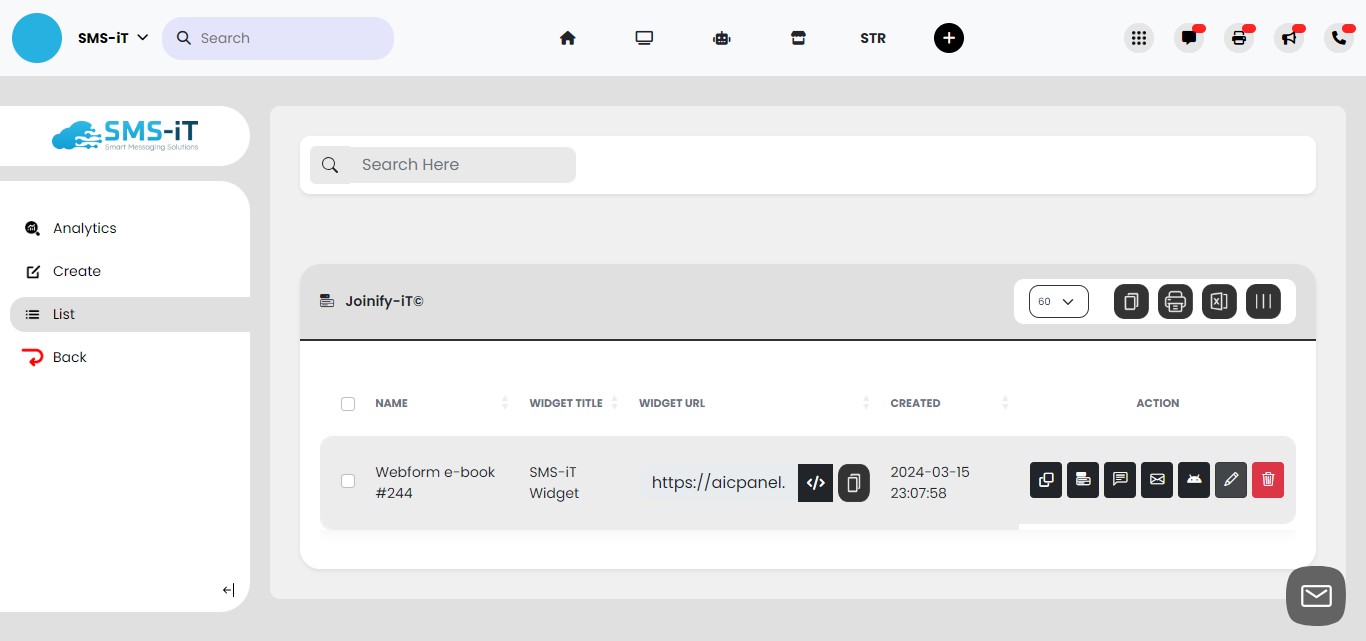
Click the "Pencil" icon to edit.
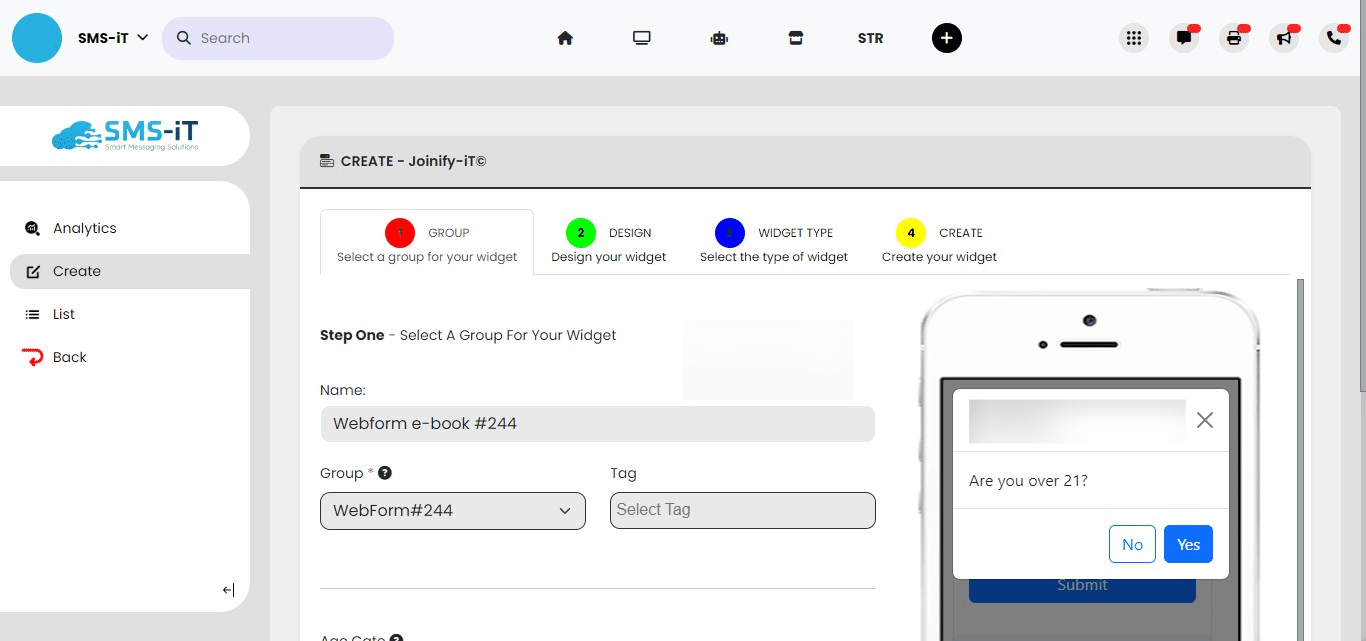
Age Verification Popup: Implement a pop-up to inquire if the individual meets a specific age requirement. If they select "No," they will be redirected to another page. If they choose "Yes," they can proceed with filling out the form.
Click Age Gate "ON"
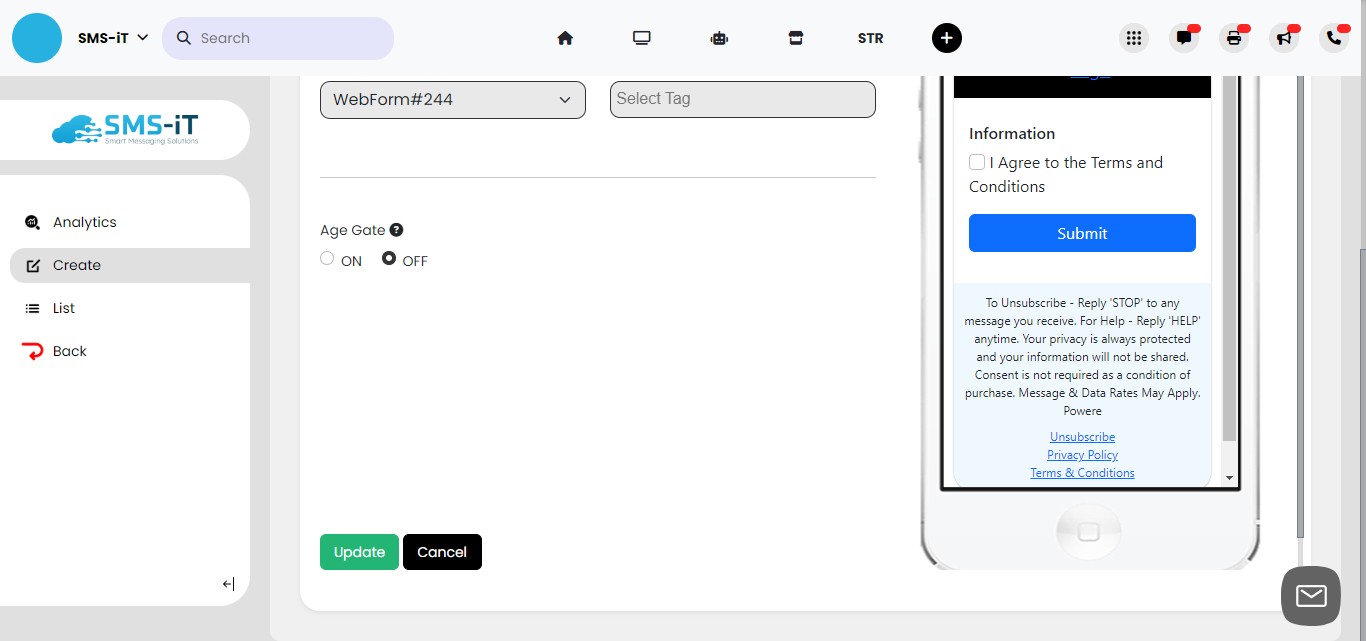
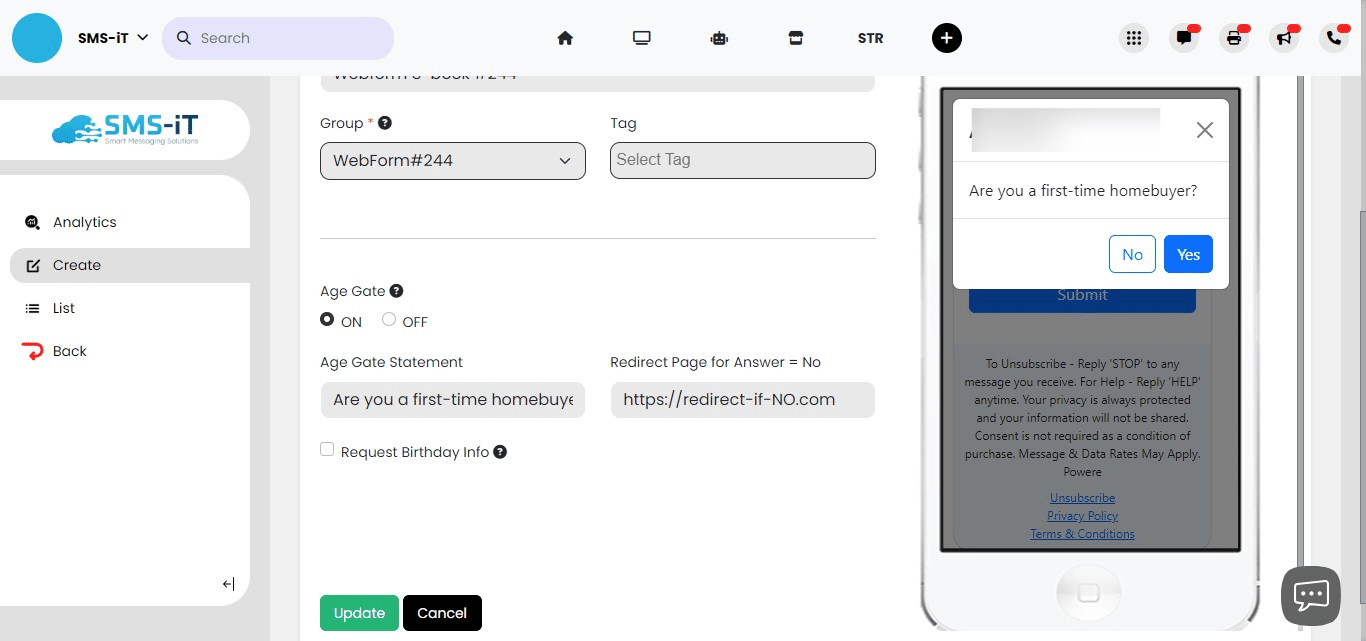
Here you can adjust the age and insert a redirect page.
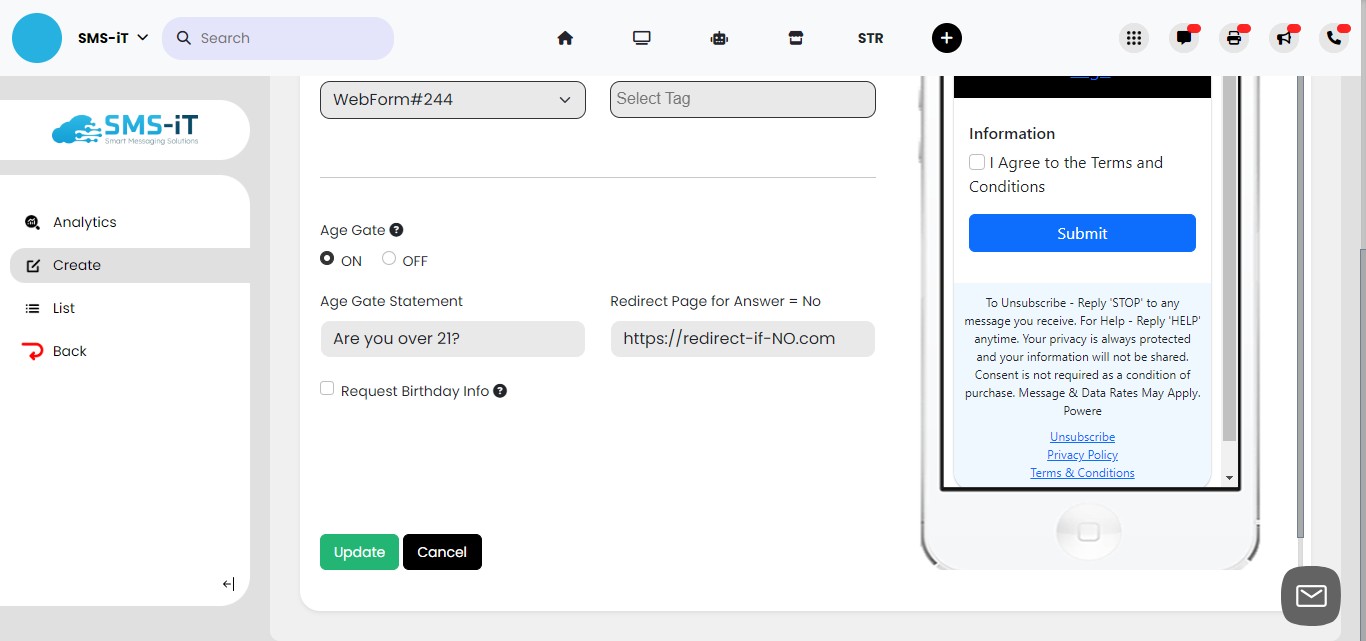
After an update, the Age Gate will be visible in the preview screen.
Creative Tip: Utilize the pop-up for any yes/no inquiries relevant to your specific industry. For instance, "Are you a first-time homebuyer?" If the answer is "Yes," they will proceed to fill out this form.; if "No," guide them to another page or funnel.
In this example, we used "Are you a first-time homebuyer?"
For this example, we'll use no gating.

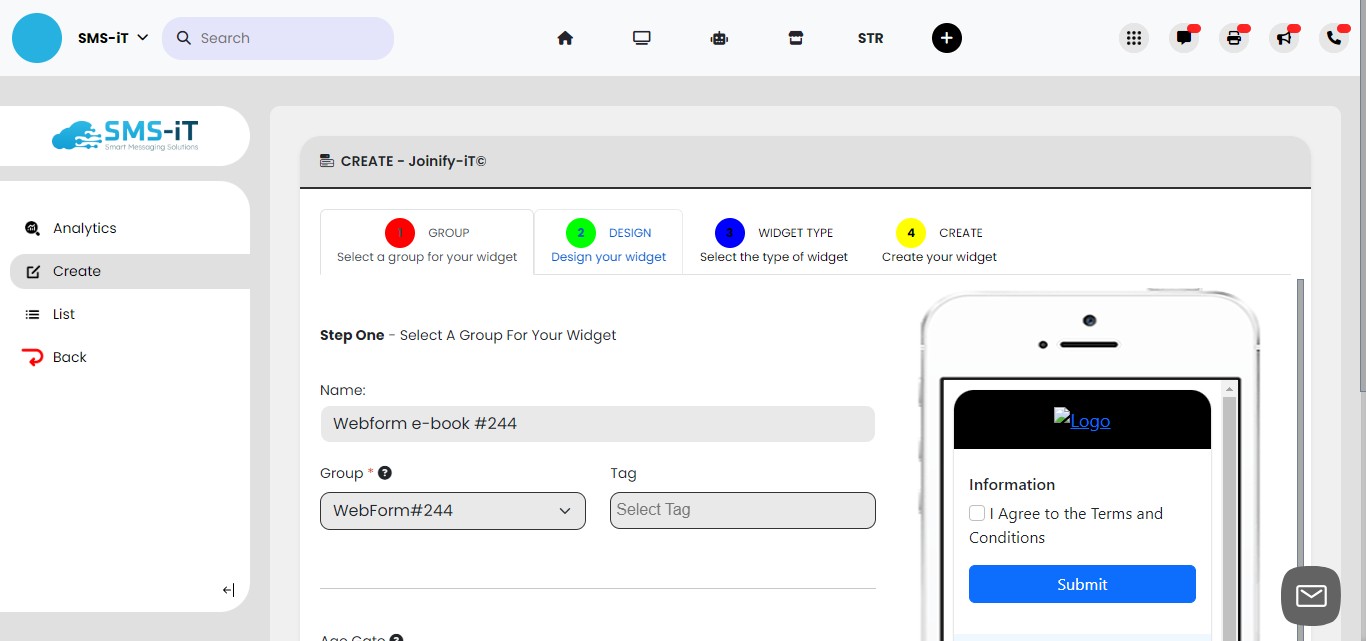
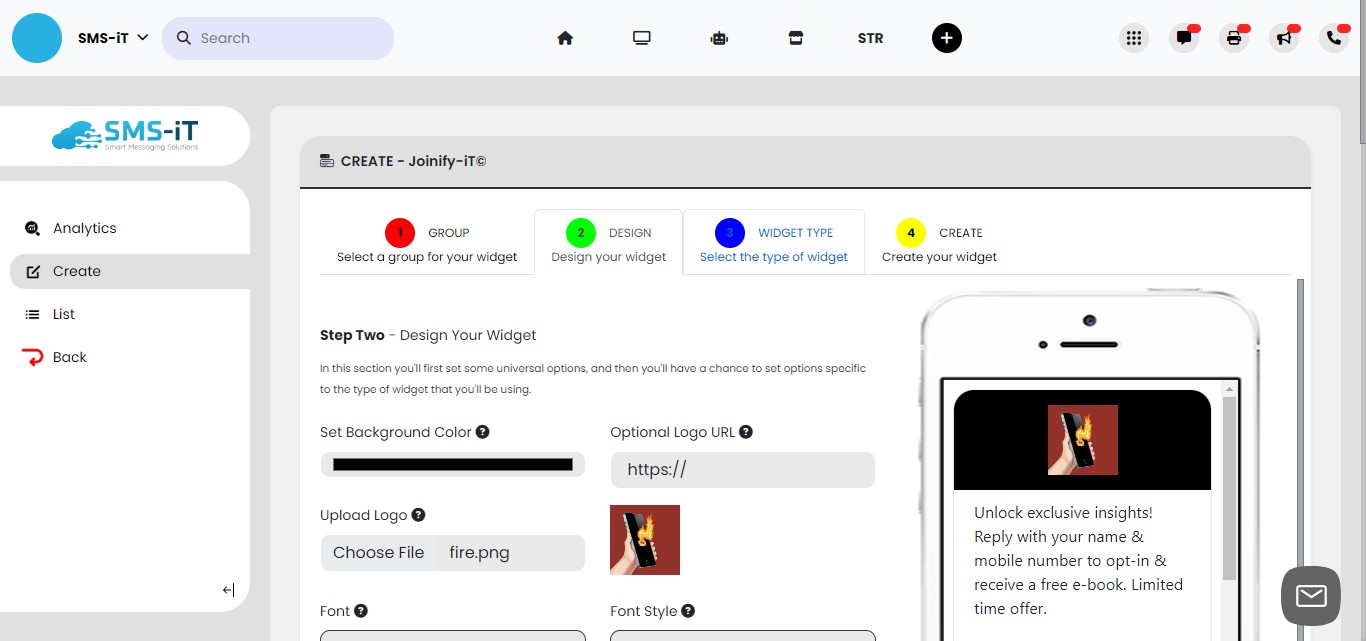
Section 2: Design
Click on "Design"
Scroll down.
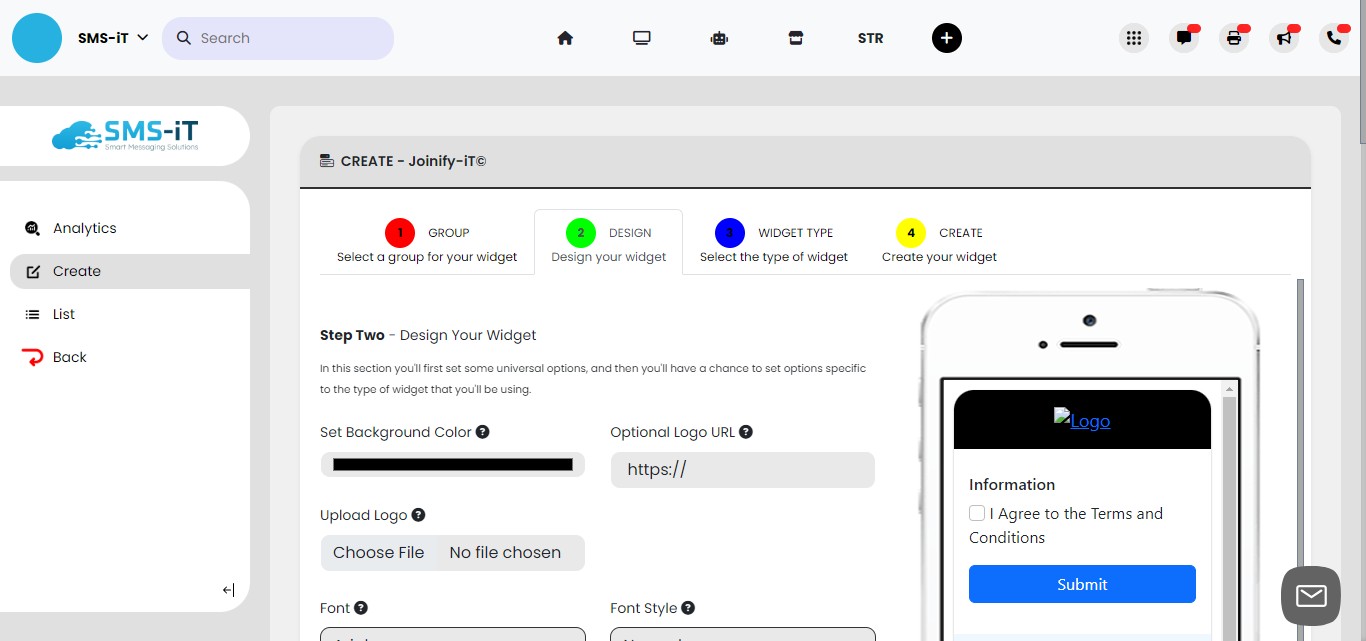
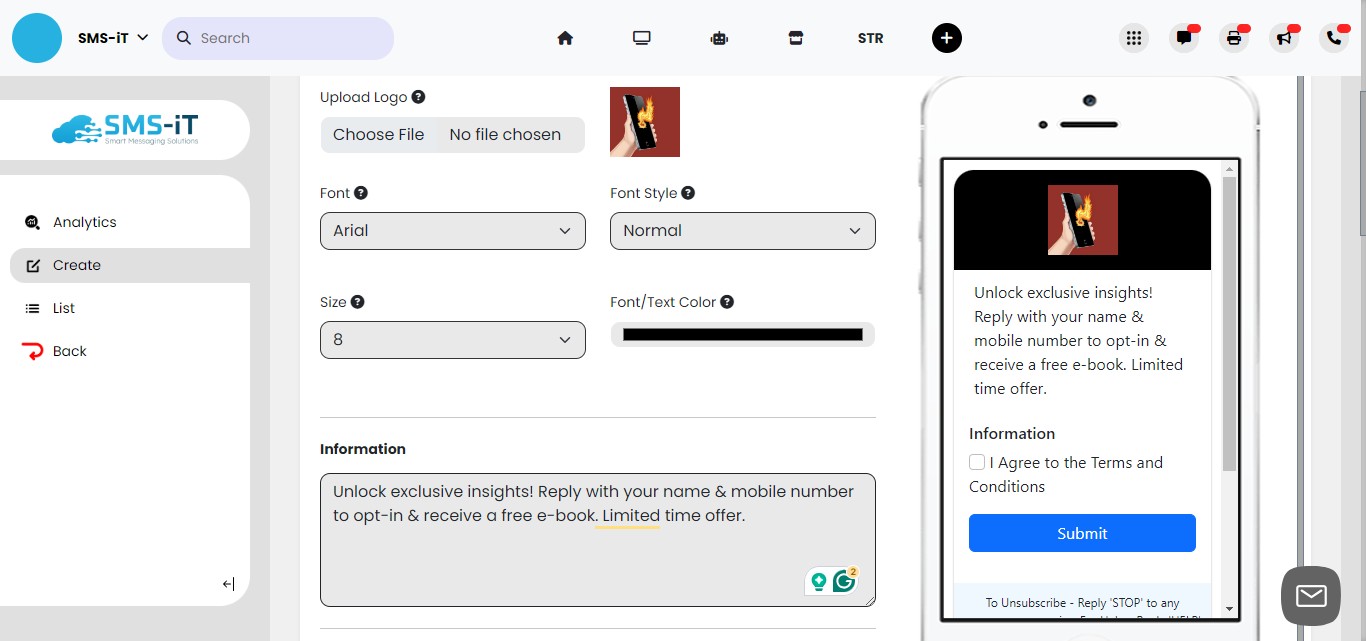
Upload your company "Logo"
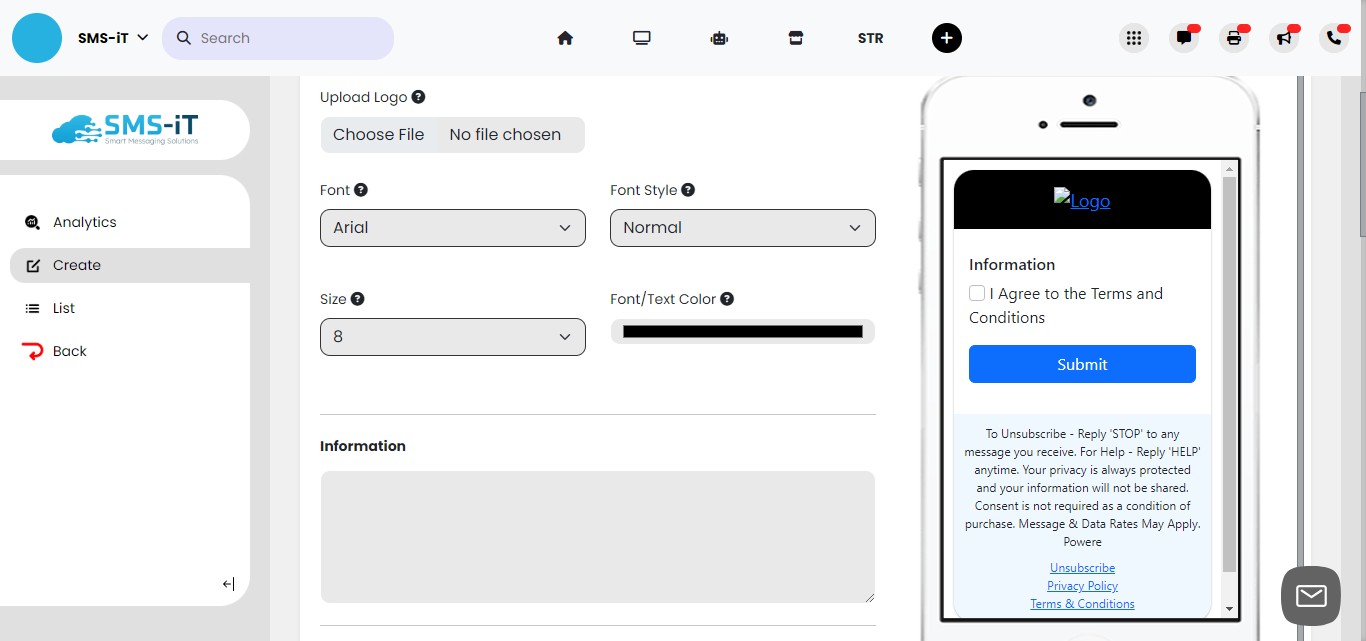
In the "Information" field, you can include general information or an offer to incentivize customers to provide their information.
Scroll down.

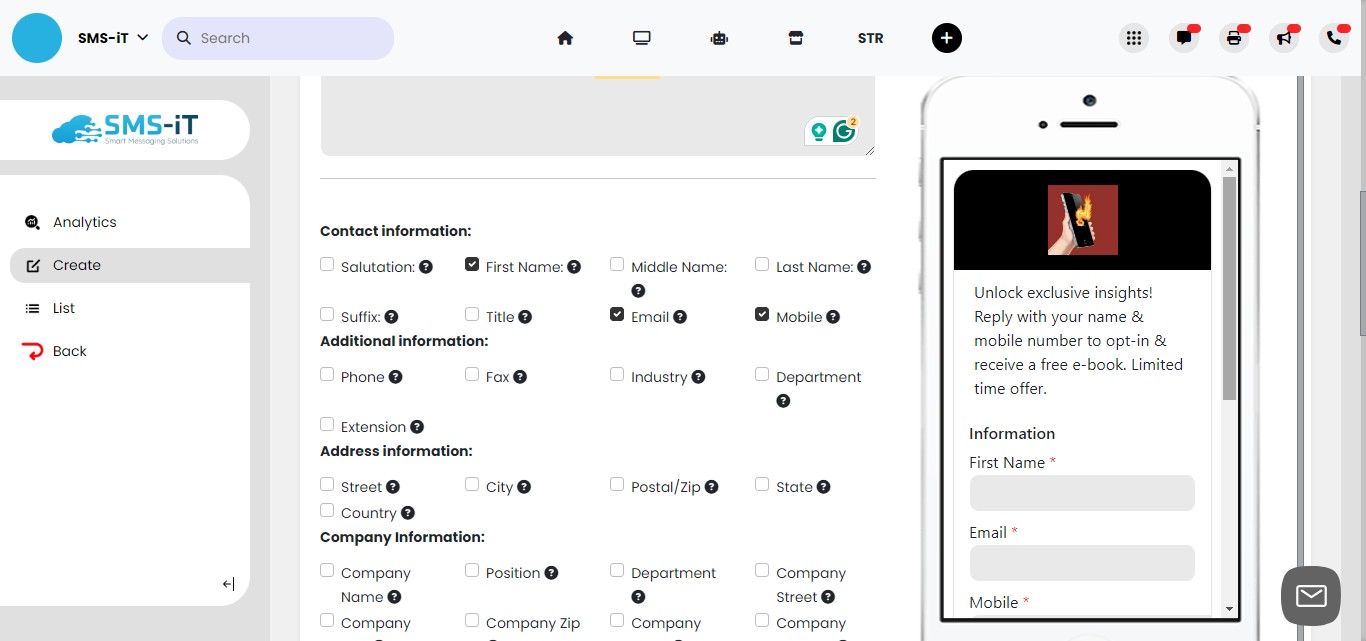
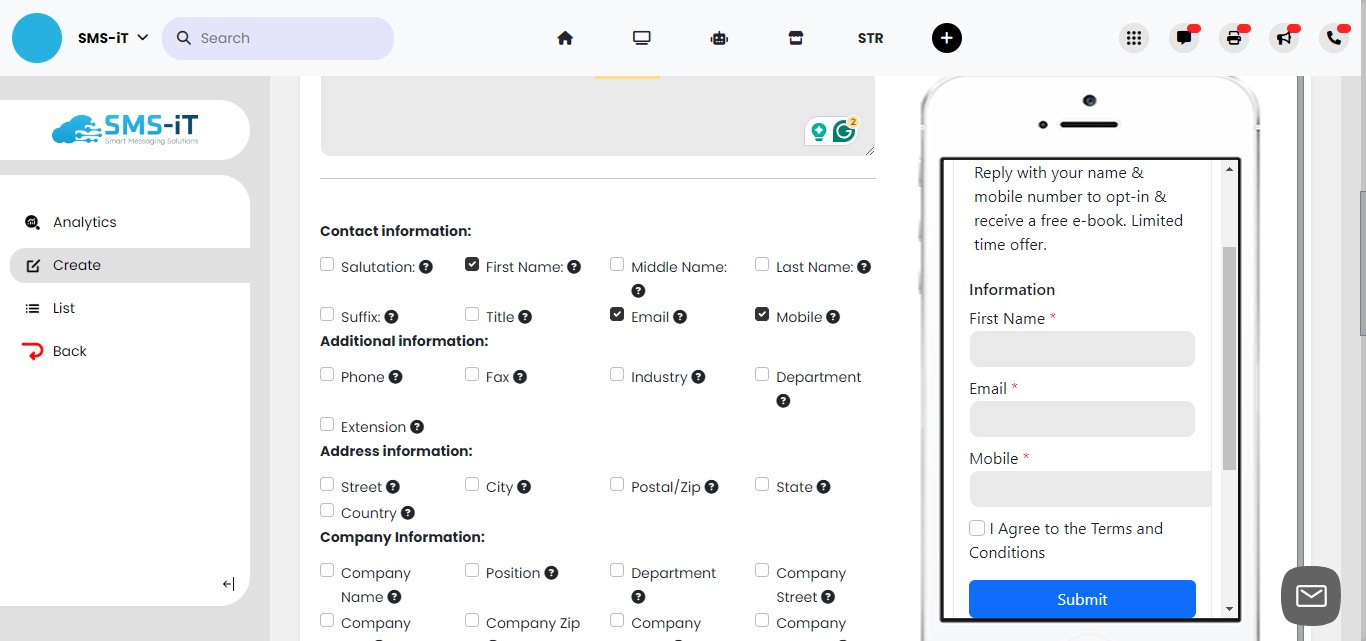
Select all the fields you would like the customer to fill in.
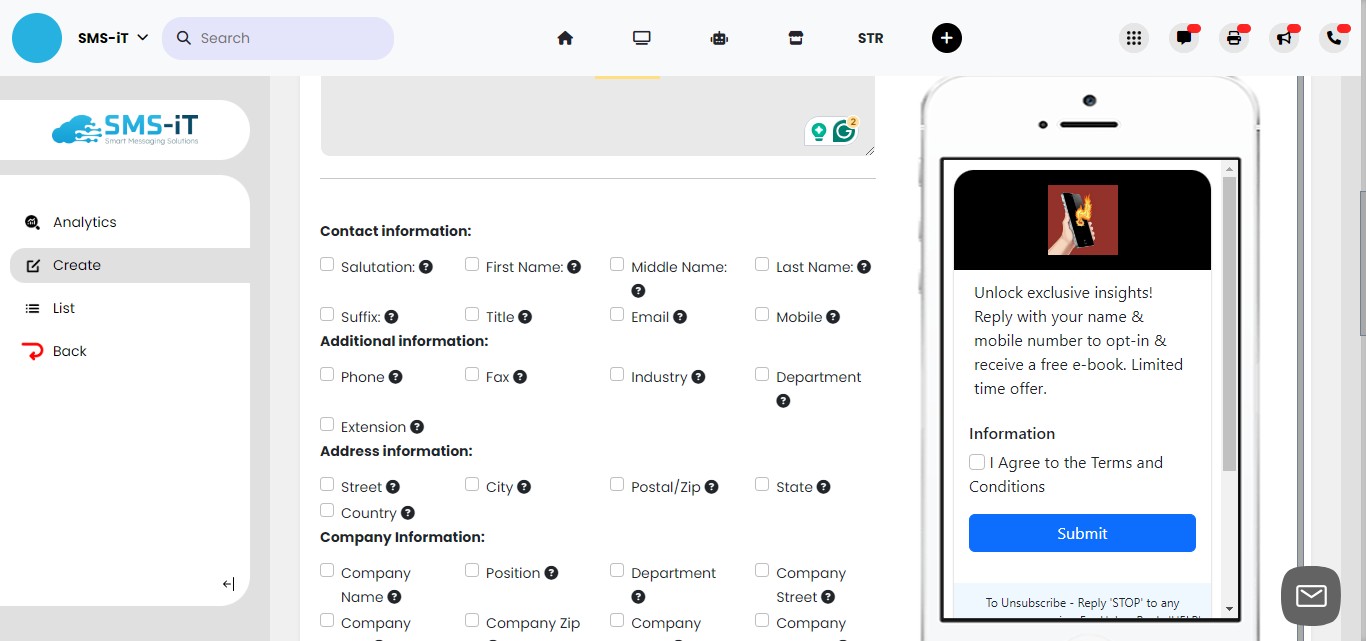
For this example, we've selected the following fields: First name, Email, and Mobile.
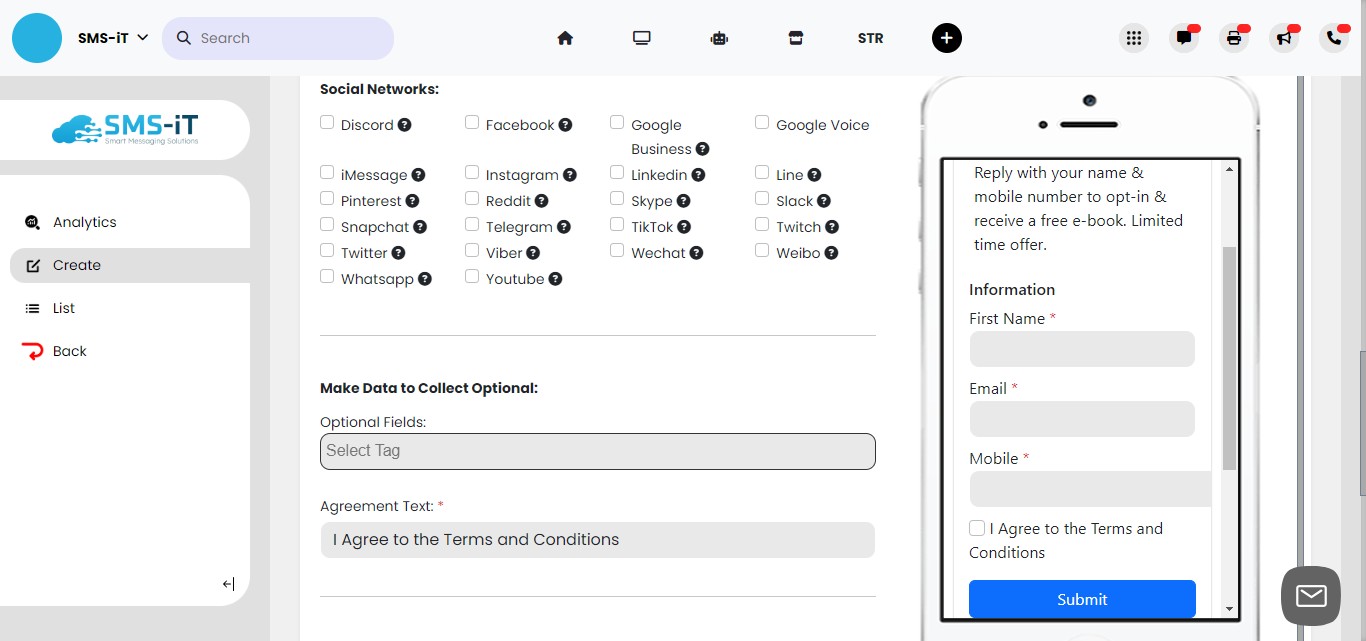
Scroll down.
The selections made above will be mandatory fields unless specified otherwise in the "Make Data to Collect Optional " dropdown menu.
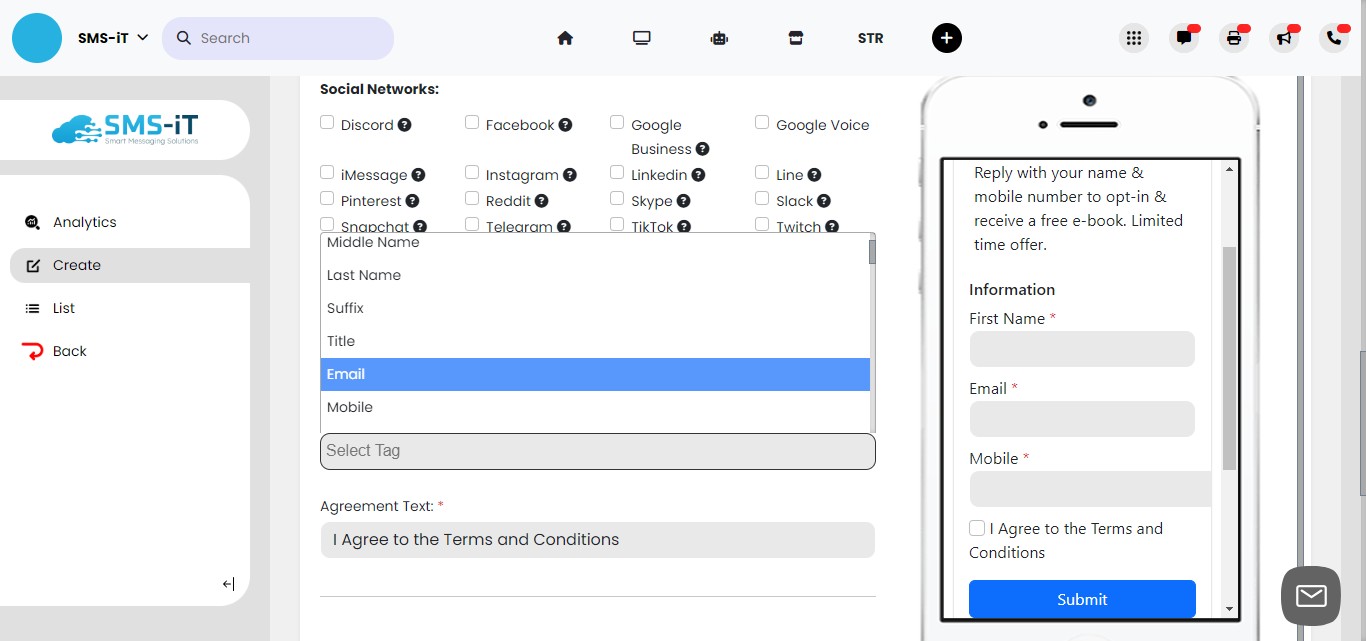
In this example, we're making "Email" optional.
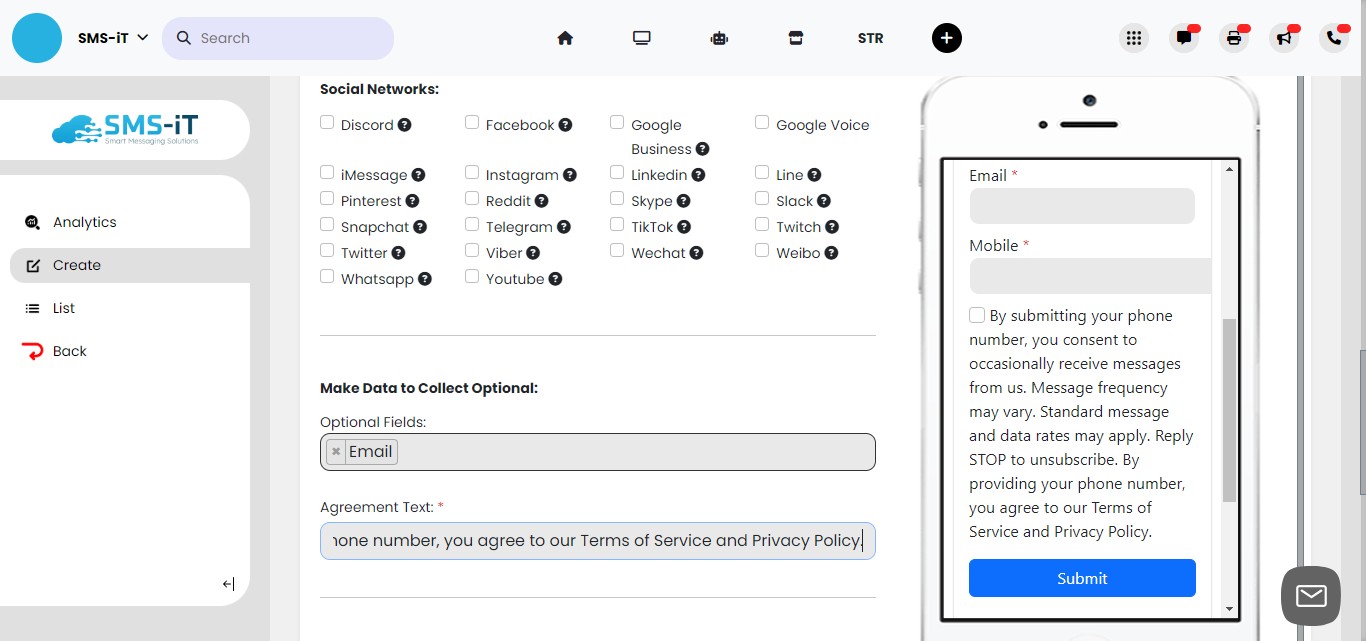
You'll notice that "Email" is marked as optional. After updating the builder, the asterisk next to "Email" in the preview will disappear, indicating to the person filling out the form that it is not required.

The "Agreement Text" field is mandatory, requiring the person to check it in order to submit. This is where you would include any legal policies necessary for texting the customer.
The "Footer Note" can include Unsubscribe and Help information.
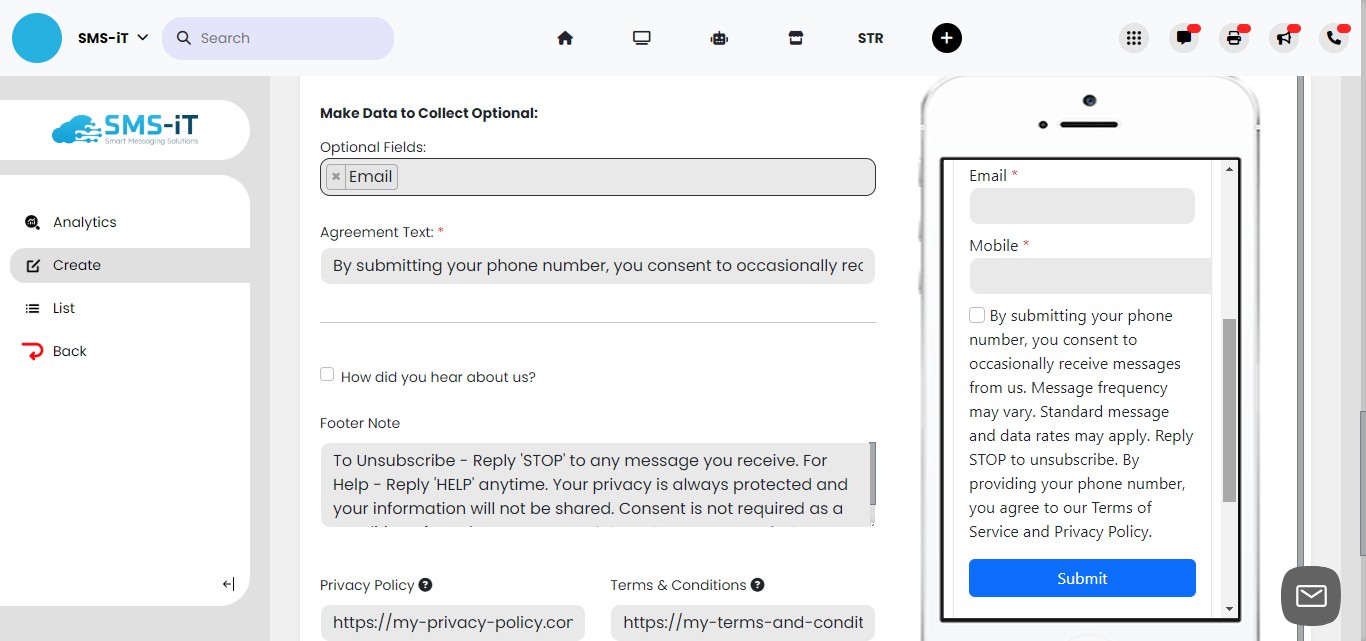
In the "Privacy Policy" and "Terms & Conditions" fields, you can enter the URLs for your company's respective policies.
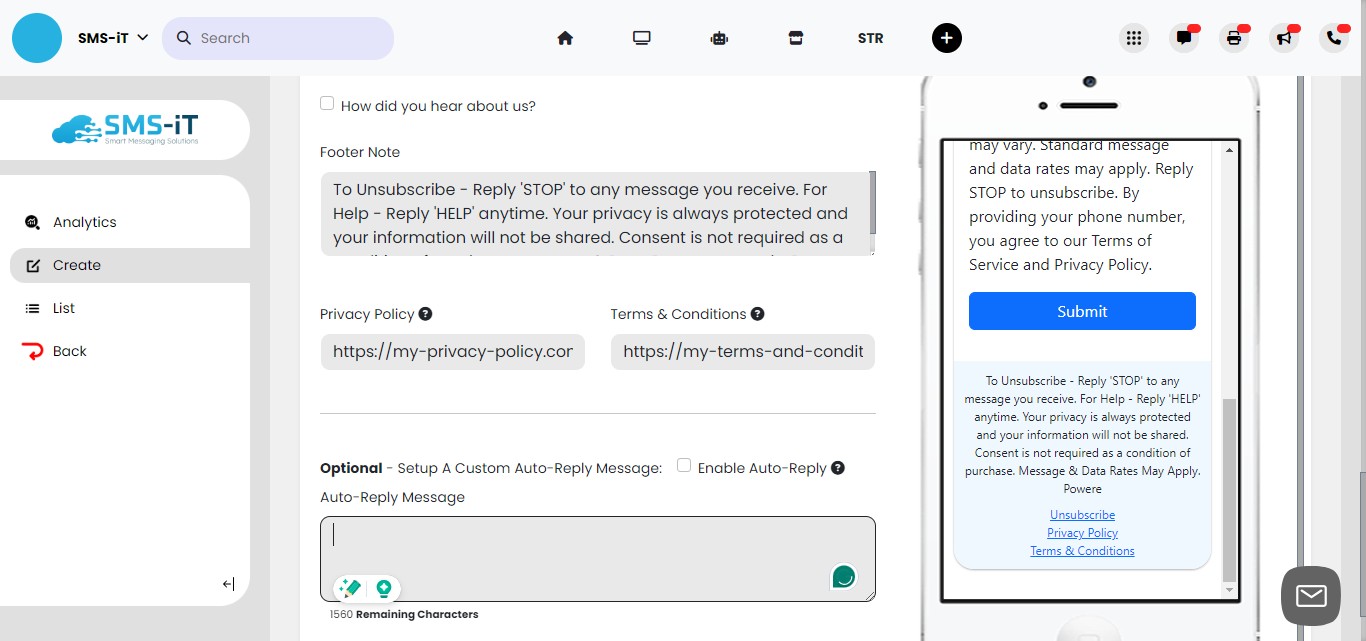
If you wish to send an auto-reply message upon customer submission of the form, this is where you would compose the message. Then just "Enable Auto-Reply"
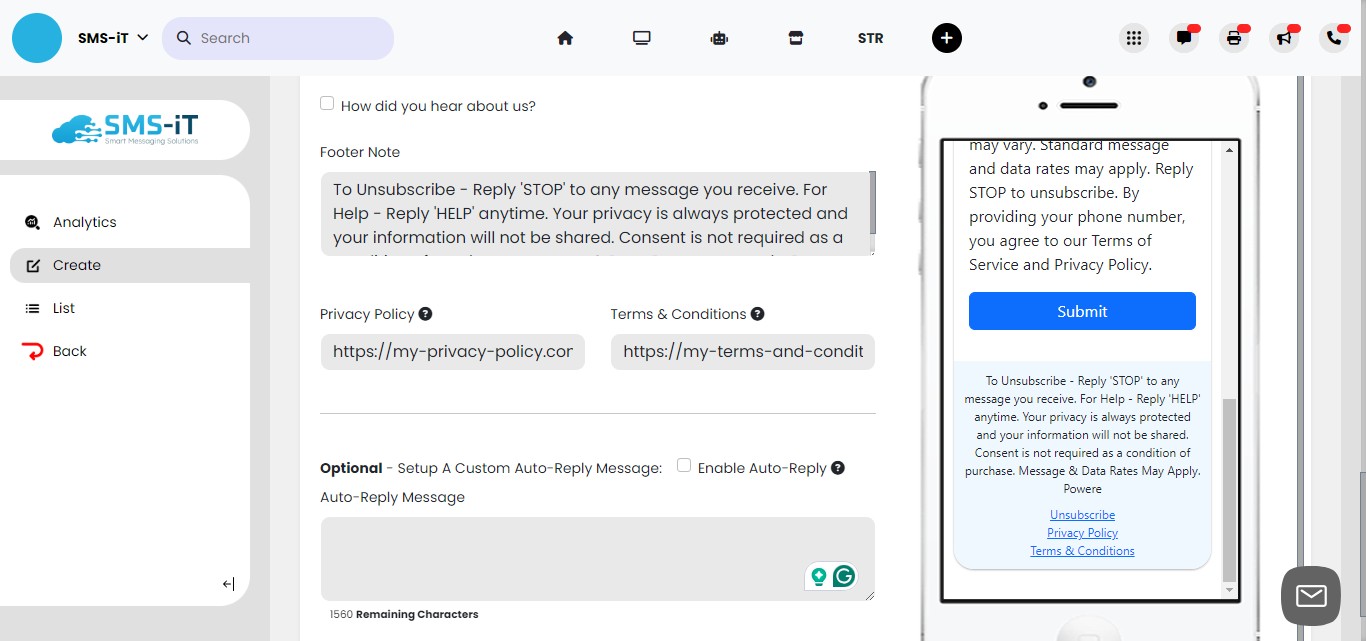
Click on "Update"

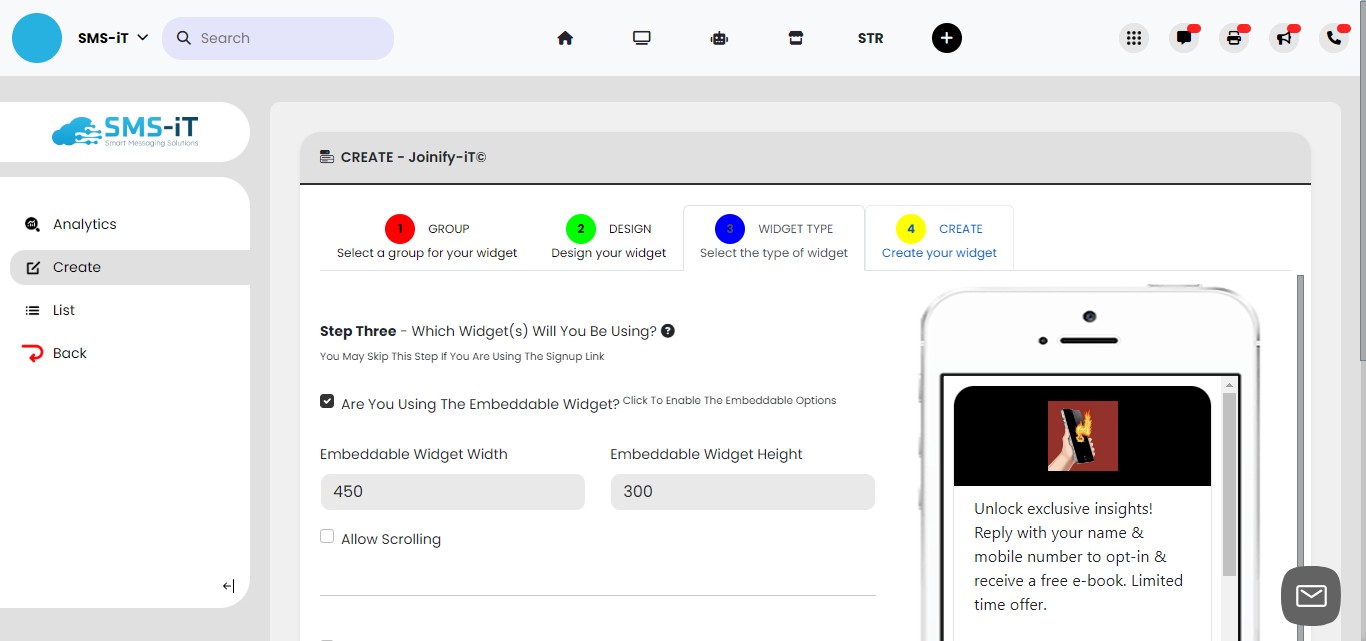
Section 3: Widget Type
Click on "Widget Type""
Here, you can select how you'd like to use your widget: embeddable, scrolling, or as a pop-up. Click on your preferred options.

Click on "Create"
Section 4: Create
Click on "Create Widget""
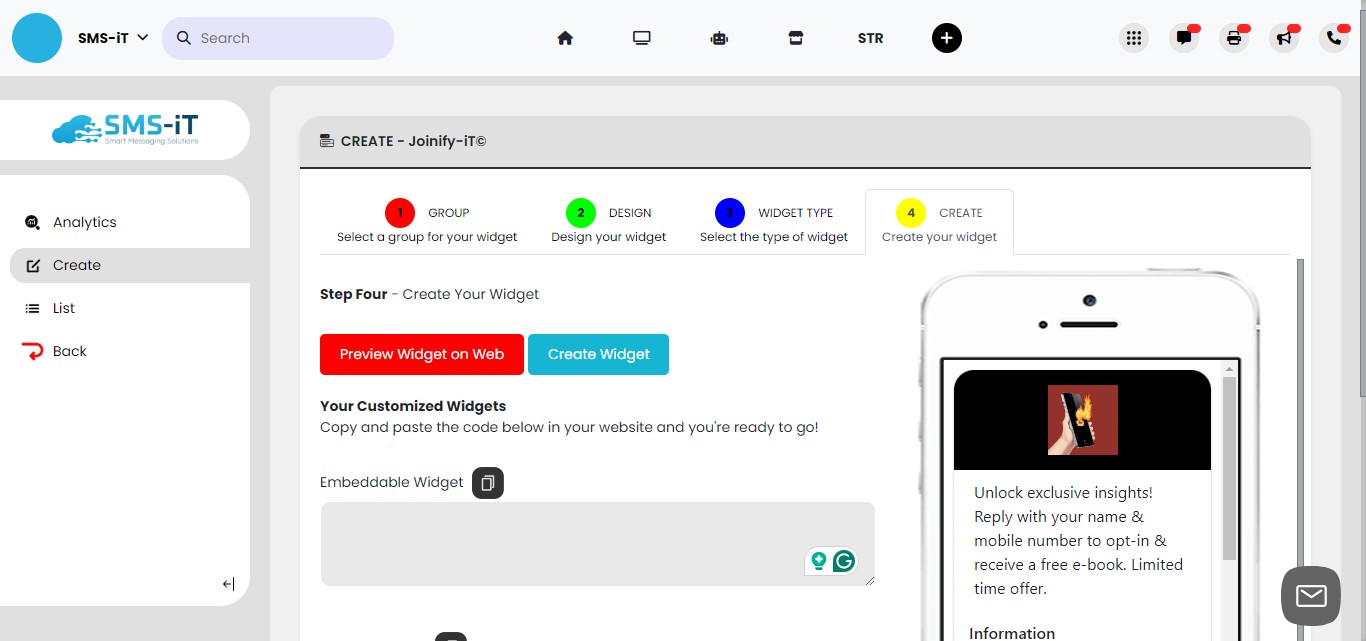
Your code will be generated that you can use for your website or funnels.

Click here
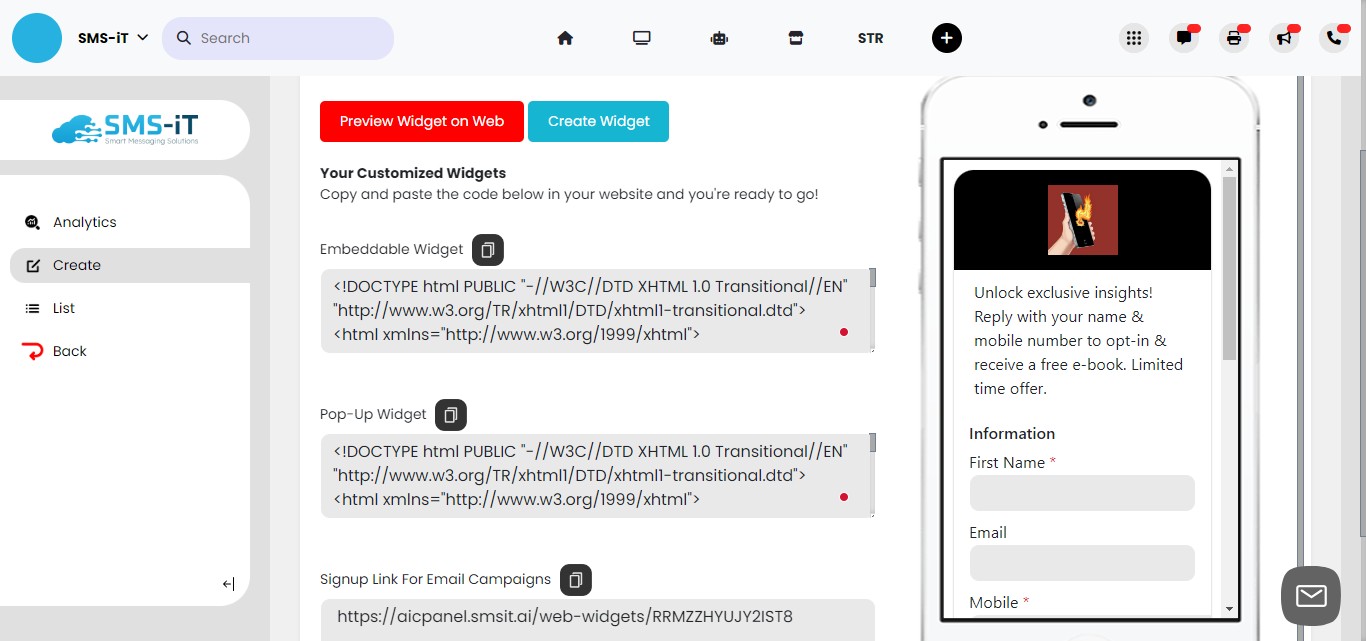
Click on "Update"
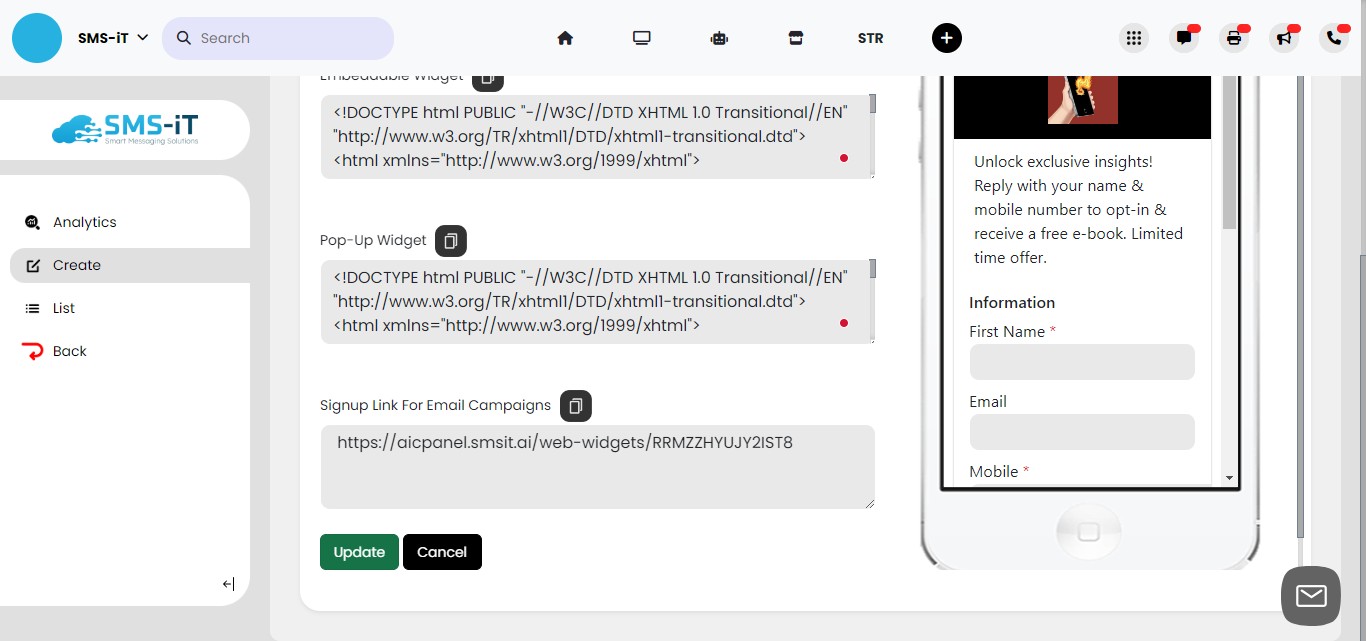
Your web form has been successfully created.
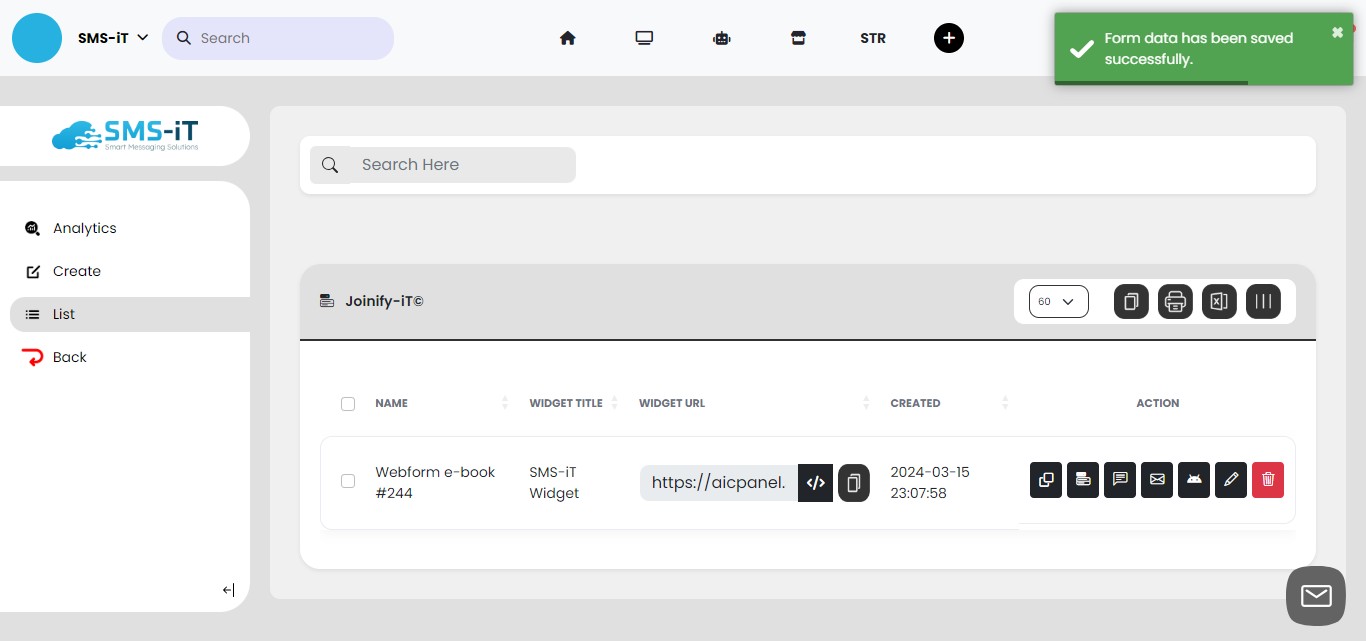
Test
Click the "Copy" icon.
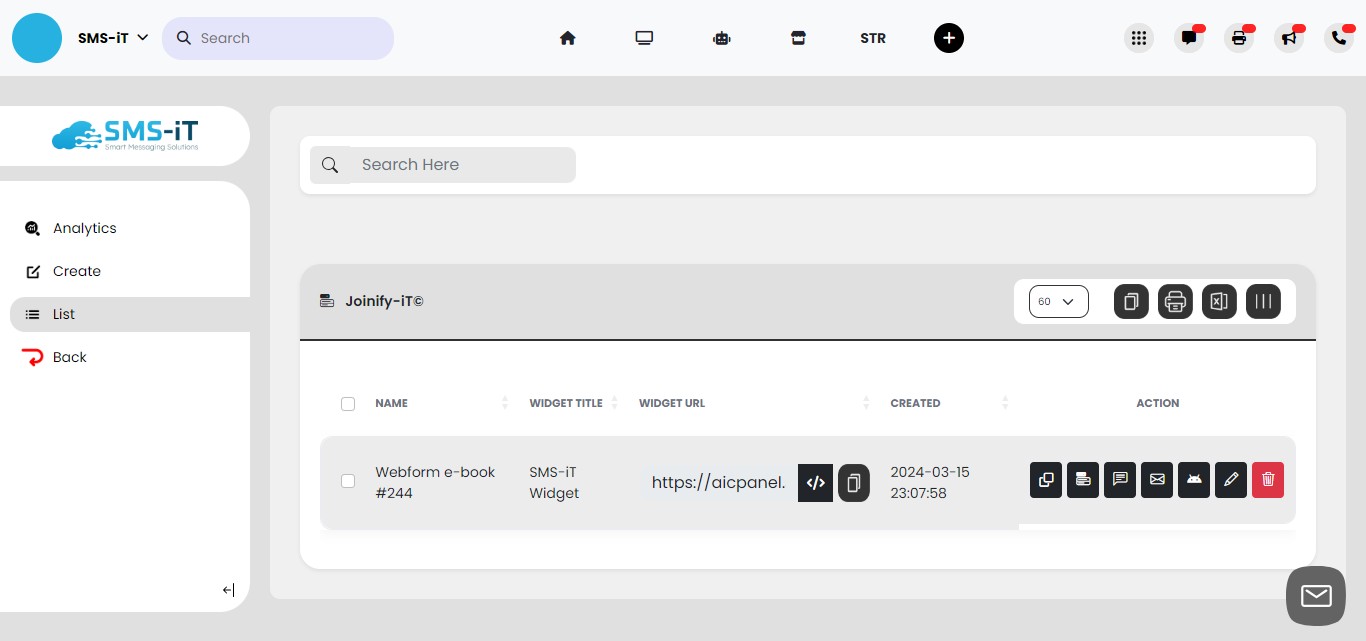
Paste into your browser the URL.
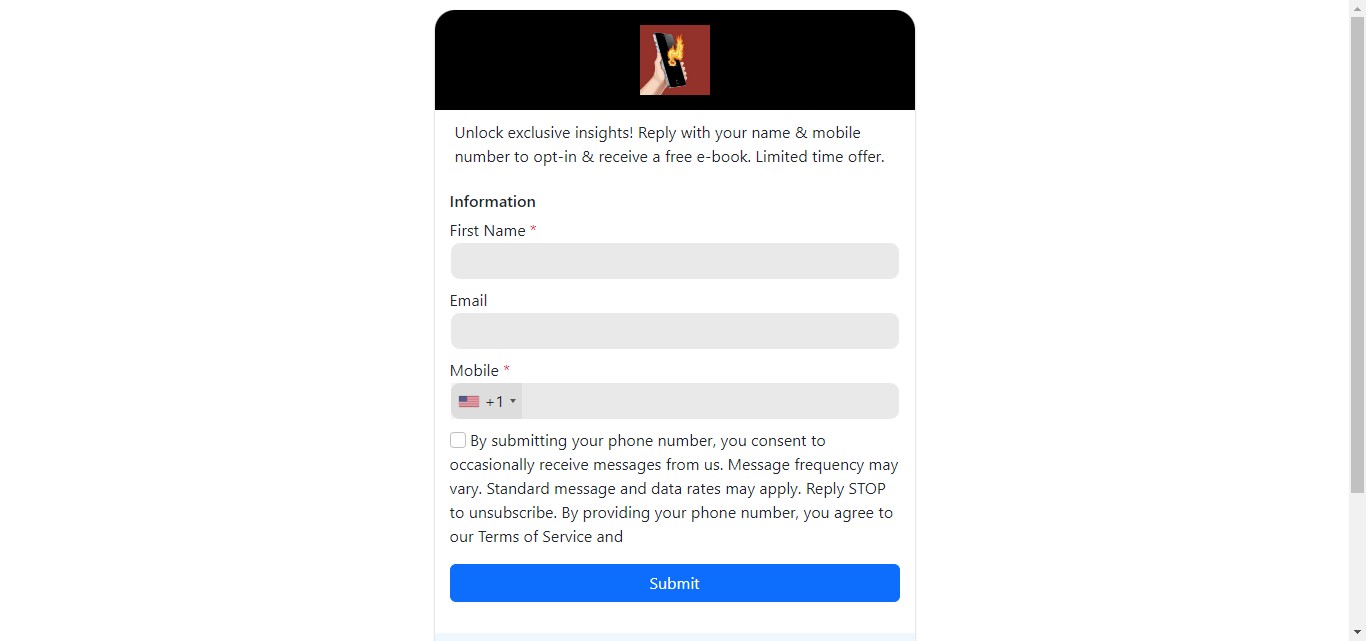
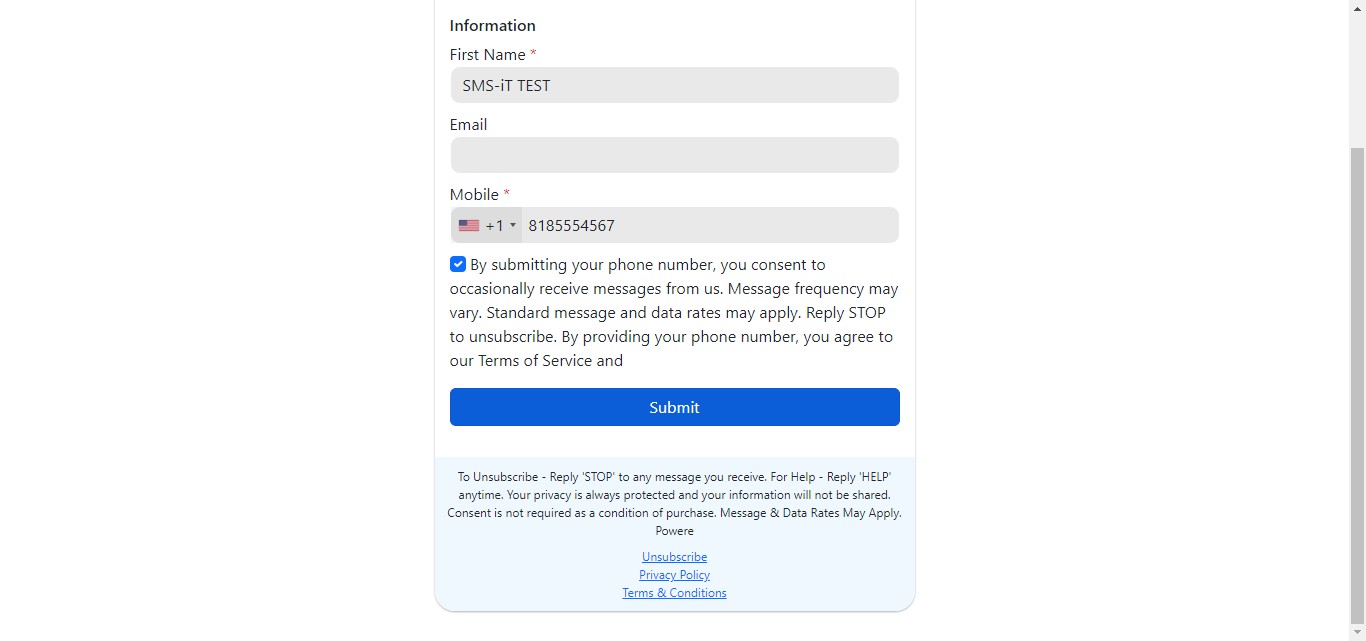
Fill in the information. Note: The email wasn't a mandatory field.
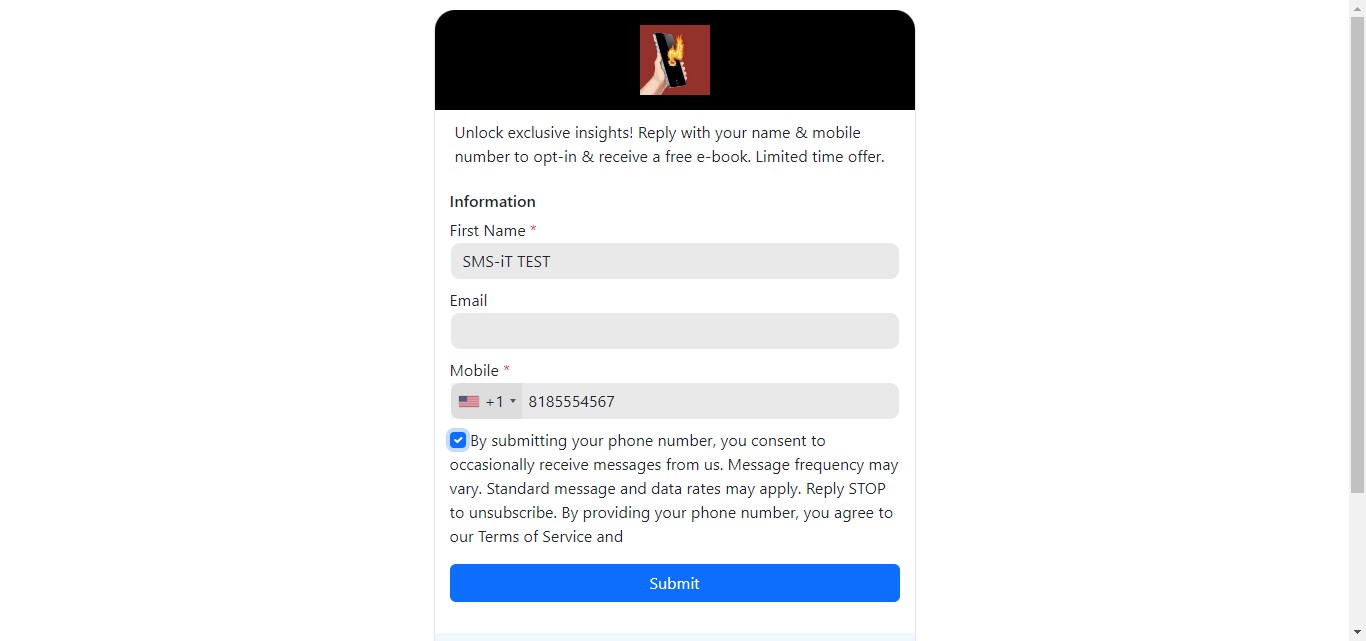
Click on "Submit"
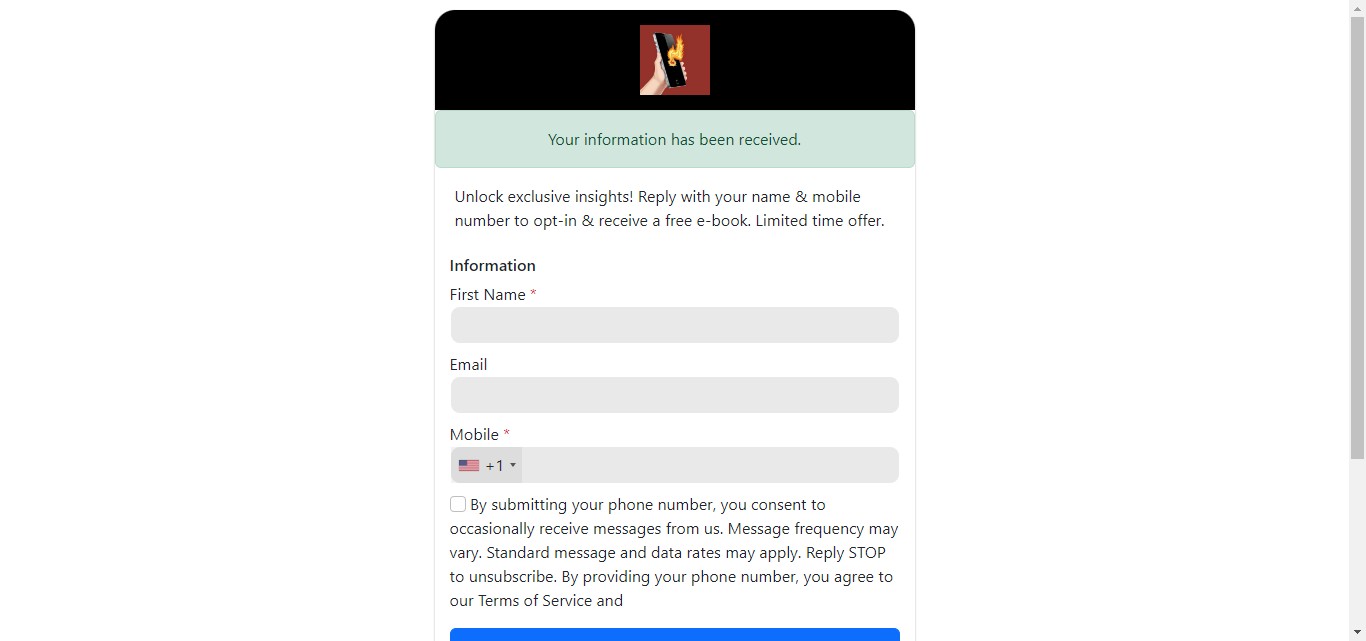
You'll see "Your information has been received."
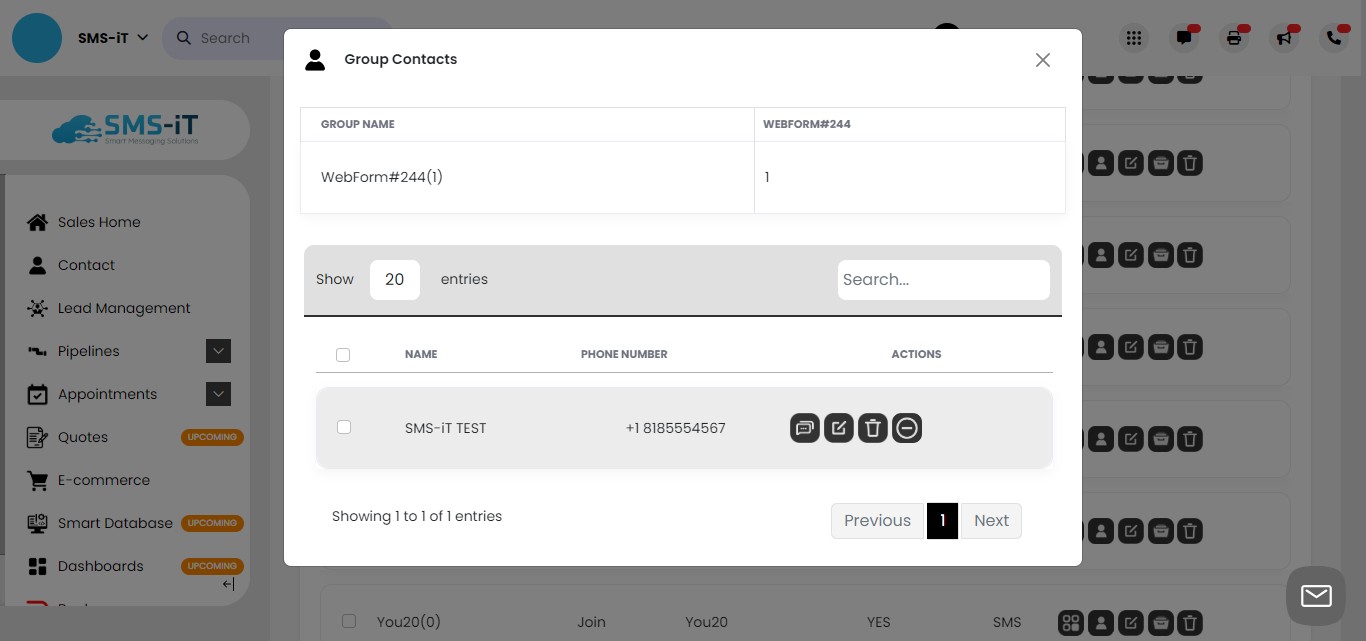
Check in "Group"
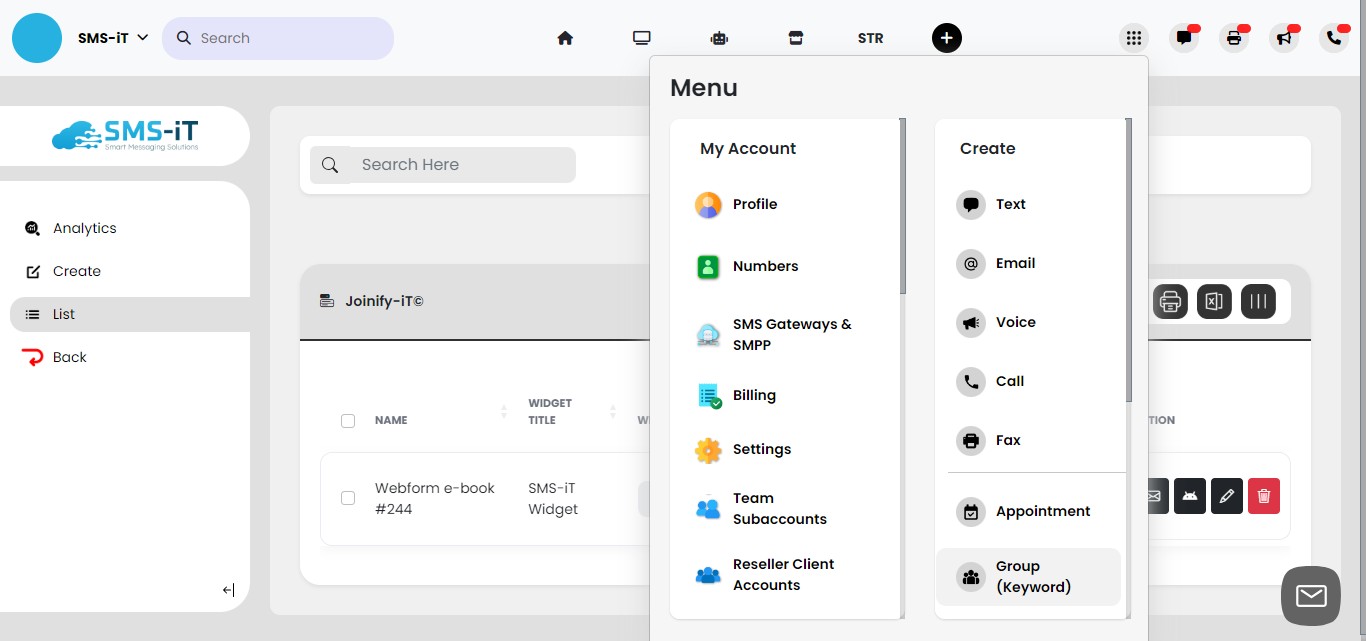
Click on the "Menu" icon.
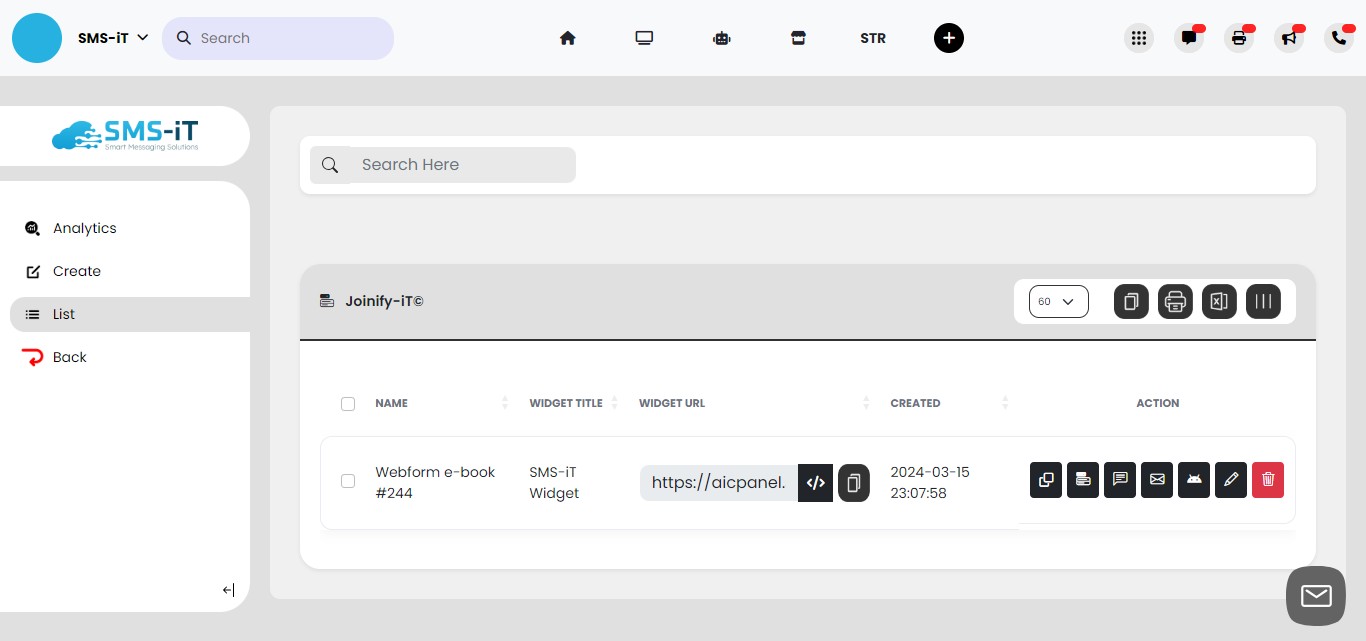
Click on "Group"
Find your Joinify-iT group. Click on "Contacts"
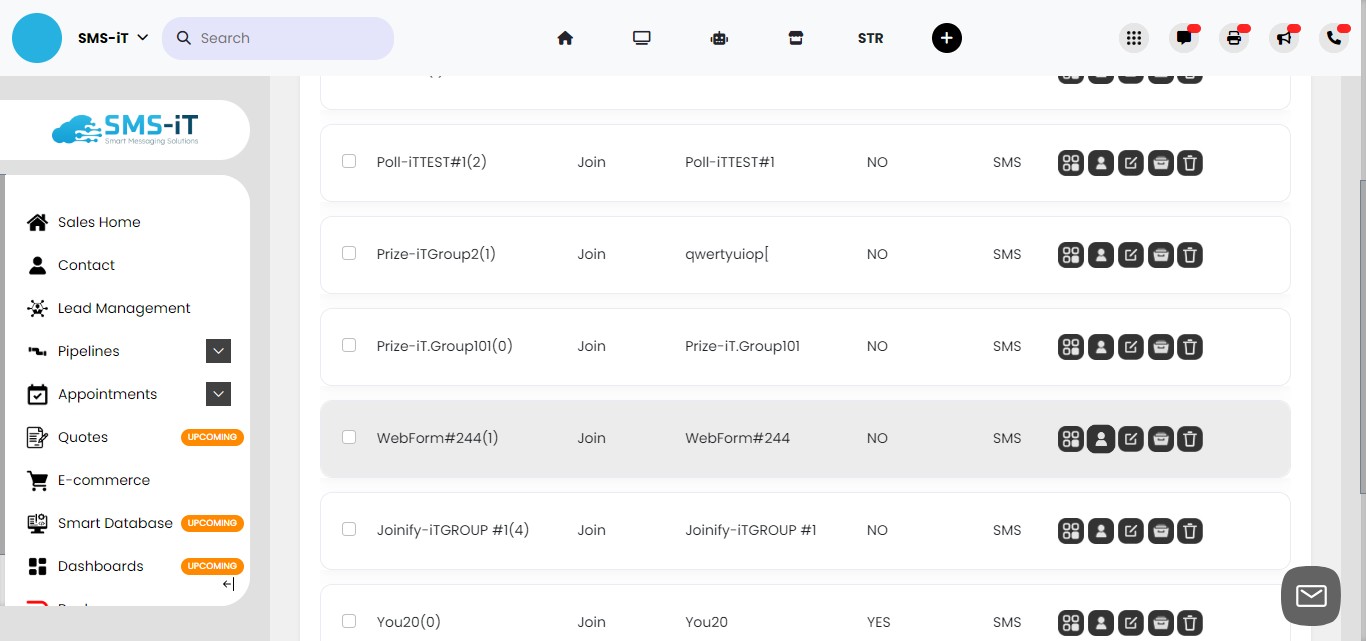
Your prospect has been successfully added. You can now leverage other tools and features in SMS-iT to convert your prospect into a customer.