Drip-iT© (Simple Drip Campaign Tool)
Drip-iT © (Simple Drip Campaign Tool) Automate customer onboarding and retention with personalized auto-replies, allowing businesses to nurture leads and engage customers effectively over time through targeted drip campaigns.
When you think innovation, think SMS-iT.
Step 1: Create a Group
Create a group that new customers can opt-in to, which will include them as members of that group. This will be the group to which you can "drip" new messages to your customers, helping them understand onboarding or learn more about your business.
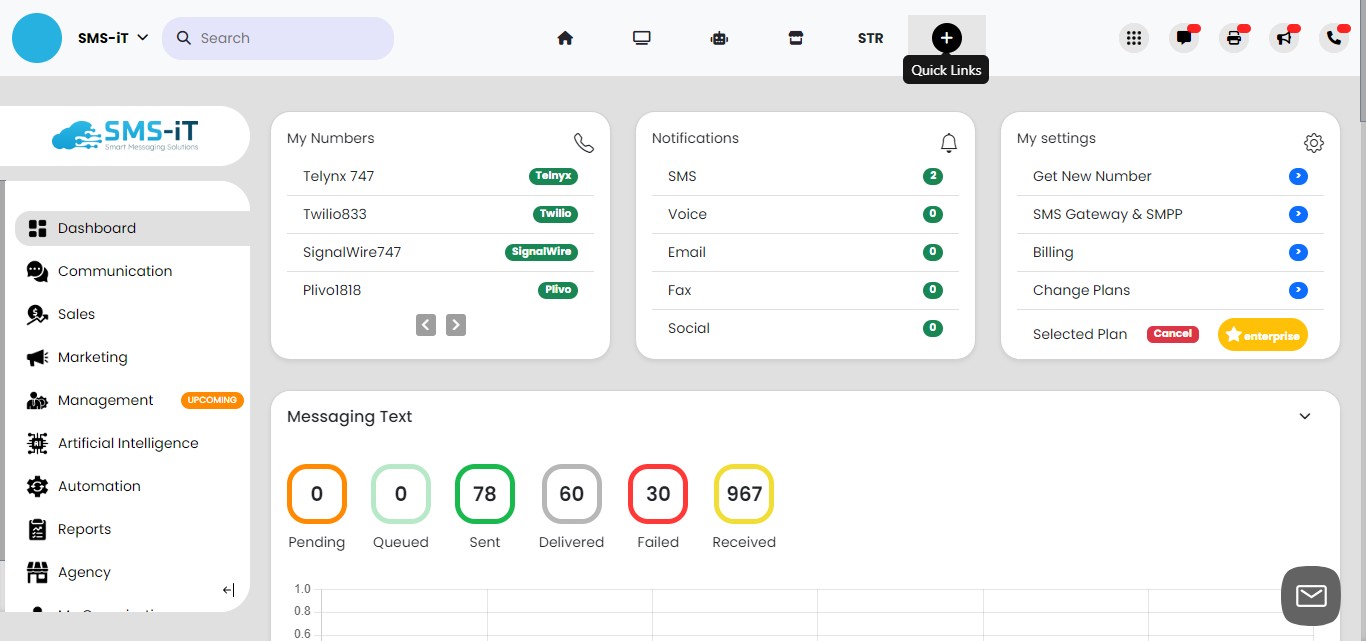
Click on "Quick Links"
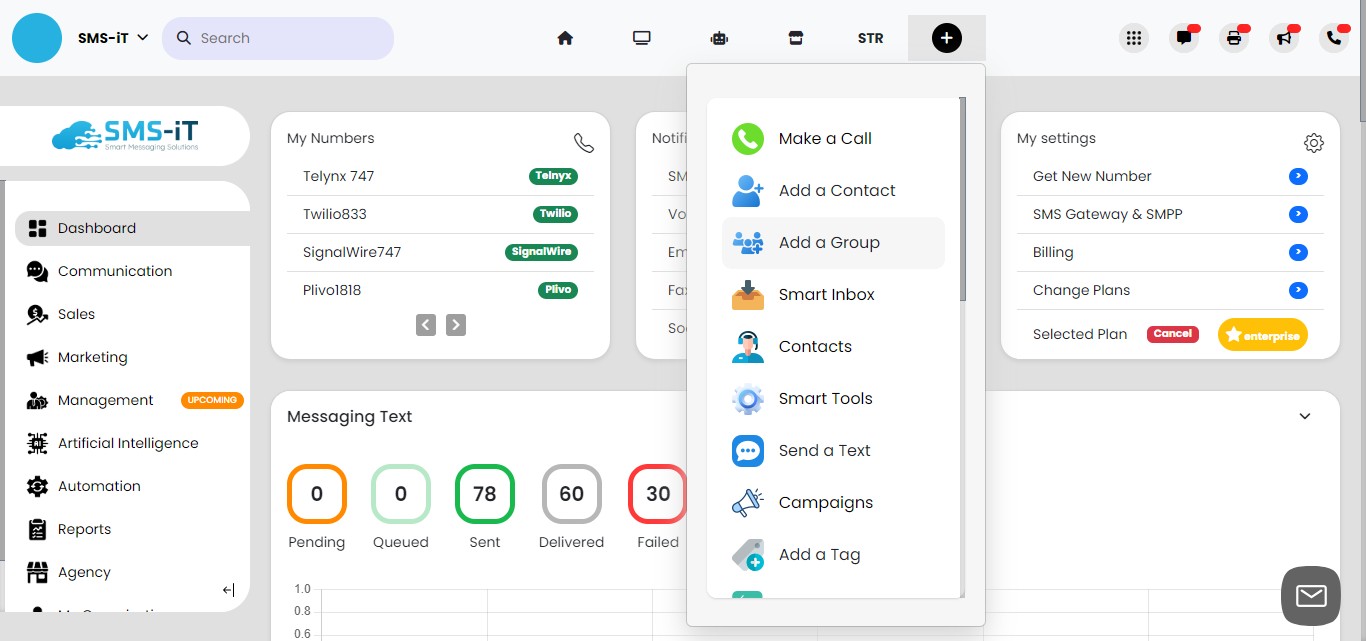
Click on "Add a Group"
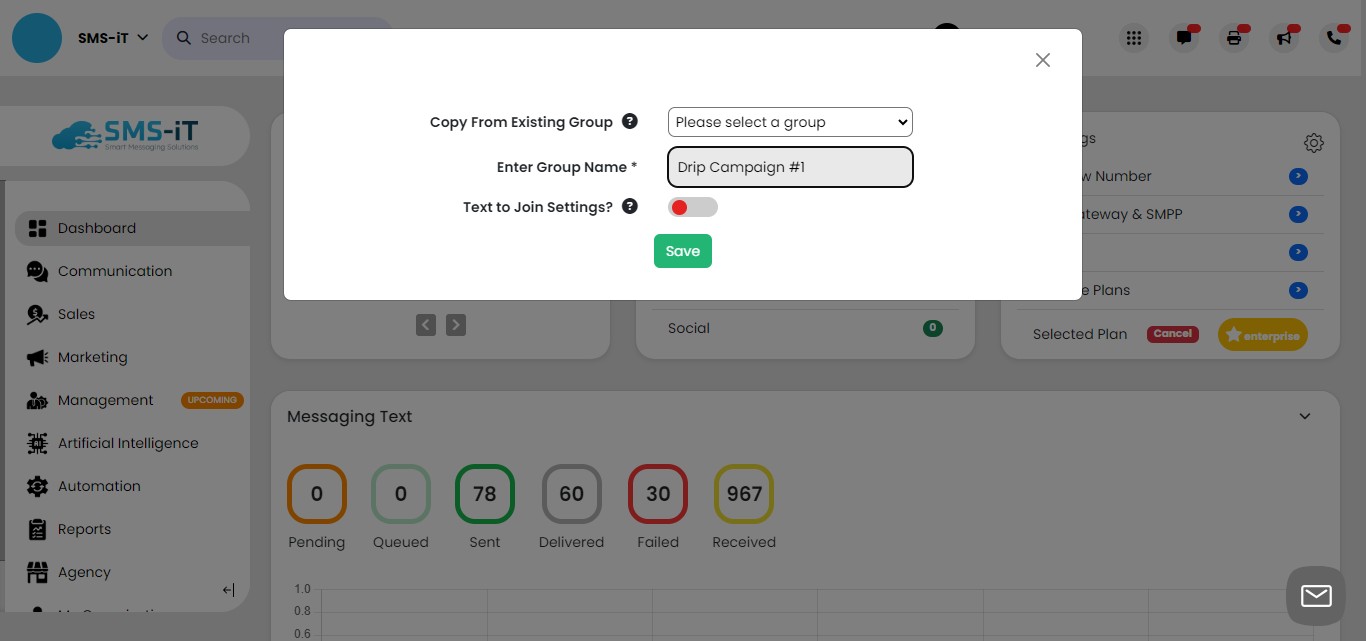
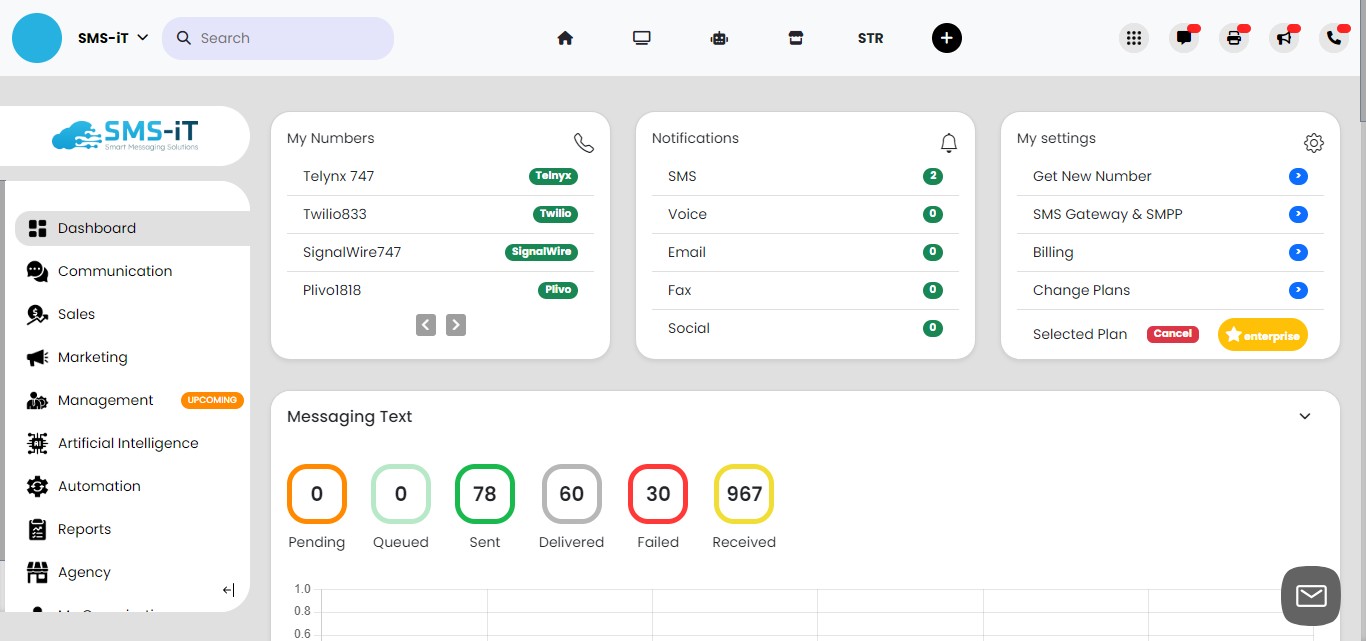
Name your group and "Save".
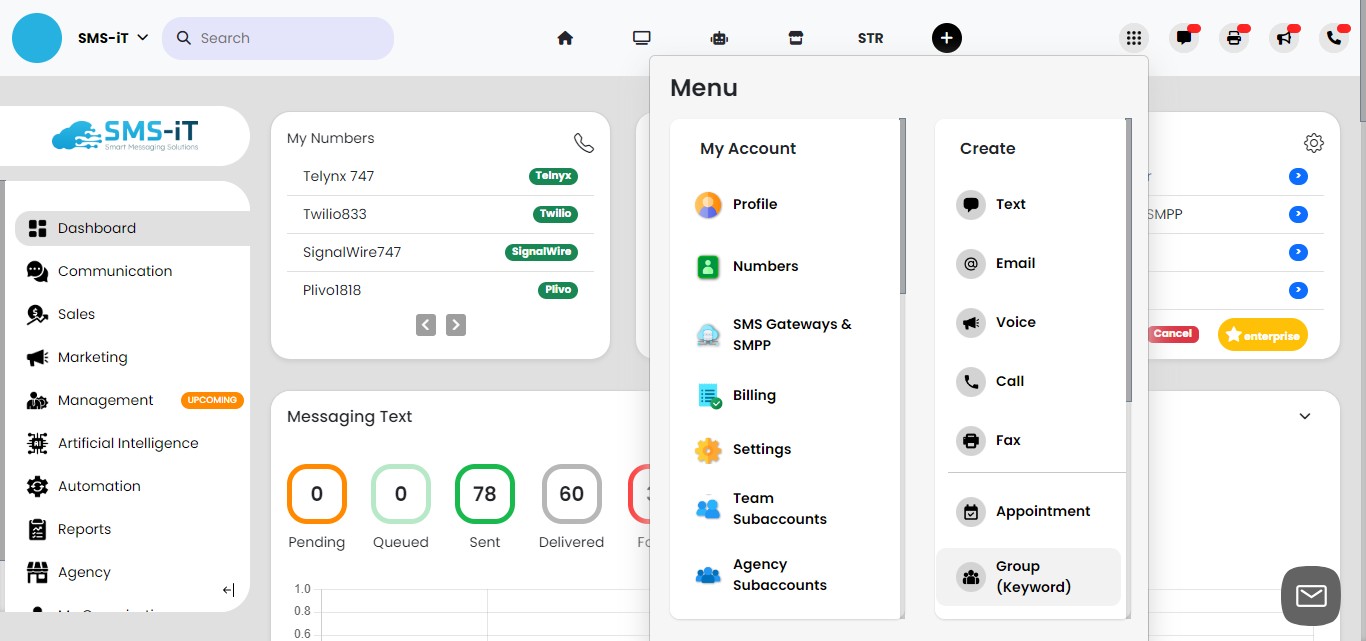
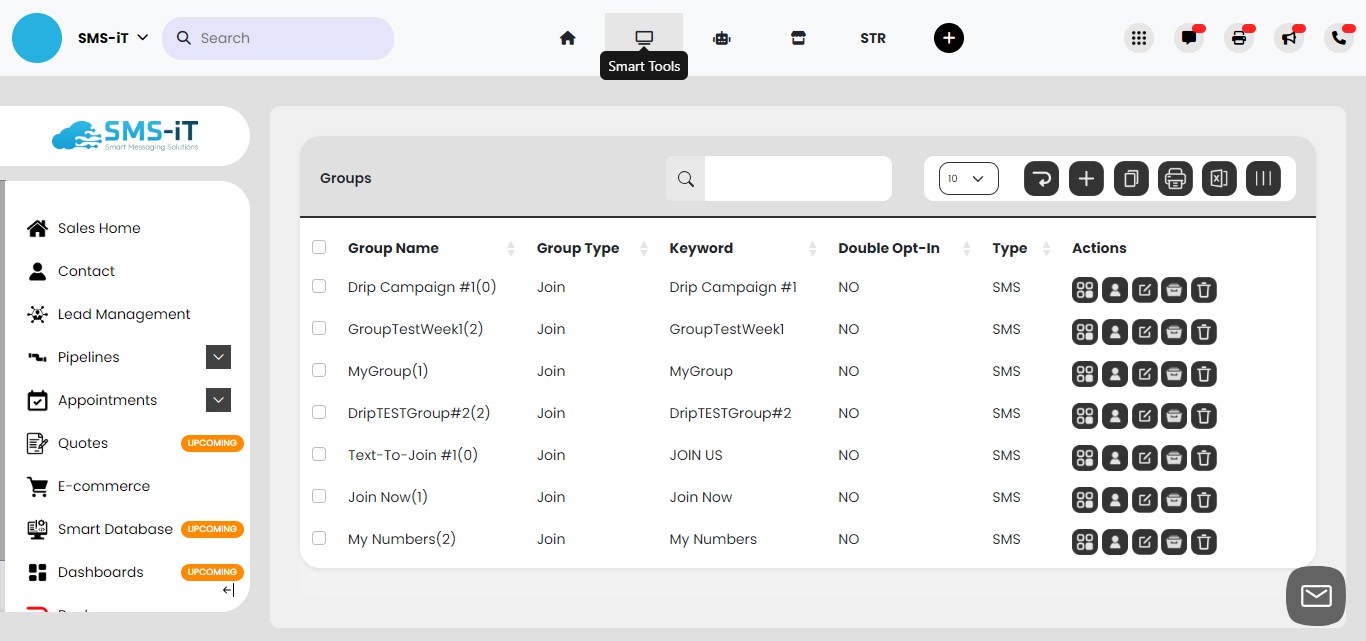
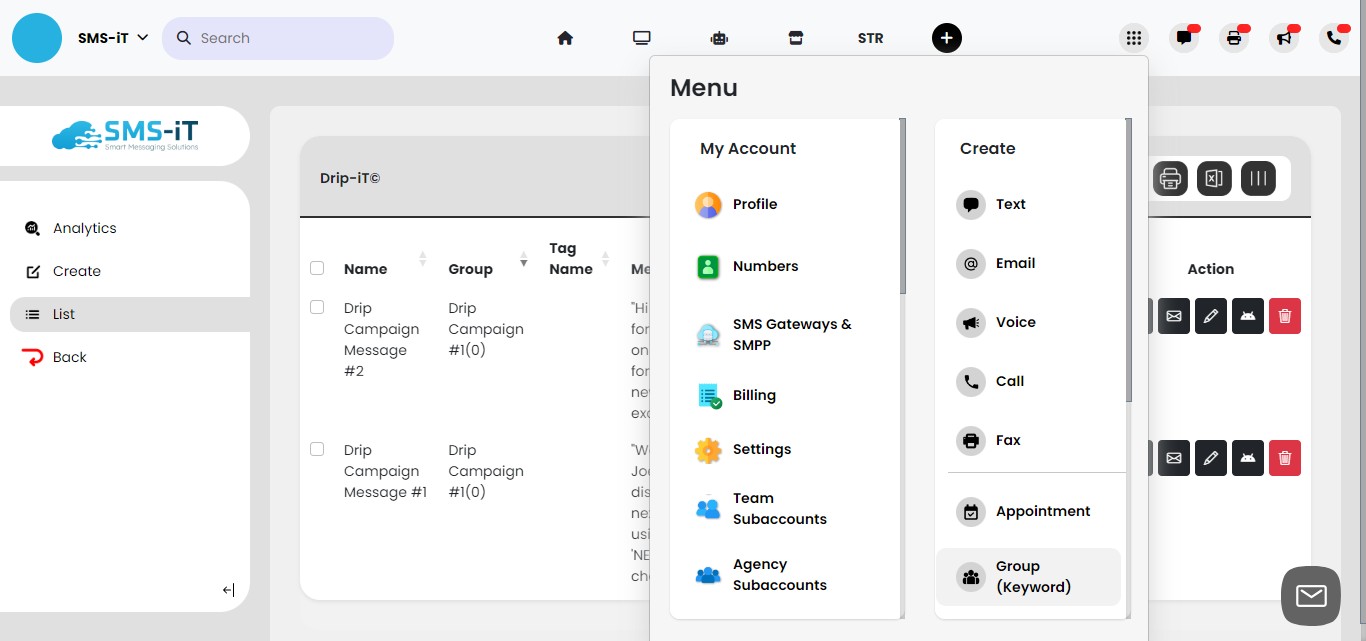
Click the "Menu" icon.
Click on "Group"
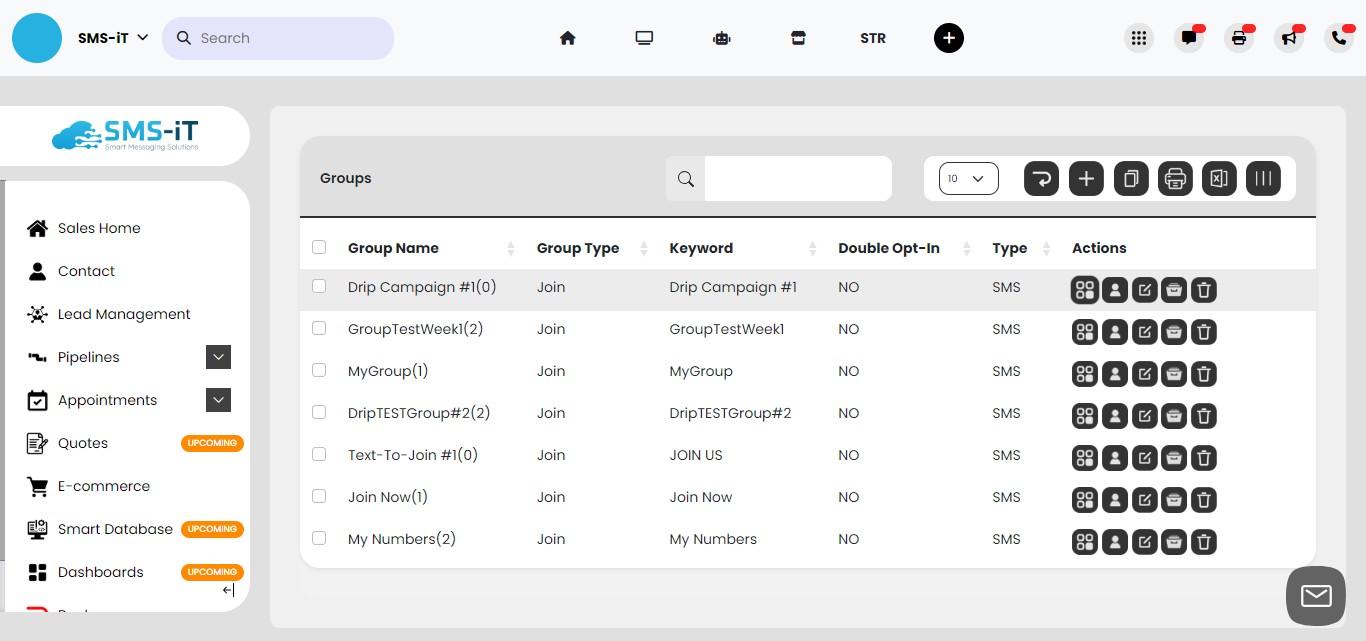
Click on "Drip Campaign #1(0)"
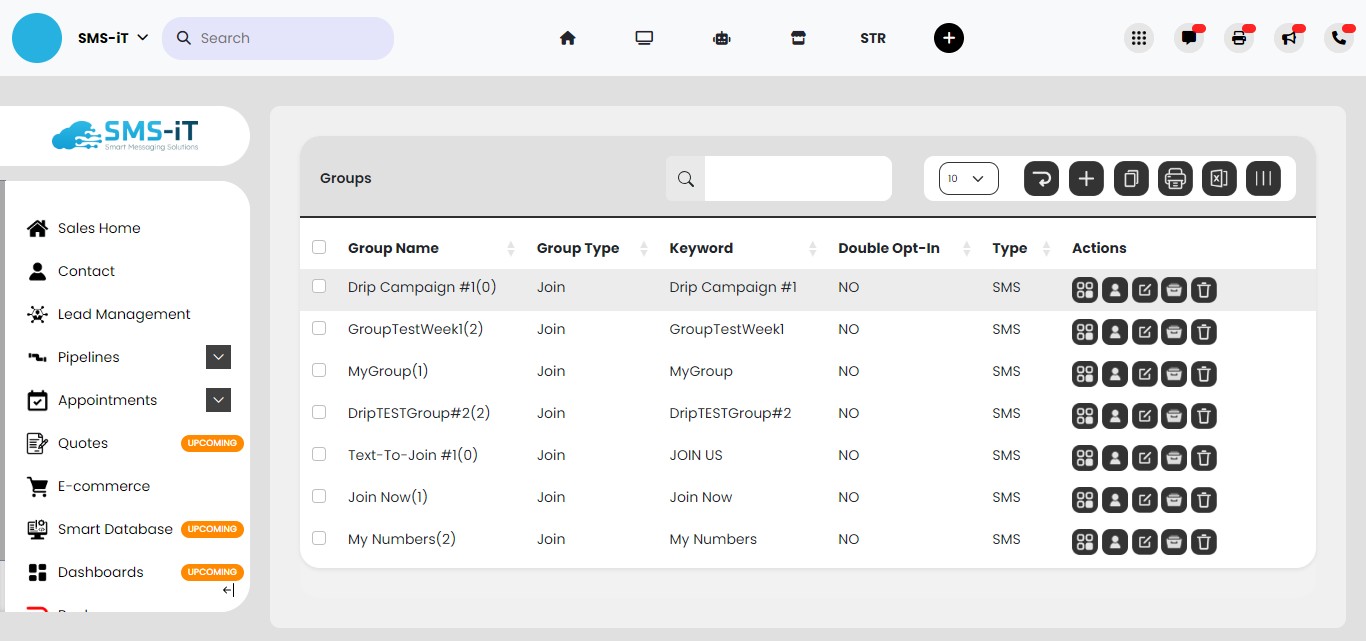
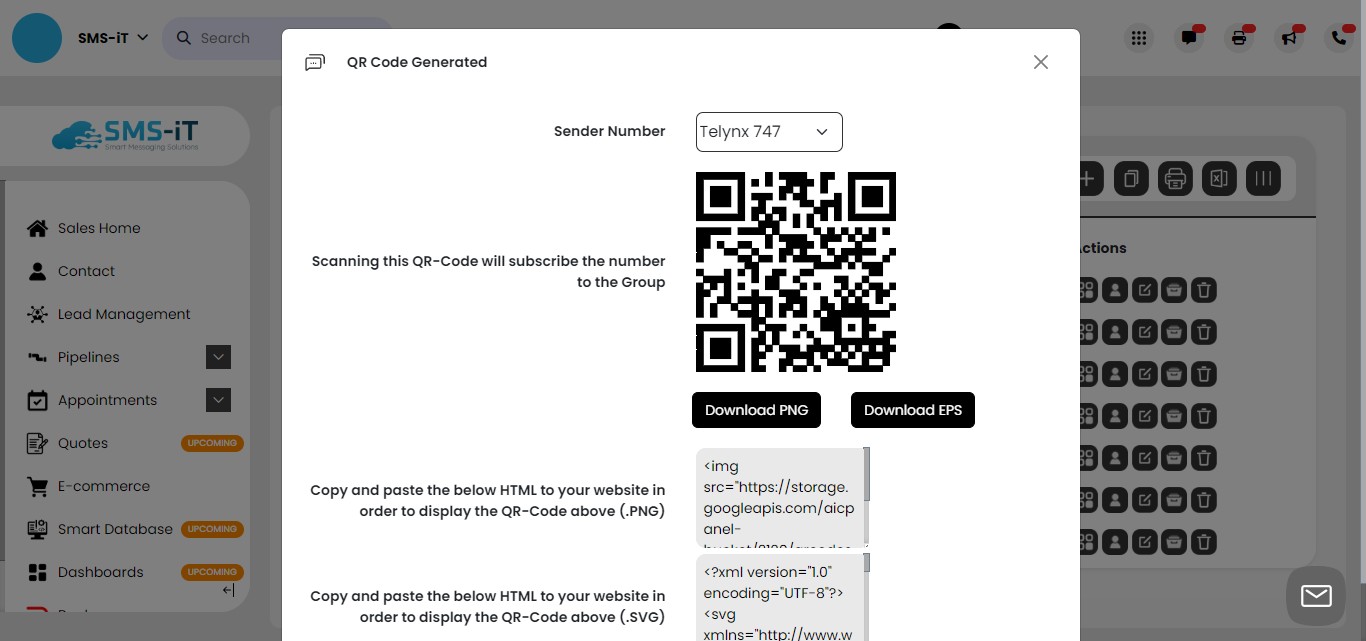
Click on the "QR code" icon
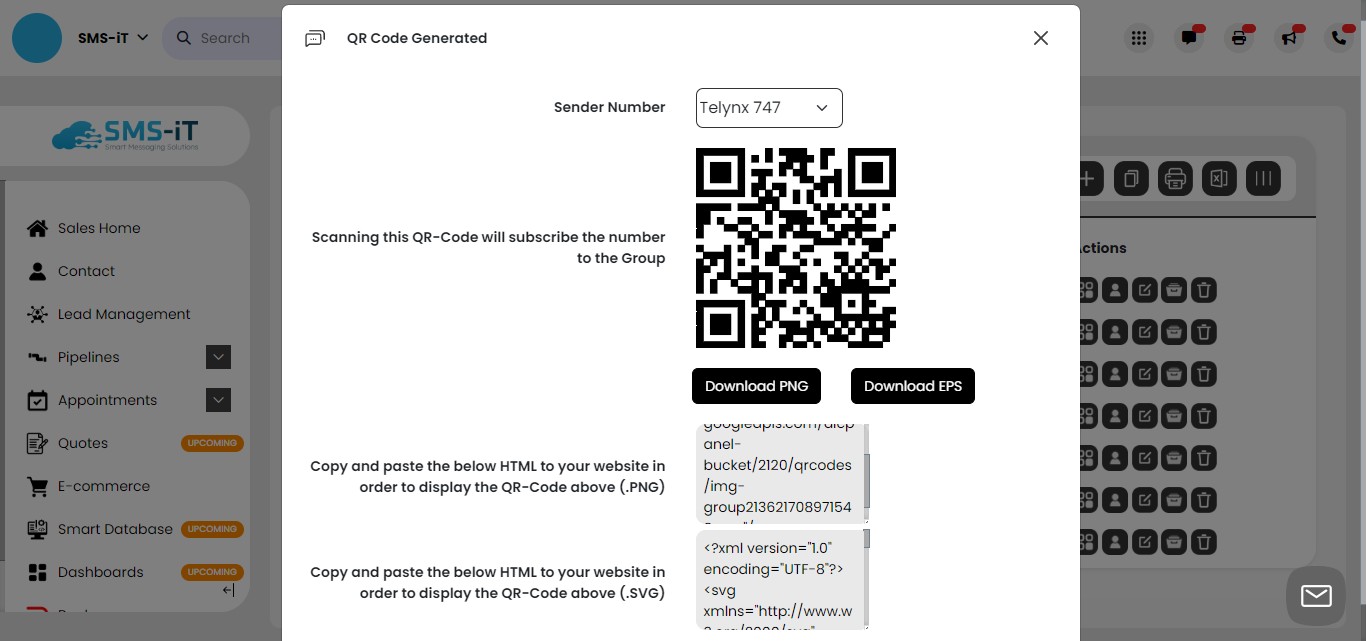
You can download or copy/paste the QR code to your website. When customers scan it with their phones, it automatically fills in the keyword in their text messages. They just need to click send to opt-in to your group and start receiving drip campaign messages.

The "Sender Number" is the number you have inside the SMS-iT system that will be used to opt-in the customer. It's recommended that this number be the same one you'll use to send drip messages to the customer.

Let's close this modal and start building a drip campaign.
Create Drip Campaign
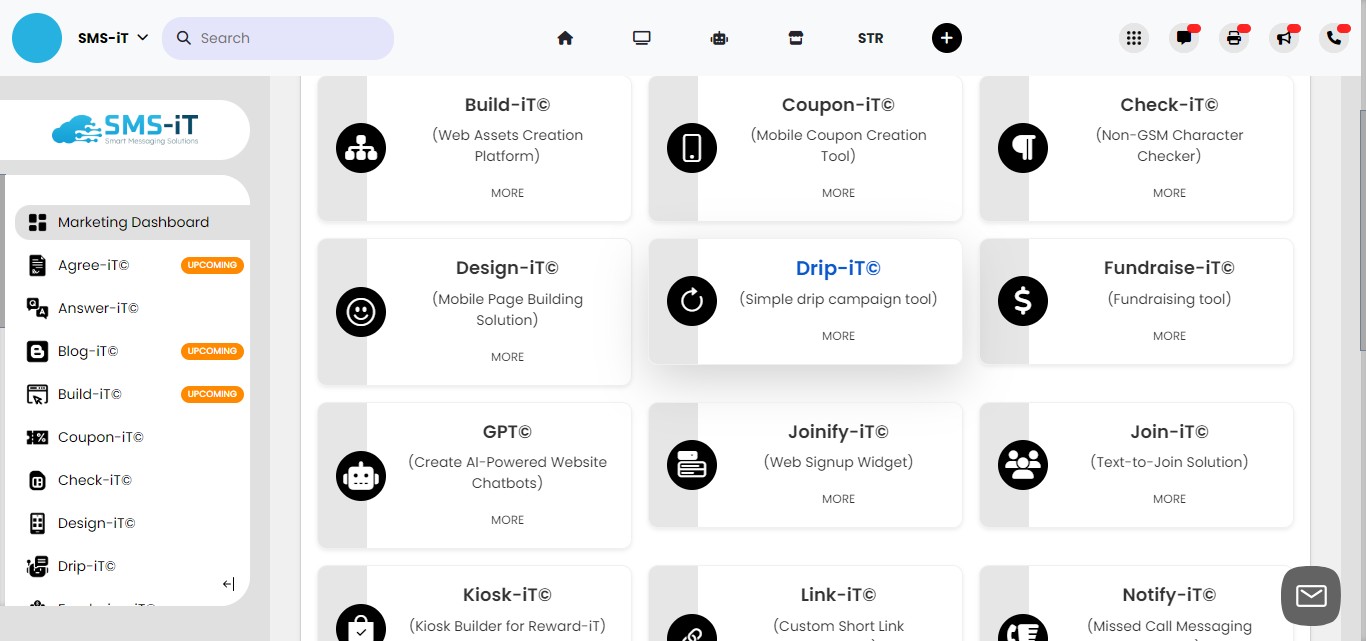
Click on the "Smart Tools" icon.
Click on "Drip-iT©"
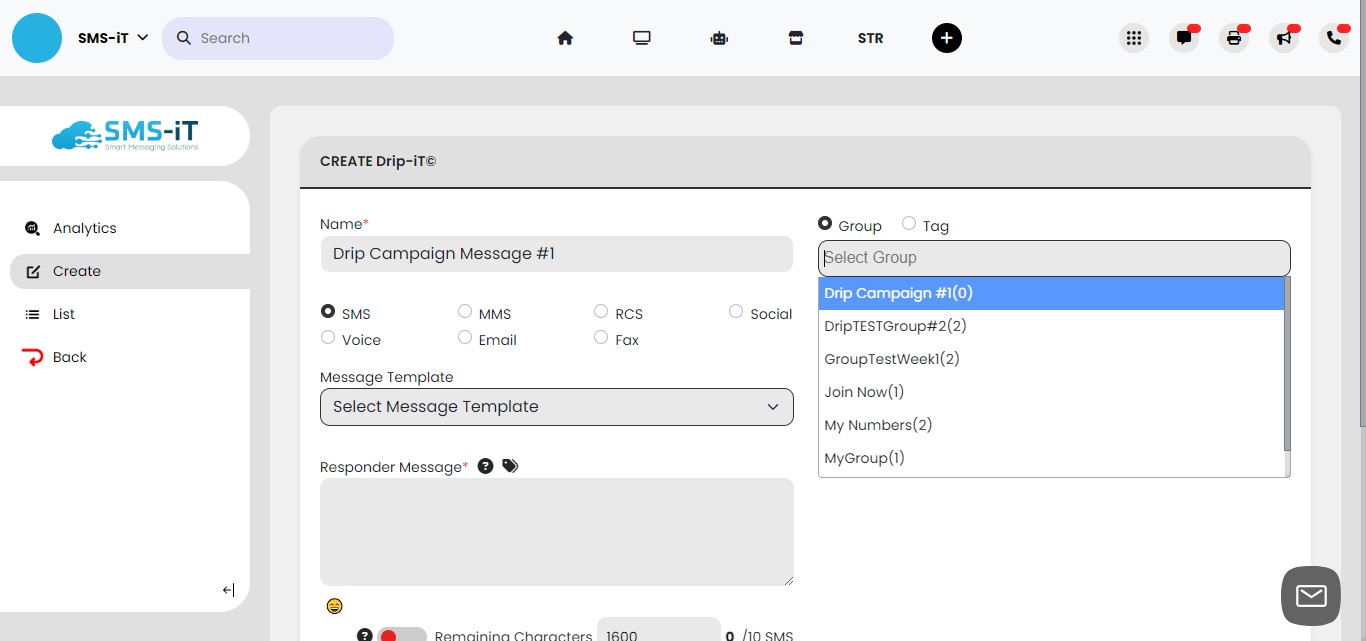
Click on "Create"

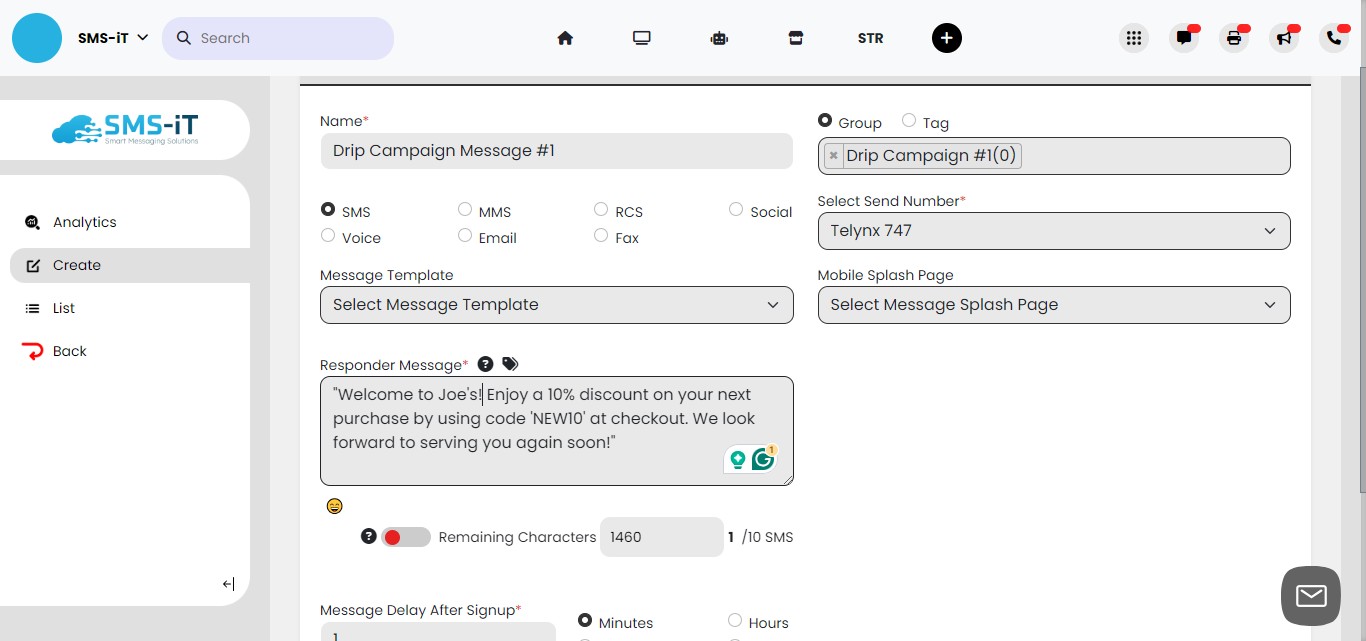
Name your campaign for internal use.

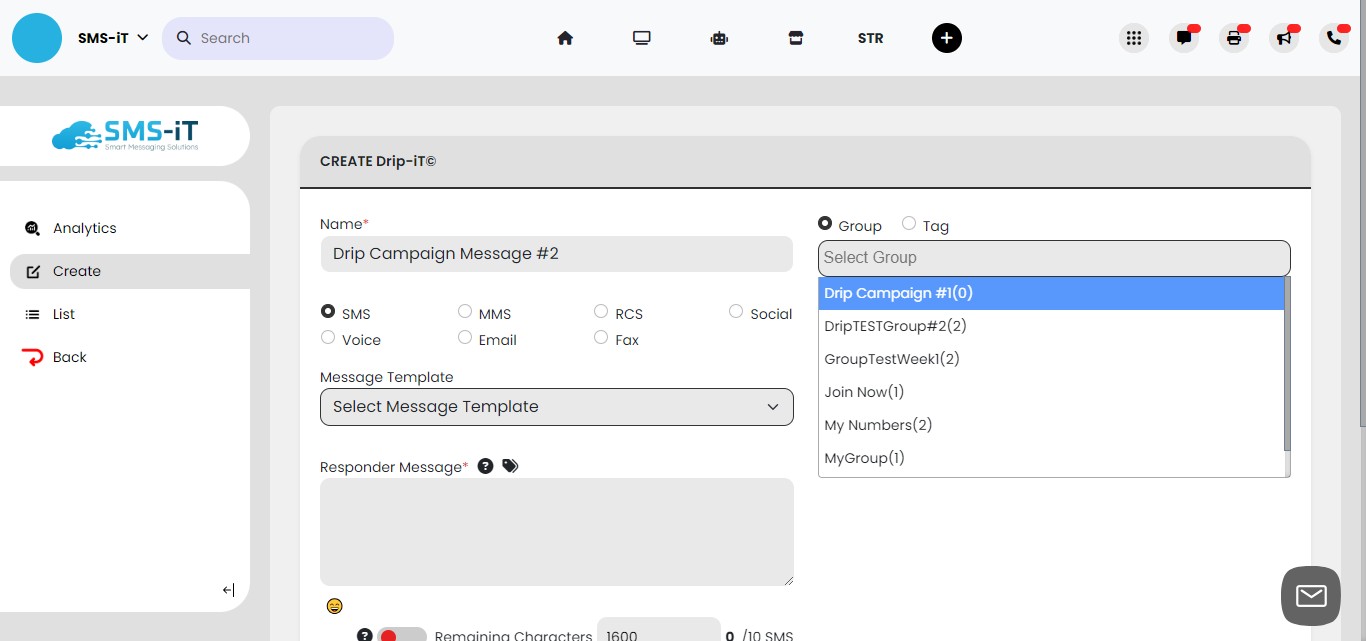
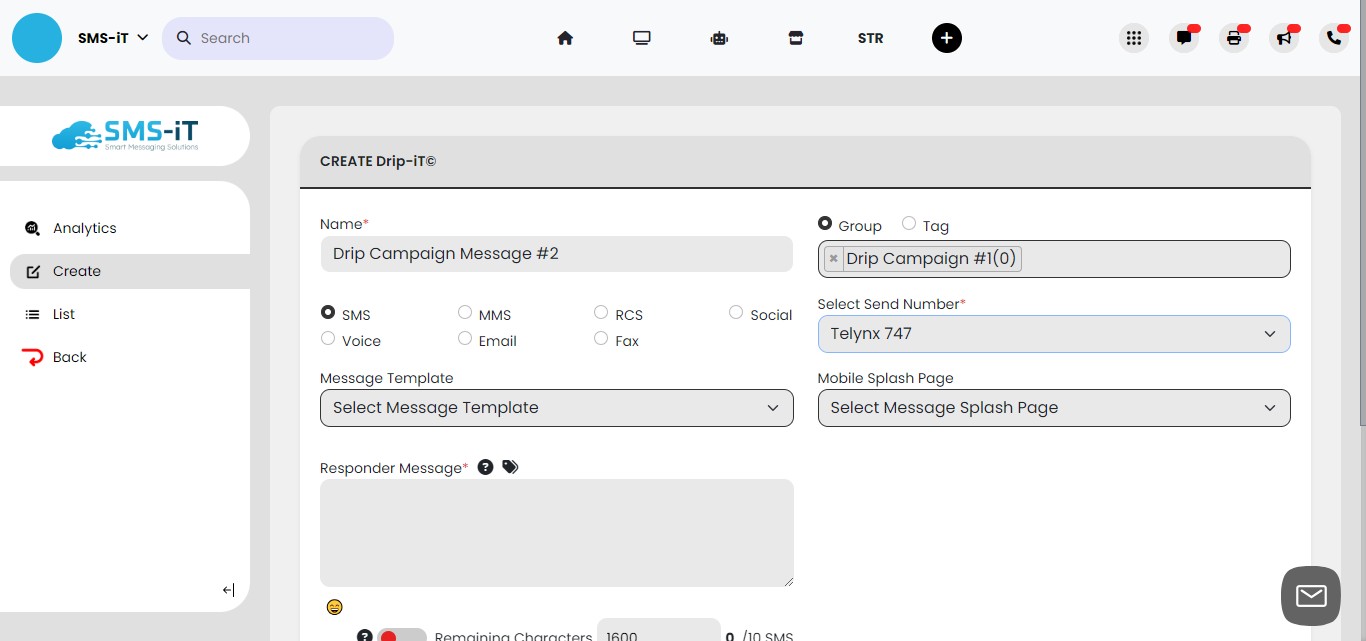
From the "Group" pull-down menu, select the group you just created. For our demo, we're selecting "Drip Campaign #1."
Select the channel of communication from the available choices. Additionally, if you click on "Social," you'll see all the social communication channels like Facebook DM and WhatsApp. We'll be using SMS texting as our channel, as it's the most commonly used method.
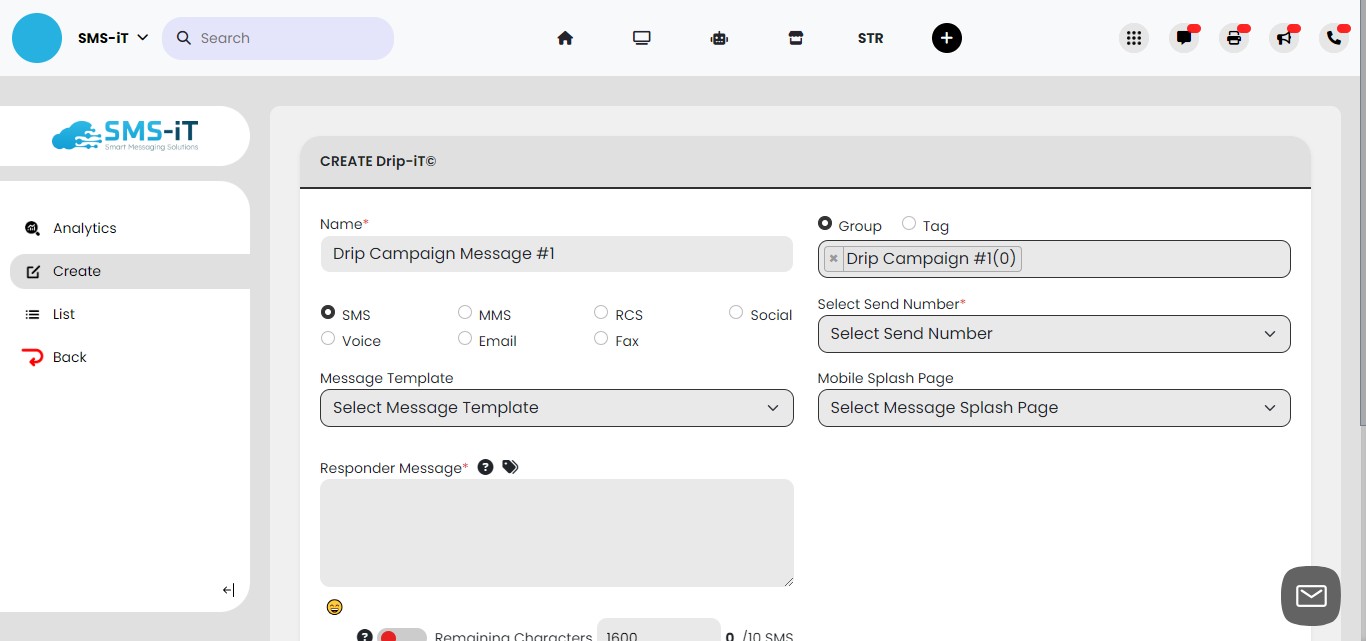
From the "Select Send Number" menu, choose the number you'll be sending your message from to your opted-in customer. Note: It's recommended you use the same number you used for your QR code opt-in.

Compose your first message to your new customer.
Click here

For "Message Delay After Signup," choose one minute (recommended). Note: When customers opt-in, they'll receive an initial message explaining how to opt-out and that standard messaging rates apply. So, this is their second message but the first from your business.
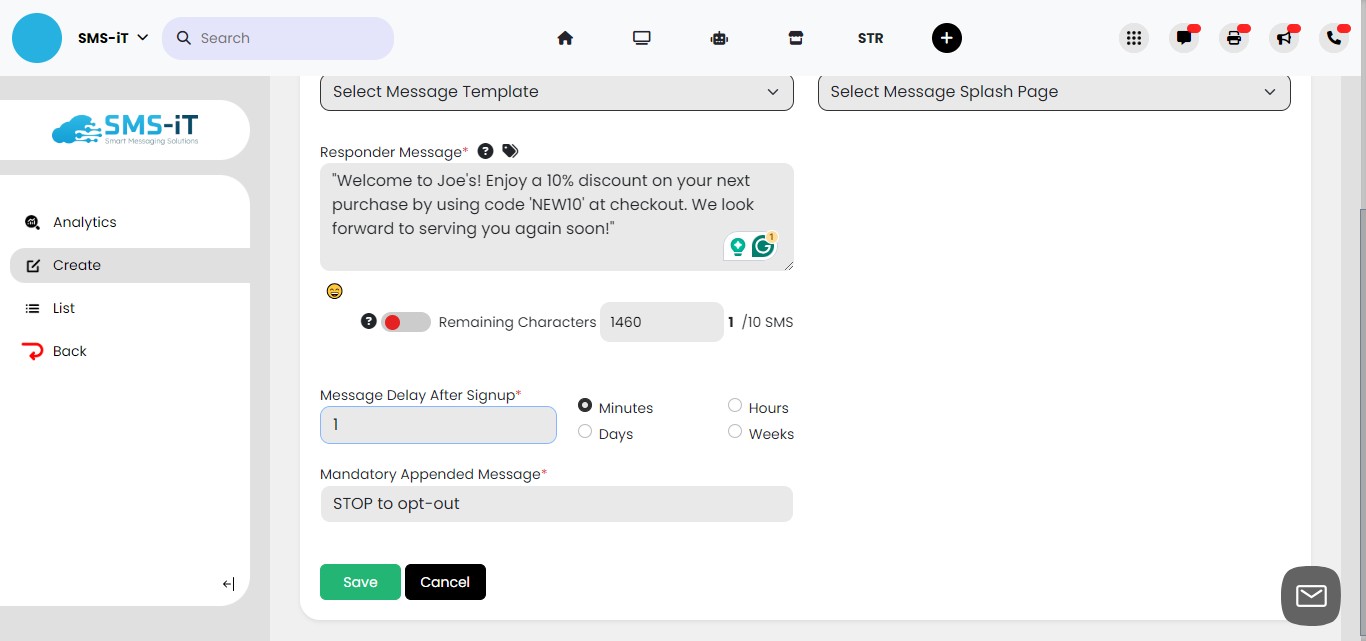
The "Mandatory appended message" will be added to the end of your message. This is a "STOP" message to opt-out, ensuring your business stays compliant.
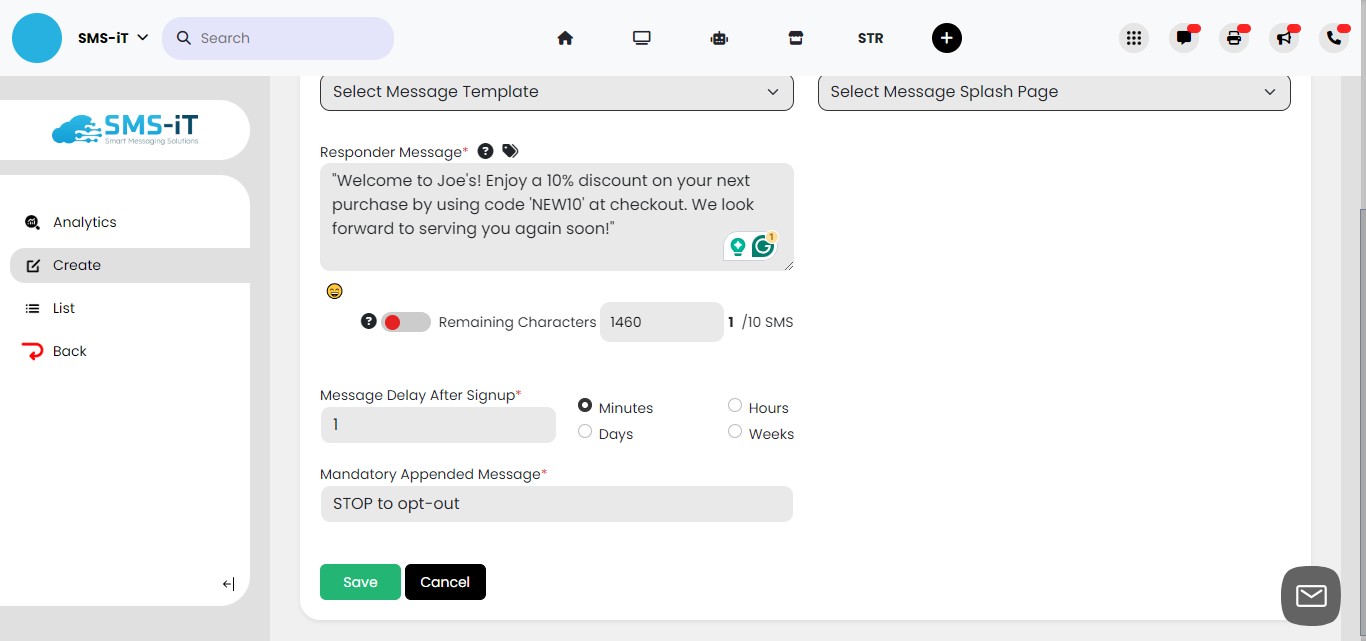
Click on "Save"
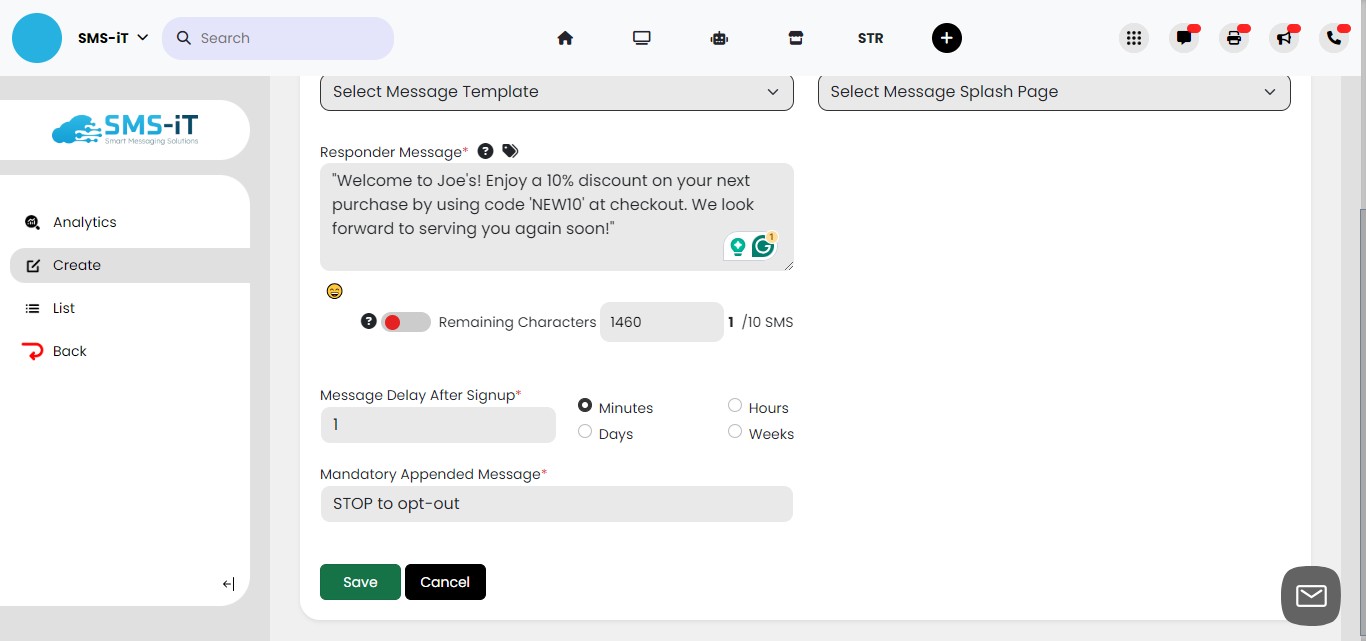
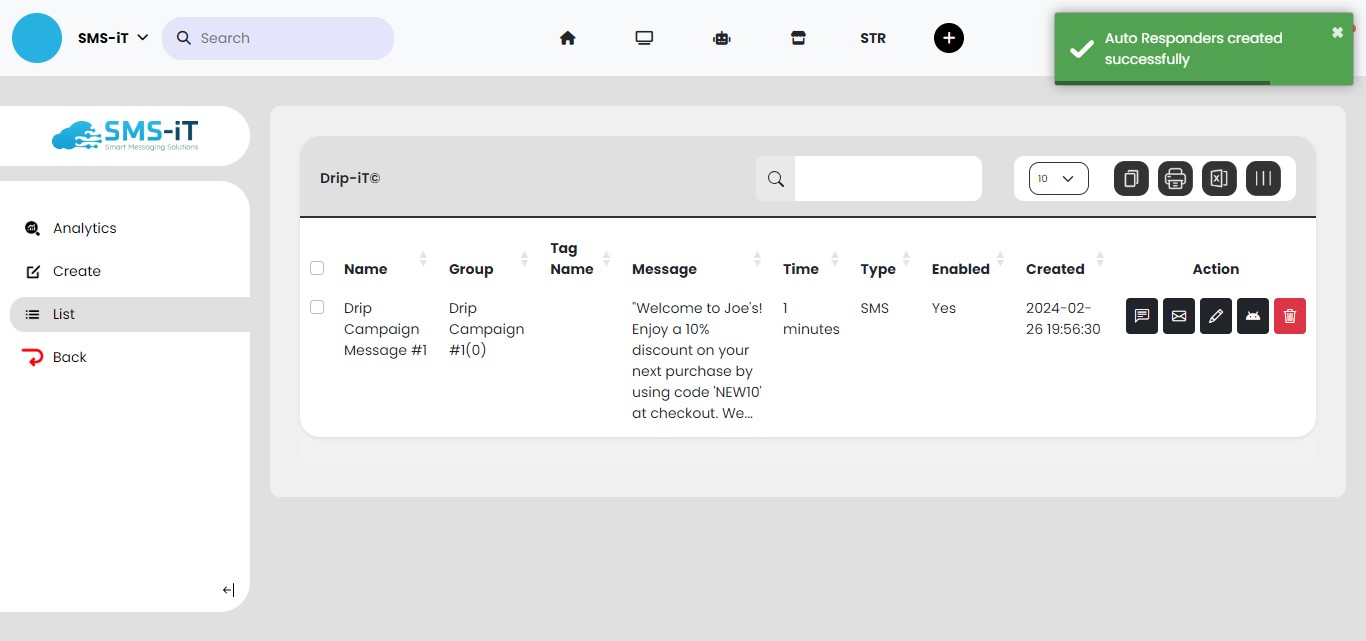
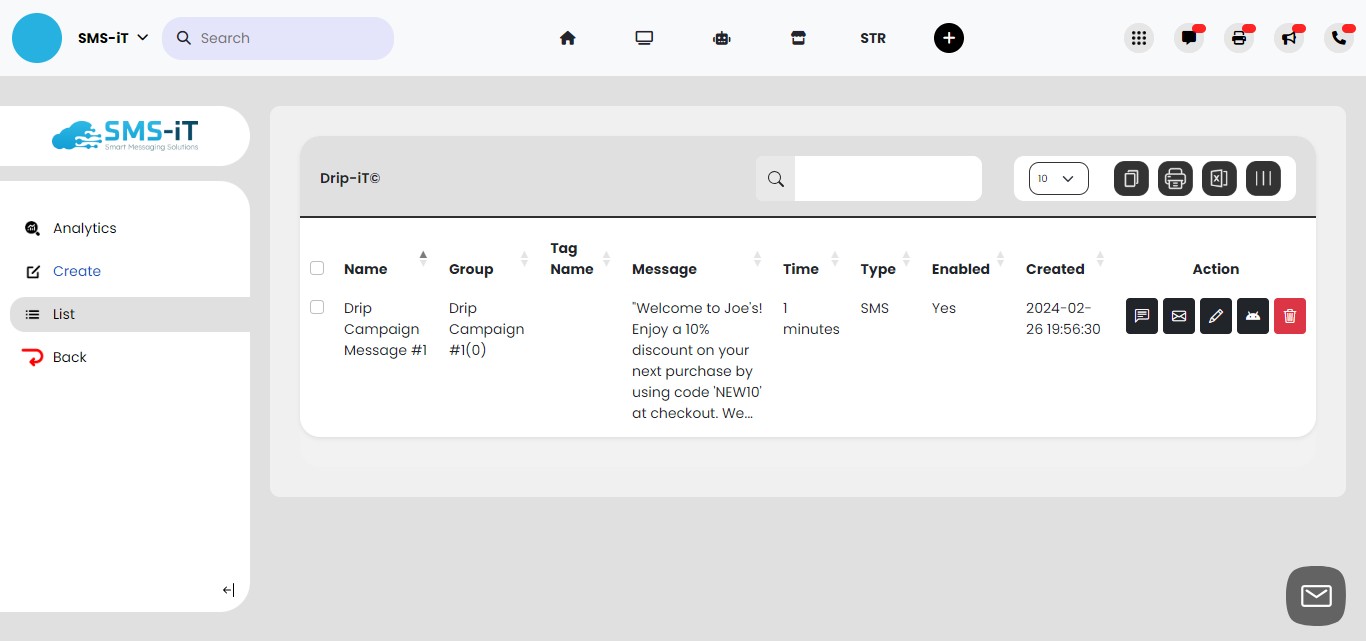
Your first message has been crested.
Edit Your Message
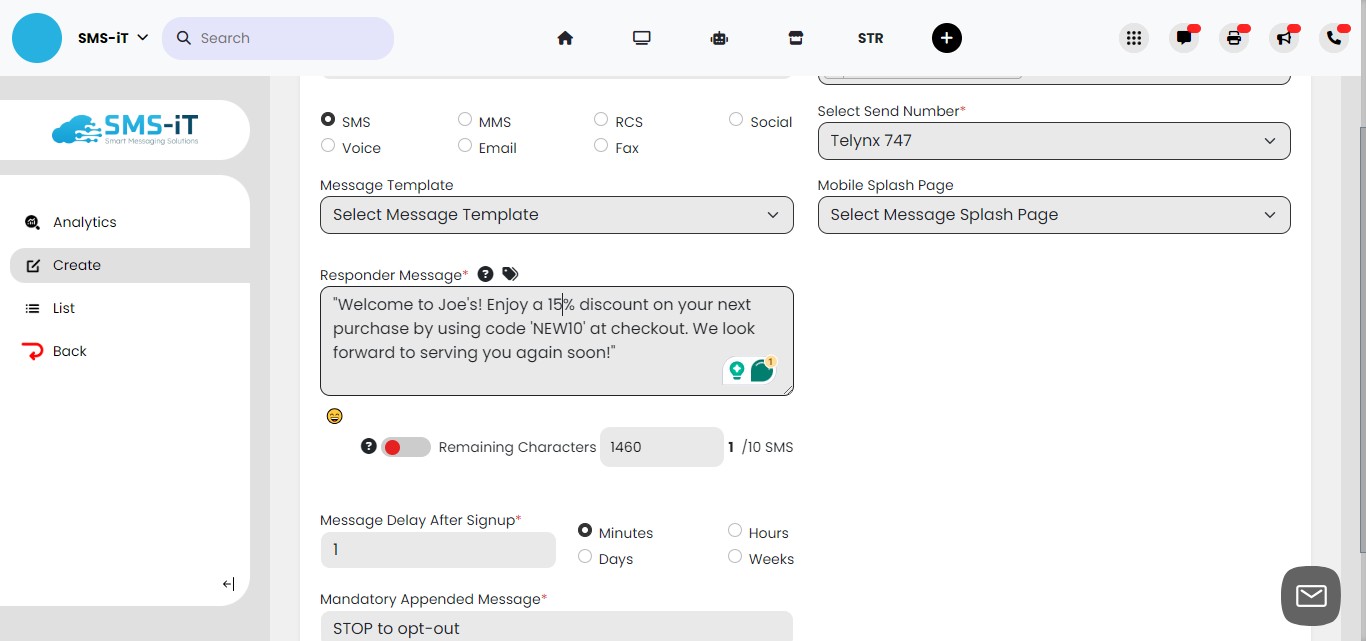
If you want to edit your first message click on the "Pencil" icon.

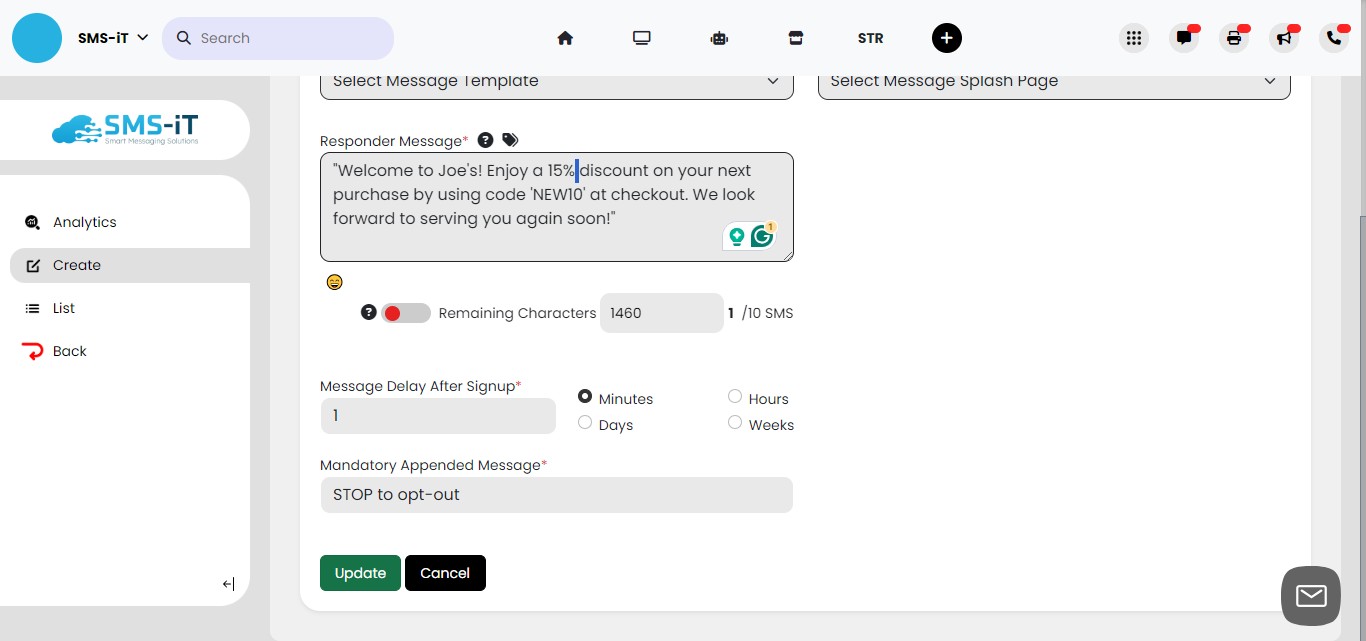
In this example we increased the discount to 15%.
Click on "Update"
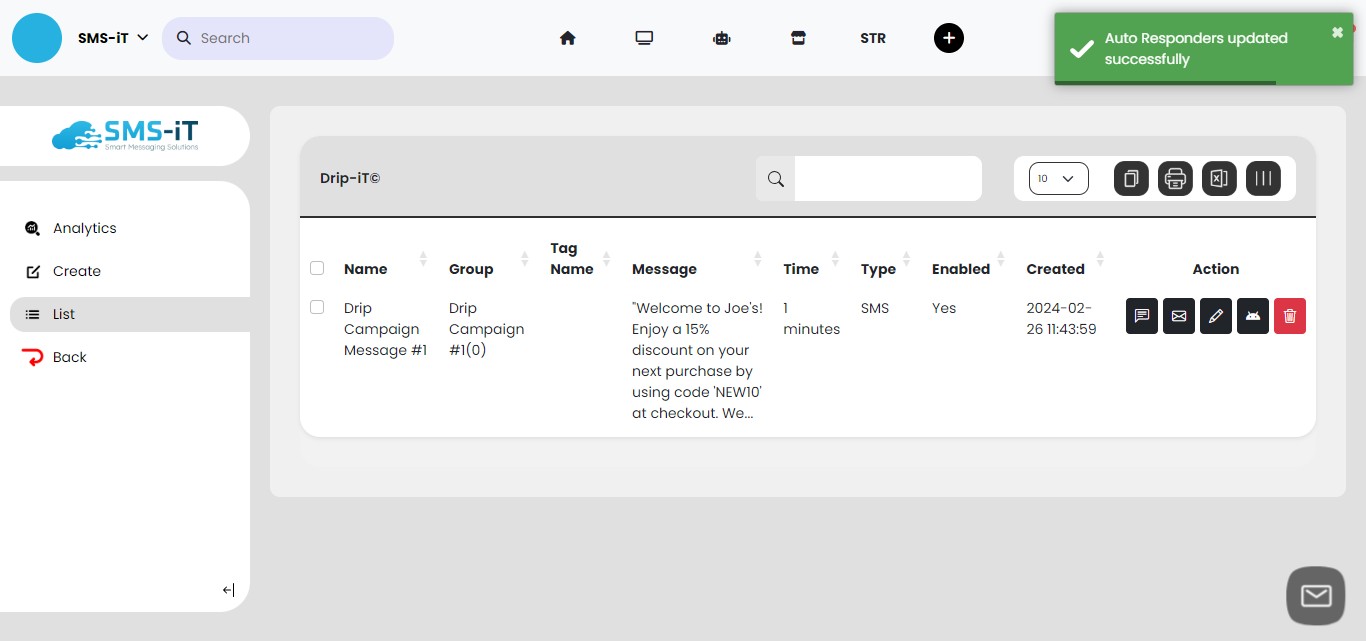
And your message has been updated.
Create a second message.
To recap, your customer has opted-in to receive SMS messages from your business. They have then been sent the first message from your business (the first drip message). Now, maybe after one day or maybe a week, you'll send a second message from your business, and you can send as many new customer messages as you feel you should. And that is why it is called a drip campaign, because the messages slowly drip to the customer at your pace.
Click on "Create"
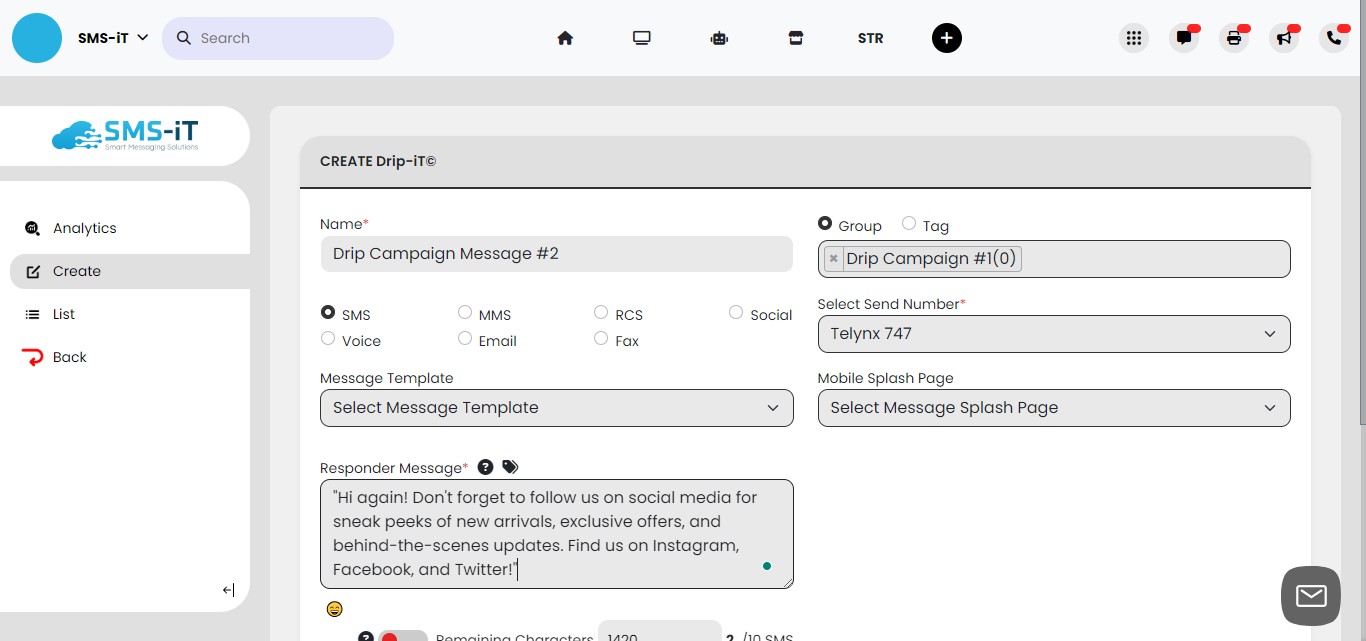
Name your second message.
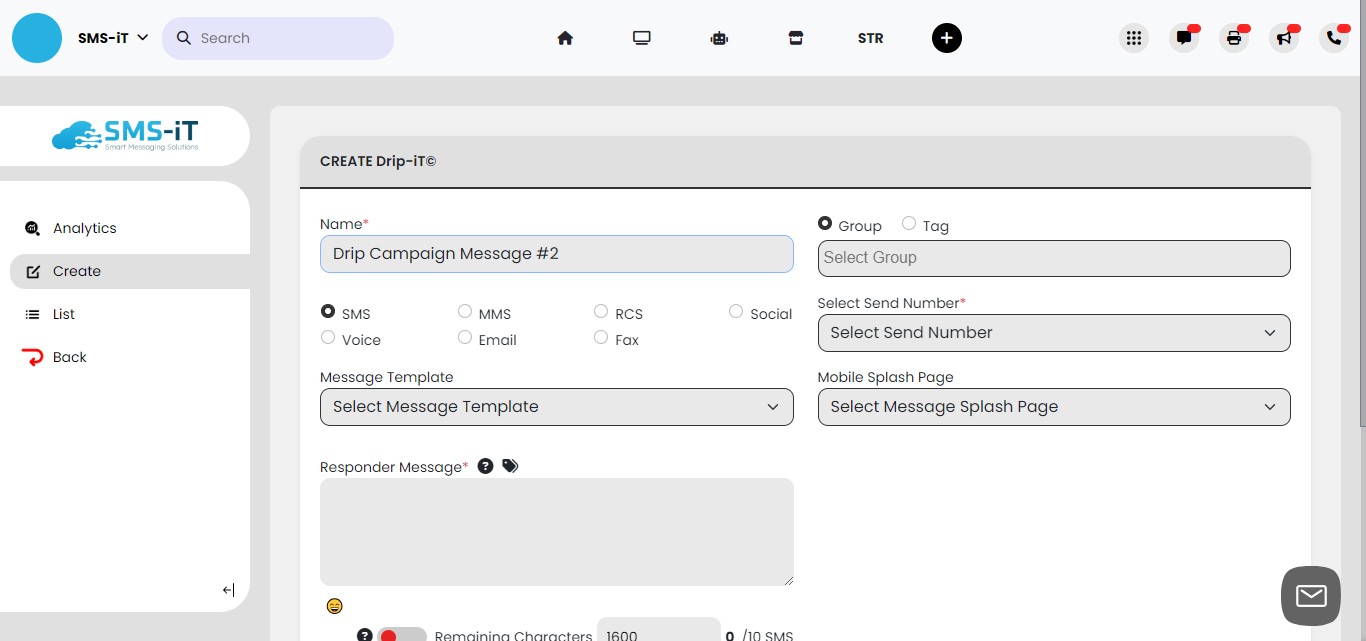
Select you drip campaign from the pull-down menu.
choose the communication channel. SMS in this example.

"Select Send Number" is recommended to be the same number you chose for your first message.
Compose your second message.
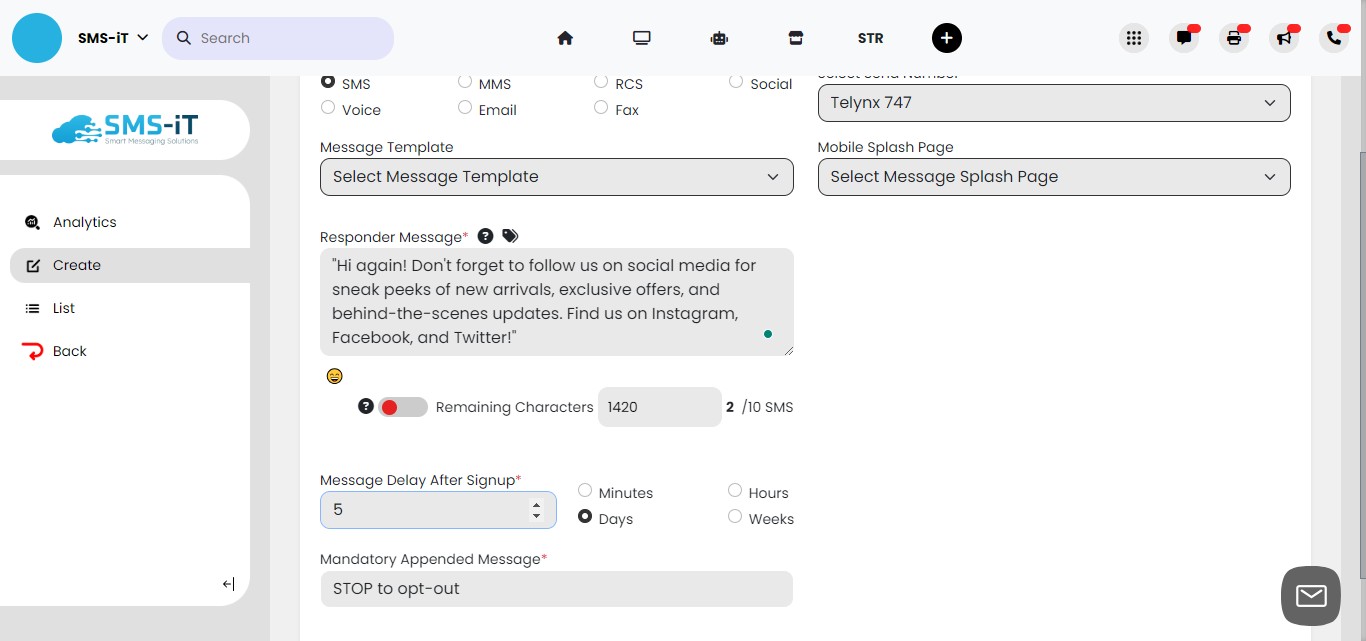
For "Message Delay After Signup," we chose, for this example, 5 days before we contact the customer again with a new message.
Click on "Save"
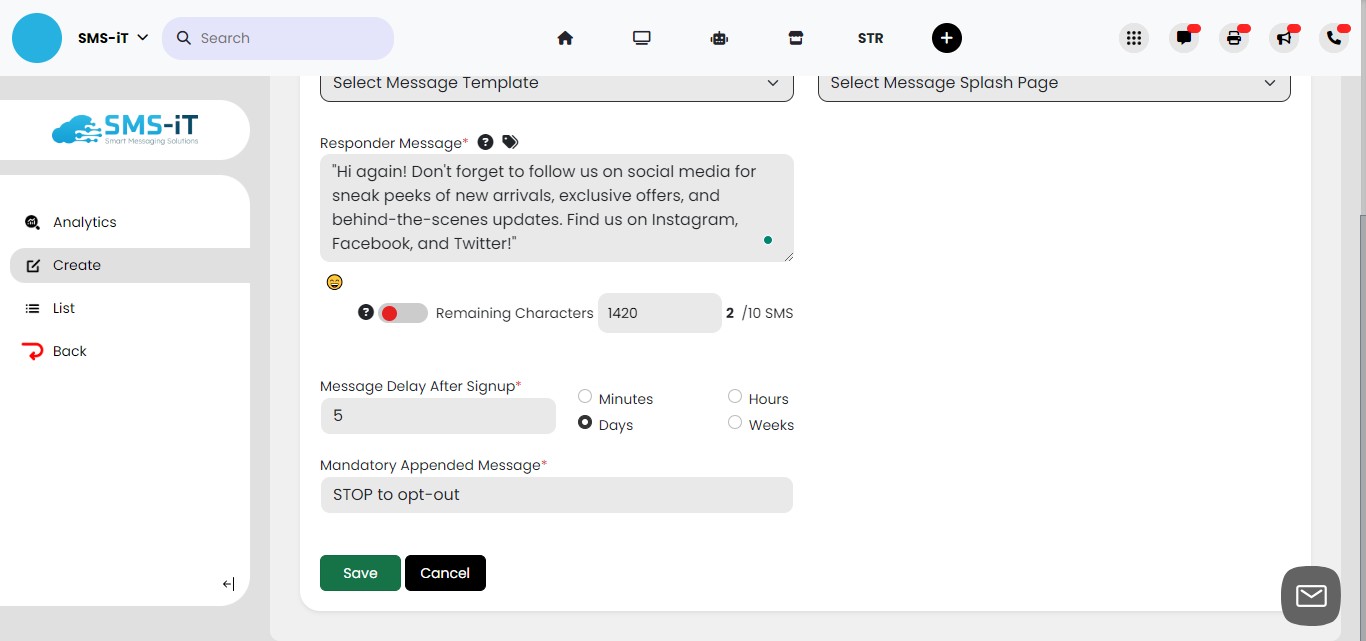
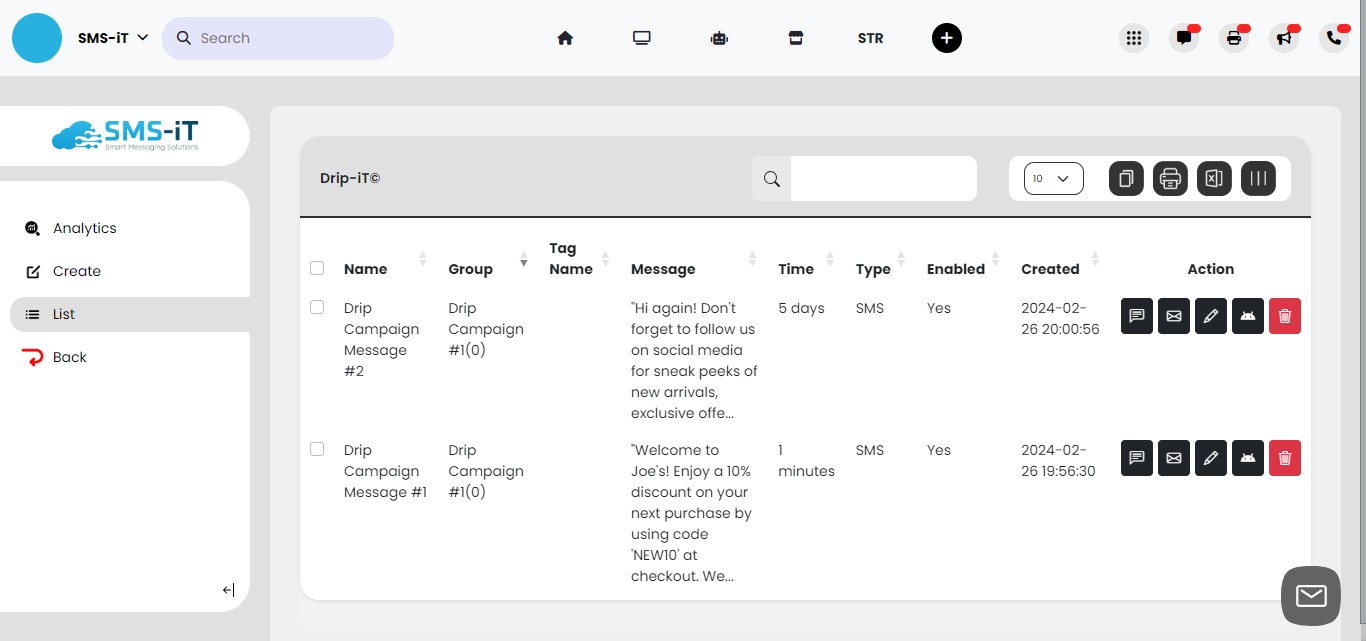
Your second message has been created.

The "Time" field determines the order in which your customer will receive your message. You can edit it at any time during your drip campaign. Additionally, you can edit the messages based on feedback from customers.

Test your drip campaign.
You can test your new drip campaign by opting in to the drip campaign group and testing whether the dripped messages come to your mobile over the time you selected for each drip message.
Click the "Menu" icon.
Click on "Group"
Click the QR code icon.

Click this image
Another way to add a customer to the group is through the keyword. In this example, we have the phrase "Drip Campaign #1," but you may want something simpler like "Join" or "Join Now" when you're creating the group. Then, in your advertising, you would simply put "Text 'Join Now' to 1-555-786-7654." Of course, QR codes are a much easier way for your customer to join. Also, in other guides, we will show you how to create an opt-in form you can have on your website or email your customer a link to facilitate an easy opt-in process
This concludes the tutorial. Of course, you can add more messages to your drip campaign and find many other uses for sending a customer a sequence of messages. Here are a few:
Welcome Series: Send a series of messages to new subscribers or customers welcoming them to your business, introducing them to your products or services, and providing helpful tips or information to get them started.
Product Education: Create a drip campaign to educate customers about your products or services over time. Send out information about features, benefits, and use cases gradually, helping customers understand how to get the most out of what you offer.
Promotional Campaign: Plan a series of messages to promote a specific product launch, sale, or event. Start with teaser messages to build anticipation, followed by details about the promotion, reminders as the deadline approaches, and a final message thanking customers for their participation.
Re-engagement Campaign: Reach out to inactive customers with a drip campaign designed to re-engage them with your business. Offer special incentives or discounts to encourage them to return, share success stories or testimonials to remind them of the value you provide, and provide helpful content to reignite their interest.
Onboarding Process: Guide new customers through your onboarding process with a drip campaign that provides step-by-step instructions, tutorials, and support resources. Help them familiarize themselves with your platform or services, answer common questions, and encourage them to take key actions to get the most out of their experience.