
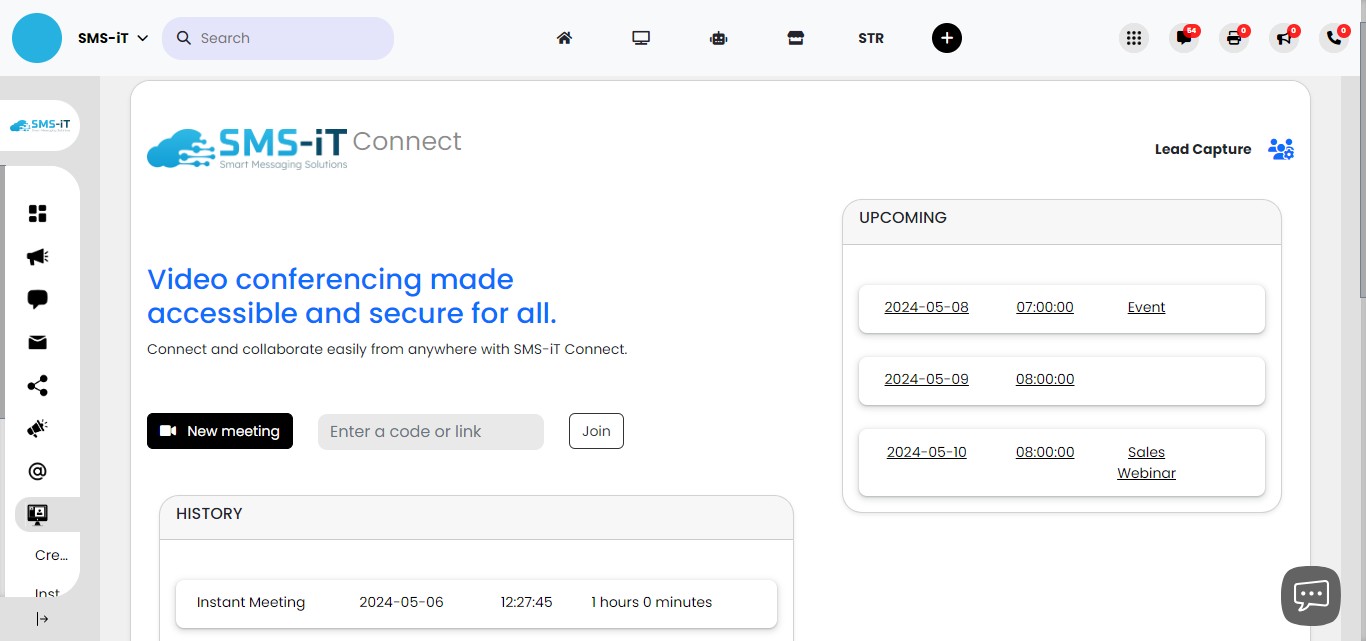
SMS-iT Connect
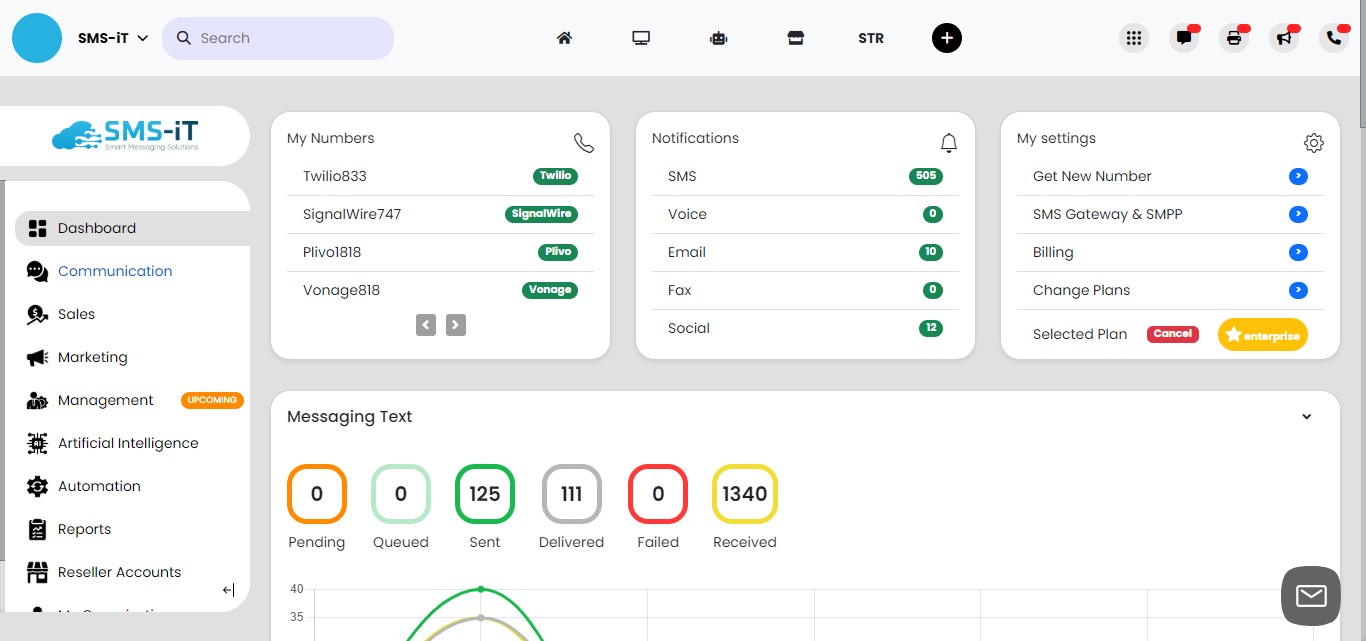
Navigate to https://aicpanel.smsit.ai/home
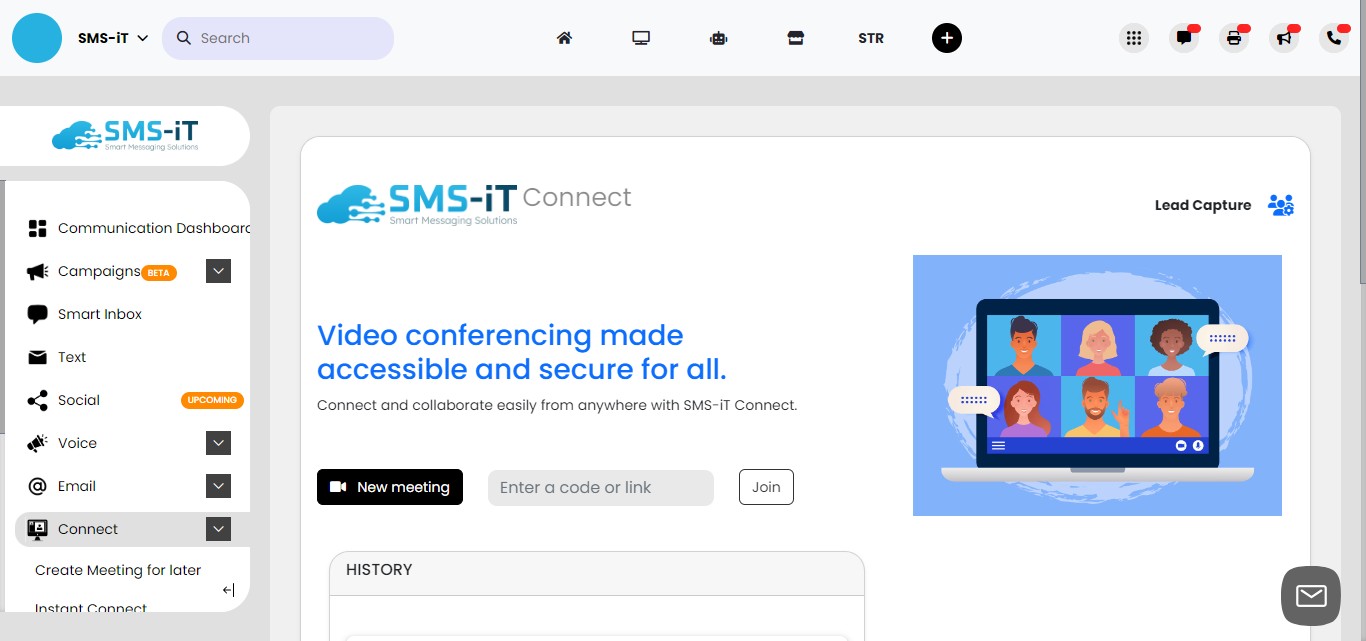
SMS-iT Connect is a feature-rich video conferencing platform that streamlines the process of hosting engaging webinars and meetings while capturing valuable lead information. With customizable registration forms, leads are automatically added to your SMS-iT database for easy follow-up communication. The AI-powered chat assistant, trained on your brand and specific topics, provides real-time support and keeps your audience engaged within the chat interface. Interactive tools like a virtual whiteboard and the ability to share various assets enhance collaboration and content delivery. SMS-iT Connect extends the value of your events by keeping the meeting room open after the scheduled end time. Attendees can revisit the space, review materials, and continue interacting with the AI chatbot, fostering ongoing engagement. From lead capture and real-time interaction to post-event follow-up, SMS-iT Connect empowers you to create immersive video conferencing experiences that deliver content and build meaningful connections with your leads and customers.
Click on "Communication"
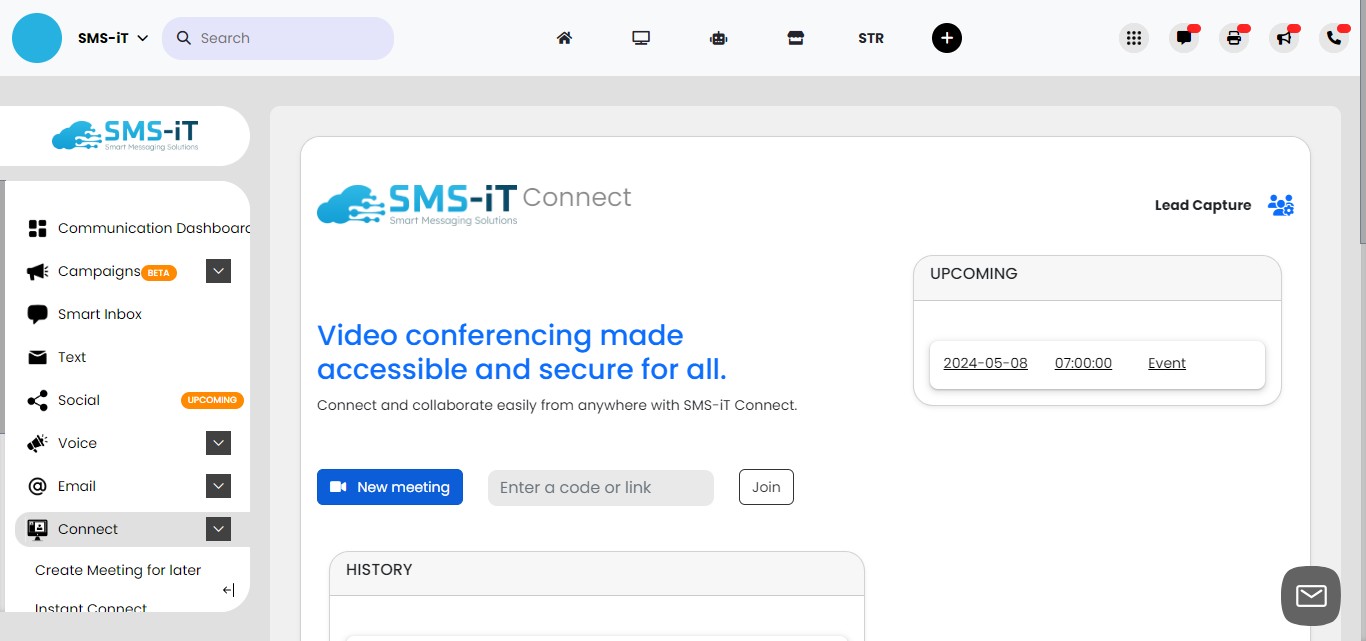
Click on "Connect"
Lead Capture
The Lead Capture feature has several key benefits: - Collects valuable contact information from interested prospects before your webinar or meeting - Automatically adds captured leads into your SMS-iT system and groups for easy follow-up - Allows you to continue building the relationship and communicating with leads via SMS text and other channels - Provides a professional branded experience with your logo, intro video, footer message, and legal agreement - Seamlessly integrates with SMS-iT's video conferencing to get contacts into your meeting after capturing their info
Click on "Lead Capture"
Click on "Activate to collect info before meeting"
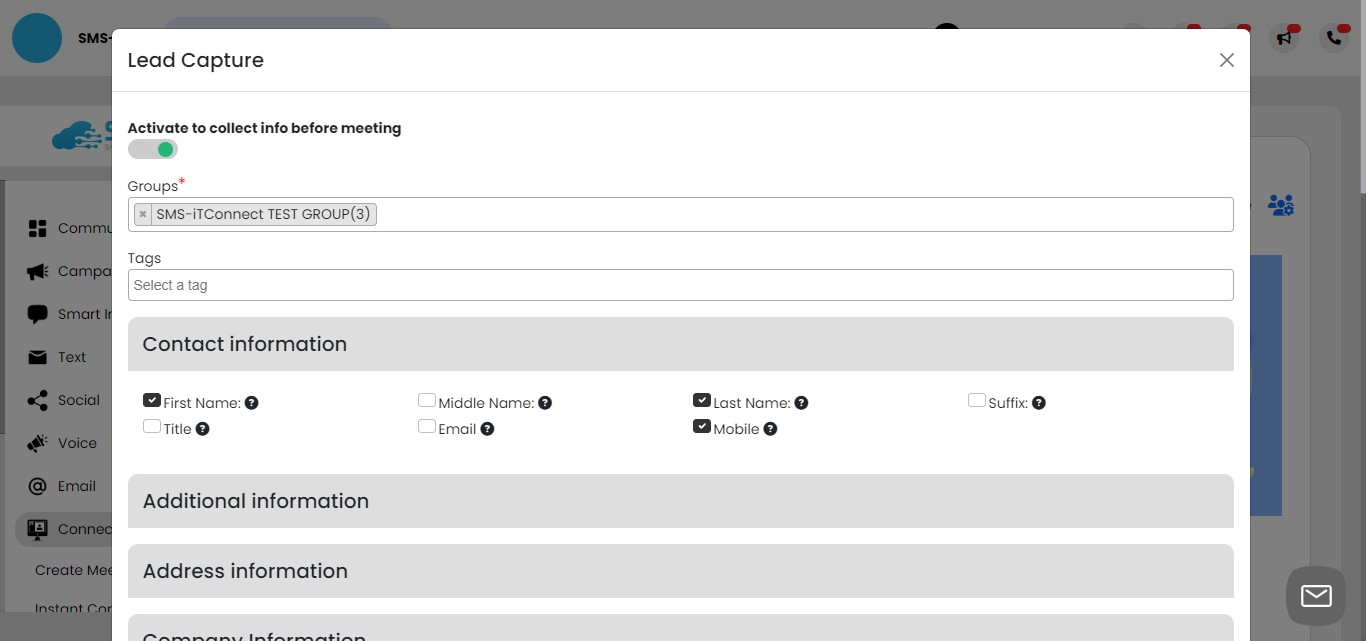
When setting up your Lead Capture form, you must select at least one of your contact groups that the customer will be added to after submitting the form. This automatically enters that customer into your SMS-iT database under the designated group(s). From there, you can easily follow up with that contact via SMS text messaging and other communication channels available in SMS-iT. Proper group segmentation allows you to send targeted messages and efficiently manage your leads. Note: if you do not know how to create a group please see this tutorial: https://training.smsit.ai/guides/eac32a1d-ba4a-451e-8472-4816c85eb363

Customizing Required Lead Information: When setting up your Lead Capture form, click on the fields representing the information you want to collect from customers before they can join your conference or video call. This allows you to customize the required data points based on your specific needs and preferences.
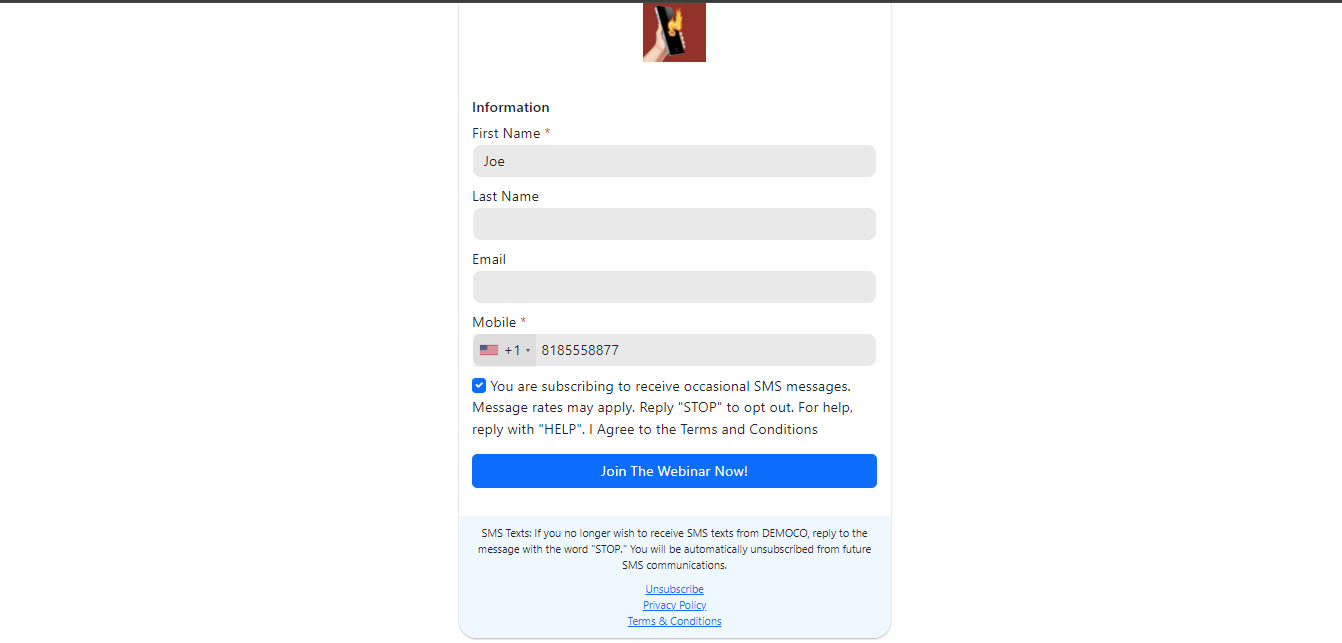
For each field, you can determine whether it is mandatory or optional for the customer to fill out. Mandatory fields, marked with a red asterisk, must be completed before the customer can proceed to join the meeting. Optional fields provide additional information but can be skipped if desired. Common lead information fields include: - First Name - Last Name - Email Address - Phone Number - Company Name - Job Title Select the fields that align with your lead qualification criteria and the data you need to effectively follow up and engage with your customers. Remember, striking a balance between gathering essential information and keeping the form concise can help improve completion rates. By customizing the lead capture fields, you ensure that you collect the most relevant and valuable information from your customers before they enter your conference or video call.

Common lead information fields include:
[](url)
**-** First Name
**-** Last Name
**-** Email Address
**-** Phone Number
**-** Company Name
**-** Job Title
[](url)
Select the fields that align with your lead qualification criteria and the data you need to effectively follow up and engage with your customers. Remember, striking a balance between gathering essential information and keeping the form concise can help improve completion rates.
[](url)
By customizing the lead capture fields, you ensure that you collect the most relevant and valuable information from your customers before they enter your conference or video call.](https://assets.guidejar.com/uploads/9867e477-6771-439f-861f-13b386459b07/Fn7AYqjYuCNi6qxp2rJ7maNAQdg1/fd94aa79-2693-4c70-8321-8507377e832d/1714835642064.jpeg)
Upload your "Logo"
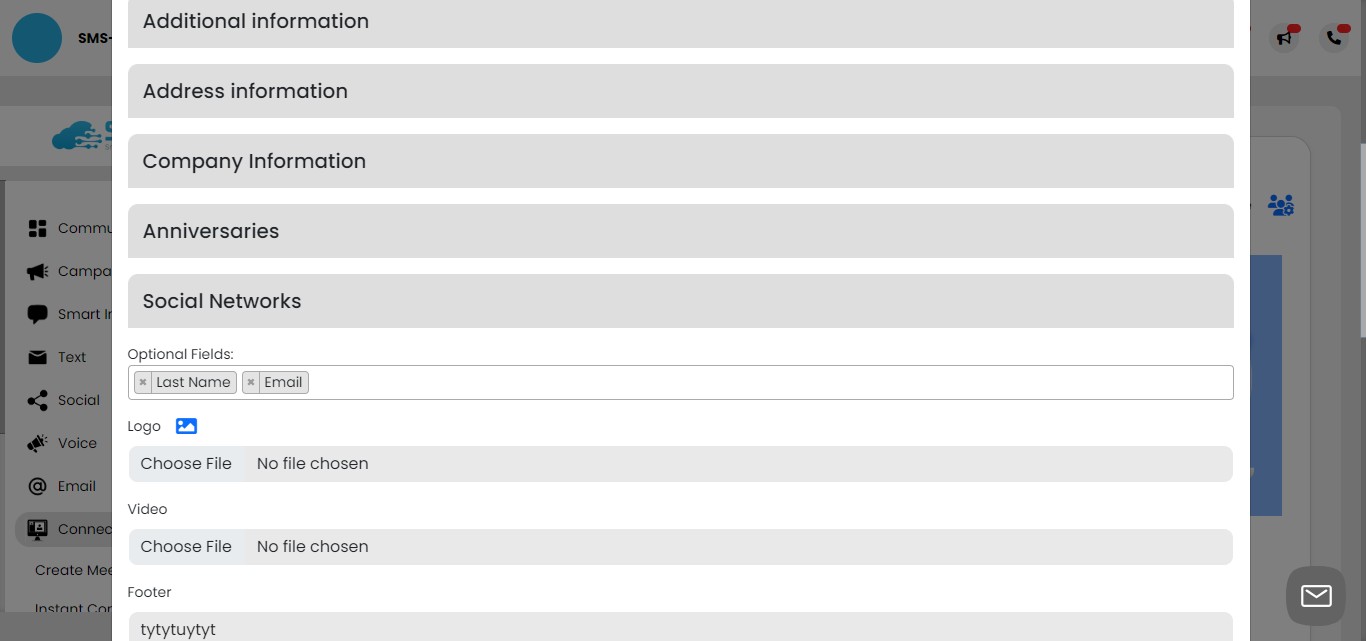
Adding an Explainer Video to Your Lead Capture Form:
Enhance your Lead Capture form with an engaging explainer video that highlights the value and benefits of joining your meeting or webinar. Focus on key aspects that resonate with your target audience:
1. Emphasize relevant topics and themes 2. Showcase speaker expertise and credibility 3. Outline unique insights and practical value 4. Tease interactive features and exclusive offers 5. Keep the video concise, engaging, and visually appealing
Upload or link your explainer video to the Lead Capture form in SMS-iT Connect. This compelling content will communicate your meeting's value proposition, increase customer interest, and boost registrations and attendance.
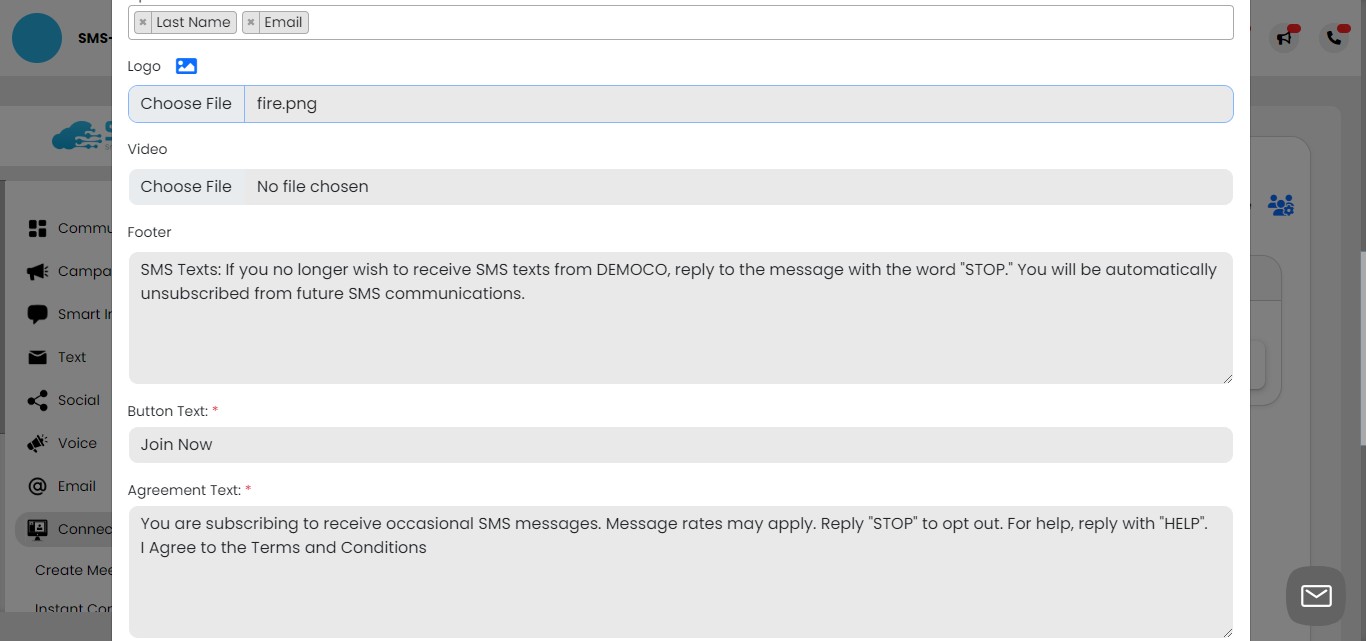
Customizing the Footer Message:
Use the footer section of the Lead Capture form to include additional information about your meeting or any other relevant details you want to convey to potential attendees. This space allows you to provide clarity, set expectations, or highlight important aspects of the event.
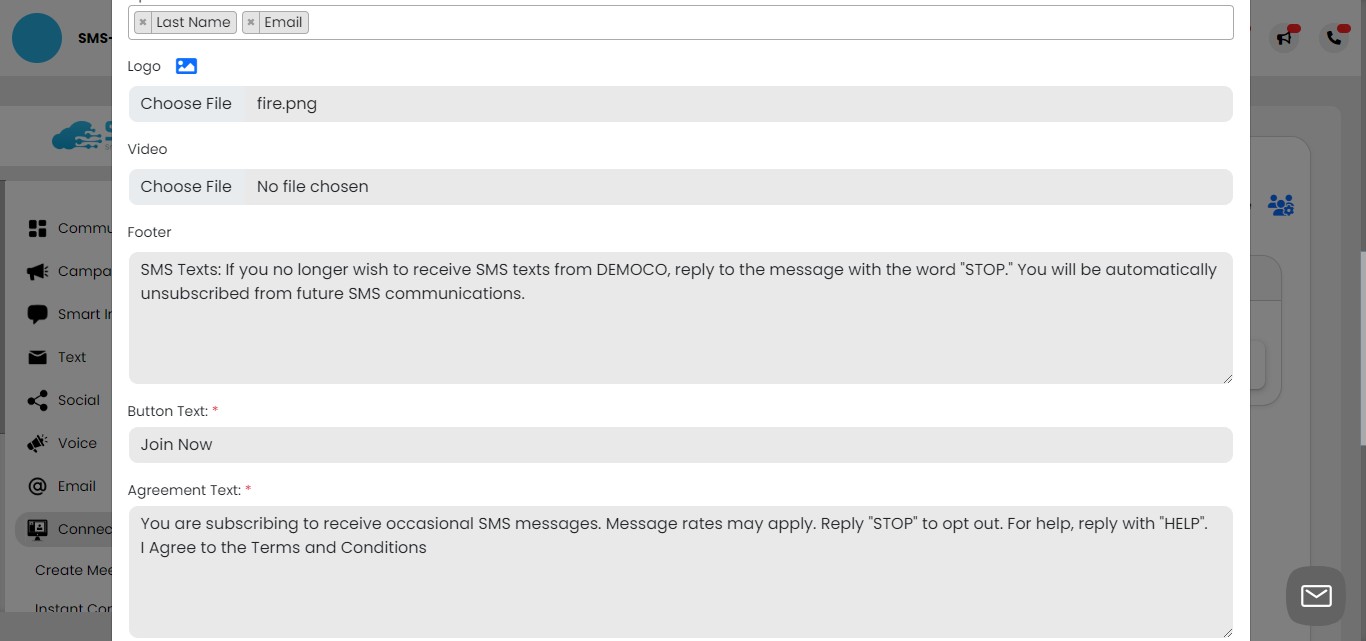
Join Button Text: Customize the text that appears on the button the customer clicks to enter your meeting room after submitting the Lead Capture form. We used "Join The Webinar Now!" for this example, but this can be changed to fit your specific meeting, webinar or event.

Adding an Agreement Checkbox: If you require customers to agree to specific terms, conditions, or legal agreements before joining your meeting, you can use the "Agreement Text" field to input the necessary information. Customers will need to check a box indicating their agreement to proceed with registration. This feature helps ensure compliance and protects your business interests.

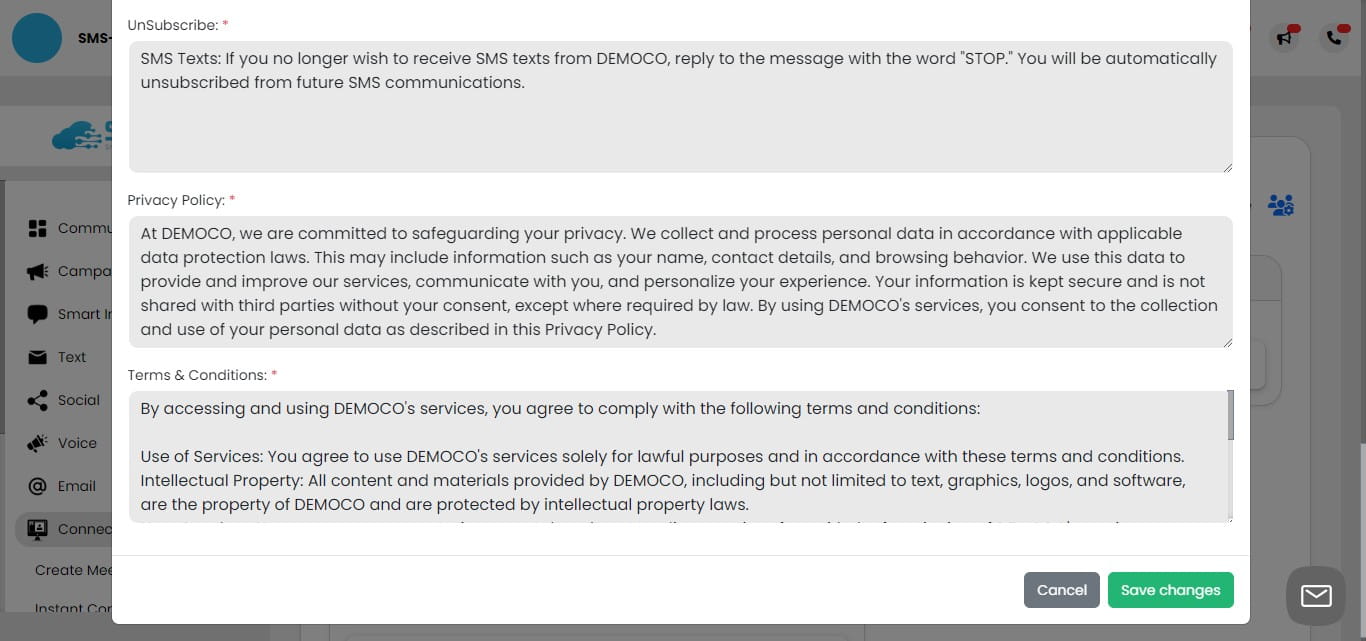
Click on "UnSubscribe:"
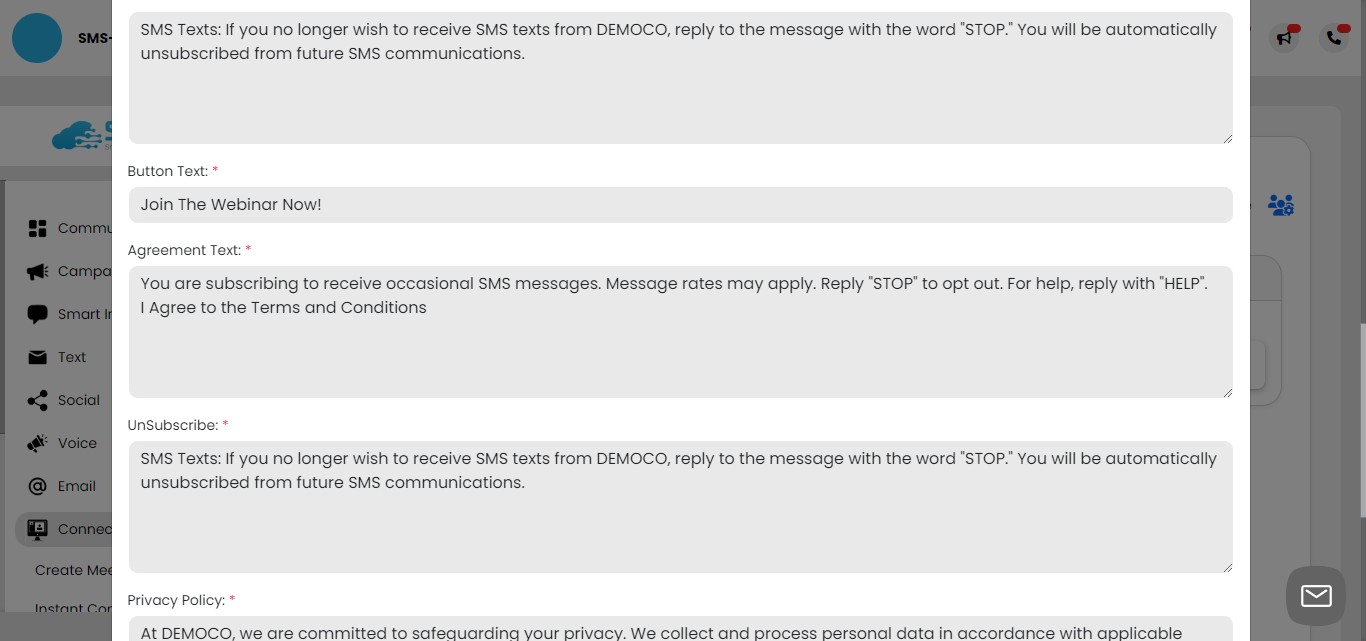
Privacy Policy: Provide a link and/or your privacy policy in the Lead Capture form.
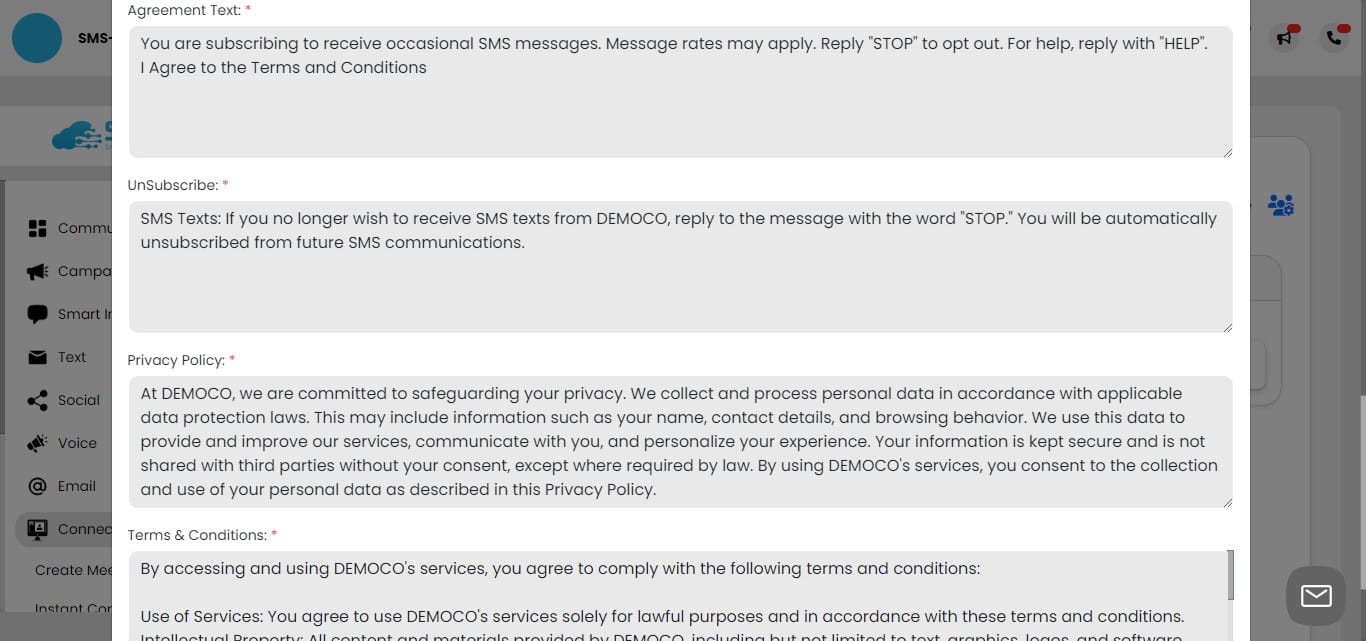
Terms and Conditions: Include a link and/or the terms and conditions in the Lead Capture form to set clear expectations and legal boundaries for the use of your services and the participation in your meeting or webinar.

Click on "Save changes" or save to save your lead capture form.
View and test your Lead Capture Form
View and Test Your Lead Capture Form: Before using your Lead Capture form in a live meeting or webinar, it's important to thoroughly review and test it to ensure that everything functions as expected. Familiarize yourself with the form's appearance, fields, and overall user experience. This allows you to identify any potential issues or areas for improvement prior to deploying the form to your audience.
Click on "New Meeting"
When testing your Lead Capture form, create a meeting using the "Create a meeting for later" option instead of starting an instant meeting. Lead Capture forms are not available for instant meetings.
"Create a meeting for later" generates a unique link to test the form without starting a live session. This allows for thorough evaluation of the form's functionality and user experience in a controlled environment.
While you can also use "Schedule in Calendar" to create a future meeting with Lead Capture enabled, "Create a meeting for later" is quicker and more convenient for testing purposes.

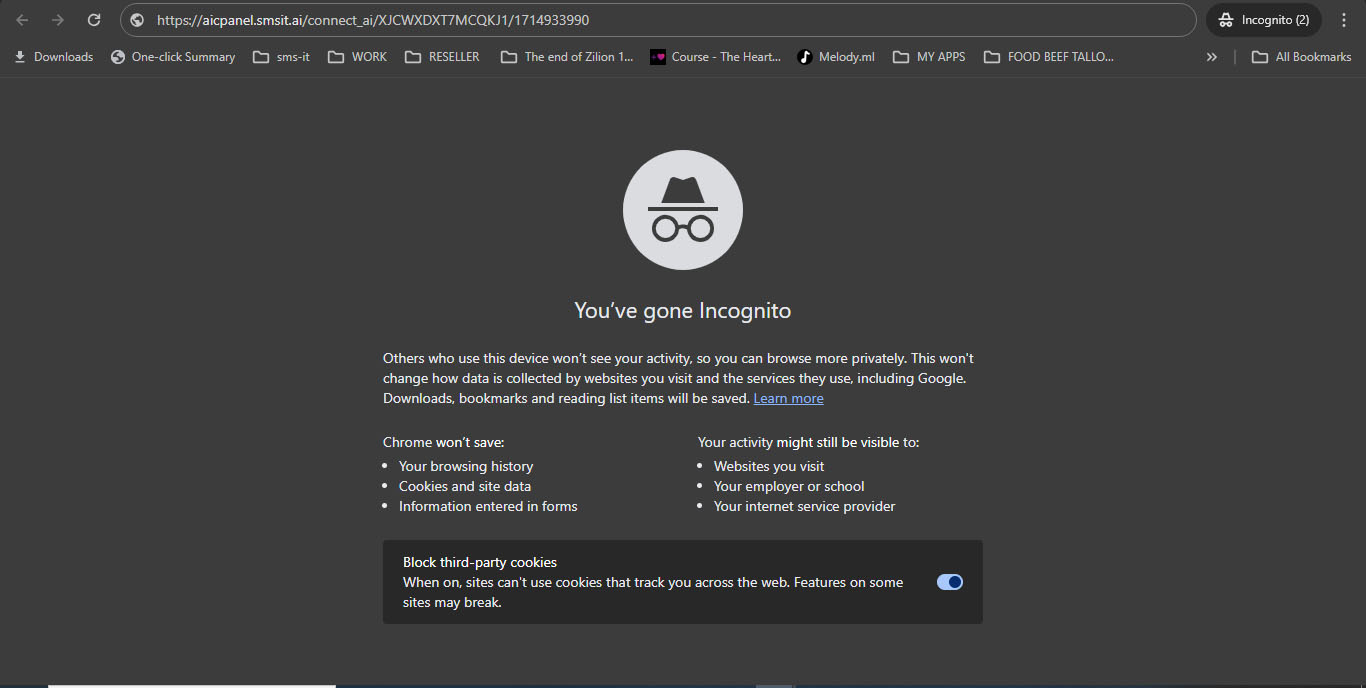
Testing the Lead Capture Form: To properly test your Lead Capture form, open an incognito window or use a different browser to access the meeting link. This simulates a new user experience without any existing cookies or session data.
Avoid pasting the meeting link into the same browser window you're using to access the SMS-iT Connect panel. Doing so will automatically start the meeting, bypassing the Lead Capture form and preventing you from seeing how it functions for new attendees.
Submitting Test Data: Fill out the Lead Capture form using test data, ensuring that you provide values for all mandatory fields marked with a red asterisk. Optionally, you can also fill in any additional fields to verify their functionality. Make sure to check the agreement box and click on the "Join The Webinar Now!" button to submit the form and proceed to the meeting room.
Verify if contact is entered
Verifying Lead Capture: After submitting the test form, the system will capture the provided contact information, such as the customer's first name and mobile number. This data will be automatically associated with the selected group or groups in your SMS-iT system, allowing for seamless follow-up communication.
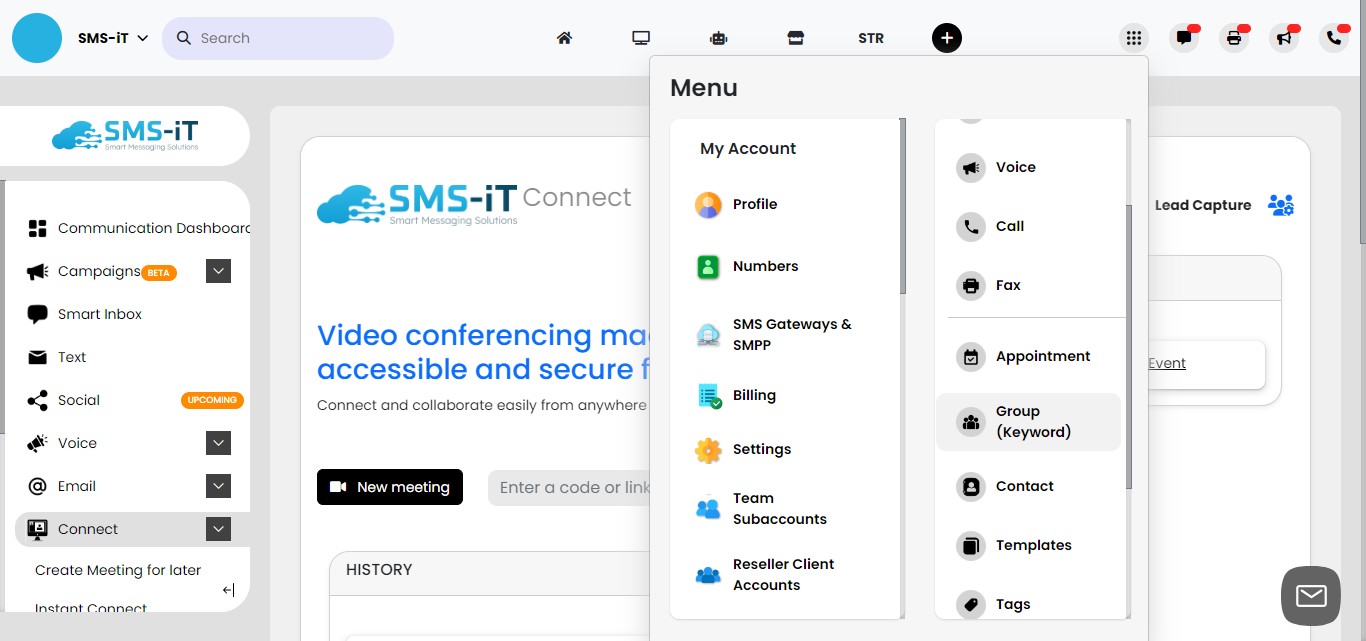
Click on "Menu"

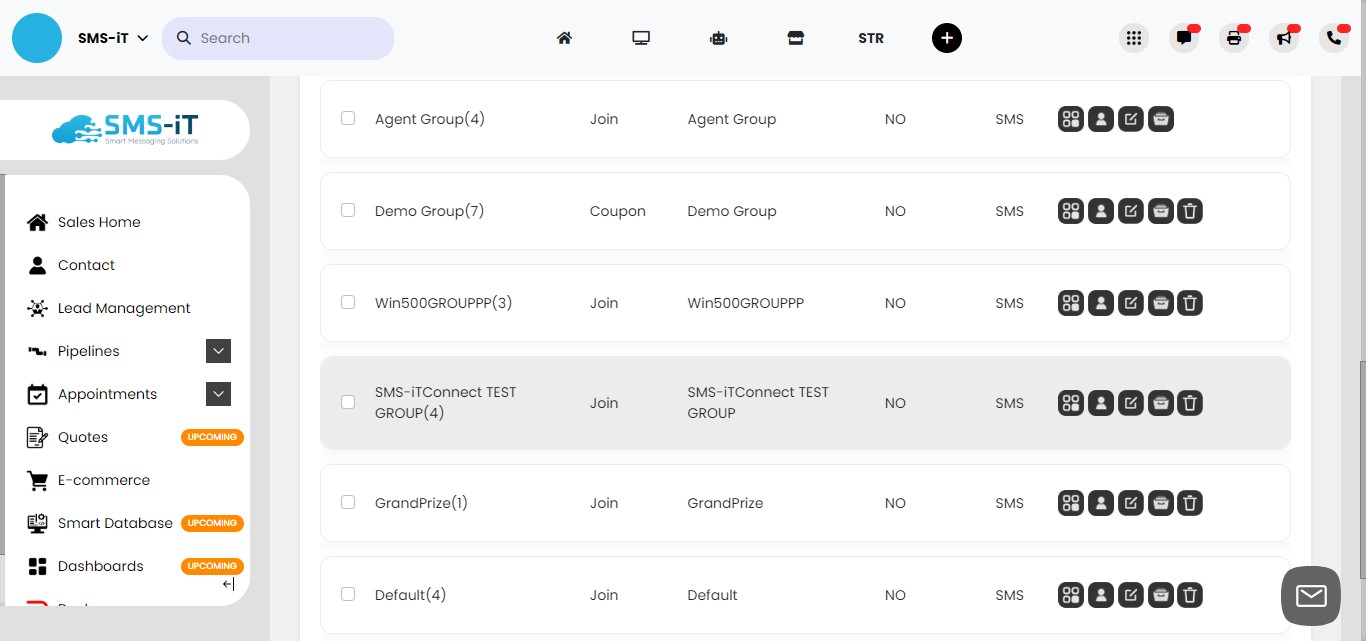
Click on "Group"
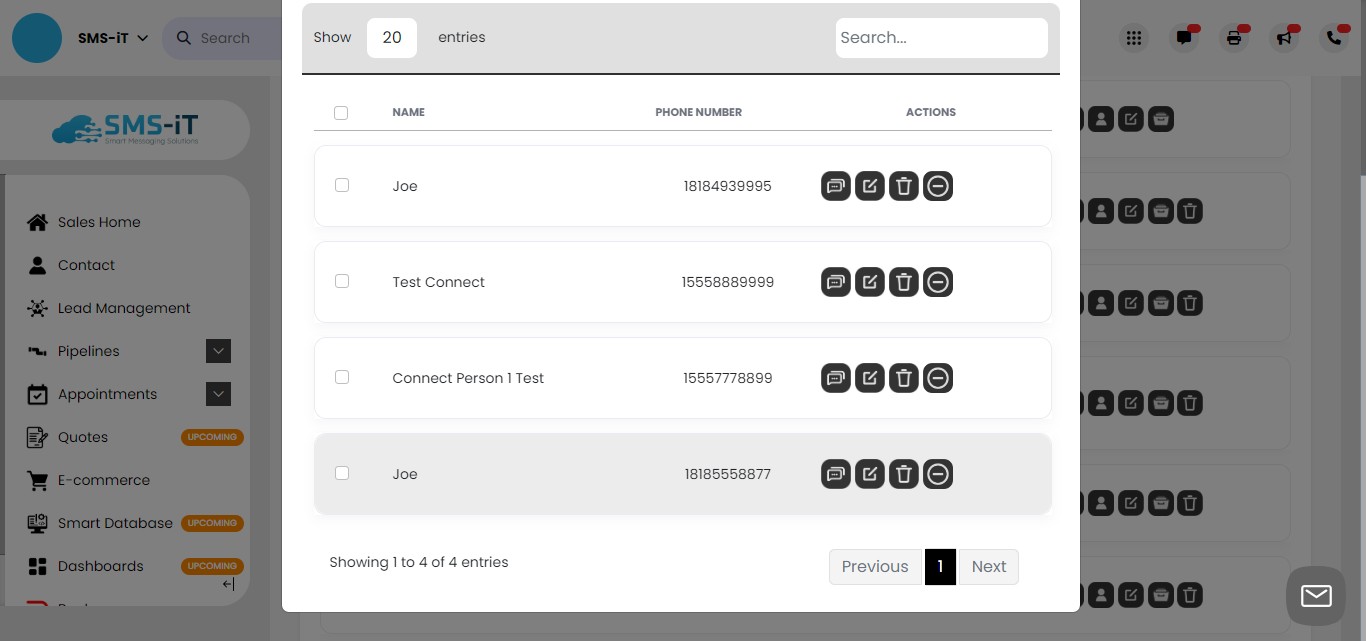
Click on the "People" icon.
Verify that the test entry appears in the list of contacts within the group.
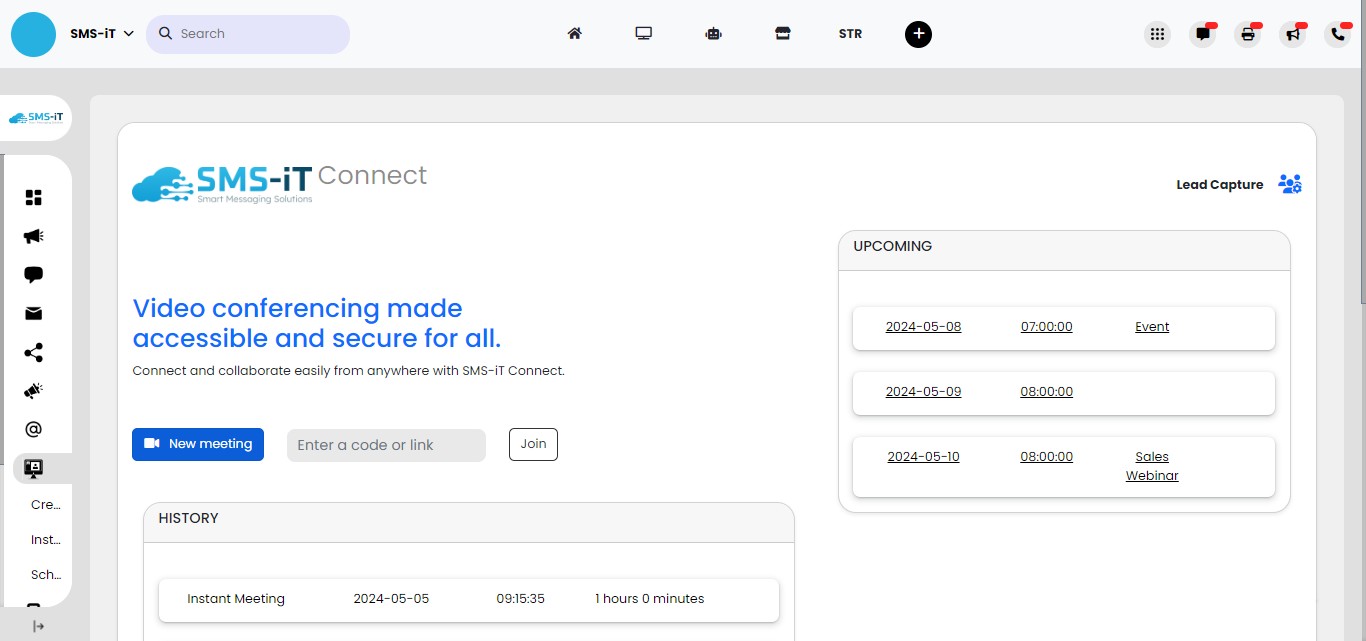
Creating a video conference
Click on "New meeting"
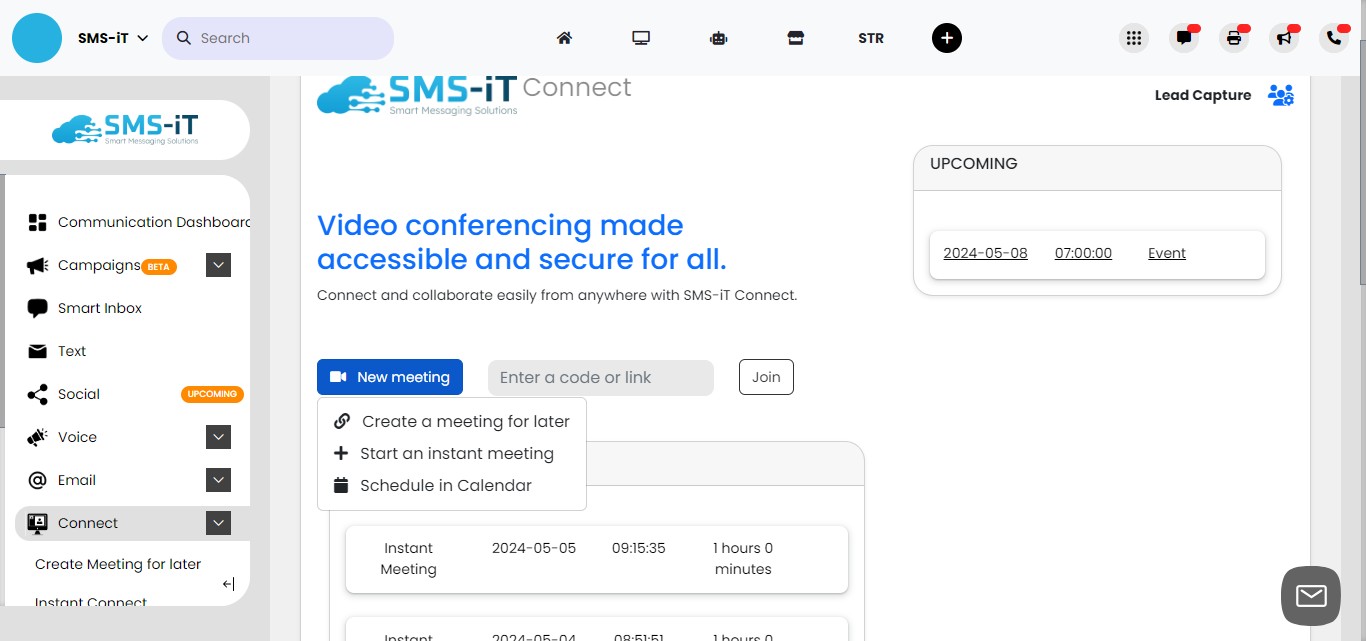
Ways to Create a Video Meeting: There are three ways to create a video conference or meet in SMS-iT Connect: Instant Meeting - Immediately start a meeting in your meeting room Create Link for Later - Generates a meeting link you can share anytime (link is not saved in the system) Schedule in Calendar - This allows you to schedule a future meeting in your calendar The in-meeting controls and features are the same regardless of your creation method. We'll cover these features in more detail further along in the tutorial.
Schedule in Calendar
Click on "Schedule in Calendar"
Add title and calendar
Meeting Title: Enter a clear and concise title for your meeting
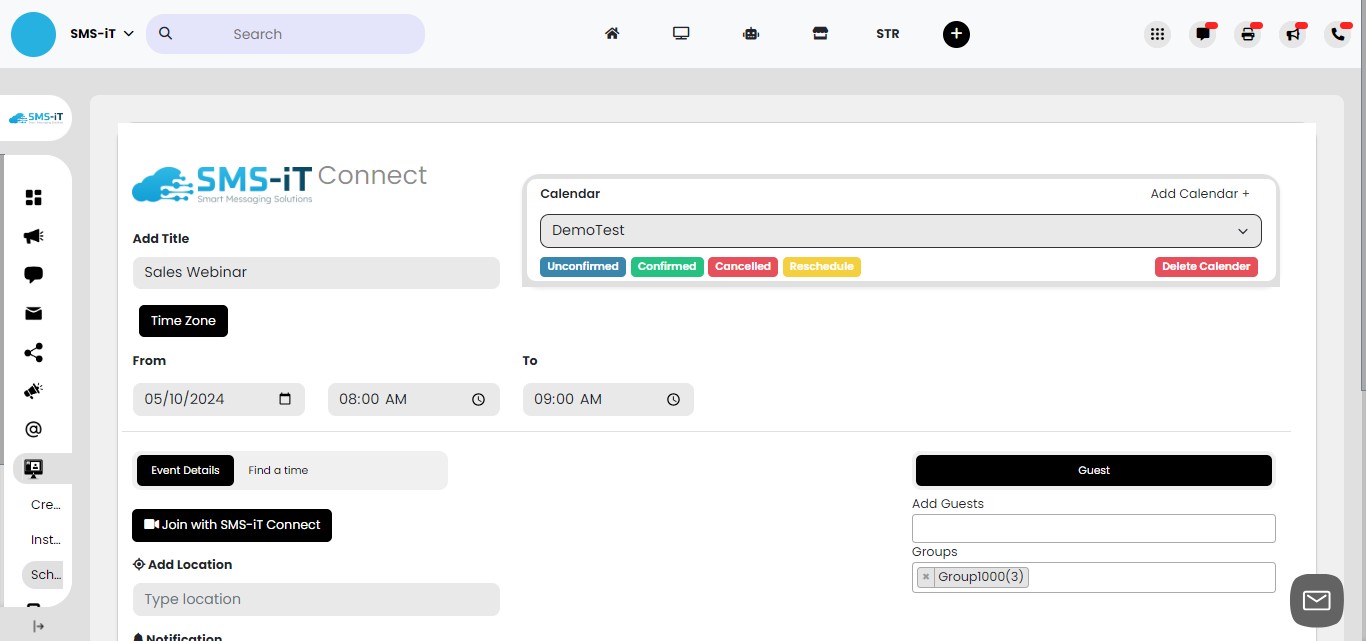
Select a Calendar or select"Add Calendar" to create a new calendar.
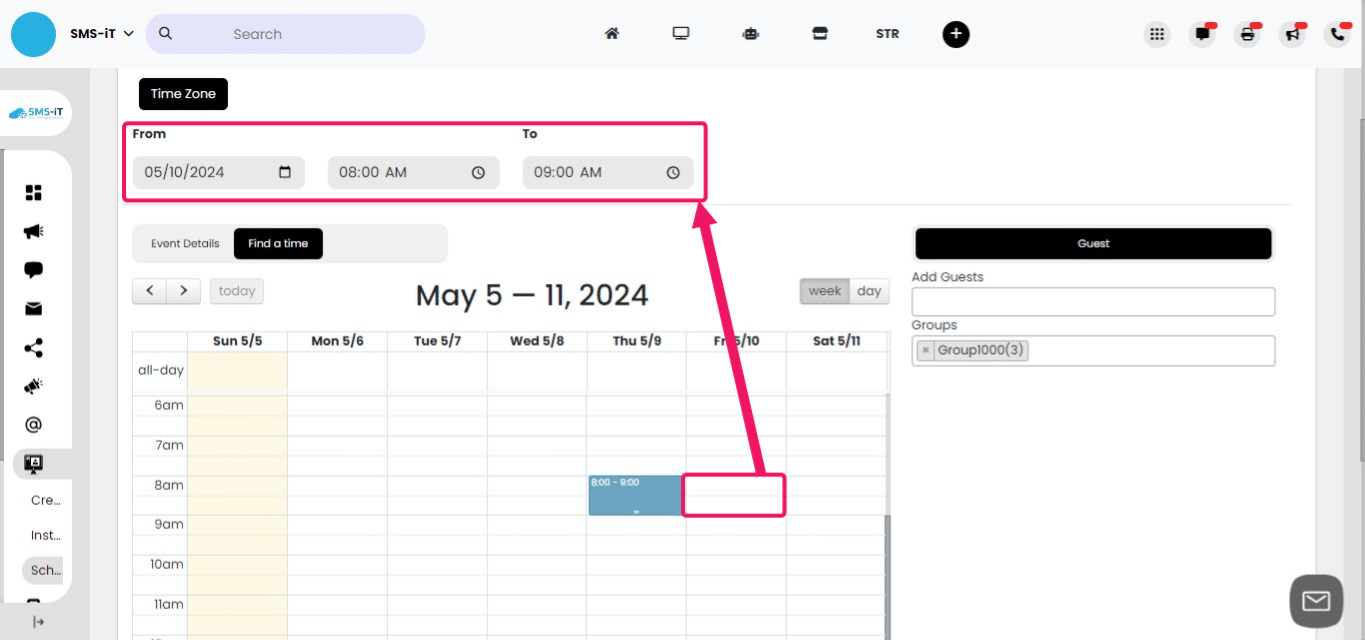
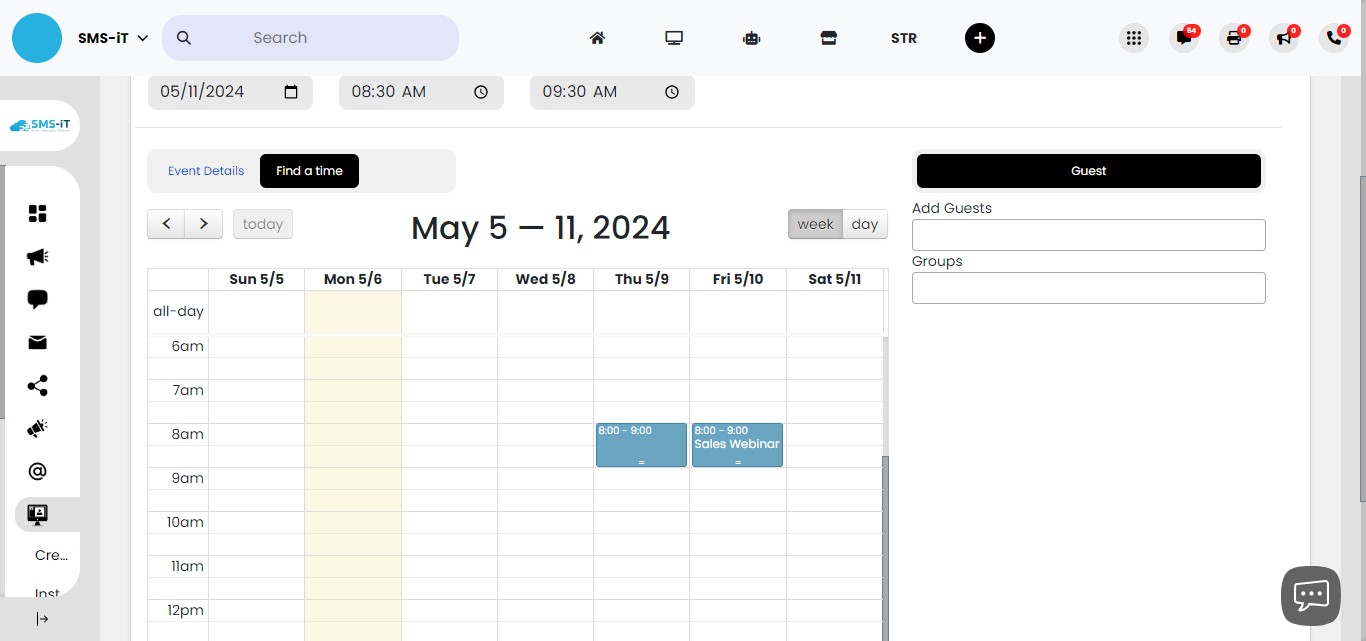
Schedule time
Click on "Find a time"
Clicking on the calendar time will auto-populate the time "From To" fields.
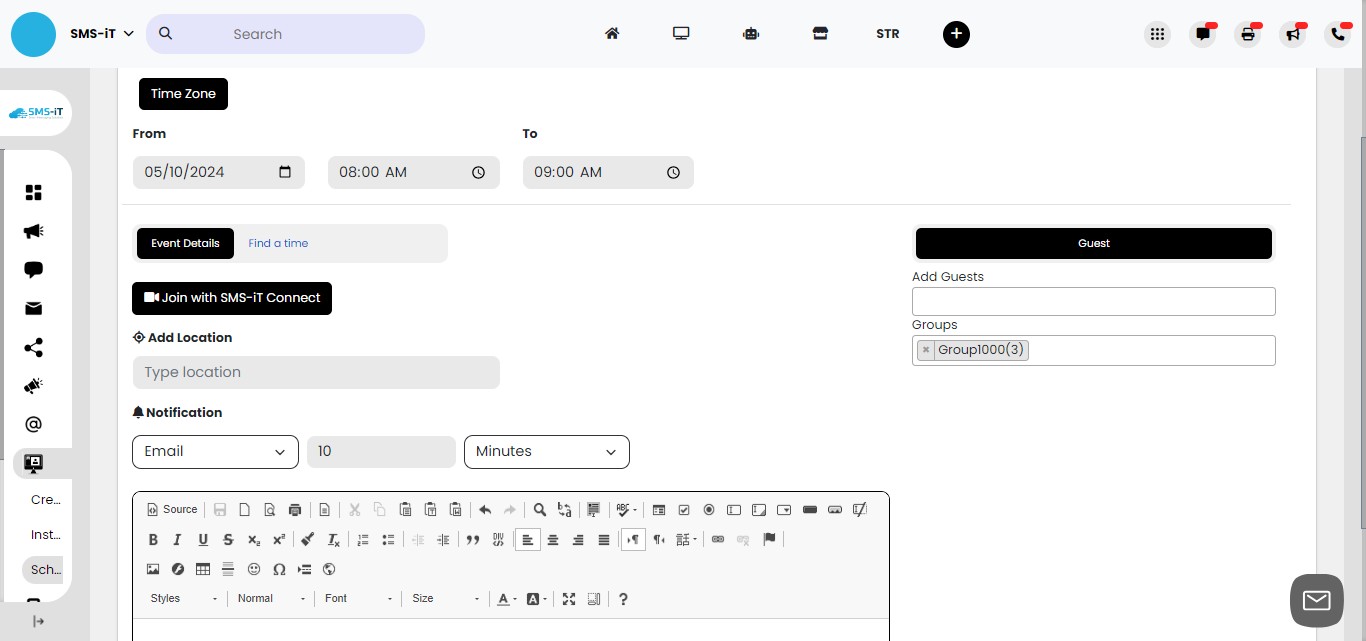
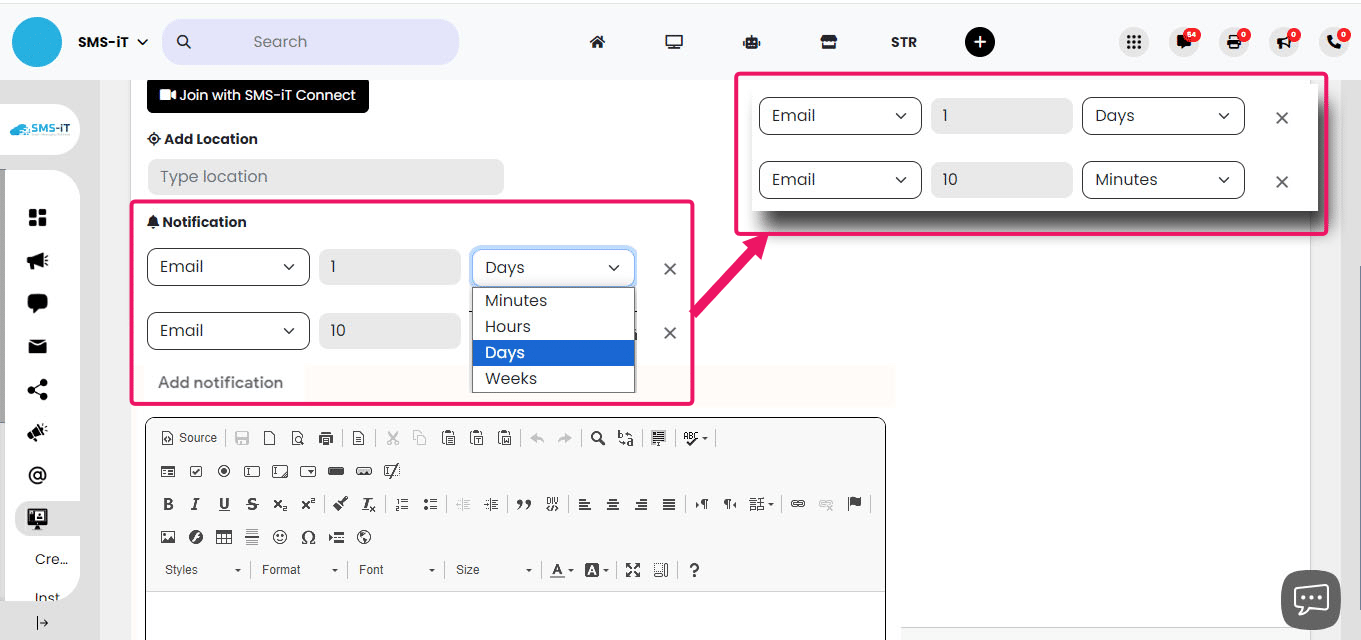
Notifications
Click on "Event Details"
Notifications: The "Notifications" section allows you to set up automated notifications for your meetings or events. You can choose from various options such as minutes, hours, days, or weeks to determine when the notifications will be sent. This ensures that attendees receive timely reminders and updates about upcoming sessions. To create a notification, select the desired time interval from the dropdown menus. For example, you can set a notification to be sent 10 minutes before the meeting starts by selecting "Email" as the notification type, "10" as the value, and "Minutes" as the time unit. You can add multiple notifications by clicking the "Add notification" button. To delete a notification, simply click on the "X" icon associated with the specific notification you want to remove.
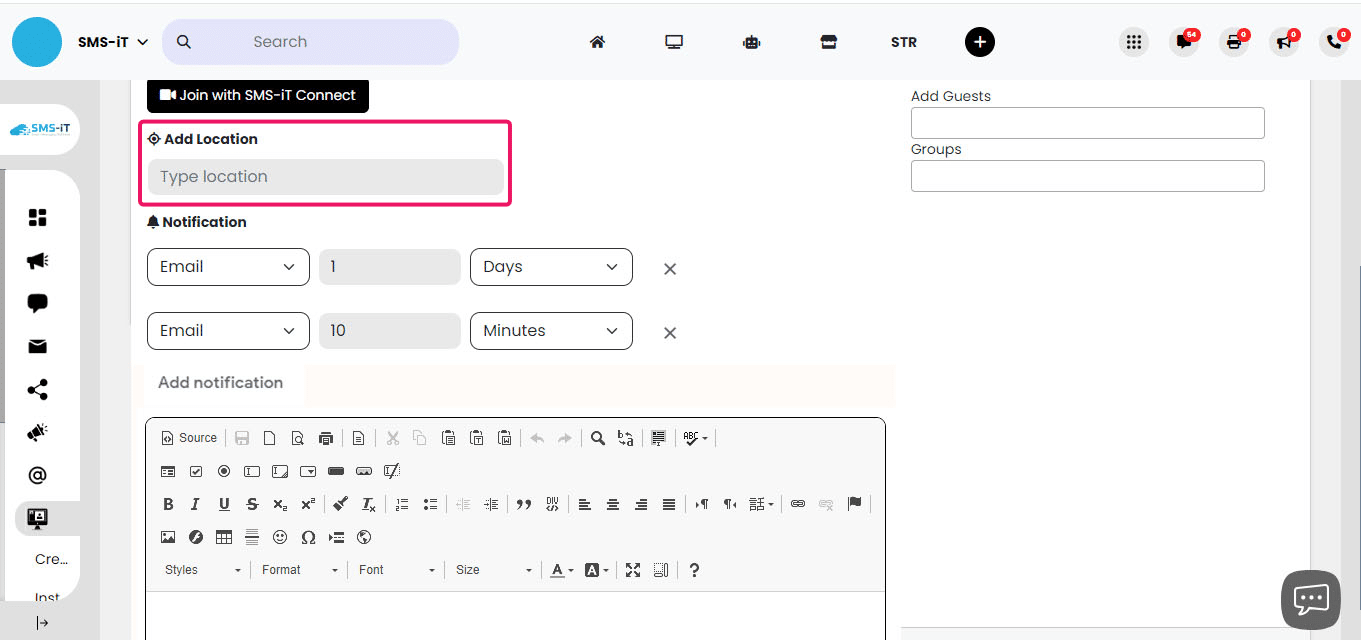
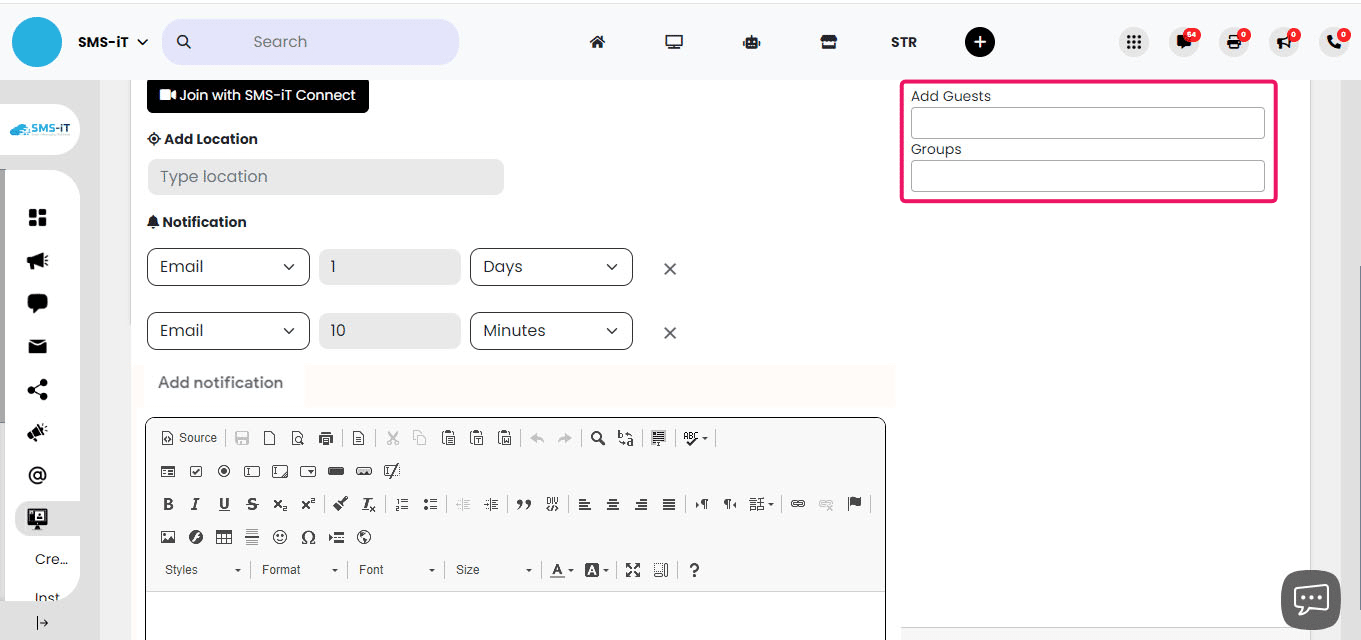
Add location, add guests, groups
The Add Location option allows you to specify the physical location of your meeting or event. This information helps attendees understand where the session will take place and plan accordingly.
Adding Guests: In the "Add Guests" field, you can enter the names or email addresses of individuals you want to invite to your meeting or event. This allows you to easily share the session details with specific attendees and ensure they receive the necessary information to join. Specifying Groups: The "Groups" field enables you to associate your meeting or event with specific groups or teams, customers, or clients within your organization. By assigning relevant groups, you can effectively target and communicate with the appropriate audience. This feature helps streamline the invitation process and ensures that the right people are informed about the session.
Description and Schedule
Add a note, and click Schedule.
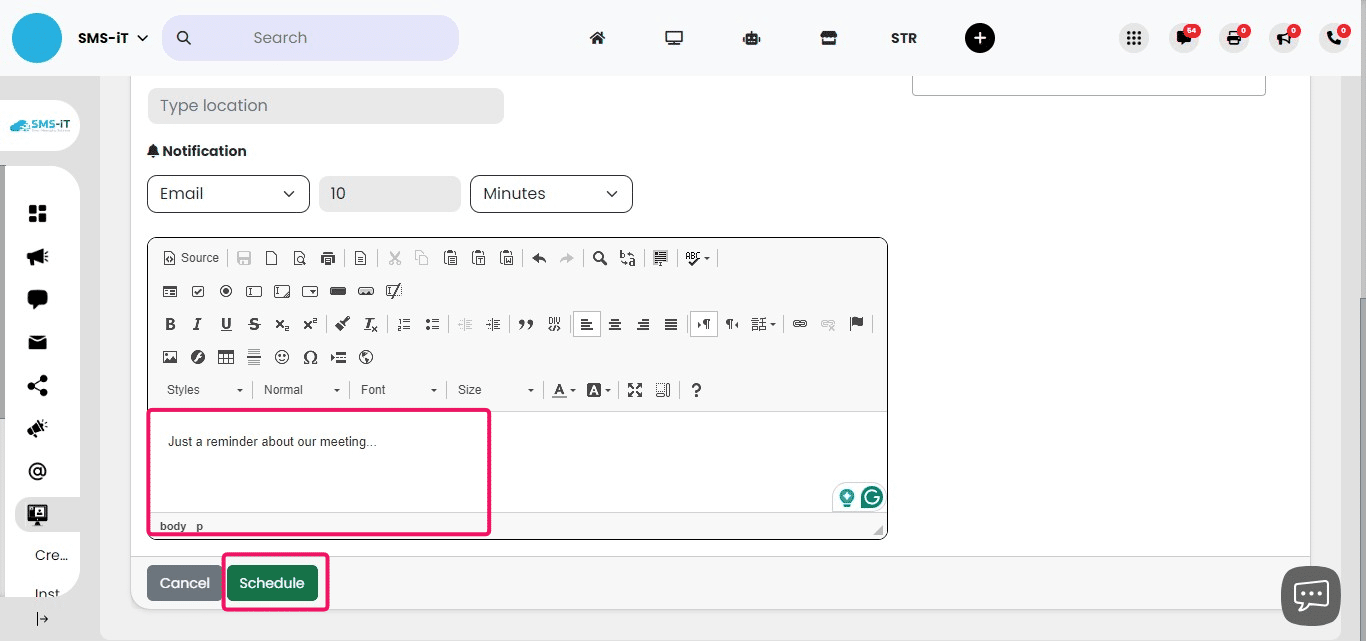
Your event has been added.
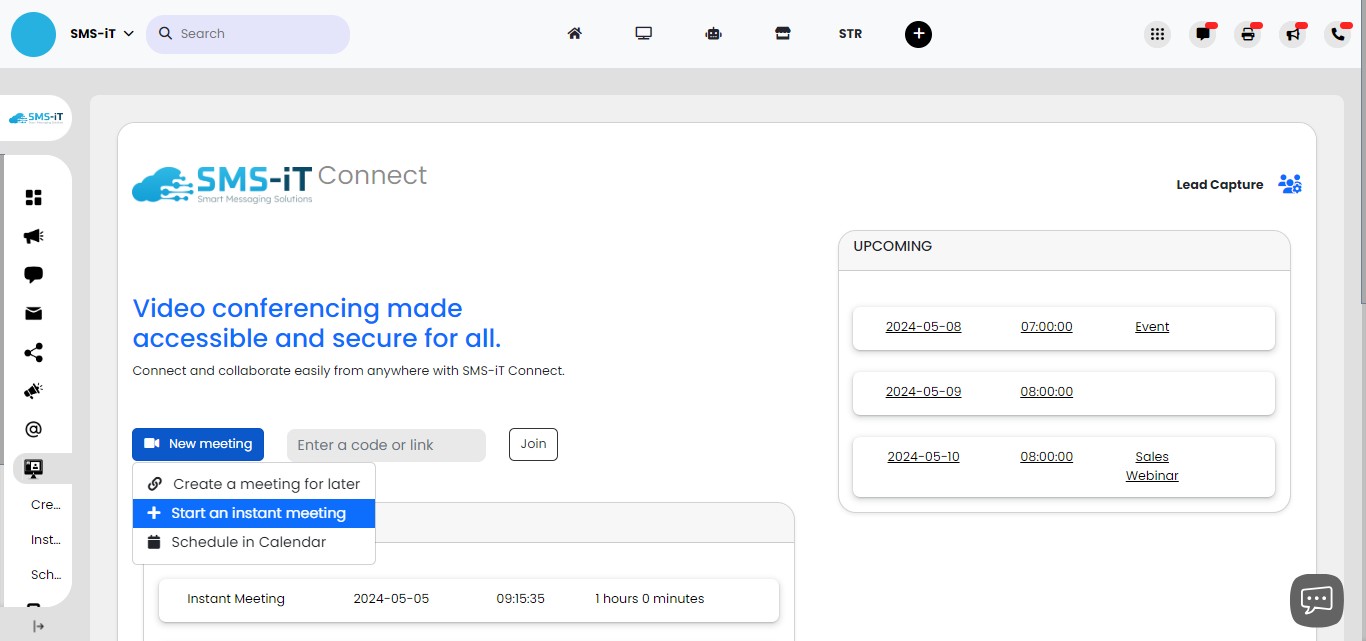
Features
Click on "New meeting"
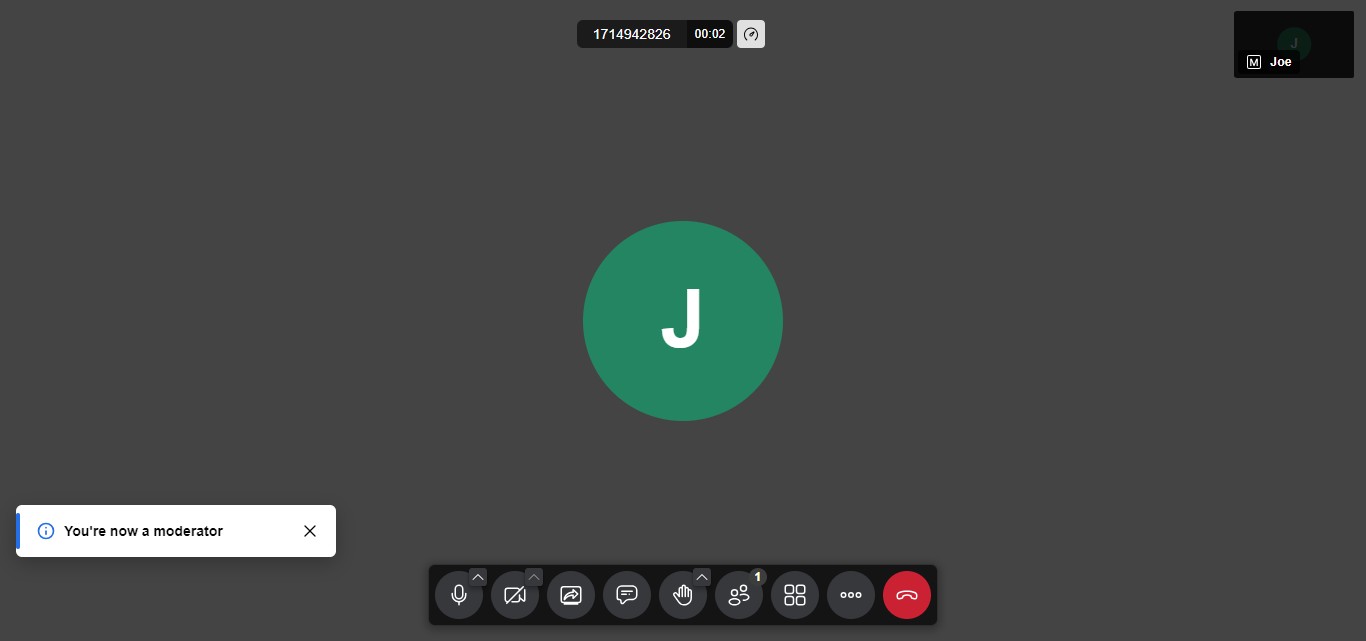
Click on "Start an instant meeting"
As the moderator, you have special privileges that guests do not have. We will explore all the available features.
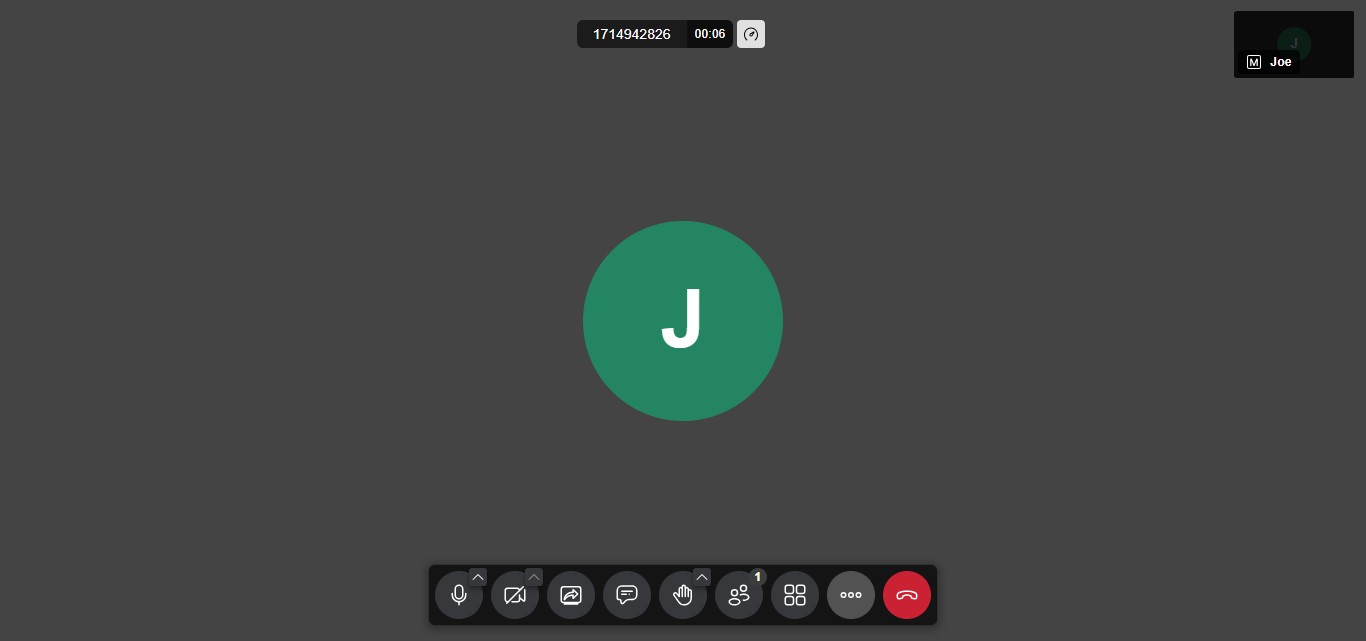
Invite people
To explore the invitation feature, click on the Menu icon represented by three dots.
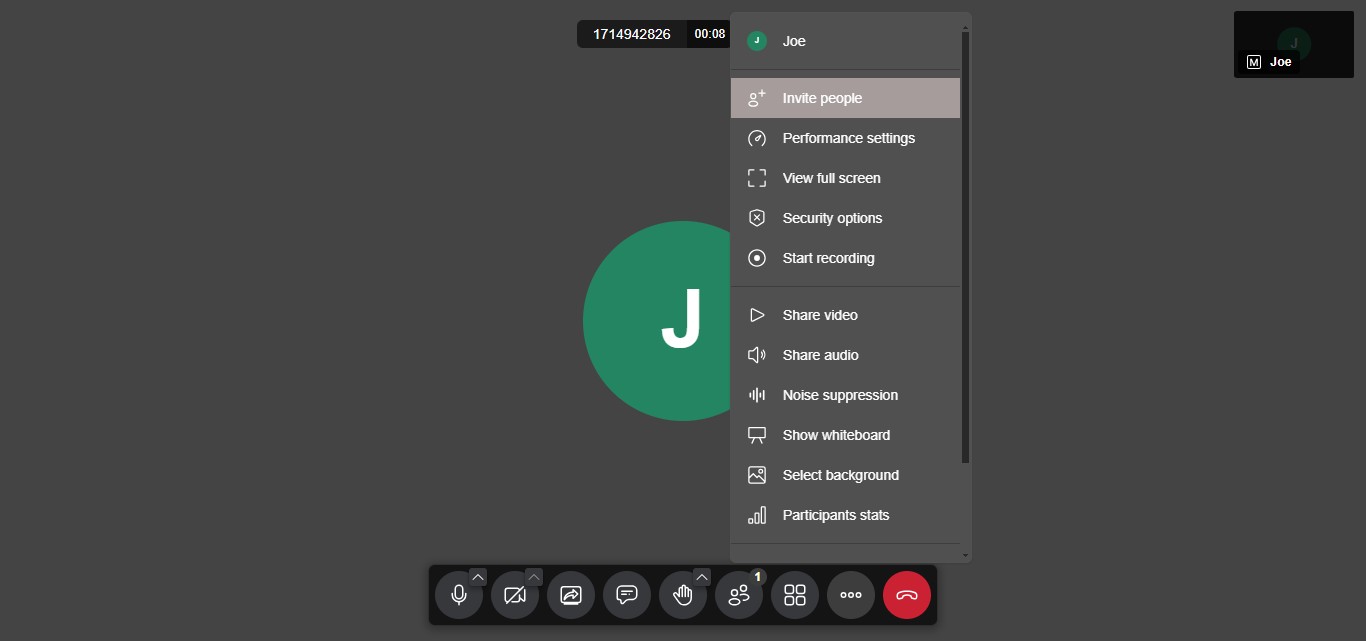
Click on the three dots
Click on "Invite people"
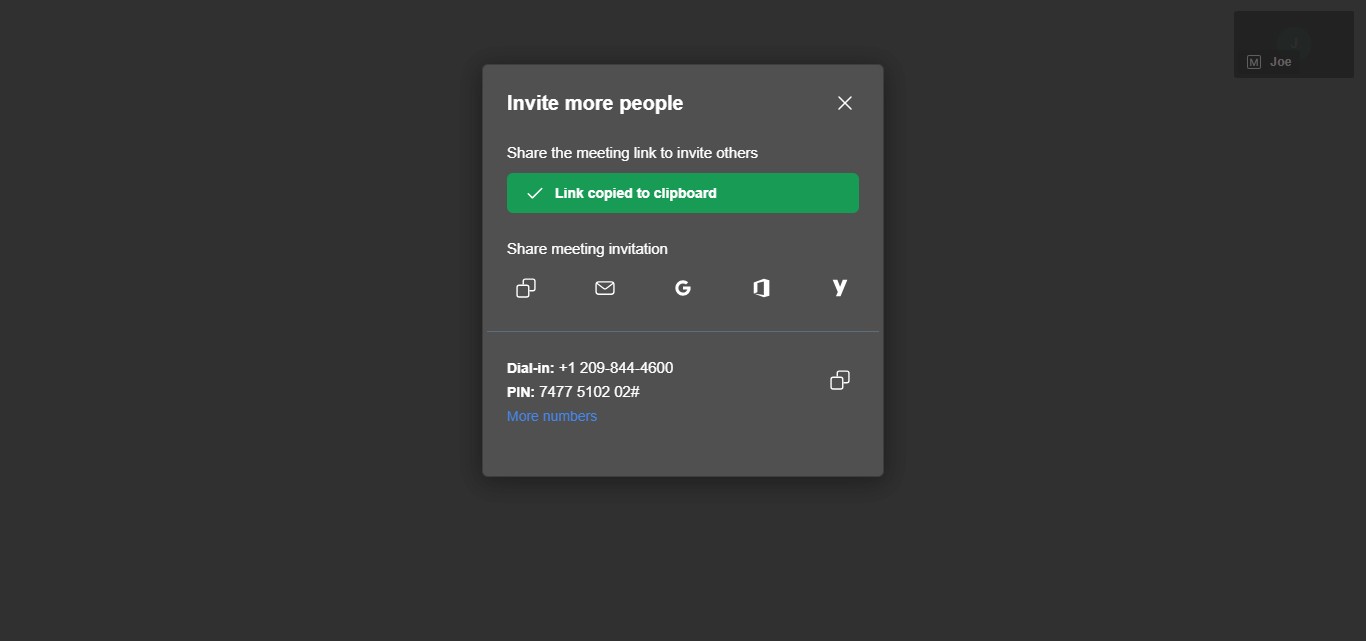
From this menu, you can copy the meeting link to send directly, or share the meeting via your preferred email provider, such as Gmail, Outlook, or Yahoo.
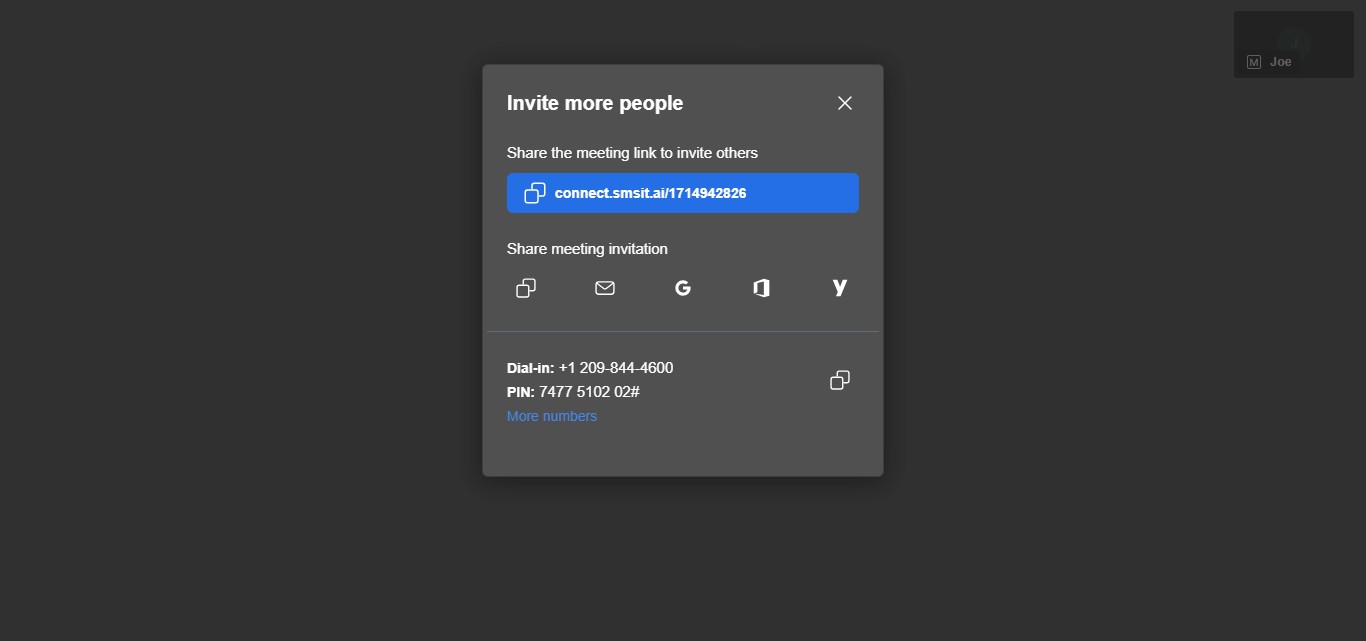
Additionally, you can copy a dial-in link that includes a PIN number. Customers can use this to join the meeting by phone, entering the PIN followed by the pound sign.
The following features can also be accessed by clicking the three dots icon.
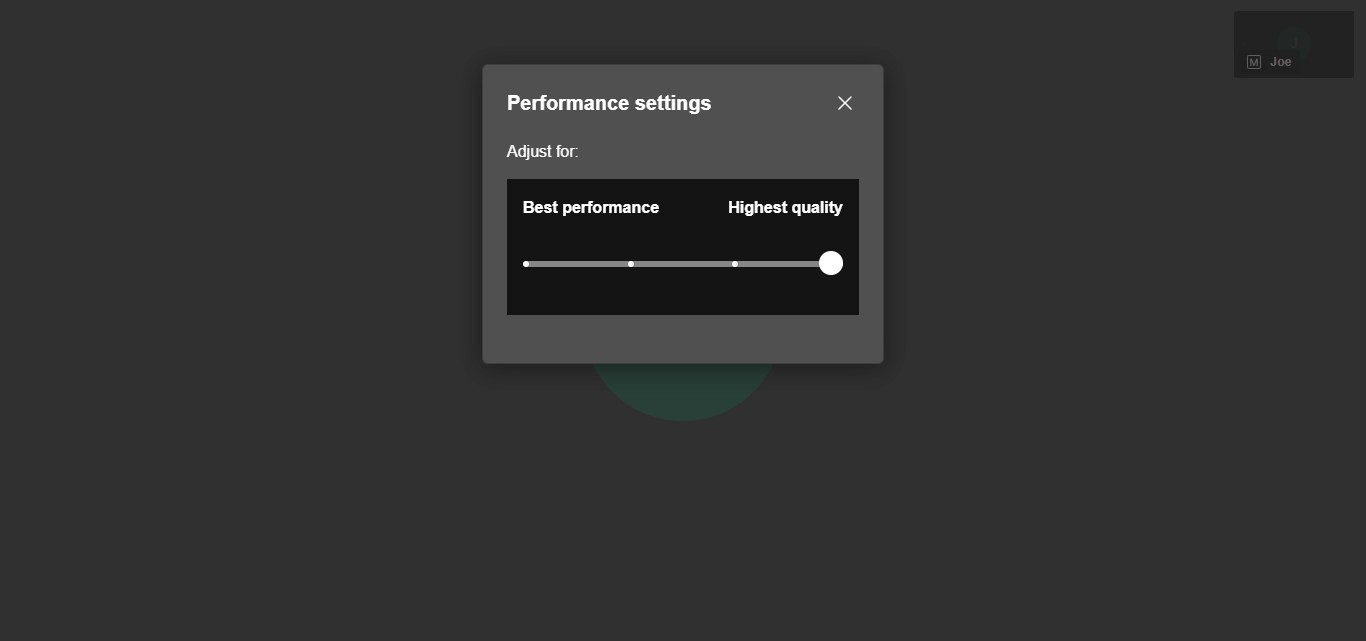
Performance Settings
In the Performance settings, you can choose between optimizing for the best performance or the highest quality, depending on your network connection and device capabilities.
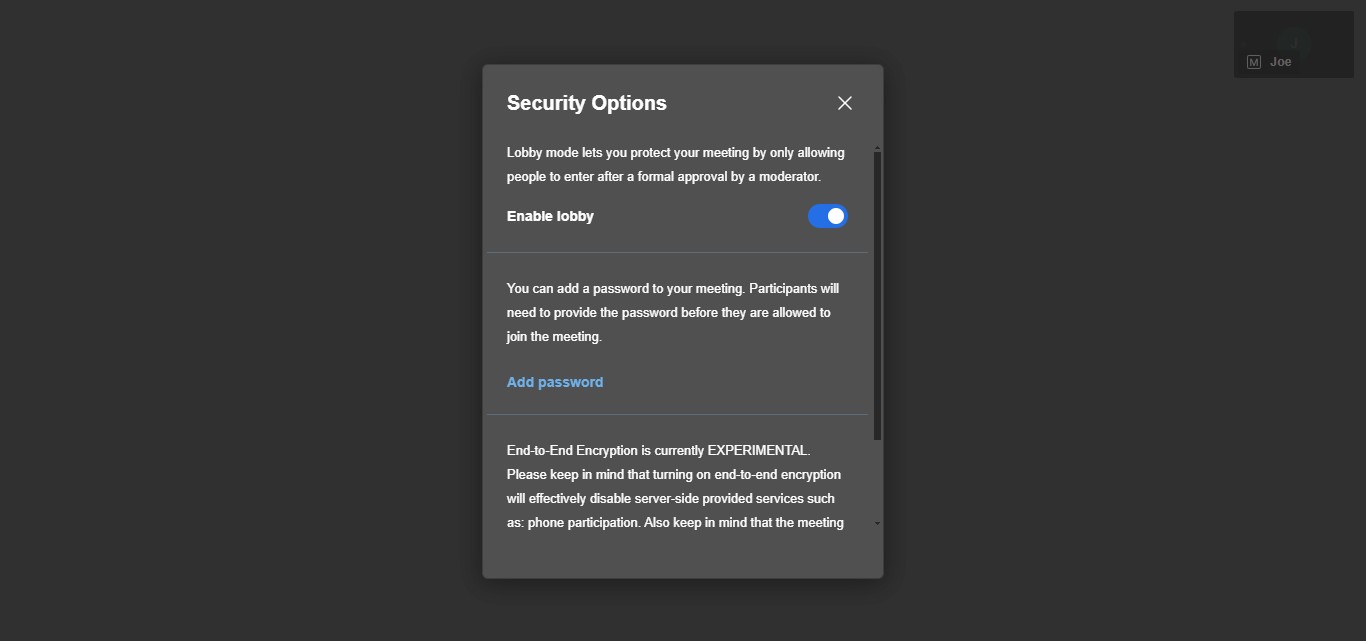
Security options
By enabling the lobby feature, participants will enter a virtual waiting room, and the moderator must grant them access to join the main meeting. The moderator can also chat with participants in the lobby to verify their identity before admitting them.

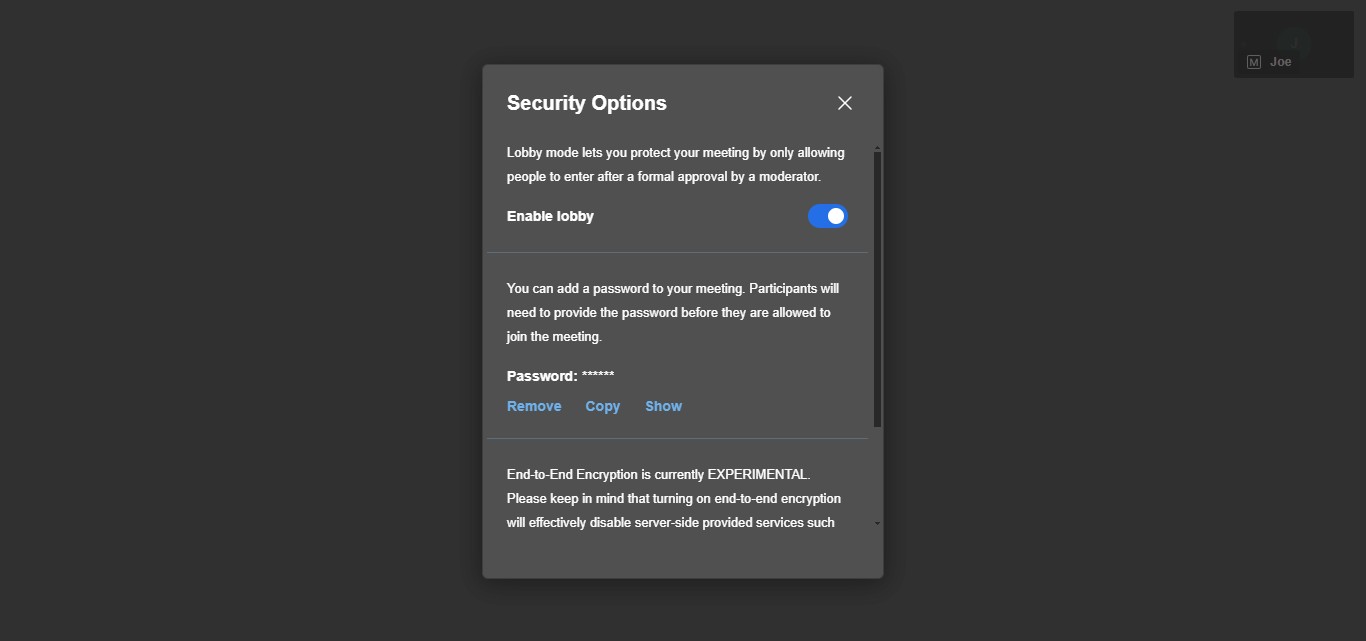
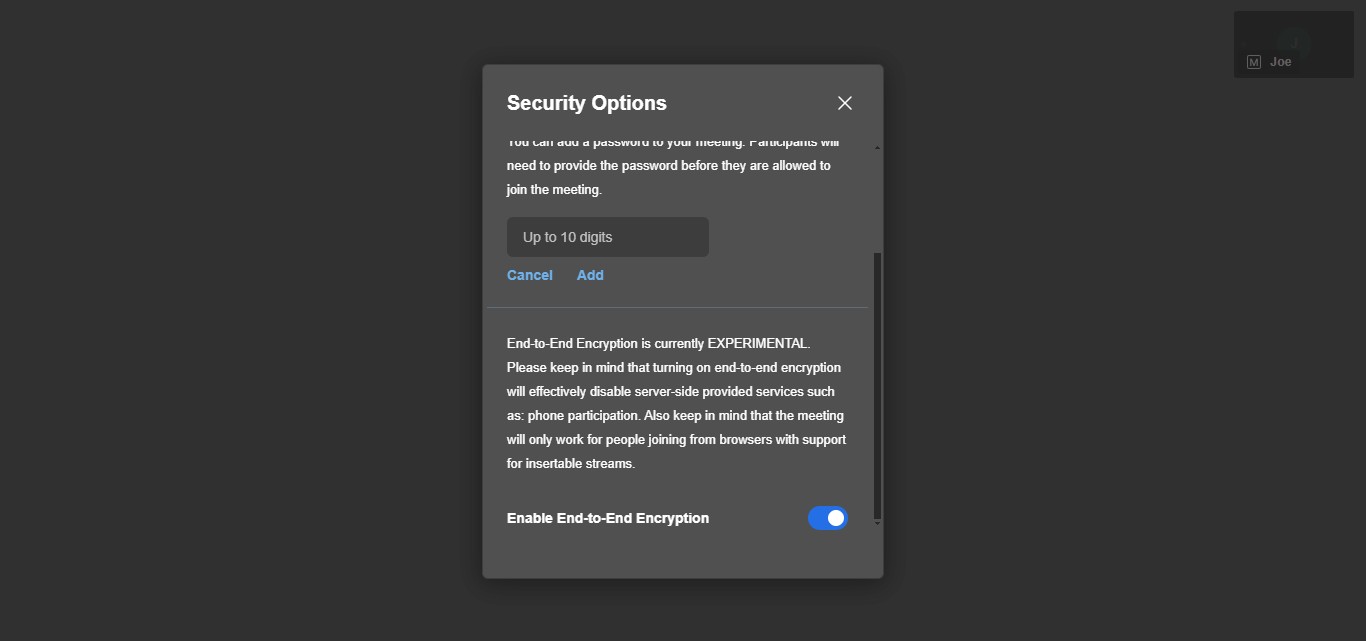
Click on "Add password"
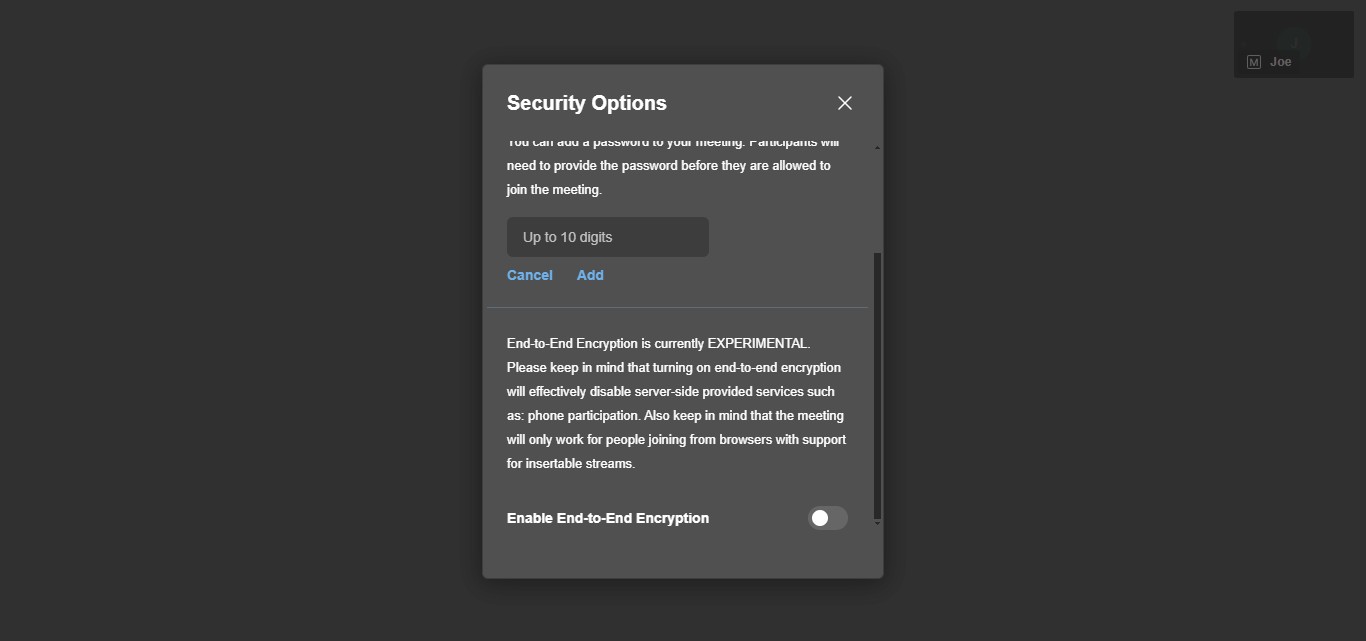
Create a password using 1 to 10 digits, such as 13, 234, or 536524.

From here you can Remove, Copy, or Show your password.
You can enable end-to-end encryption by toggling the switch on.
Click here
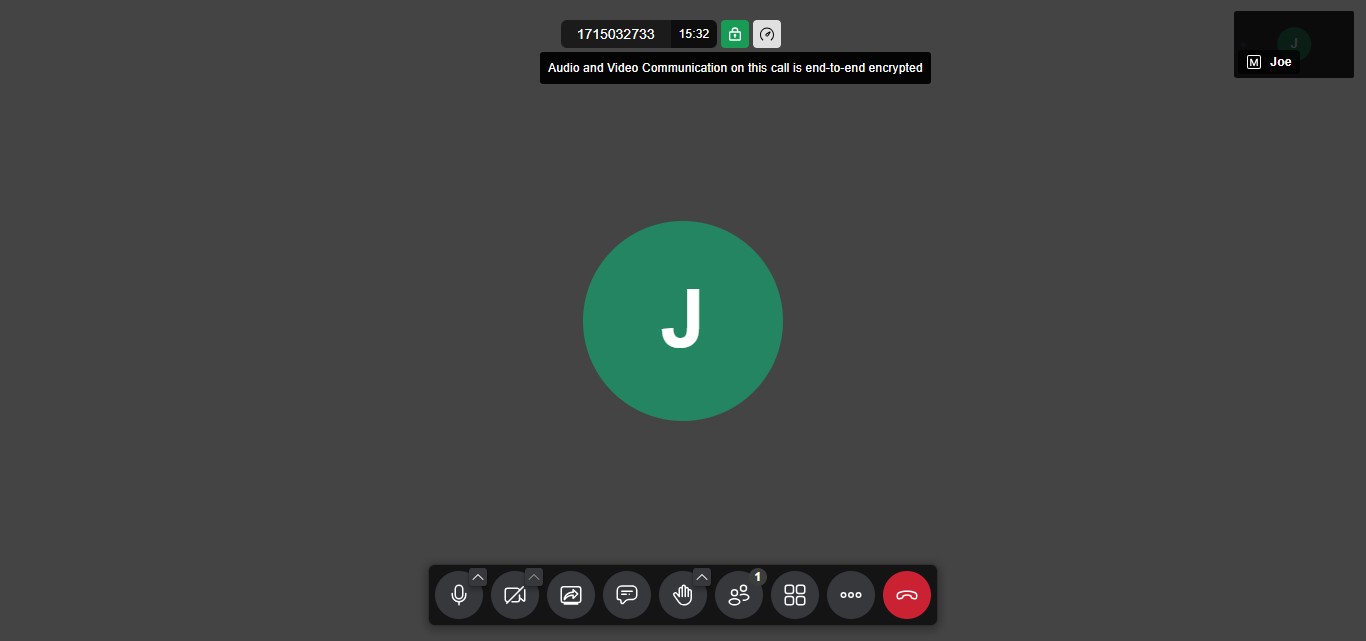
When end-to-end encryption is enabled, you'll see a green "Lock" icon and a notice stating that audio and video communication in the call is encrypted. This provides enhanced privacy and security, making it highly unlikely for third parties to eavesdrop. To disable encryption, simply return to the security options and toggle the switch off.
Recording video
The platform allows you to record the video call. However, please be aware that in some jurisdictions, you are legally required to inform all participants that the audio and video are being recorded. It is your responsibility to provide this notification, not the moderator's or SMS-iT's.
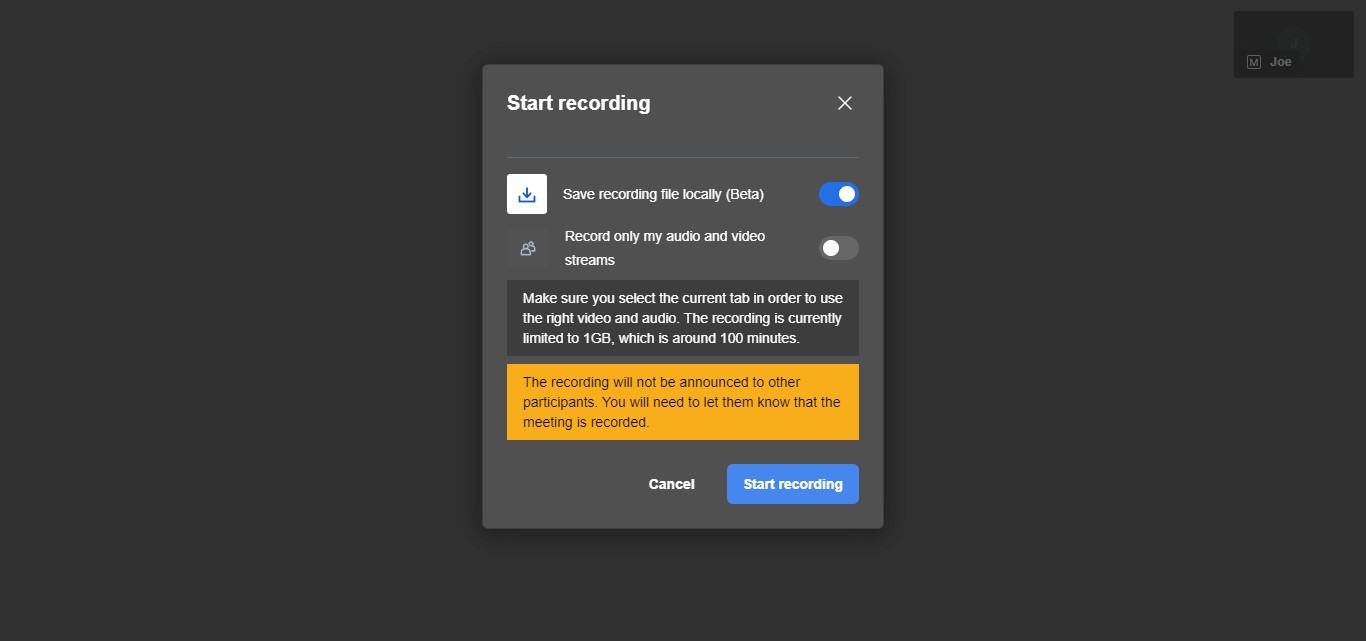
You have the option to record the entire meeting or choose to record only your own audio and video. To begin recording, click on the Start Recording button.
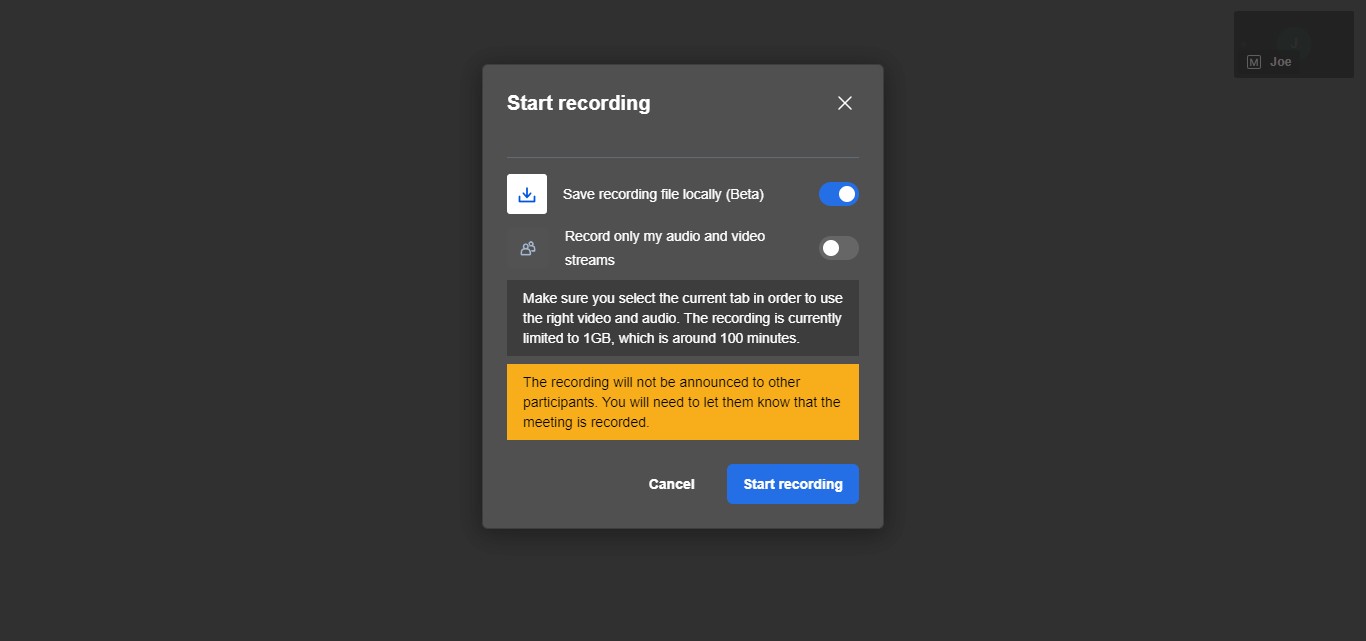
Click on "Start recording" to initiate the recording process. Please note that you have approximately 100 minutes of recording time available. If your meeting is expected to run longer, it is advisable to set a timer for 90 minutes, download the current recording, and start a new recording session to ensure uninterrupted capture.
Recording in progress
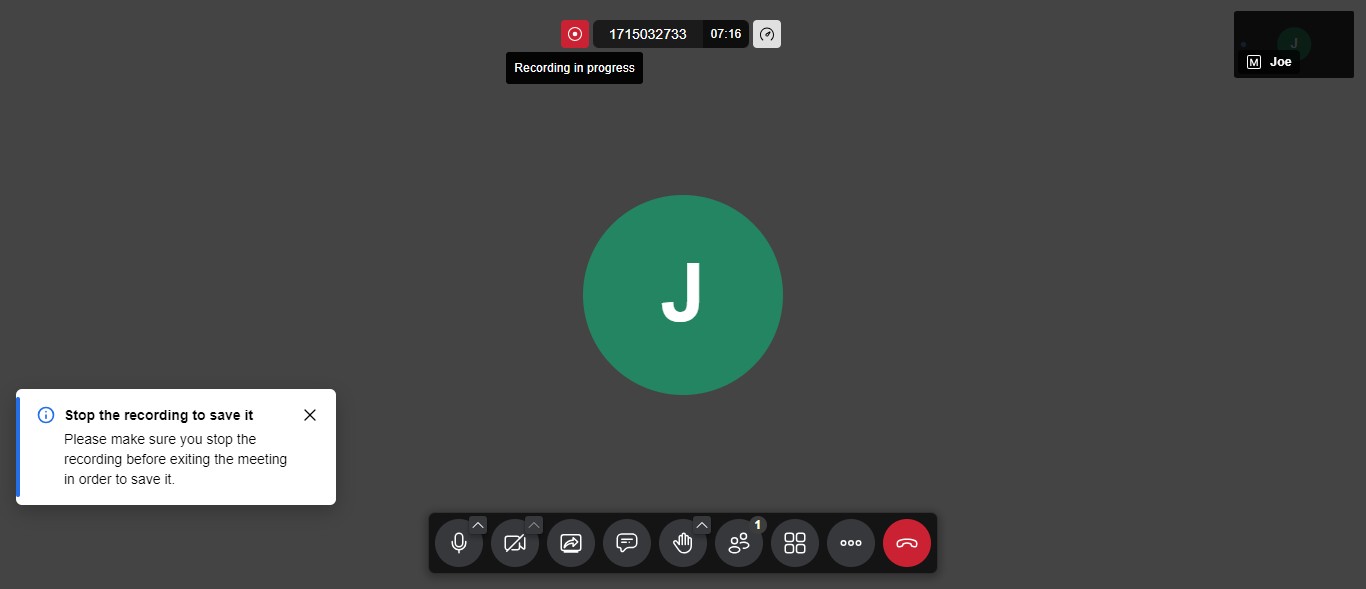
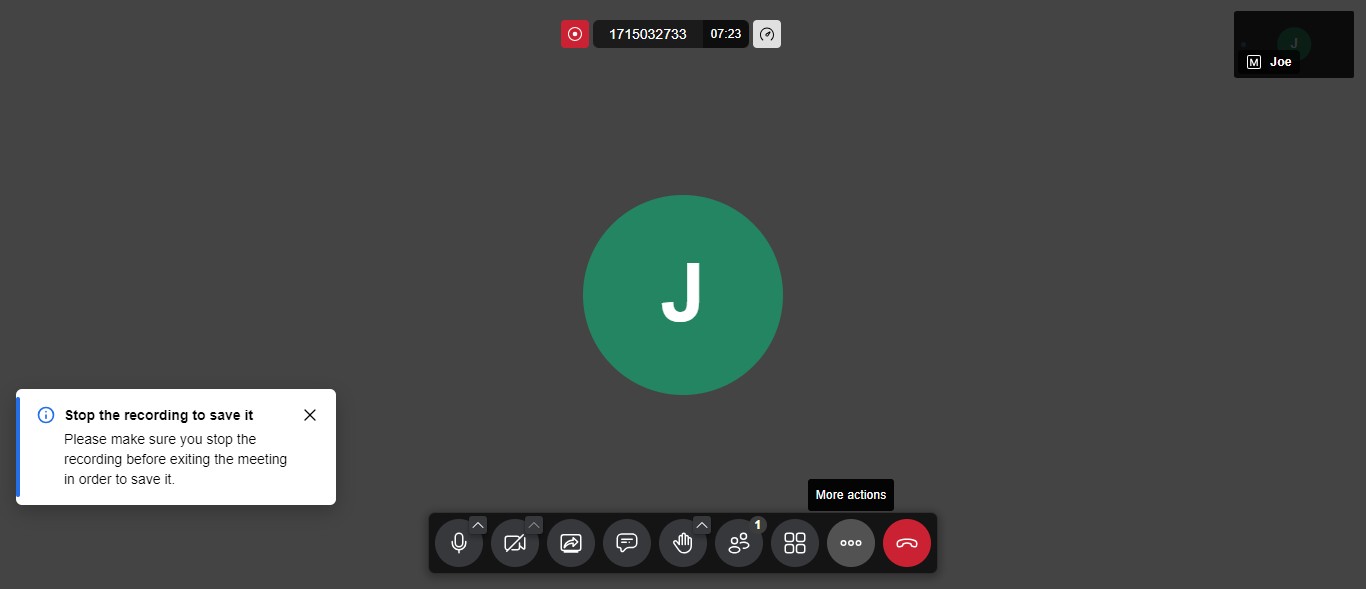
To stop the recording, navigate back to the menu.
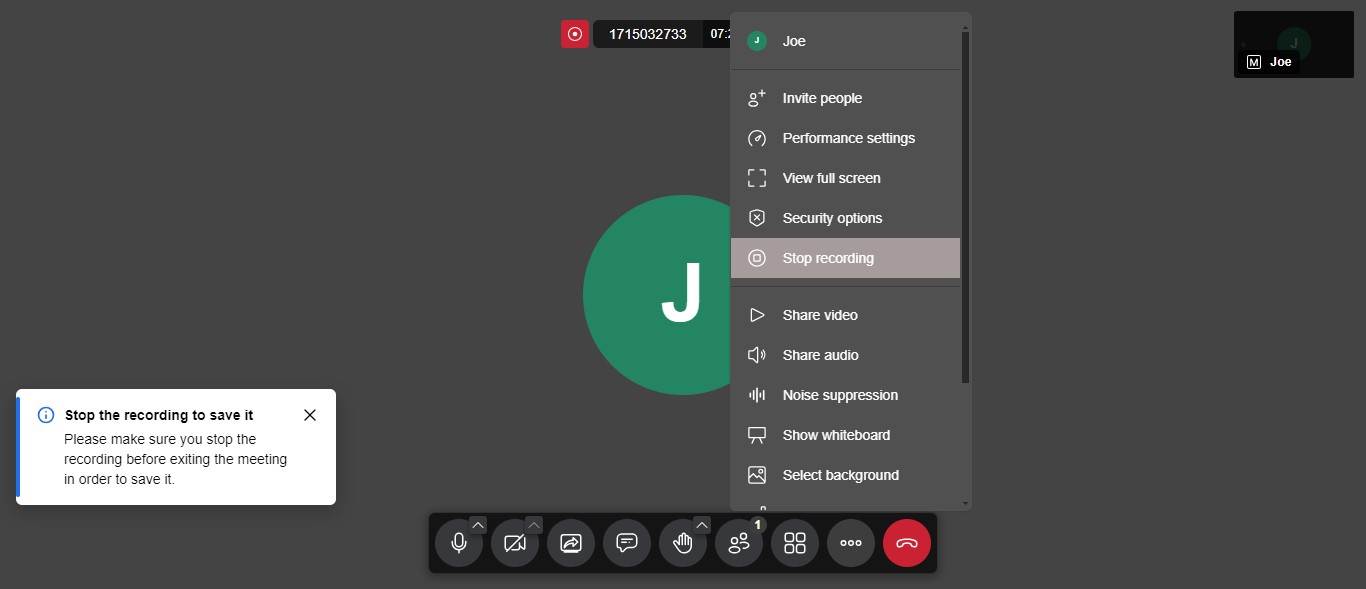
Click on "Stop recording"
Click on Confirm
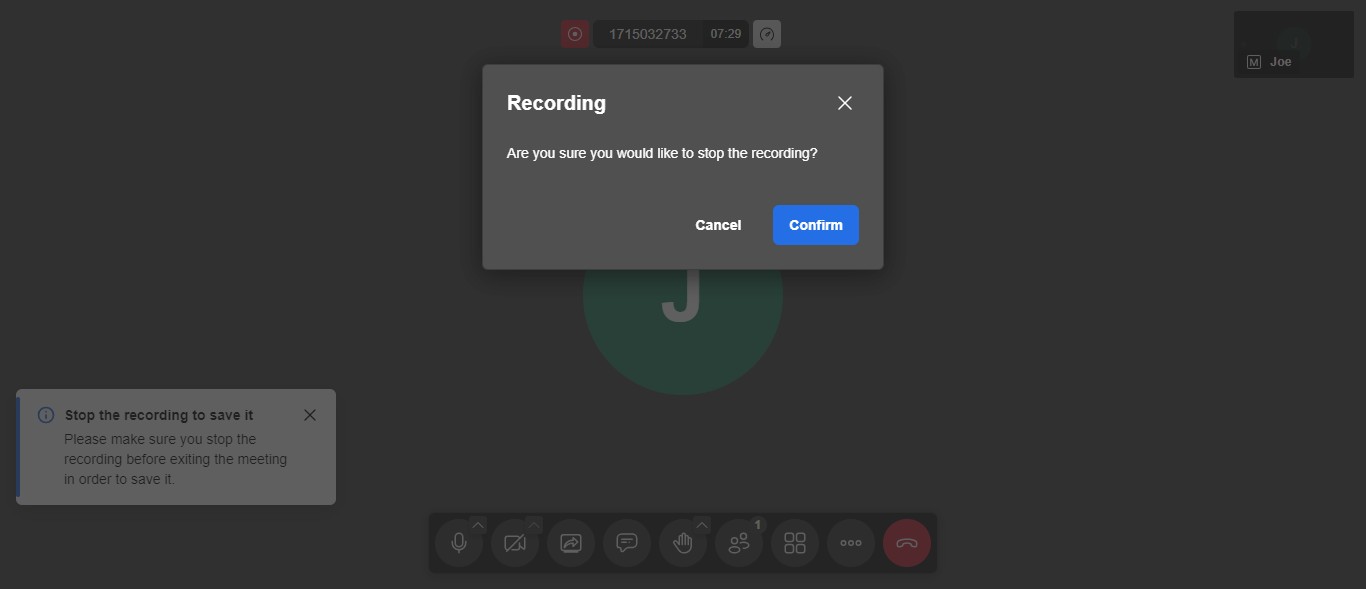
After confirming the stop recording action, a file explorer window will appear, allowing you to select the desired location on your local hard drive to save the recorded video.

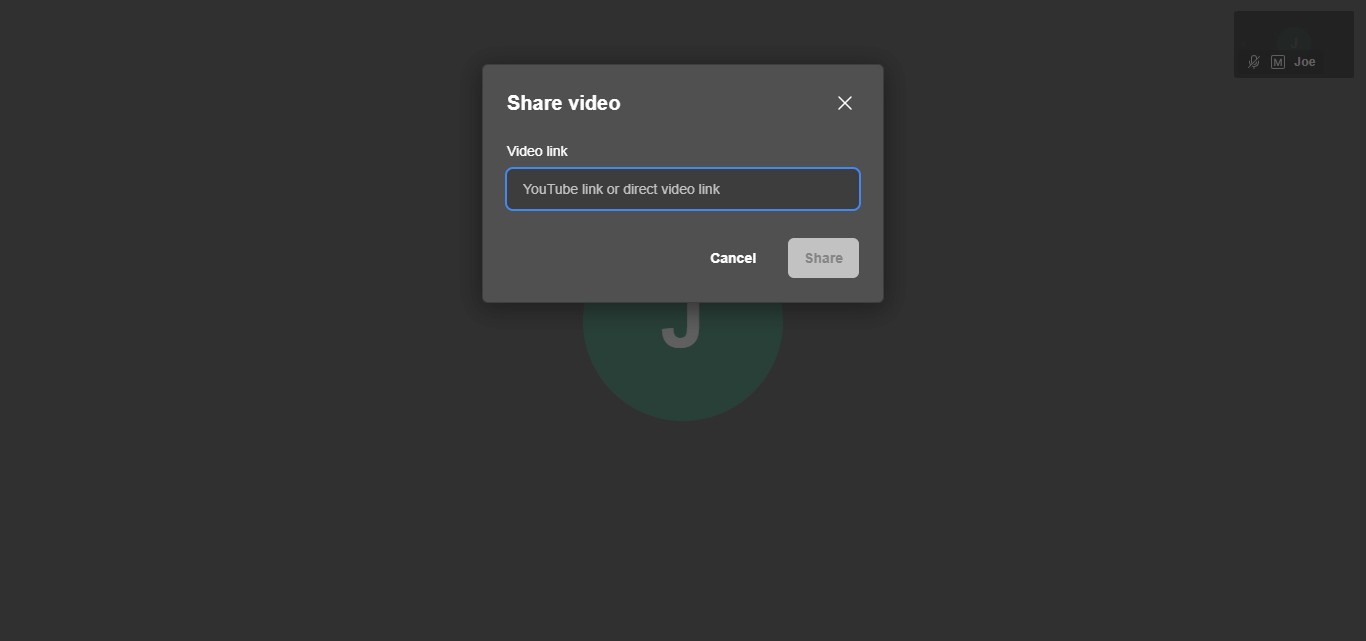
Share video and audio
To share a video, insert a YouTube link or a direct video link into the provided field.
Click on "Share"
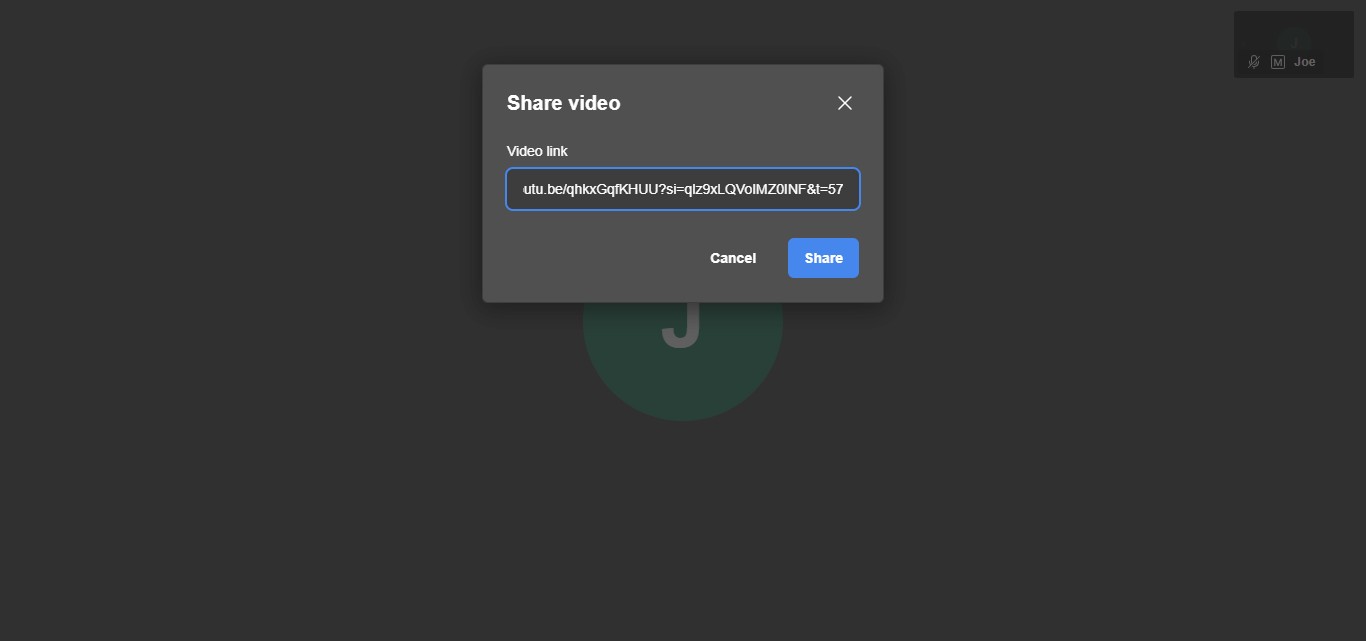
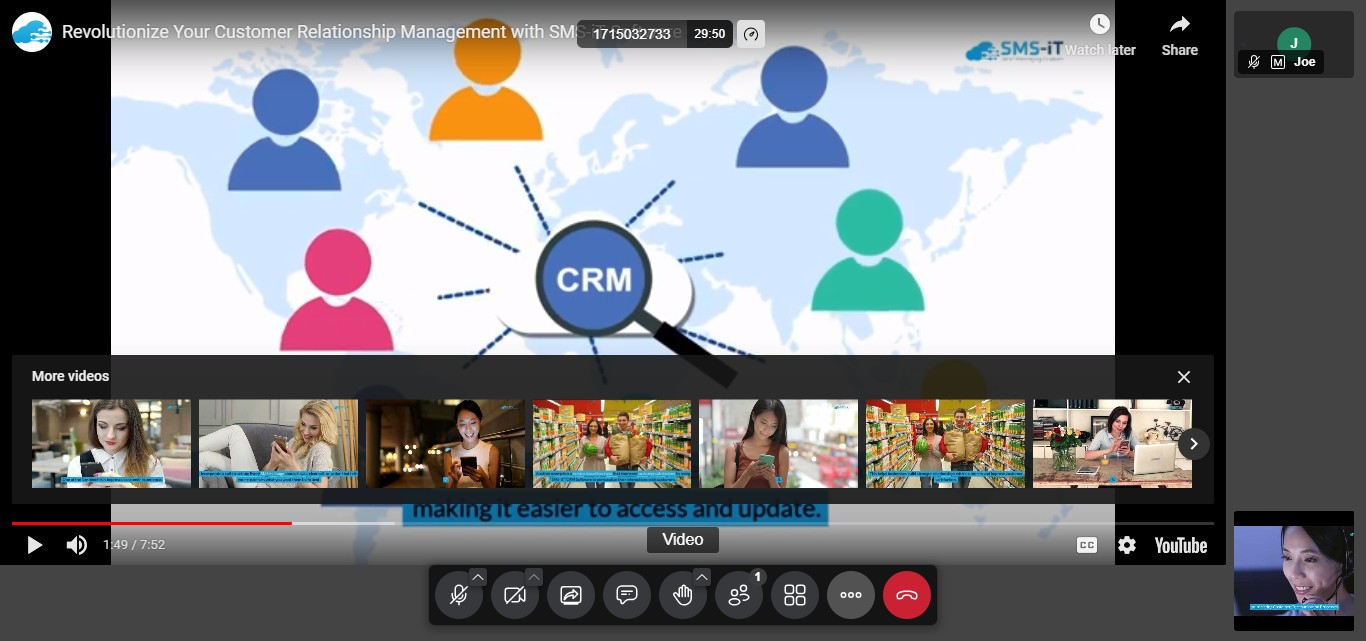
Once you click "Share," the video will start playing, and the audience will be able to view the video and hear the accompanying audio.
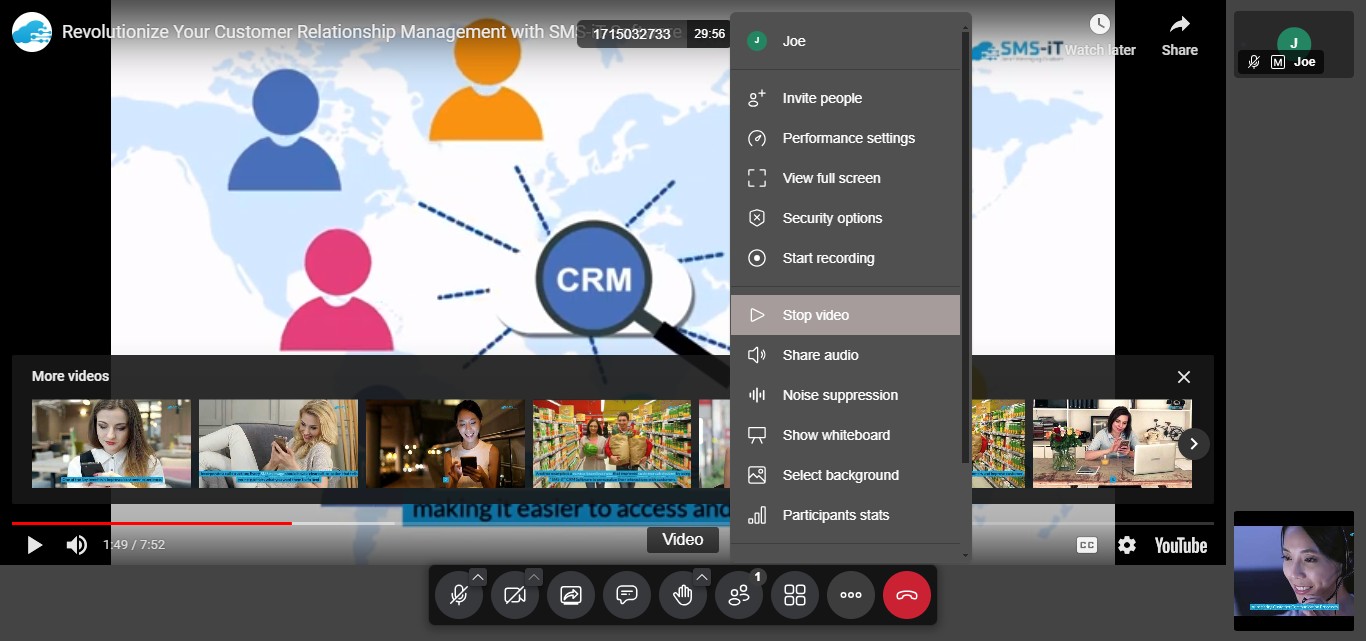
To stop the video playback, return to the menu and click on "Stop video."
Click on "Share audio"
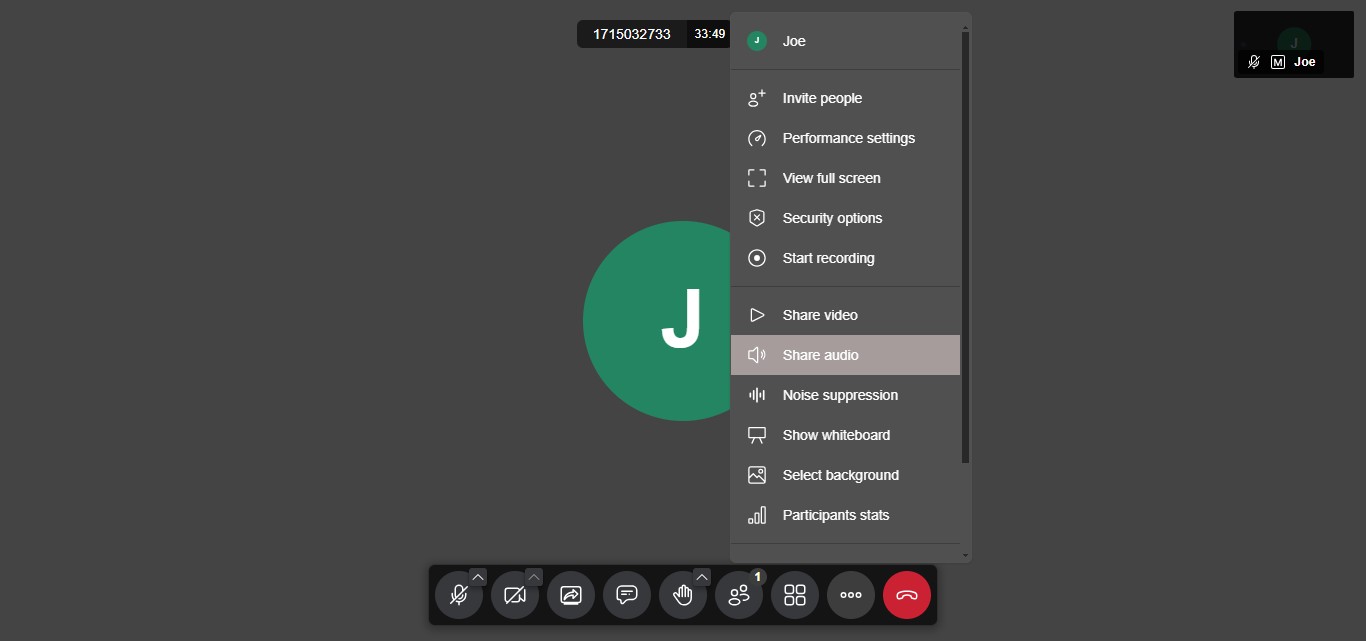
Click on "Continue"
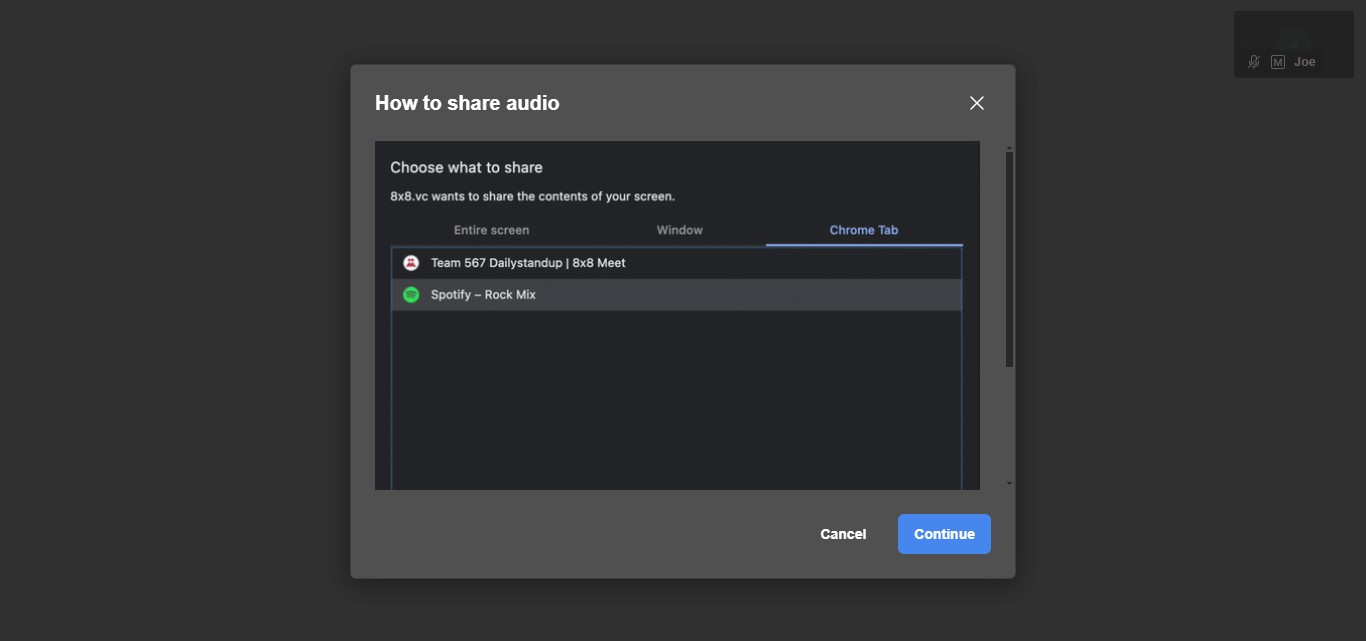
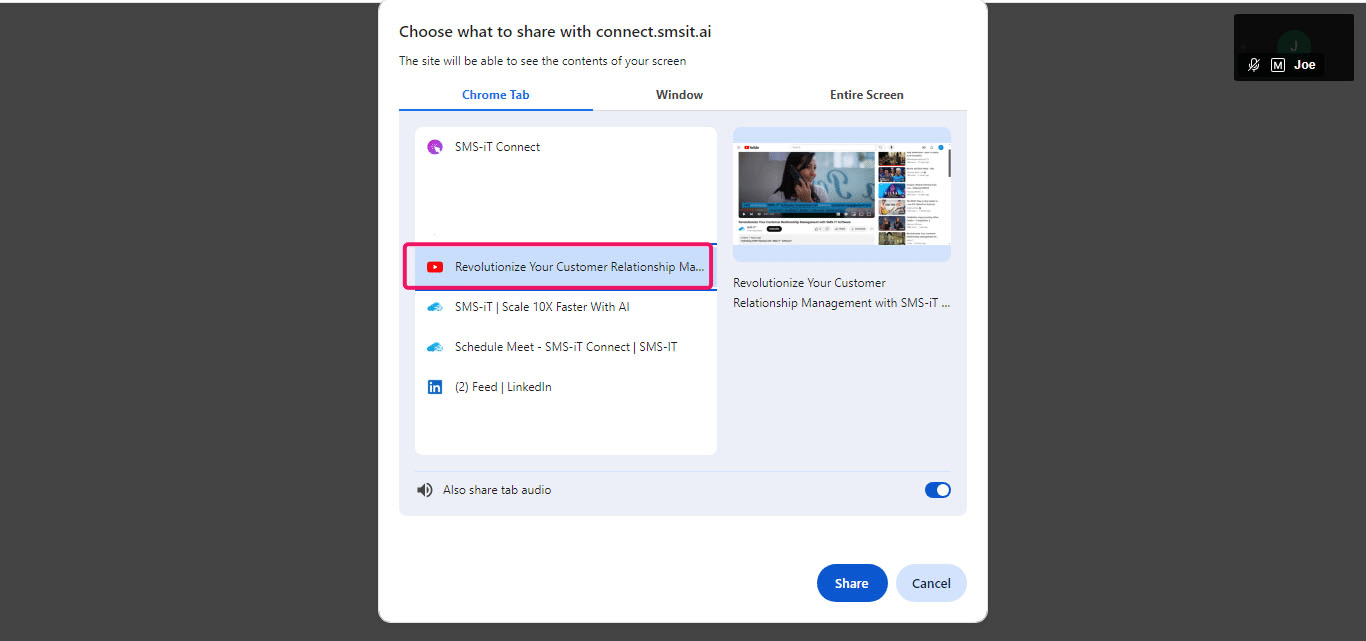
In this window, you can select the specific tab you want to share and choose whether to include audio sharing. Once you've made your selections, click on the "Share" button.
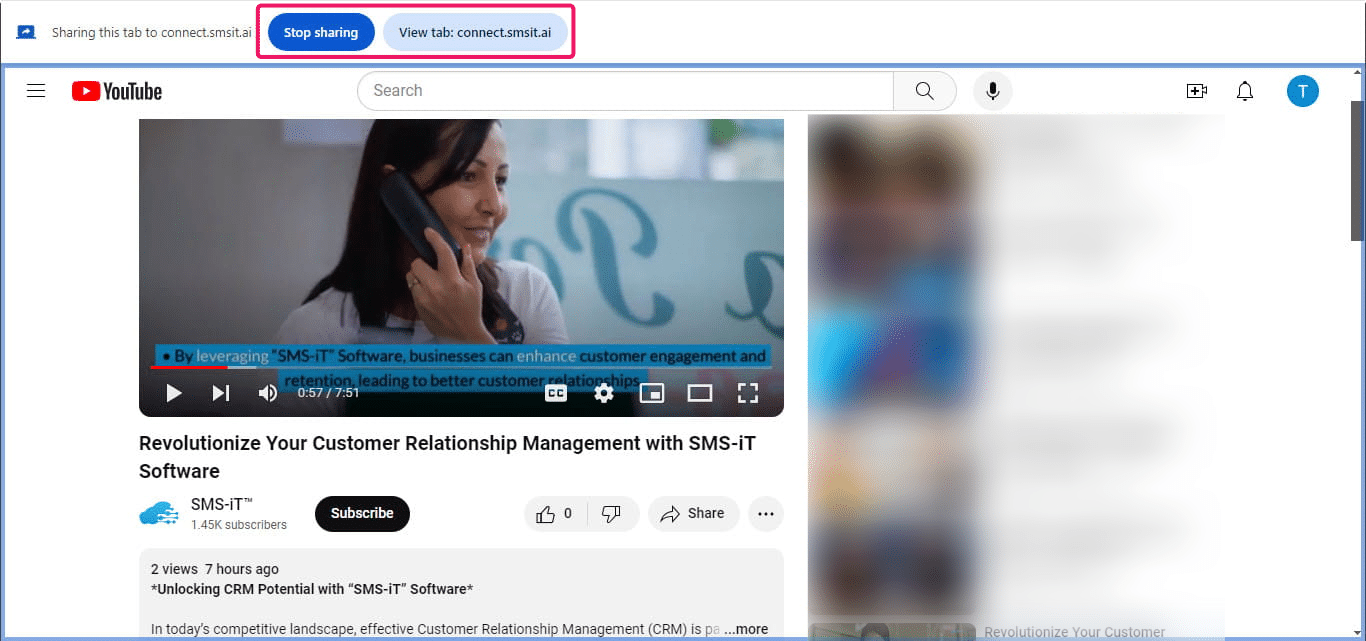
To stop sharing click the Stop Sharing icon. You can also toggle between the views by clicking the "View Tab" button.
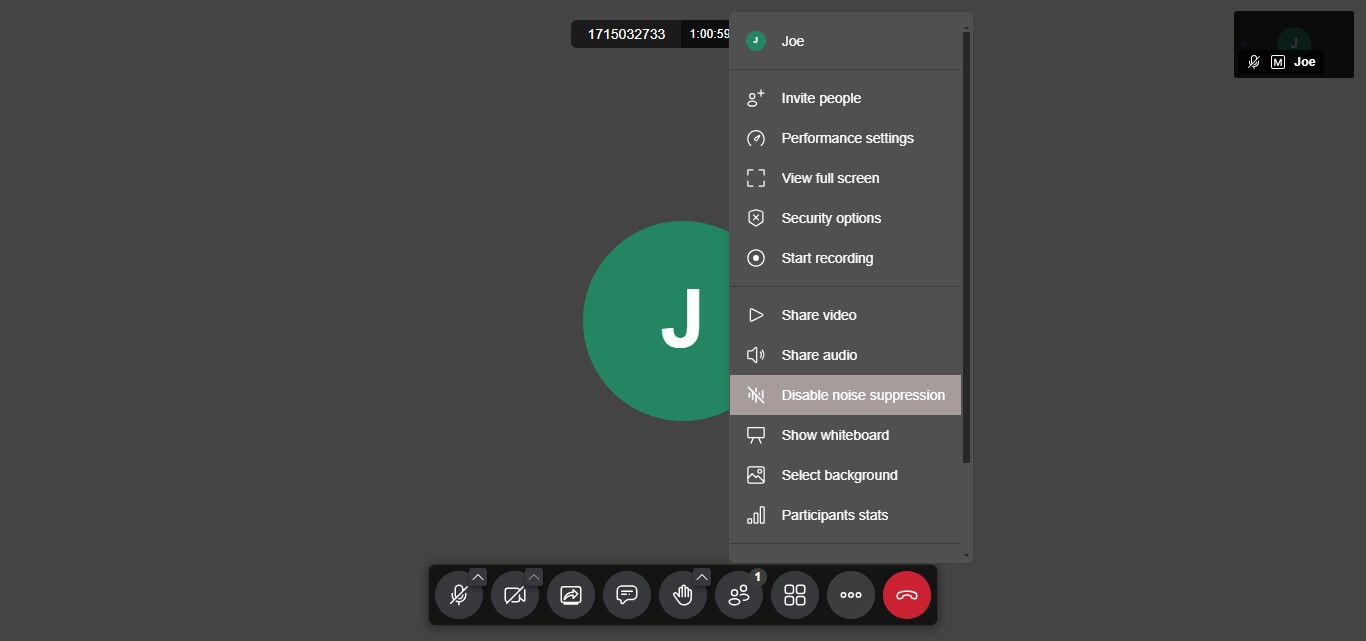
Noise Suppression
Noise suppression enabled will suppress background noise.
Click on "Noise suppression"

Click on "Disable noise suppression"
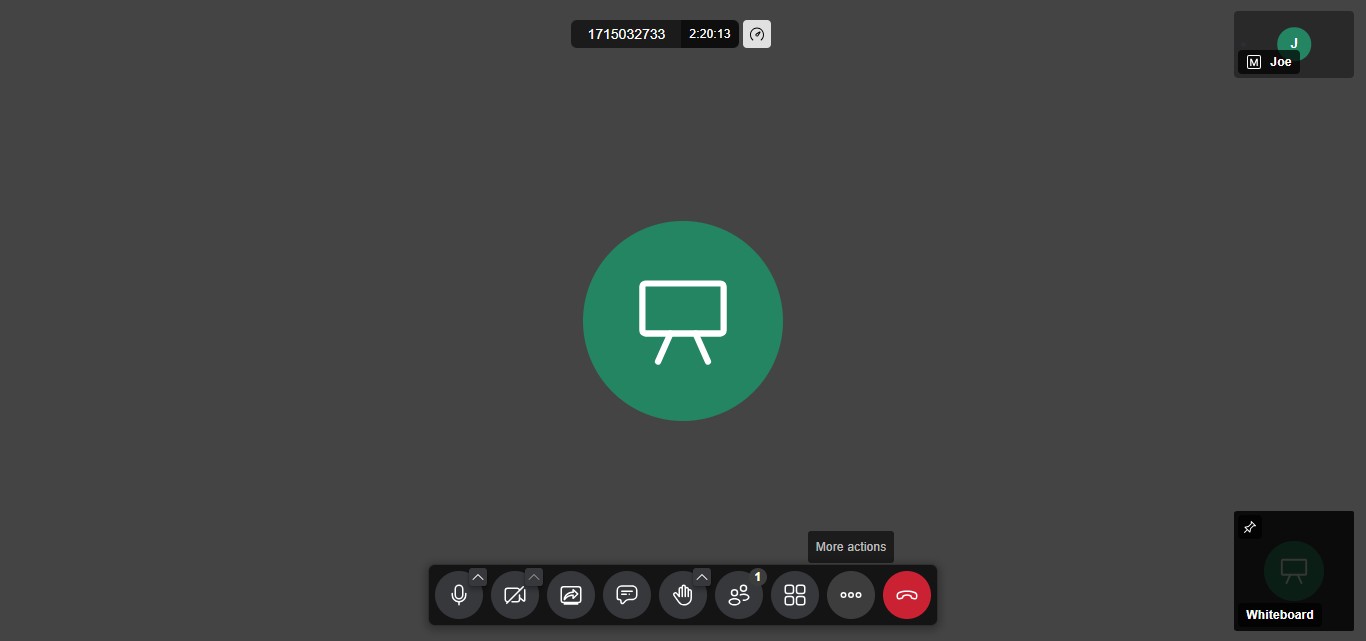
Whiteboard, Select background, Participant Stats
1. Whiteboard: This feature allows you to use a virtual whiteboard during the meeting. You can draw, write, or illustrate ideas and concepts, making it easier to collaborate and share information visually with other participants.
2. Select background: The platform offers the option to choose a virtual background for your video presence. This feature lets you replace your actual background with a pre-selected image or video, providing a more professional or themed appearance. It is particularly useful if you want to maintain privacy or have a cluttered background.
3. Participant Stats: The system provides detailed statistics about each participant's engagement during the meeting. You can view data such as how many minutes each person has spent speaking or how long they have been actively on screen. This information can be valuable for analyzing participation levels, identifying key contributors, and ensuring equal opportunity for all attendees to contribute. These features enhance the overall meeting experience by providing additional tools for collaboration, customization, and participation tracking. The whiteboard encourages interactive discussions, the background selection adds a layer of personalization and professionalism, and the participant stats offer insights into individual engagement levels.

These features enhance the overall meeting experience by providing additional tools for collaboration, customization, and participation tracking. The whiteboard encourages interactive discussions, the background selection adds a layer of personalization and professionalism, and the participant stats offer insights into individual engagement levels.](https://assets.guidejar.com/uploads/9867e477-6771-439f-861f-13b386459b07/Fn7AYqjYuCNi6qxp2rJ7maNAQdg1/81ea0469-5a23-4a0a-8914-fa55c6b4405f/1715054548800.jpeg)
Settings
Click on the "Menu" icon
Click on "Settings"
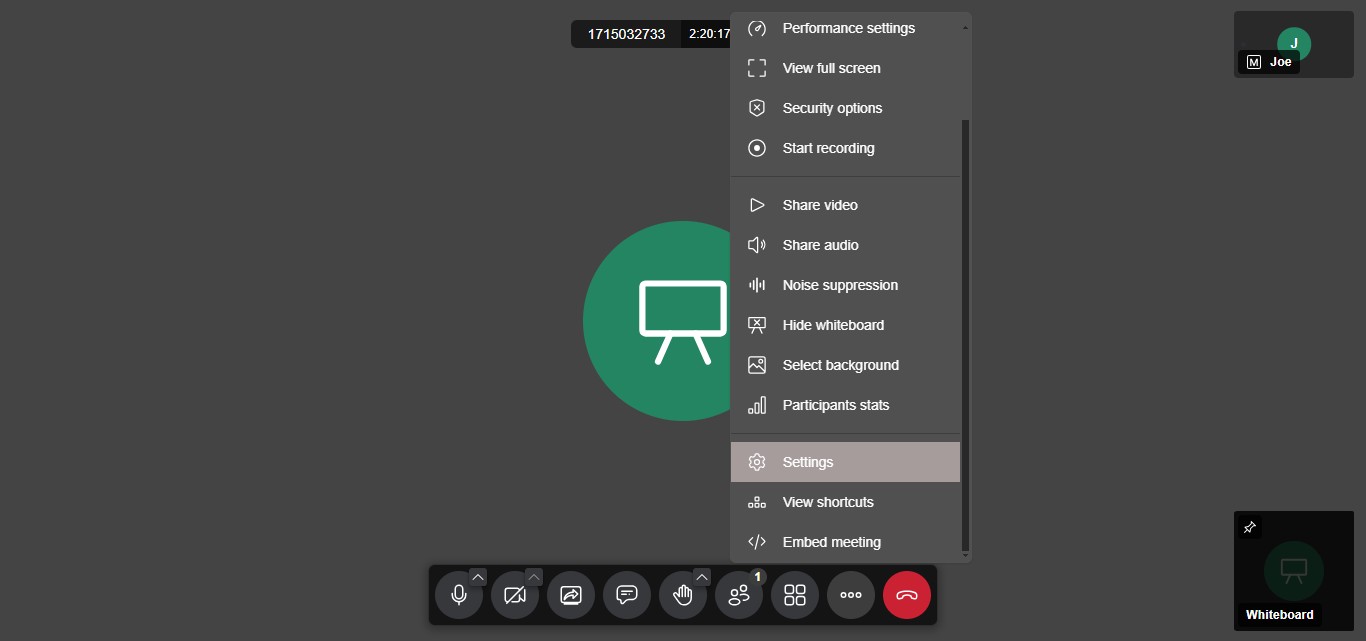
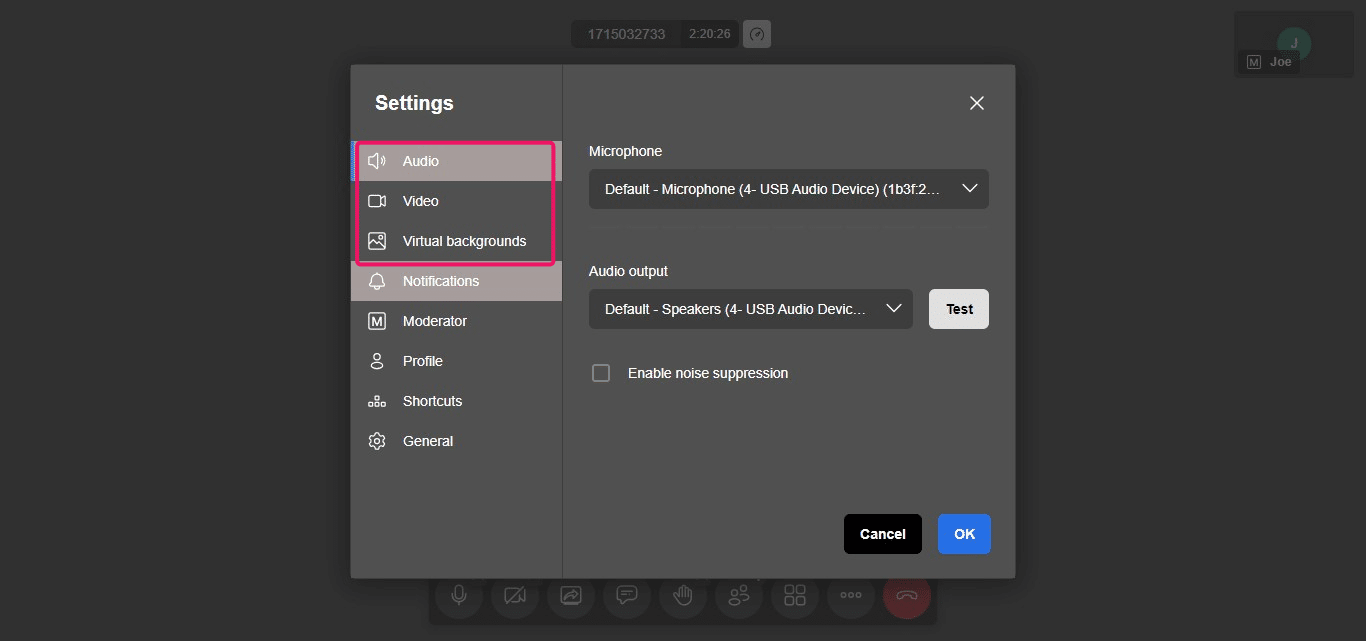
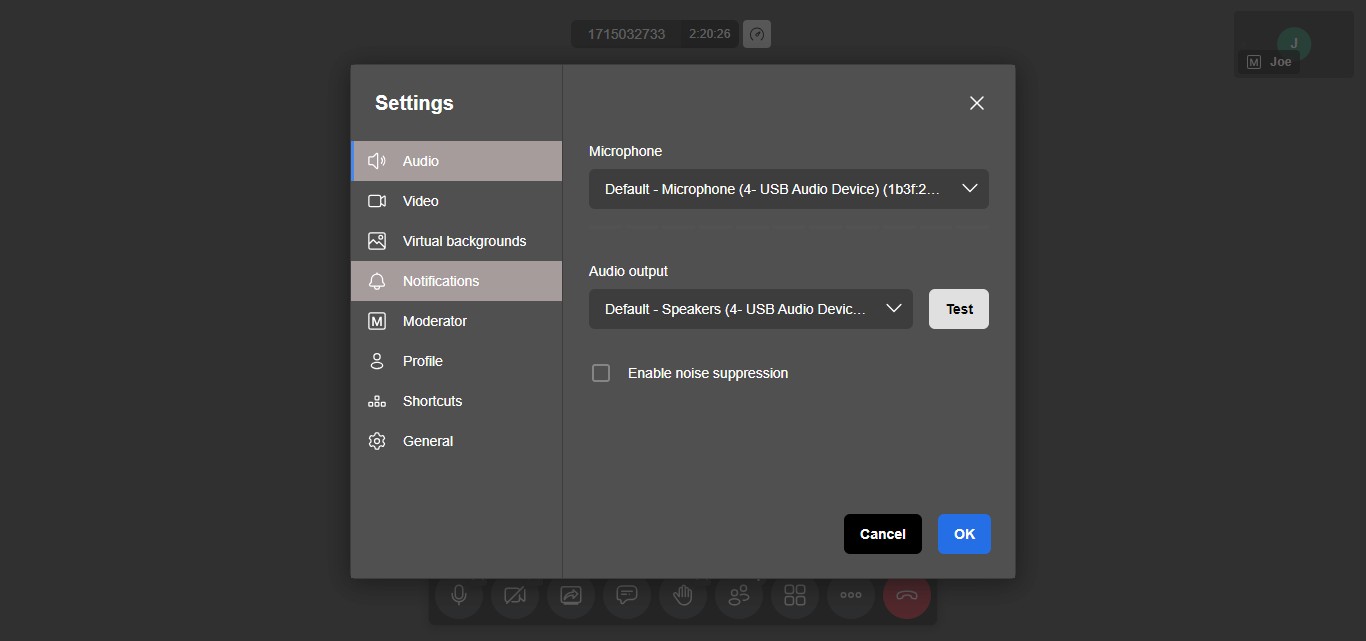
Audio, Video, and Virtual Backgrounds: In the settings menu, you can configure your audio and video preferences, as well as choose a virtual background. Ensure that your microphone and camera are properly set up and selected. Adjust the volume levels and test your audio to ensure clarity. You can also select a virtual background to replace your actual surroundings, providing a more professional or personalized appearance during the meeting.
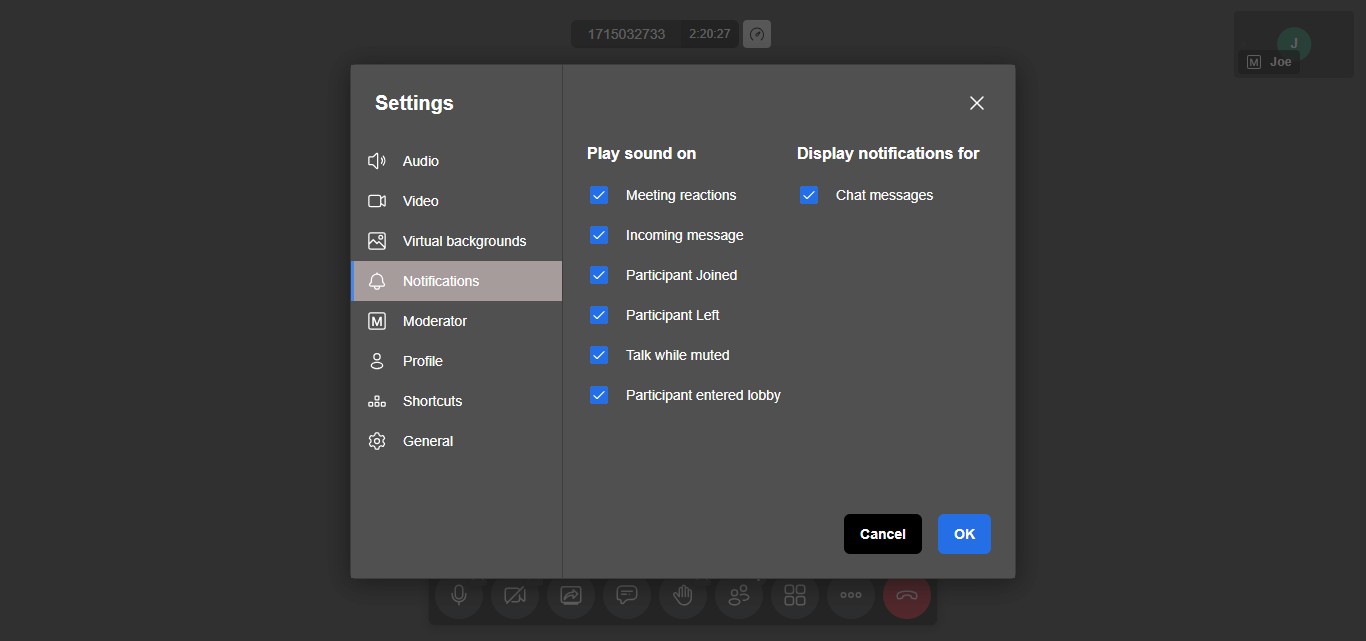
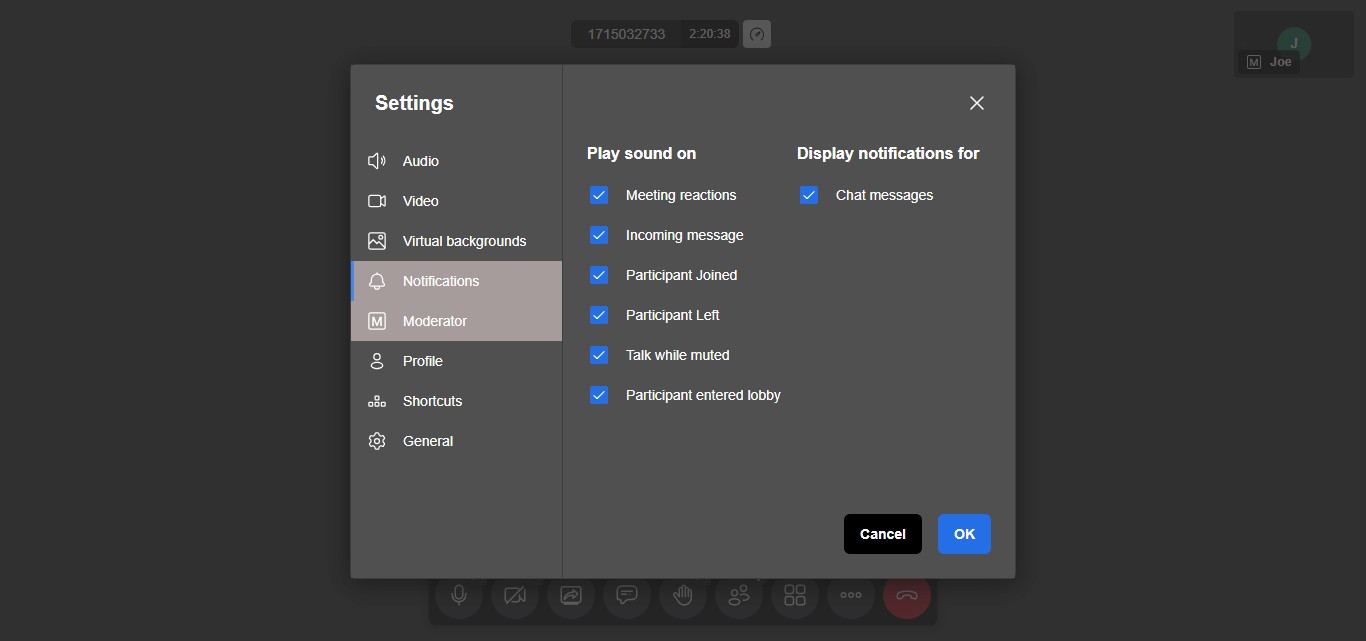
Click on "Notifications"
In the Notifications section, you can choose to enable or disable audio alerts by checking or unchecking the "Play sound on" option. Similarly, you can control whether chat message notifications are displayed by toggling the "Display notification for Chat messages" setting.
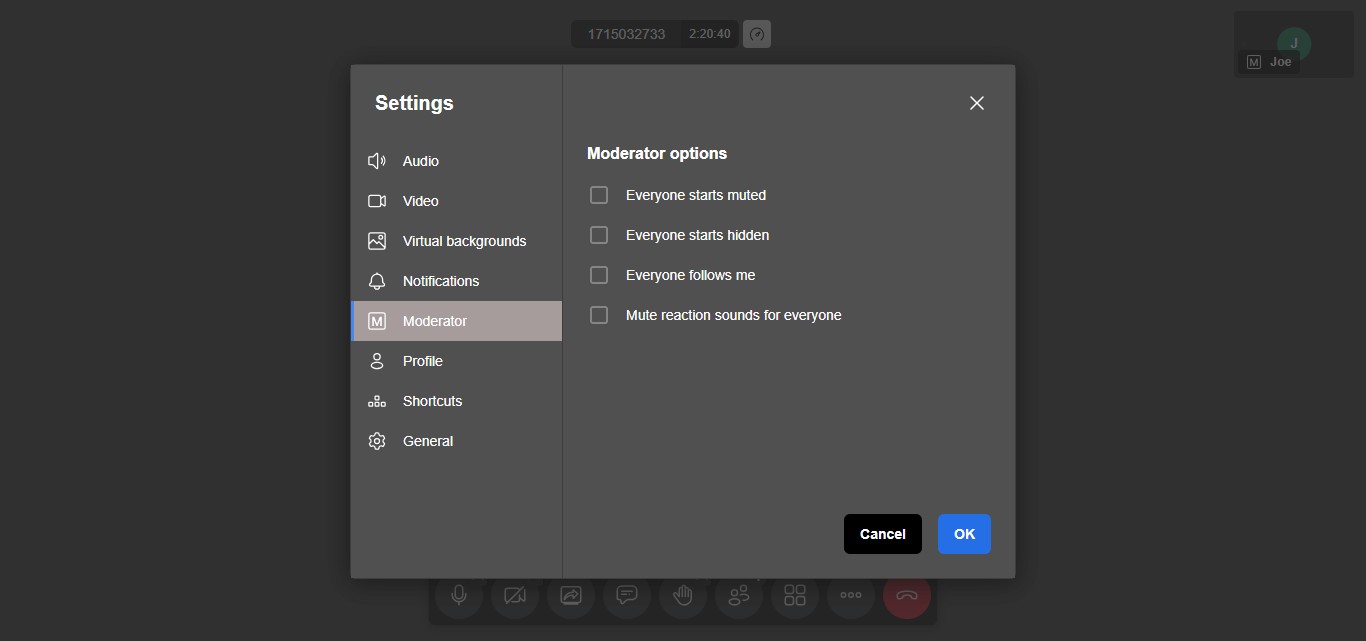
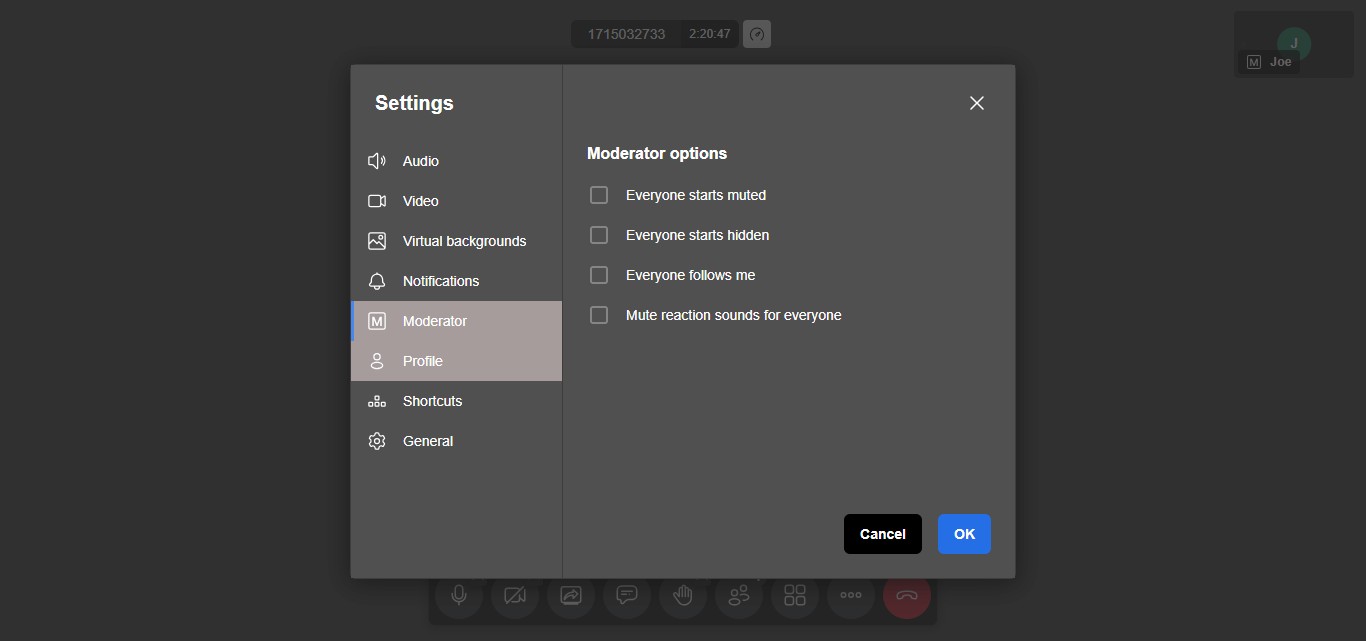
Click on "Moderator"
Moderator options can be chosen by checking the boxes on or off.
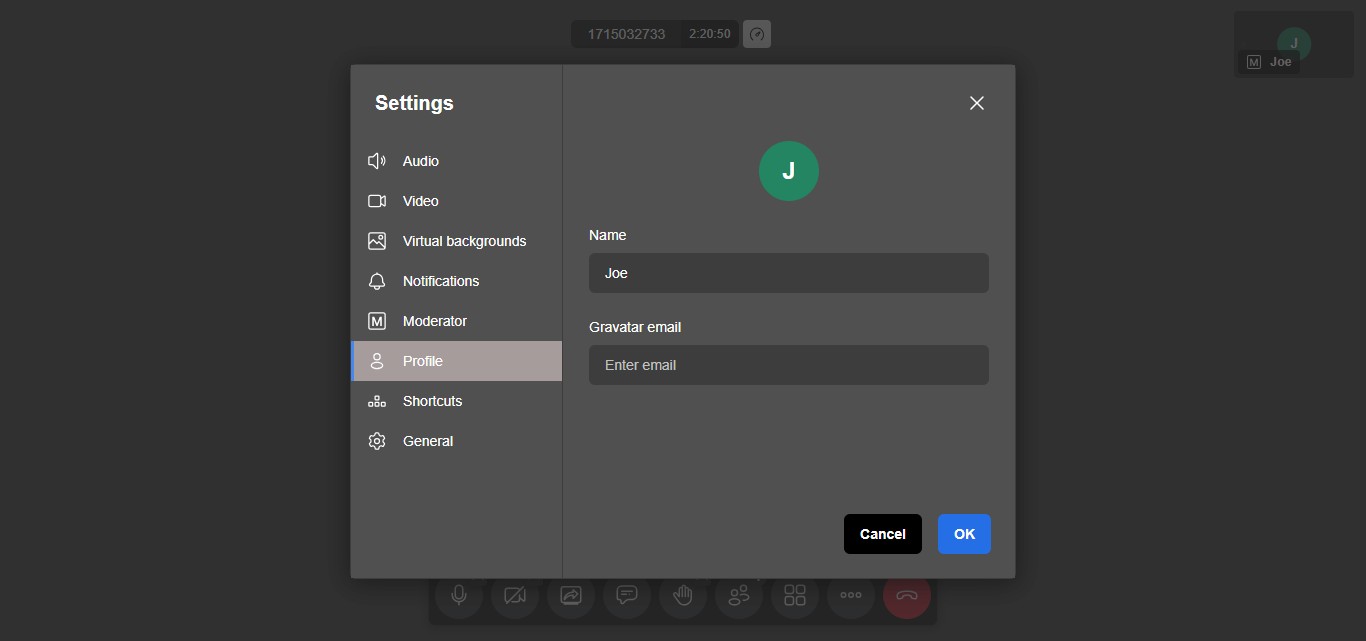
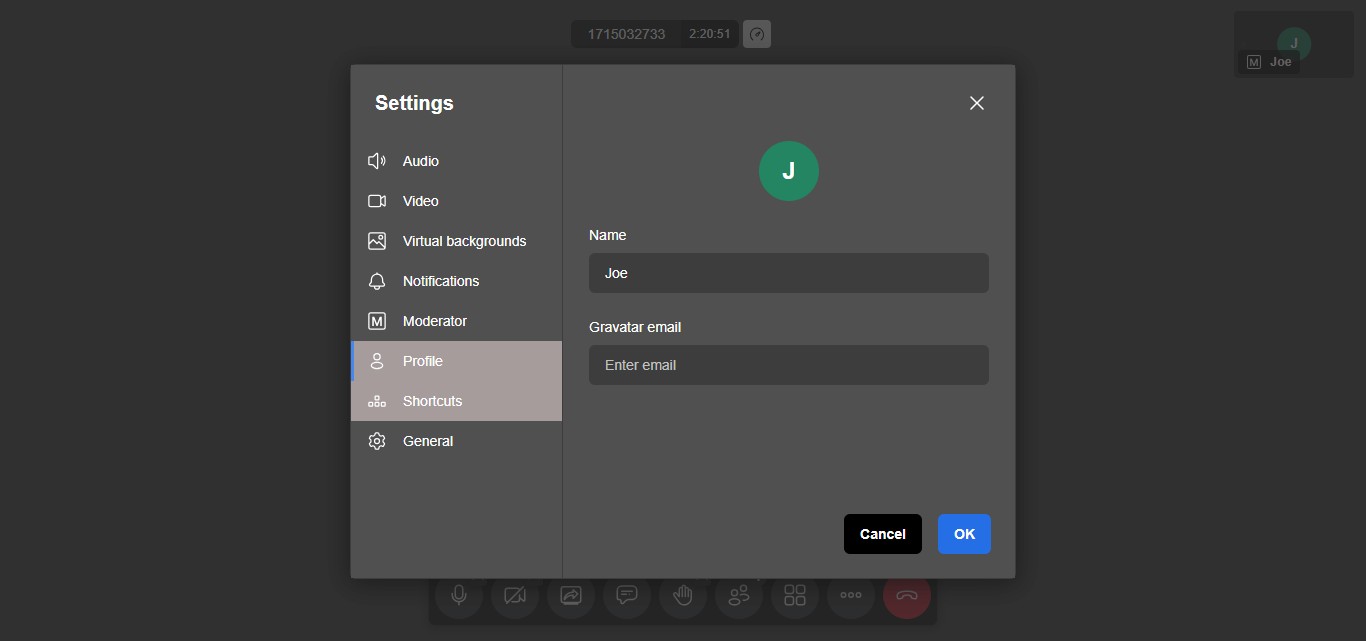
Click on "Profile"
You can add a name and an email here.
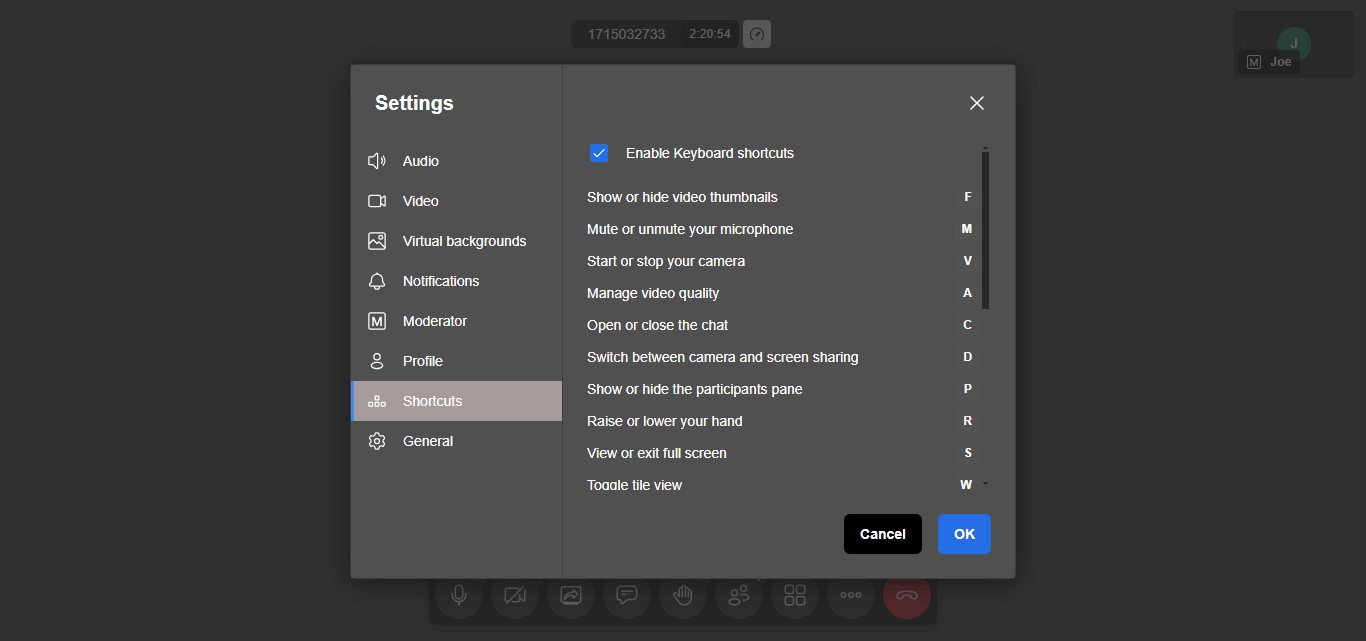
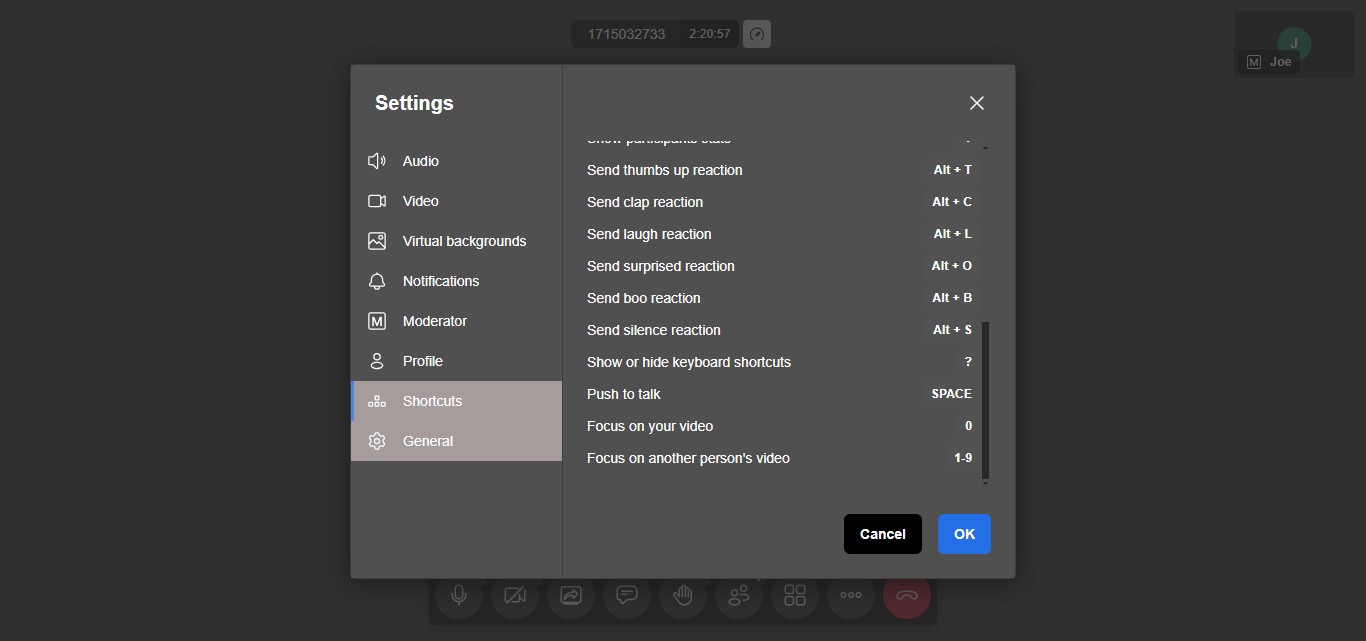
Click on "Shortcuts"
In the Shortcuts section, you can browse through the available keyboard shortcuts to find ones that can enhance your video call experience and make it more convenient to navigate and control various features.
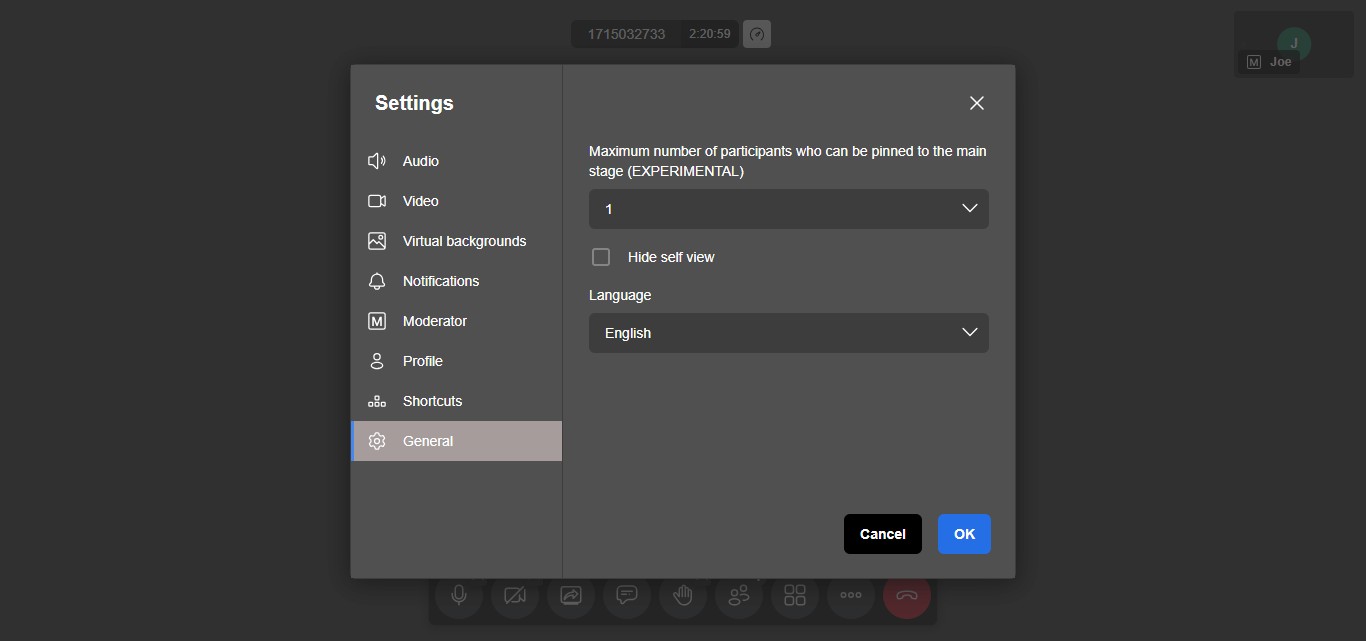
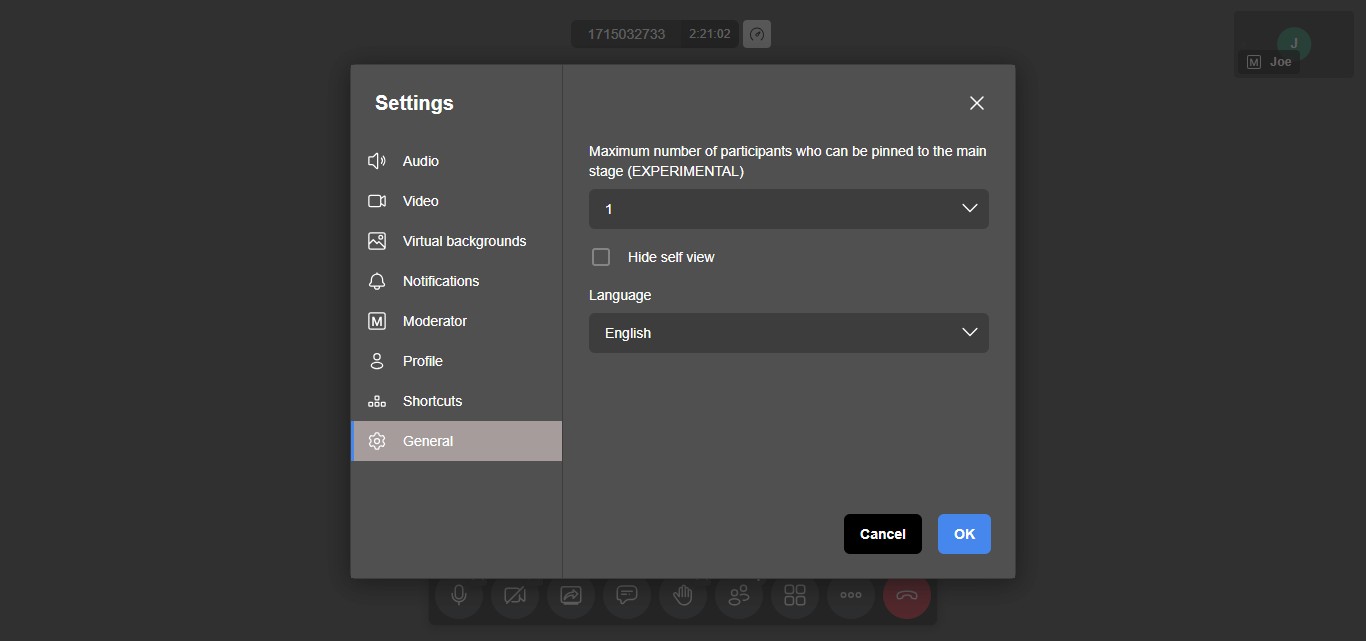
Click on "General"
General settings are for a Maximum number of participants who can be pinned to the main stage and the Language.
Click on "OK"
Add Breakout Room
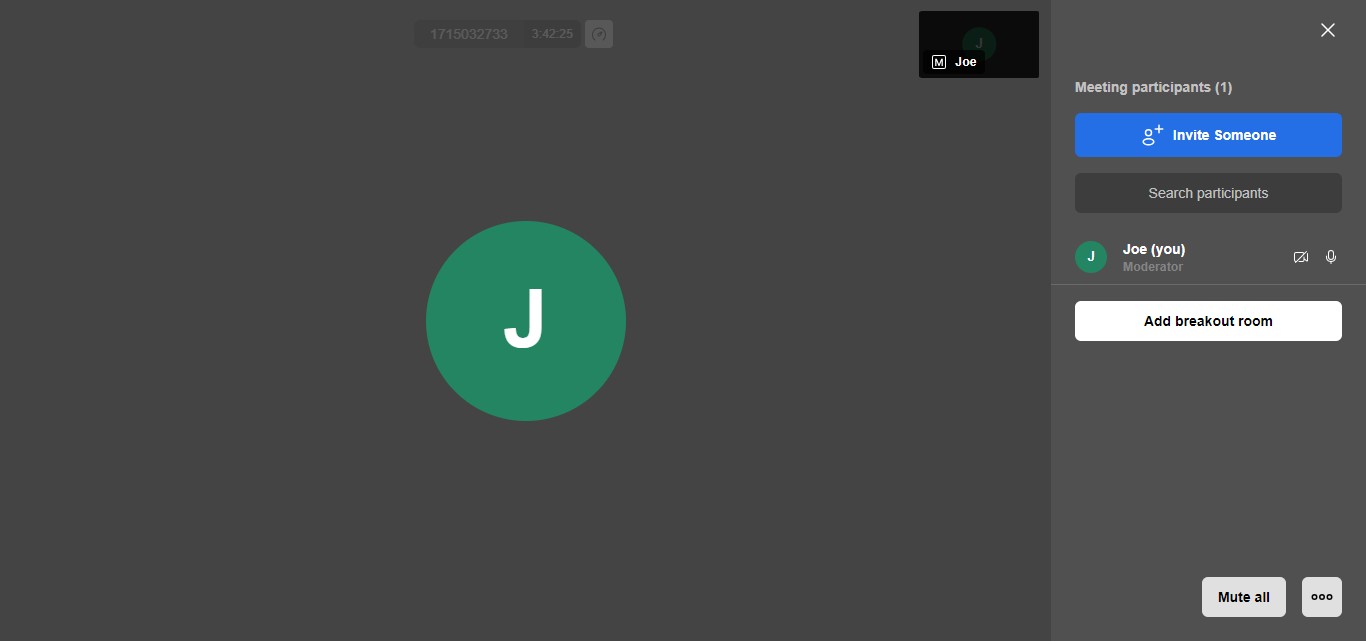
Breakout Rooms: As a moderator, you have the ability to create breakout rooms during a video call. Breakout rooms are separate virtual spaces within the main meeting where participants can be divided into smaller groups for focused discussions, team collaboration, or specific activities. This feature is particularly useful for large meetings or training sessions where you want to encourage interaction and participation among attendees. To create a breakout room, follow these steps: 1. Click on the "Participants" button in the main meeting controls. 2. Select the "Add breakout room" option. 3. Choose the number of breakout rooms you want to create and specify how participants should be assigned to each room (e.g., manually or automatically). 4. Once the breakout rooms are created, you can manage them by assigning participants, setting time limits, and monitoring the activities within each room. 5. Participants can interact with each other within their assigned breakout room, share screens, and collaborate on tasks. 6. As the moderator, you can visit each breakout room to provide guidance, answer questions, and facilitate discussions. 7. When the breakout sessions are complete, you can close the breakout rooms and bring all participants back to the main meeting. Breakout rooms provide a powerful way to create smaller, focused groups within a larger video call, fostering engagement, collaboration, and personal interaction among participants.
Click on "Participants"
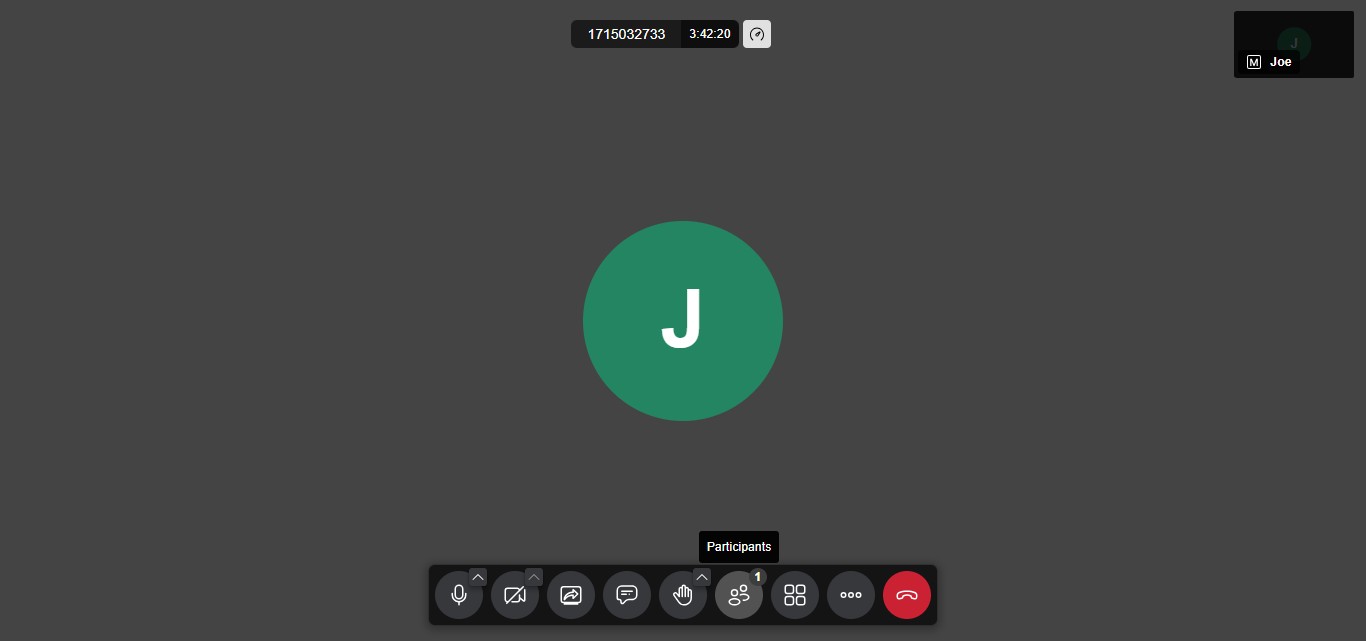
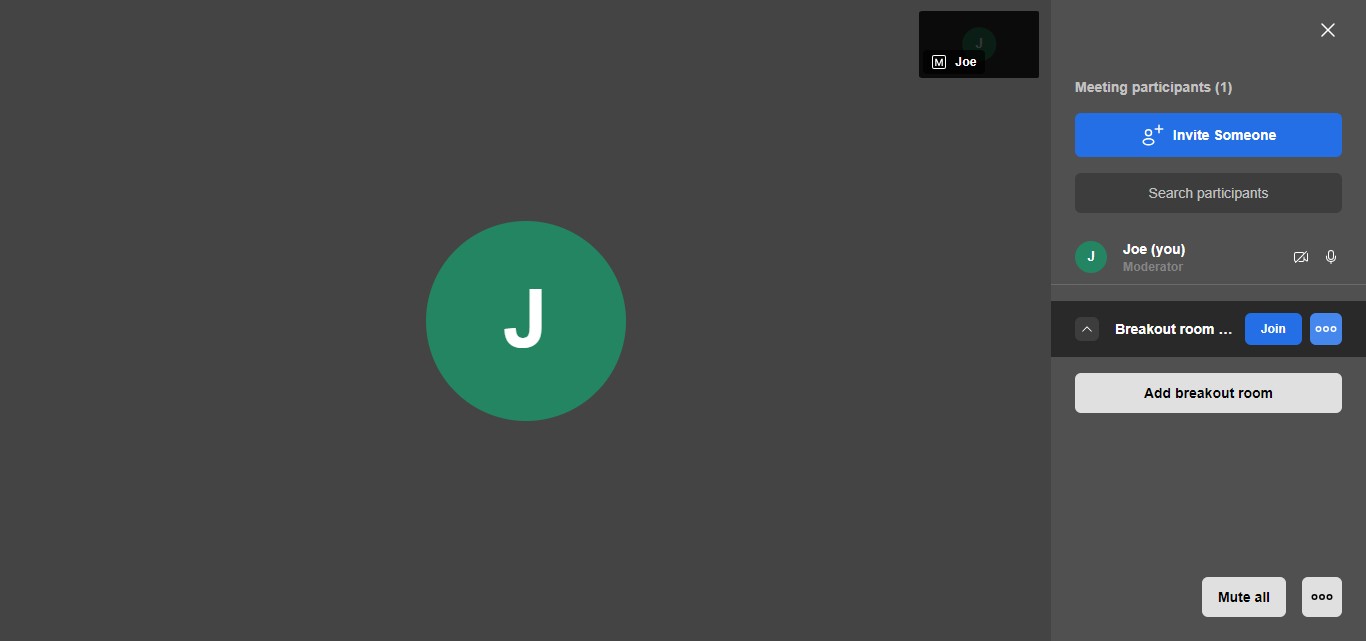
Click on "Add breakout room"
Click on "Menu"
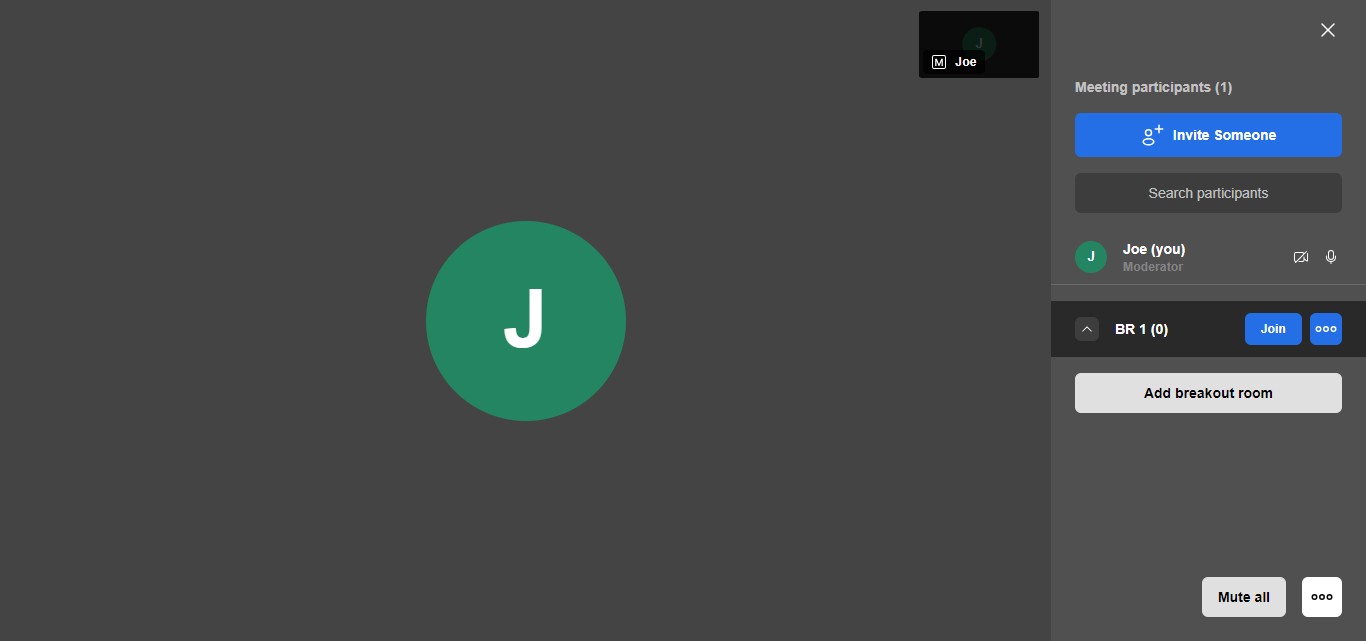
Click on "Rename"
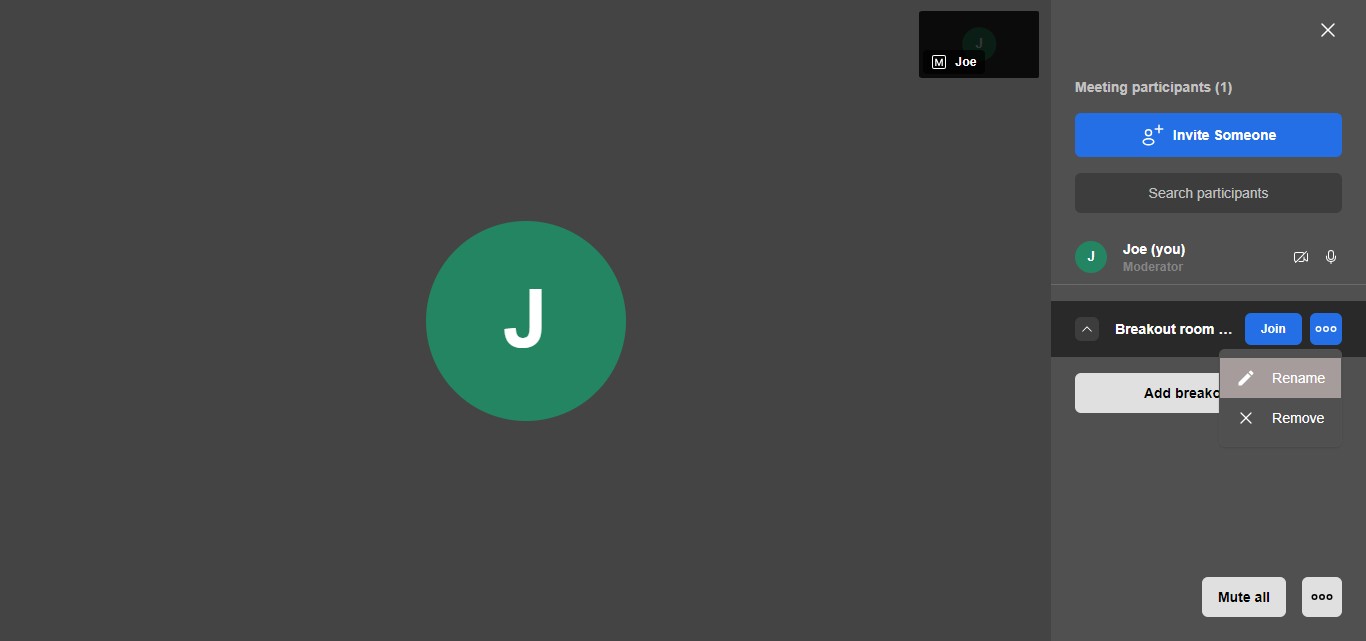
Click on "OK"

Other moderator features
As a moderator, you have the ability to mute all participants in the meeting. This feature is useful when you need to minimize background noise or ensure that everyone's attention is focused on the speaker. By clicking on the "Mute All" button, you can instantly mute the audio for all participants, preventing any disruptions or unwanted sounds.
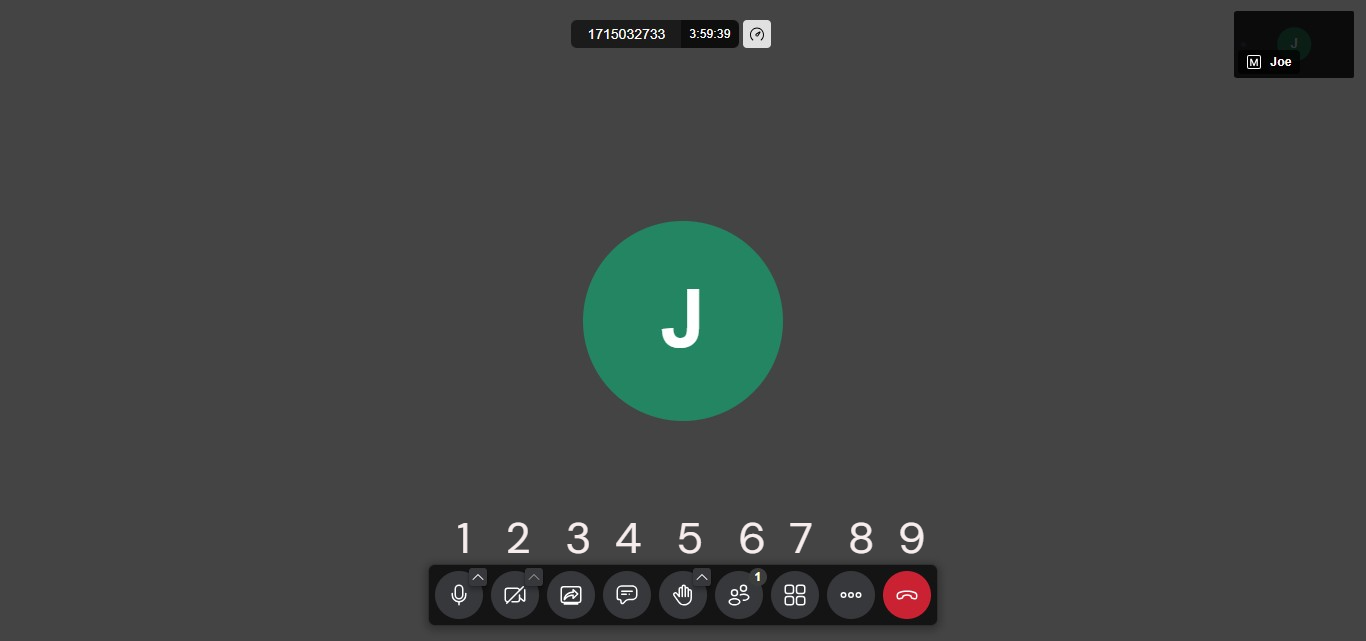
Bottom menu bar
1. Audio Mic 2. Camera 3. Share Screen 4. Chat 5. Raise Hand 6. Participants 7. Toggle Tile View 8. Menu Options 9. Leave Meeting
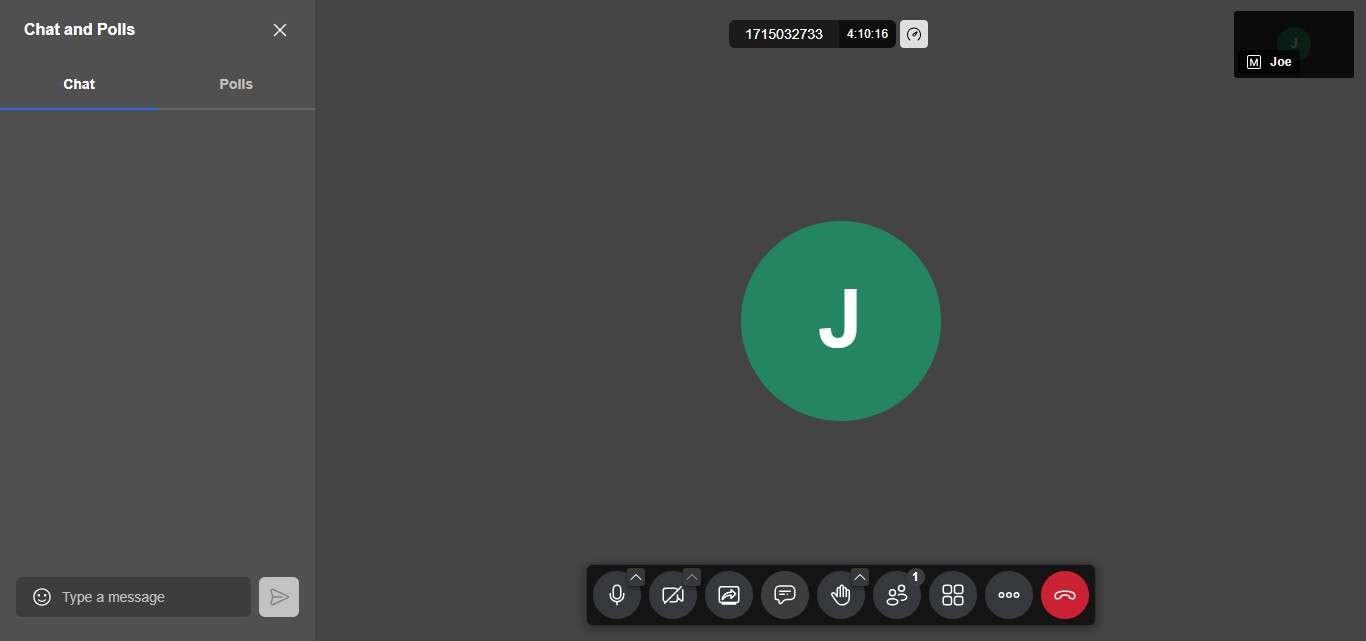
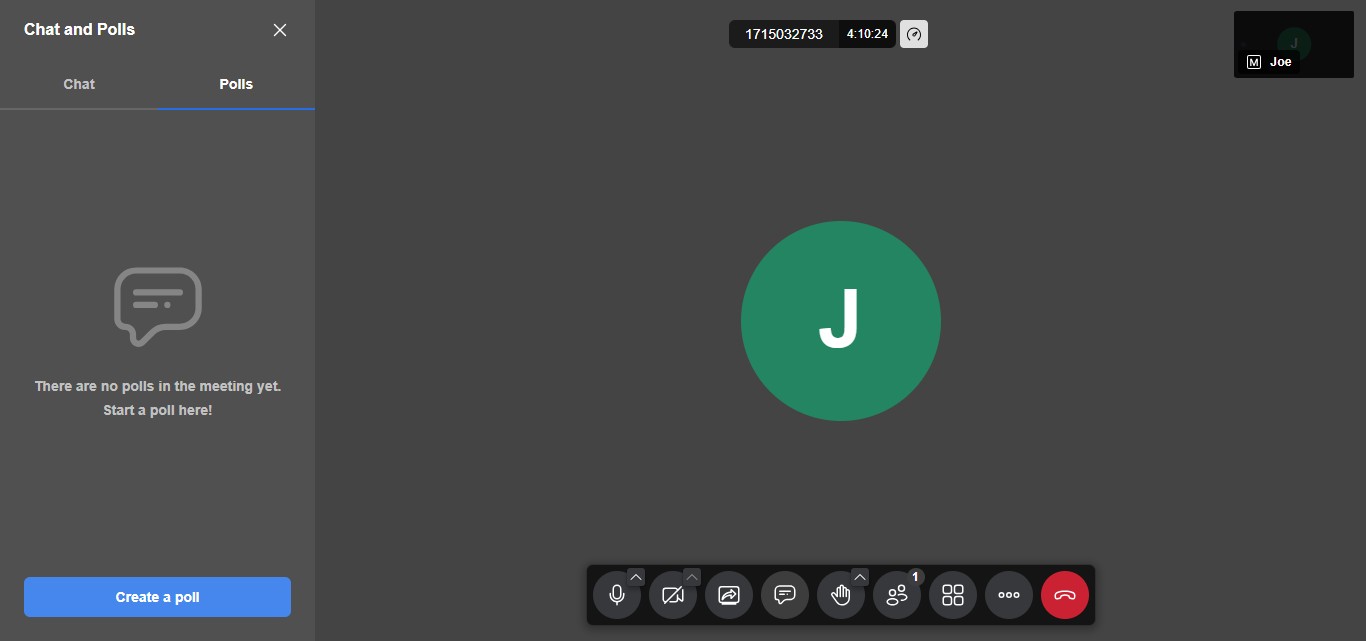
Chat and Polls
Click on "Chat"
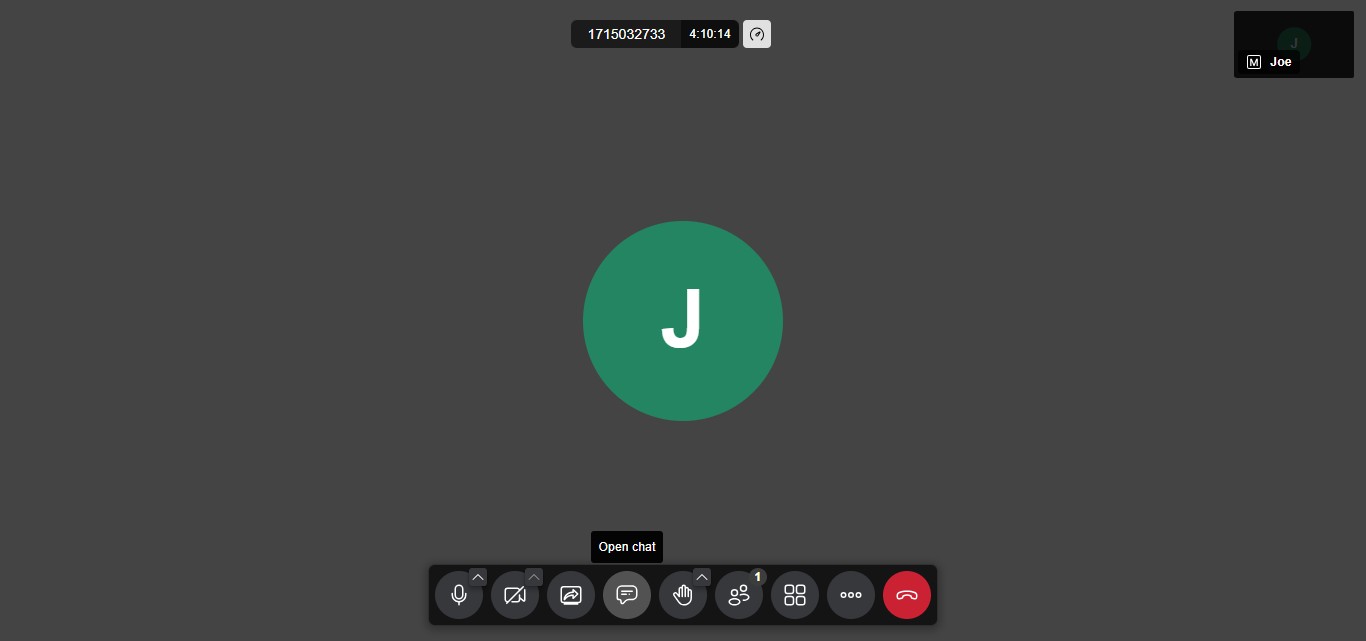
This opens the chat box.
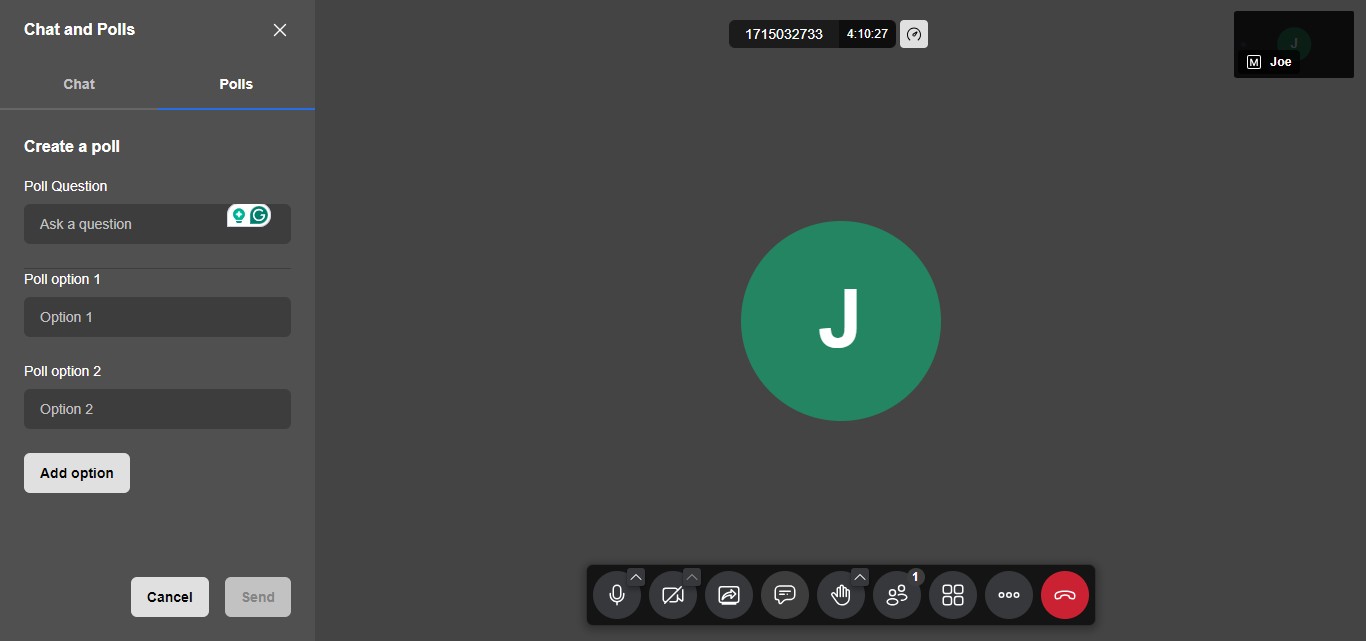
Click on "Polls"
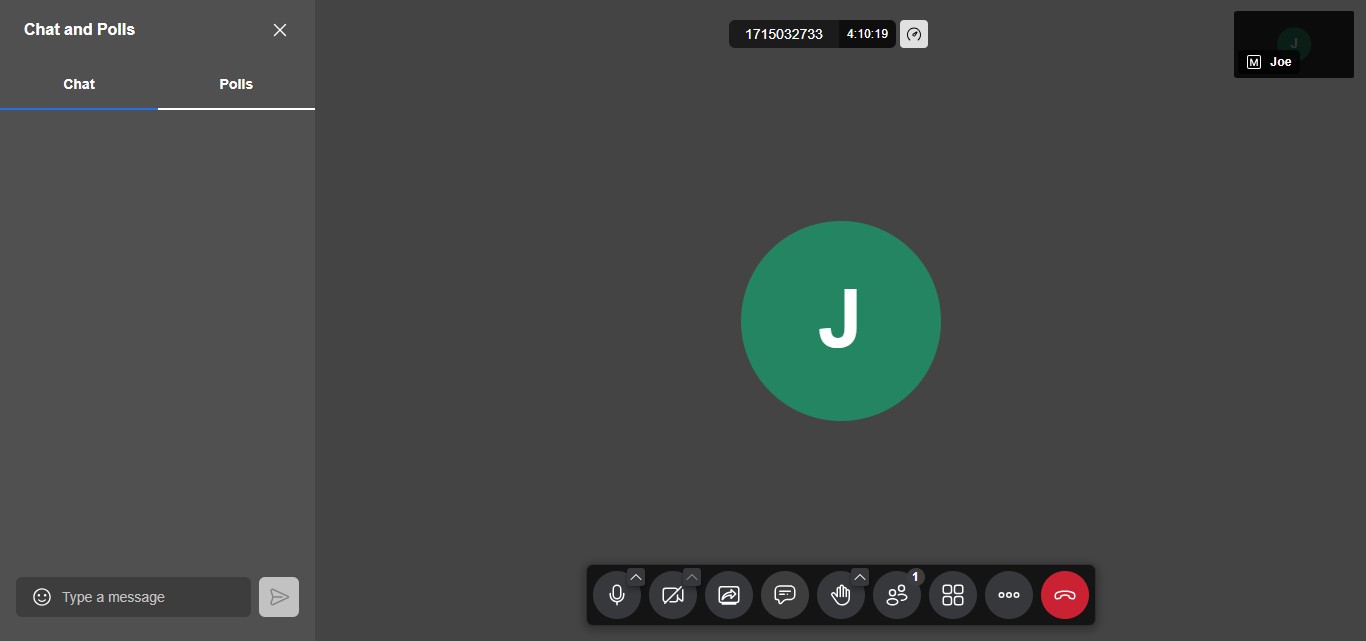
Click on "Create a poll"
Here you can create a poll. After creating the poll click "Send" to send to your audience.
Summary of SMS-iT Connect Features: 1. Lead Capture: Collect valuable contact information from prospects before your webinar or meeting and automatically add them to your SMS-iT database for easy follow-up communication. 2. AI-Powered Chat Assistant: Engage your audience with real-time support and answers to their questions through an AI-powered chat interface trained on your brand and specific topics. 3. Interactive Tools: Enhance collaboration and content delivery with features like virtual whiteboards, screen sharing, and the ability to share various assets. 4. Persistent Meeting Rooms: Keep the meeting room open after the scheduled end time, allowing attendees to revisit, review materials, and continue interacting with the AI chatbot for ongoing engagement. 5. Customizable Registration Forms: Create branded registration forms with your logo, intro video, footer message, and legal agreements to provide a professional experience for your attendees. 6. Multiple Meeting Creation Options: Choose from instant meetings, scheduled meetings, or generate meeting links to share at any time, all with the same in-meeting controls and features. 7. Invite Participants: Easily invite attendees to your meetings via email, phone dial-in, or by sharing a direct meeting link. 8. Security and Privacy: Ensure the security and privacy of your meetings with features like waiting rooms, password protection, and end-to-end encryption. 9. Recording and Playback: Record your meetings for later reference or to share with those who couldn't attend live, and easily store the recordings on your local drive. 10. Screen Sharing and Audio Sharing: Share your screen, specific application windows, or audio with the audience to enhance your presentation and collaboration. 11. Noise Suppression: Minimize background noise and distractions with the noise suppression feature, ensuring clear audio for all participants. 12. Virtual Backgrounds and Participant Stats: Customize your video presence with virtual backgrounds and gain insights into participant engagement with detailed statistics. 13. Breakout Rooms: Divide participants into smaller groups for focused discussions, team collaboration, or specific activities, fostering engagement and interaction. 14. Chat and Polls: Engage your audience with real-time chat conversations and gather valuable feedback or insights through interactive polls. SMS-iT Connect provides a comprehensive set of features designed to create immersive and engaging video conferencing experiences, capture leads, and facilitate meaningful interactions with your audience before, during, and after your meetings or webinars.