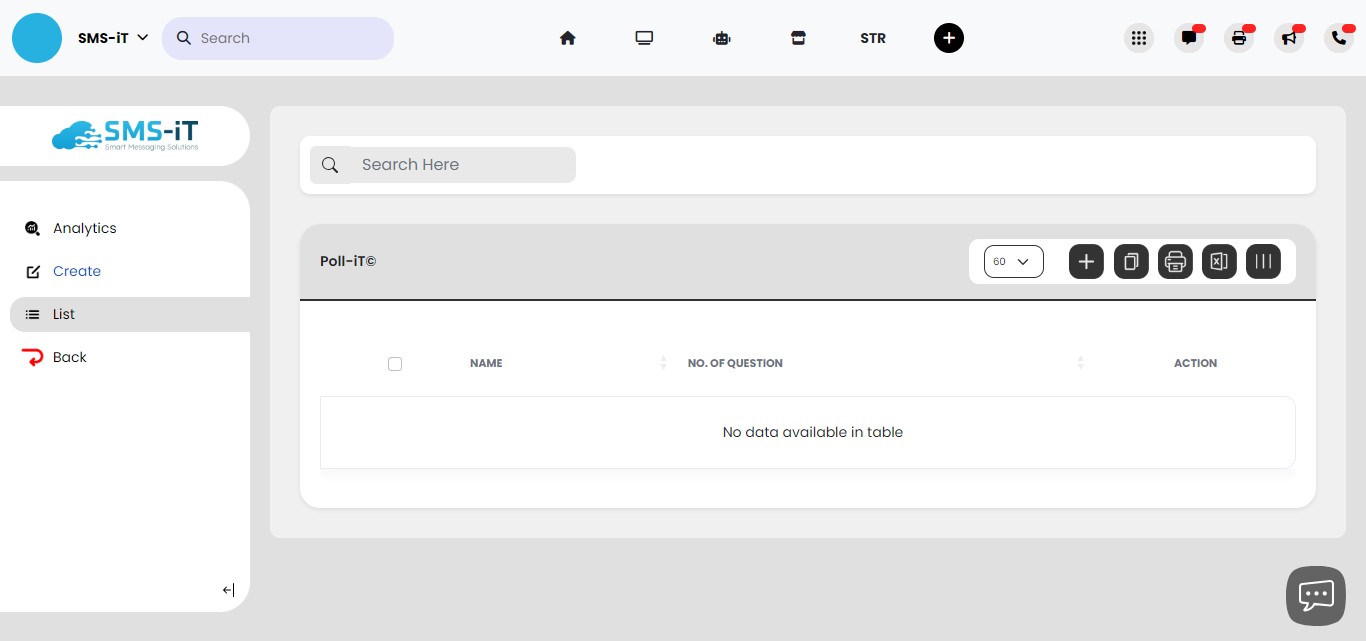
Poll-iT© (Survey and Poll Creation Platform)
Poll-iT© (Survey and Poll Creation Platform) Engage your audience with interactive polls and surveys to gather opinions and drive participation. When you think innovation, think SMS-iT.
Before creating your poll or survey, you need to establish a "group" or container within the SMS-iT CRM system where your prospects will be entered. This allows you to utilize various marketing tools to guide potential clients through the funnel, from initial engagement to becoming paying customers.
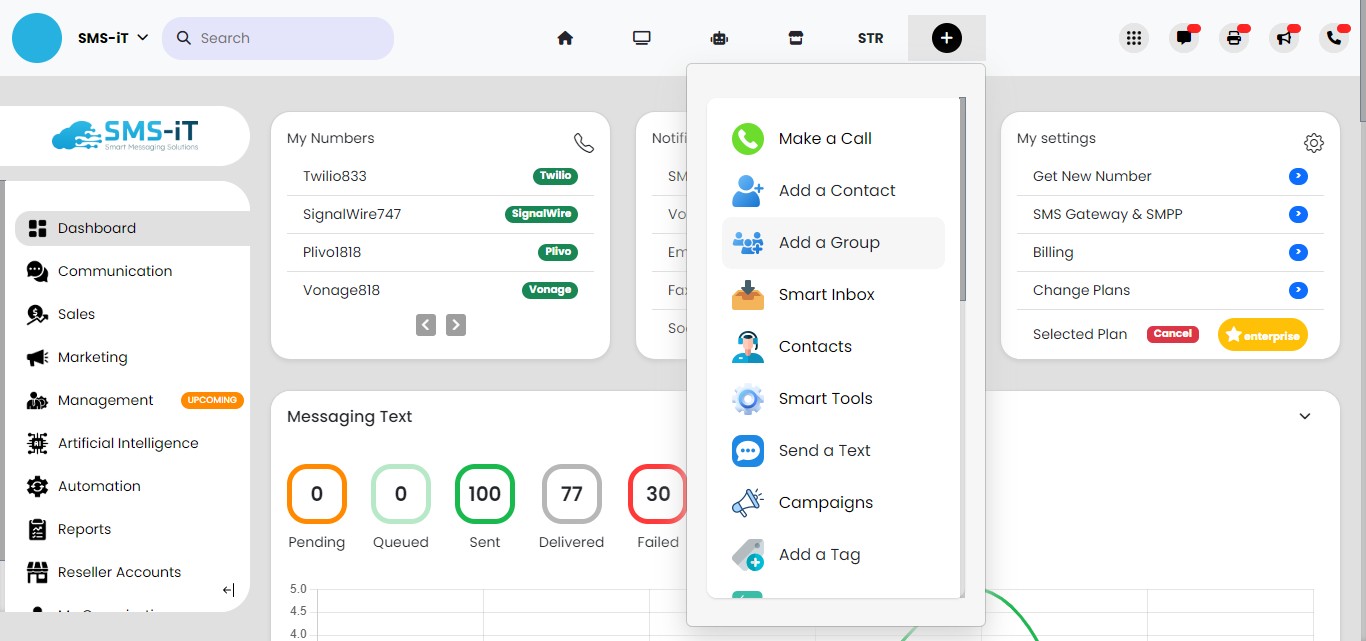
Create a "Group"
Click on "Add a Group"
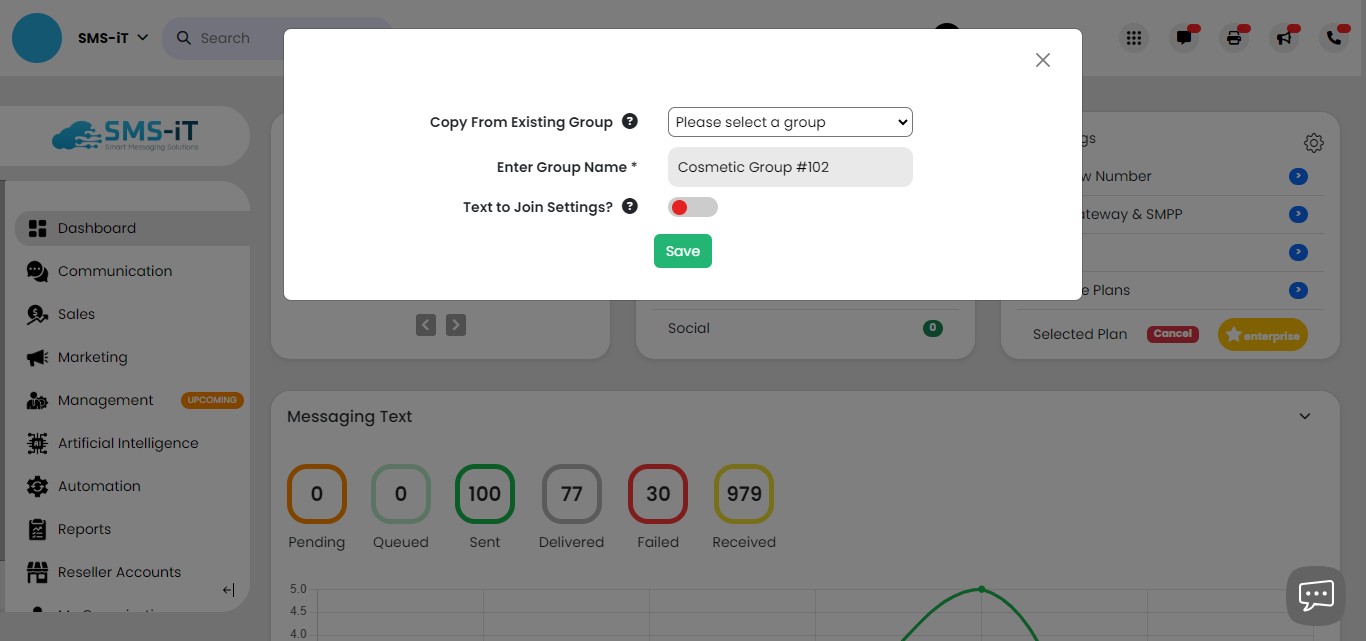
Name your group.
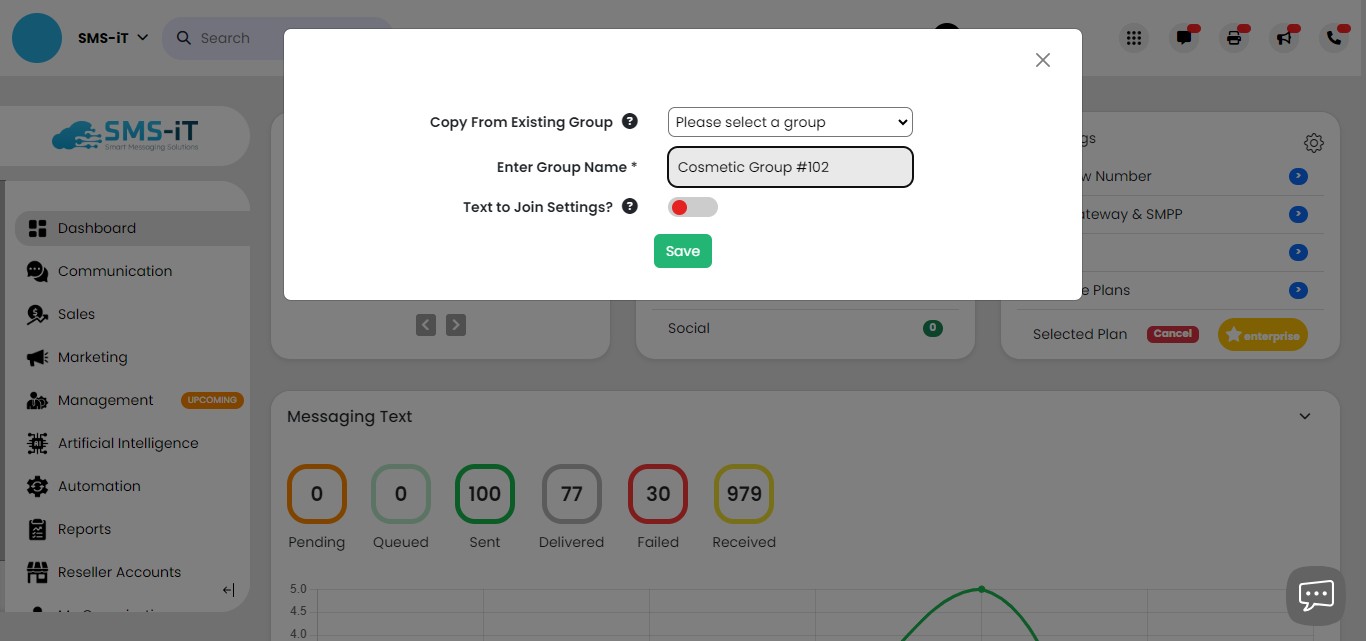
Click on "Save"
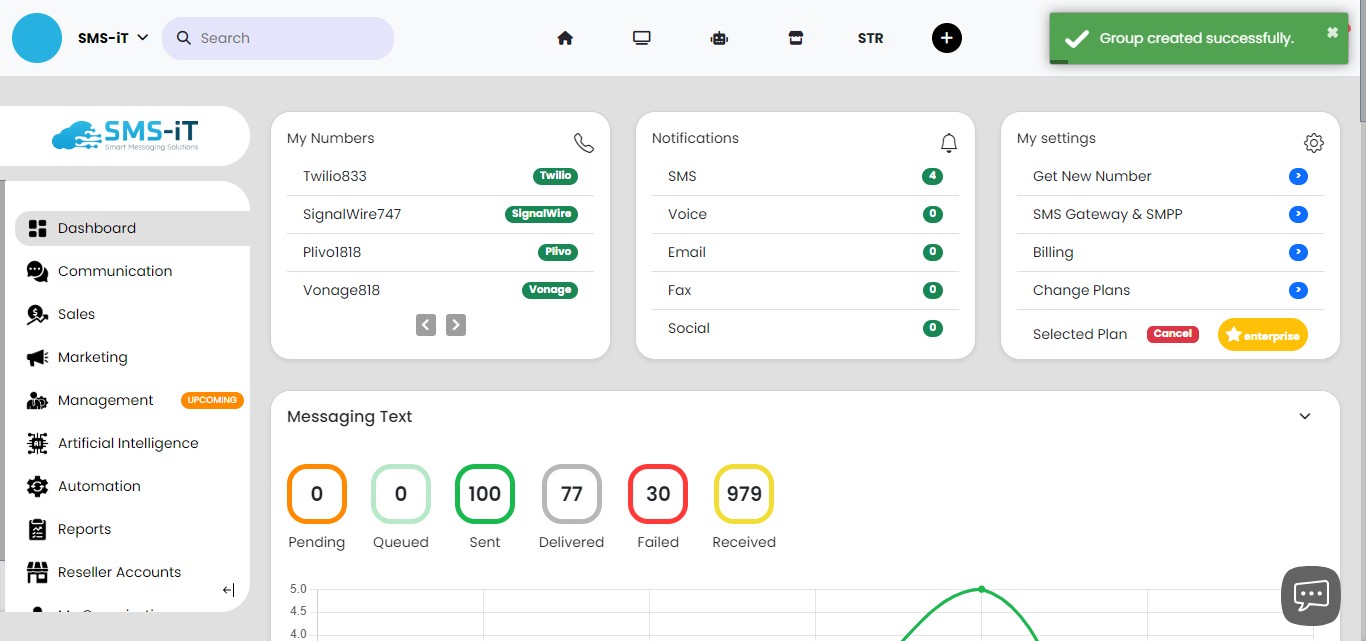
Group created.
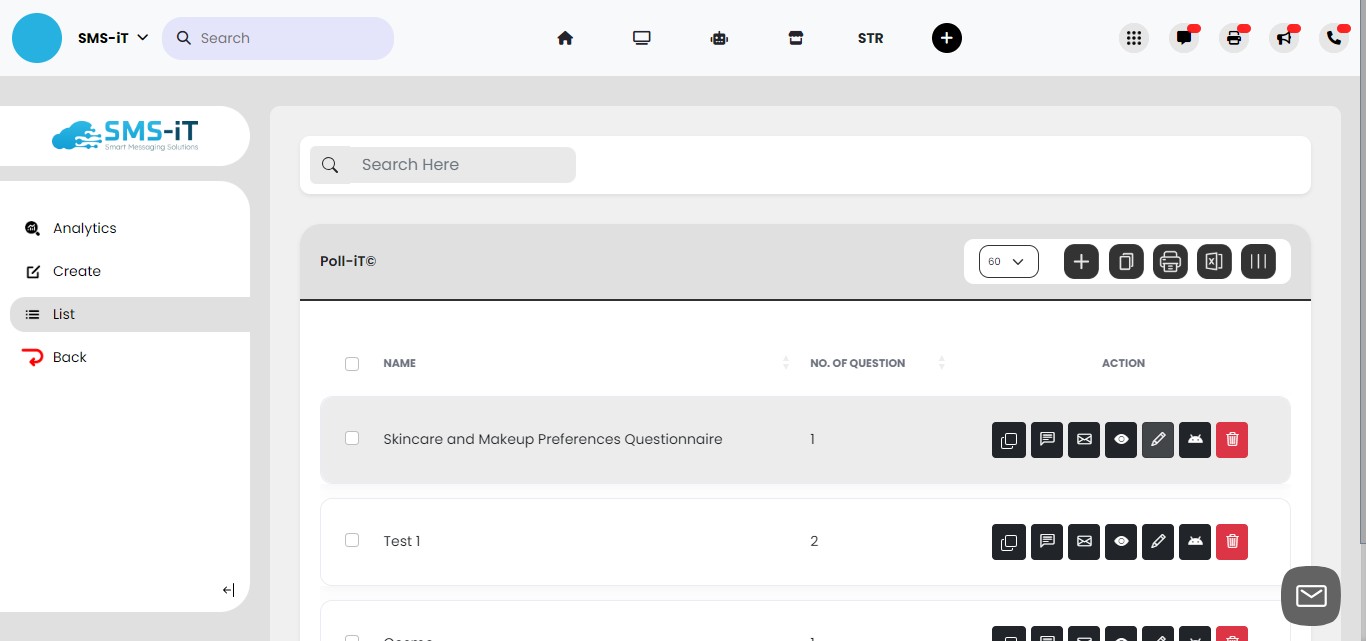
Create a Poll/Survey
Click on "Smart Tools"
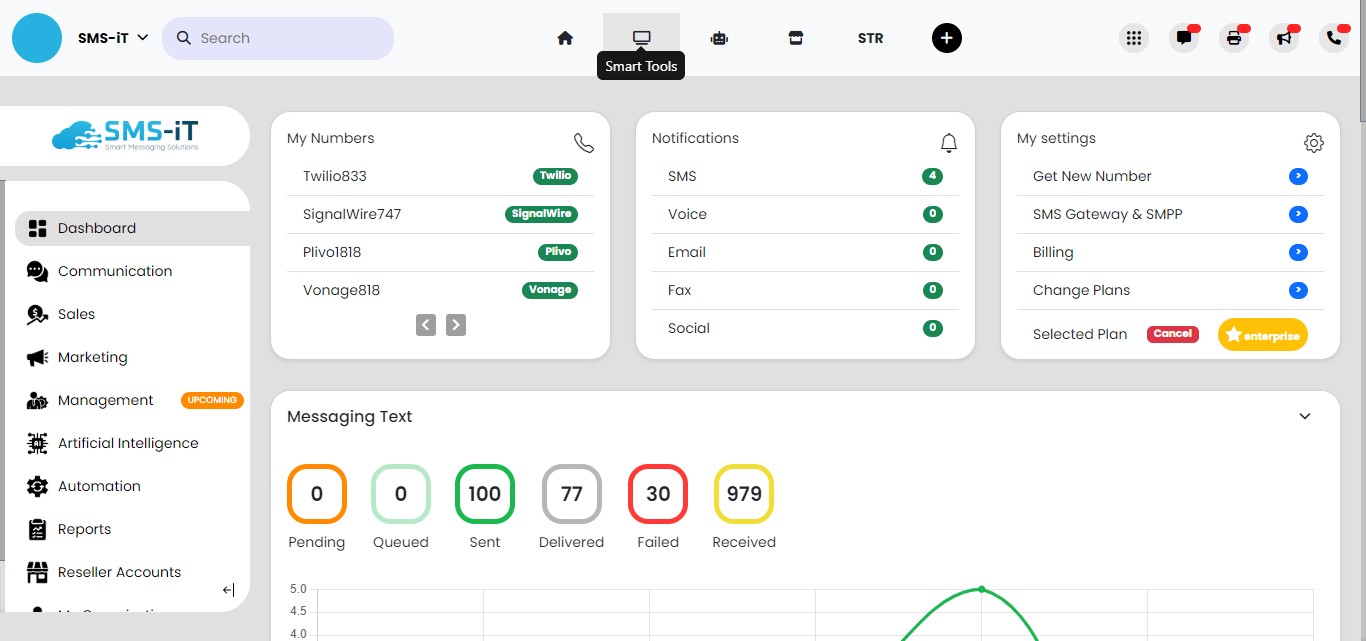
Click on "Poll-iT©"

Click on "Create"
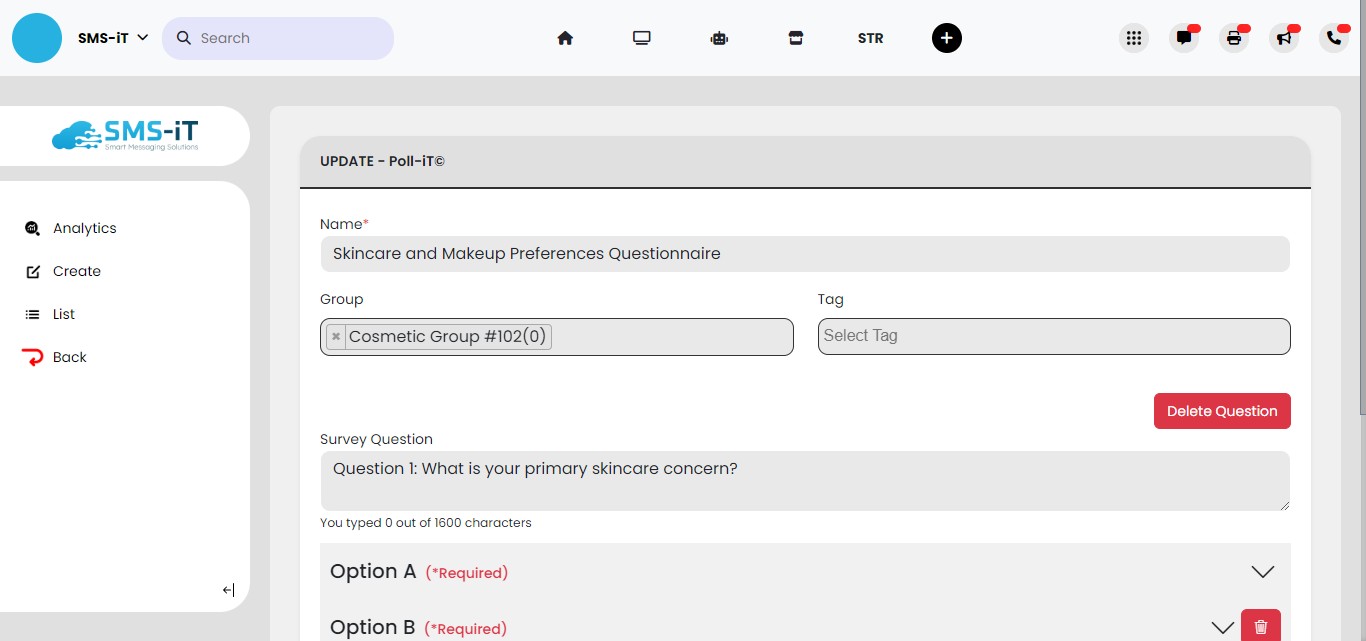
Name and Group
Choose a name for your survey or poll. This will be a friendly name visible in your list and is solely for internal reference.

Under the "Name" field, you'll soon find an upcoming text box labeled "Description (for internal use only)." Here, you can input additional context or details regarding the SMS text poll. This might encompass the poll's purpose, target audience, specific questions posed, or any other pertinent information. Leveraging this field enables you to organize and analyze your SMS marketing campaigns more efficiently by delineating the distinct purposes of each poll.
Please choose a "Group" from the dropdown menu. In this demonstration, we're selecting the group recently created. This is where respondents to your poll/survey will be added, facilitating their journey as customers, enabling you to reach out with tailored offers.
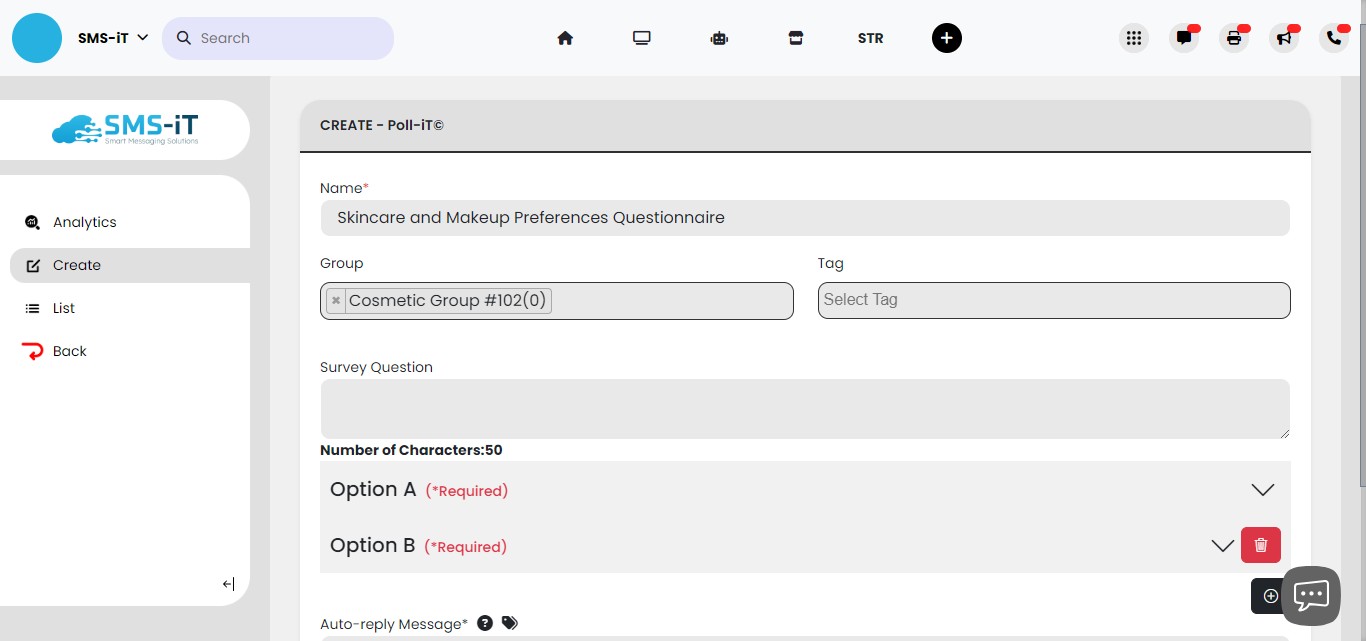
First question (A), answer and auto-reply
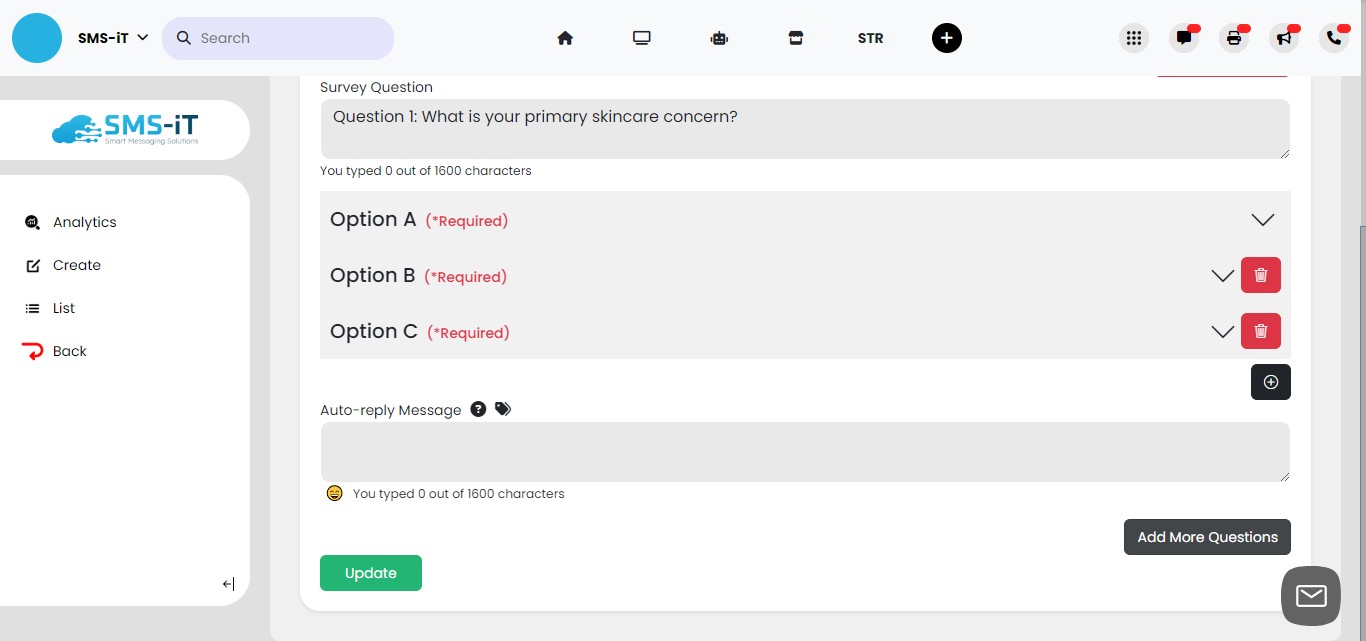
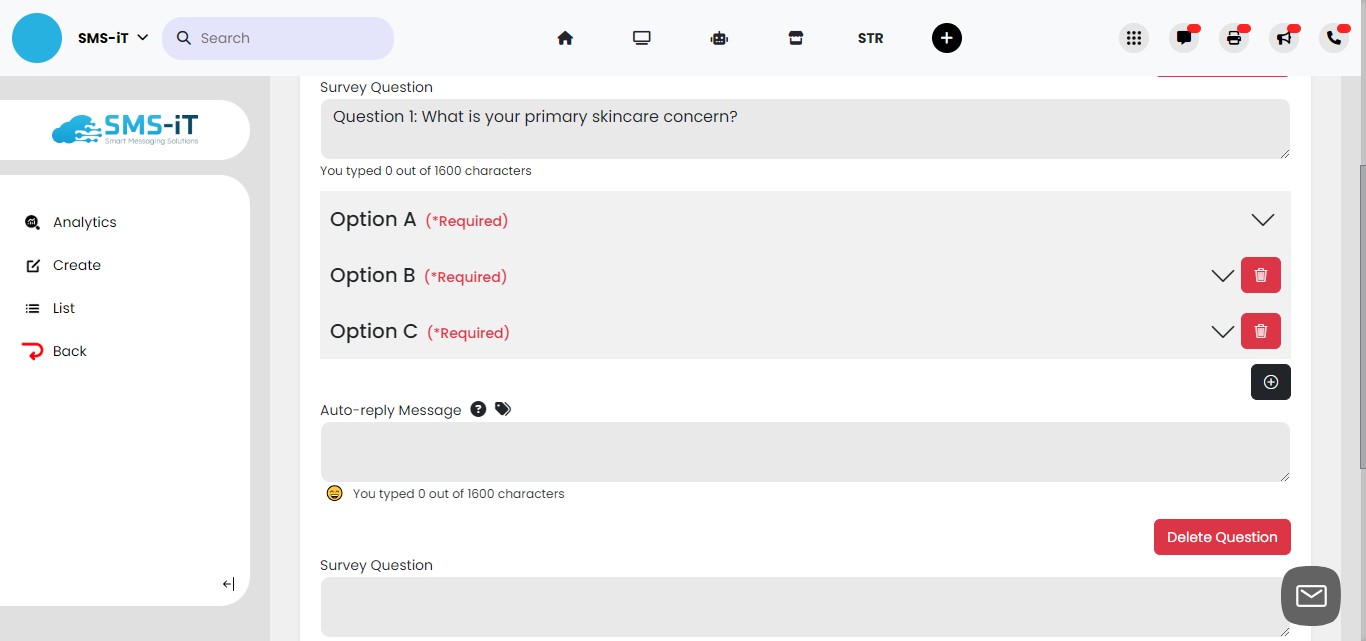
Enter your first question.
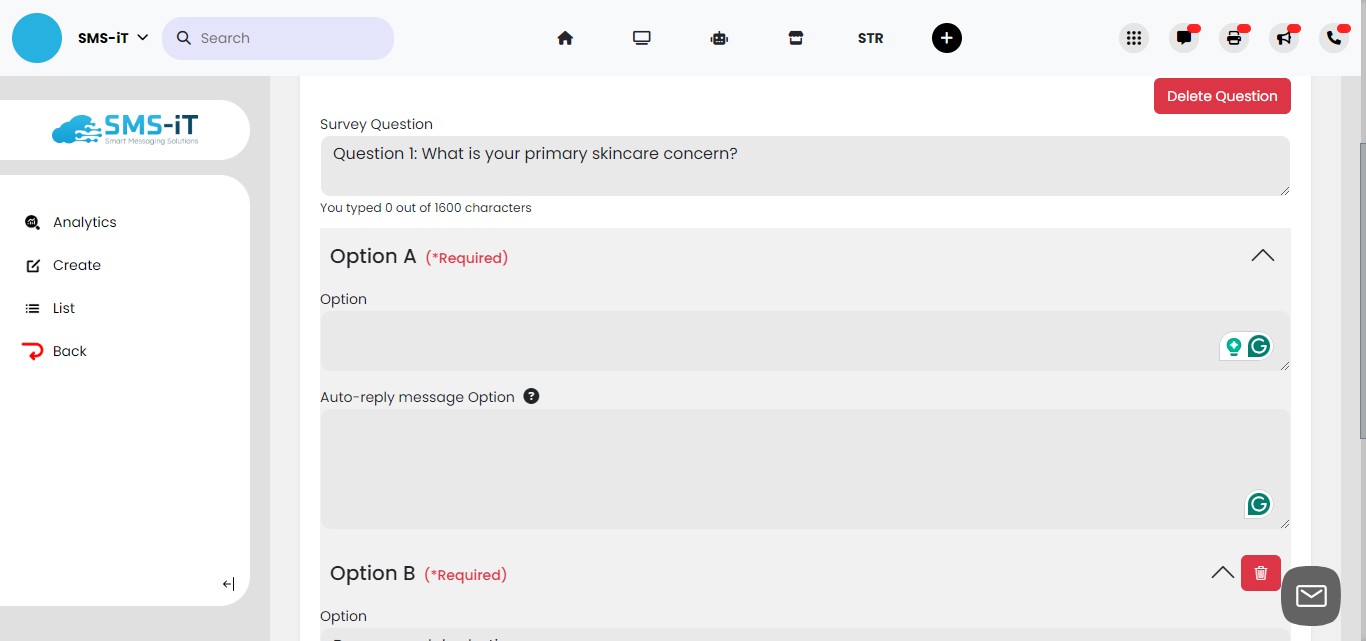
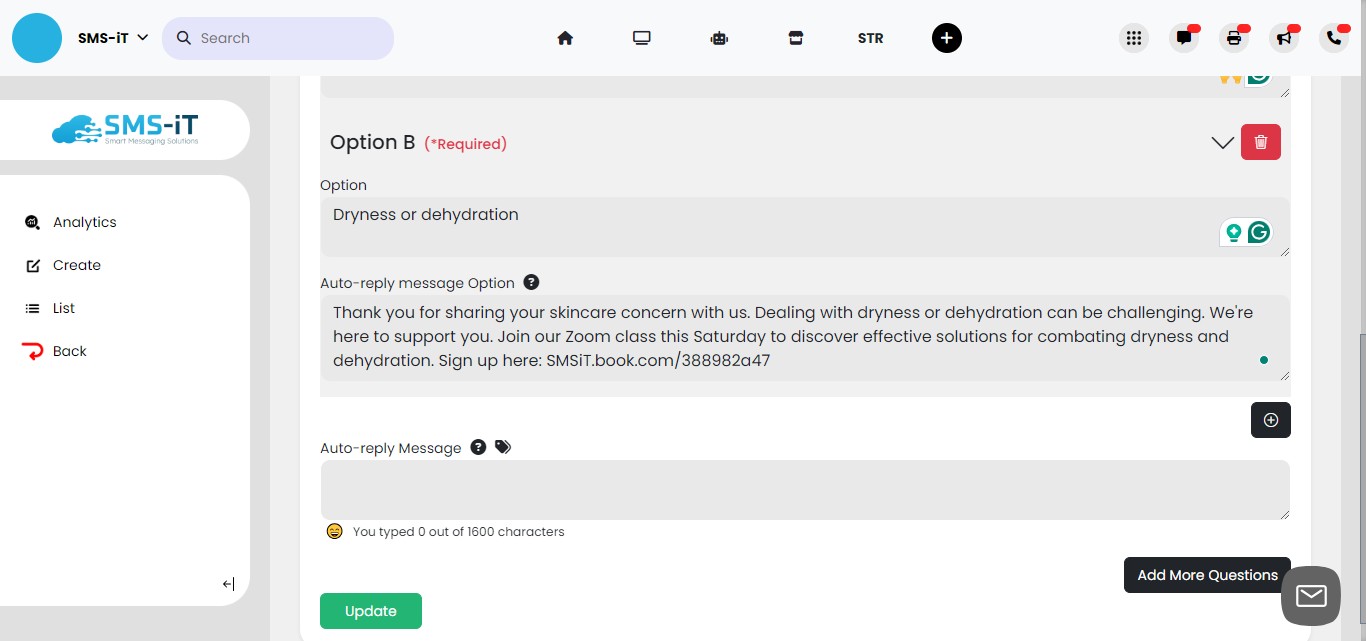
Enter your first answer. Note: This will appear in the survey as "A. Acne or blemishes" (The "A" is self-generated so please do not include the letter.)
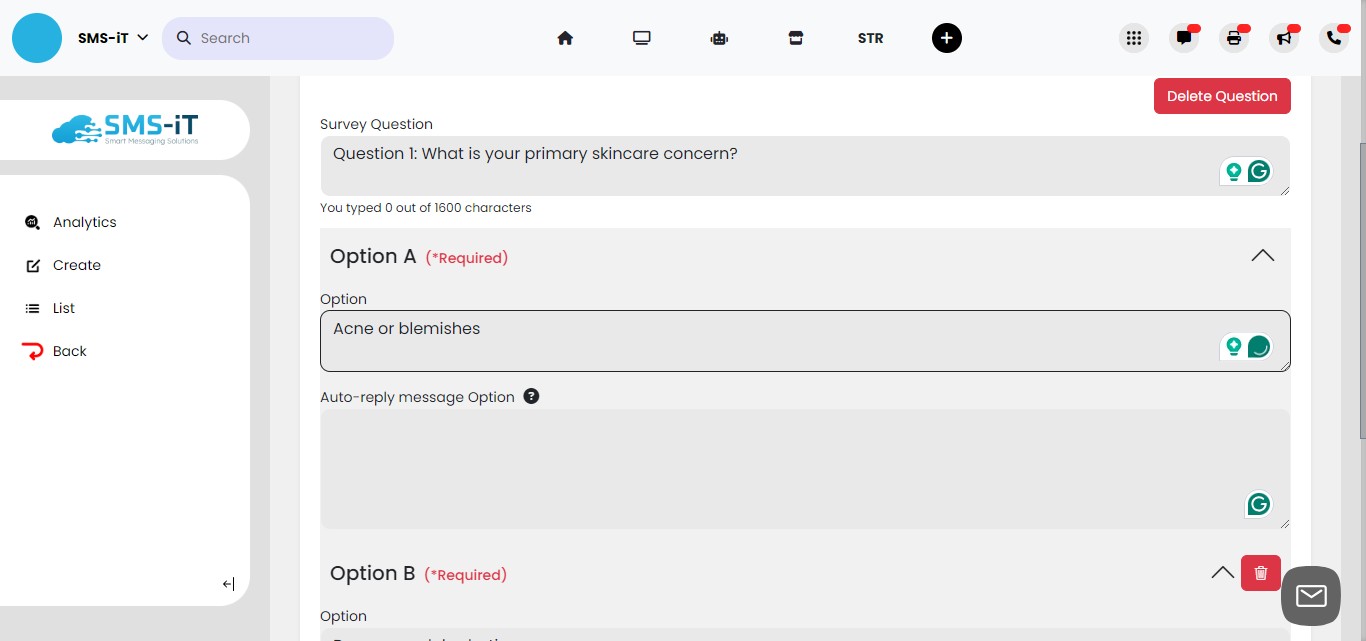
In this tutorial demonstrating the effectiveness of SMS polls, we'll add an auto-reply message. While this isn't mandatory, if the response is "A," we'll ask the customer/client if they would like to attend a webinar specifically tailored to their choice. This allows for targeted segmentation of your contacts.
Add your auto-reply message.
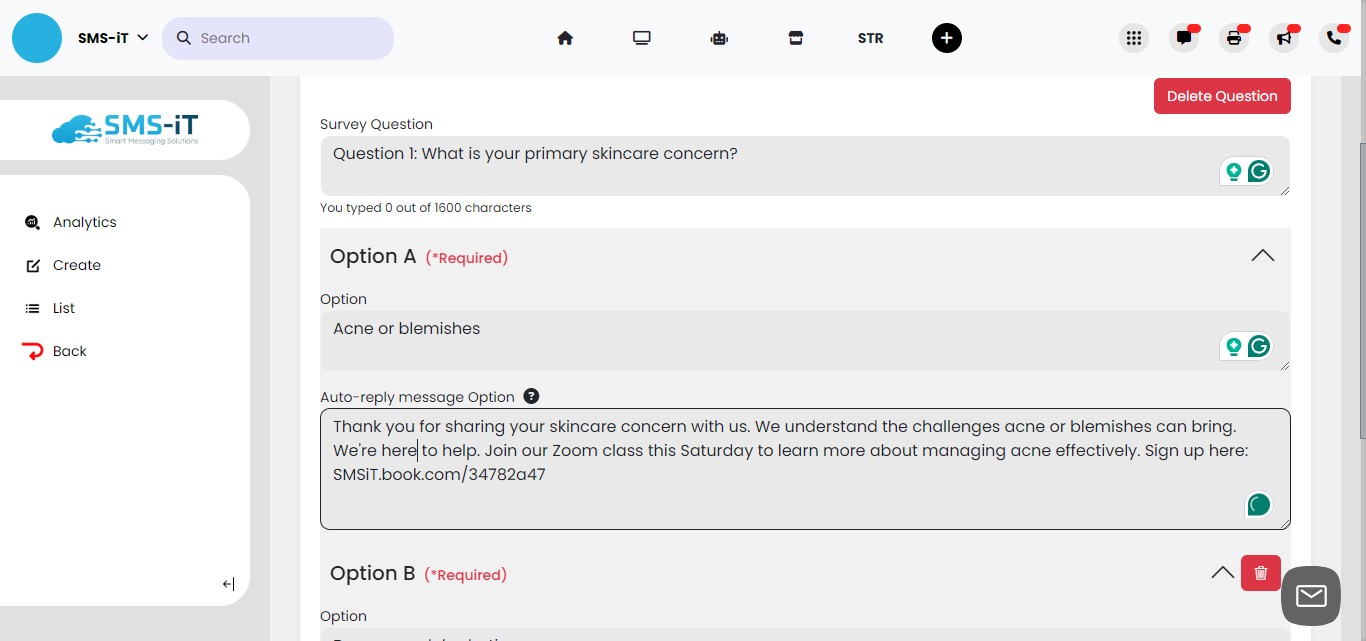
Second answer (B), and auto-reply
We've included a second answer (B) along with an auto-reply corresponding to it if the customer/client chooses "B".
Save and edit.
Click "Save".
Click the "Pencil" icon to return to your poll/survey to continue.
It's advisable to update after every question and answer to avoid any potential loss of progress.
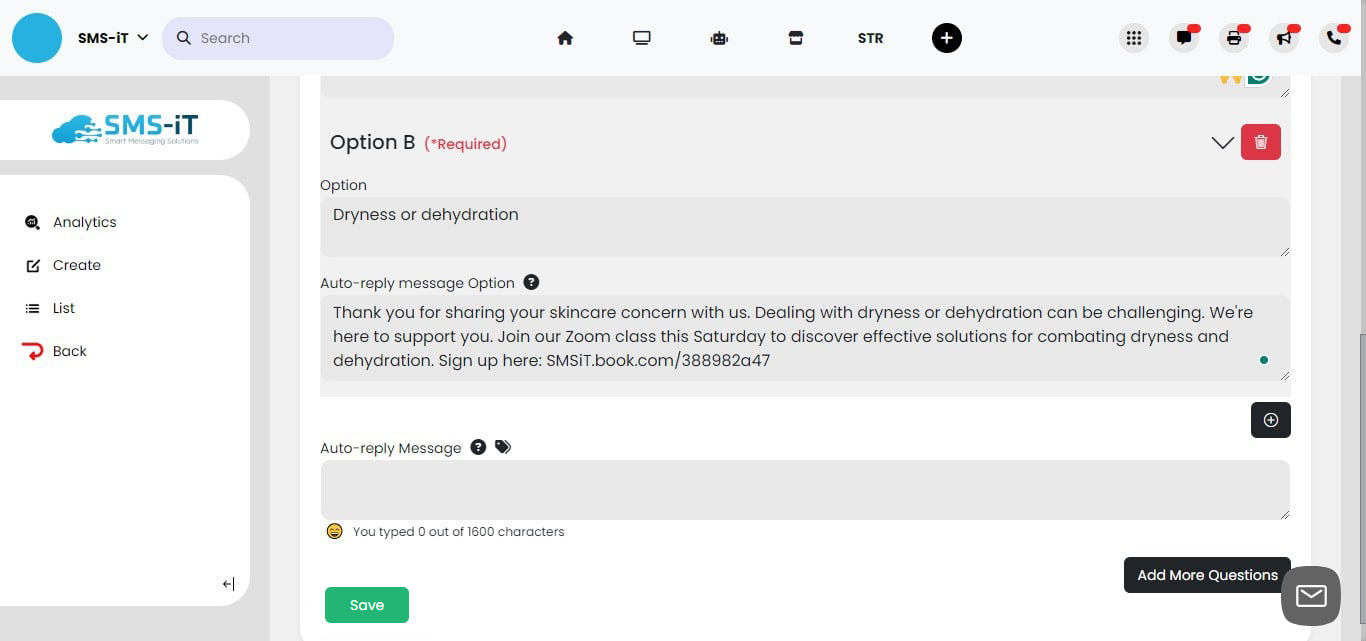
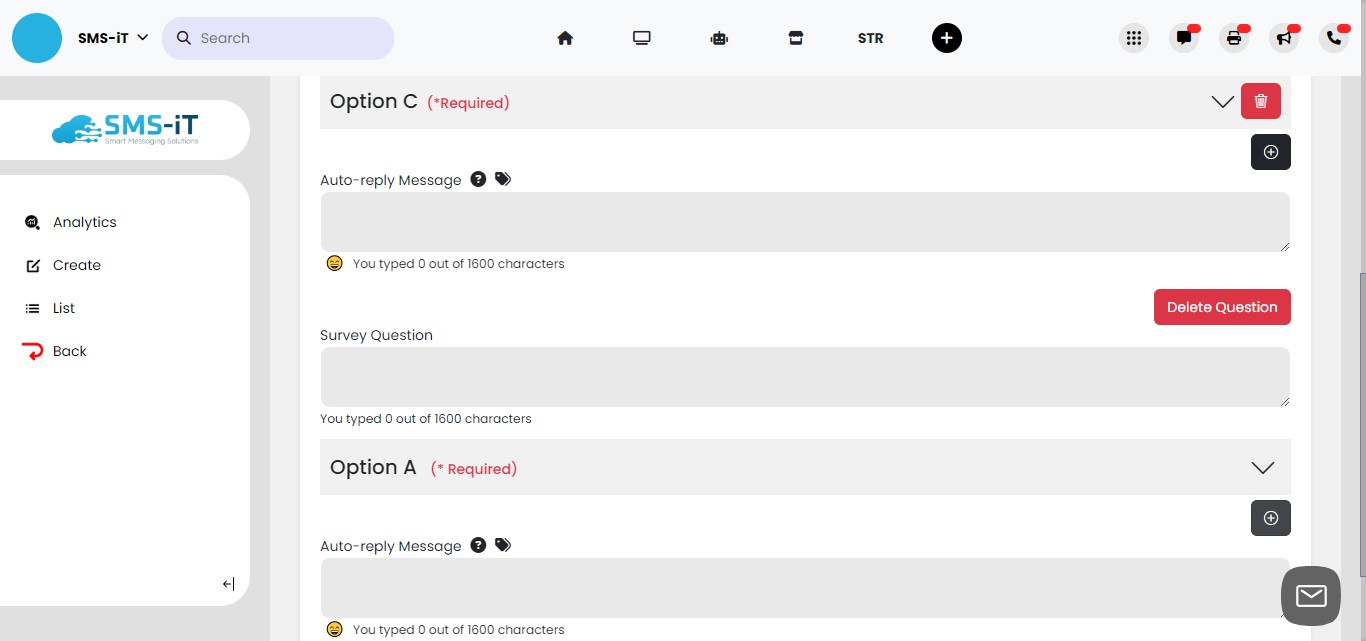
Adding more answers
To add another answer (optional) just click on the "plus" icon.
and fill in the answer field and the auto-reply message field.
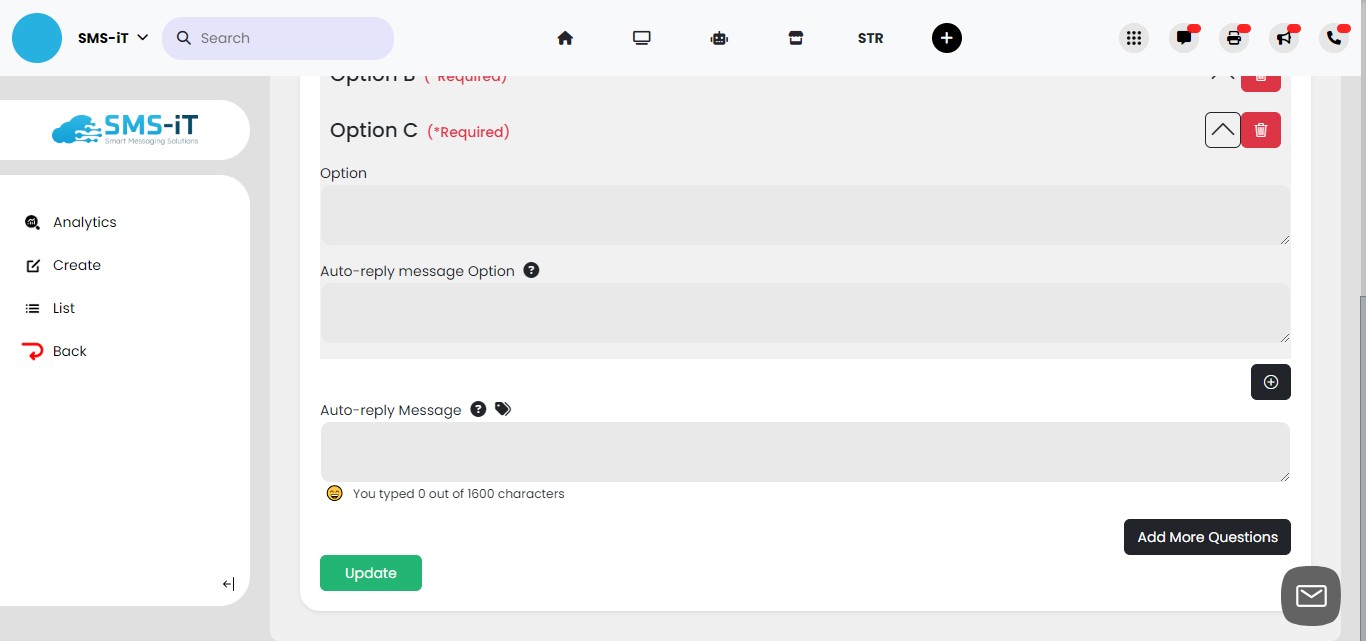
For this example, we'll stop at three answers, but you can add as many answers as you like, up to the letter "Z".

Adding a new question, answers, and an overall reply-message.
In this next example, we will employ a universal auto-reply tailored to all three answers, offering a range of assets such as complimentary e-books, exclusive trials, or discounted products, aligning with your strategic objectives and customer engagement goals.
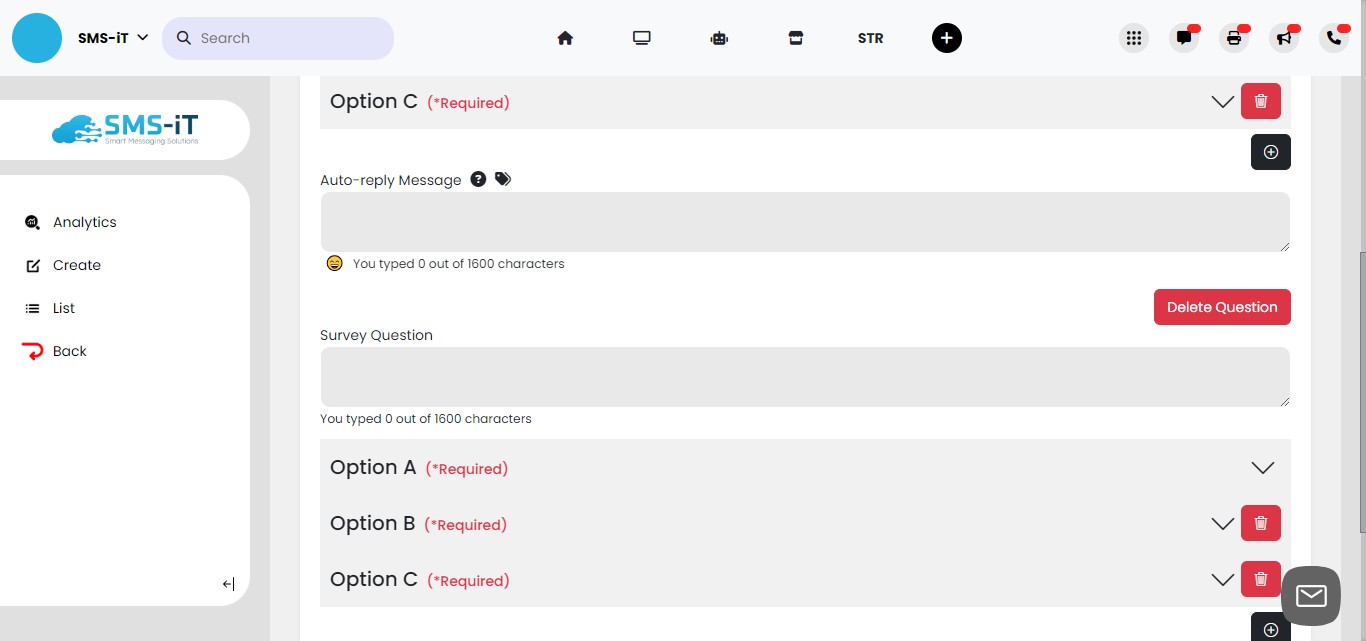
Add new question and three answers
Click on "Add More Questions"
you've added a new question now scroll down.
And add two more answers by clicking on the "plus" icon.
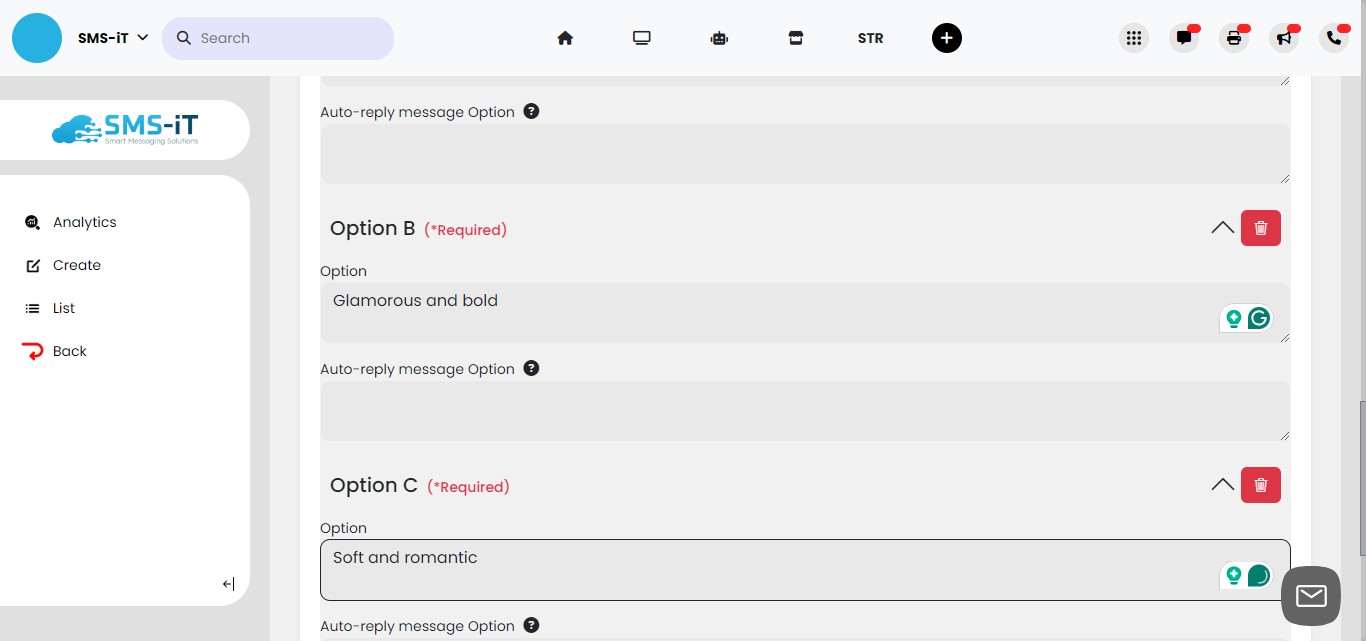
You now have a new question and three answers (A, B, and C).
Add question and answers
Enter your second question.
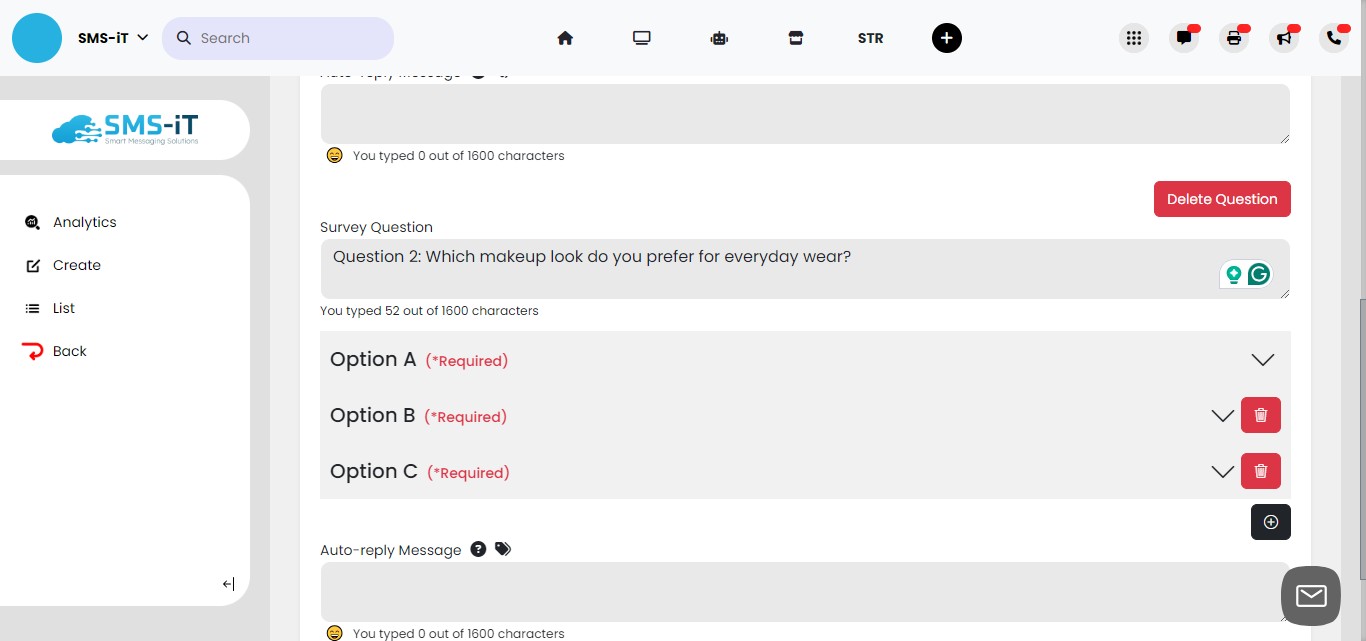
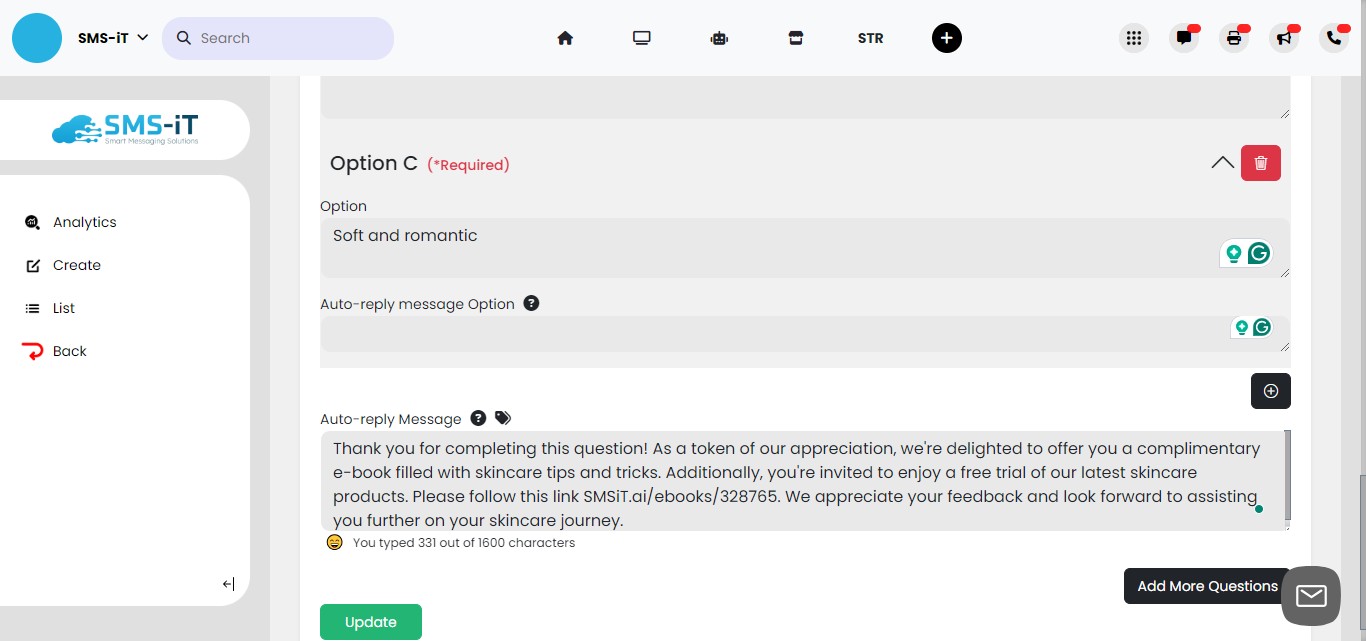
Enter answer "A". Note: In this example, we are not going to add an auto-reply to each answer individually, but we will include a universal auto-reply that every customer/client will receive regardless of the answer given.
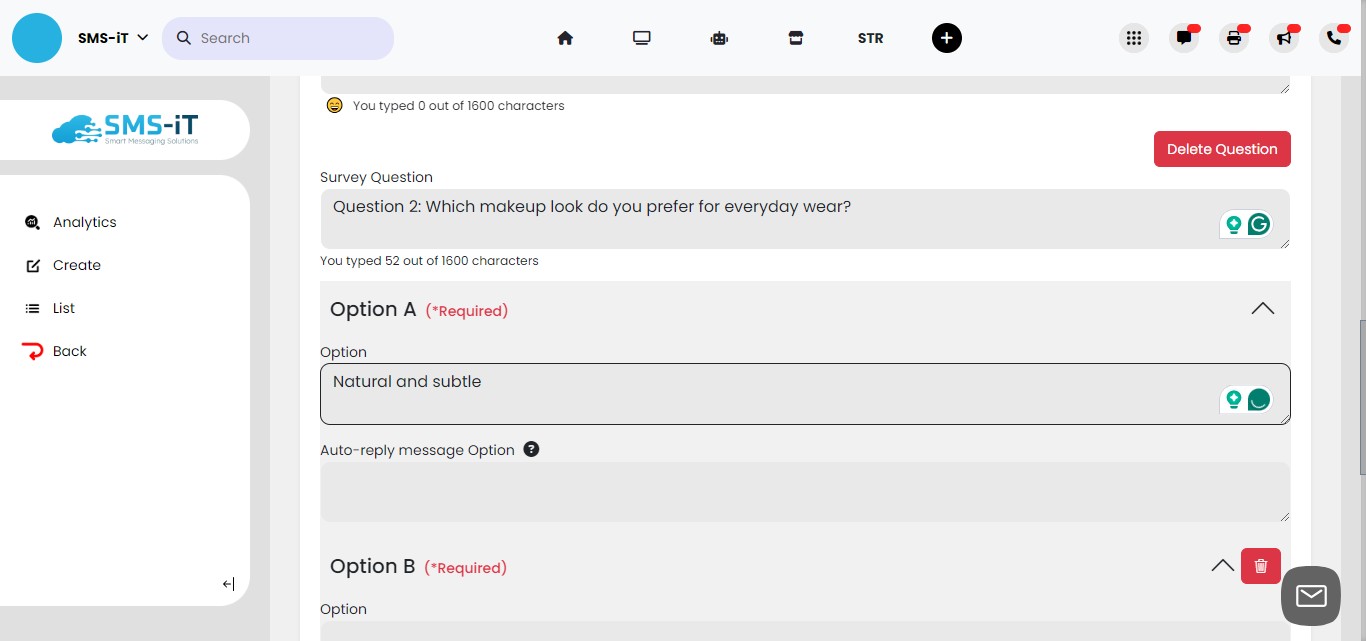
Add answers B and C.
Auto-reply message for question 2
Please input your auto-reply for this question. Note: If you have only a universal auto-reply at the end of the survey, simply include the message there, and it will serve as the final response. Example: Thank you for completing the survey. As a token of our appreciation...
Click on "Update"
Sending out your survey/poll
Click on the "Text" icon.
Choose a "Send From" number. Please note: This number does not necessarily have to match the number used to create your poll. It is the initial number the recipient will see. If you wish for the recipient to only see one number, you may opt for consistency. However, if you prefer the initial send number to be different, feel free to select an alternative number here.
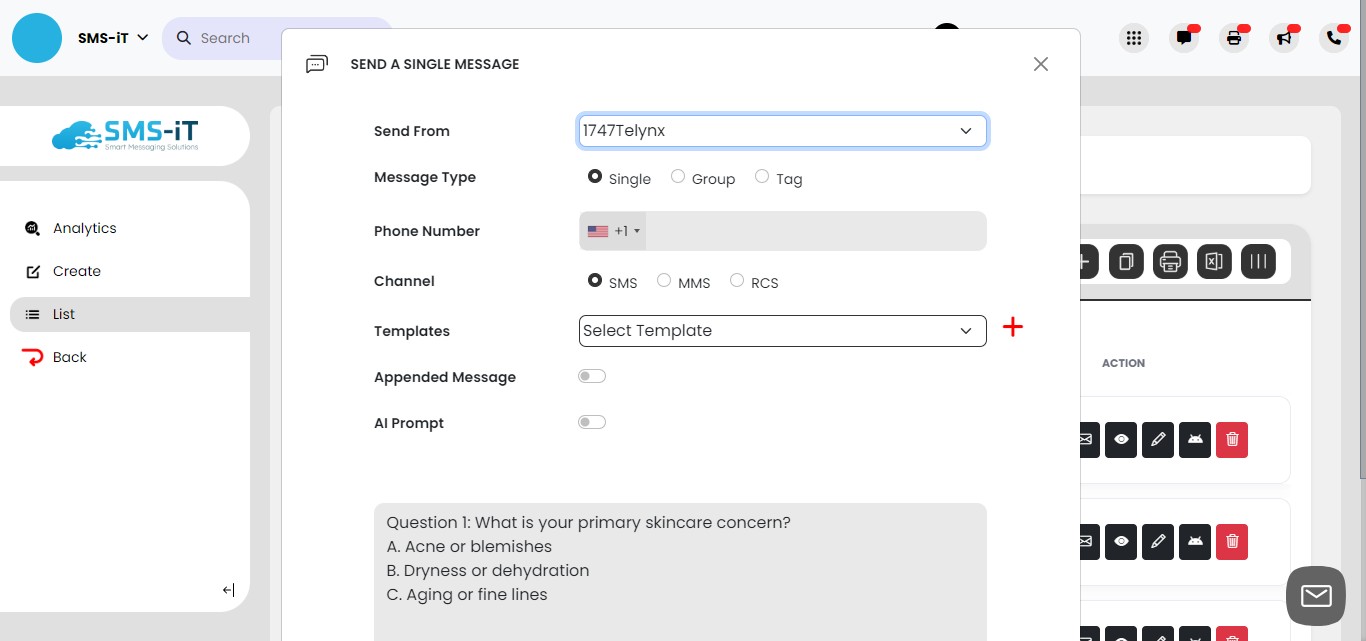
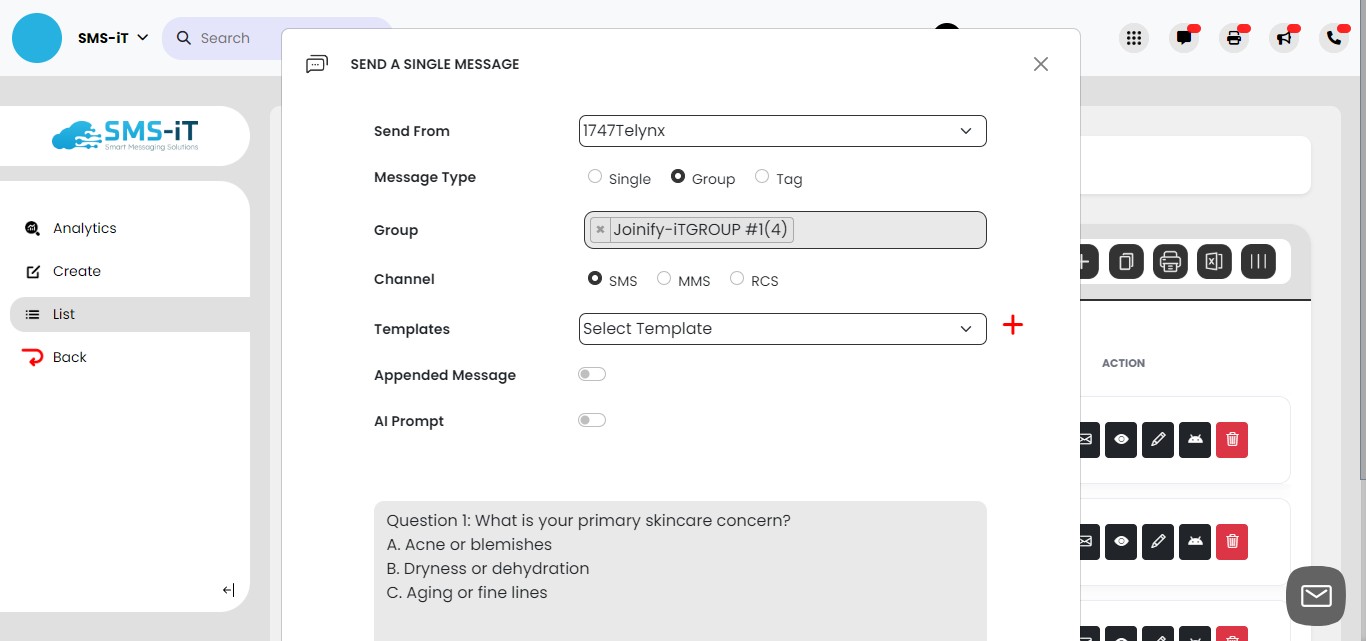
You can send as an individual text or select a group to text. Remember: The group to send to should be customers/clients who have already opted into your system.
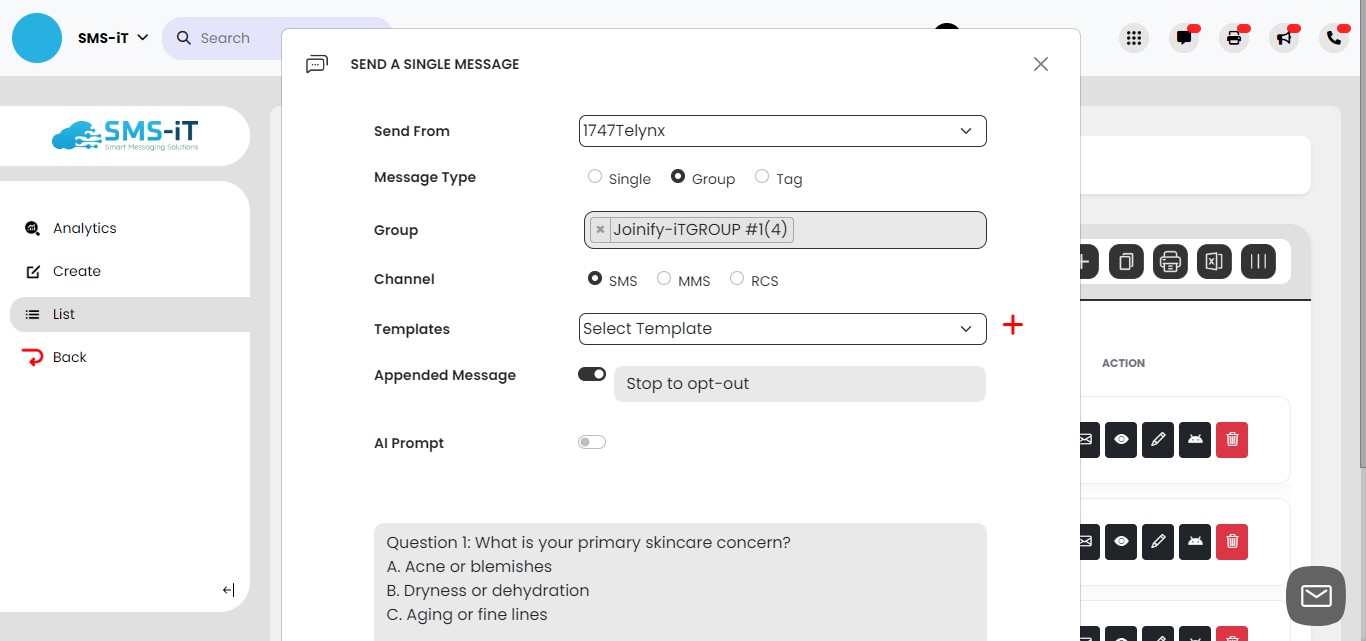
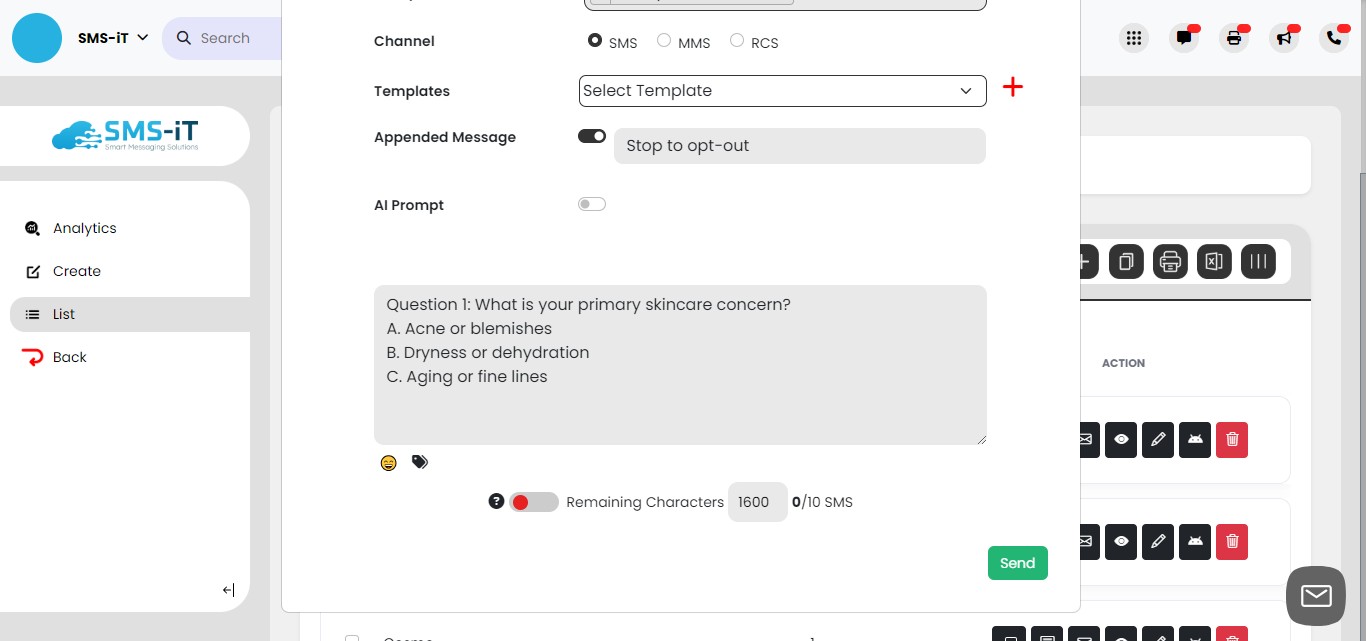
In this example, we'll add an appended message "Stop to opt-out". In some cases, you won't need to add this message, but ensure you are always compliant.
Click on "Send"
When your customer/client responds to your survey/poll, they will be added to the new group you created. This enables segmentation of your customer/client base and facilitates progress along their individual customer journey.