
Templates: Creating and Using
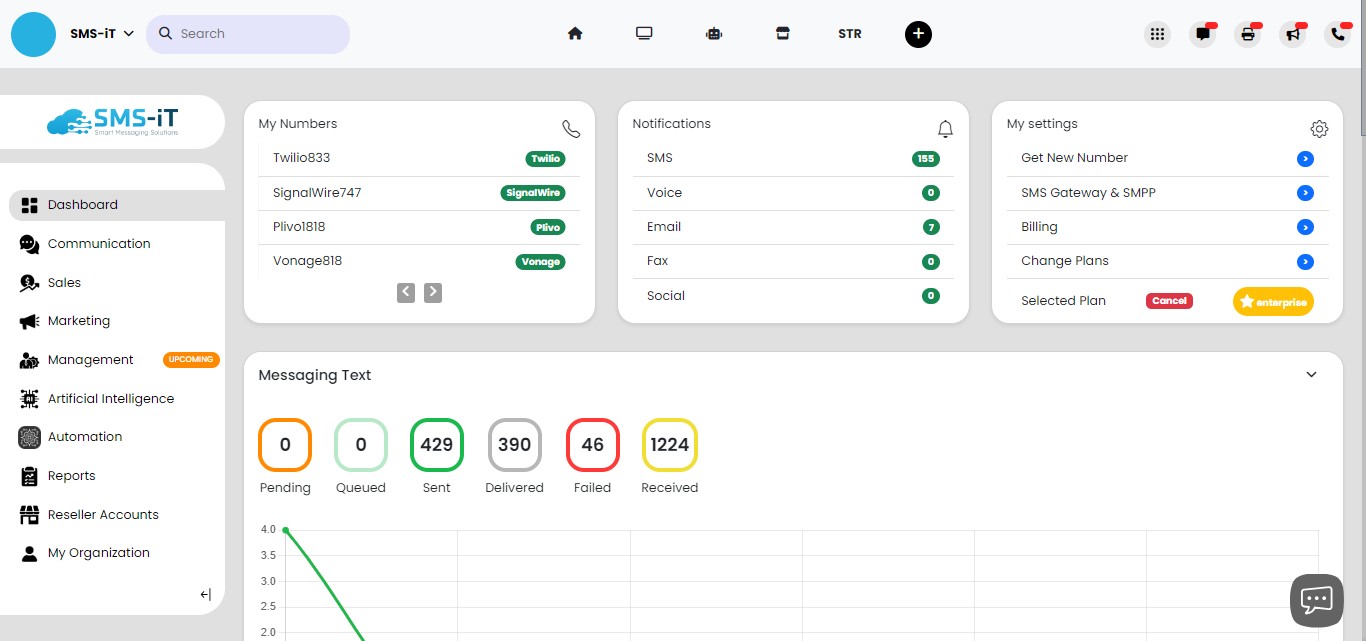
Navigate to https://aicpanel.smsit.ai/home
In today's fast-paced business environment, effective communication across multiple channels is essential for success. The SMS-iT CRM provides a powerful suite of messaging tools that allow you to create custom templates for SMS, MMS, RCS, Voice, Email, Fax, and Social Networks. In this tutorial, we'll walk through the process of setting up a new template, from selecting the appropriate communication channel to exploring the different places throughout the system where you can utilize your created templates. By the end, you'll have the skills to build a comprehensive library of reusable templates that streamline your business communications and help you connect with customers like never before
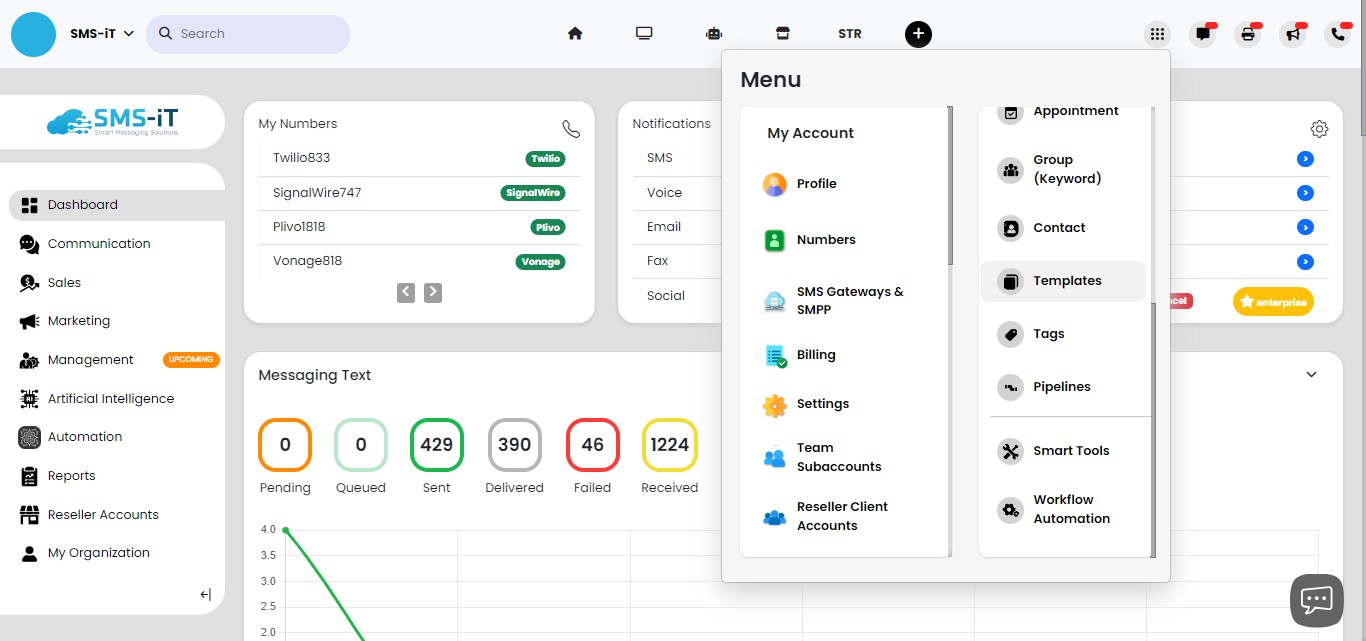
Click on "Menu".
Scroll down and click on "Templates"
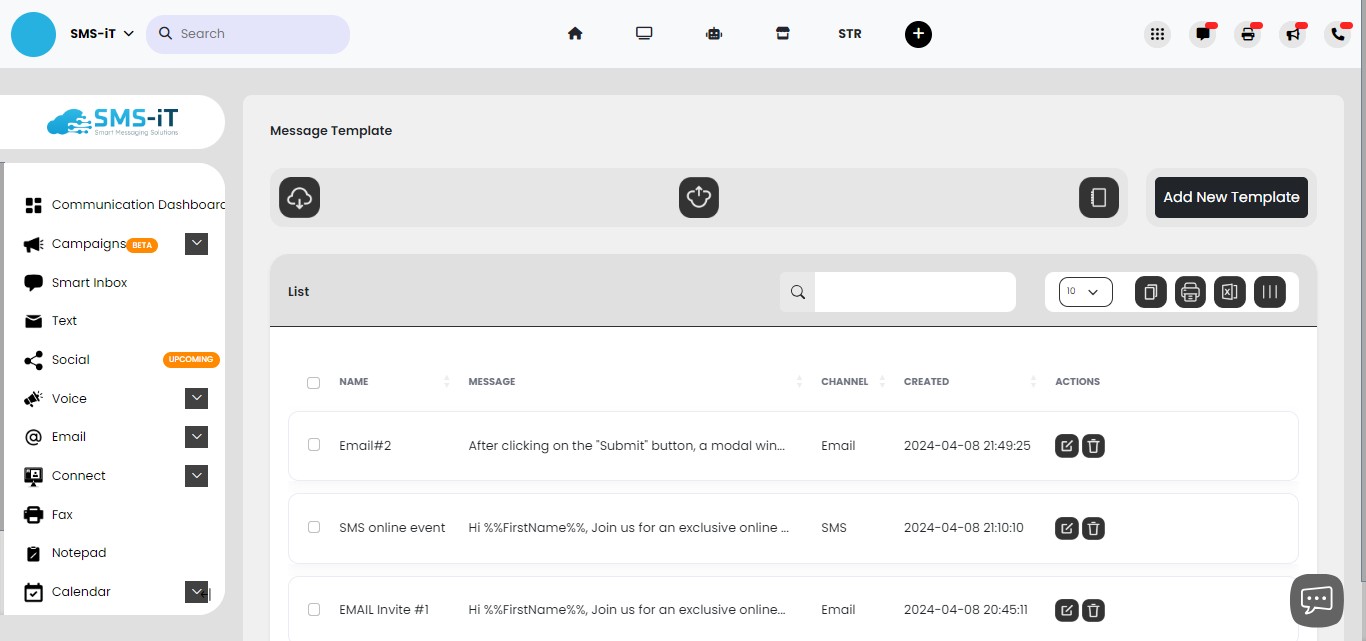
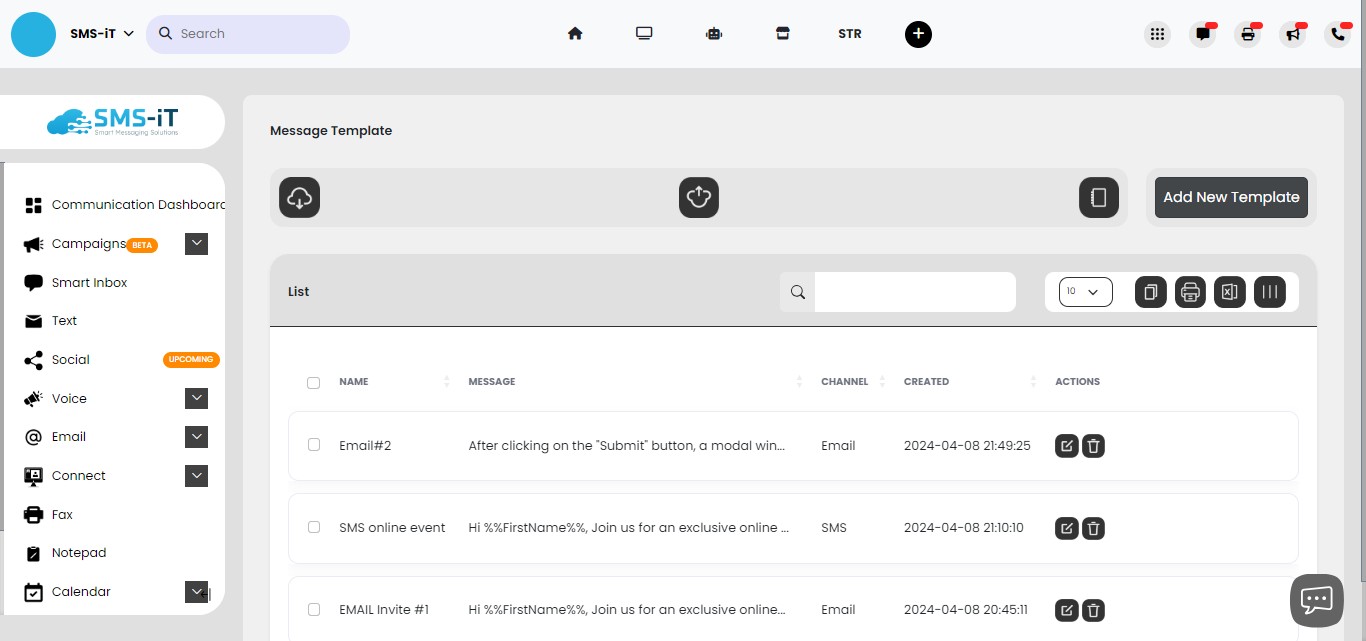
Overview
Download your templates as an Excel CVS file.
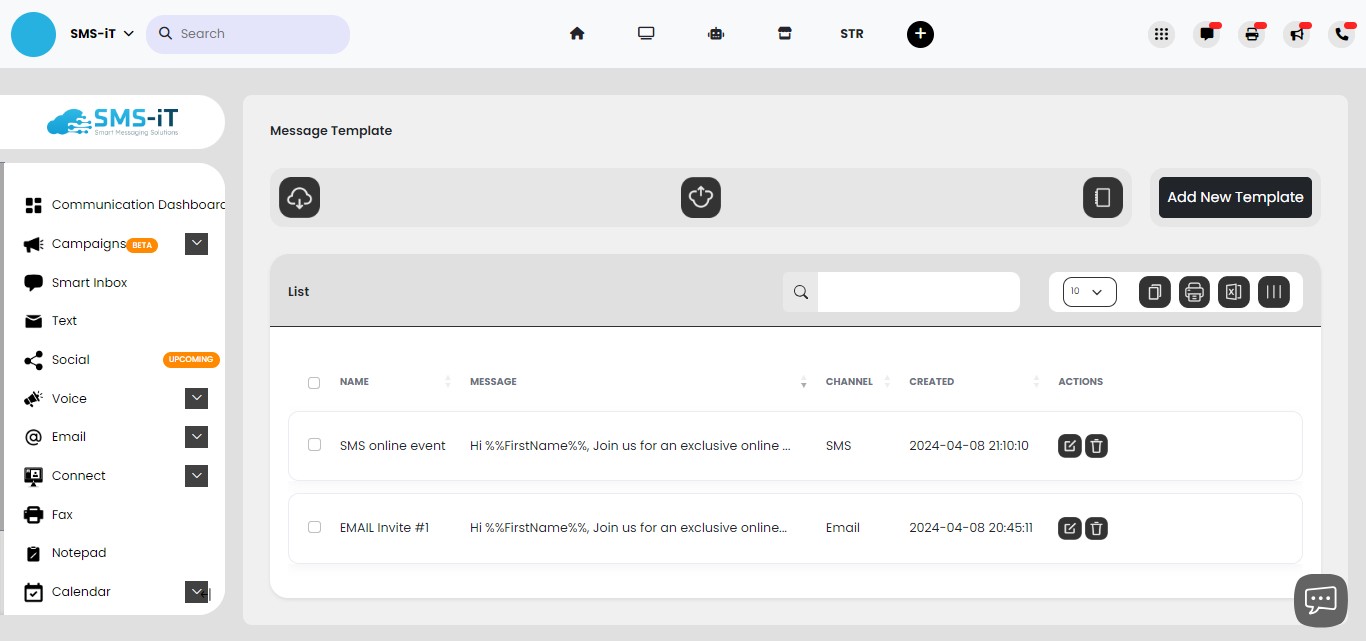
Import your templates from a local hard drive or cloud service as an Excel CSV file.

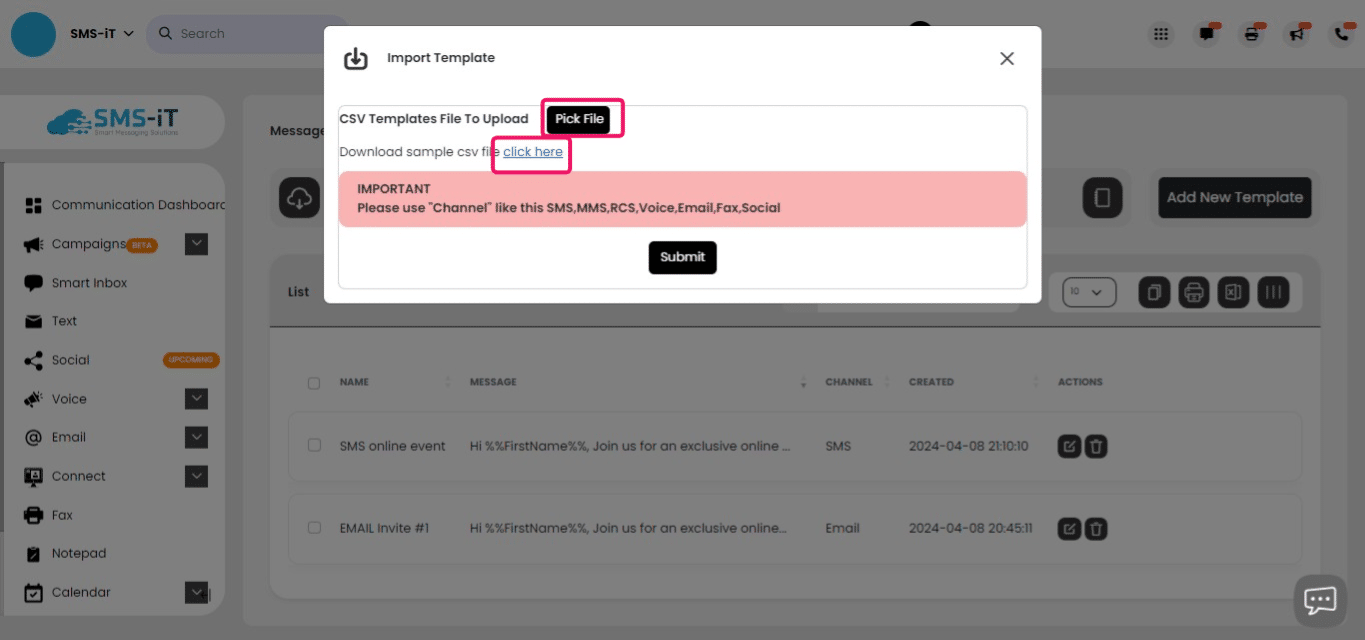
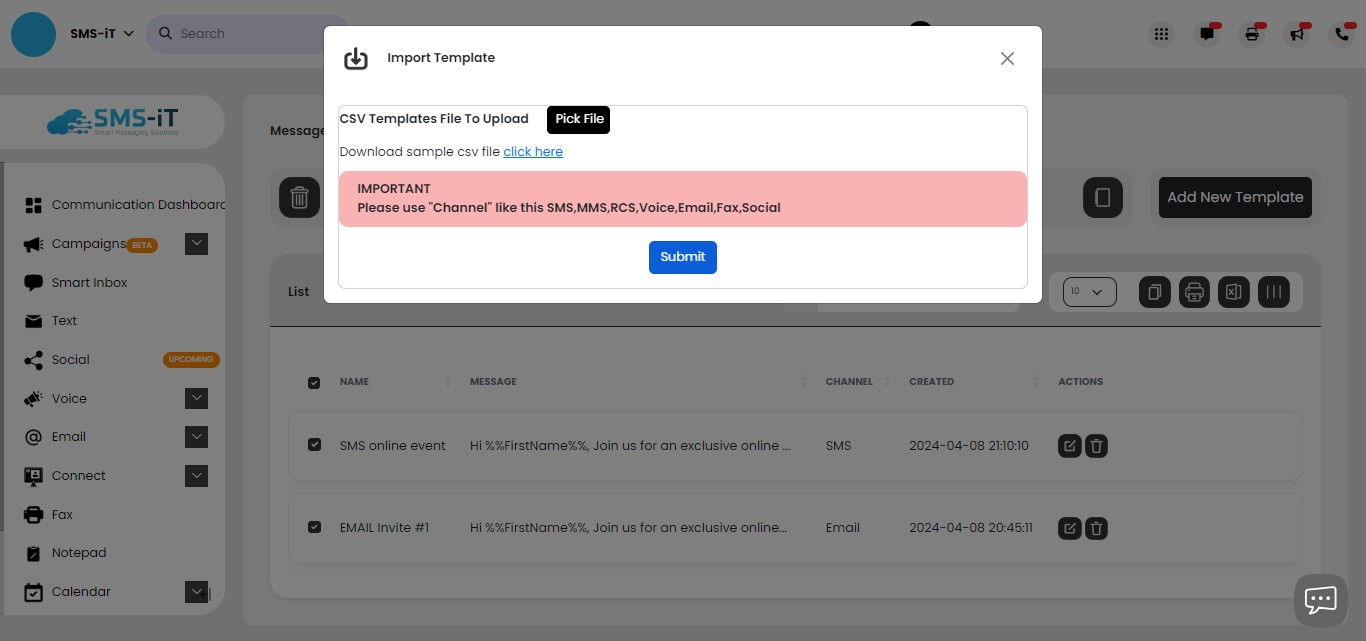
To import templates in the SMS-iT CRM
To import templates in the SMS-iT CRM, follow these steps:
1. Download the sample CSV file by clicking on the "click here" link. This will provide you with an understanding of the required template format.
2. Create your custom templates, ensuring that each one includes the necessary fields: Name, Message, and Channel. These are the only required pieces of information to include in your templates.
3. Once you have created your templates, you can upload them to the system by clicking the "Pick File" button and selecting the CSV file containing your templates.
The key points are: - Download the sample CSV file to understand the template format - Create your templates with Name, Message, and Channel details - Upload the CSV file with your custom templates to the system
This streamlined process allows you to quickly import reusable templates into the SMS-iT CRM across various communication channels.
Once you have created your templates, you can upload them to the system by clicking the "Pick File" button and selecting the CSV file containing your templates.

Click on "Submit"
After clicking on the "Submit" button, a modal window, select three input fields: the Template Name Message Content Channel
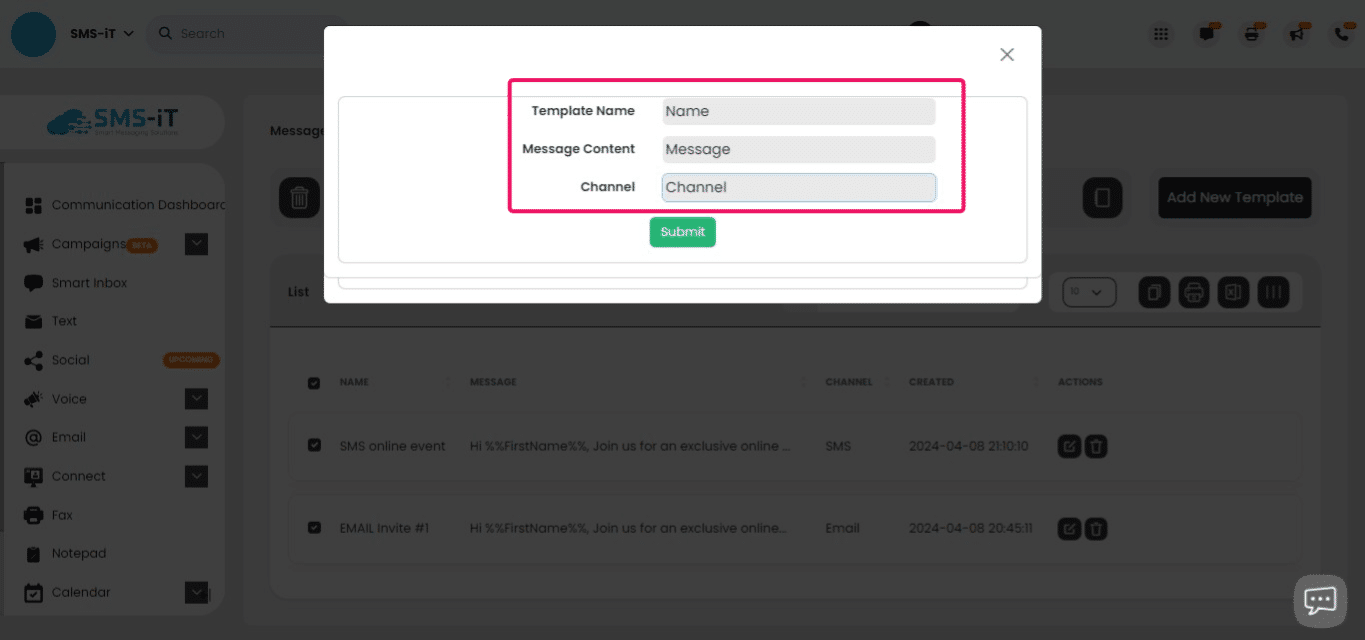
Click on "Submit"
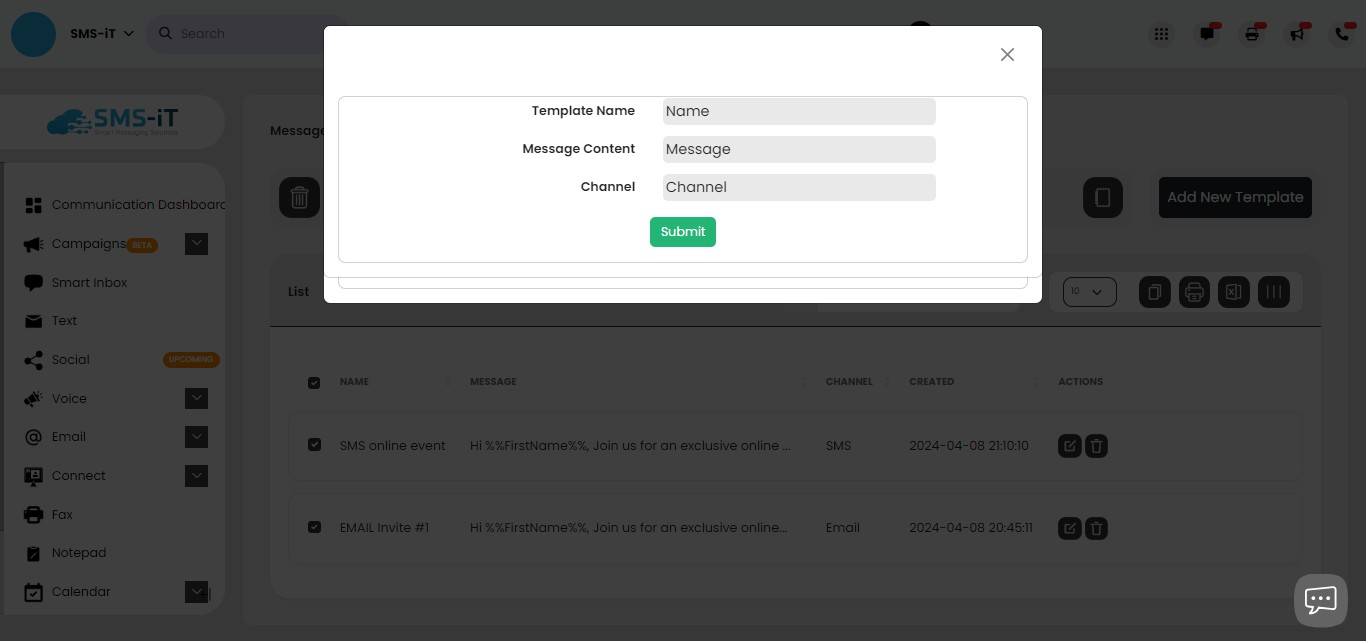
Your templates have been saved.
Create a new SMS template
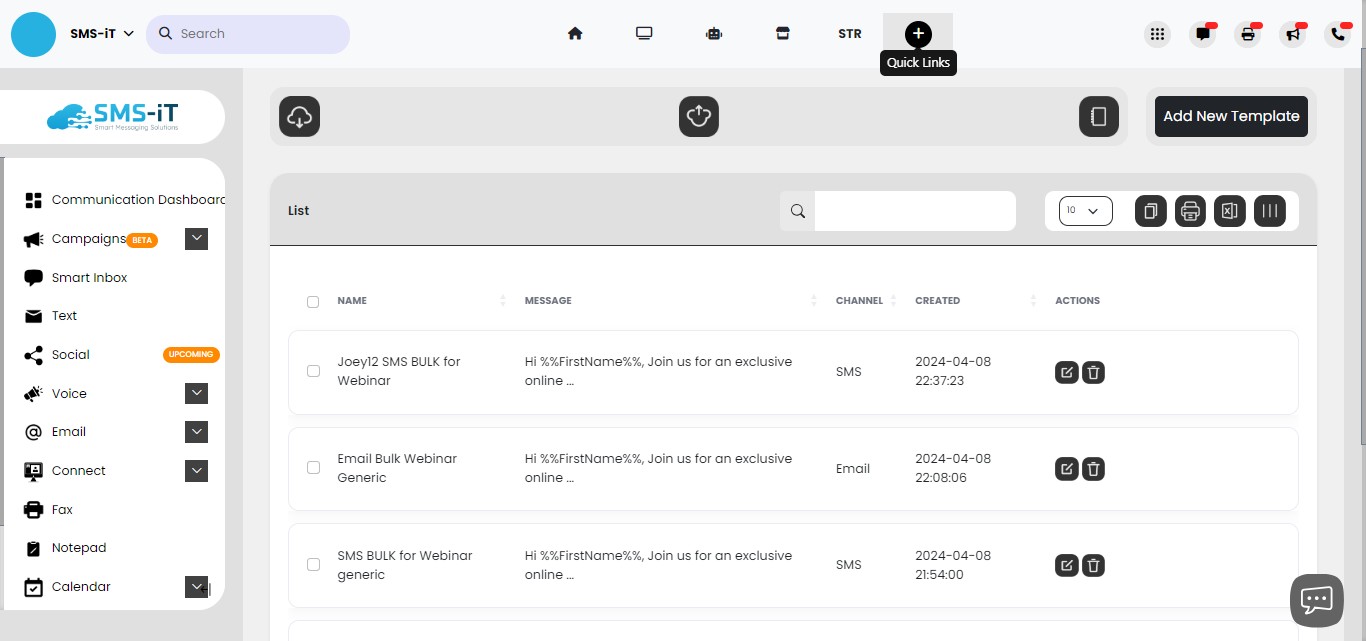
Click on "Add New Template"
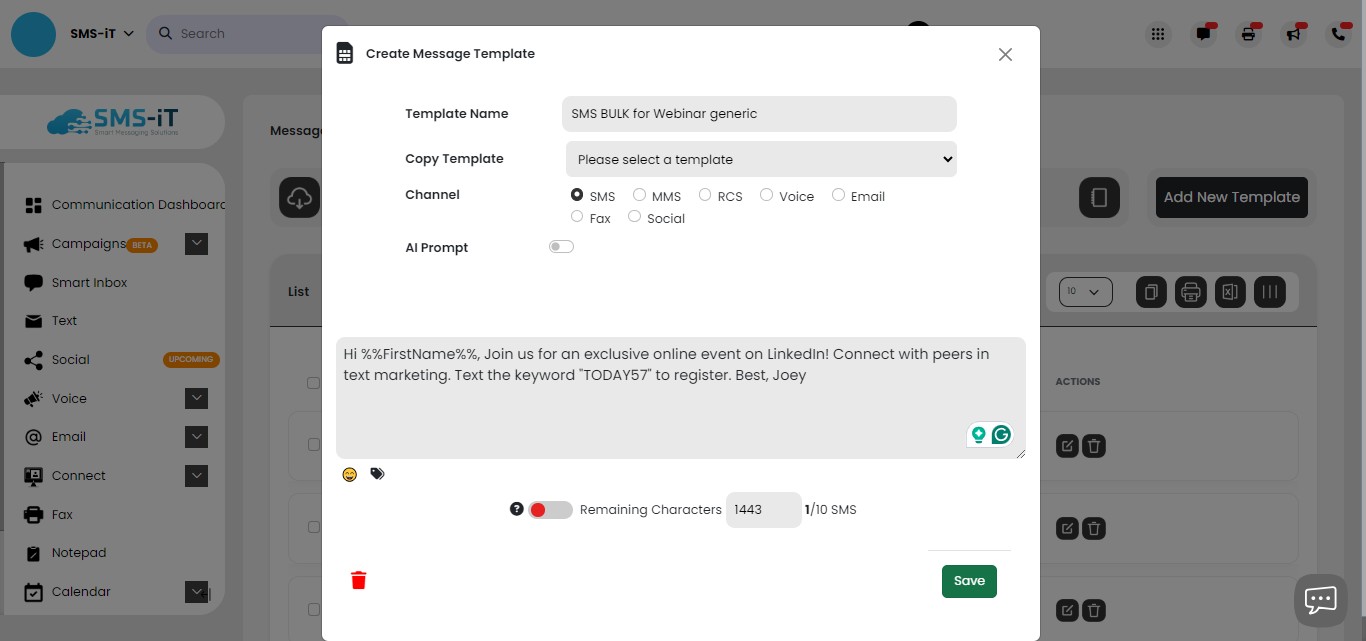
To create a new SMS template in the SMS-iT platform:
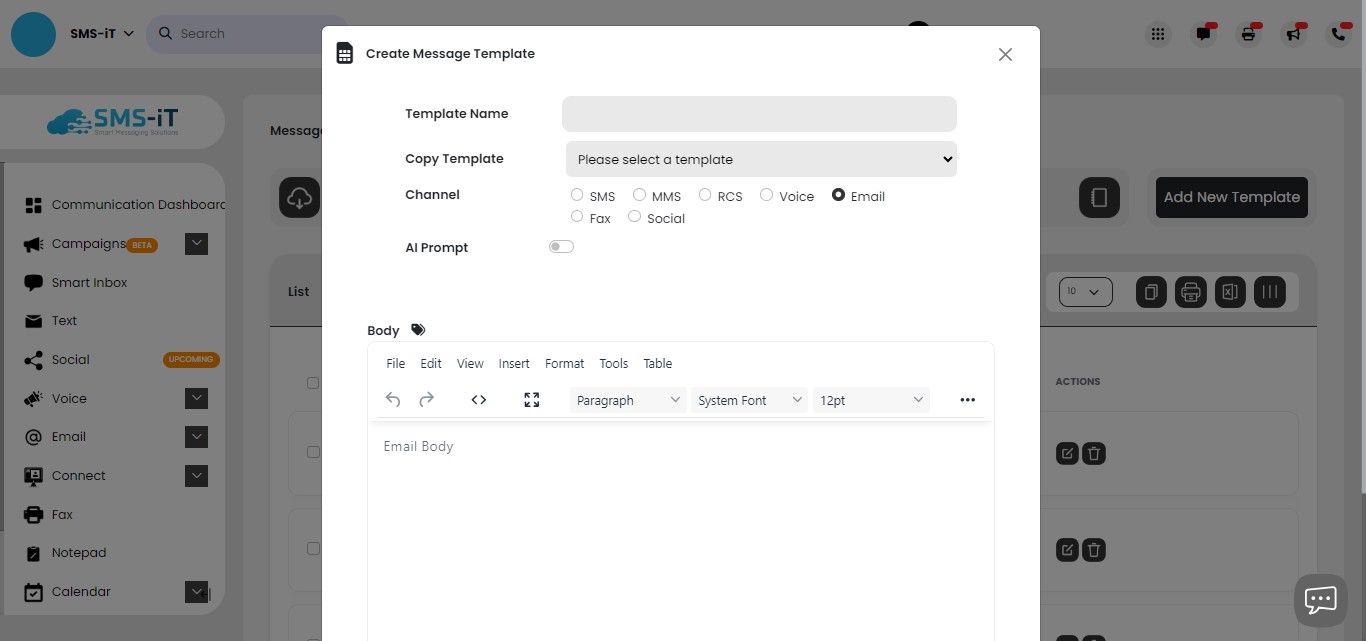
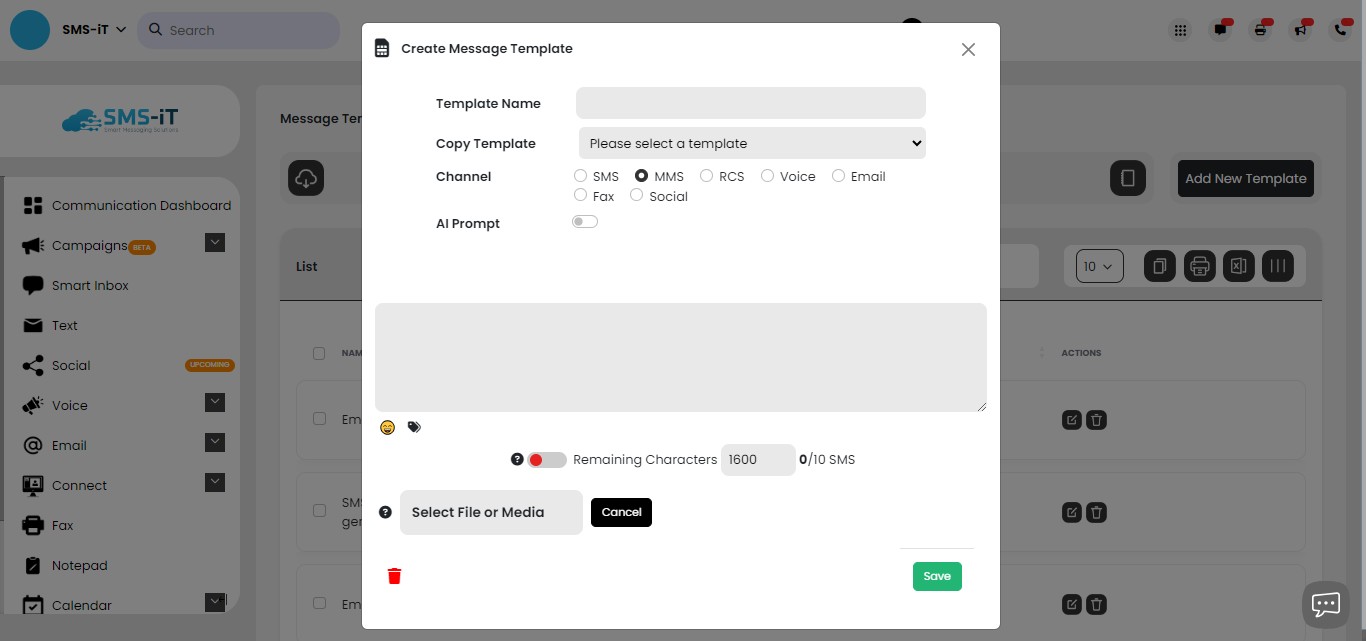
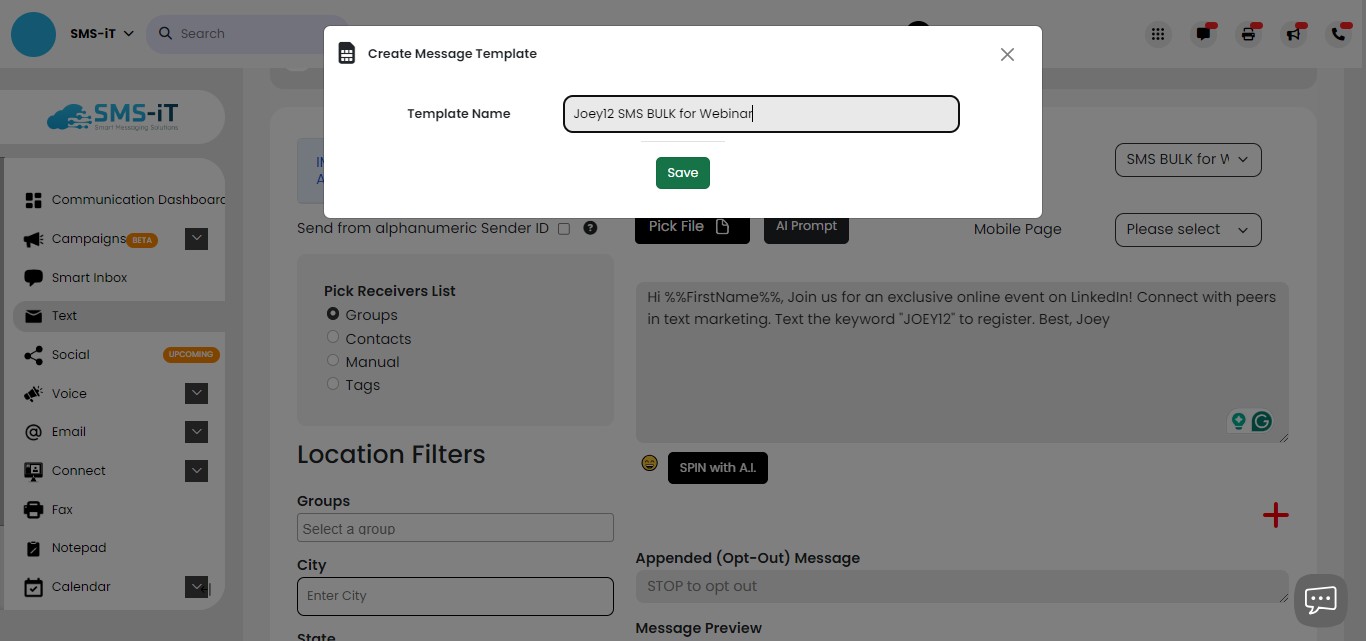
1. In the "Create Message Template" modal, enter a descriptive Template Name, such as "Webinar Invitation SMS".
2. Under the "Copy Template" dropdown, you can select an existing template to use as a starting point if desired.
3. Select the "SMS" communication channel.
4. In the large text area, compose the message content. This should be a concise, informative SMS text that provides relevant details about the webinar, such as date, time, registration link, etc.
5. Optionally, you can toggle on the "AI Prompt" feature if you want the system to provide suggested message content.
6. Review the character count at the bottom to ensure the message fits within SMS length guidelines.
7. Once you're satisfied with the template, click the "Save" button to add it to your template library.
The key steps are naming the template, selecting the SMS channel, composing the message content, and saving the new template for future use.

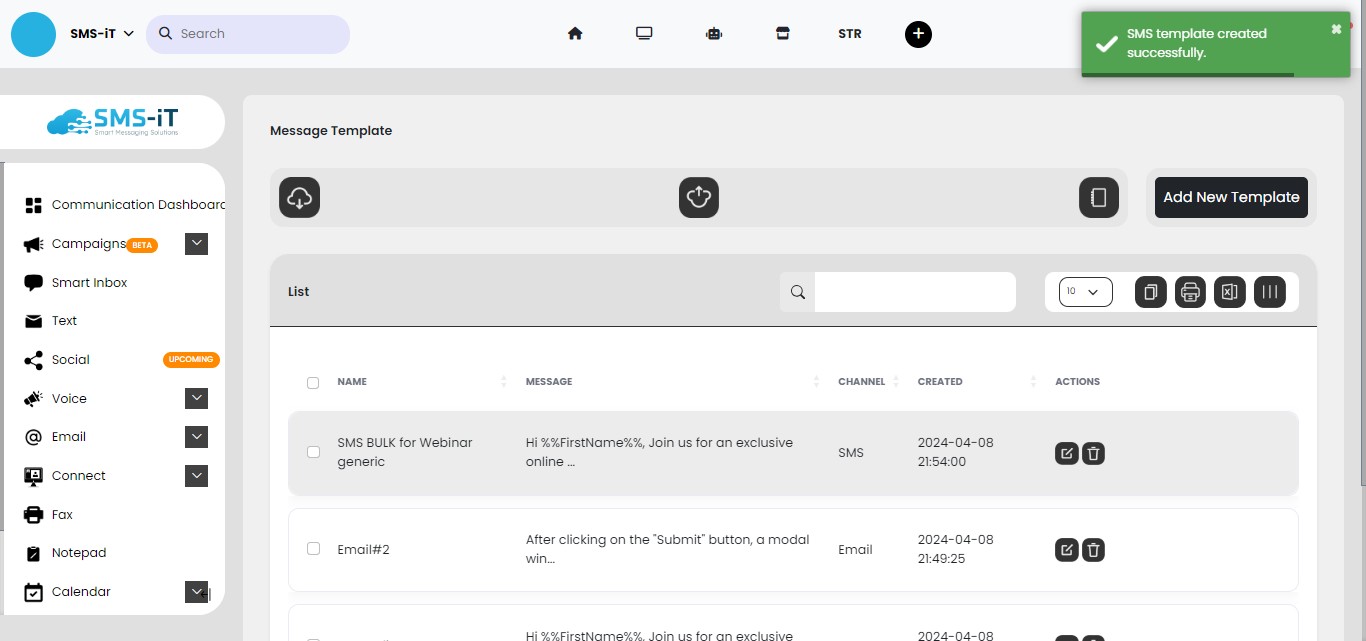
Click on "Save"
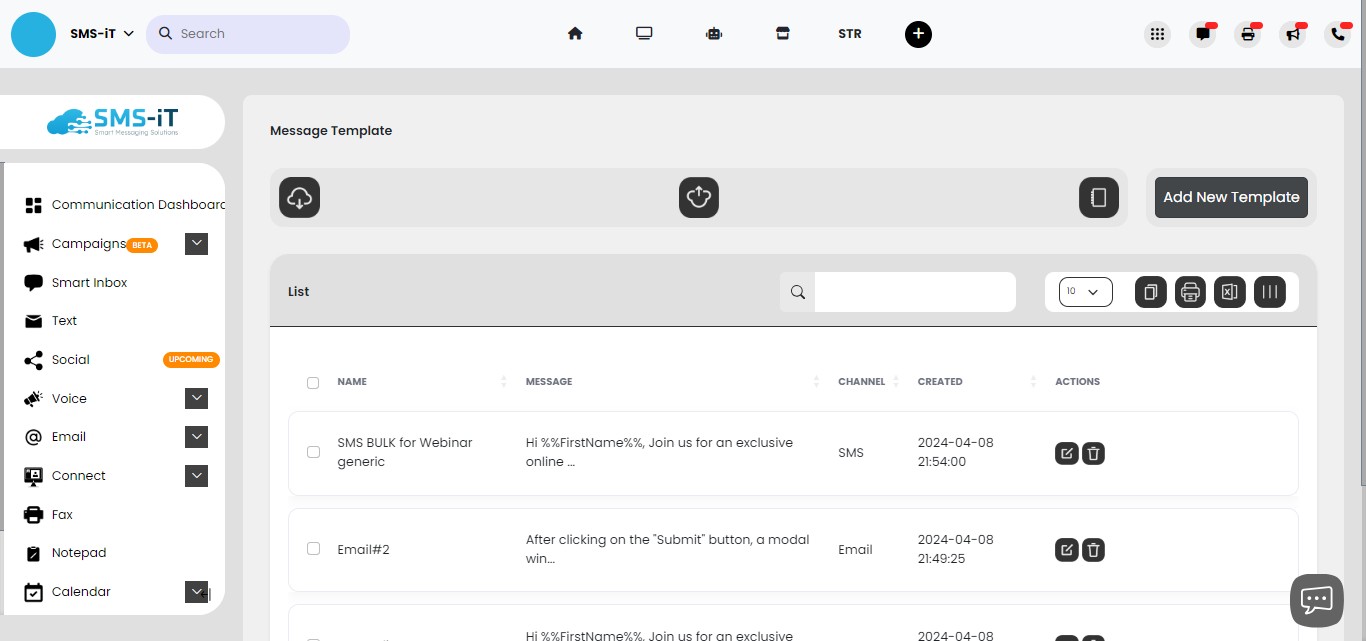
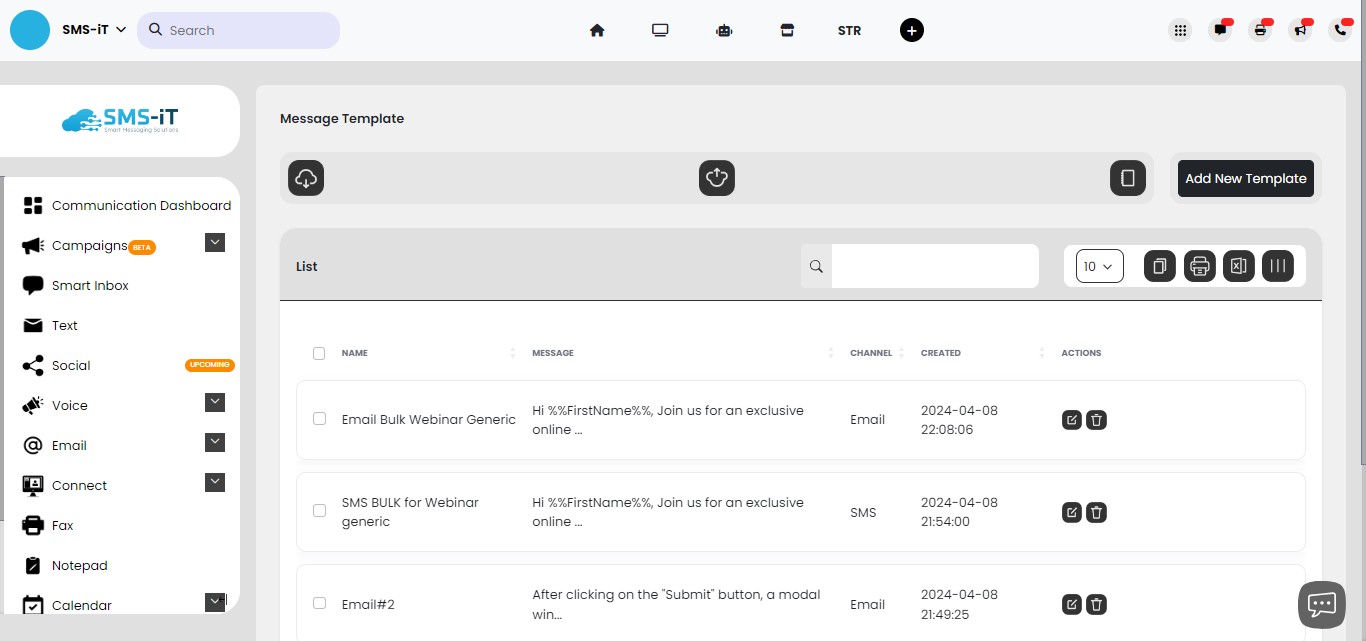
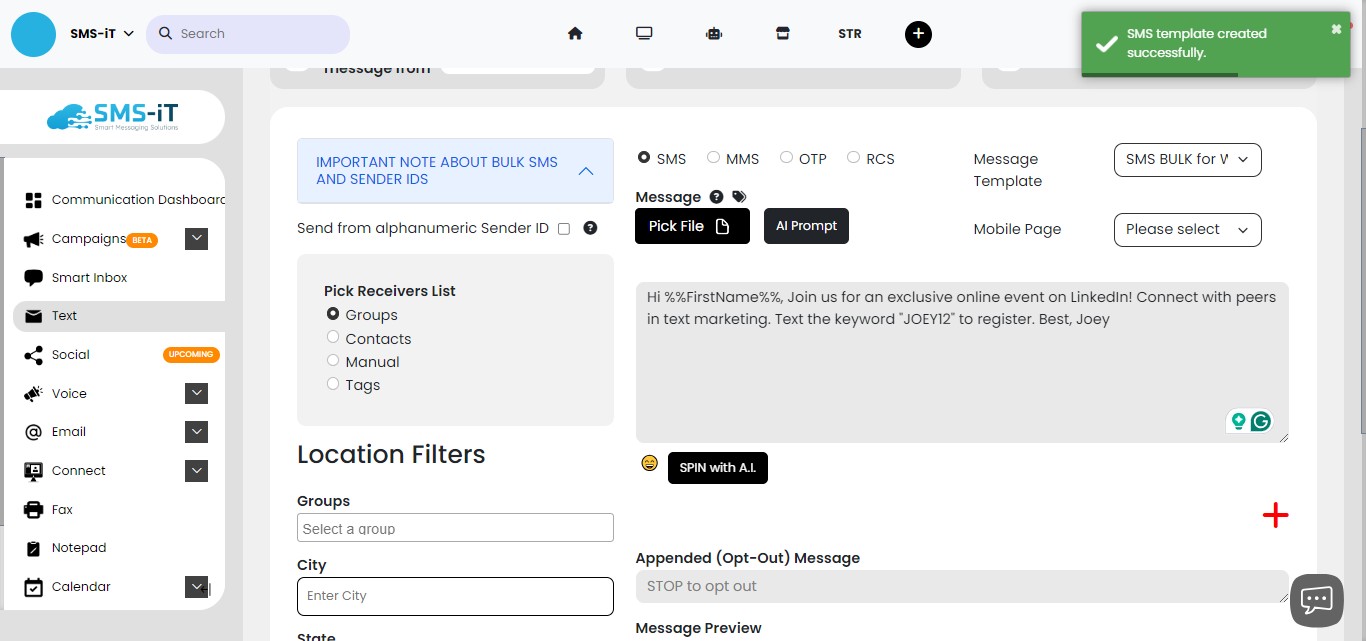
Your SMS template is created.
Create a new email template
Click on "Add New Template"
Select "email" as your channel.
To create a new email template in the SMS-iT platform:
1. In the "Create Message Template" modal, enter a descriptive Template Name, such as "Webinar Invitation Email".
2. Under the "Copy Template" dropdown, you can select an existing email template to use as a starting point if desired.
3. Select the "Email" communication channel.
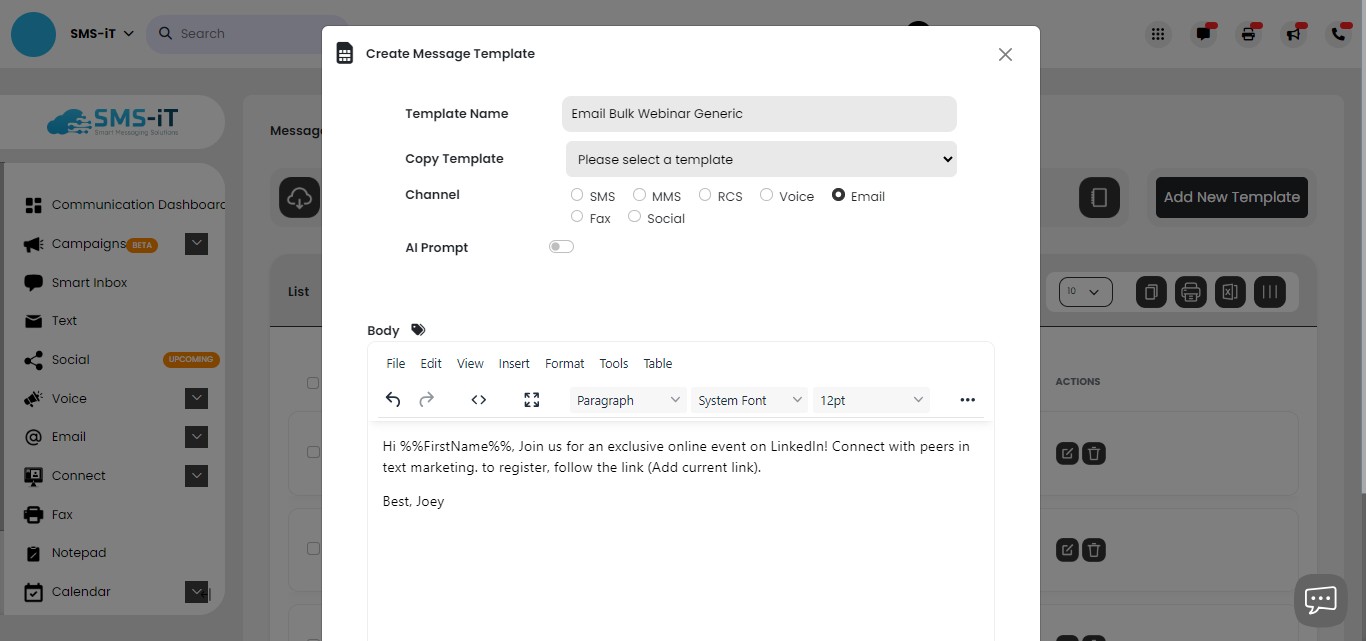
4. In the rich text editor, compose the email content. This should include a clear subject line (added later when you use the template), an informative message body with details about the webinar, and a relevant call-to-action.
5. Utilize the formatting tools provided, such as font styles, size, and alignment, and insert any necessary images or links.
6. Review the template to ensure the content is clear and concise and effectively communicates the webinar details.
7. Once you're satisfied with the email template, click the "Save" button to add it to your template library for future use.
The key steps are naming the template, selecting the email channel, crafting the email content, formatting the message, and saving the new template.
Click on "Save"
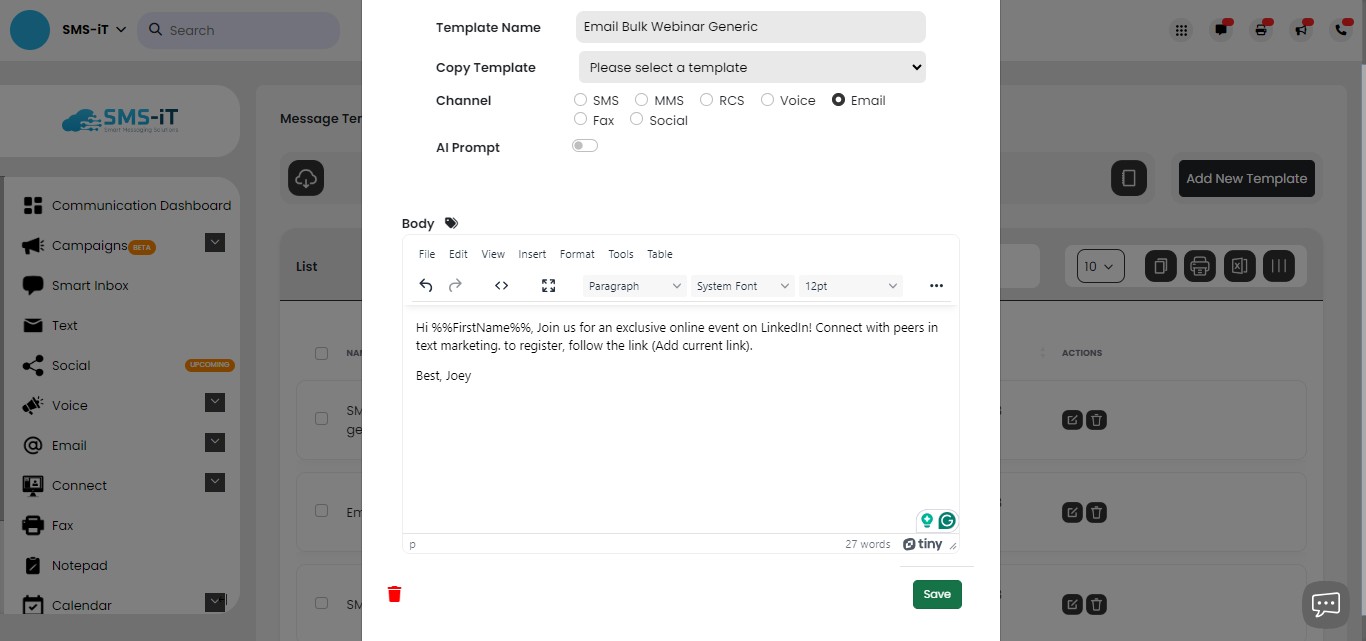
Email template saved.
Create a new MMS template
To create an MMS (Multimedia Messaging Service) template in the SMS-iT platform, the steps would be:
1. In the "Create Message Template" modal, enter a descriptive Template Name.
2. Under the "Copy Template" dropdown, you can select an existing MMS template to use as a starting point if desired.
3. Select the "MMS" communication channel.
4. In the content area, compose your MMS message. This can include text, images, video, or other multimedia elements that you would like to include in the template.
5. Use the tools provided, such as the file upload, media insertion, and formatting options, to craft the desired MMS content.
6. Review the template to ensure the multimedia elements are properly formatted and the overall message is clear and concise.
7. Once you are satisfied with the MMS template, click the "Save" button to add it to your template library for future use.
The key steps are naming the template, selecting the MMS channel, composing the multimedia content, and saving the new template.
The other channels follow the same guidelines as the previous ones. The exception is voice, where you can create a text-to-voice message or upload an mp3 or mp4a file.
Using your templates
We'll use a bulk SMS example.
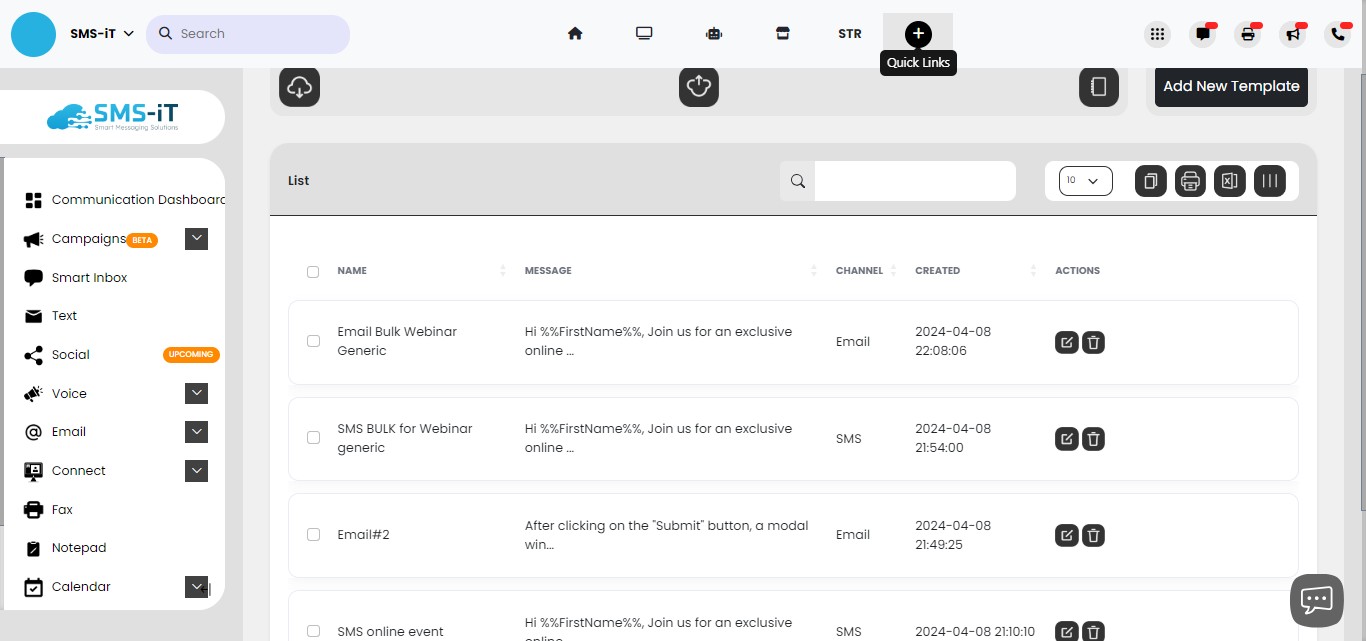
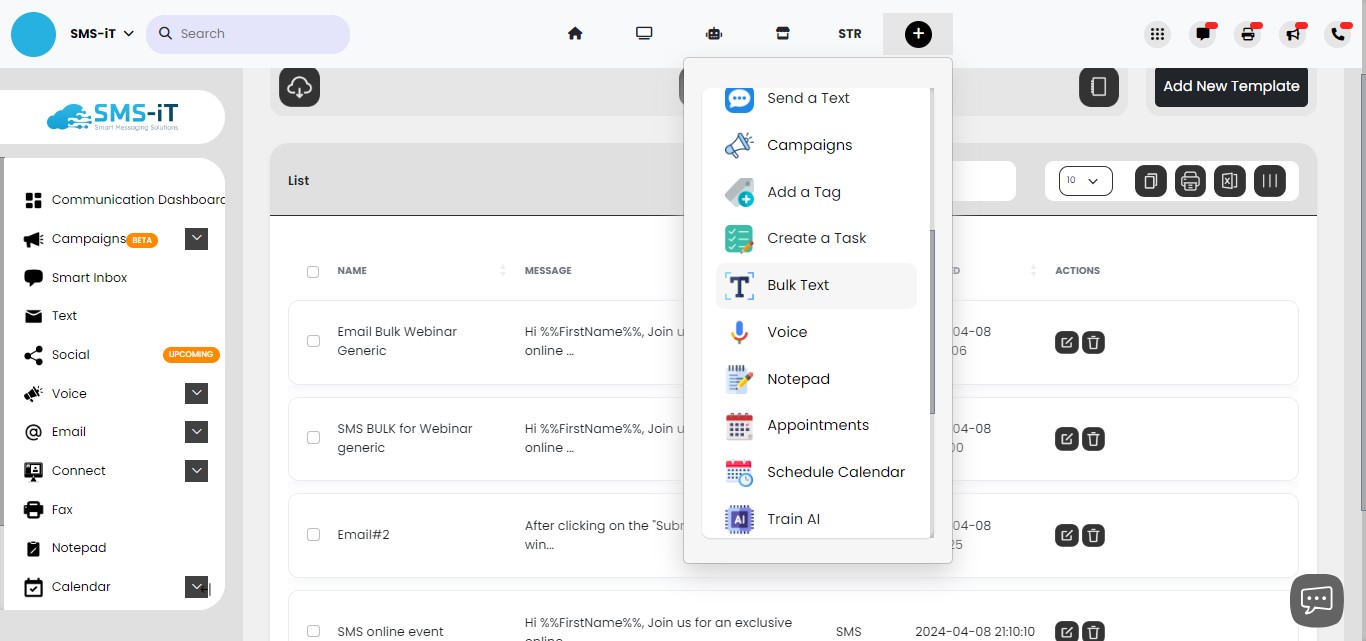
Click on "Quick Links"
Click on "Bulk Text"
Click on the "Please select" field from the Message Template selection.
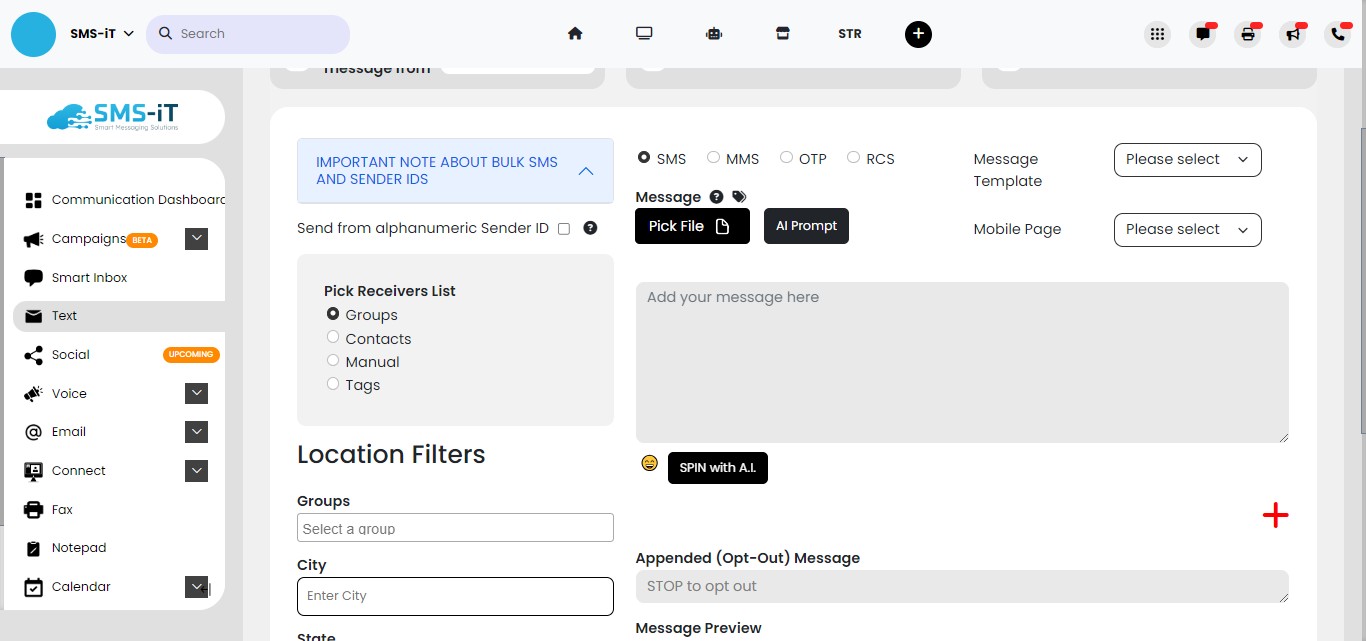
Here we populated with our newly made SMS template.
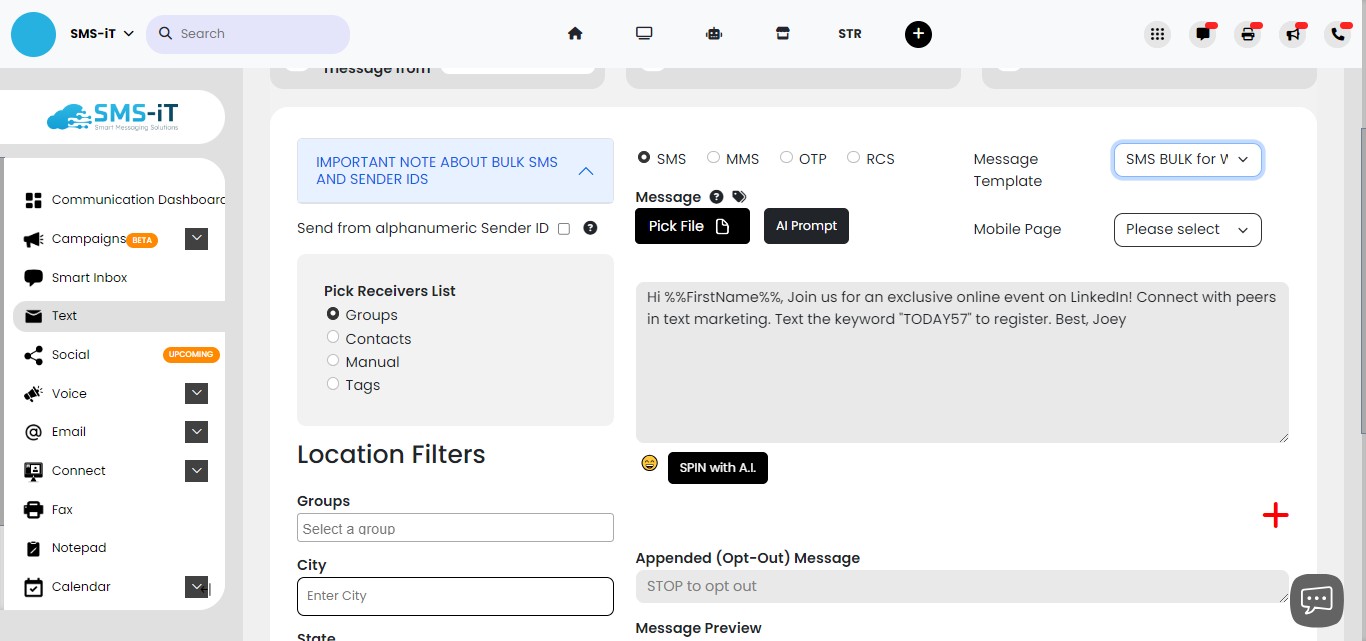
If you change your template or create a new one and would like to save it as a new template, simply click the red "+" sign.

Name the new template and click on "Save"
Your new template is saved for future use.
We'll now use a bulk email example.
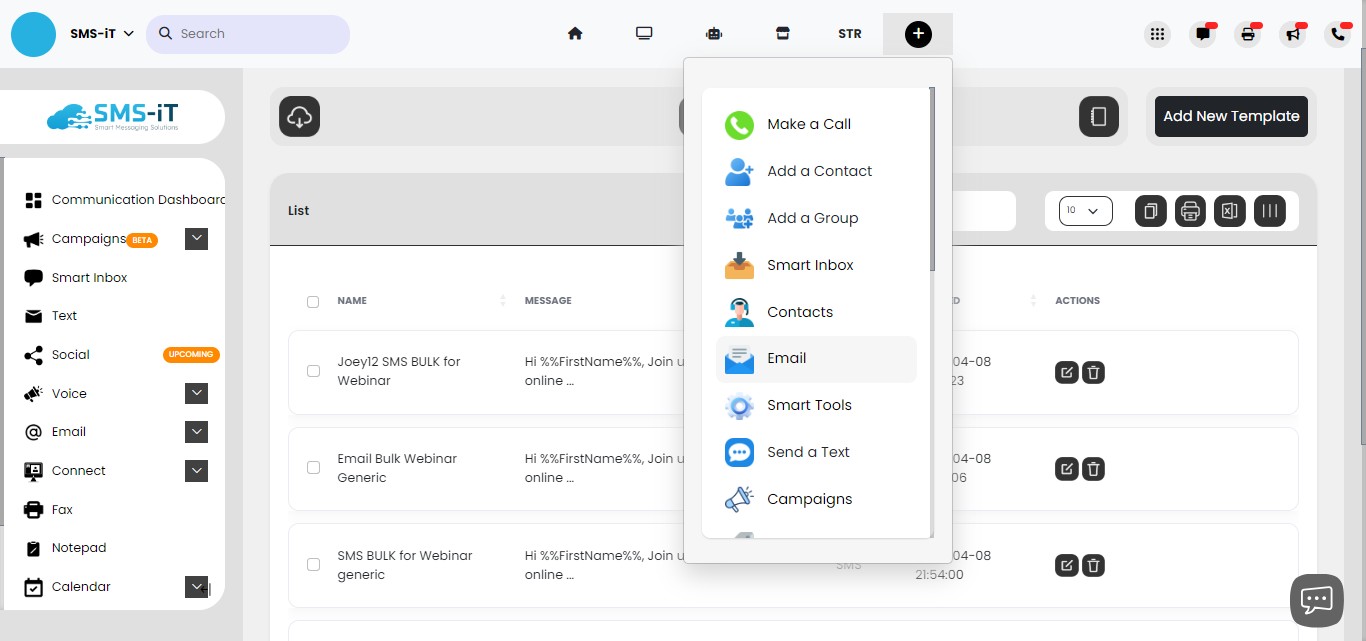
Click on "Quick Links"
Click on "Email"
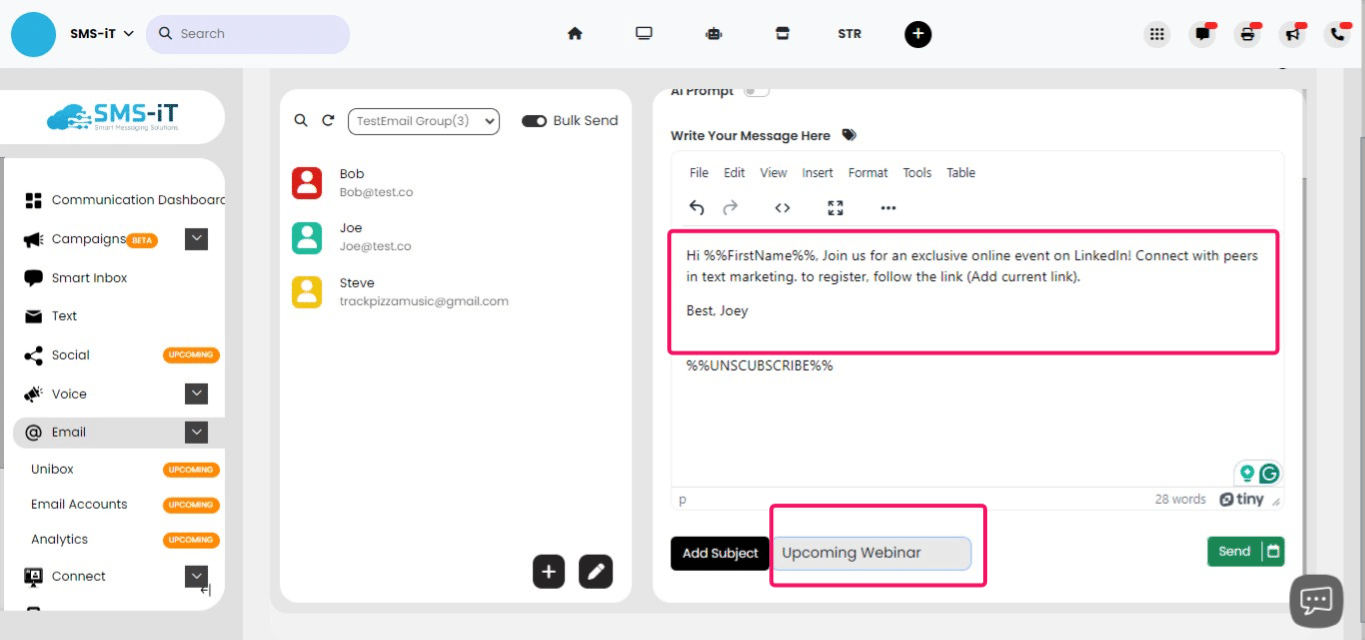
Click on "Select Template"
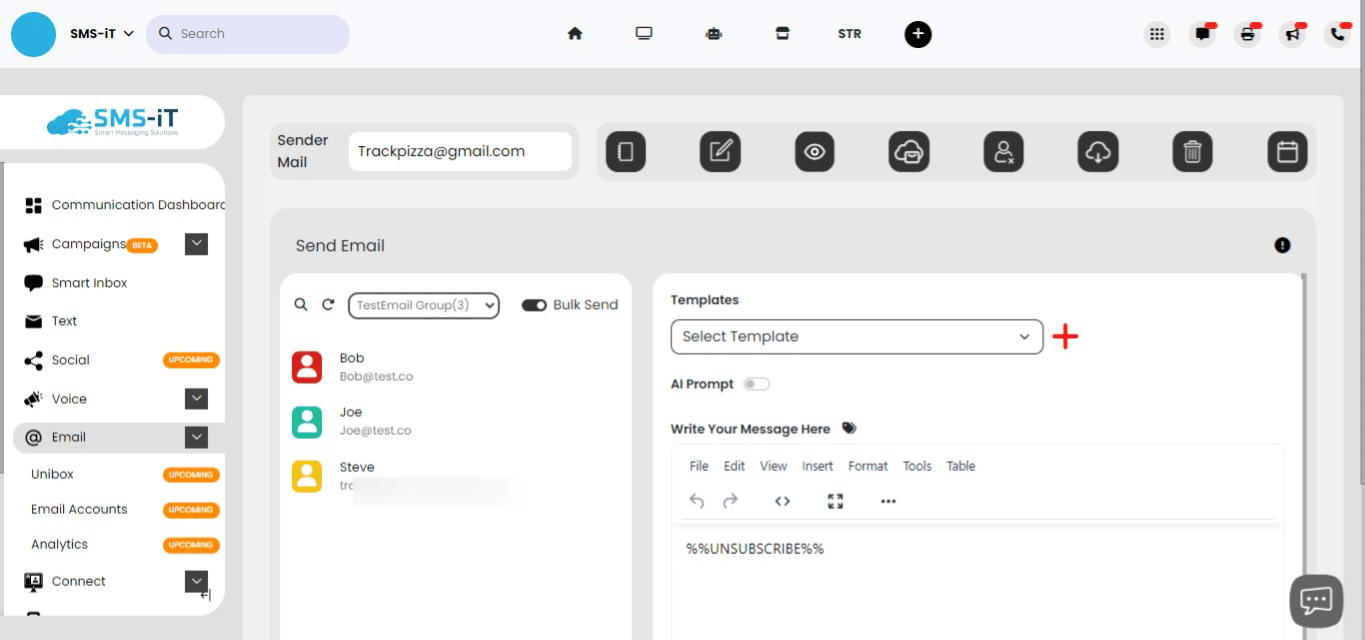
Your template is loaded, add a subject line and either send or schedule your bulk email.
New Heading
Templates can be utilized across various areas of the platform, including: - Sending individual test messages - Within the Smart Tools section - When setting up Campaigns - Anywhere else there is a text input field to compose a message
- This allows you to leverage your pre-built templates consistently throughout the SMS-iT CRM, saving time and ensuring messaging consistency.
- The templates contain the necessary fields like Name, Message Content, and Channel, which you can customize as needed for each use case.
- By having this template library accessible in multiple parts of the system, you can quickly select and insert the appropriate pre-formatted content, rather than rewriting messages from scratch.