
Voice: Smart Dialer Breakout Box
Seamlessly Engage with Customers Across Multiple Channels During and After Calls
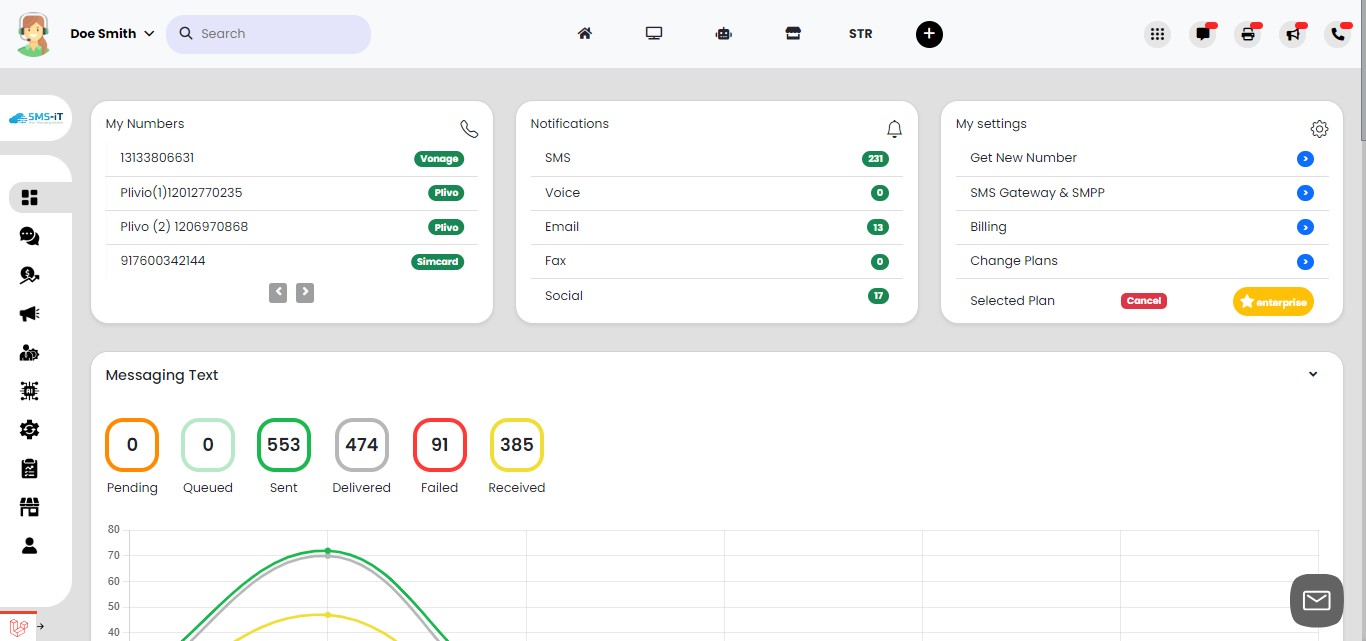
Navigate to https://aicpanel.smsit.ai/home
The Smart Dialer Breakout Box Breakout Box is a versatile feature that allows you to communicate with customers through various channels while on a call with them. It works seamlessly for both incoming and outgoing calls.
The Smart Dialer Breakout Box Breakout Box includes a modal window that remains open during and after the call. This modal allows you to send the customer text messages, emails, or communicate through any available channel while you're on the call with them. After the call ends, the modal stays open, enabling you to continue your communications, add notes, or connect the customer with another agent via their mobile phone. Additionally, you can send a text blast to all agents to find an available agent during or after the call.
Being able to speak with a customer and send them a quote with Google map directions directly to their mobile phone sets your business apart from most others. Traditionally, businesses would require customers to manually write down quotes, addresses, and phone numbers. This feature streamlines the process and provides a superior customer experience.
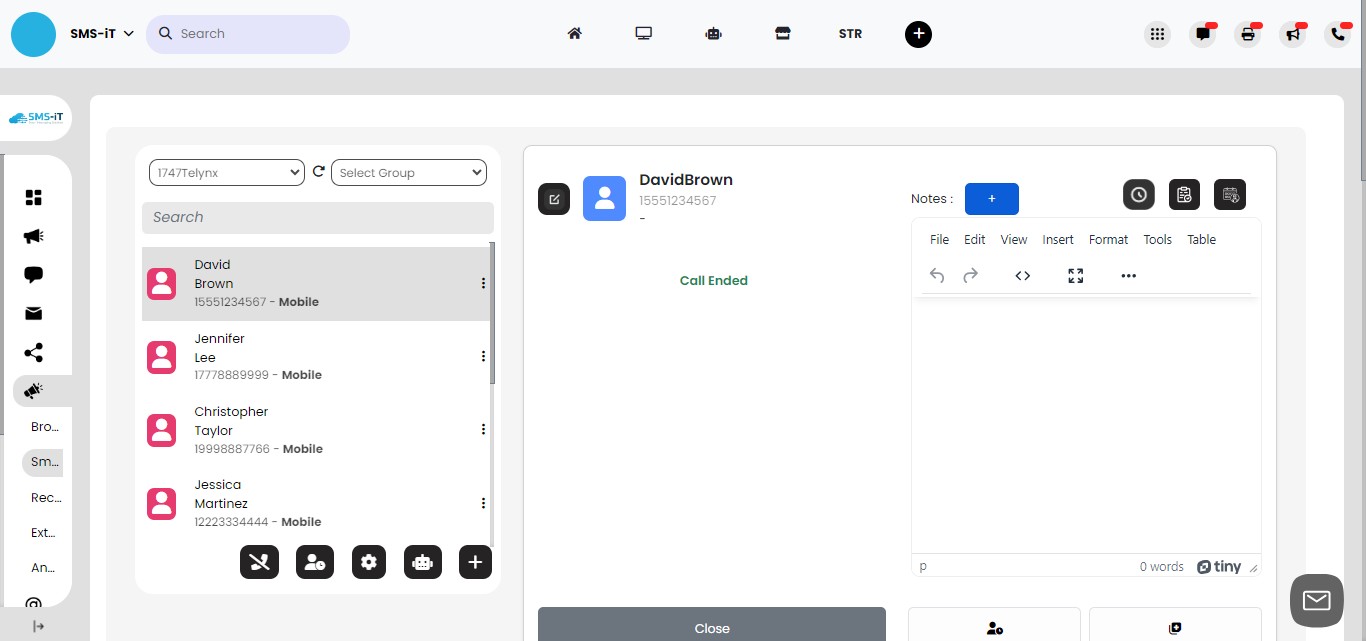
Smart Dialer Breakout Box with an incoming call
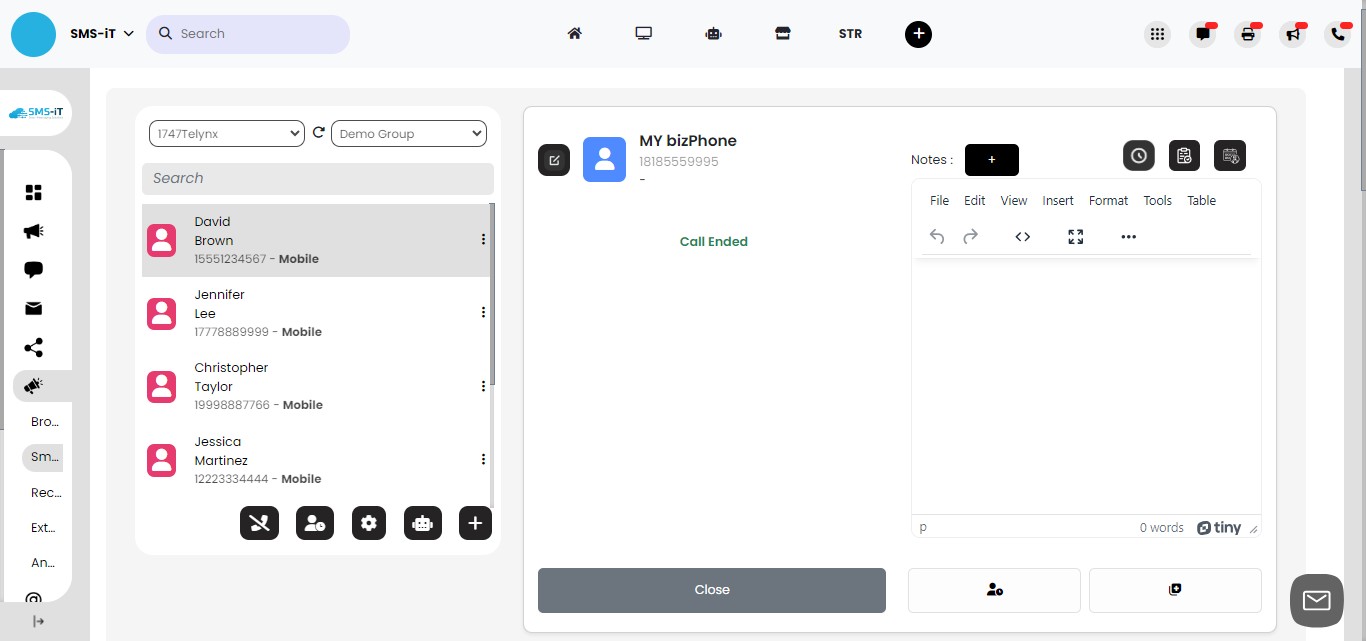
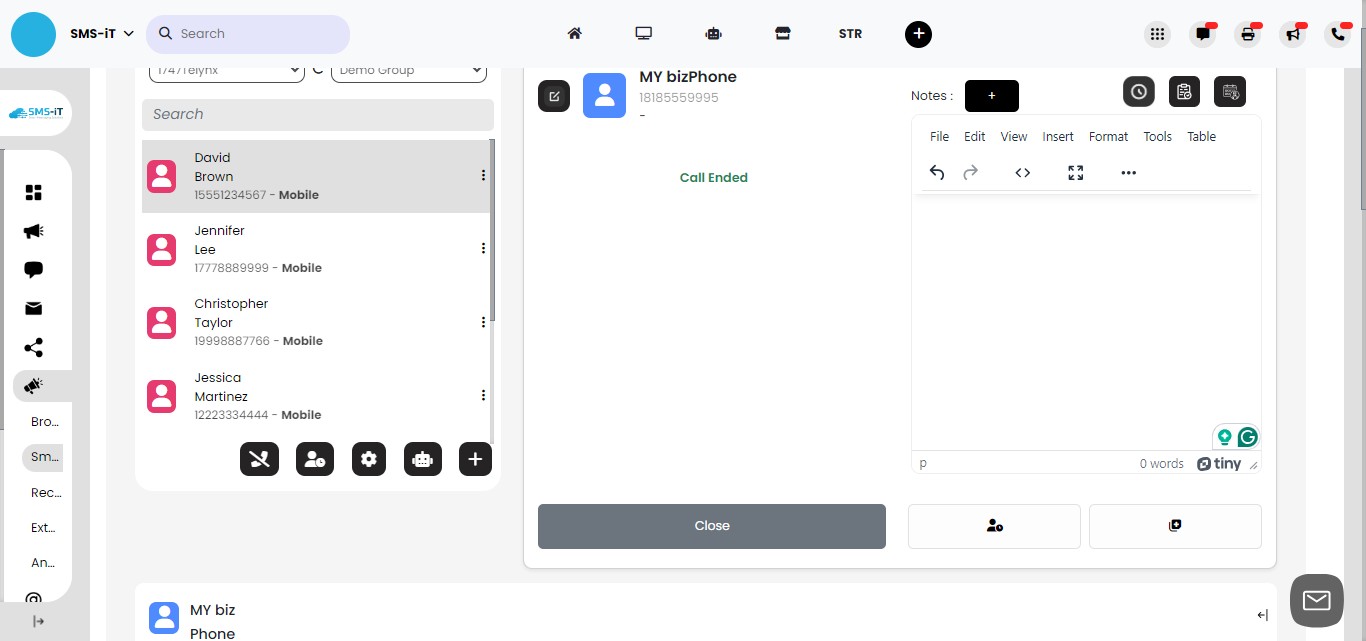
Answering an incoming phone call
The Breakout Box will appear.
At any time during the conversation, you can send the customer a message via text, email, or any other available communication channel. This feature allows you to share quotes, Google map links for directions, links to join your community or webinars, and more.

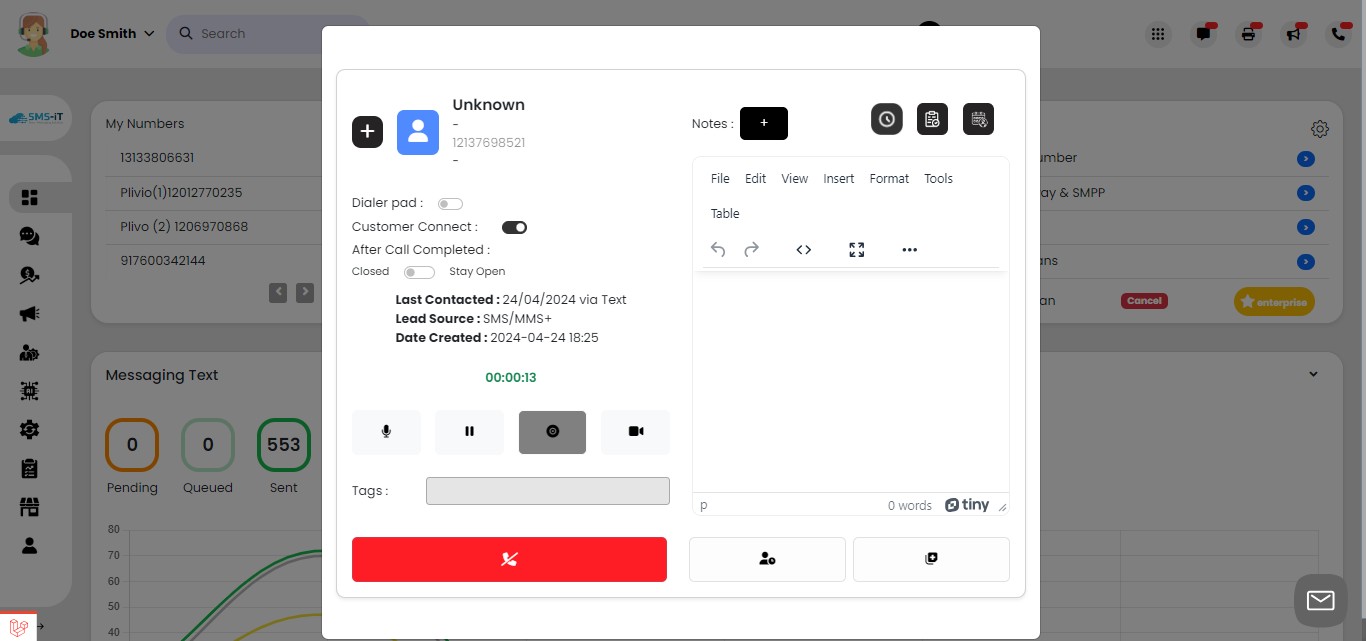
During the conversation, you can manually activate the 'Stay Connected' switch to keep the modal open after the call ends. This allows you to complete tasks such as taking notes, adding the customer to the database, sending follow-up texts or emails, and creating a note to remind you about the call's context
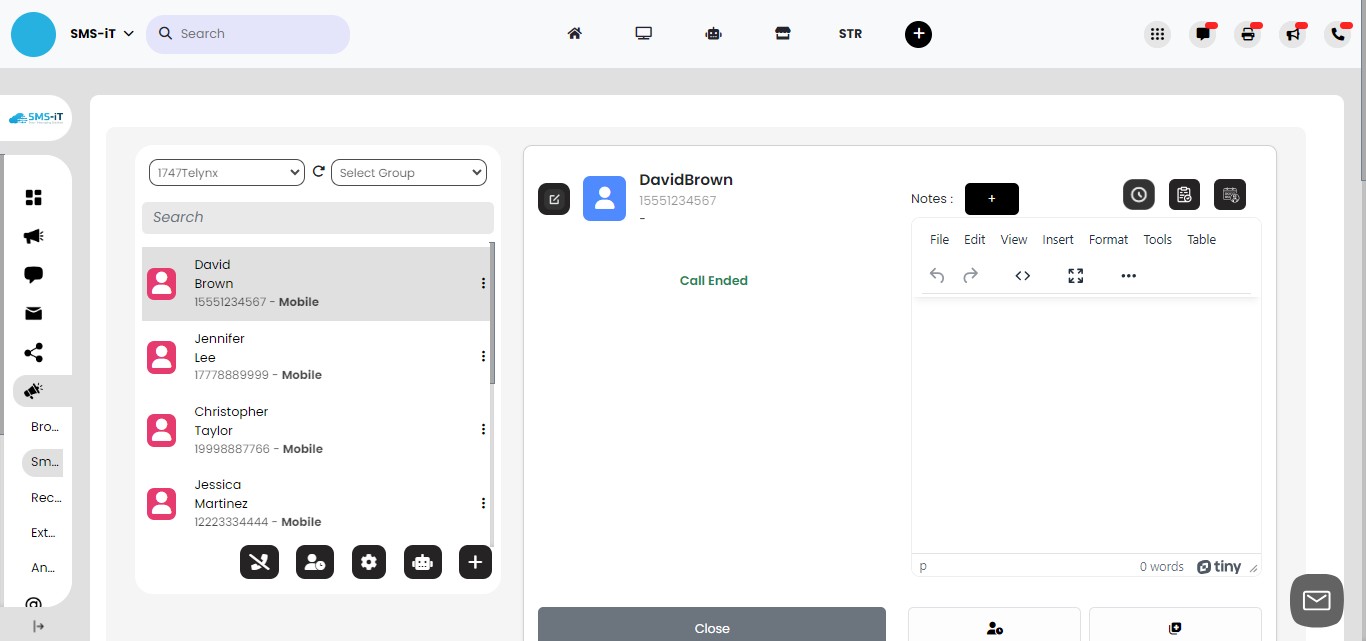
The modal will now stay open after the call.
Alternatively, you can configure the modal to stay open automatically in the 'Global Settings.' With this setting enabled, the modal will remain open for every incoming call until you manually close it
Set modal to stay open after every call
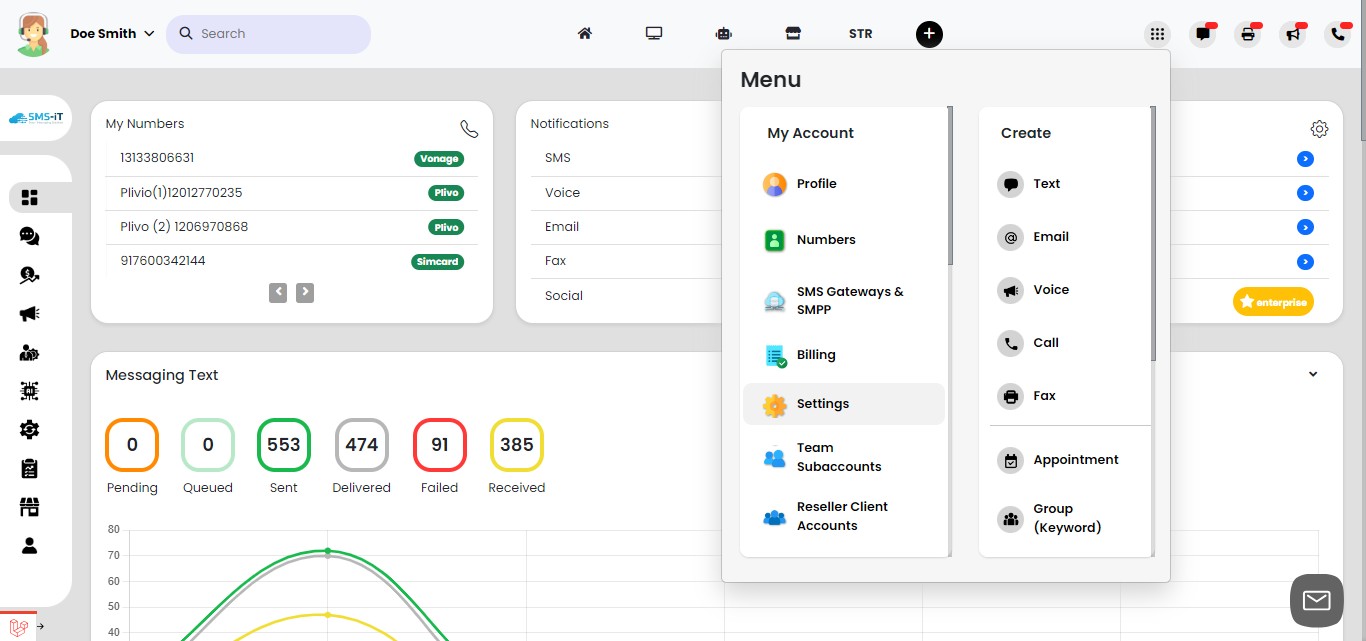
Click on "Menu" icon.
Click on "Settings"
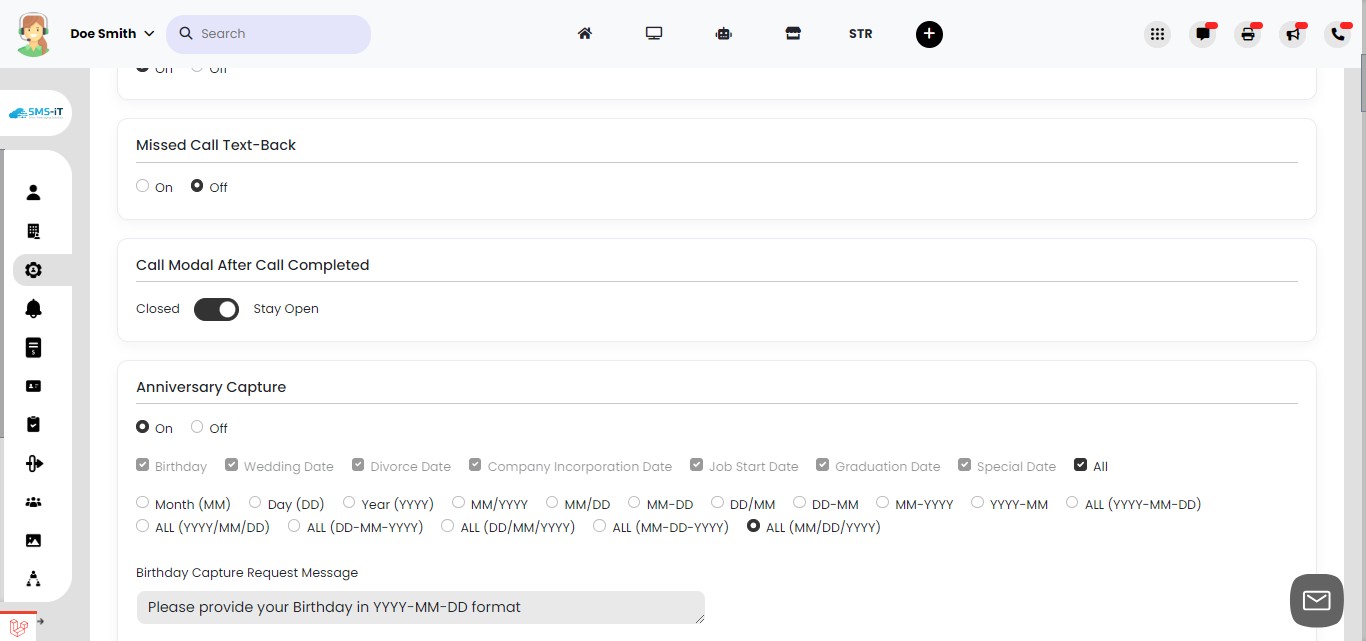
Scroll to "Call Modal After Call completed" and toggle to "Stay Open"
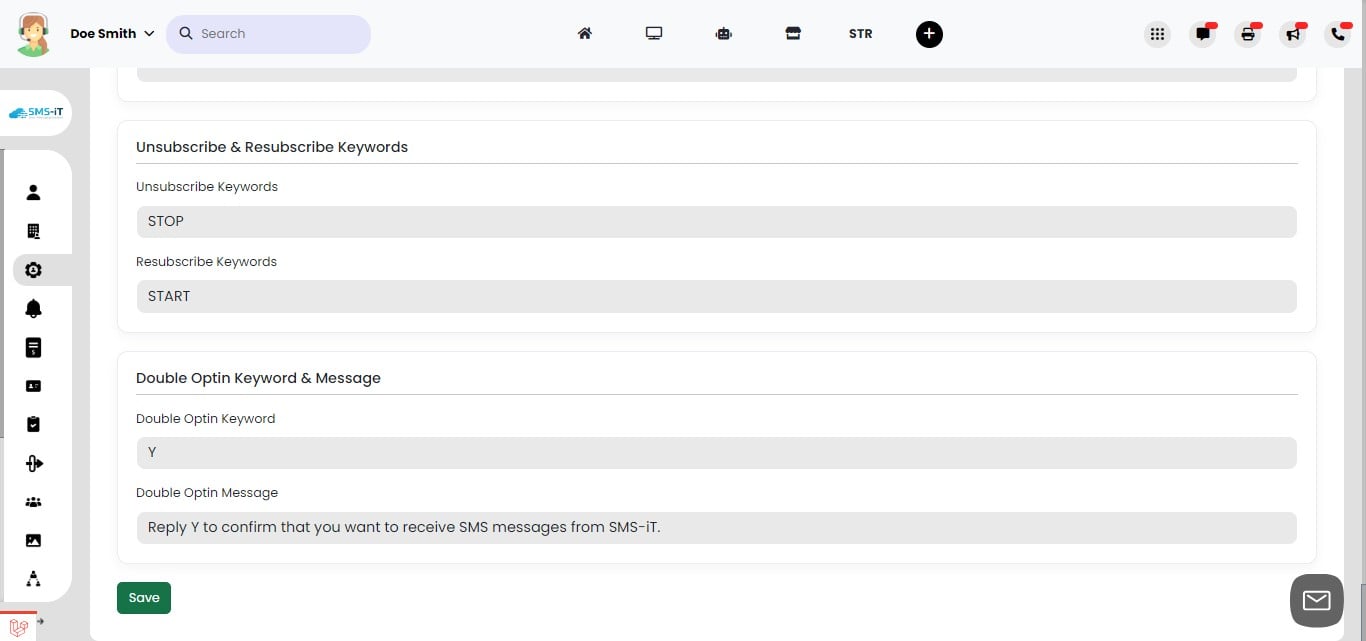
Click on "Save"
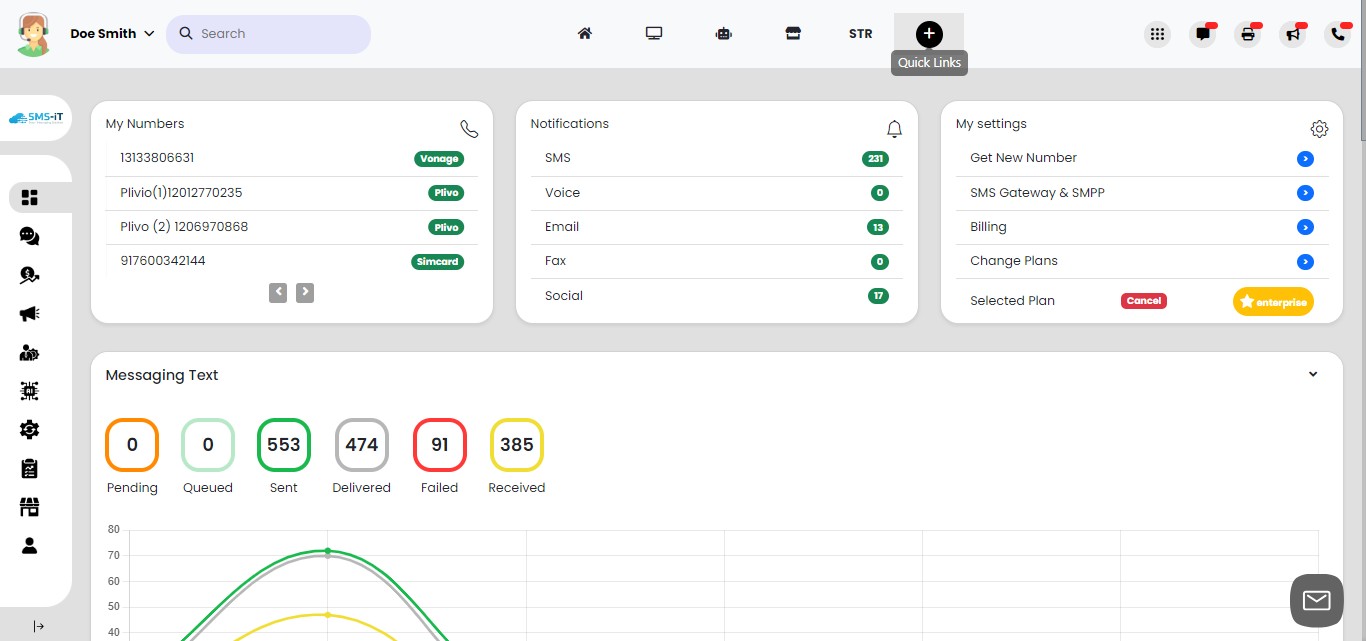
Smart Dialer Breakout Box initiating the call
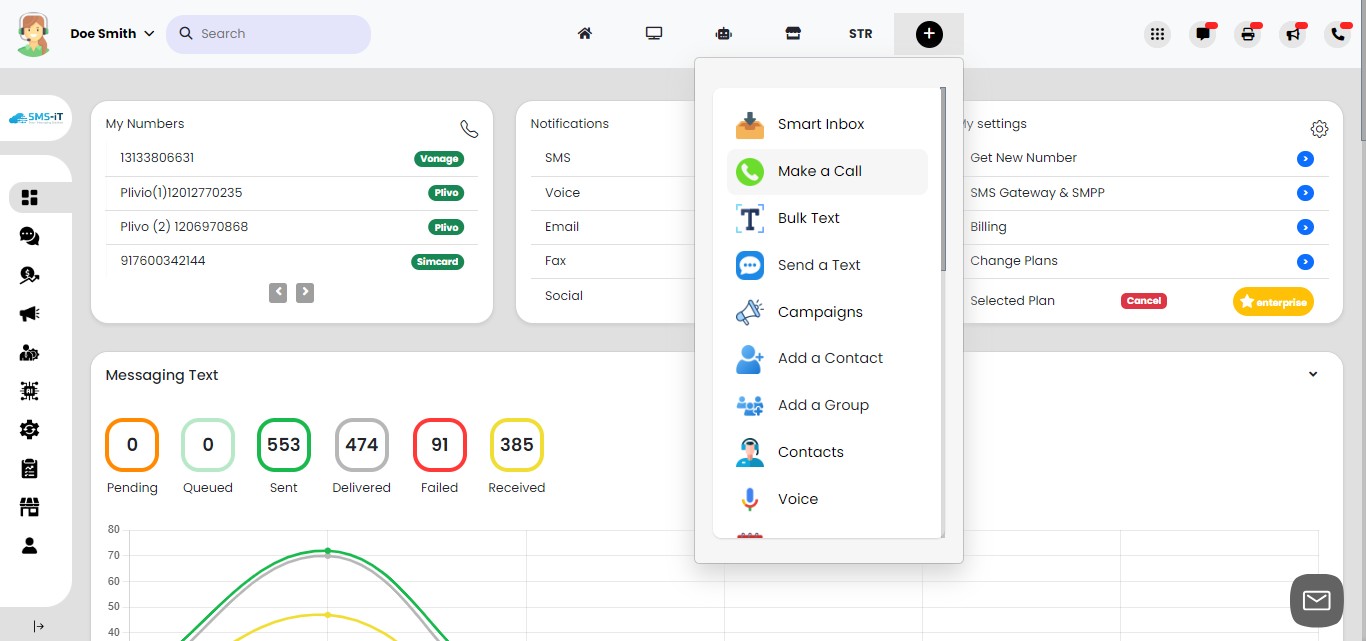
Click on "Quick Links"
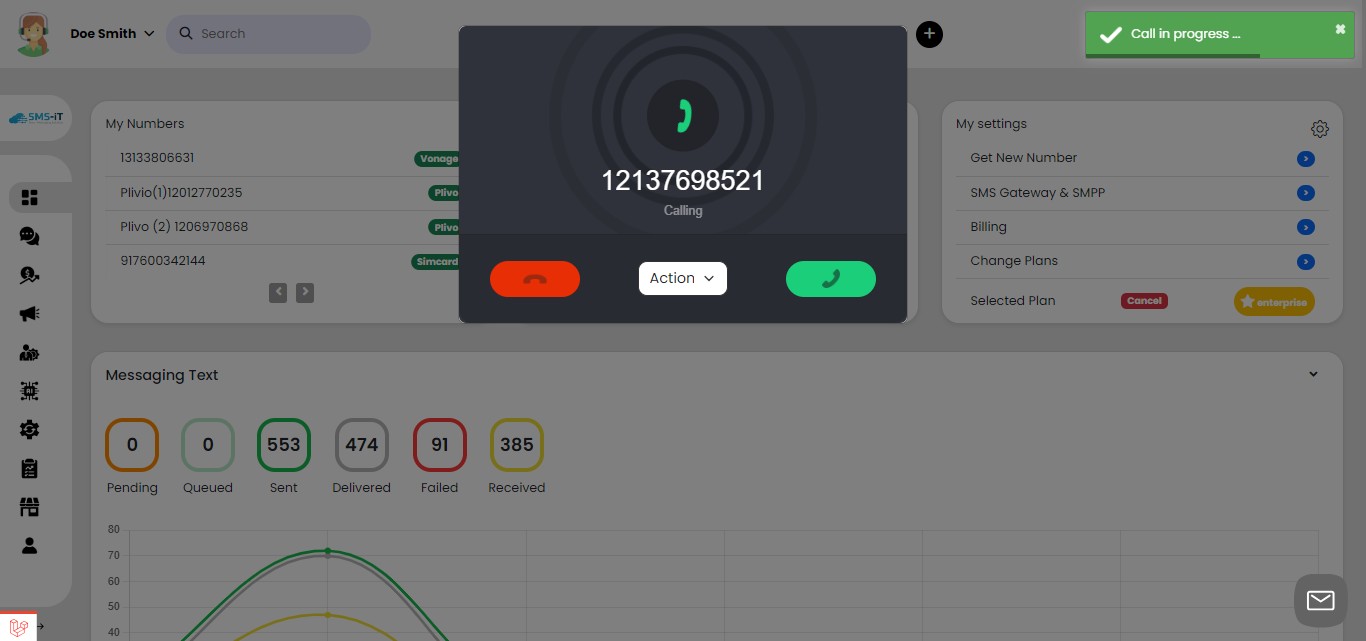
Click on "Make a Call"
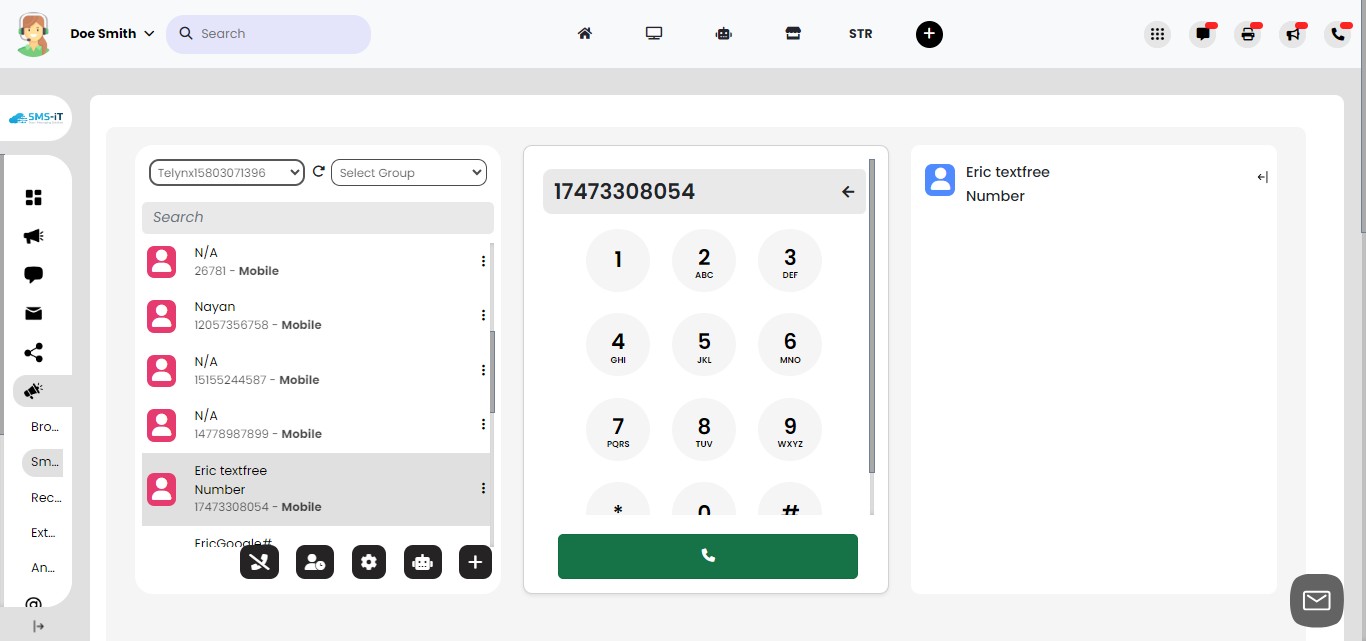
Click to engage the call. The Breakout Box modal will appear once the call is connected.
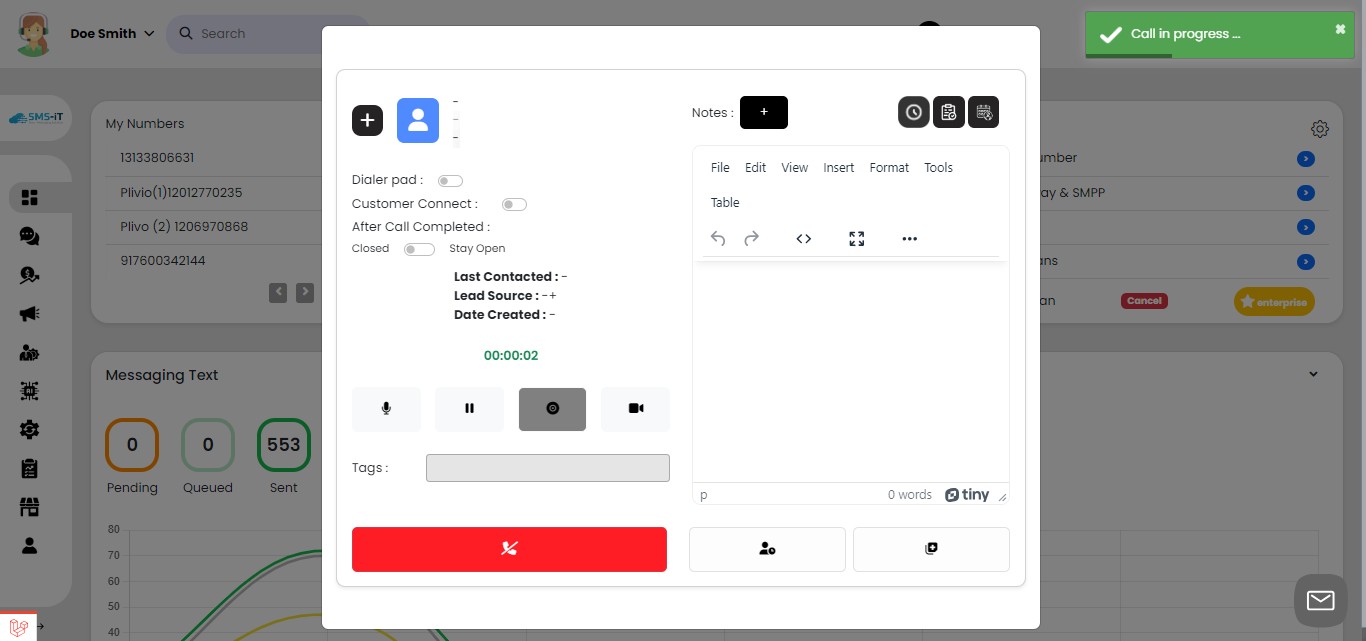
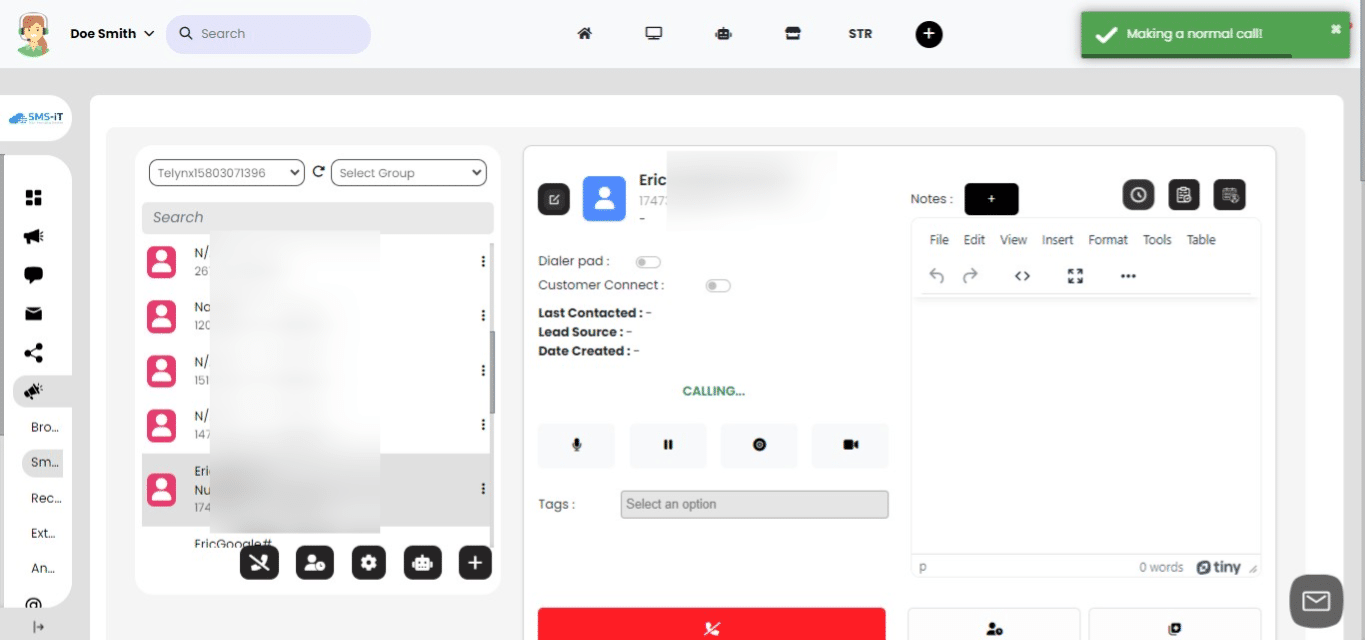
The Breakout Box will appear.
Features of Smart Dialer Breakout Box
The Smart Dialer Breakout Box offers a range of powerful features that you can access and utilize during or after a call. It's important to note that if you plan to use these features after the call has ended, you must activate the 'Stay Connected' option to keep the modal window open.
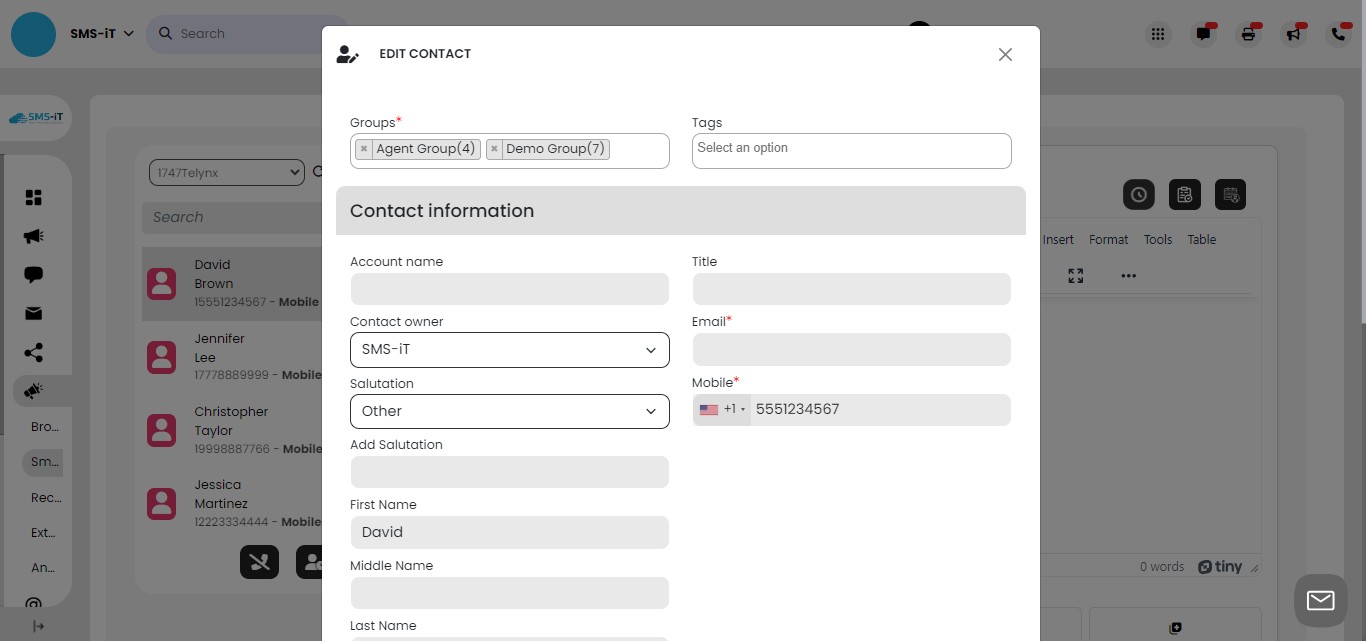
Edit contact
To modify a contact's information, click the "Edit Contact" icon.
from here you can edit your contact's information, just click submit to save
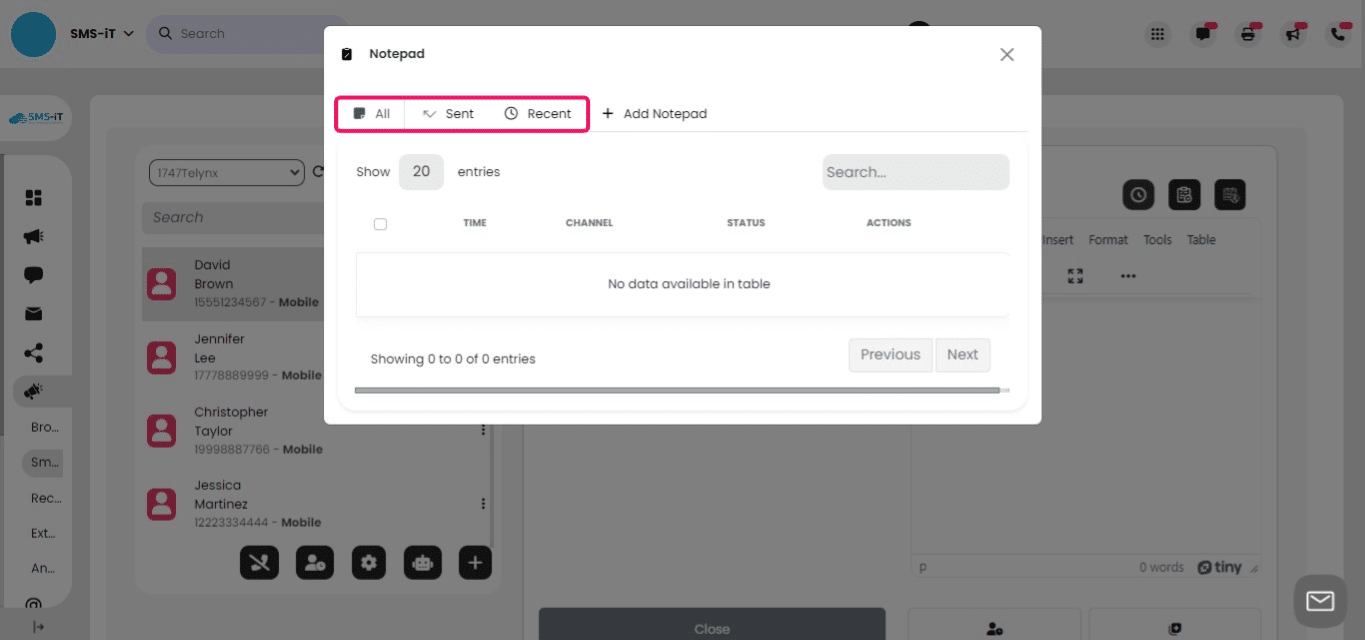
Notepad
To access the Notepad feature, click the '+' icon.
This will display all existing notes related to the customer, including sent and recently added notes. If there are any notes, click the pencil icon (not shown in the image) to review and edit their content.
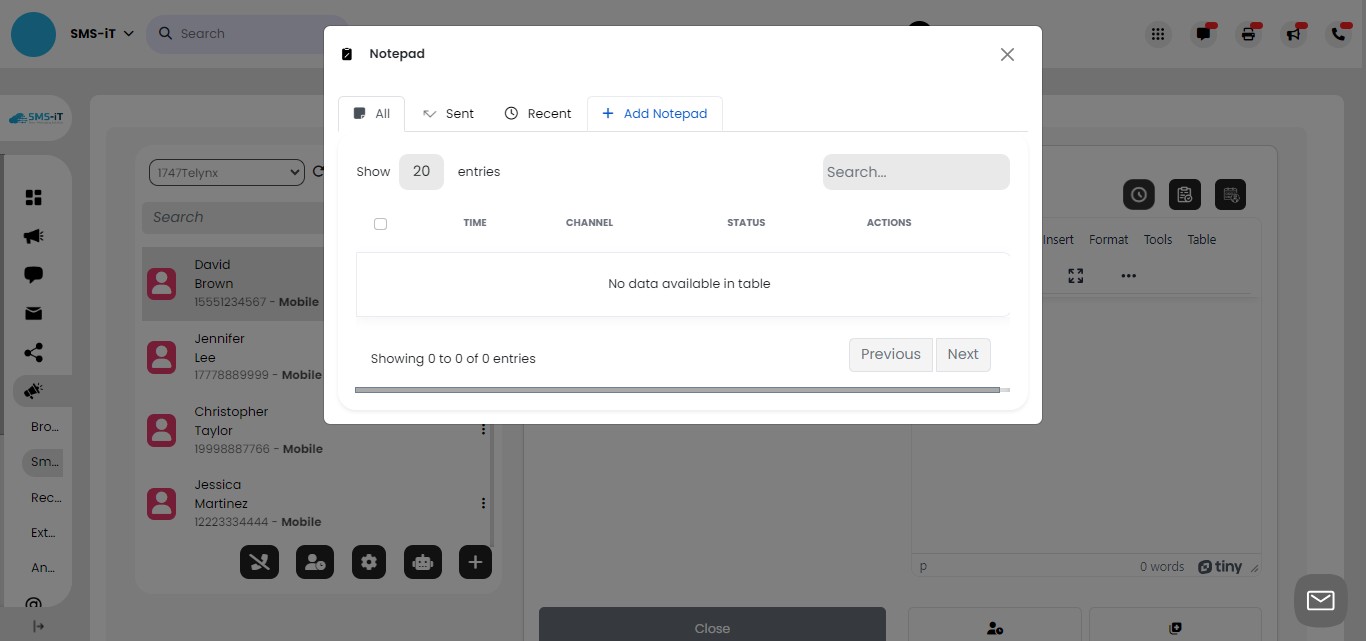
Add Notepad
To create a new note, click the 'Add Notepad' button, which will open a fresh notepad for you to type and save relevant information or reminders
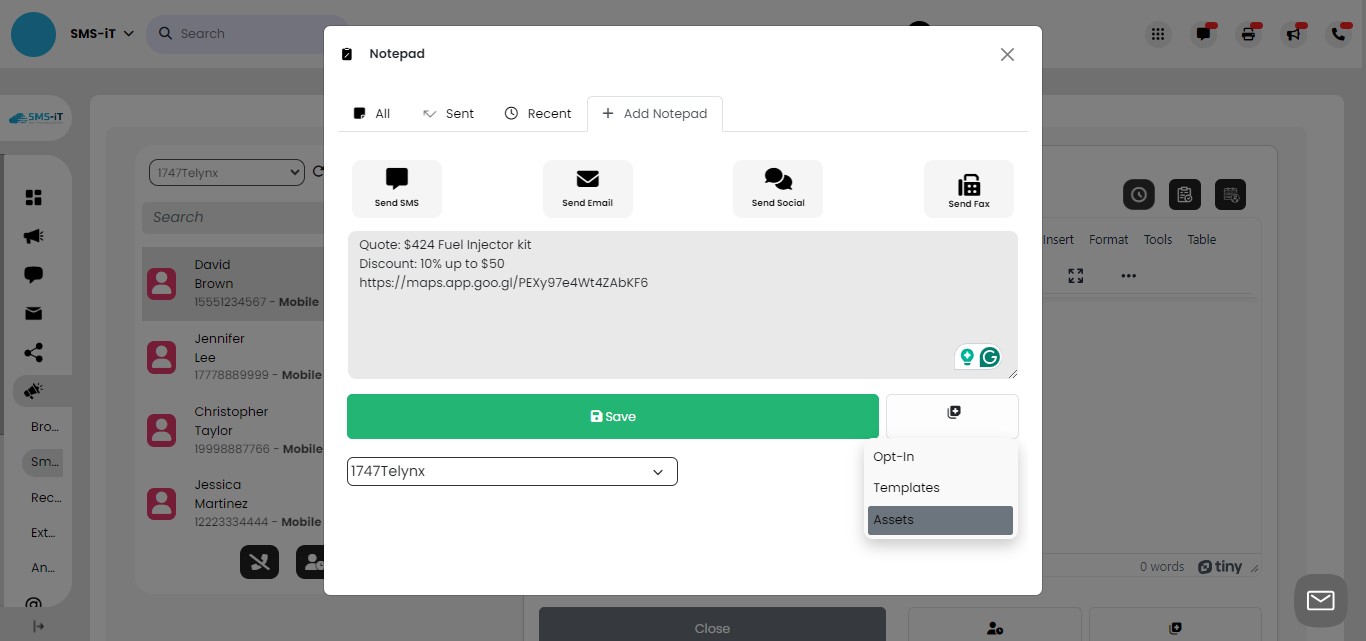
If you plan to send a text message, first select the appropriate 'Send Number' from the available options.
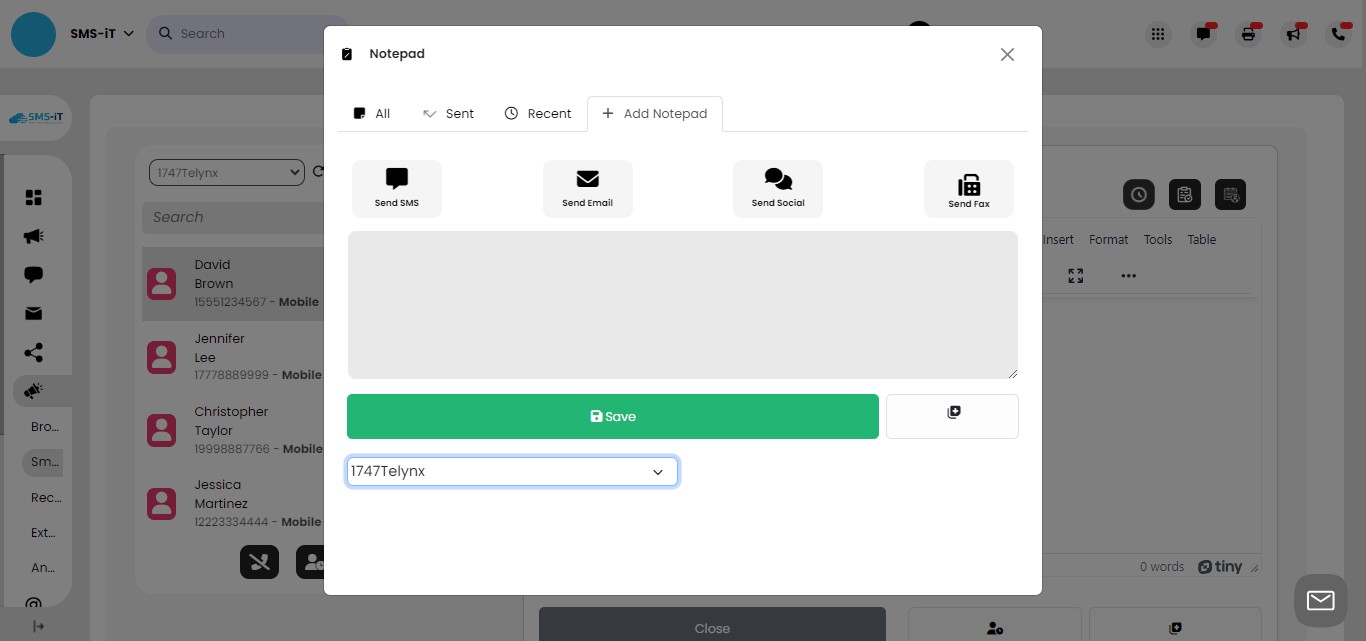
Then, click the '+' icon, which will reveal three choices: 'Opt-in,' 'Templates,' and 'Assets
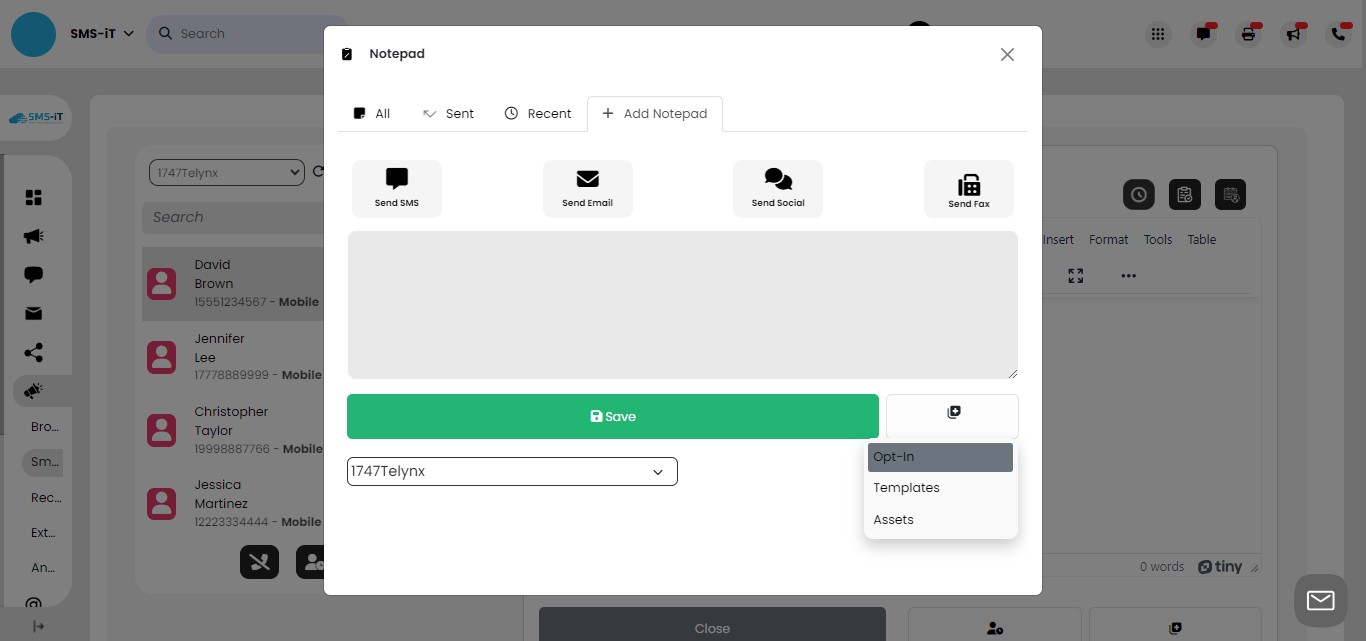
Opt-in option
The 'Opt-in' option provides a pre-made opt-in template that you can use to enroll your customer in a specific group. This will allow you to contact them with promotional text messages in the future. To include this template in your message, simply click 'Insert.
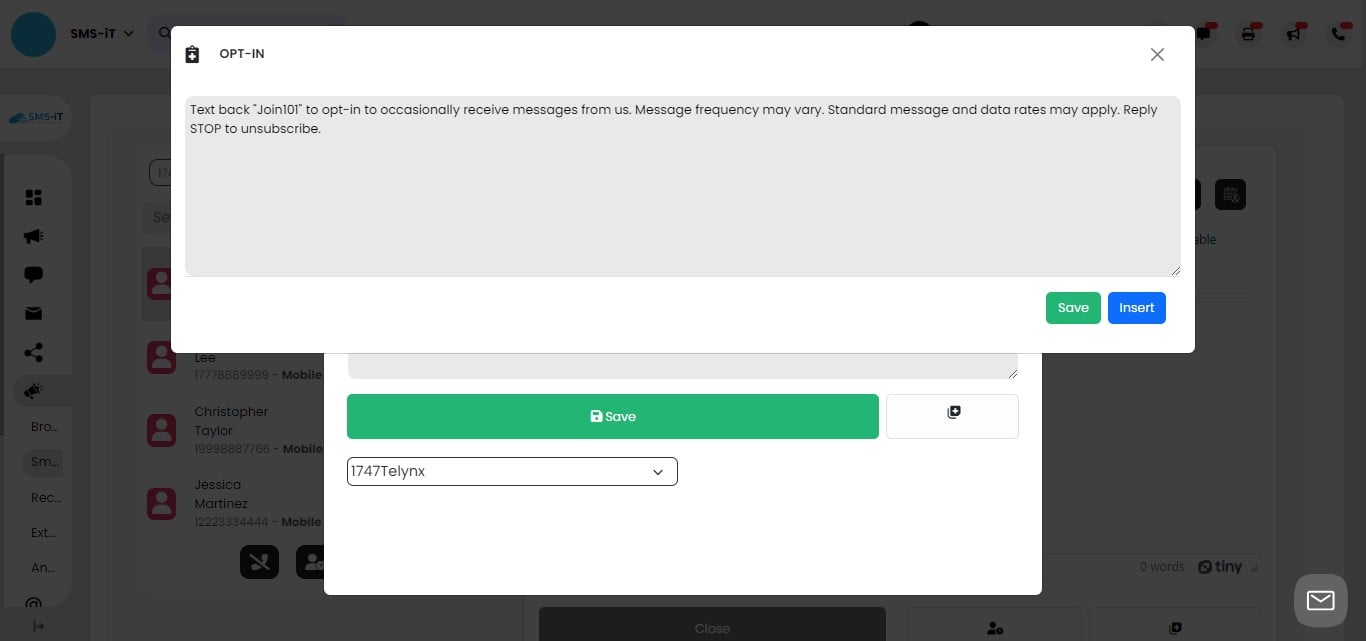
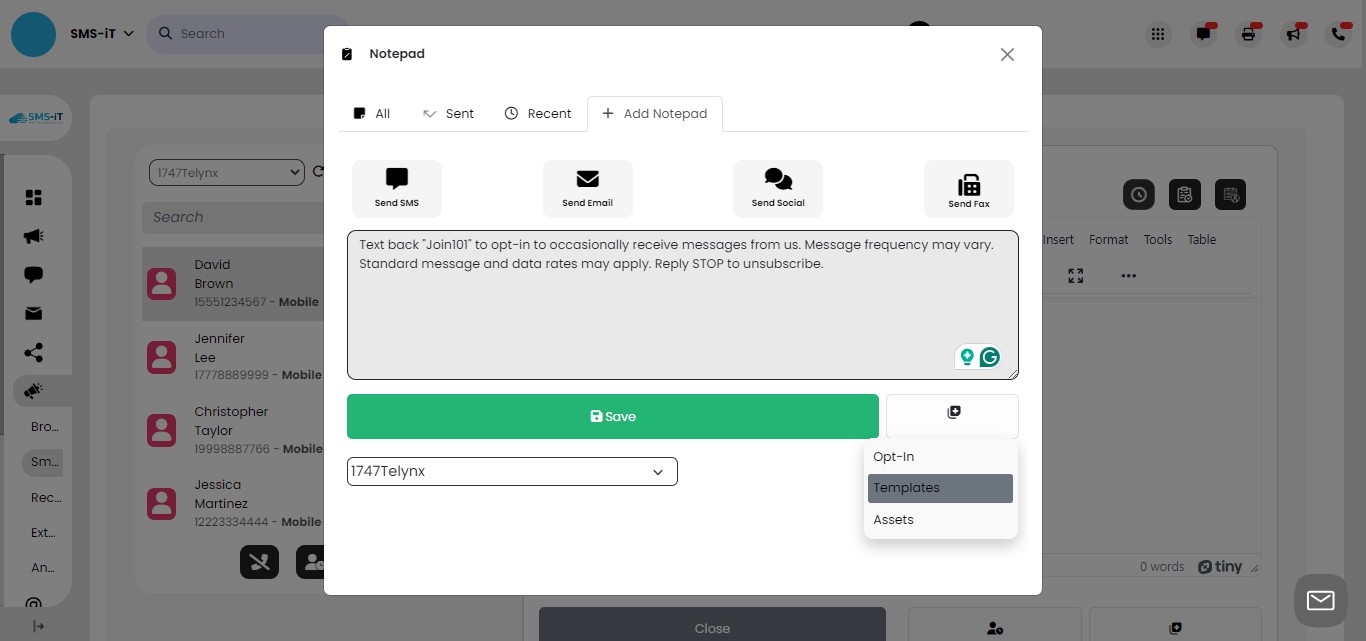
After inserting the opt-in template, you can click 'Send SMS' to send the message. You have the flexibility to send it during the conversation, allowing the customer to opt-in while you're speaking with them, or after the conversation has ended. You can also personalize the message by adding a greeting or any other relevant information. For example: 'John, it was great speaking with you. Just text back "Join101" to opt-in and occasionally receive messages from us. Message frequency may vary. Standard message and data rates may apply. Reply STOP to unsubscribe.

You can also personalize the message by adding a greeting or any other relevant information. For example: 'John, it was great speaking with you. Just text back "Join101" to opt-in and occasionally receive messages from us. Message frequency may vary. Standard message and data rates may apply. Reply STOP to unsubscribe.](https://assets.guidejar.com/uploads/6c83cf6a-abf3-48bb-9173-386f695cf739/Fn7AYqjYuCNi6qxp2rJ7maNAQdg1/896d7c35-3a73-4cbb-8f41-2510675065c8/1714773889752.jpeg)
Templates
To access pre-made templates, click on the 'Templates' button.
Then click the 'Notepad' icon. This will display a list of available templates that you can utilize.
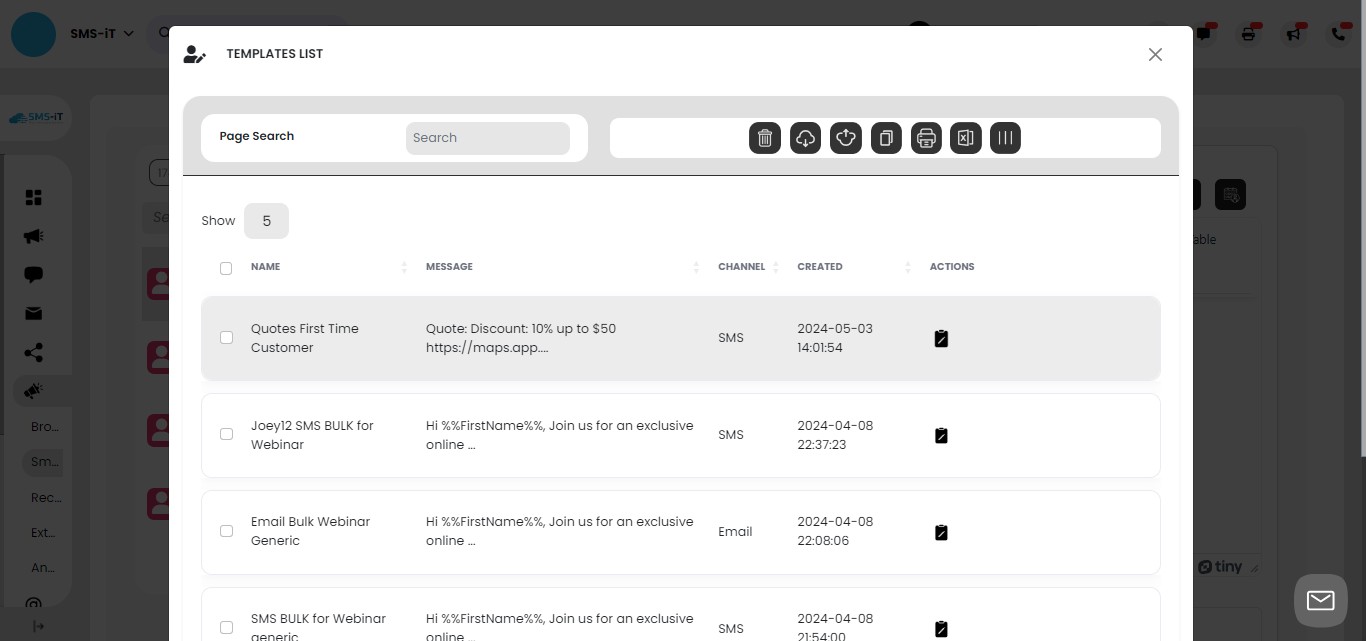
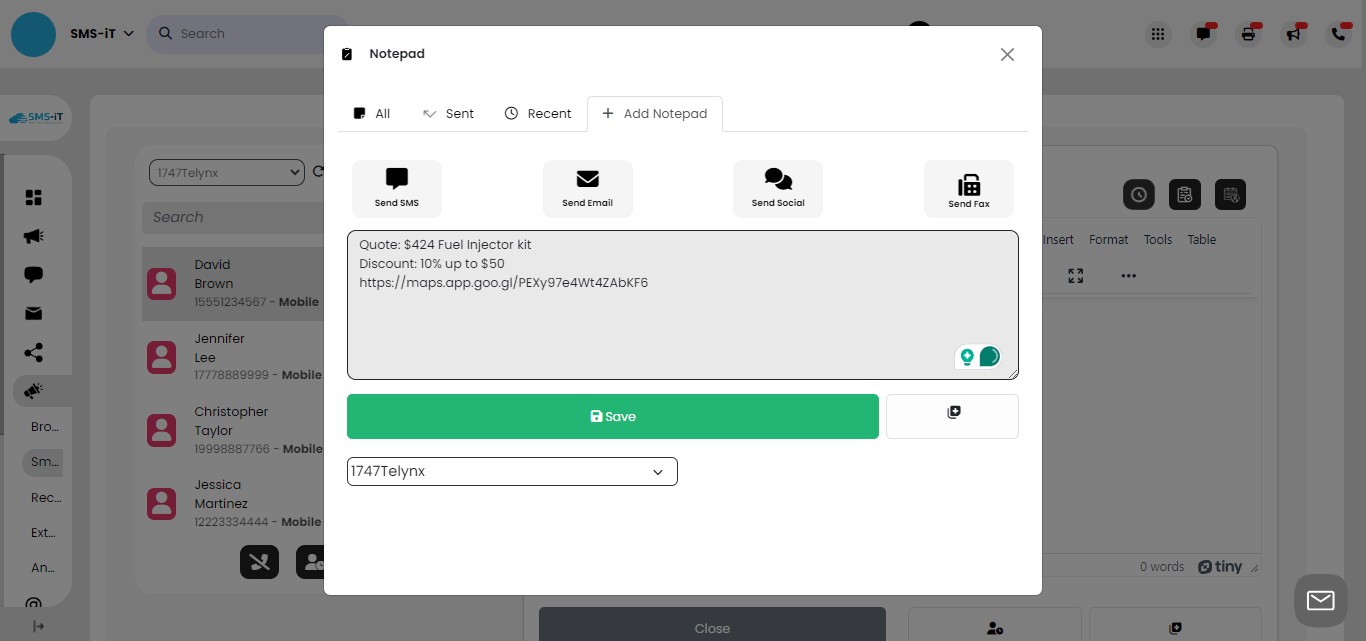
Template added. You can now add the variables, in this example, we just added '$424 Fuel Injector Kit'.

Being able to speak with a customer and send them a quote with directions directly to their mobile phone sets your business apart from most others. Traditionally, businesses would require customers to manually write down quotes, addresses, and phone numbers. This feature streamlines the process and provides a superior customer experience.
To send just click the "Send SMS" icon
Assets
To access and share various file types, click on the 'Assets' button.
Assets can be anything from PDFs to JPG images that you would like to send to the customer as a link. The customer can then follow the link to retrieve the asset.
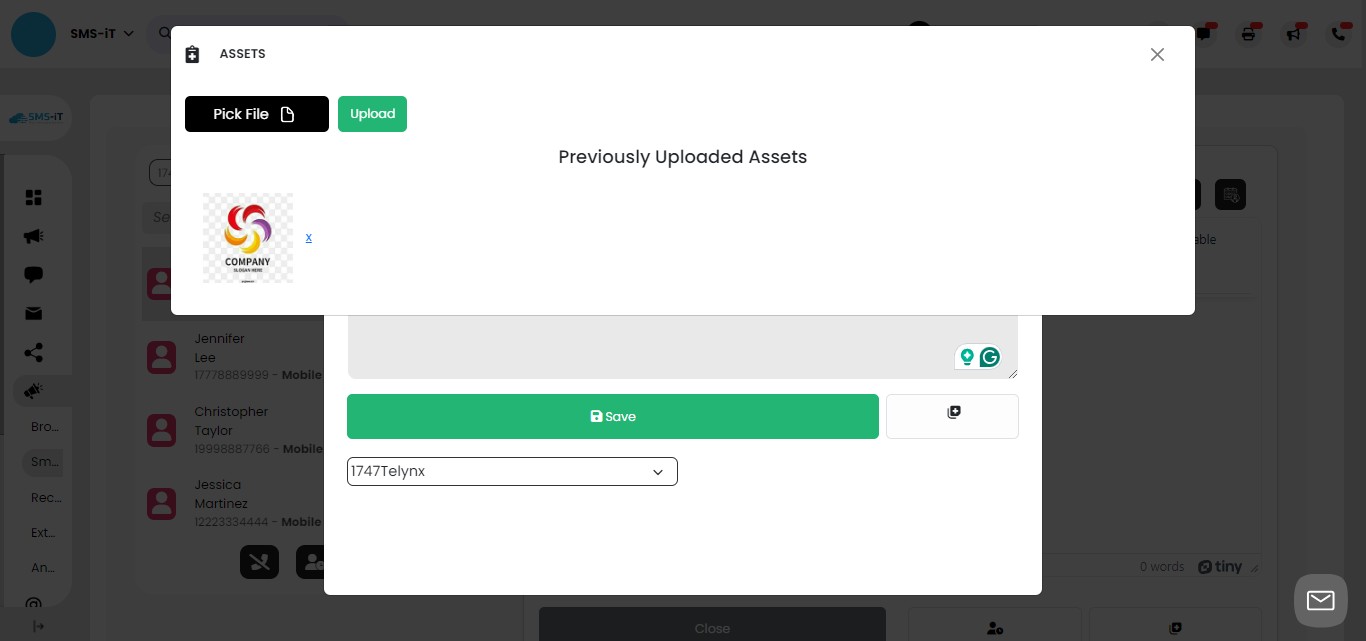
Once you select an asset, its URL will be automatically populated into the message field. You can provide additional context by typing a message before or after the asset URL

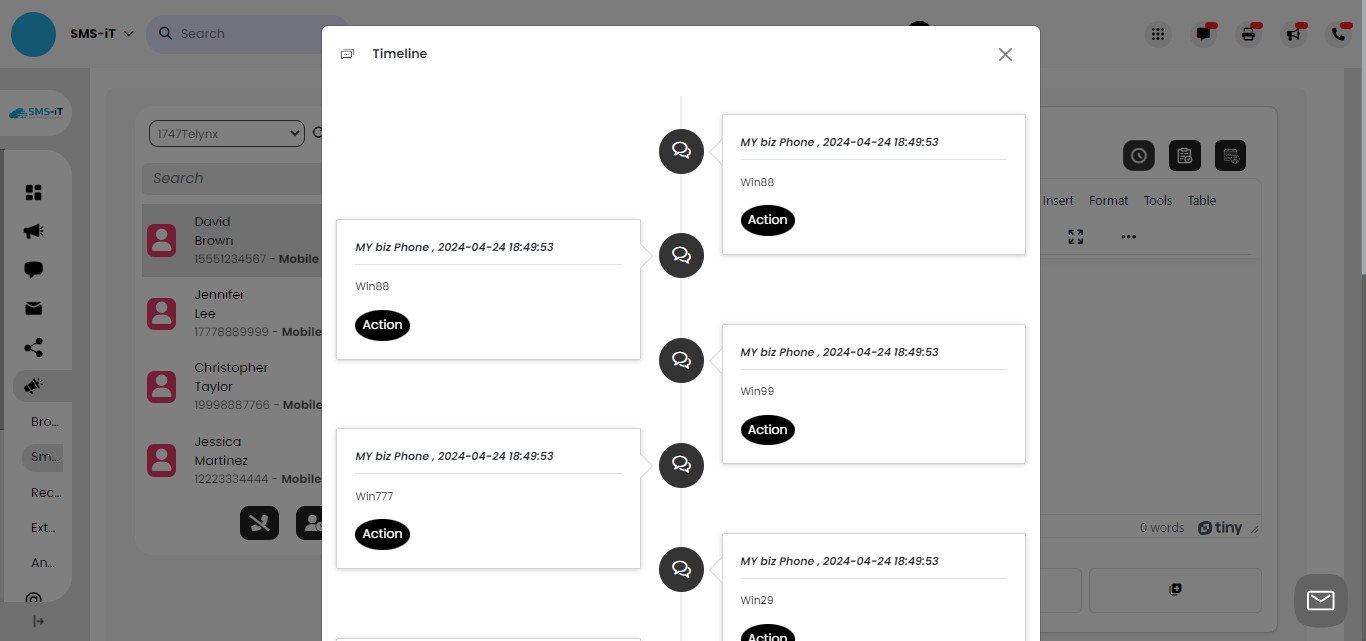
Timeline
To view the history of interactions with a customer, click on the 'Timeline' icon.

This feature displays all previous communications, allowing you to be better informed about the customer's history and context.
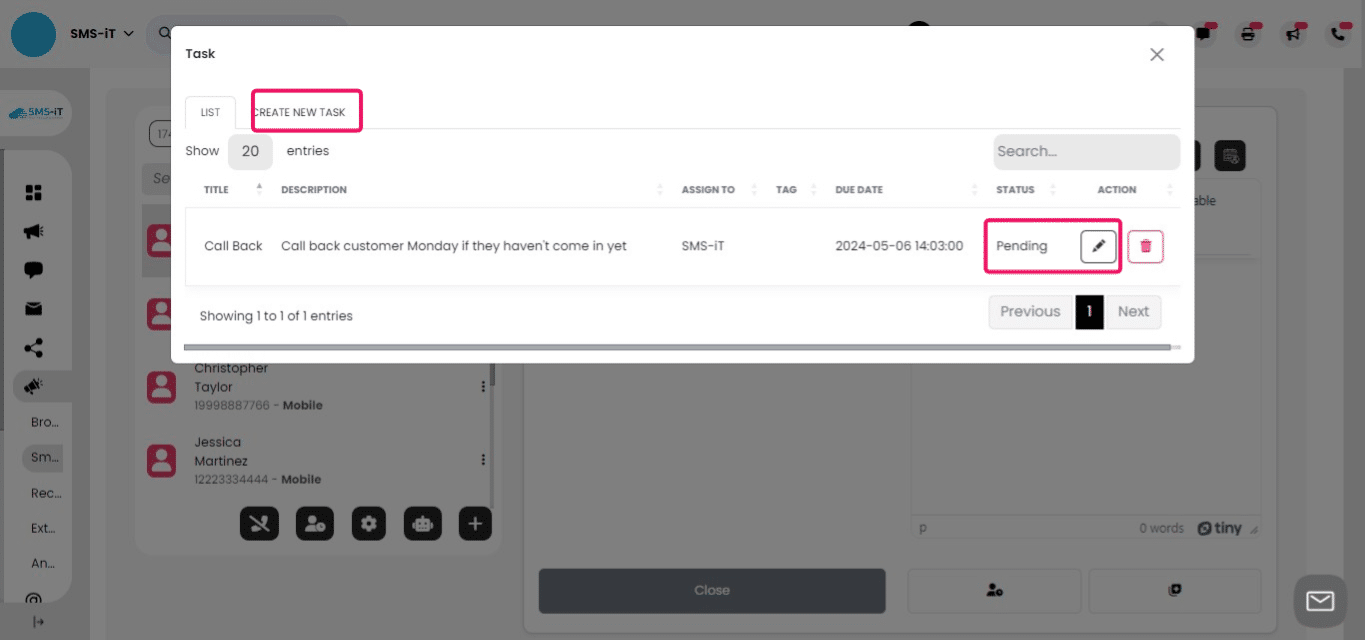
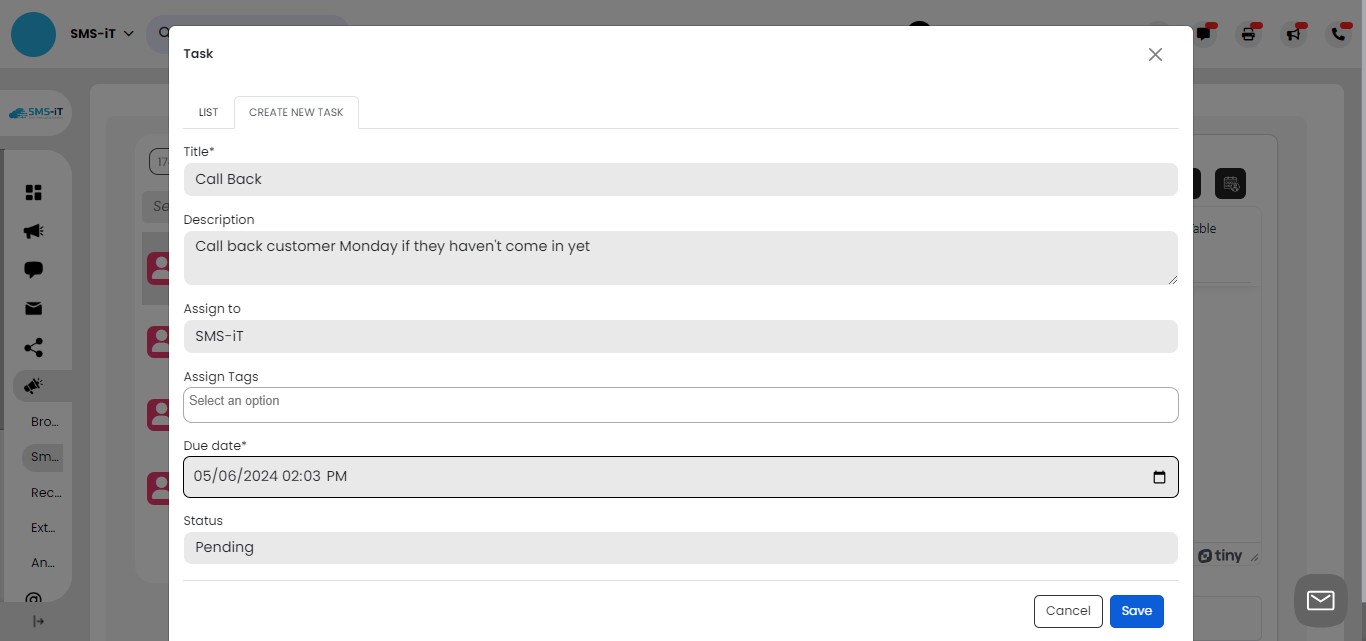
Create a task
To manage tasks related to a customer, click on the 'Task' icon.
From there, you can either click on the pending task icon to view any existing tasks or select 'Create New Task' to create a new task specific to that customer.
In this example, we're creating a new task to call the customer on Monday if they haven't visited or made contact. This task will be assigned to the entire team. Once you've entered the task details, click on 'Save' to create the new task.
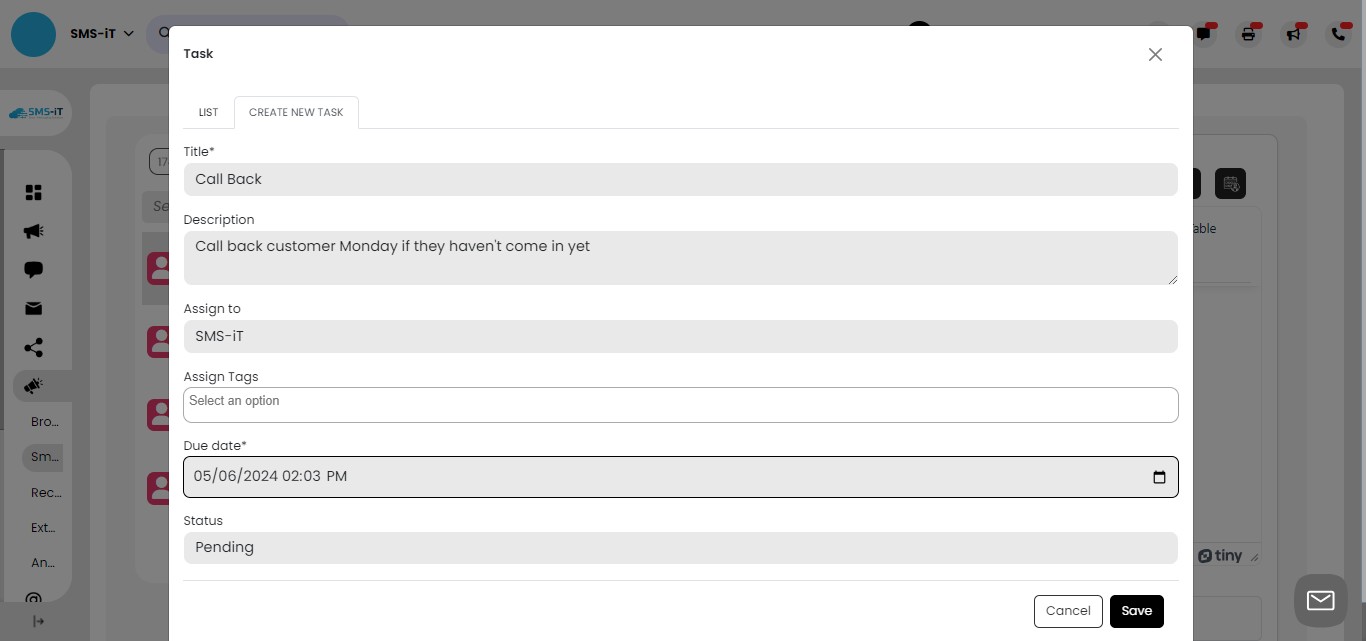
Click on "Save"
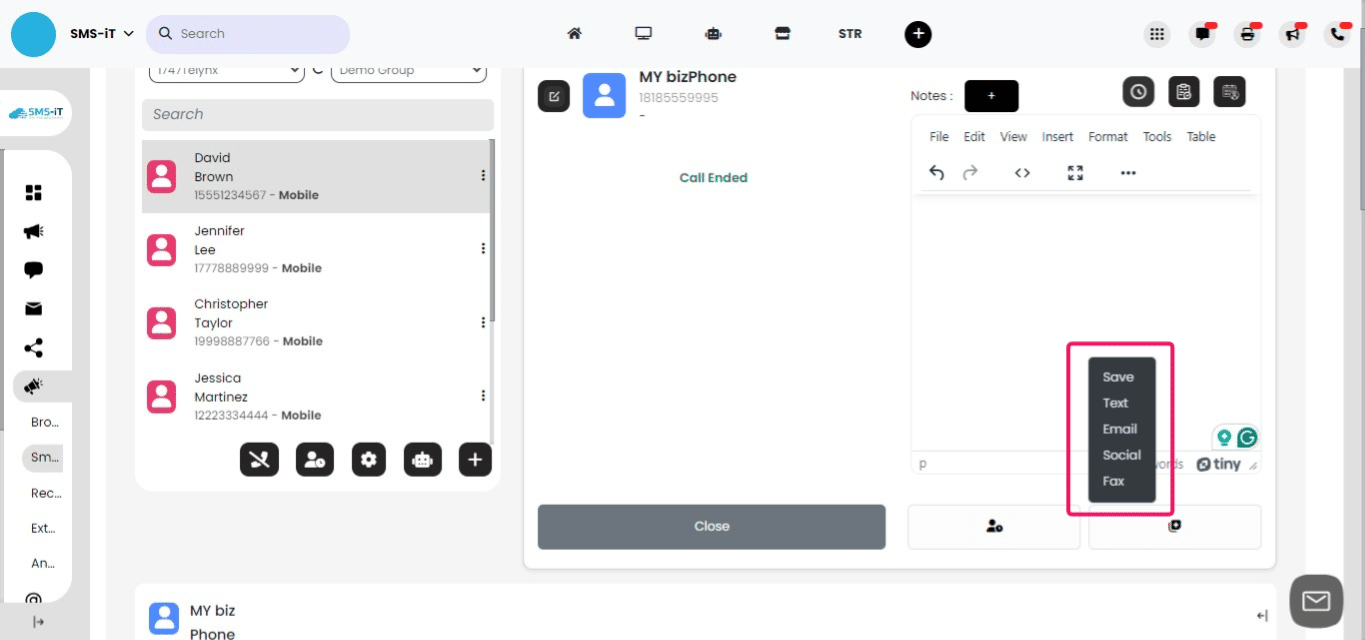
Sending a message from the text box
Additionally, you can compose a message directly in the text box and choose to save it, send it via text, email, social channels, or fax to the customer. However, make sure you have the correct contact information to complete the task. For example, if you want to send a fax, ensure that you have the customer's fax number in their contact form. If not, click on the contact icon and fill in the missing information as previously shown.
Customer Connect
The final feature is Customer Connect, which allows you to connect the customer with another available agent. This can be done while you're speaking with the customer or after the call has ended. You can utilize all the available options within Customer Connect.
To access Customer Connect, click on the 'Customer Connect' icon.
From there, you can connect the customer to a live operator or an AI operator to continue the conversation or assist with any further inquiries.

The Smart Dialer Breakout Box is a powerful tool that enables seamless communication with customers across multiple channels during and after calls. With its robust features, you can send texts, emails, templates, assets, take notes, update customer information, create tasks, and connect with other agents, all within a single modal window. By following this tutorial, you'll be equipped to leverage the Smart Dialer Breakout Box to deliver exceptional customer experiences