
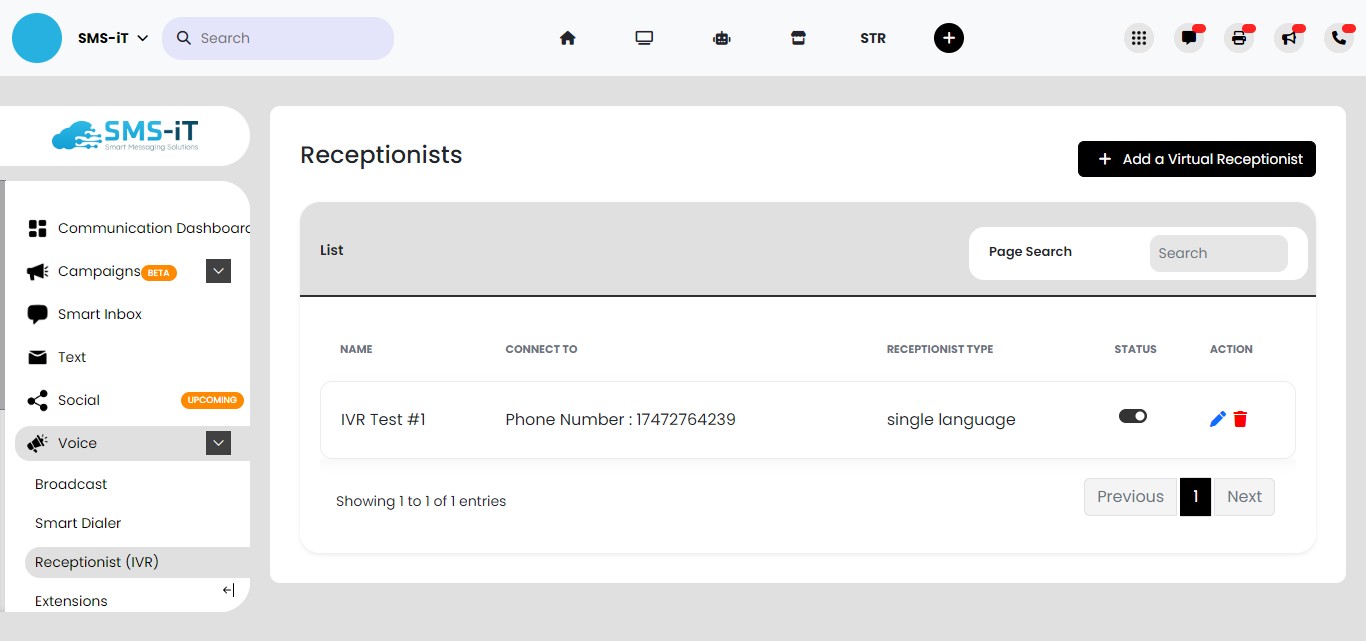
IVR Receptionist (Interactive Voice Response)
The SMS-iT Receptionist IVR (Interactive Voice Response) is a powerful tool that allows businesses to automate and streamline their incoming call-handling process. It acts as a virtual receptionist, greeting callers with customizable messages and providing self-service options to navigate to the appropriate department or person they need to speak with. The IVR system can route calls to specific extensions, mobile numbers, or even to a live operator who can further assist the caller. It integrates with other features of the SMS-iT CRM platform, such as the Smart Inbox for omnichannel communication, enabling sales teams and support staff to manage customer interactions across multiple channels efficiently. By setting up an IVR, companies can improve the caller experience, reduce wait times, and efficiently distribute calls to the right resources, ultimately enhancing customer satisfaction and streamlining the communication processes.
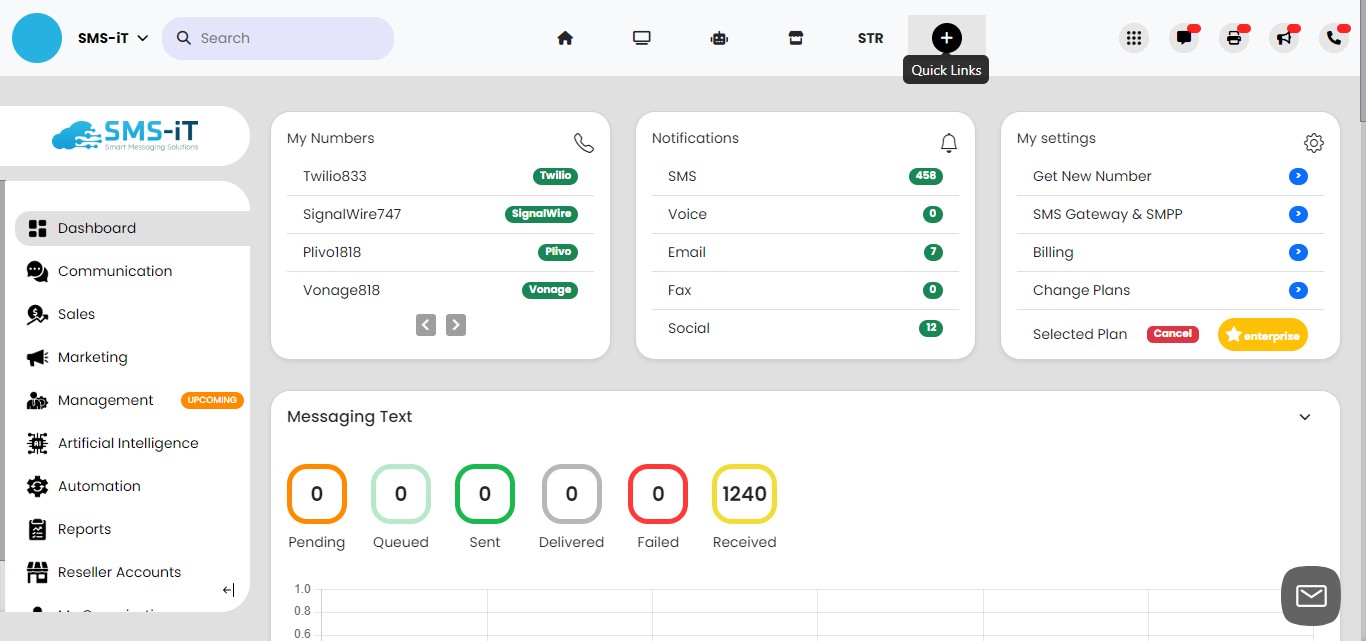
Click on "Quick Links"
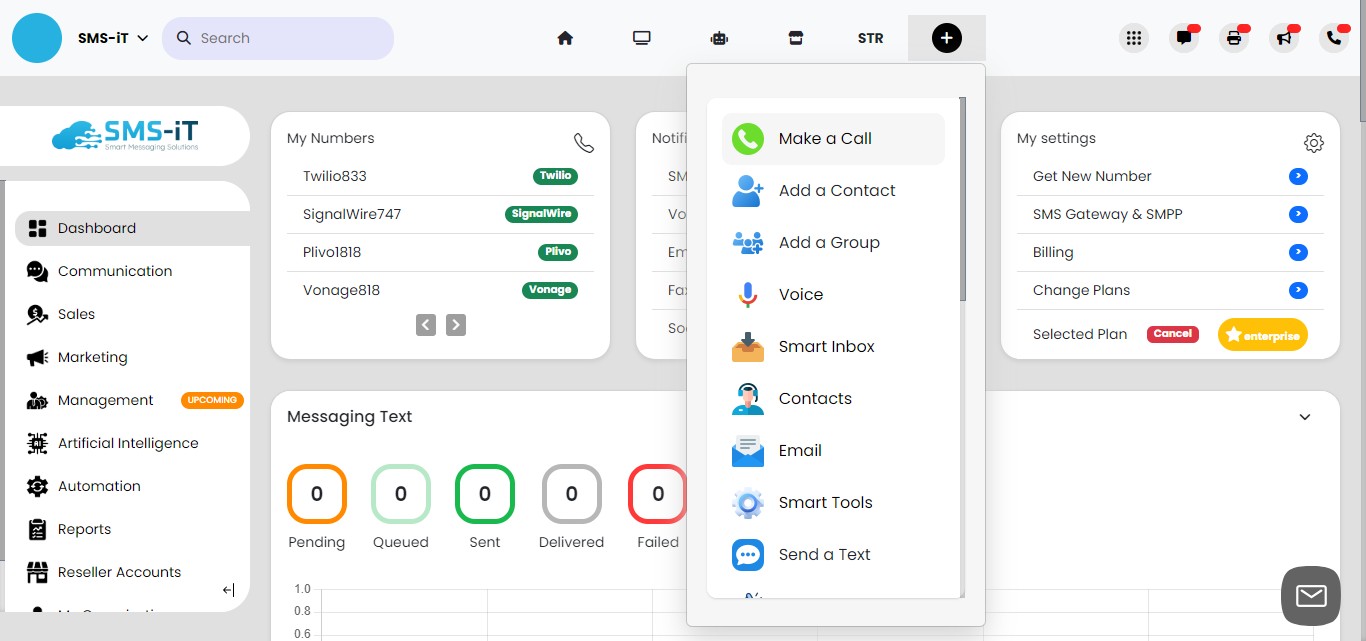
Click on "Make a Call"
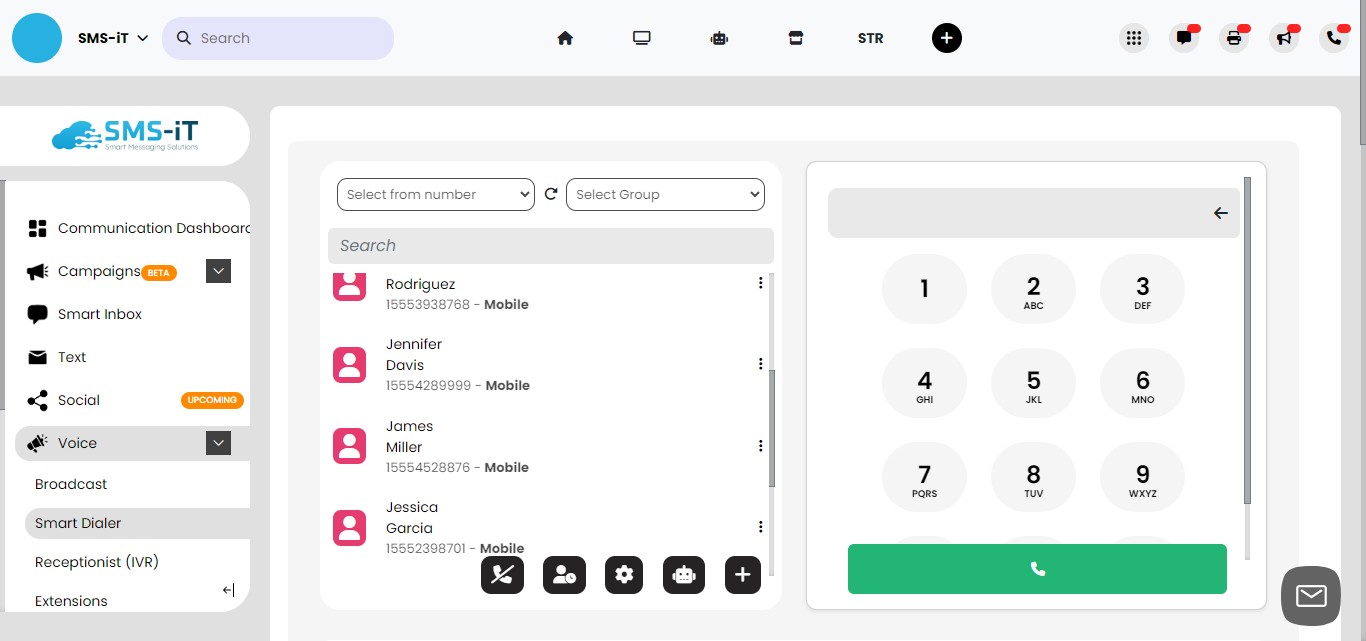
Click on "Receptionist (IVR)
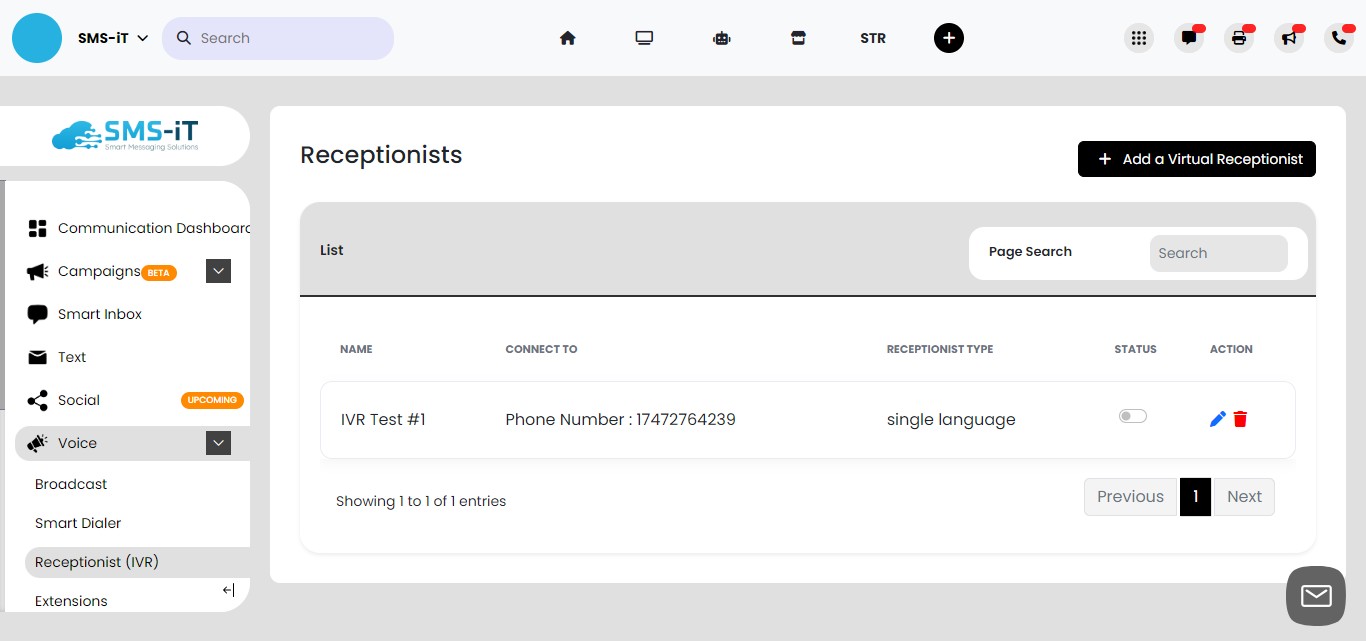
Click on "Add Virtual Receptionist""
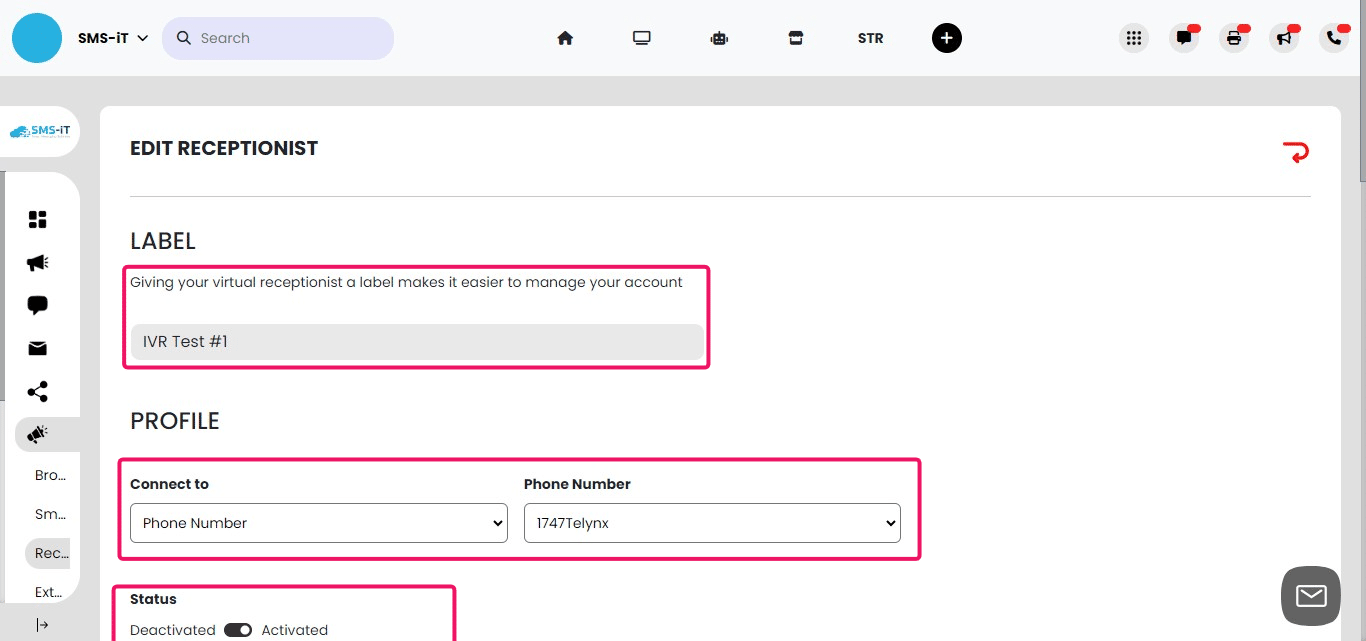
Label, Profile, Status
1. Label your Receptionist. Give your IVR receptionist a descriptive label, such as "IVR Test #1", to easily identify and manage it within the SMS-iT system.
2. Connect to a Phone Number or Extension. Choose whether to connect your IVR to a dedicated Phone Number that callers will dial to reach the system, or to an internal Extension. For this tutorial, we'll connect to the Phone Number "1747Telynx".
3. Activate the Receptionist. Set the Status of your IVR receptionist to "Activated" to make it live and ready to handle incoming calls.
Receptionist Type, Greetings
4. Select the Receptionist Type. Decide whether your IVR receptionist will use a Single Language or Multiple Languages for its greetings and prompts. For this tutorial, we'll focus on setting up a Single Language receptionist. (Multiple Language configuration will be covered in the advanced options section at the end.)
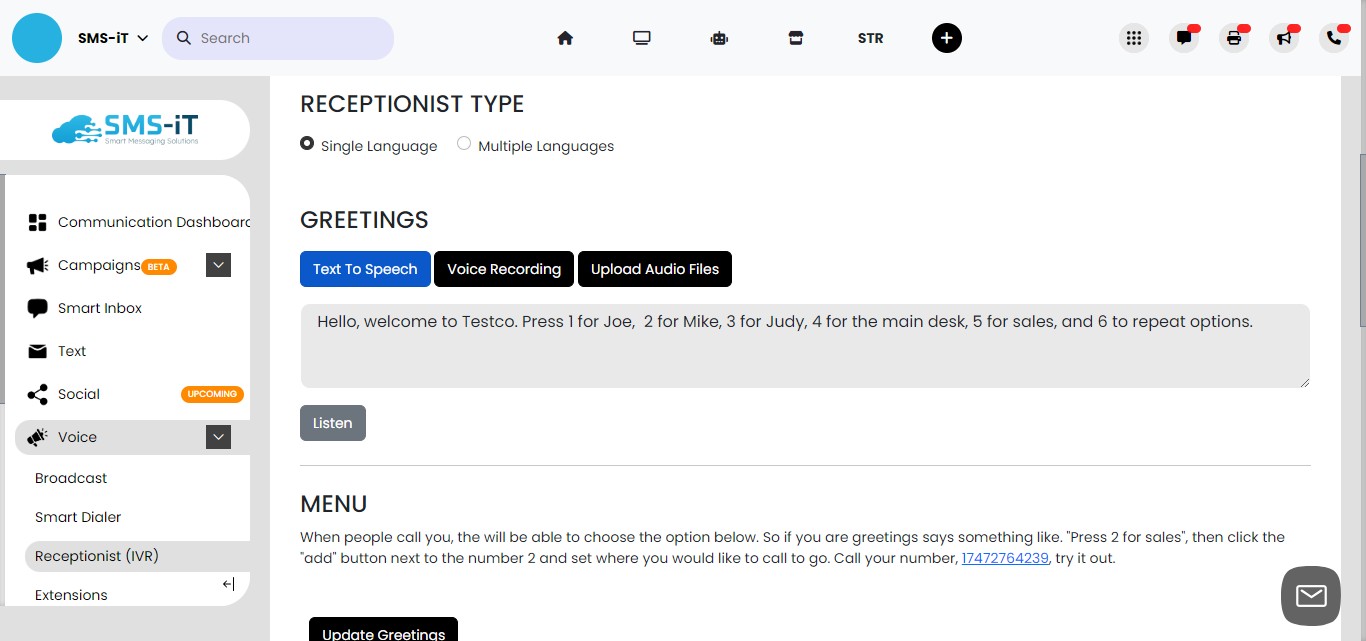
5. Configure the Greetings. Set up the welcome messages and prompts that callers will hear when they reach your IVR:
- Text to Speech: Enter the greeting text you want the system to read out loud to callers. This will be automatically converted into speech.
- Voice Recording: If you prefer to use a pre-recorded greeting, you can upload an audio file here. This allows you to use a professional voice actor or a specific employee's voice.
- Upload Audio Files: Use this option to upload any additional audio files you want to use throughout your IVR, such as on-hold music or special announcements.
Configure the Greetings. Set up the welcome messages and prompts that callers will hear when they reach your IVR:
- Text to Speech: Enter the greeting text you want the system to read out loud to callers. This will be automatically converted into speech.
- Voice Recording: If you prefer to use a pre-recorded greeting, you can upload an audio file here. This allows you to use a professional voice actor or a specific employee's voice.
- Upload Audio Files: Use this option to upload any additional audio files you want to use throughout your IVR, such as on-hold music or special announcements.

Click on "Listen"
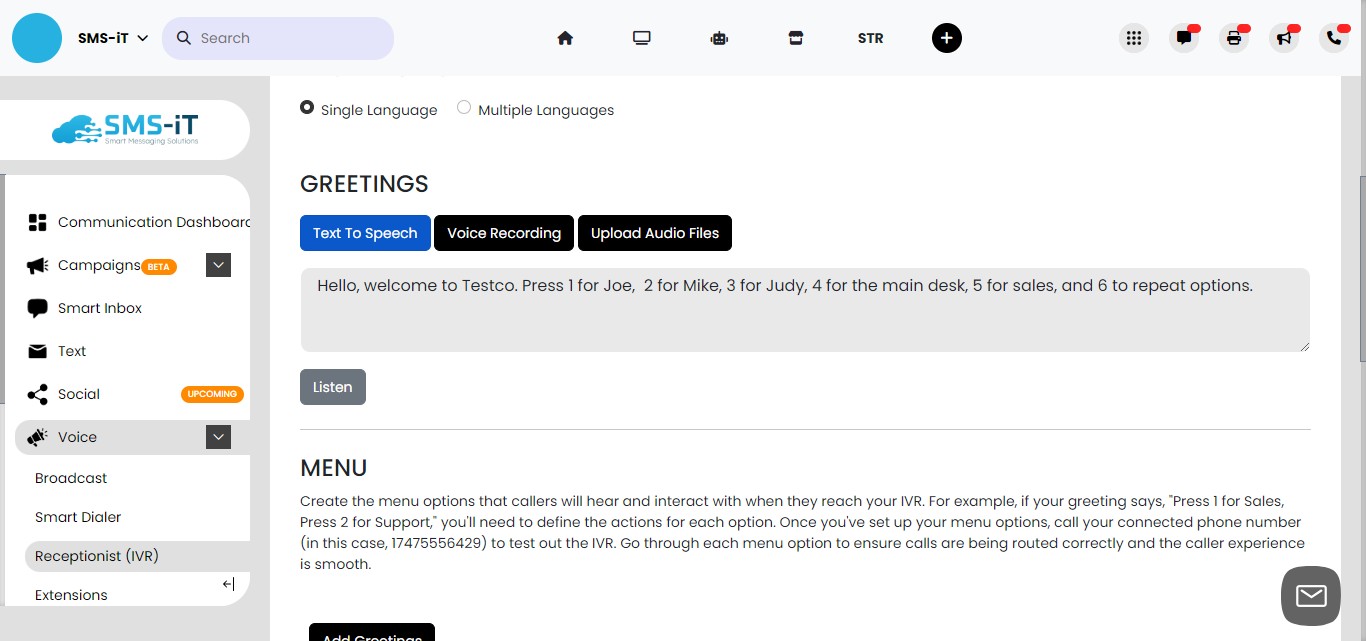
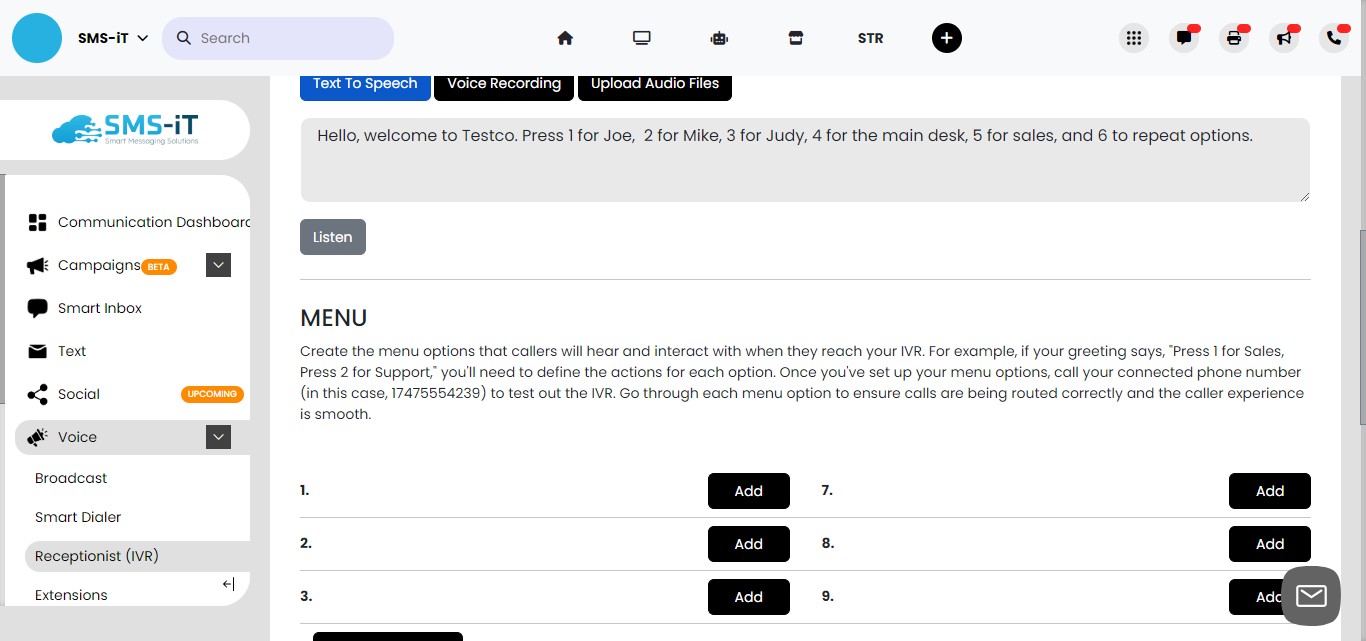
Menu
The following are the menu options available when adding a number to an IVR receptionist in the SMS-iT system. These options define the action that will be taken when a caller presses the corresponding number on their keypad.
The menu options include:
1. Extension: Routes the call to a specific internal extension number.
2. Call Forward: Forwards the call to an external phone number, such as 3105557765 shown in the example.
3. Customer Connect: Transfers the call to a live operator who can then redirect the call to an employee's mobile phone or another extension within the system.
4. Smart Dialer: Connects the call to an automated outbound dialing system.
5. Repeat Options: Plays back the menu options to the caller.
6. Voicemail: Plays a prerecorded message.. These options provide flexibility in routing calls based on the caller's selection, allowing the IVR to transfer calls to extensions, external numbers, live operators, or voicemail as needed.

These options provide flexibility in routing calls based on the caller's selection, allowing the IVR to transfer calls to extensions, external numbers, live operators, or voicemail as needed.](https://assets.guidejar.com/uploads/65ec502e-e398-43bf-b9e7-1c10b51739df/Fn7AYqjYuCNi6qxp2rJ7maNAQdg1/8684873f-427b-4594-992a-cf9767d06937/1713813977271.jpeg)
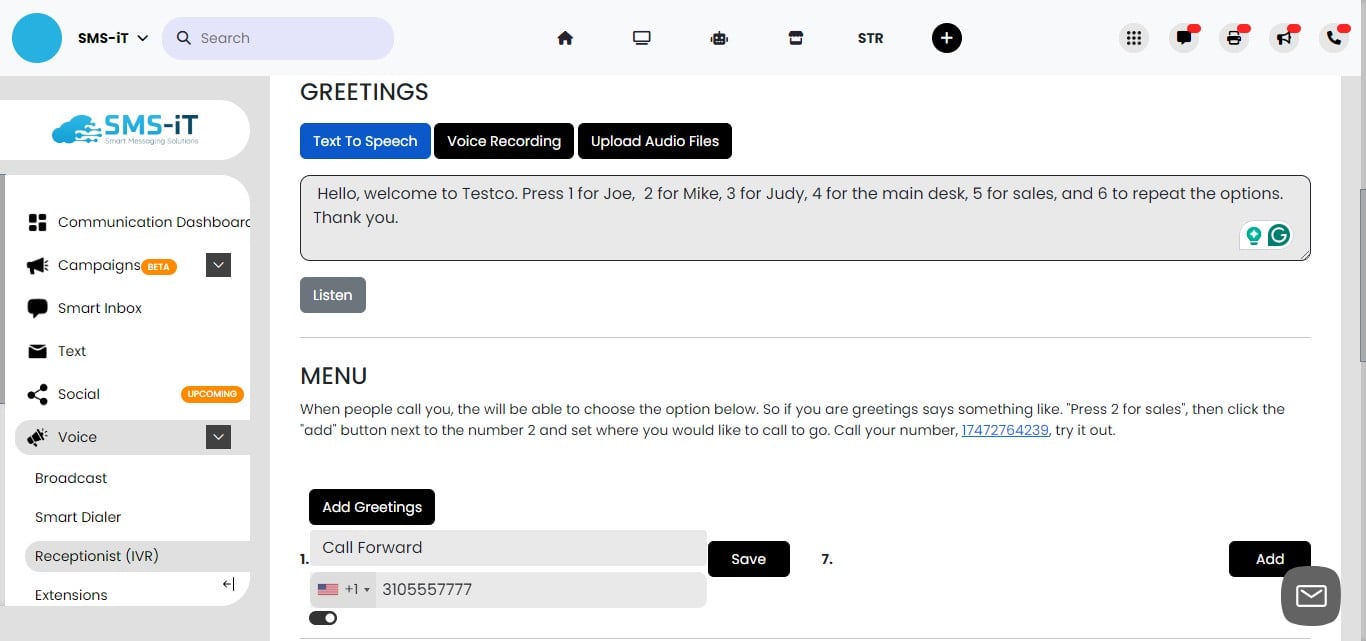
Add Menu Options
Click on "Add"
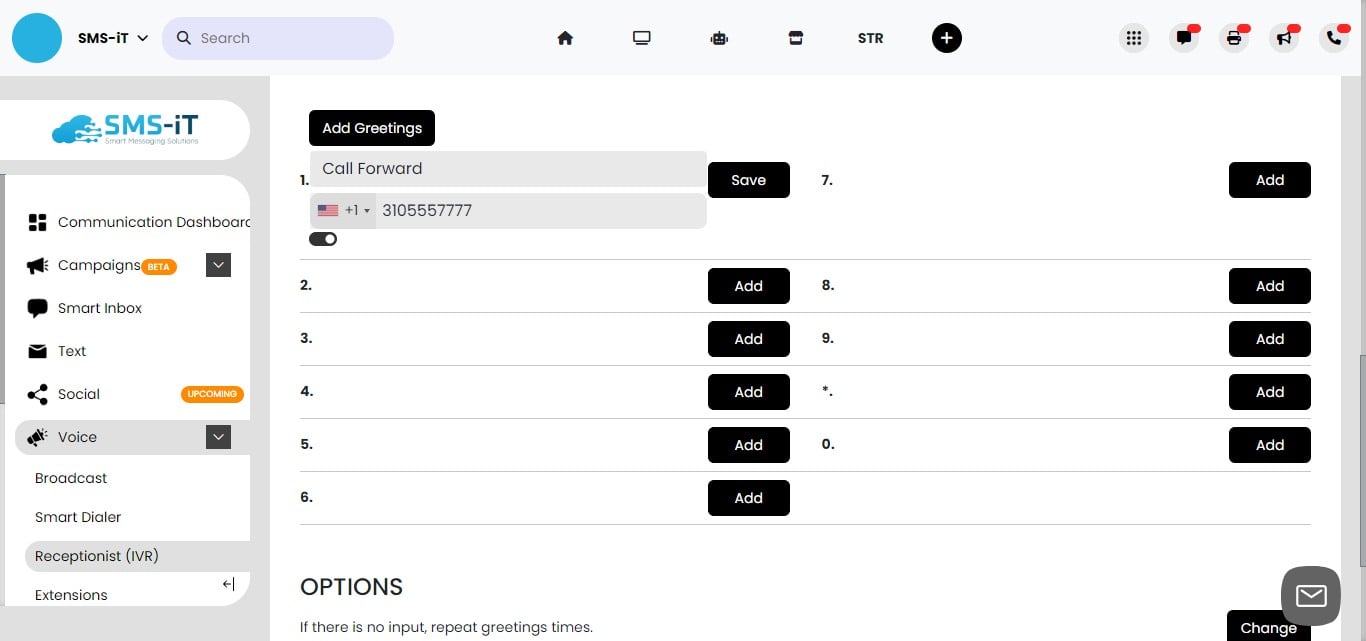
Set Up Call Forwarding. For the first menu option, we'll use "Call Forward". This means that if the caller presses 1, the call will be forwarded to the phone number you specify.
In this example, let's say you want to forward calls to your sales representative, Joe. Click "Add" next to option 1, then select "Call Forward" from the menu. Enter Joe's phone number, such as 3105557765, in the field provided.
Now, when a caller presses 1 during the IVR greeting, they will be automatically forwarded to Joe's number.
Set Up an Extension. For the third menu option, we'll route calls to an internal extension within the SMS-iT system. This is useful for directing callers to a specific department or employee without needing an external phone number.
To set this up, click "Add" next to option 3 and select "Extension" from the menu. In the pulldown menu select the extension number you want to use. Now, when a caller presses 3 during the IVR greeting, they will be connected to the number within your SMS-iT system.
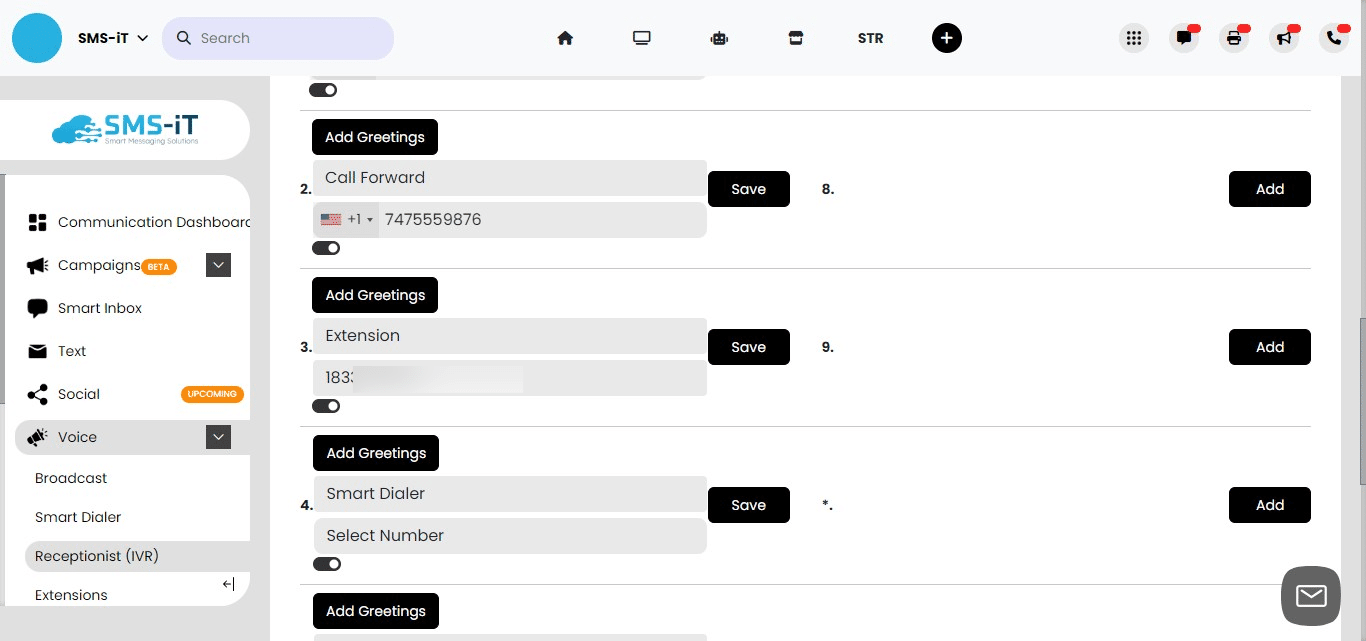
For the 4th option, we'll redirect the customer to the main desk, the number connected to the smart dialer.

Set Up Customer Connect. For the fifth menu option, we'll use the "Customer Connect" feature to route callers to a live operator who can then connect them with an available salesperson.
Click "Add" next to option 5 and select "Customer Connect" from the menu. This will automatically direct the caller to a live operator when they press 5.
The operator will then be able to see which salespeople are available and connect the caller to the appropriate representative, either by transferring the call to their cell phone number or an internal extension.
Using Customer Connect allows for a more personalized experience, as the live operator can greet the caller and determine the best salesperson to assist them based on their needs.
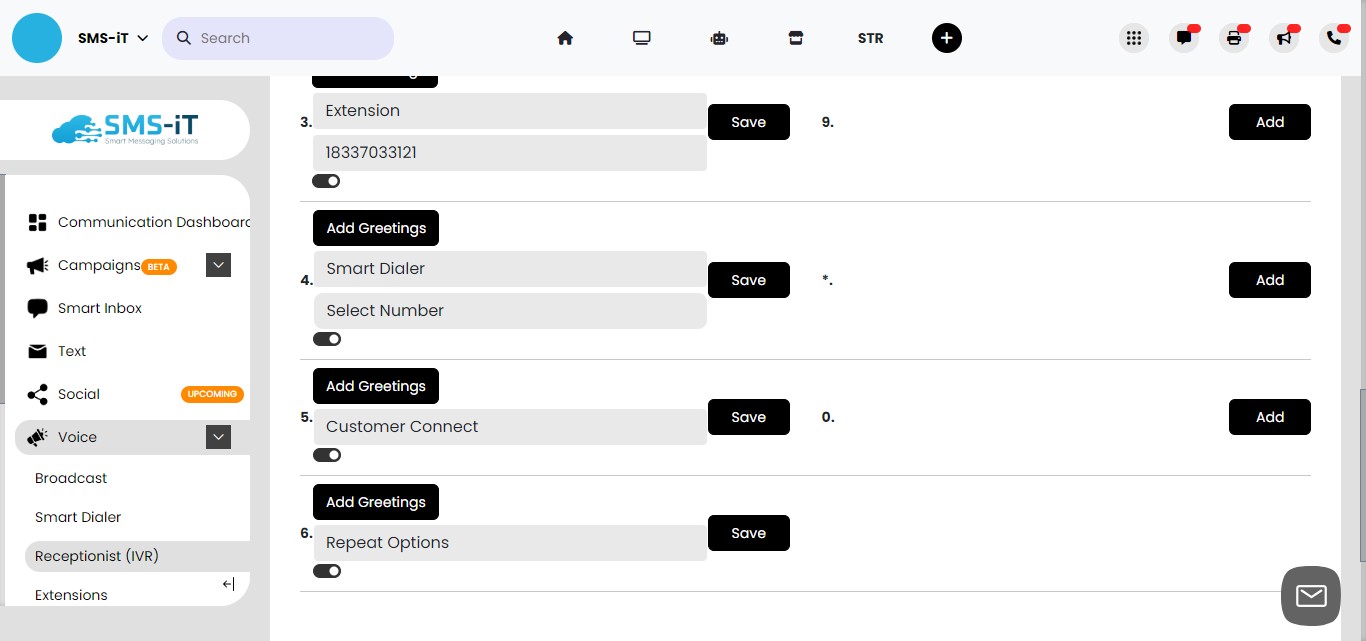
Set Up Repeat Options. For the sixth menu option, we'll give callers the ability to listen to the menu options again if they missed something or need clarification.
Click "Add" next to option 6 and select "Repeat Options" from the menu. This will cause the IVR to play back the entire menu from the beginning whenever a caller presses 6.
Your IVR greeting might say something like, "Press 1 for Sales, press 2 for Support, press 3 for the Operator, or press 6 to hear these options again." Now, if a caller gets confused or didn't catch all the options the first time, they can simply press 6 to listen to the menu again. This improves the user experience and makes it less likely that callers will get frustrated or hang up.

Now, if a caller gets confused or didn't catch all the options the first time, they can simply press 6 to listen to the menu again. This improves the user experience and makes it less likely that callers will get frustrated or hang up.](https://assets.guidejar.com/uploads/65ec502e-e398-43bf-b9e7-1c10b51739df/Fn7AYqjYuCNi6qxp2rJ7maNAQdg1/072d1f33-34b3-40a9-948f-666cf565ea19/1713817525619.jpeg)
Set Up a Pre-Recorded Message. The final menu option we'll set up is a pre-recorded message. This is useful if you want to provide callers with information about a specific topic that isn't covered in the other menu options.
To set this up, click "Add" next to the last option (in this case, option 7). Select "Voicemail" from the menu. Despite the name, in this context, "Voicemail" refers to playing a pre-recorded message, not necessarily recording a message from the caller.
You have three options for creating your pre-recorded message:
-
Record: Use this to record a new message directly in the SMS-iT system using your microphone.
-
Text to Speech: Type out the message you want callers to hear, and the system will convert it to speech automatically.
-
Upload Audio File: If you have a pre-recorded message you'd like to use, you can upload the audio file here. Once you've created your message, callers who press this option will hear the recording you've set up. This is a great way to provide additional information or context that doesn't fit into the other menu options, without requiring a live person to deliver the message. For example, you might use this option to inform callers about upcoming promotions, holiday hours, or important policy changes.

Once you've created your message, callers who press this option will hear the recording you've set up. This is a great way to provide additional information or context that doesn't fit into the other menu options, without requiring a live person to deliver the message.
[](url)
For example, you might use this option to inform callers about upcoming promotions, holiday hours, or important policy changes.](https://assets.guidejar.com/uploads/65ec502e-e398-43bf-b9e7-1c10b51739df/Fn7AYqjYuCNi6qxp2rJ7maNAQdg1/59daa78d-7433-4ab6-8694-604f01ee62be/1713818230574.jpeg)
Repeat options
If there is no input (no response from the caller), the IVR system is currently configured to repeat the greetings or voice prompts 1 time before taking further action or moving to the next step.
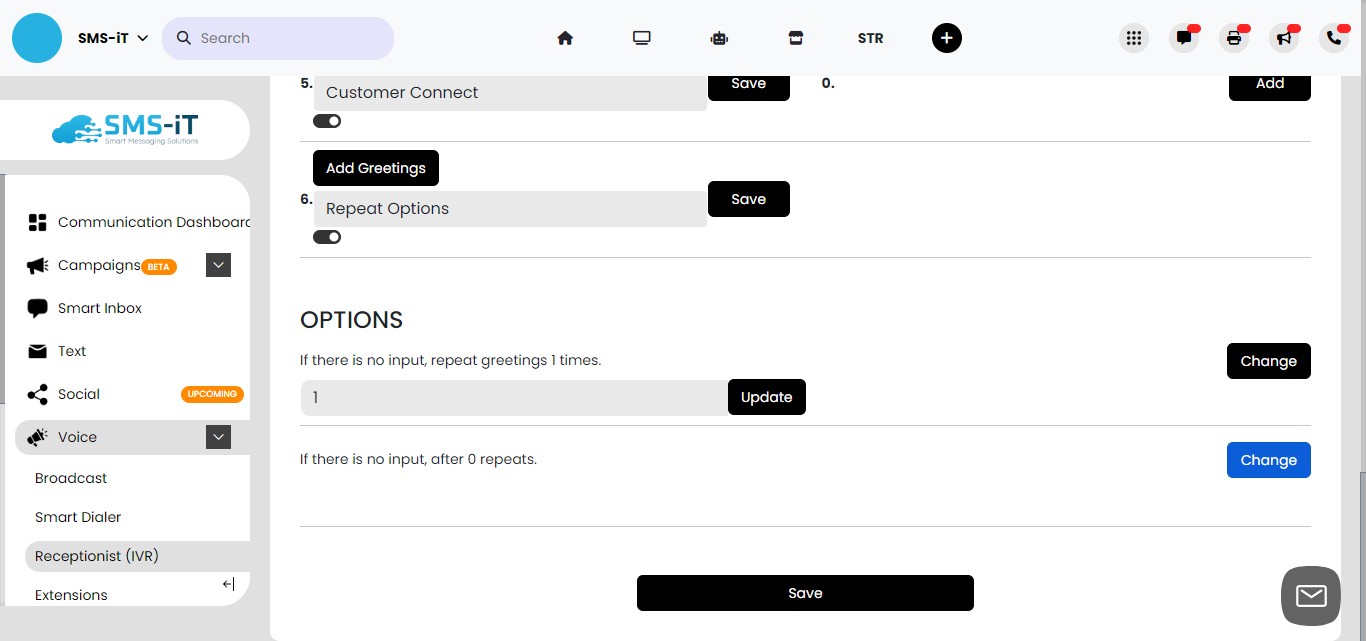
Click on "Save"
Your IVR has been saved and is ready to test and use. To deactivate toggle "off". To edit click the blue "Pencil" icon.
Advanced Feature: Multi-Language
Coming soon.