
Plivo connect to SMS-iT (When you already have a number in the Plivo platform)
Visit Plivo.com to set up a free trial account ($5 balance)
Navigate to https://aicpanel.smsit.ai/home
This guide will lead you through connecting Plivo to the SMS-iT platform when you already possess a Plivo number. It ensures that the API and all settings are configured accurately. This will enable you to utilize the Plivo SMS Gateway for various purposes, including bulk messaging, promotional campaigns, OTP (One-Time Password) delivery, and leveraging SMS-iT Smart Tools for customer acquisition and retention strategies.
Saving your Auth ID and Auth Token to SMS-iT
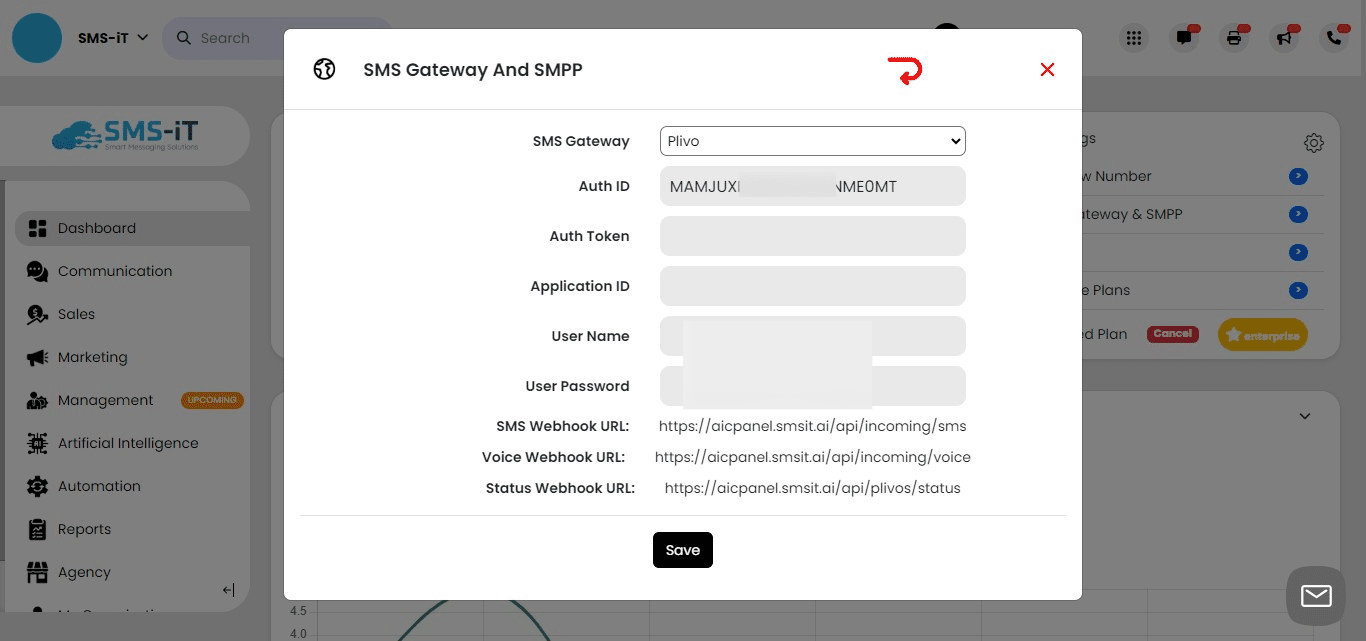
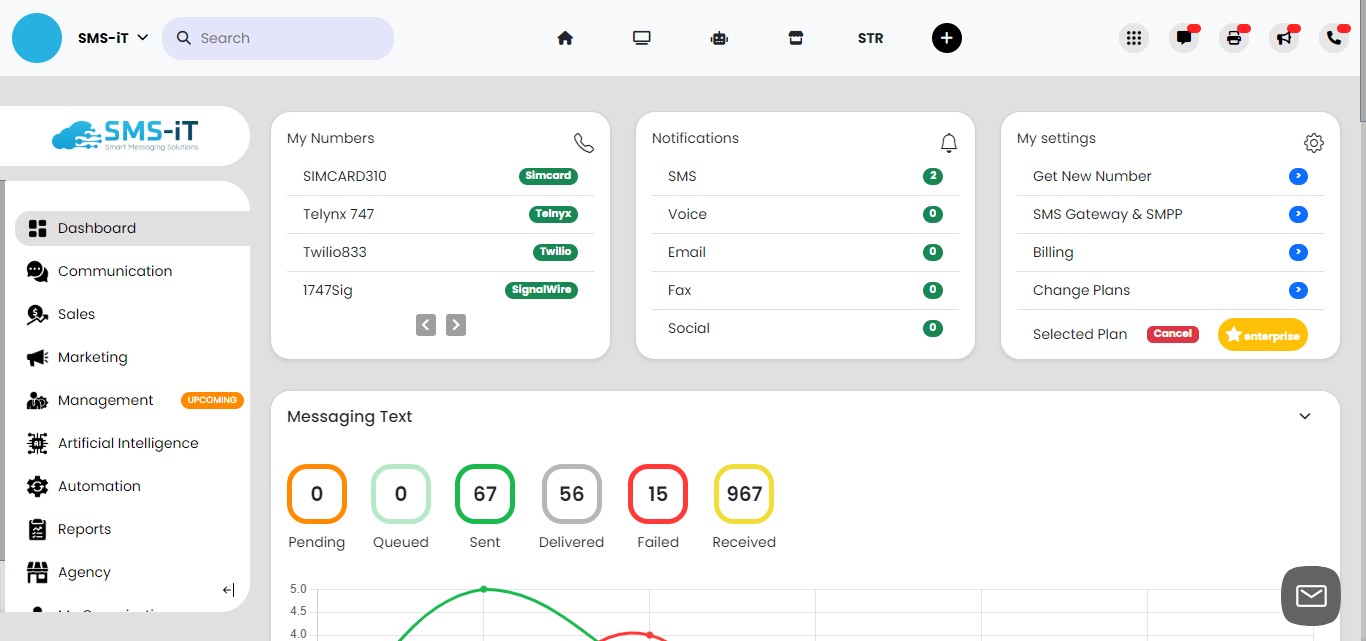
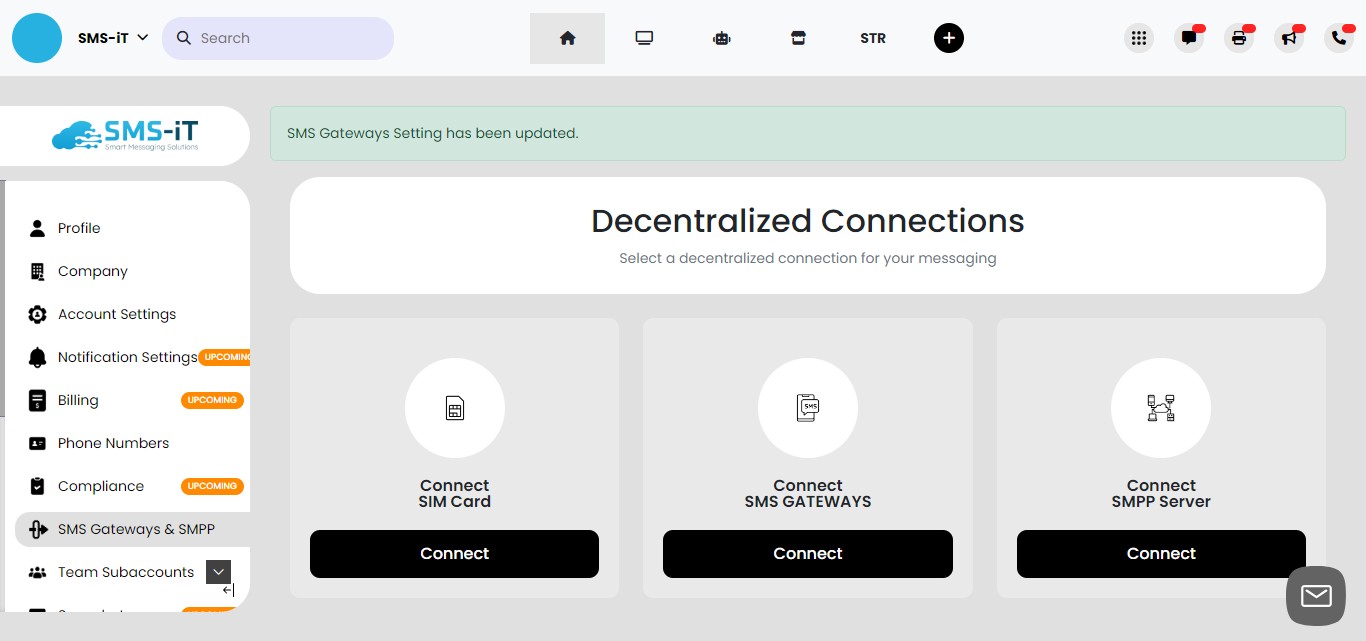
From the SMS-iT Dashboard, navigate to "SMS Gateway & SMPP" by clicking on it. This section allows you to manage your SMS Gateway settings.
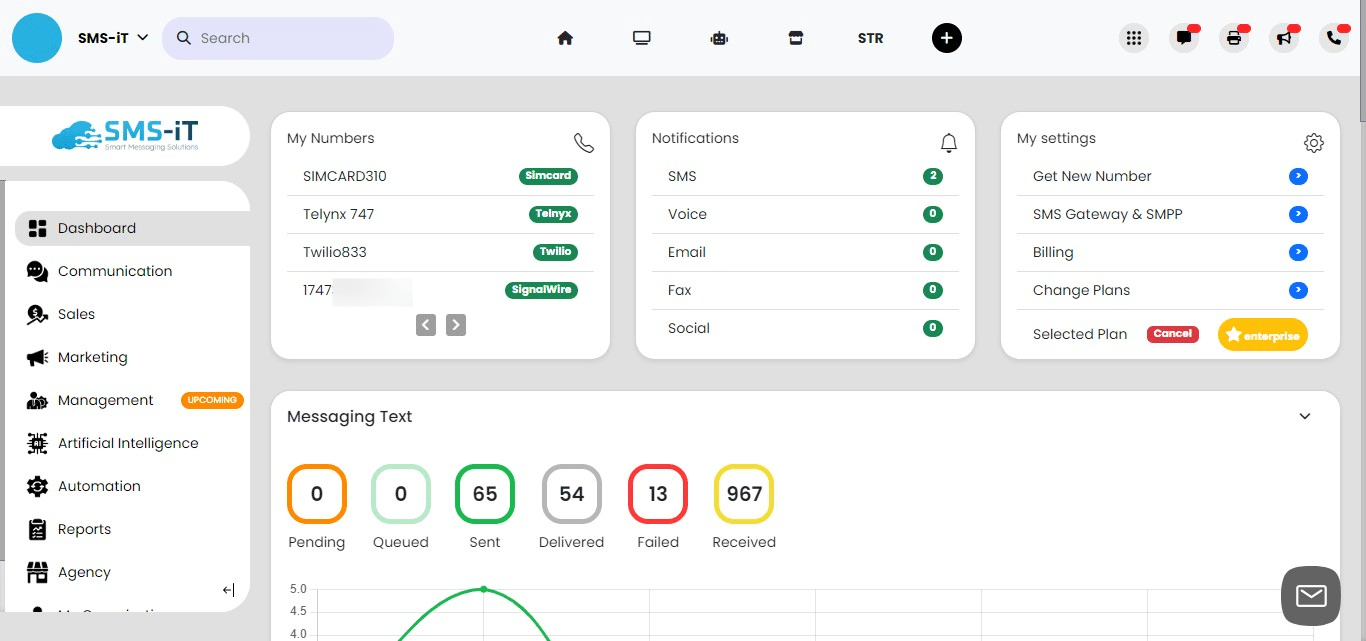
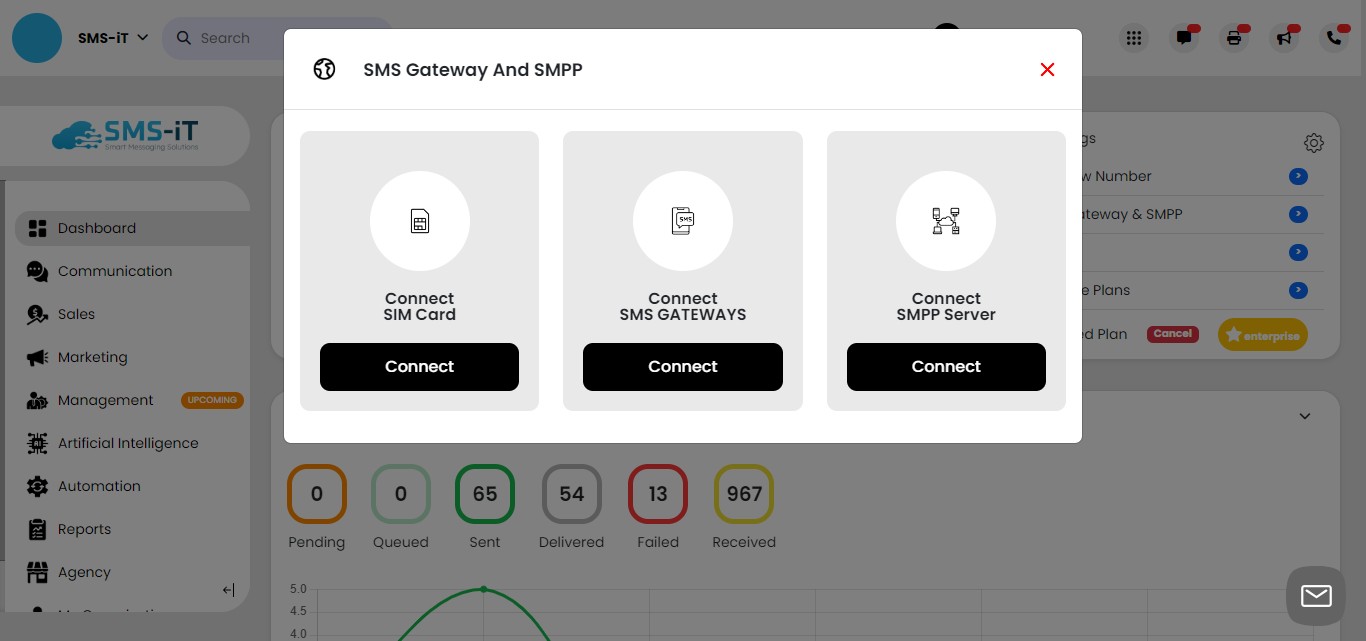
Click on "Connect"
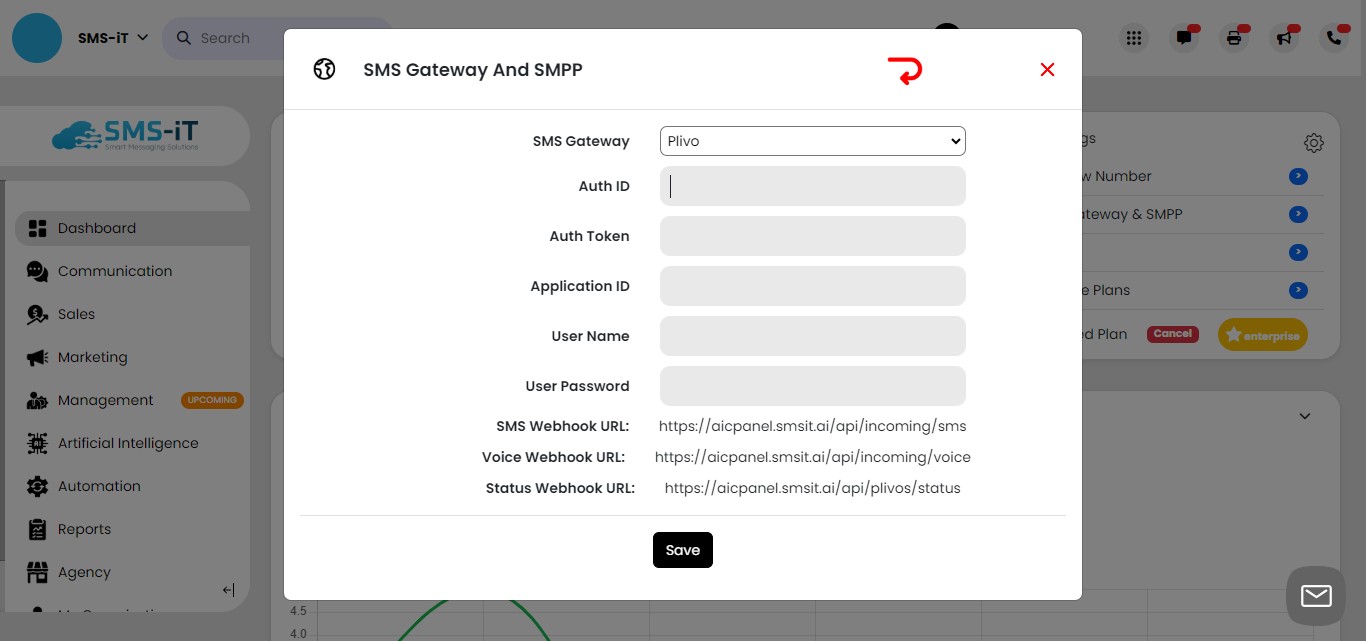
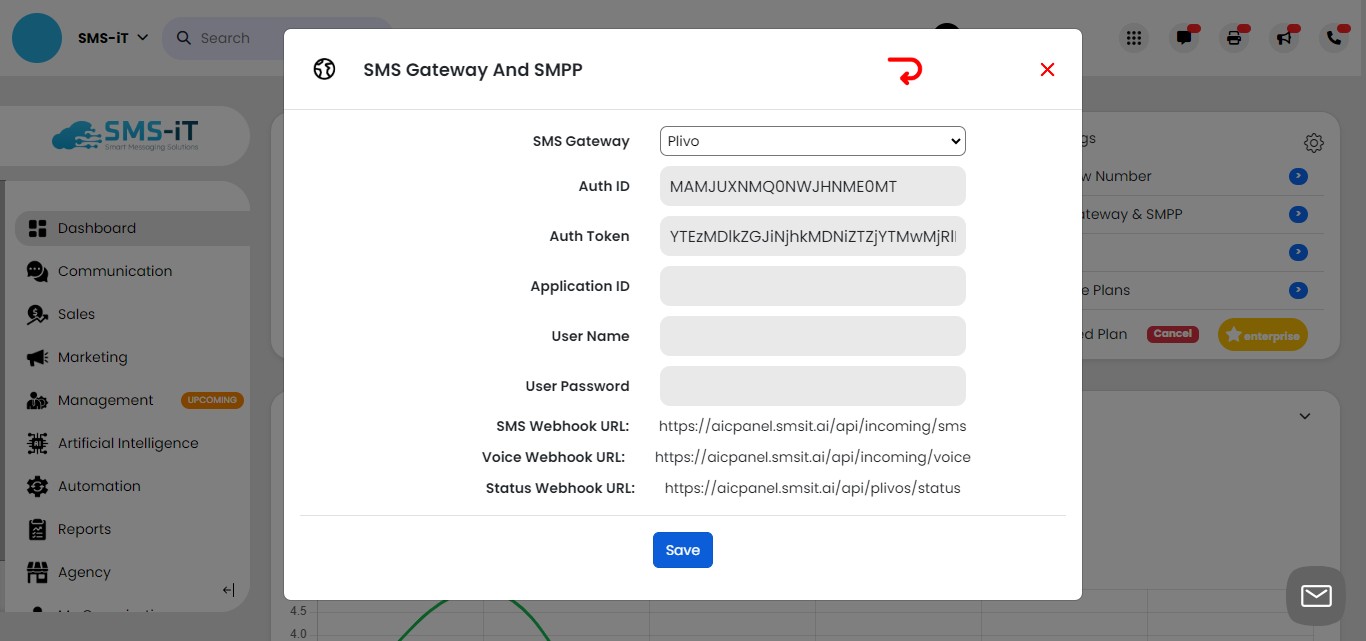
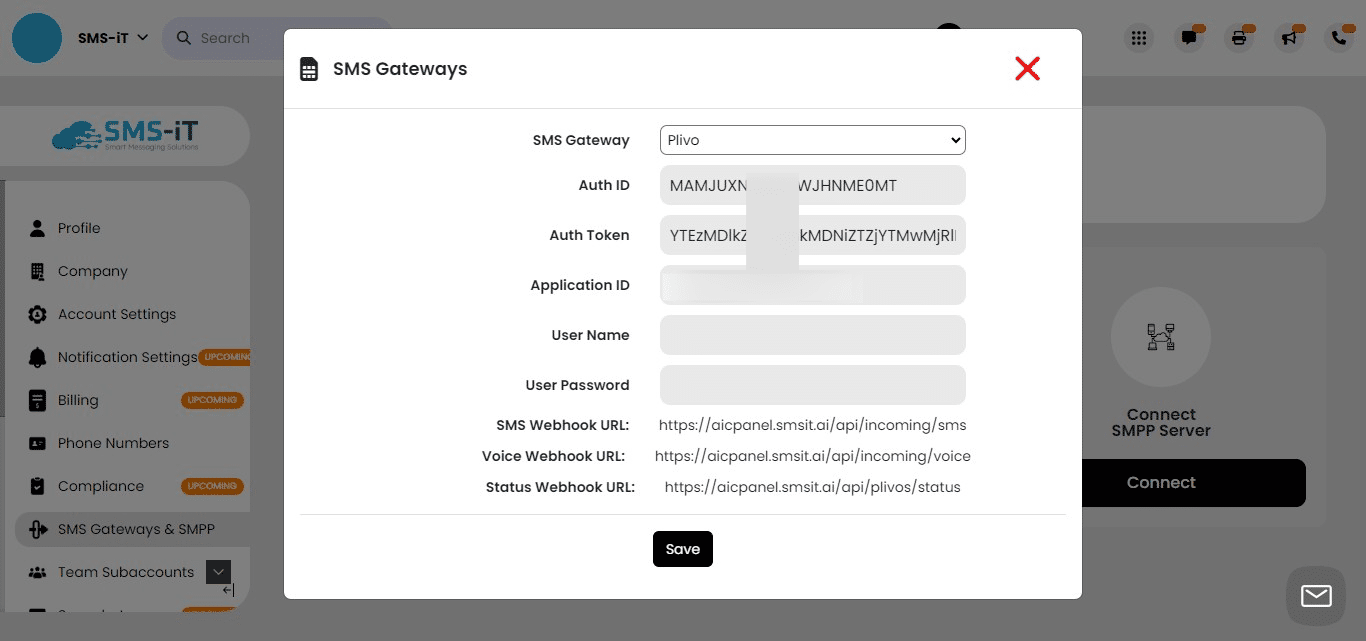
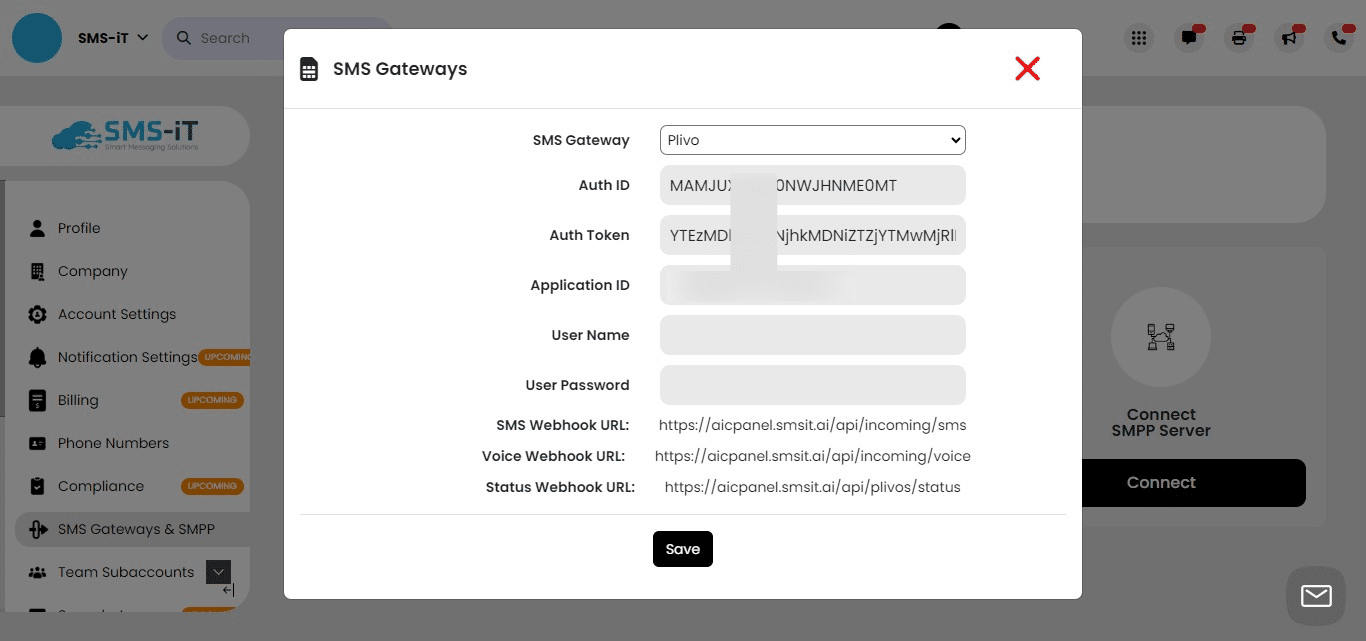
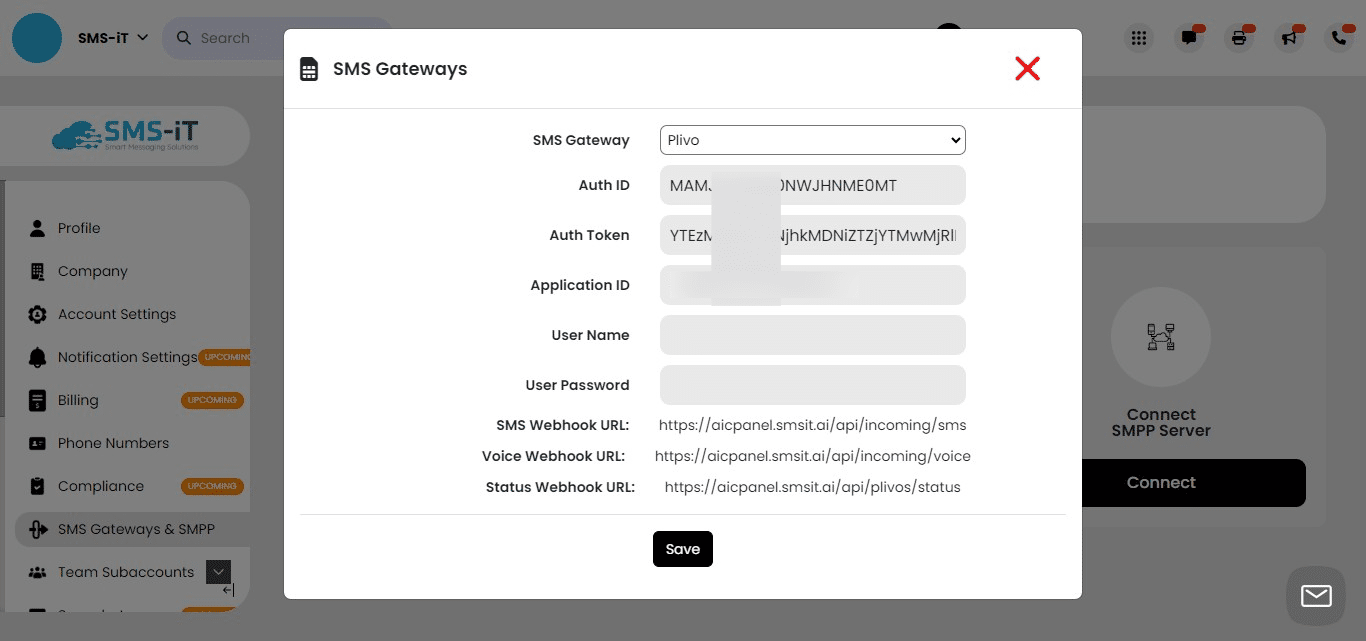
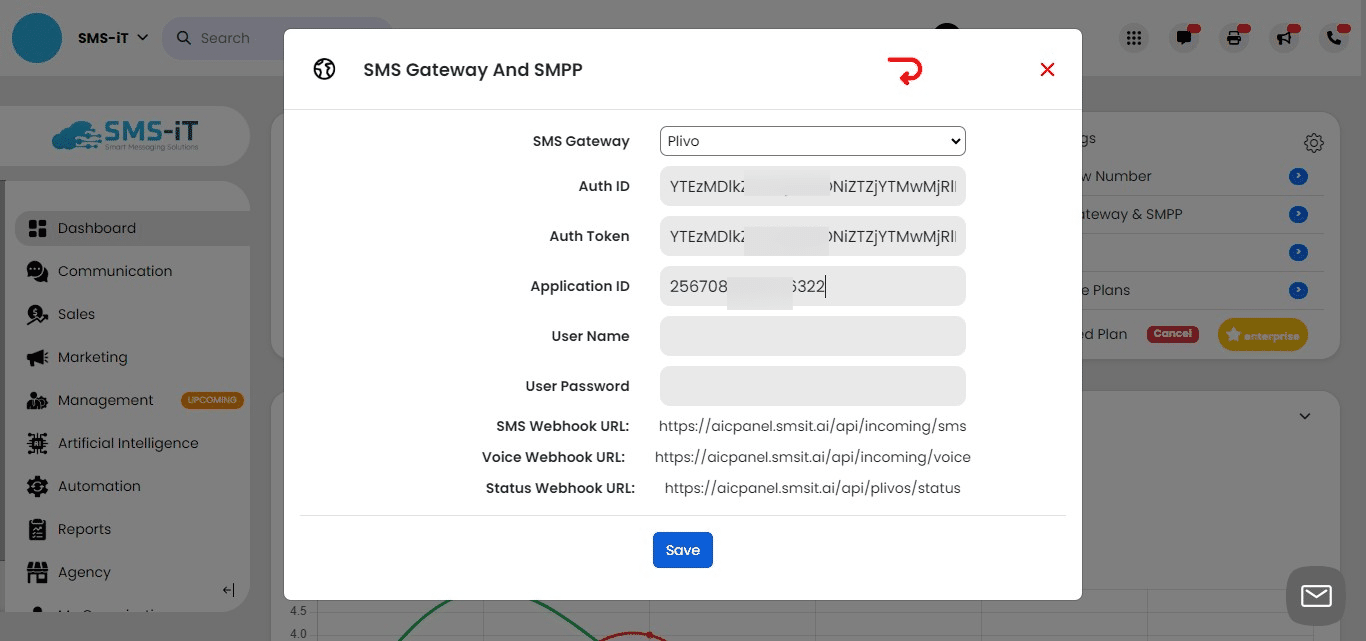
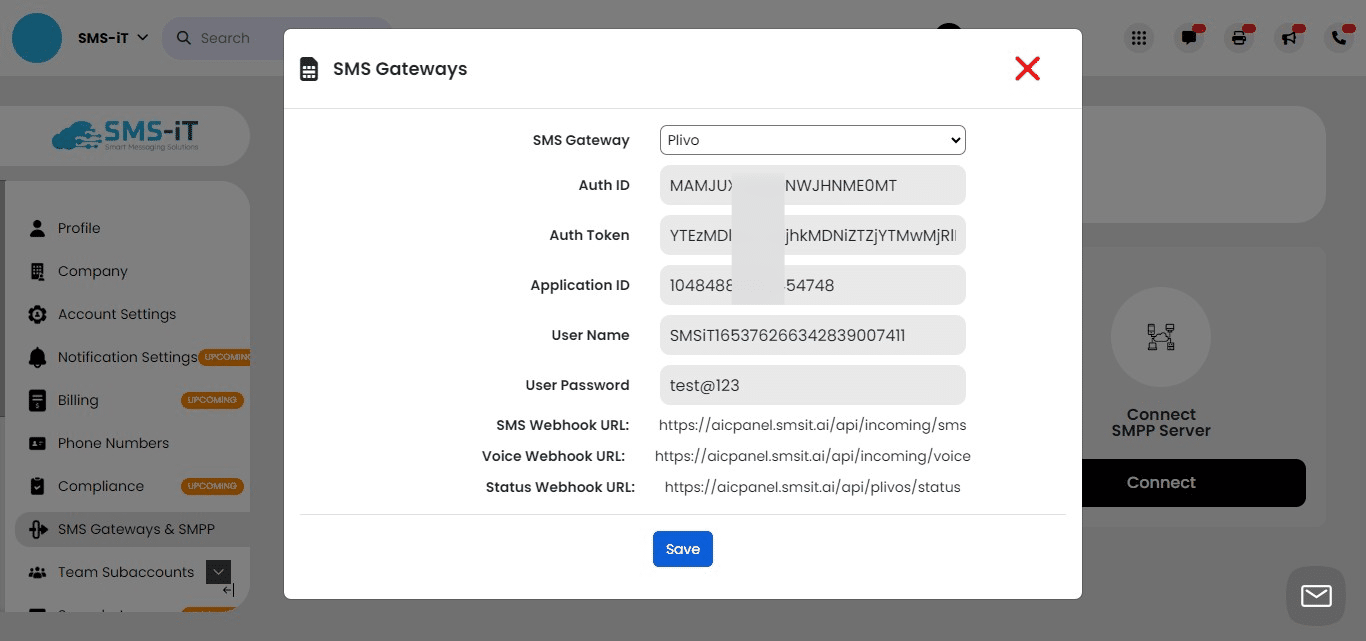
From the pull-down menu, locate and select "Plivo."
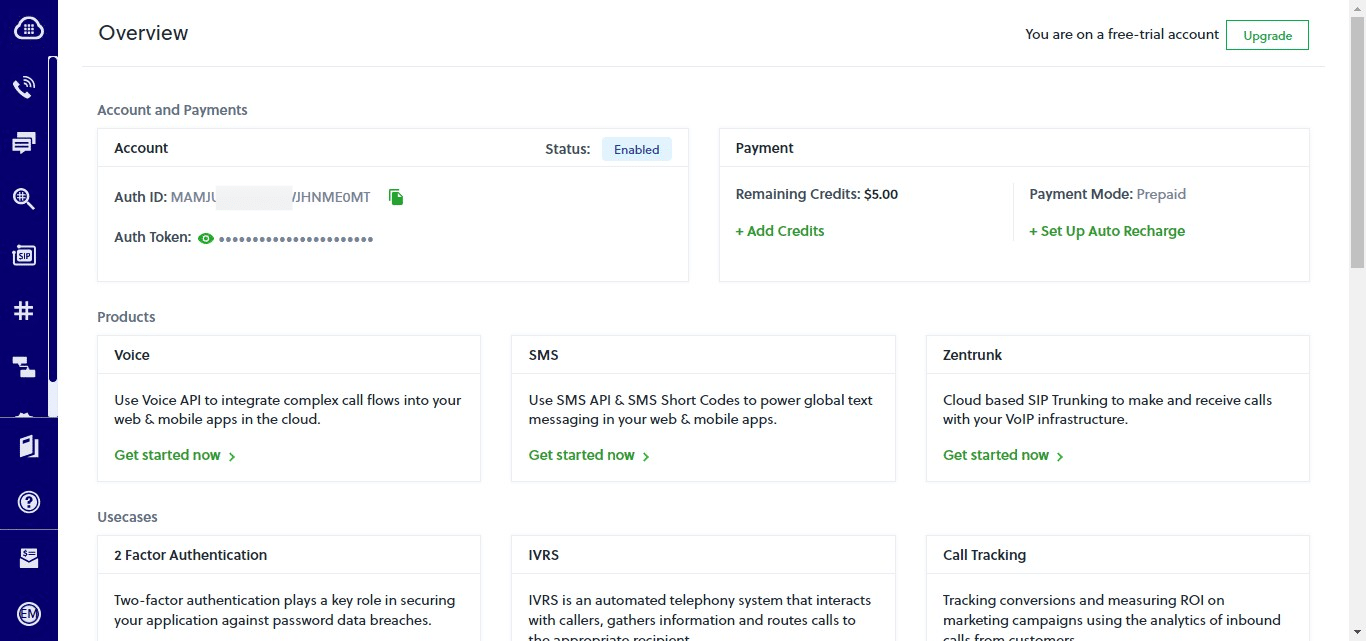
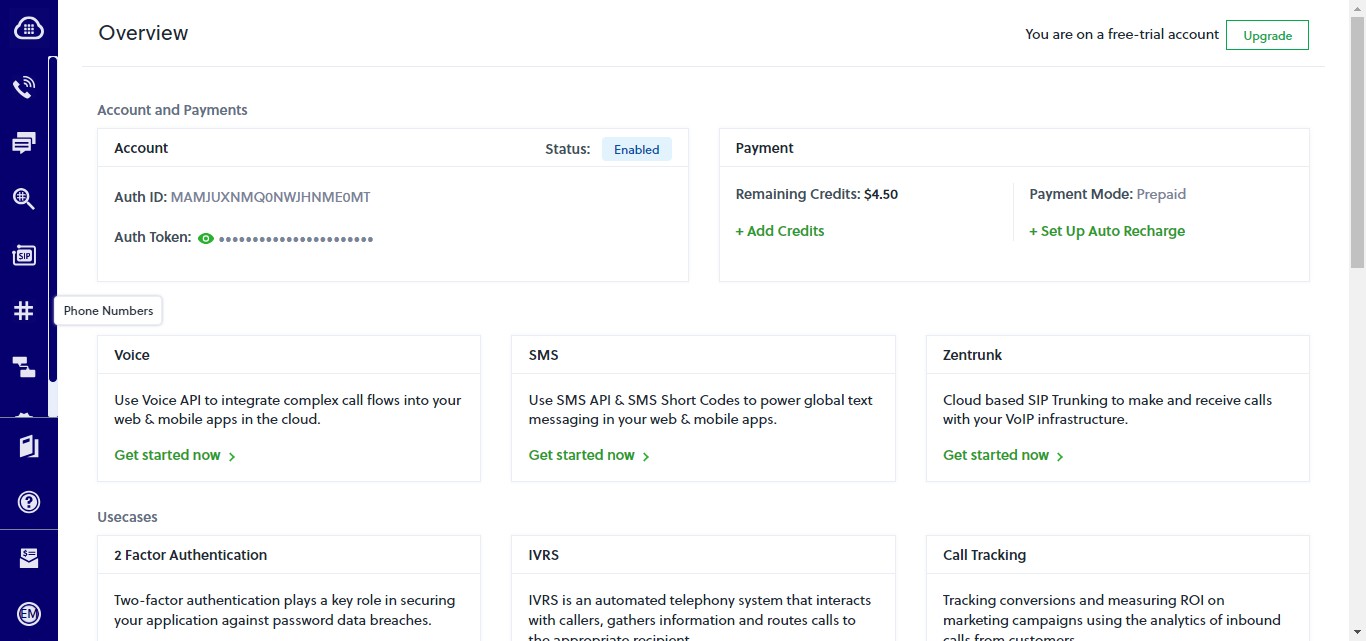
Locate the Plivo main dashboard by clicking on the "Menu" icon. This is where your Auth ID and Auth Token are located.
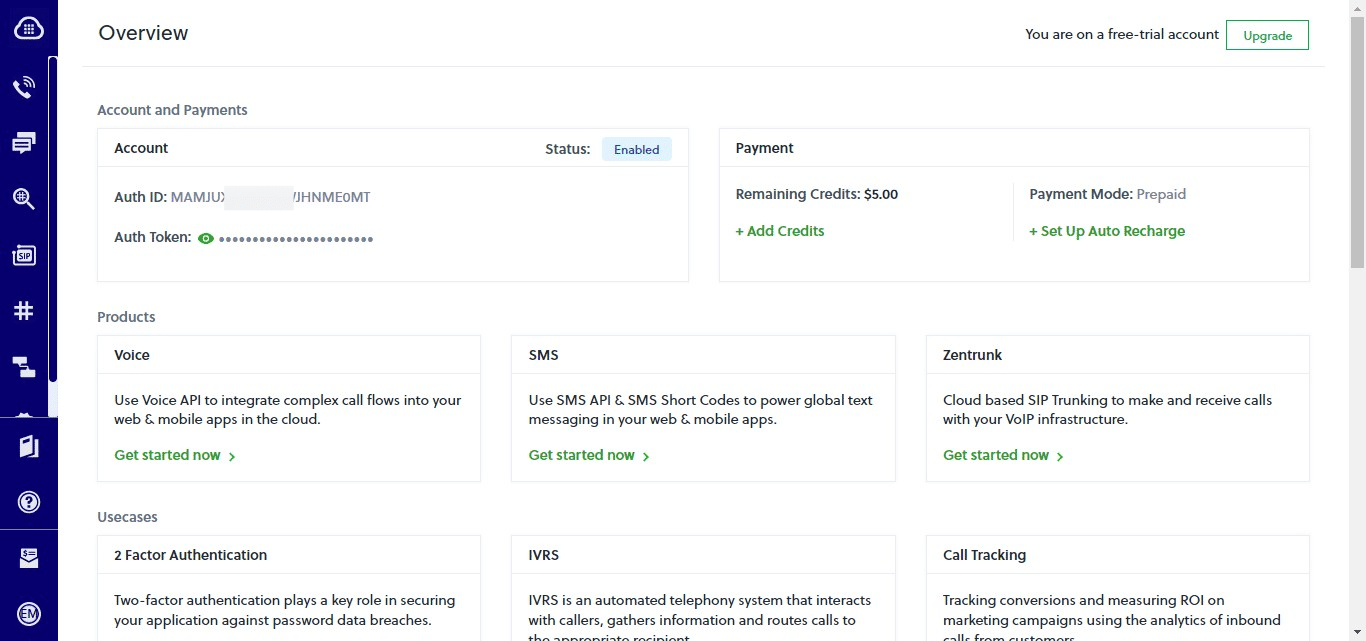
Copy your Auth ID.
Paste your "Auth ID"
Copy your Auth Token.
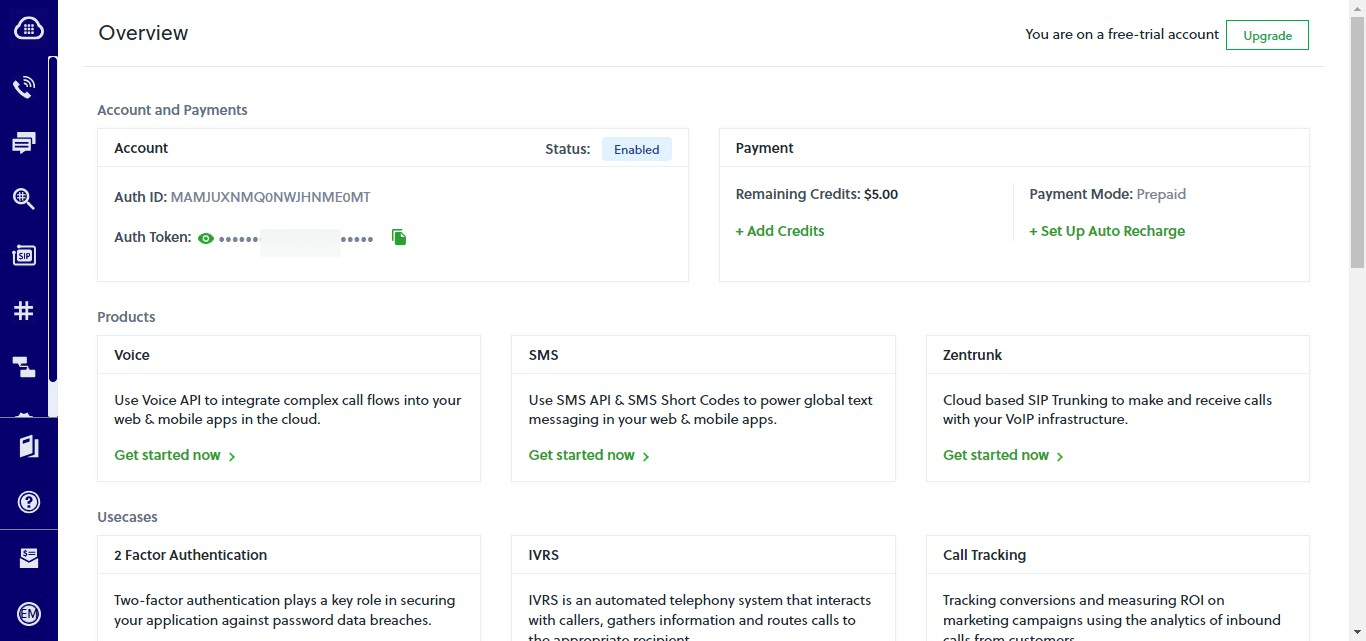
Paste your Auth Token.
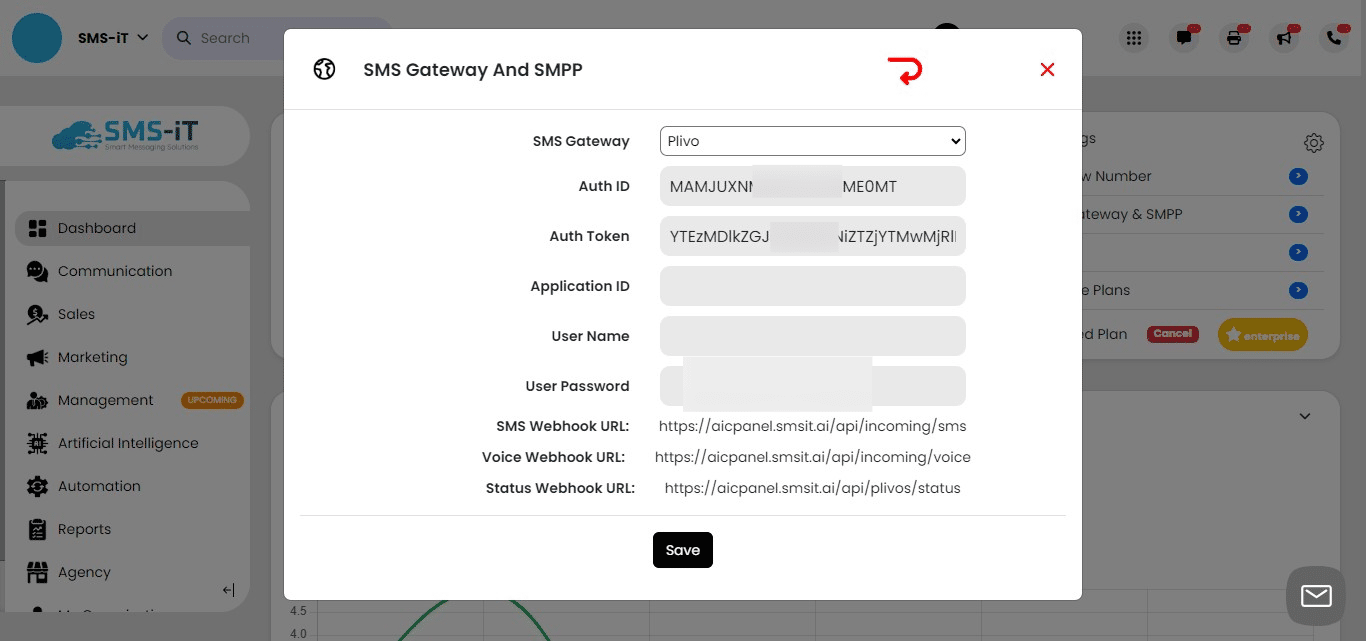
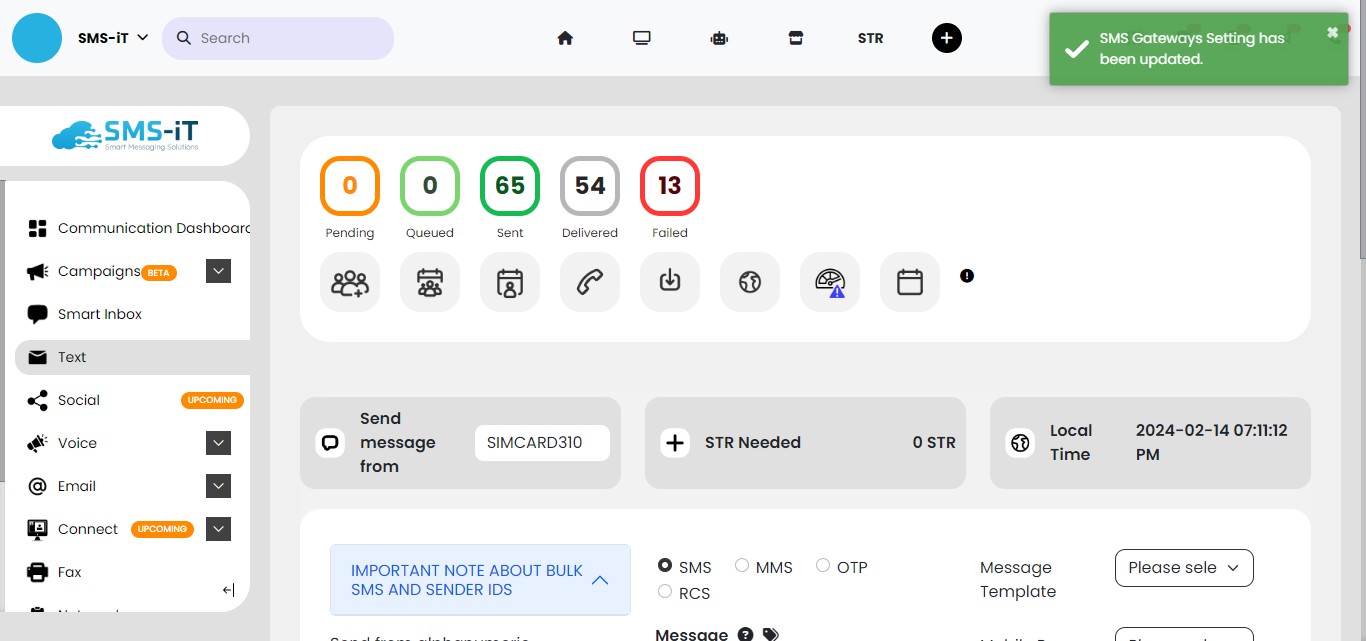
Click "Save." Note: It's crucial to save at this point to automatically populate your Plivo account with SMS-iT settings.
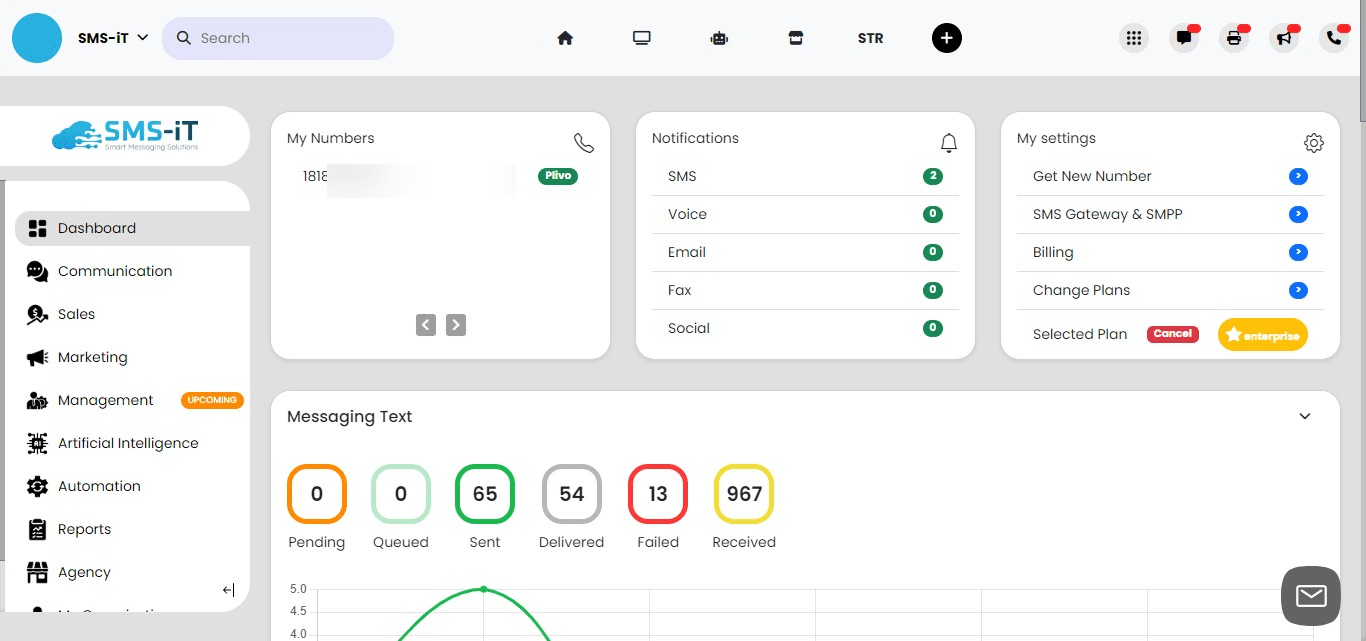
Task completed, we'll add a number next. Click the "Home" icon.
Adding XLM Application
Click on "Phone" icon

Click on "XML"
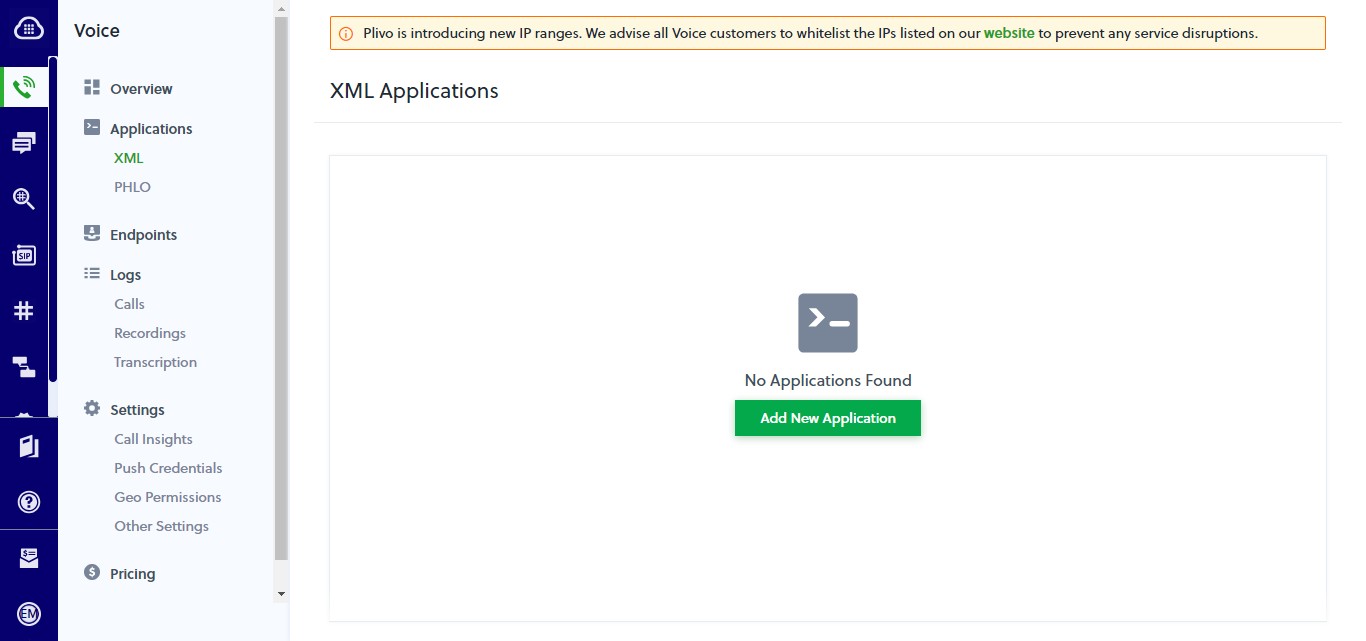
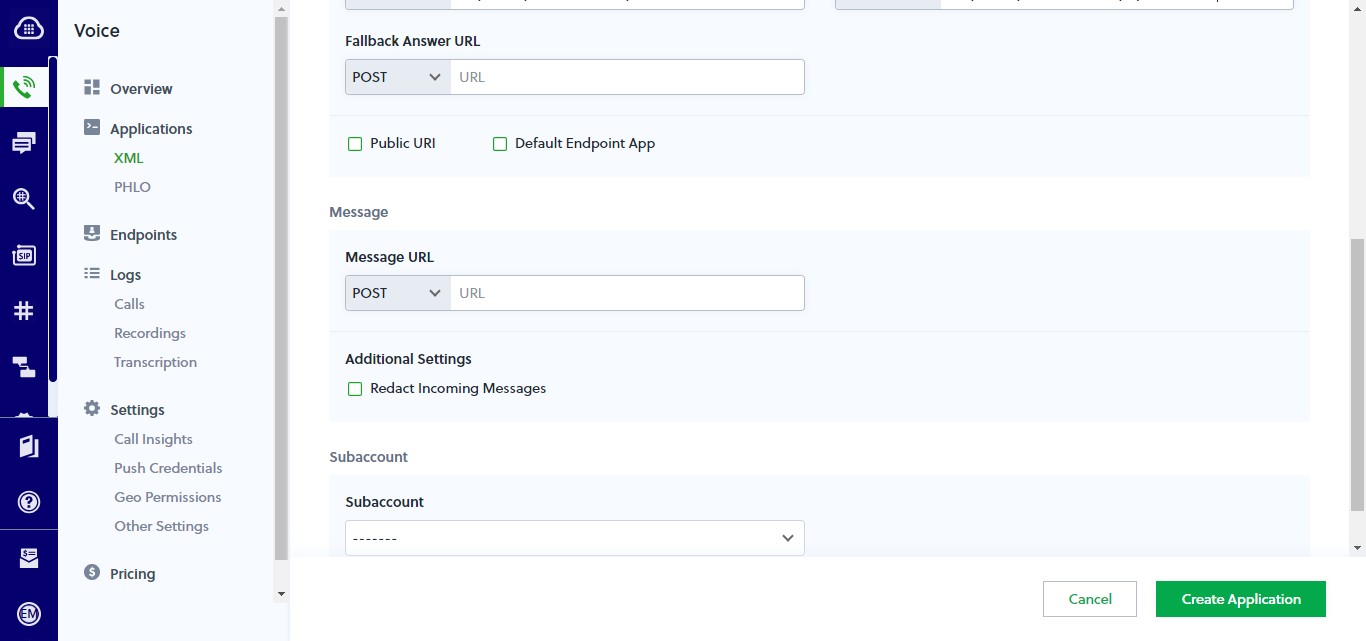
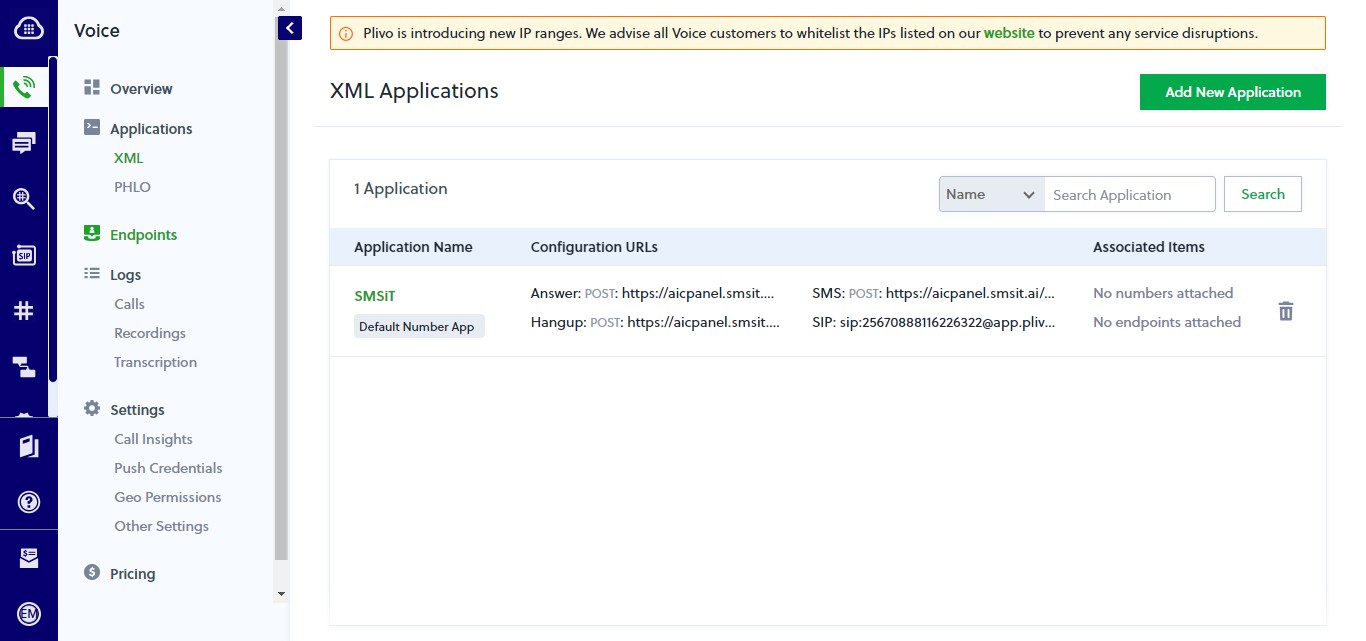
Click on "Add New Application"
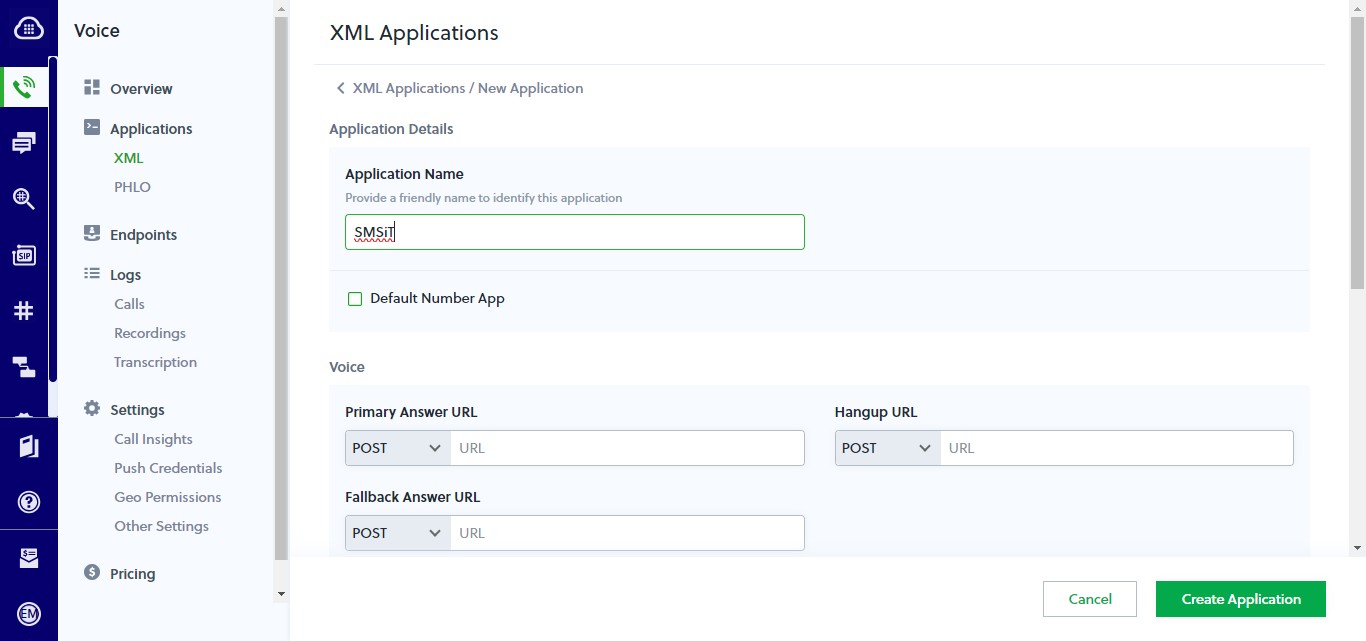
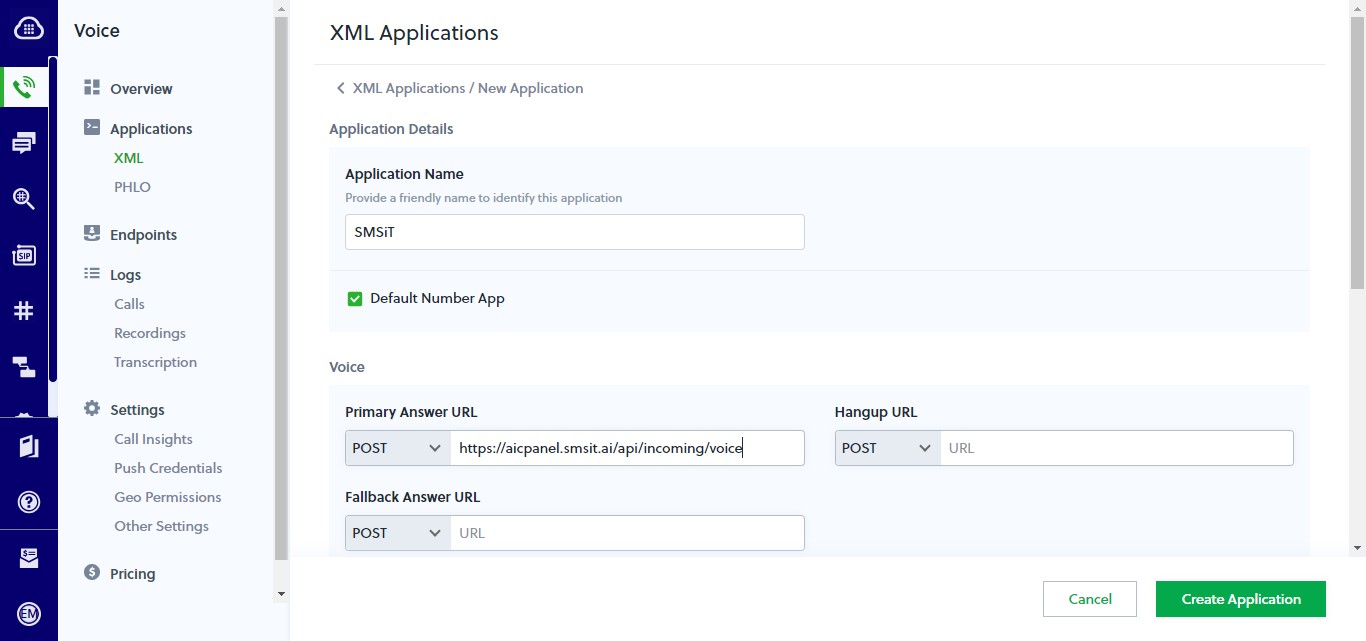
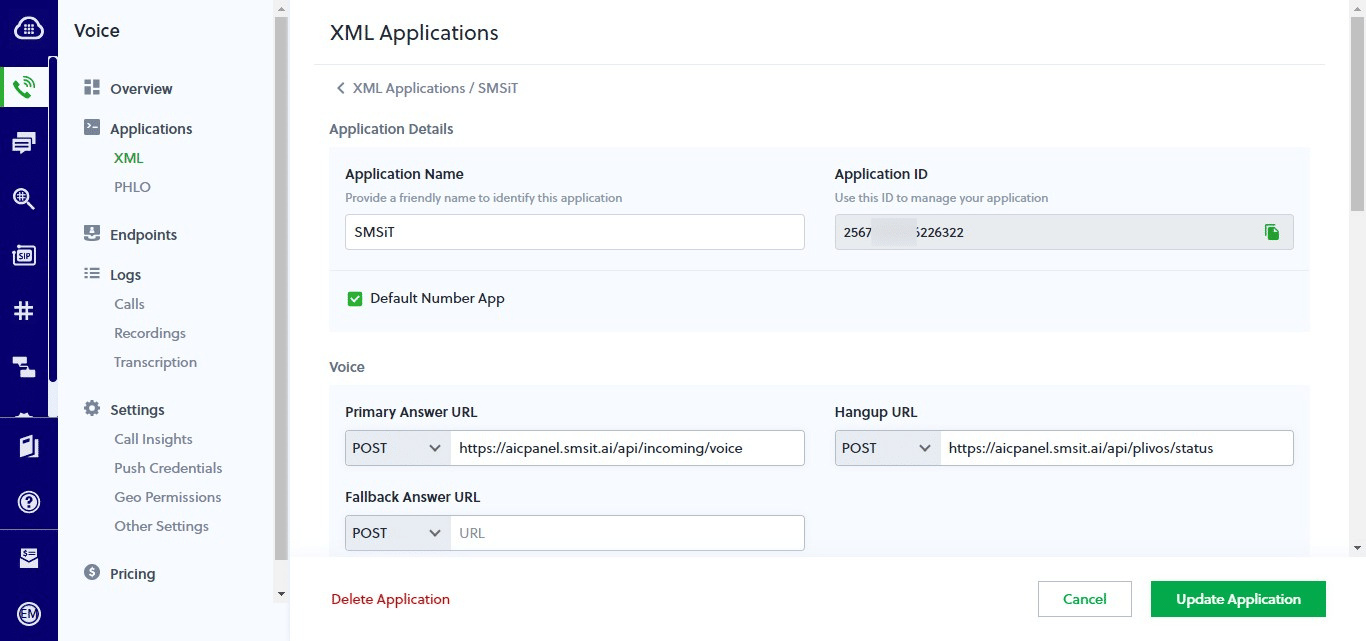
Fill in "Application Name" and check "Default Number App"
Return to your Gateway settings and copy "Voice Webhook URL:"
Paste in "Primary Answer URL"
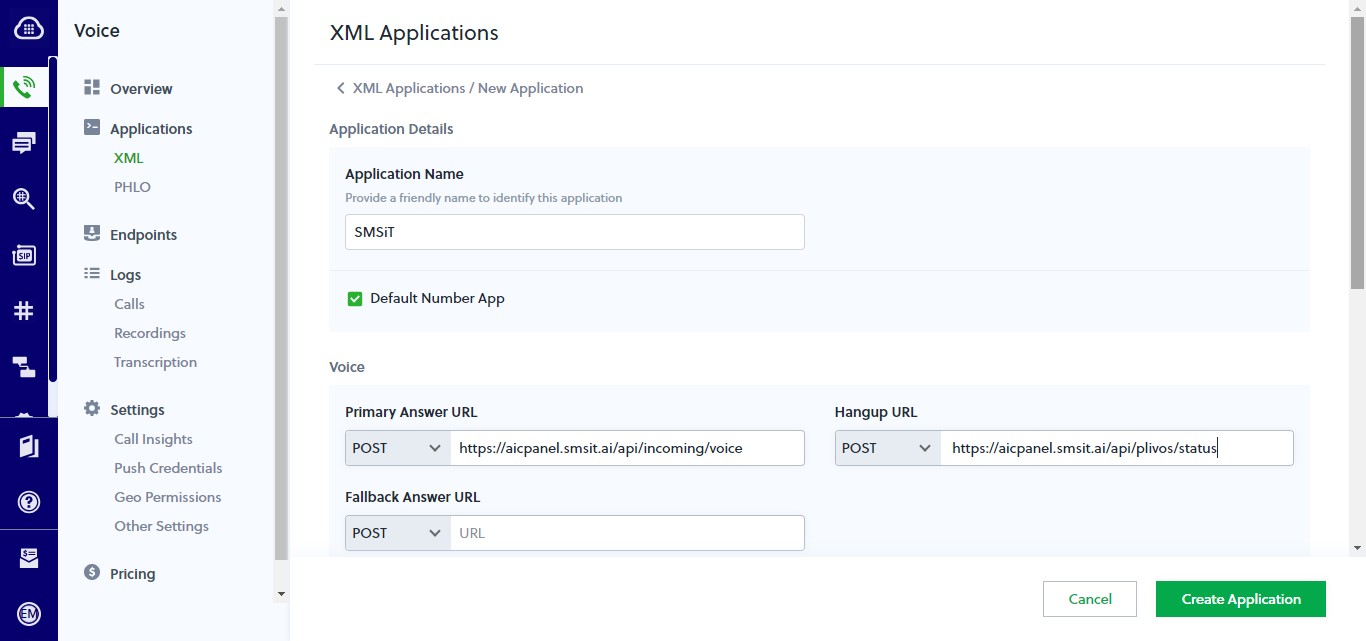
Copy "Status Webhook URL"
Paste into "Hangup URL"
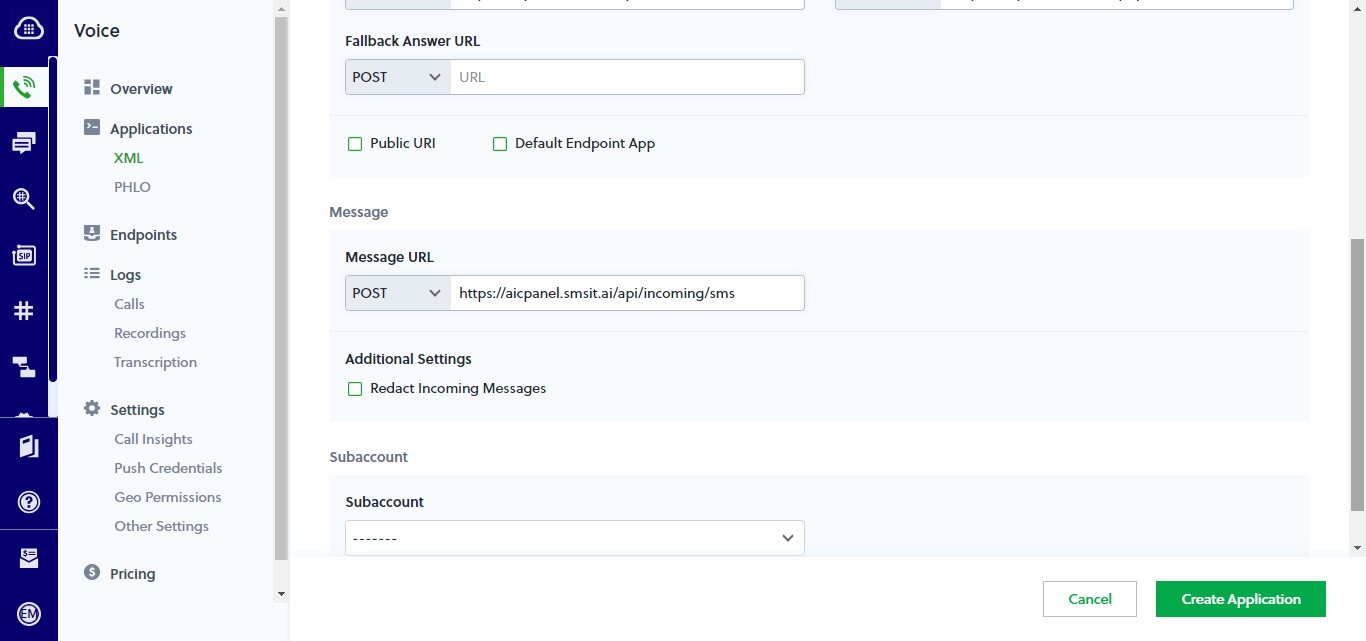
Scroll down until "Message URL" is visible"
Copy "SMS Webhook URL:"
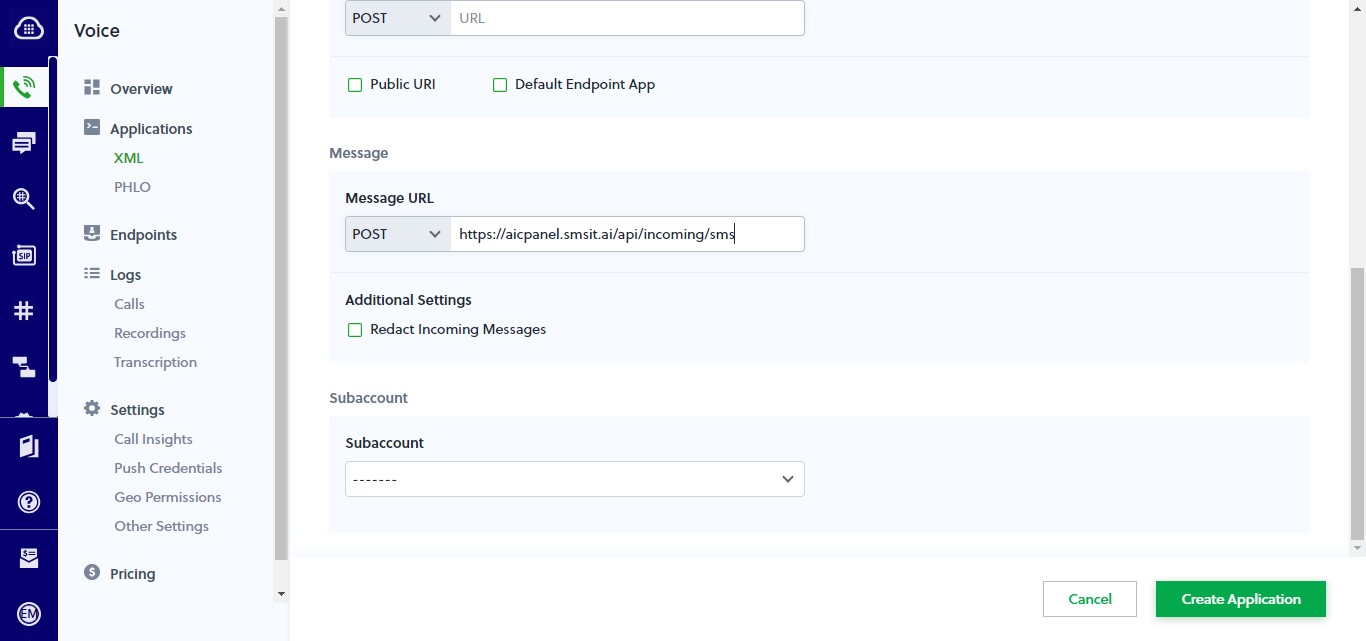
Copy to ""Message URL"
Click on "Create Application"
Task completed
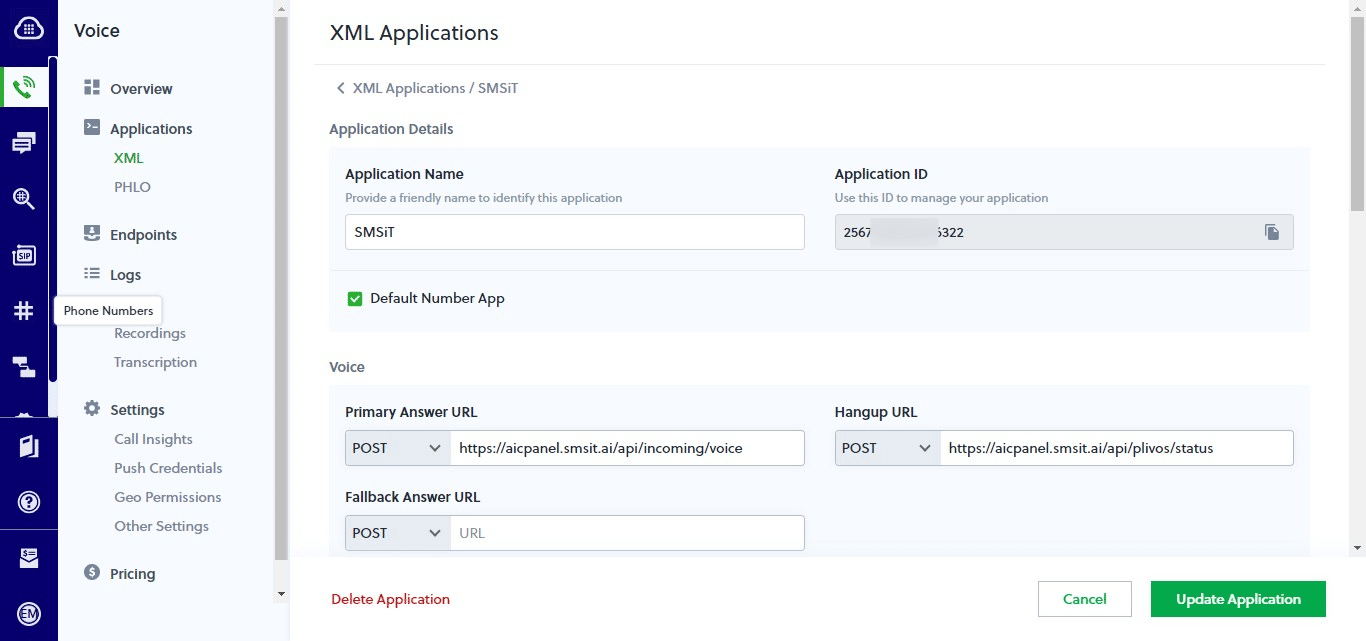
Add Application ID
Click on "SMSiT" or your Application Name
Copy Application ID
Paste the Application ID and click on "Save". Note: Saving is necessary to complete the integration up to this point.
Task completed.

Adding your Plivo number to SMS-iT
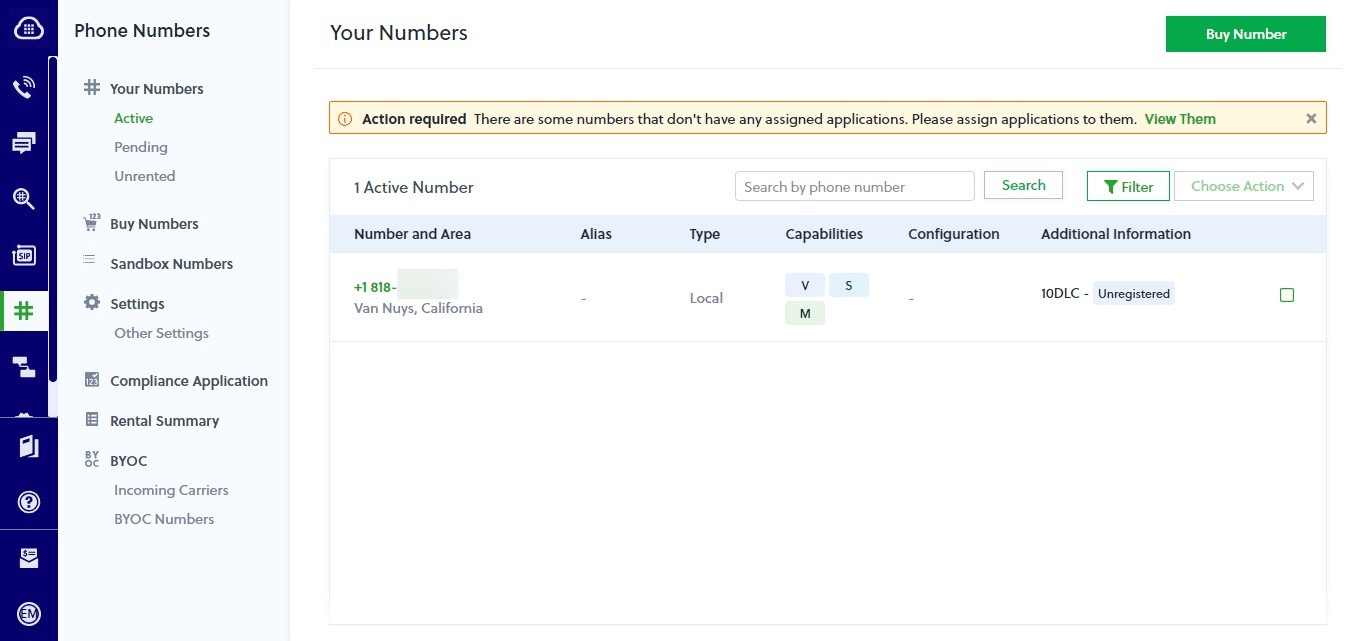
Click the "#" icon
Copy your Plivo phone number
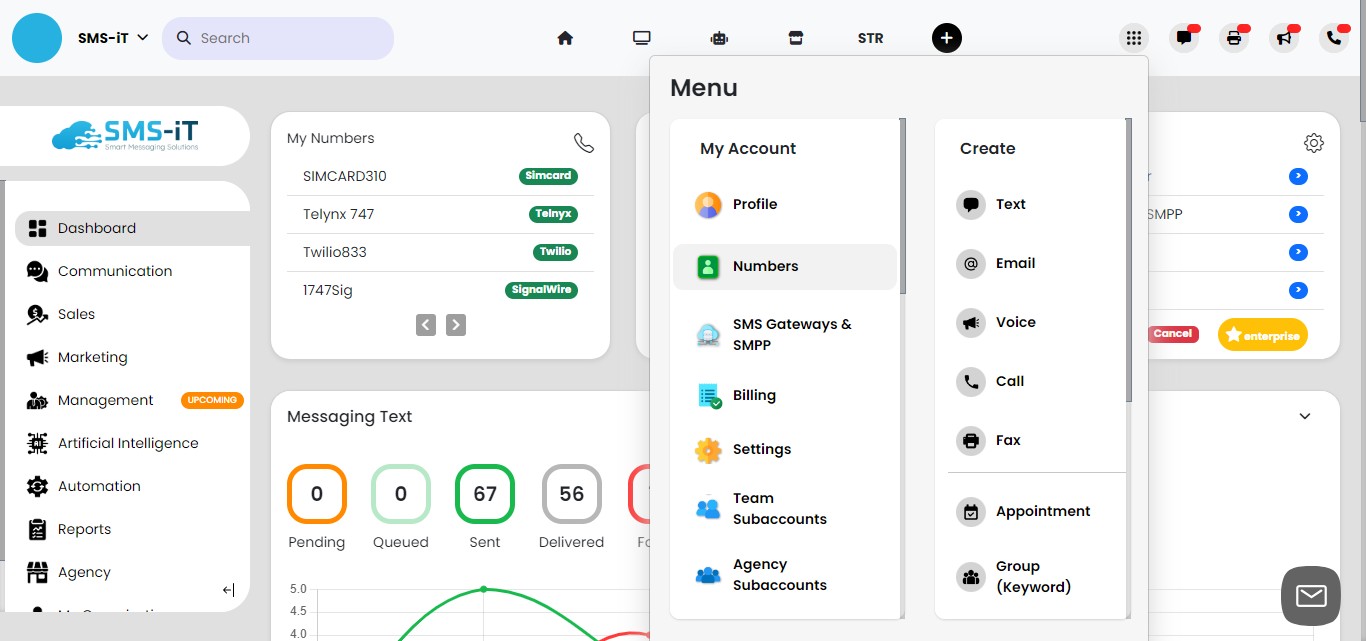
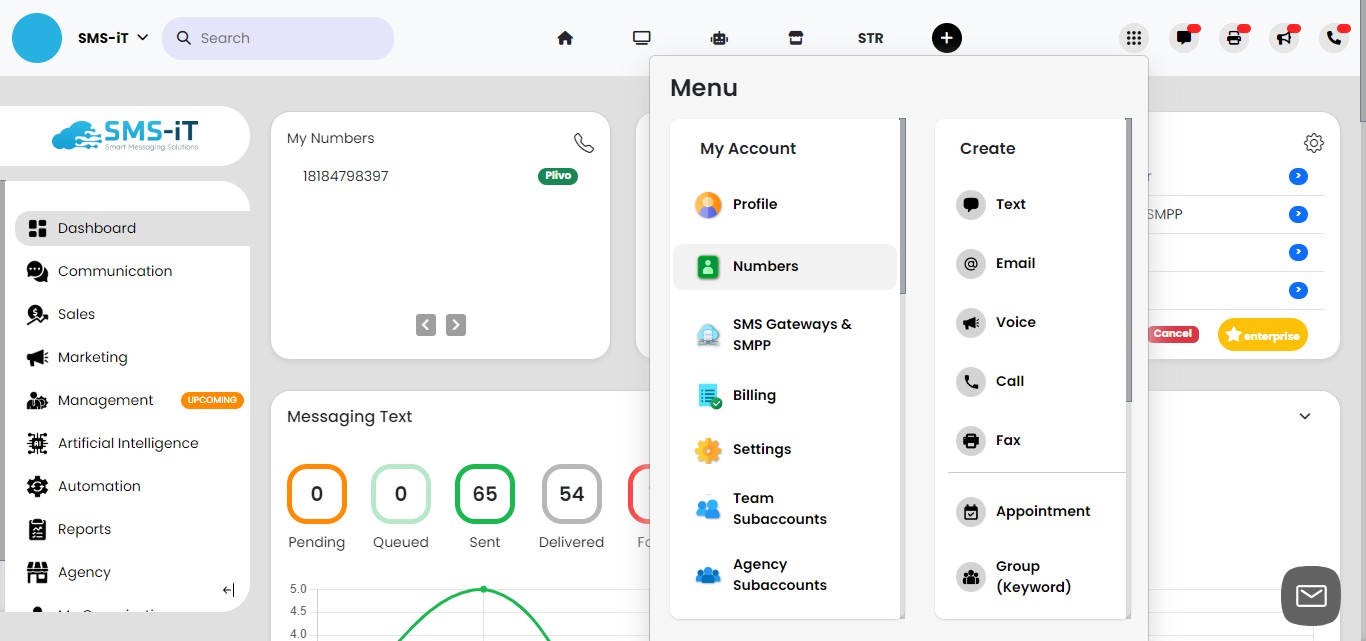
Click on the "Menu" icon
Click on "Numbers"
Find Plivo from the pull-down SMS Gateway field
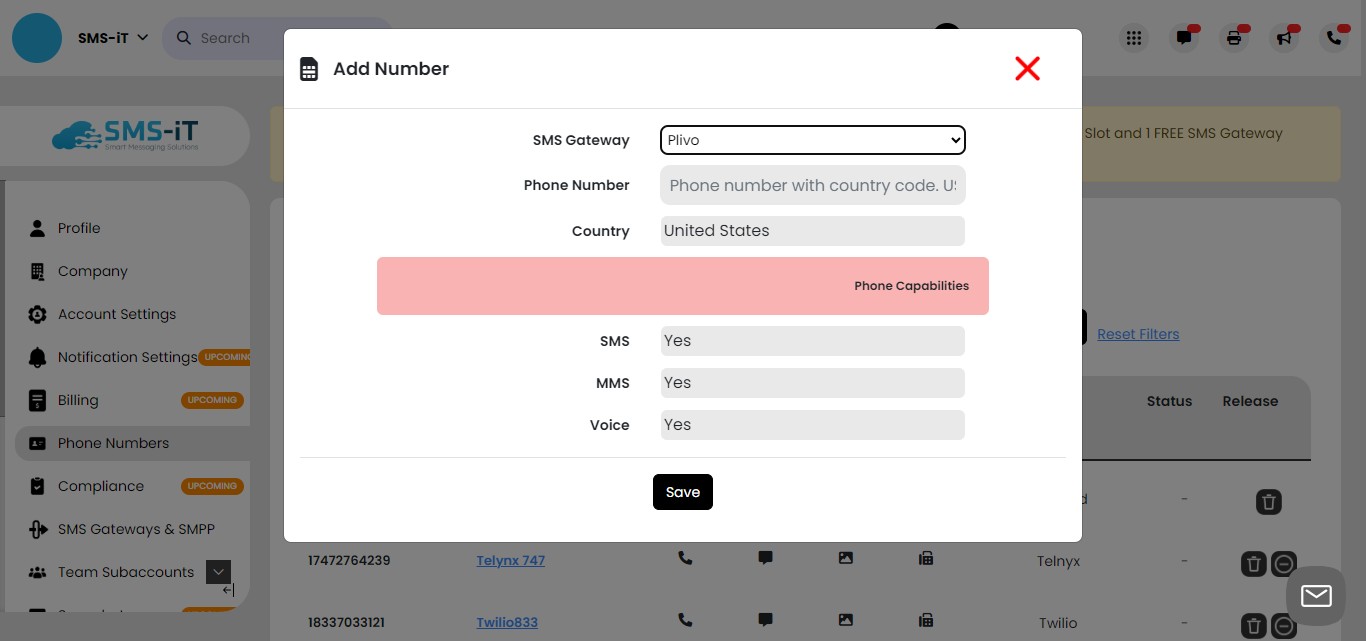
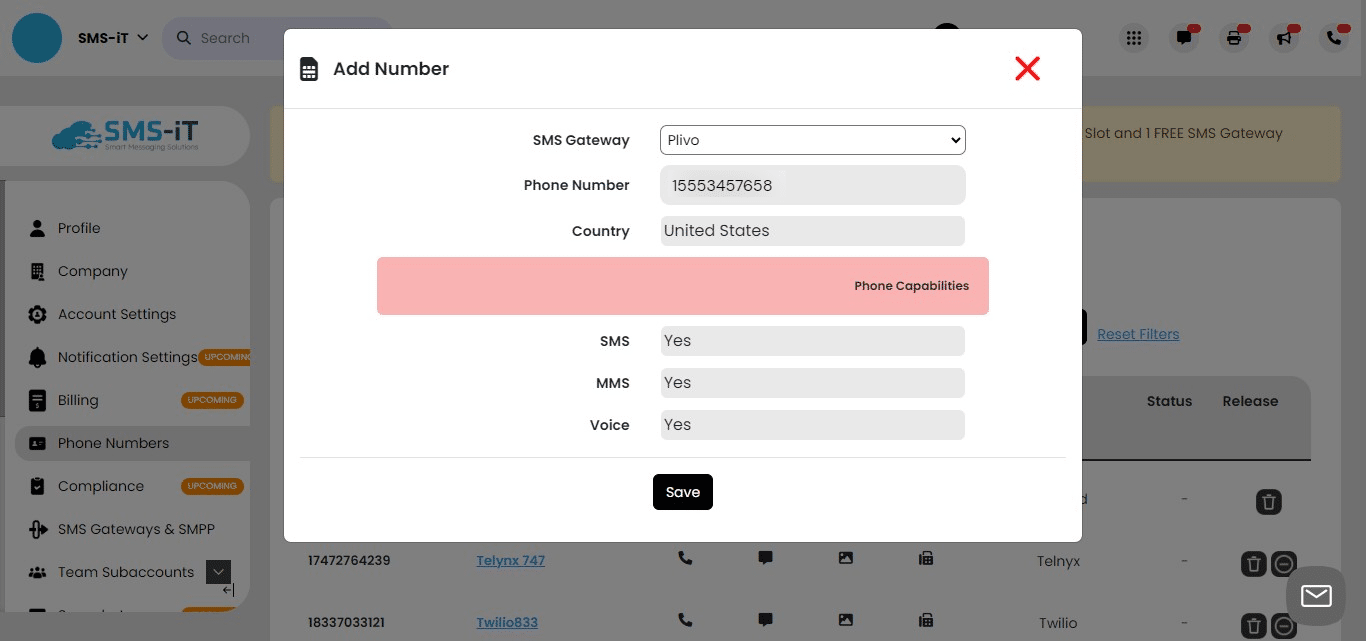
Paste your number. NOTE: You must remove the "+" and "-" and all gaps before saving.

WARNING: You must remove the "+" and "-" and all gaps before saving. The format should be 15557778888
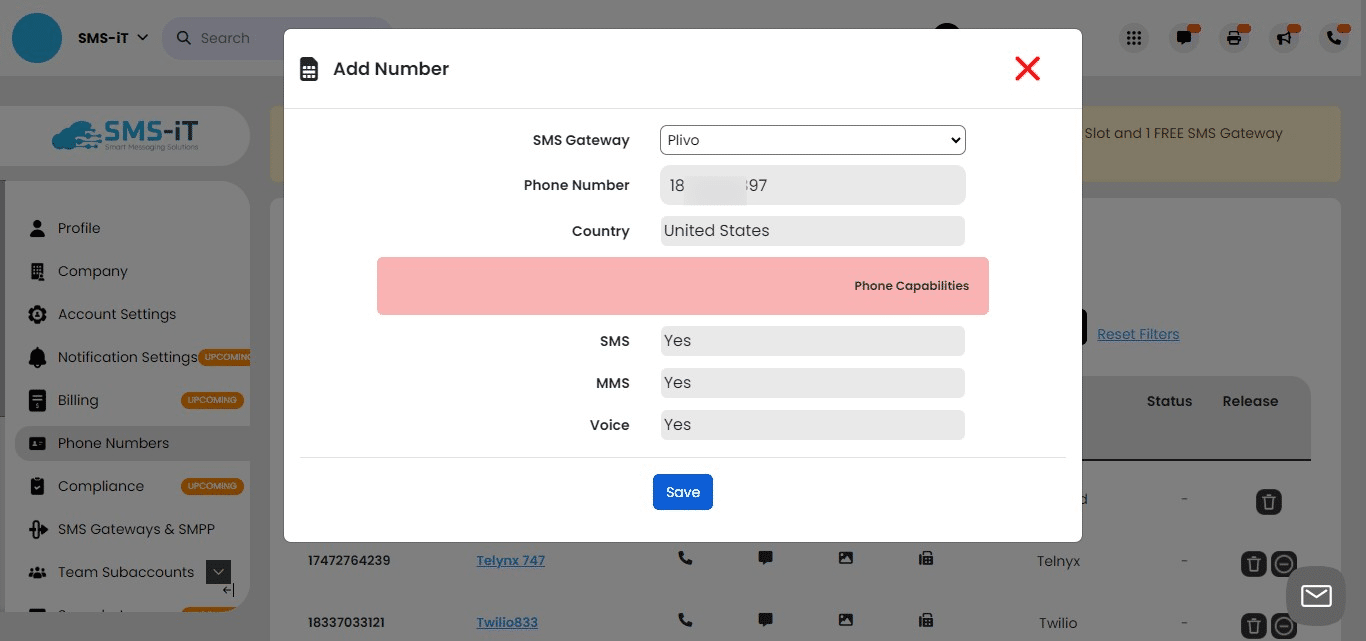
Click on "Country"
Click on "Save"
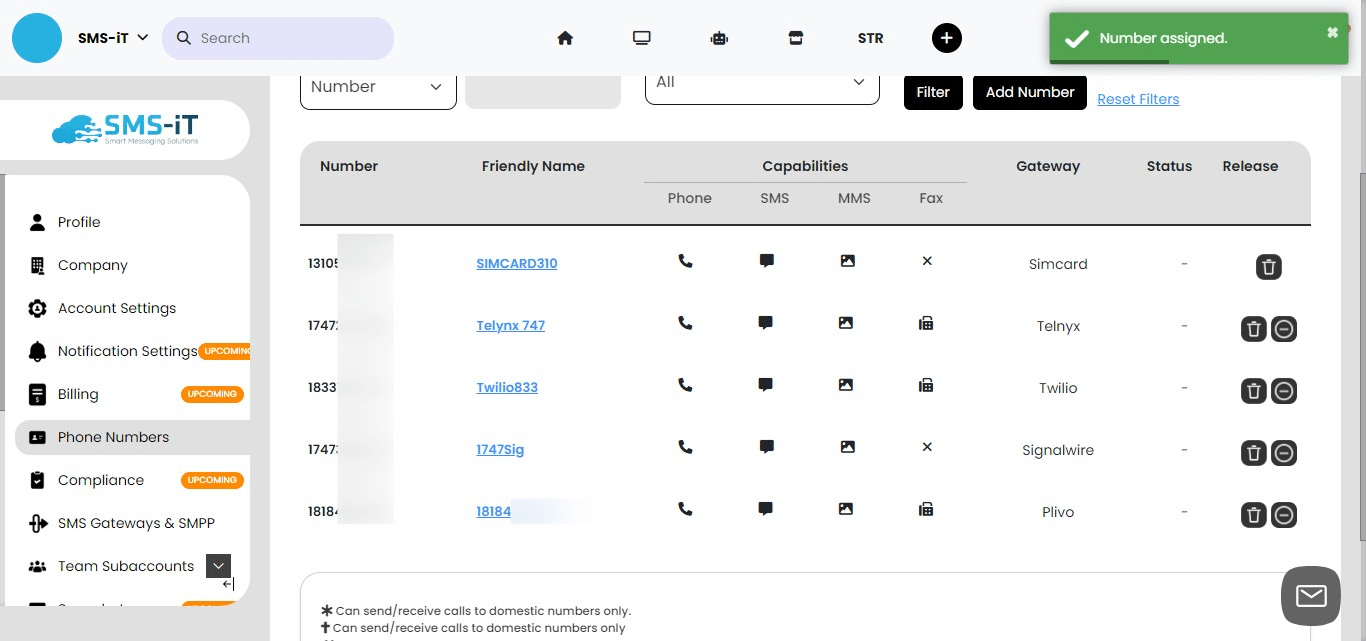
If you've successfully added your number, a green banner will appear, and you will see it in your list of numbers.
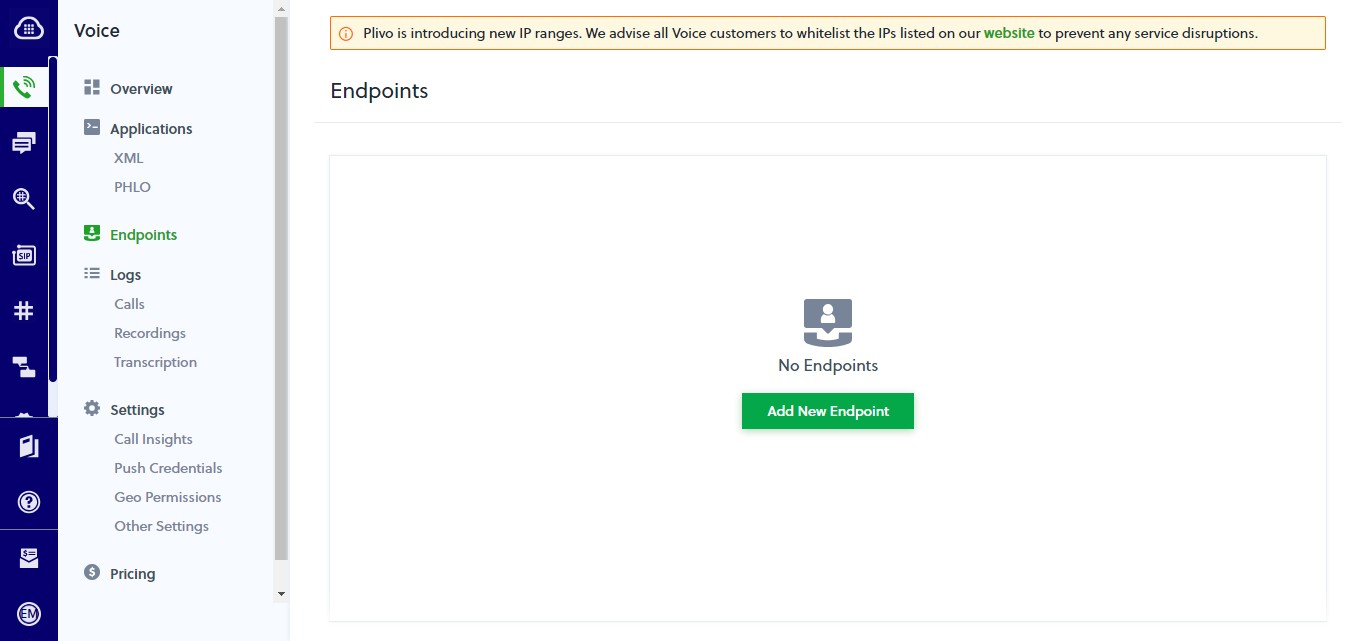
Setting Endpoints
Click on "Endpoints"
Click on "Add New Endpoint"
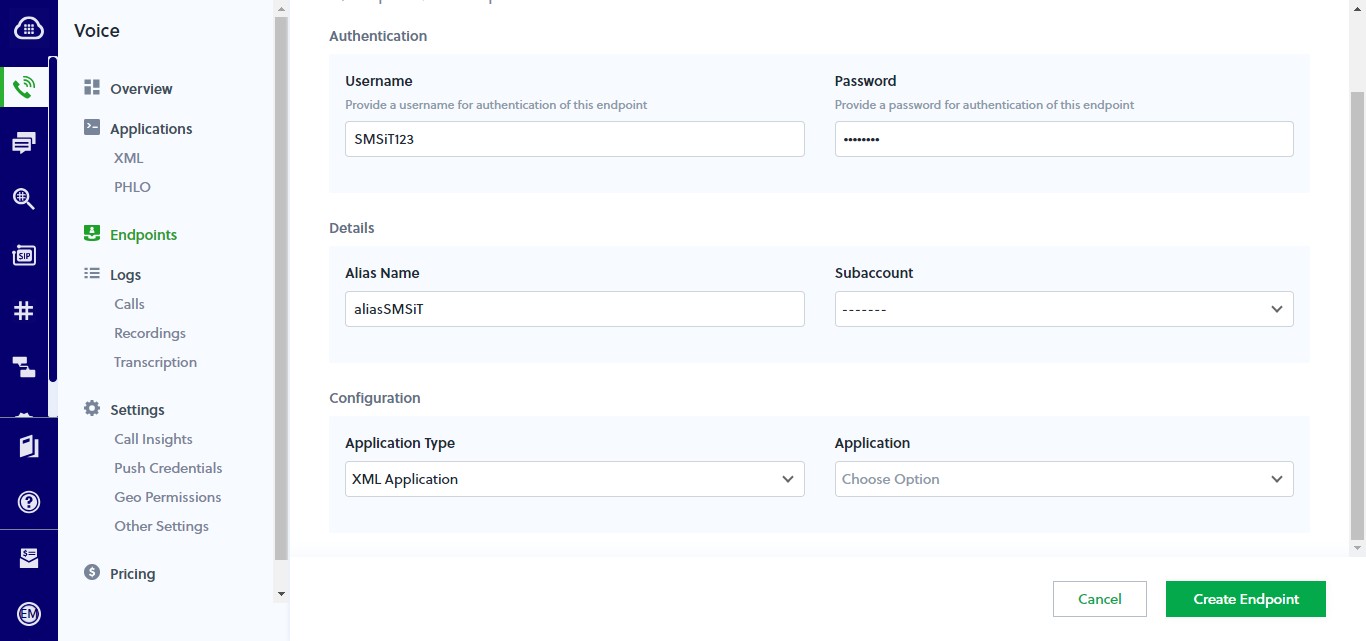
Name the endpoint in the "Username" field.
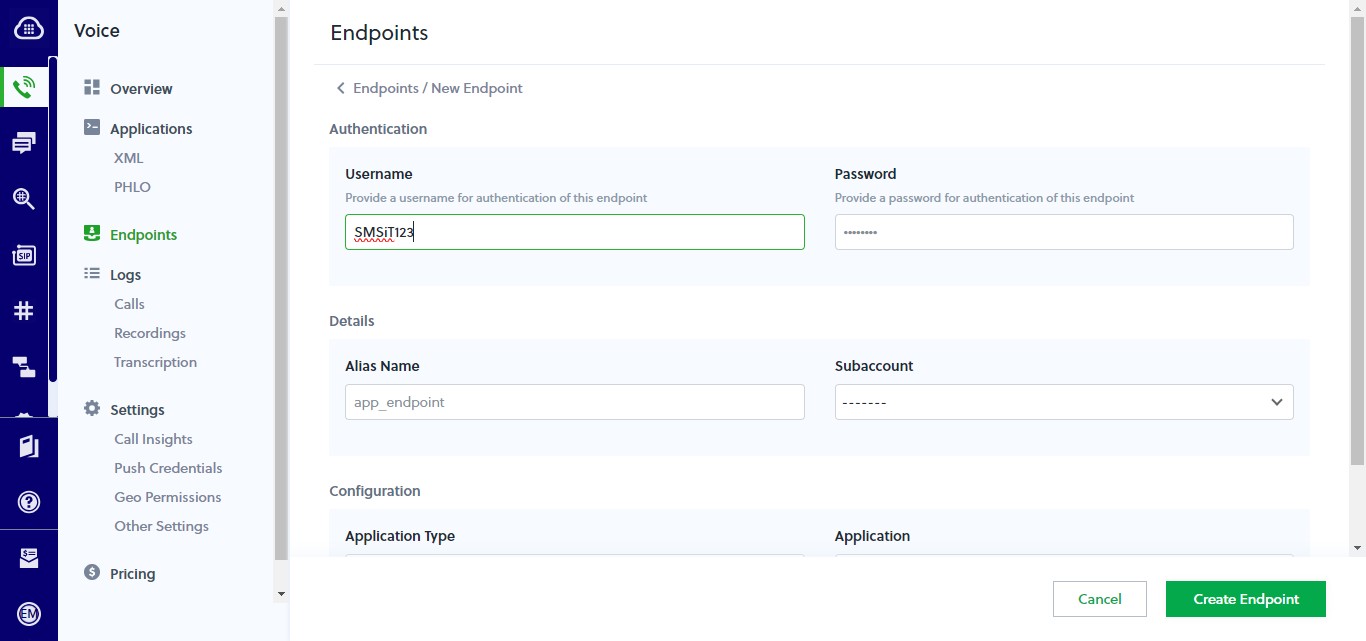
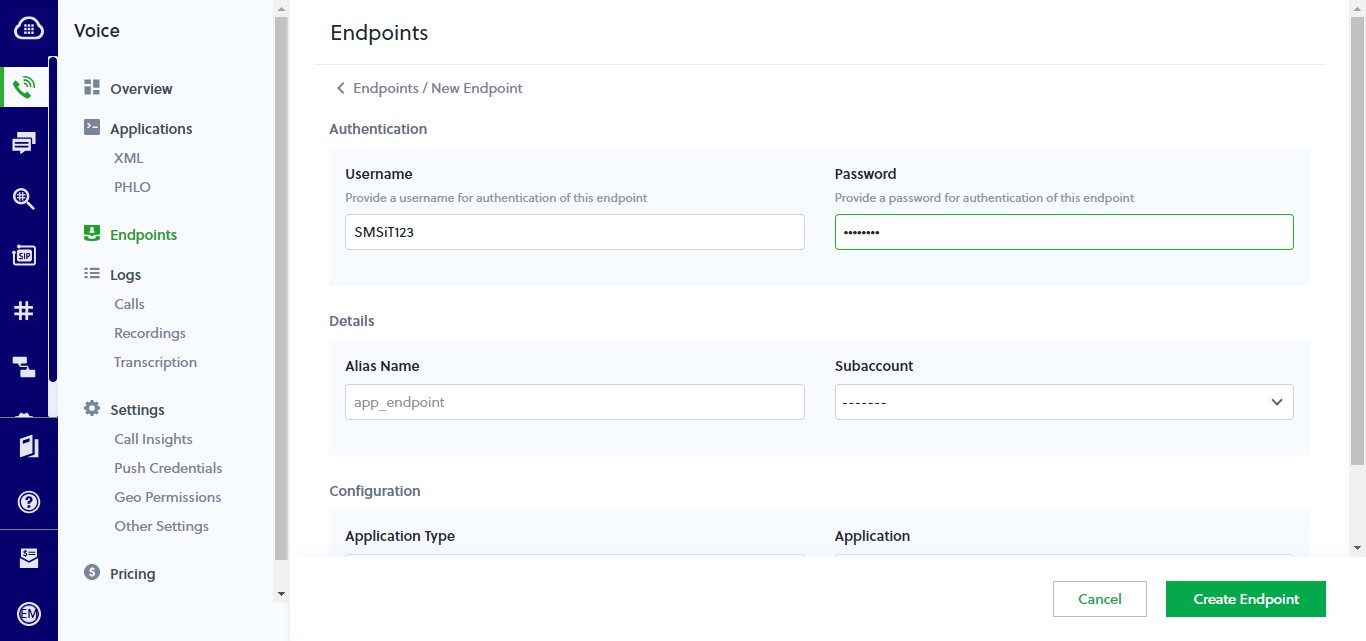
Create a password in the "Password" field. Note: Ensure you remember your password as you'll need to paste it into the Plivo gateway settings in SMS-iT.
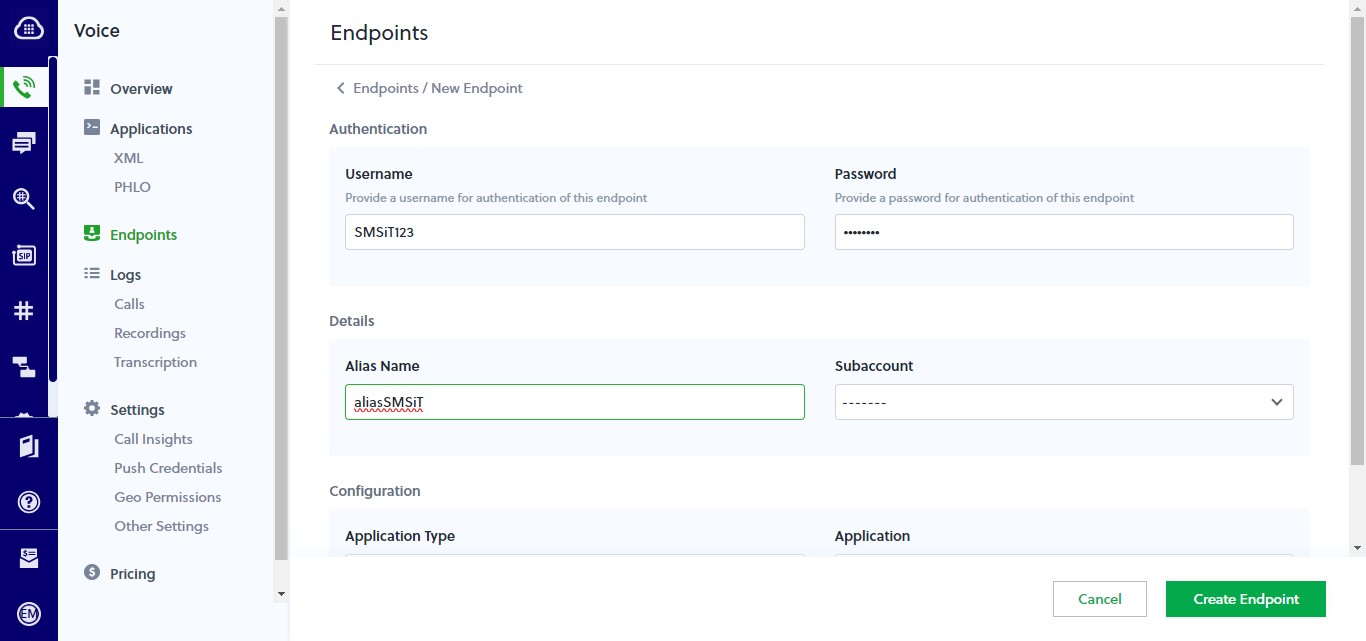
Create an "Alias Name" NOTE: Use only letters and/or numbers.
Application Type is "XML Application"

Under the "Application" field click on "Choose Option"
Click on "SMSiT" or the name you assigned to your application in the previous section.

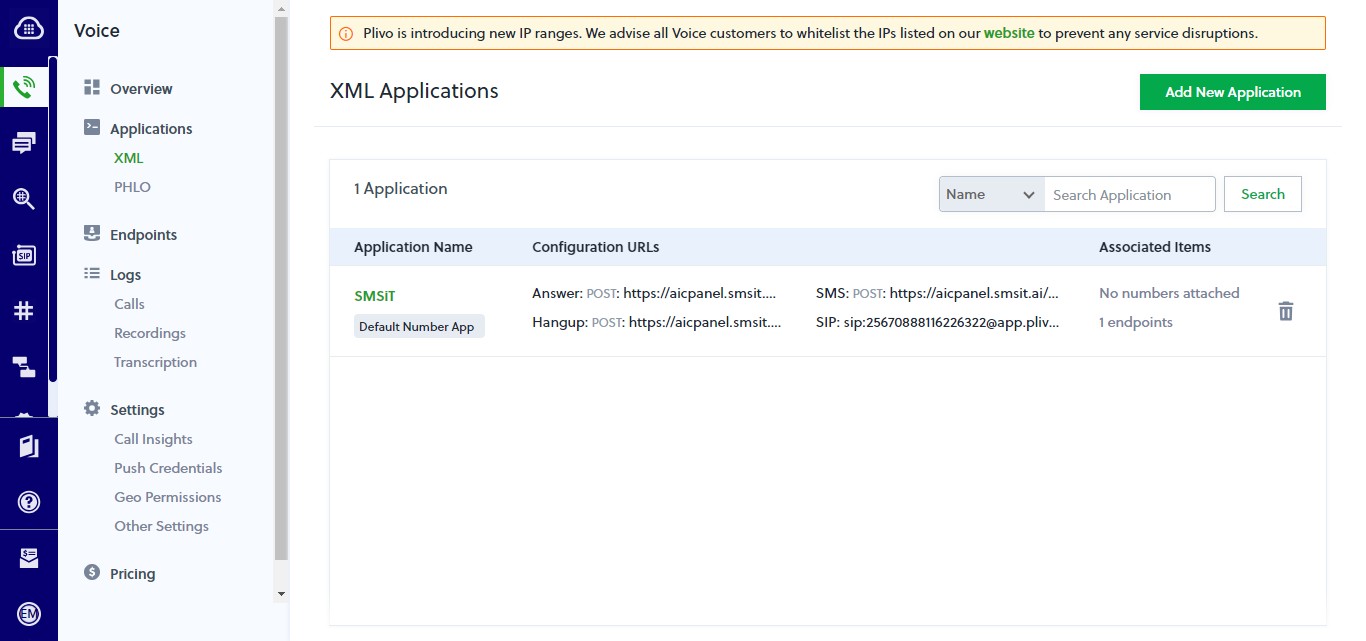
Click on "Create Endpoint"

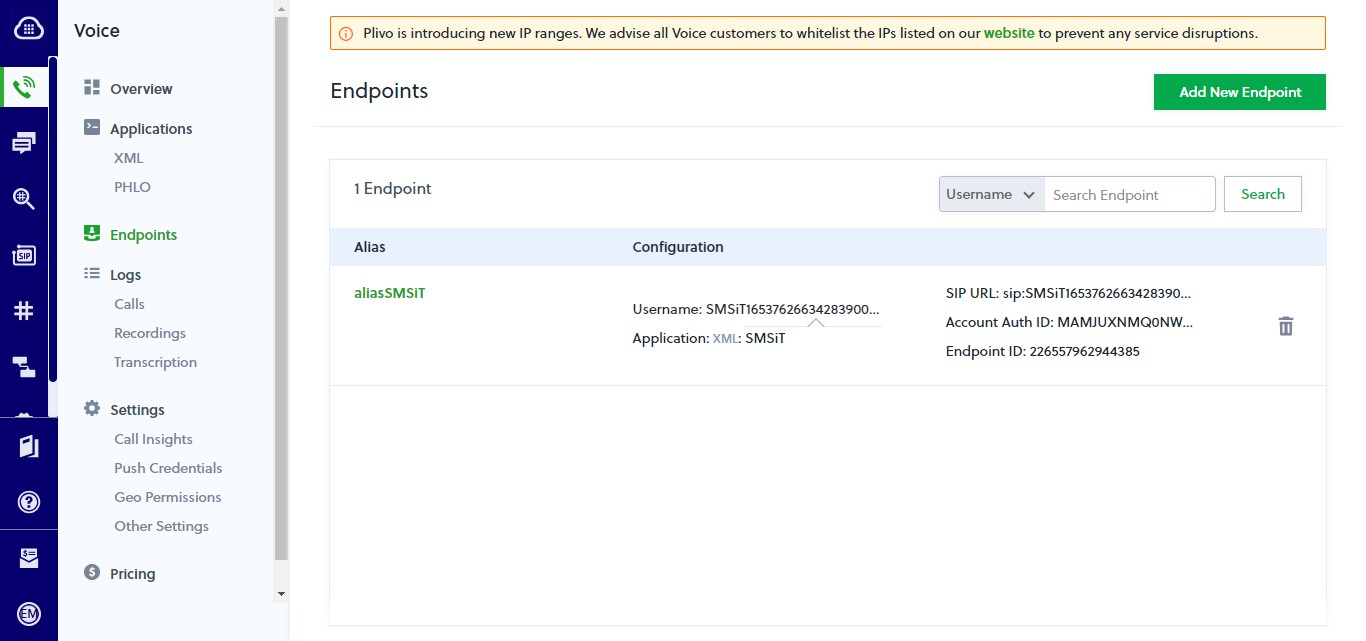
Task Completed
Adding Username and Password to SMS-iT Gateway Settings
Under "Alias" Click on your alias name

Copy your Username
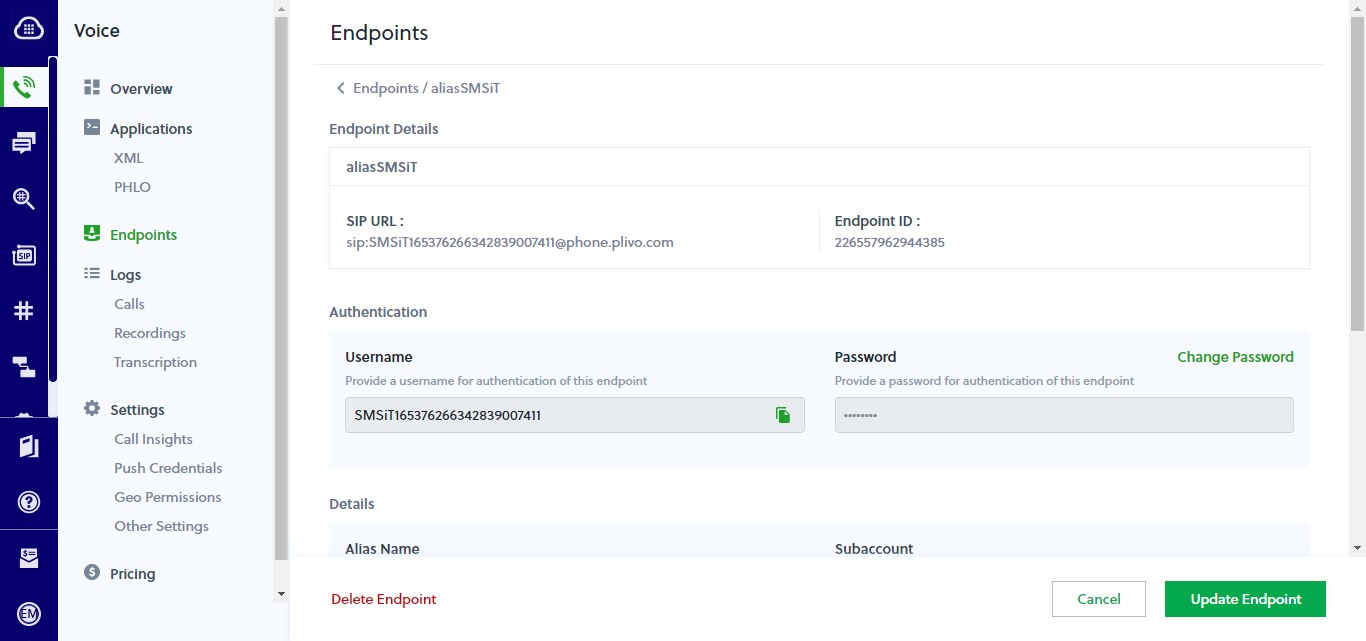
Paste to Username
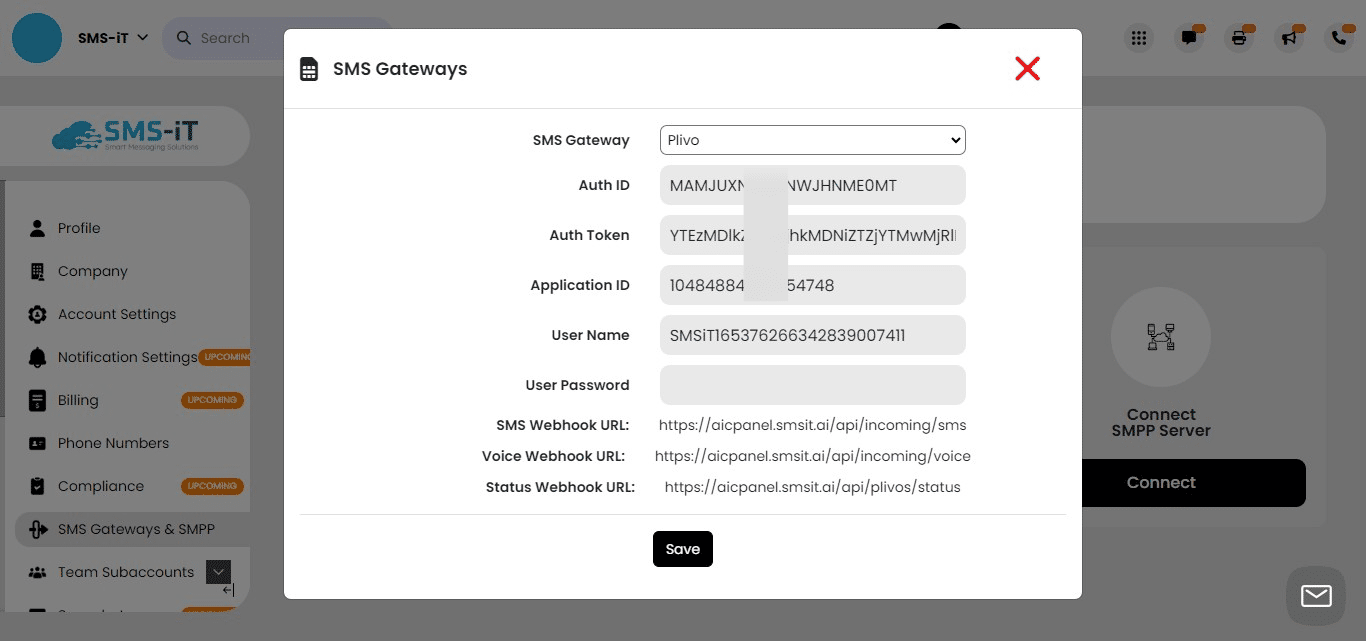
Paste the user password you created earlier.. Note: If you've forgotten your password (didn't save it), simply change the password in Plivo (refer to step 49 to see where the change password is located).

Click on "Save"
Task completed.
Adding a verified number to test your new Plivo number in SMS-iT
You must have a VOIP number included in the Plivo sandbox list of numbers to test with. You won't be able to send an SMS text with a network cell number until you complete 10DLC registration.
From the dashboard click the "#" icon.
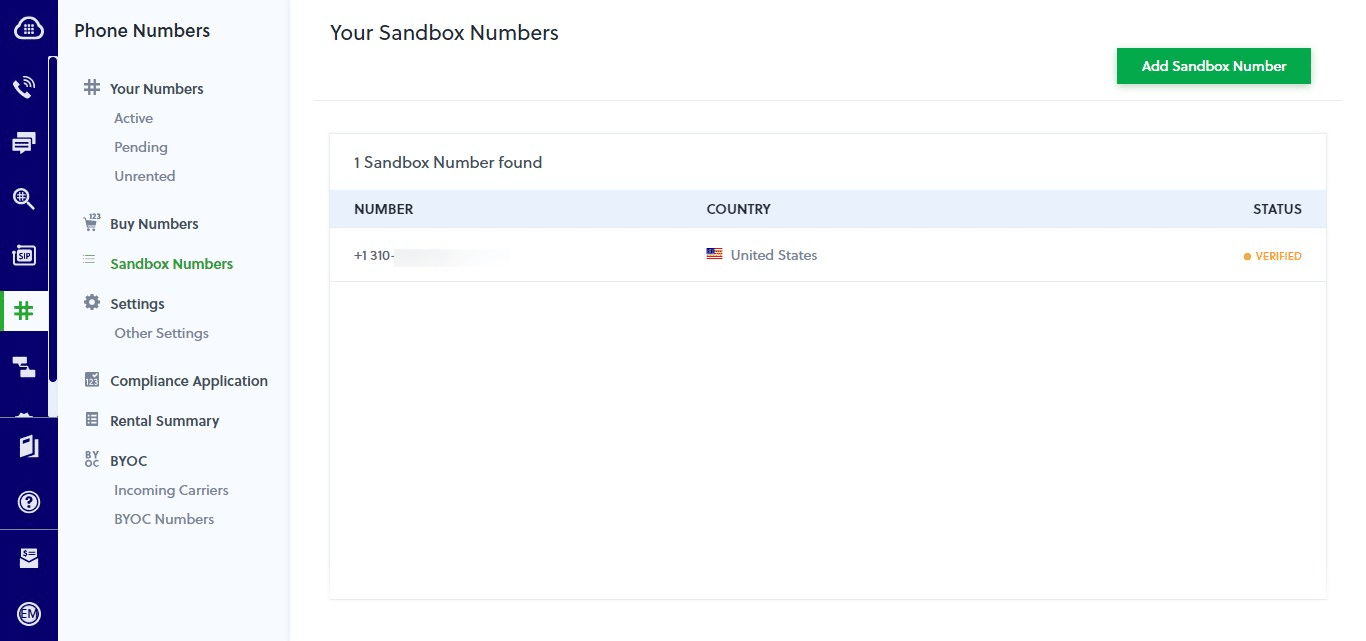
Click "Sandbox Numbers"

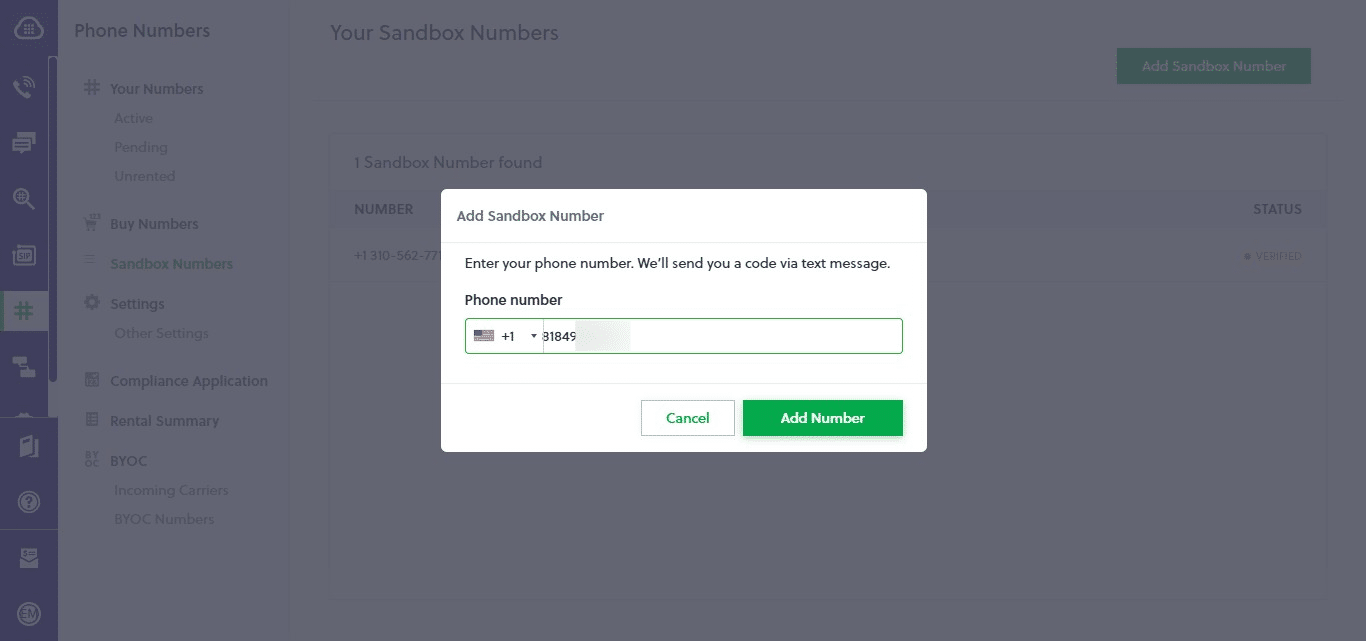
Click on "Add Sandbox Number" The number you signed up to your Plivo account will be listed here, normally that would be your network cell, so you'll need to add a VOIP number to test.
Click on "Add Number"
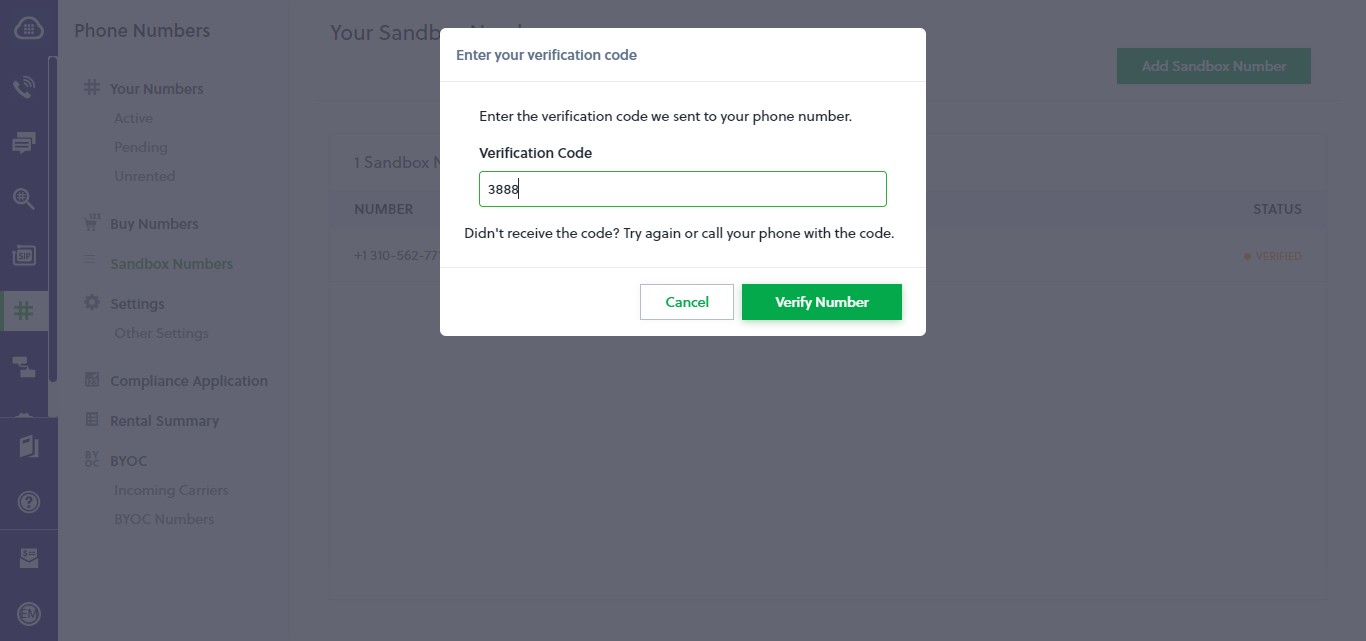
Click on "Verify Number"
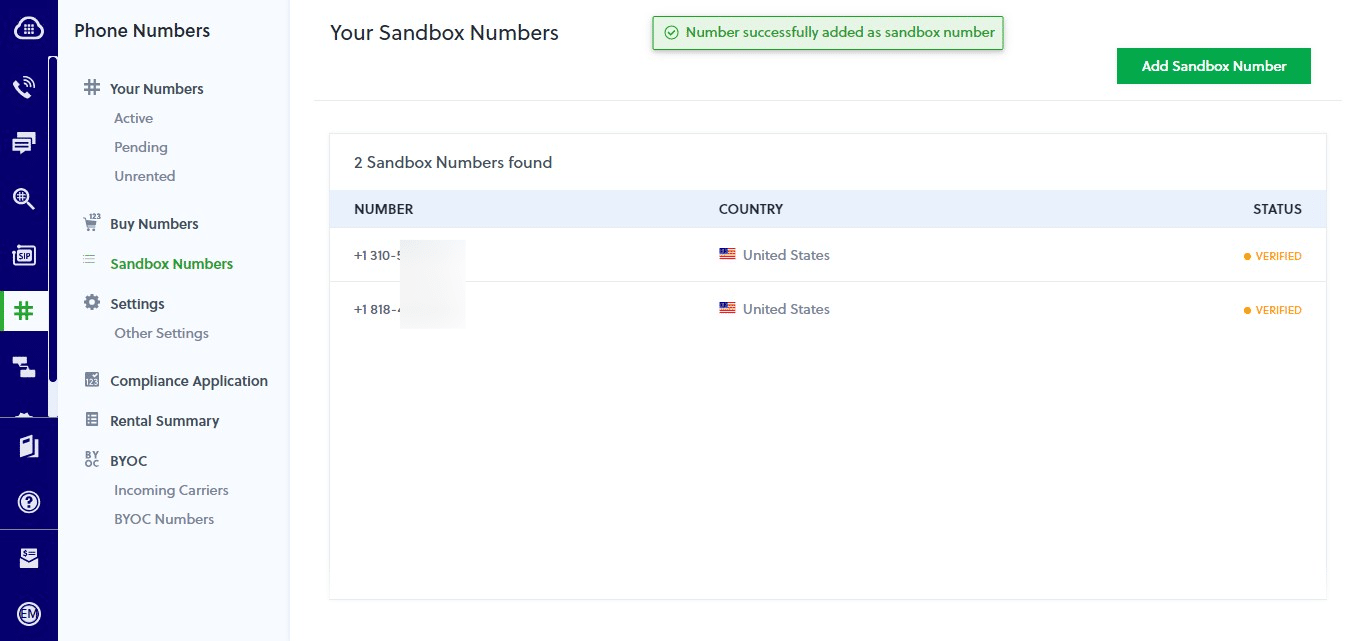
Added
Creating a Friendly Name
Click on the "Menu" icon
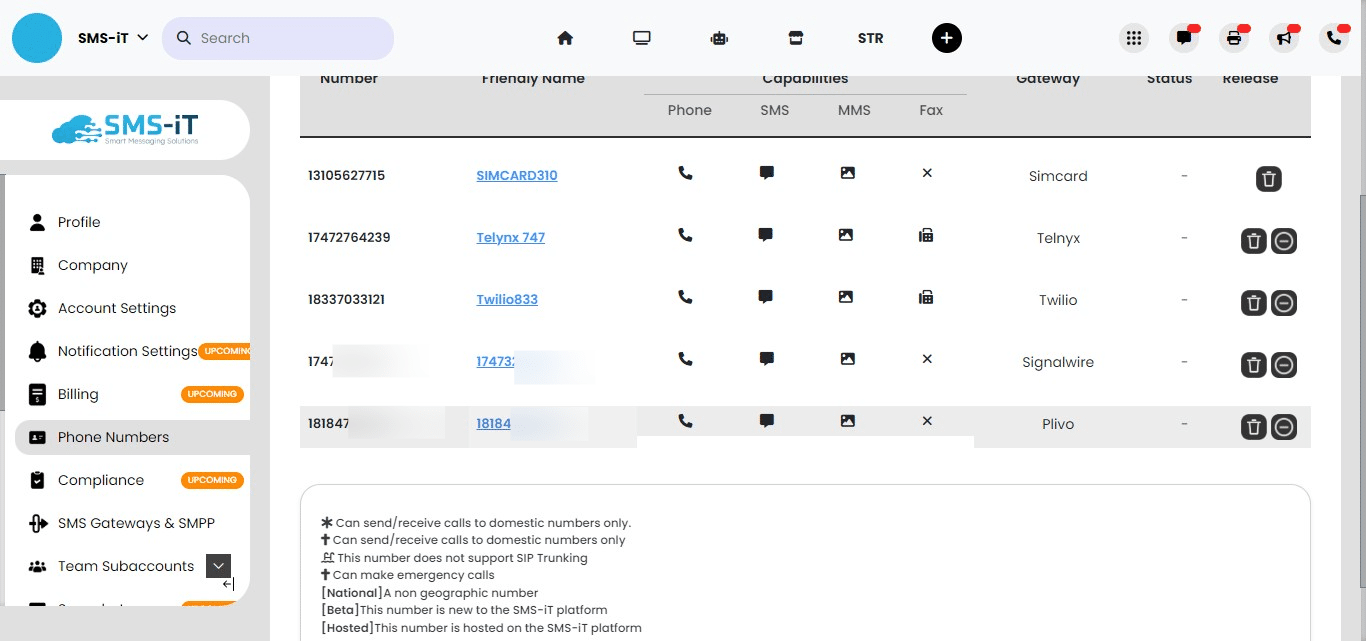
Click on "Numbers"
Click on your Plivo number under "Friendly Name"
Change the name to something you'll recognize.
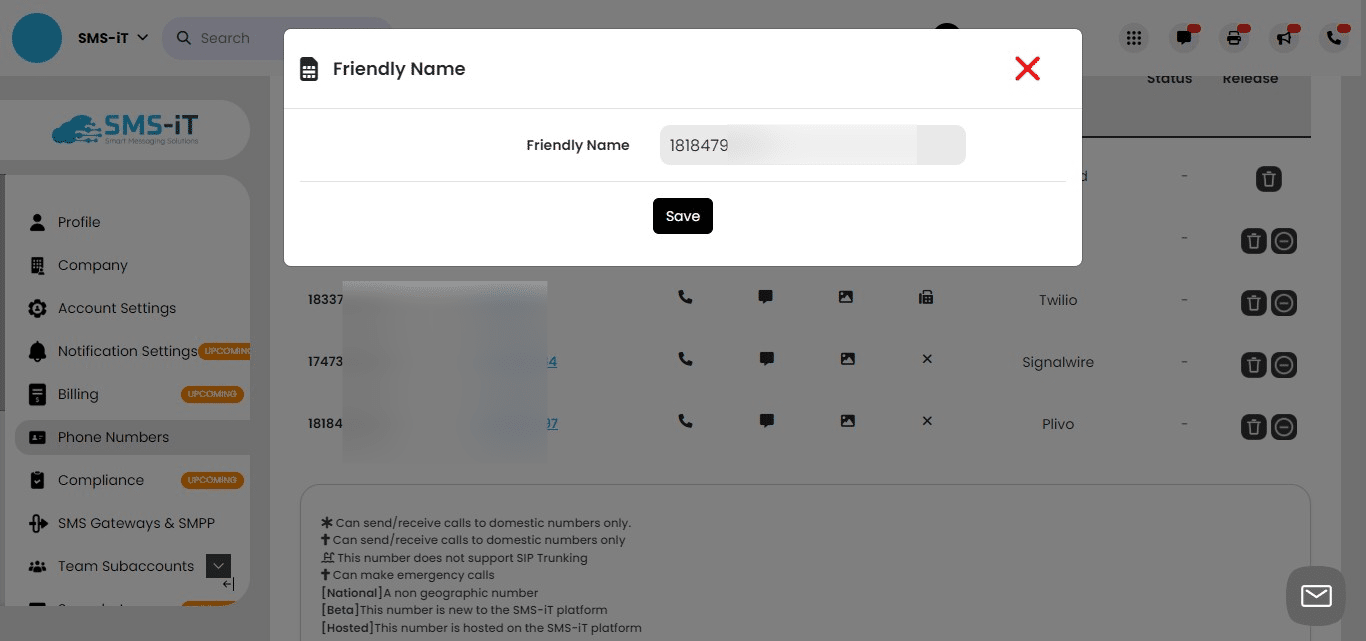
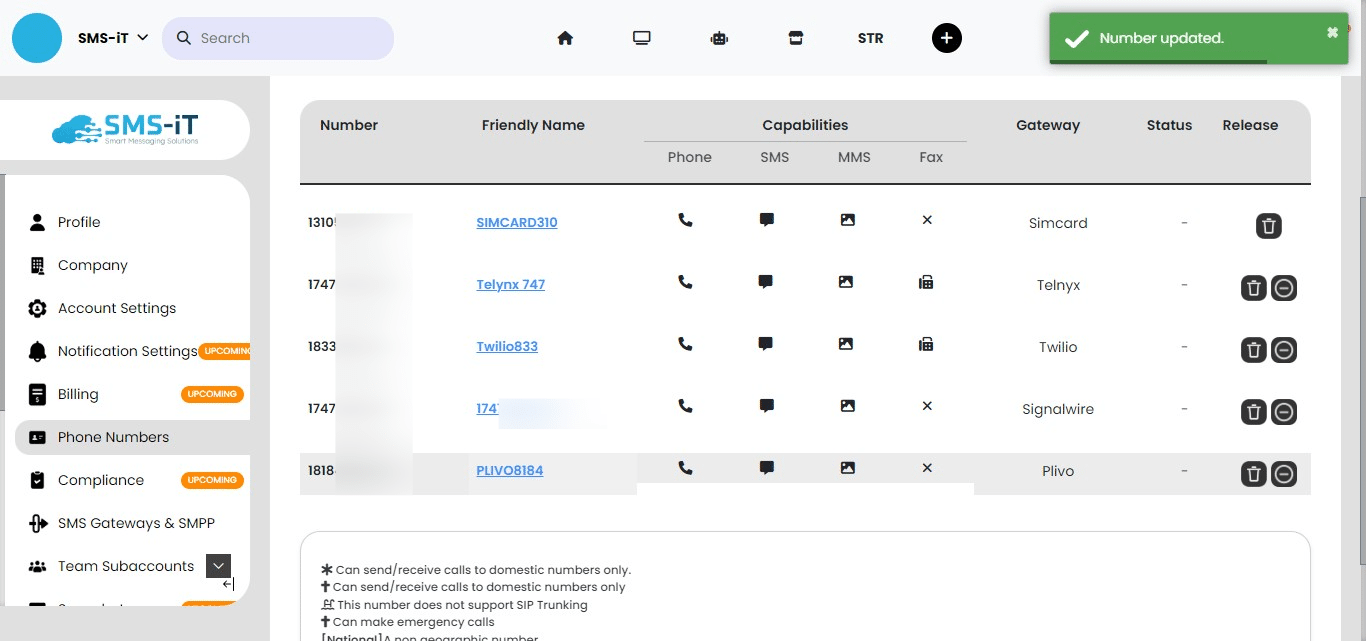
Click on "Save"

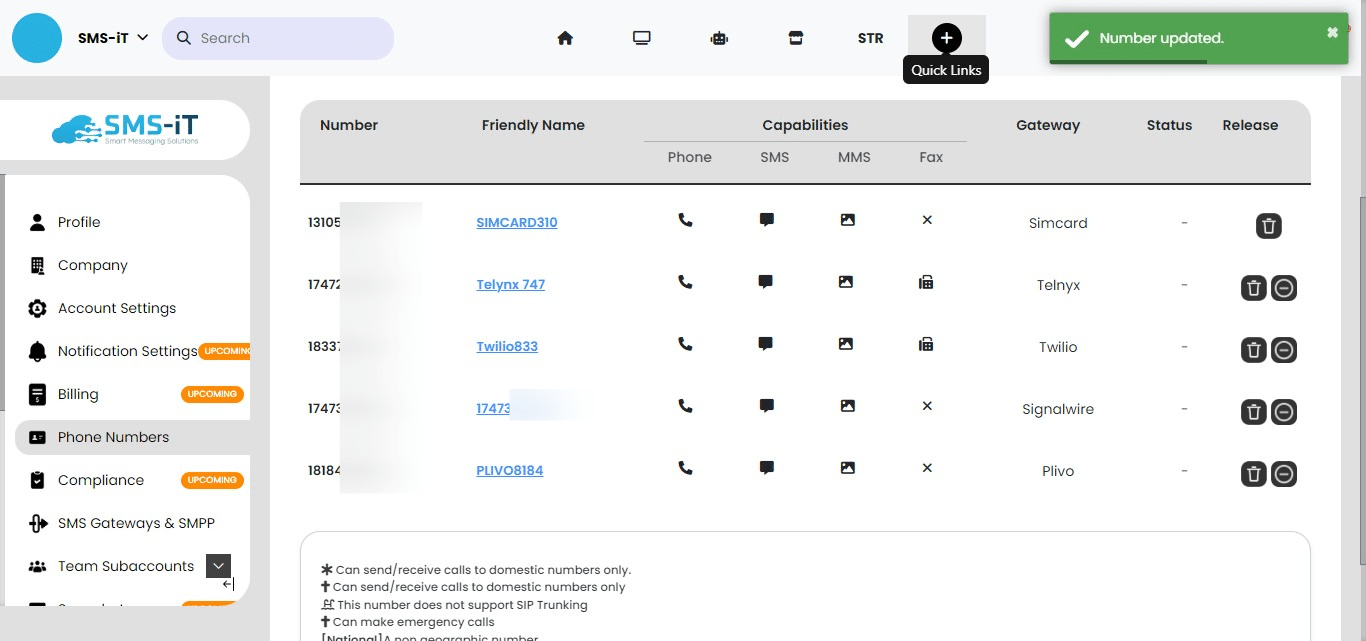
Number updated
Testing your new Plivo number in the SMS-iT platform
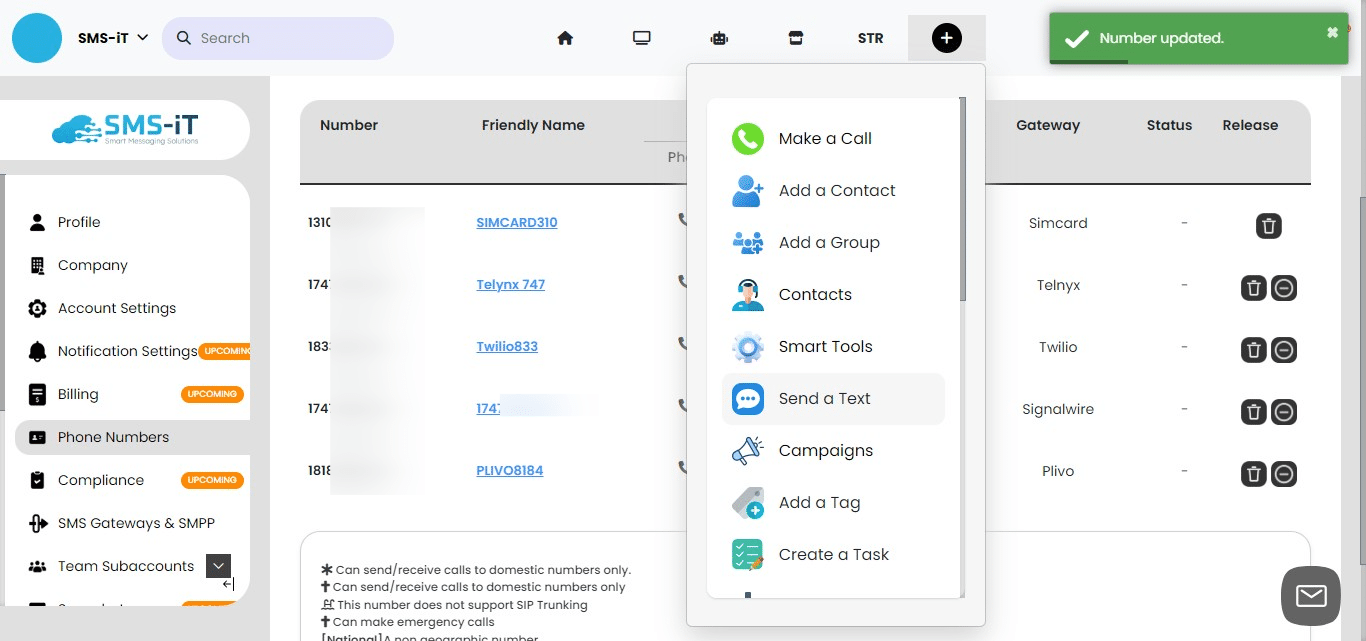
Click on "Quick Links"
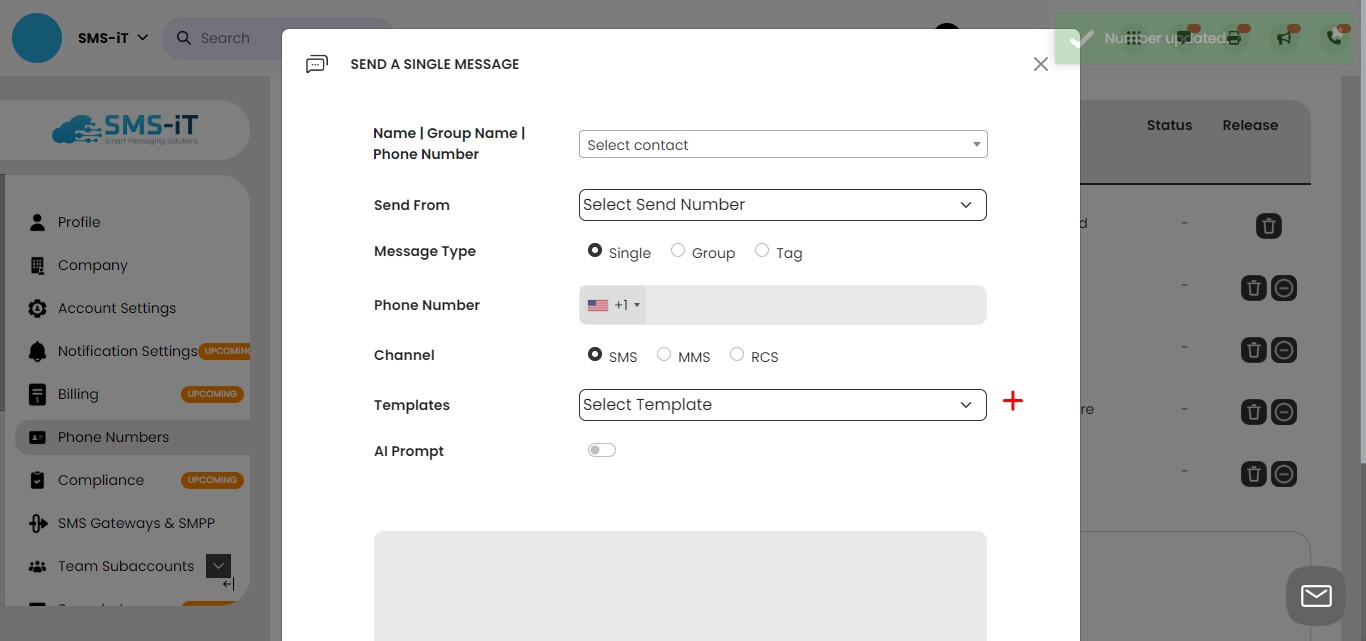
Click on "Send a Text"
Click on "Select Send Number"
Choose your Plivo number to send from and enter your VOIP sandbox number you had verified in the previous steps.
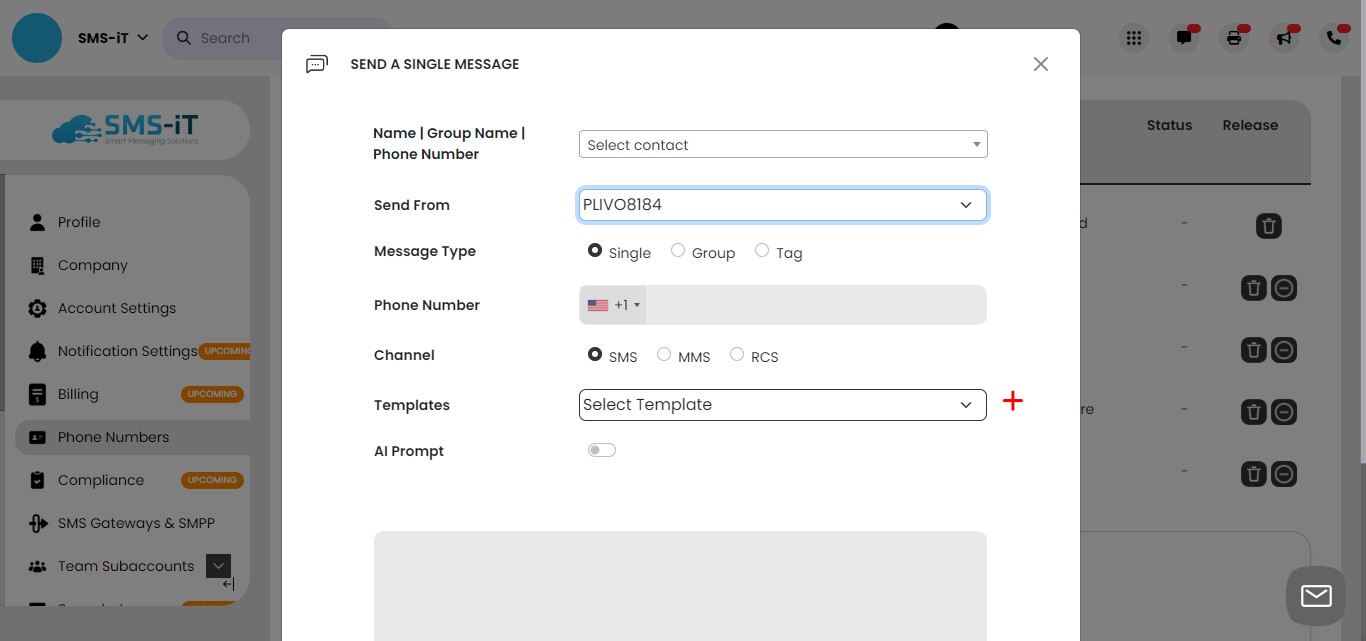
Create a text to send and click "Send"
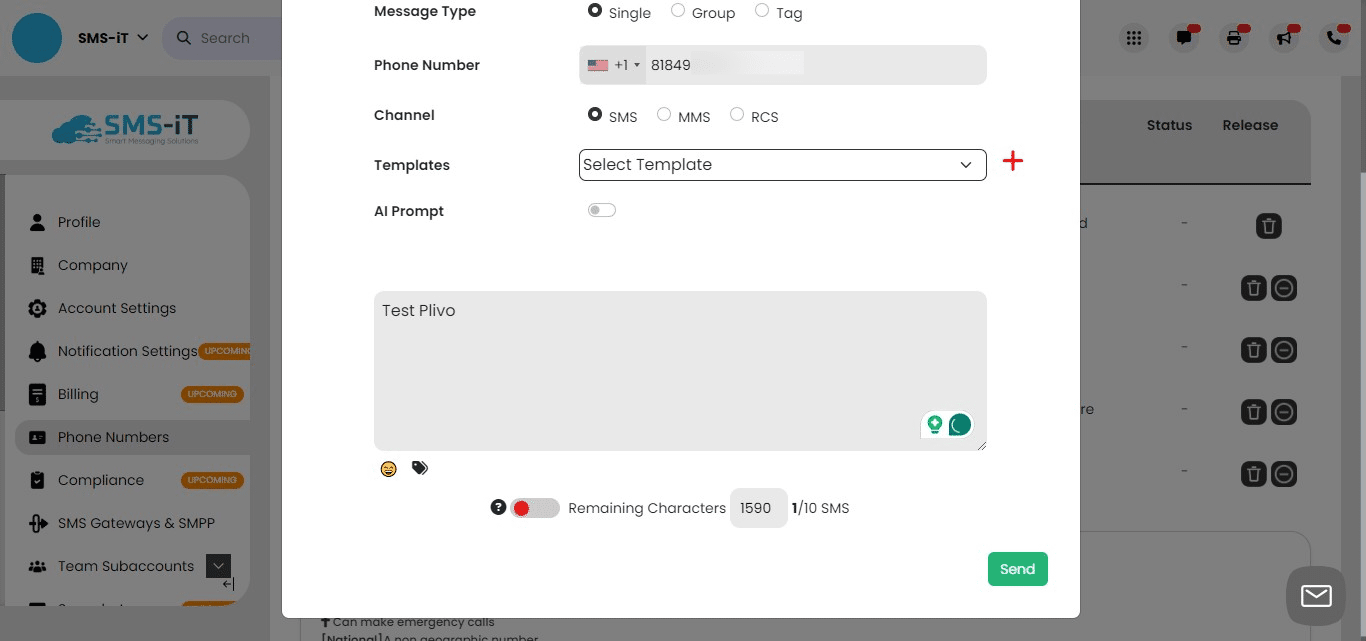
You'll see the green banner signaling success. And you'll also receive the text sent to your VOIP number.

Done