
Bulk Email
Bulk Emailing with SMS-iT
While SMS-iT is primarily focused on high-performance bulk SMS messaging, the platform also offers robust capabilities for executing bulk email campaigns. This allows you to seamlessly integrate both SMS and email communications as part of your omnichannel marketing strategy.
The bulk email features within SMS-iT provide the same level of personalization, scheduling, and deliverability optimization as the SMS tools. You can leverage contact lists, dynamic merge fields, and intelligent routing to ensure your email messages are crafted and delivered with maximum impact.
Just like the SMS functionality, the bulk email module in SMS-iT is designed to help you reach your audience effectively, build stronger relationships, and drive measurable results for your business.
Now, let's dive into the step-by-step tutorial for executing successful bulk email campaigns using the SMS-iT platform.
Navigate to https://aicpanel.smsit.ai/home
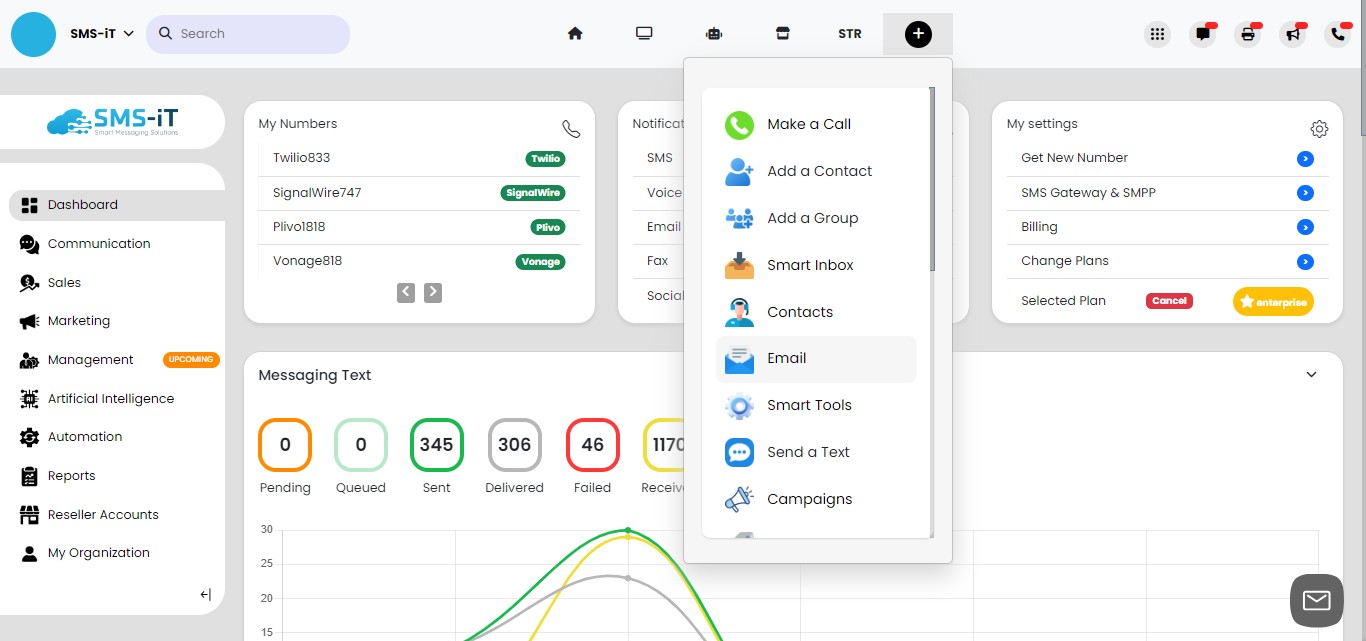
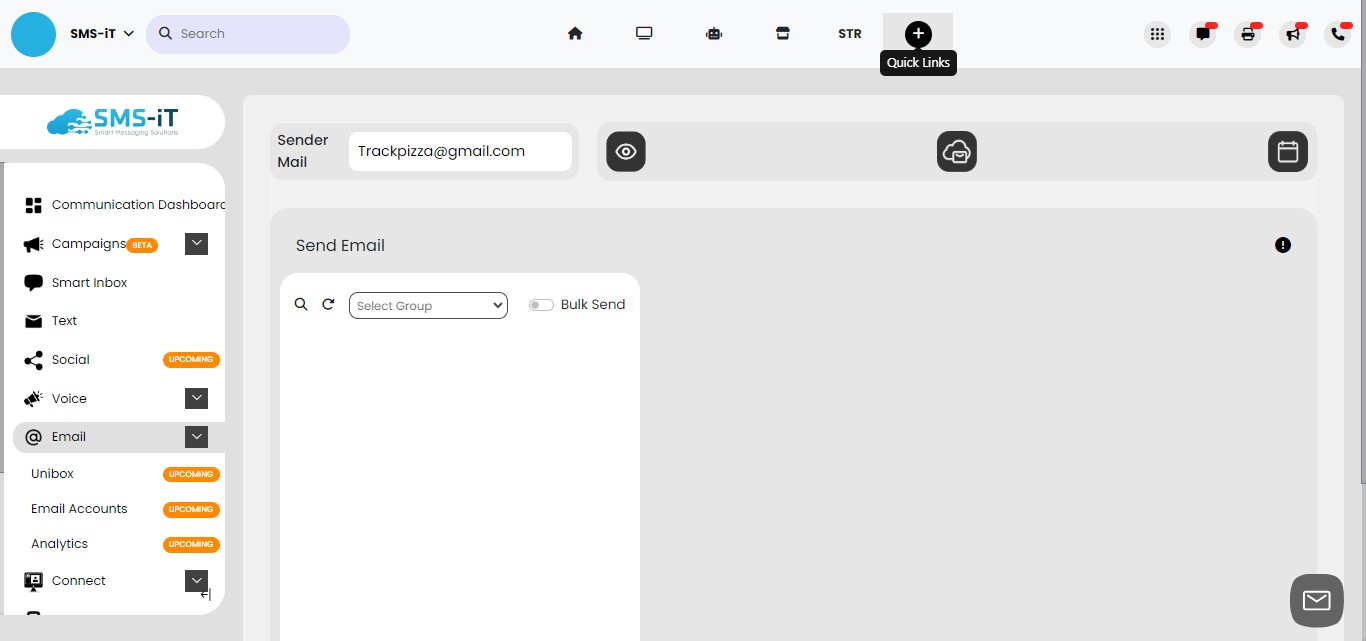
Click on "Quick Links"

Click on "Email"
Click on "SMTP Settings"
Note: Transport Layer Security (TLS) is the upgraded version of Secure Sockets Layer (SSL). TLS is the newer, more secure version of SSL and is recommended in almost every situation
Fill in the SMTP settings. See the next steps for guidance.

Office 365 SMPT Settings:
SMTP server: smtp.office365.com Port: 587 (TLS) or 465 (SSL) Encryption: STARTTLS (if using port 587) or SSL/TLS (if using port 465) Authentication: Yes, use your Office 365 credentials Username: Your full Microsoft 365 email address (e.g. [email protected]) Password: Your Office 365 email account password
Zoho Mail SMPT Settings: Server Address: smtp.zoho.com Username: Your Zoho Mail address Password: Your Zoho Mail password Port: 465 (With SSL/TLS) Security Type: SSL or TLS Require Authentication: Yes
For Gmail SMPT Settings please refer to this guide: https://training.smsit.ai/guides/97dae1d2-49aa-4504-9dbf-ba5b6e3bc028
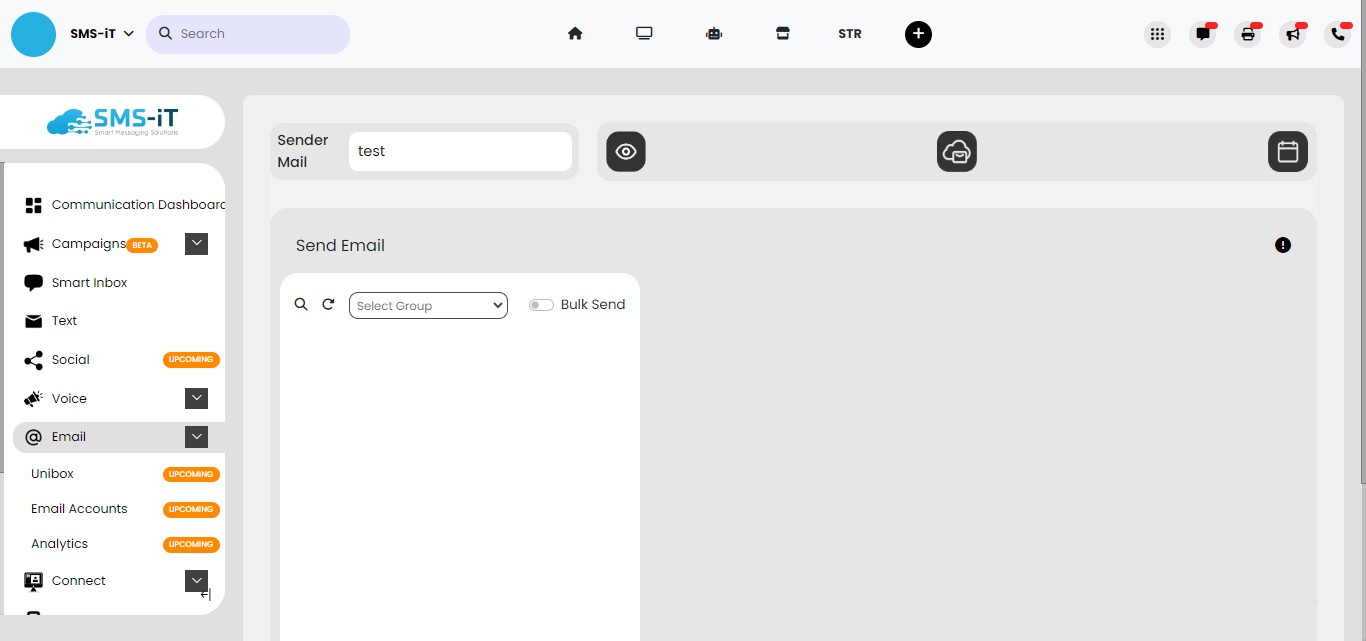
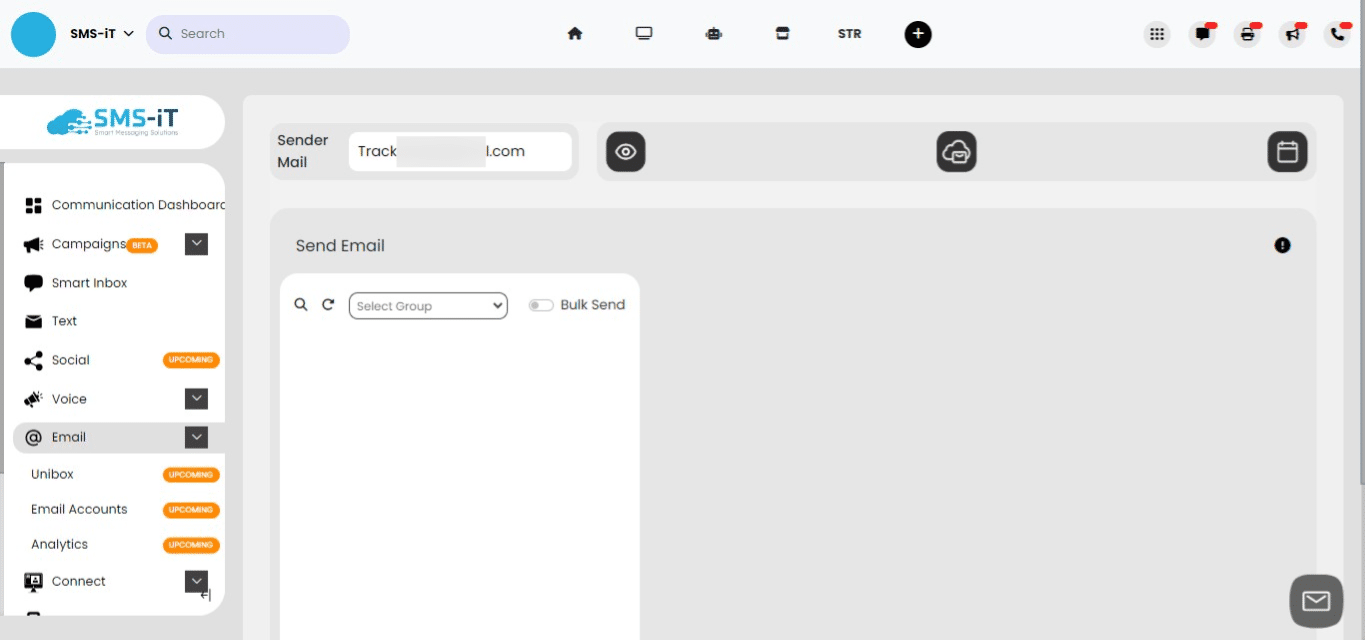
Click on "Send Email"

Your email is now set up for use.
Add an email address to your contact
To use bulk email, you'll need to have email addresses in your contact information.
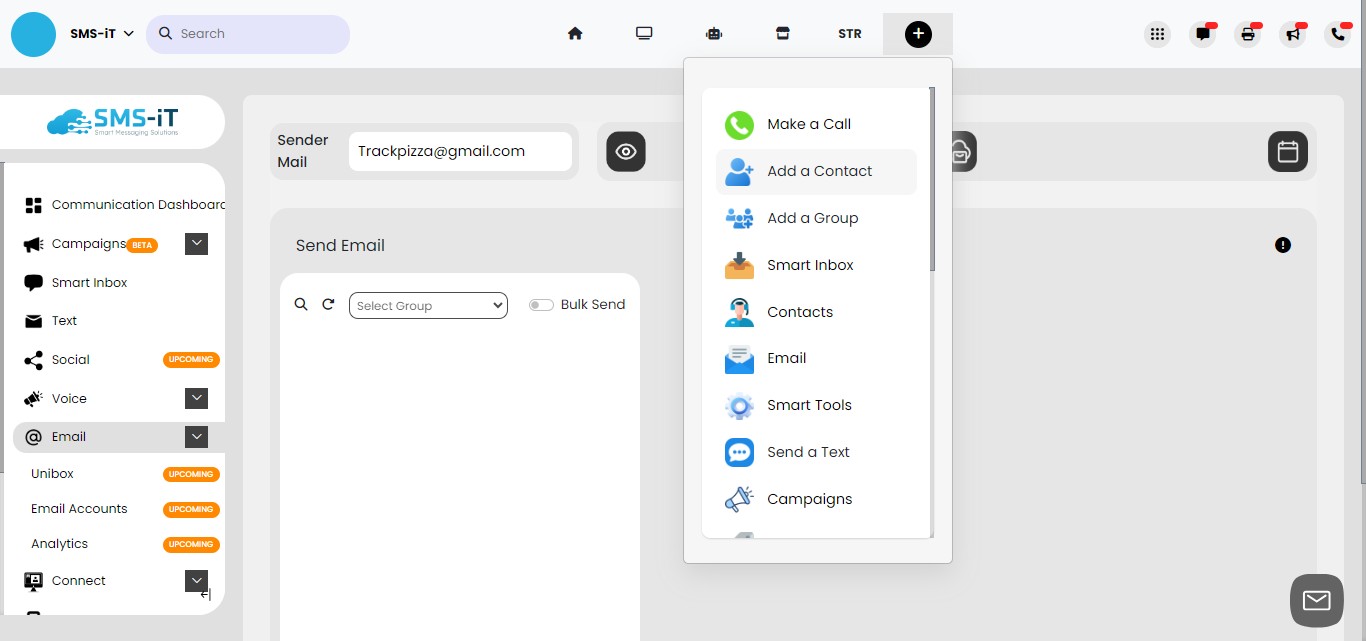
Click on "Quick Links"
Click on "Add a Contact"
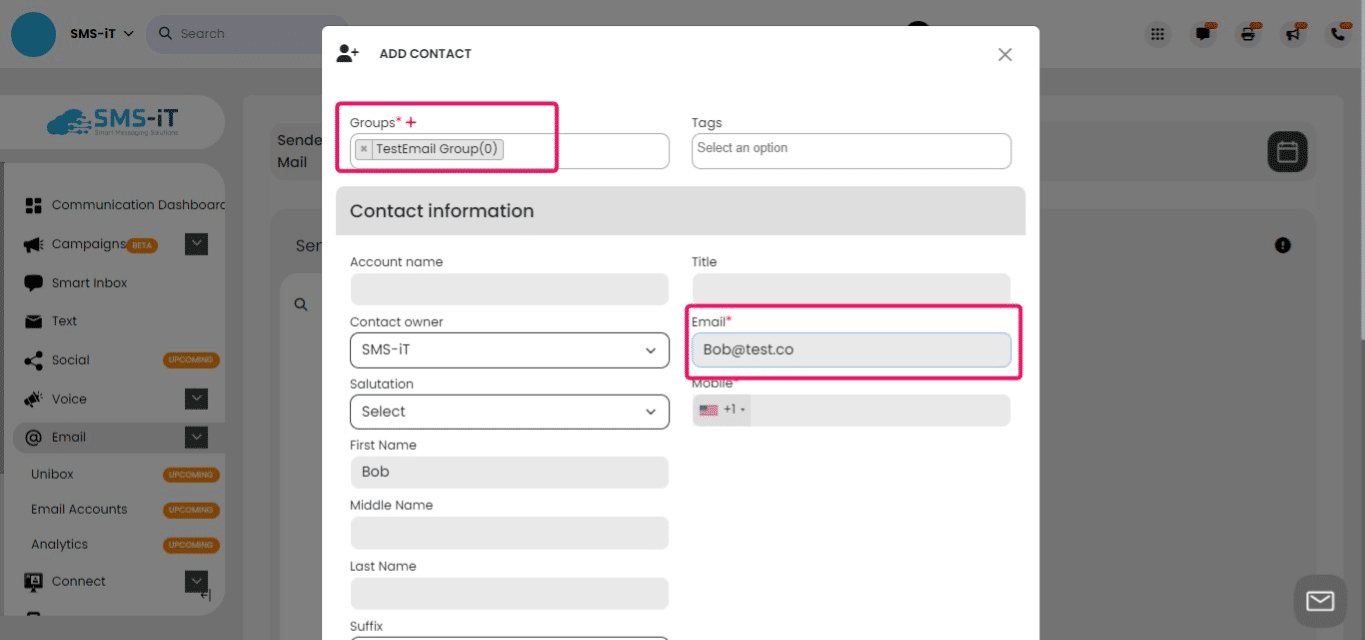
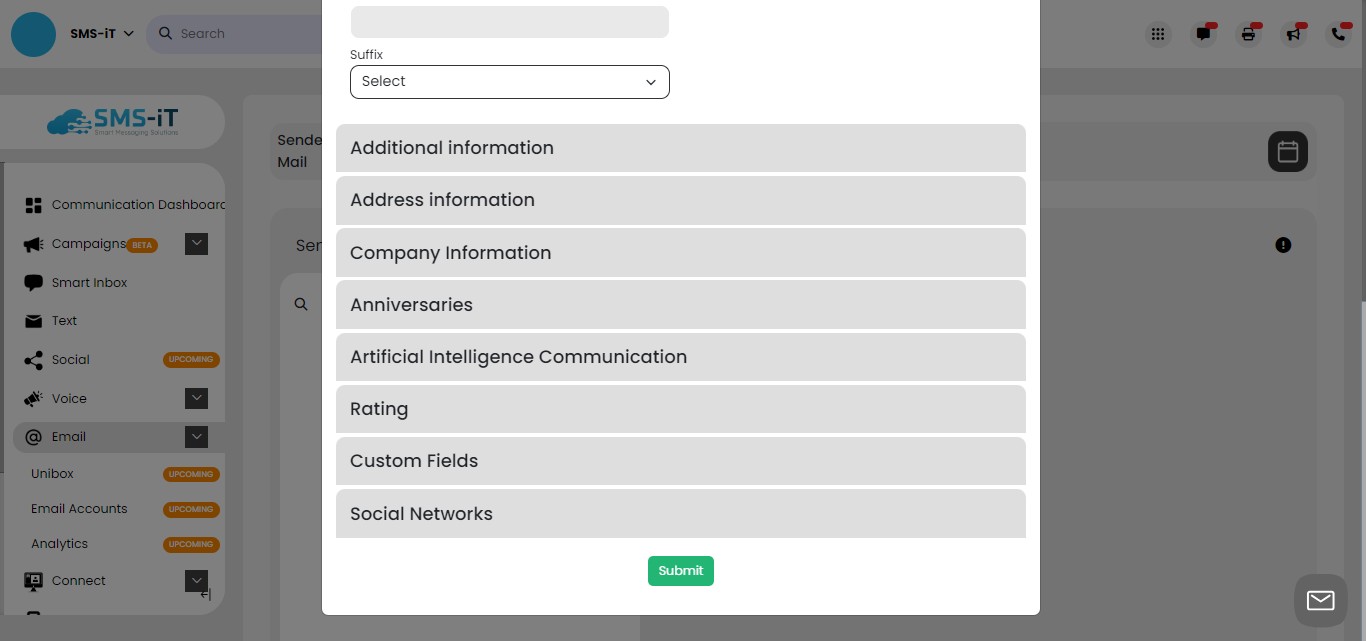
Select a group and email address (mandatory), and optionally, provide a name. Note: Group selection is always mandatory, and either an email address or mobile number is required. Additionally, you can add as much contact information as available.
Click on "Submit"
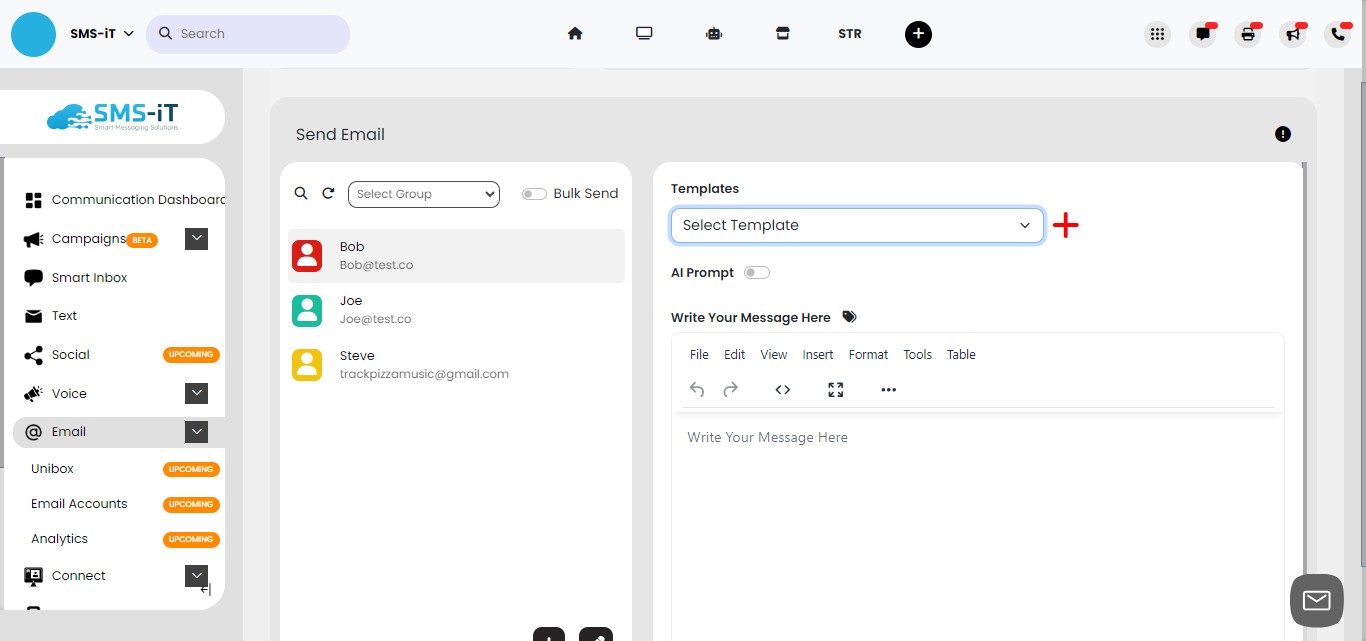
Your email has now been added to the "Send Email" field. As you add more email addresses to your contacts, they will automatically appear in the field.
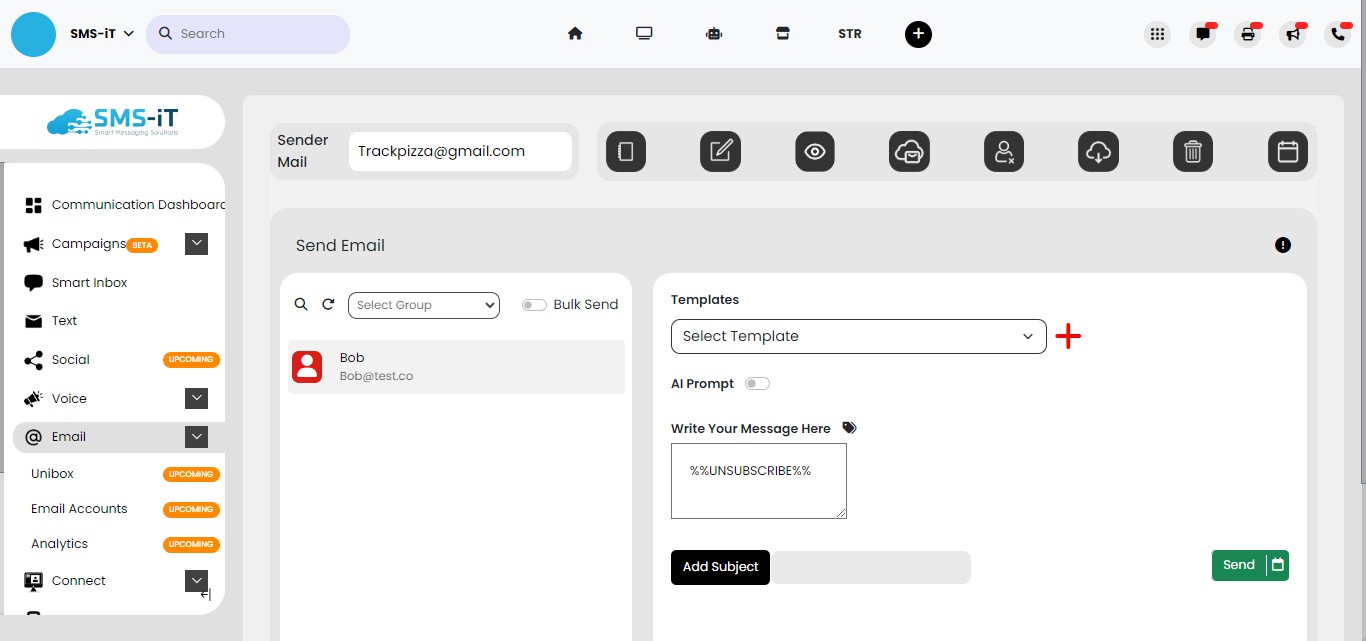
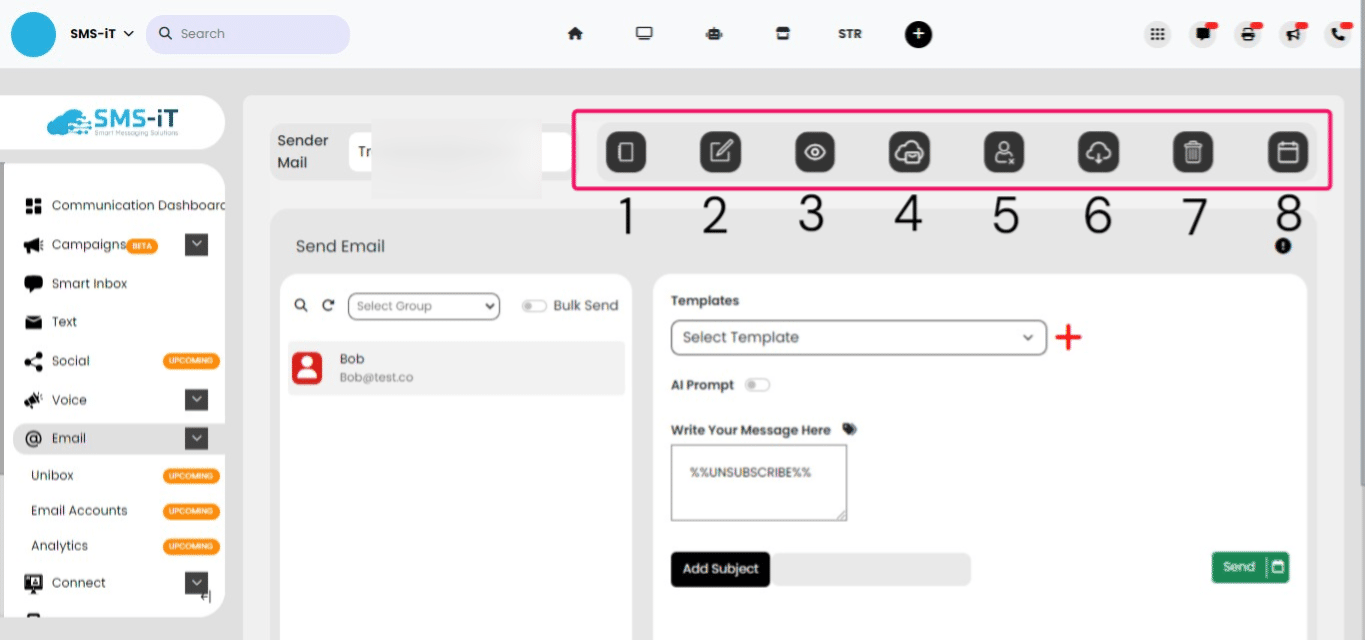
The eight icons on the top header are: One: Notes Two: Edit Contact (click on the contact in your list) Three: History Four: SMPT configuration Five: Unsubscribe Contact Six: Download the email string Seven: Delete Contact Eight: Email Calendar (view Pending Sent Paused and Processing)
As you add more contacts you can now use the bulk email server.
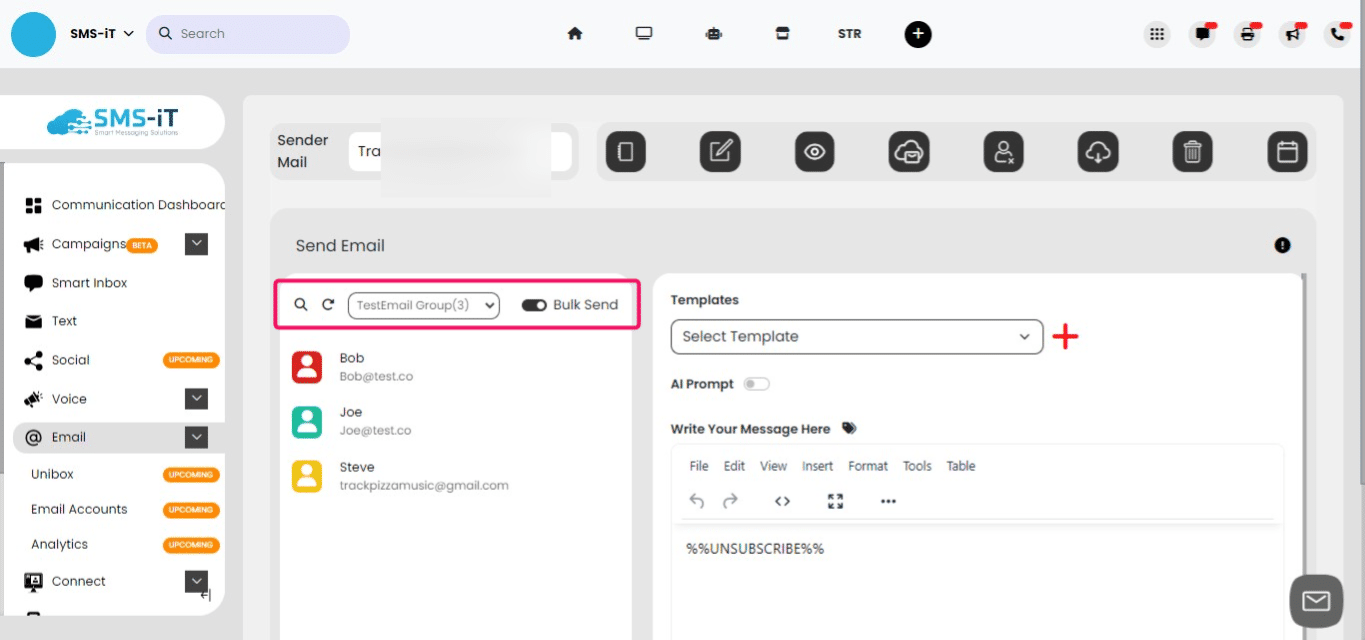
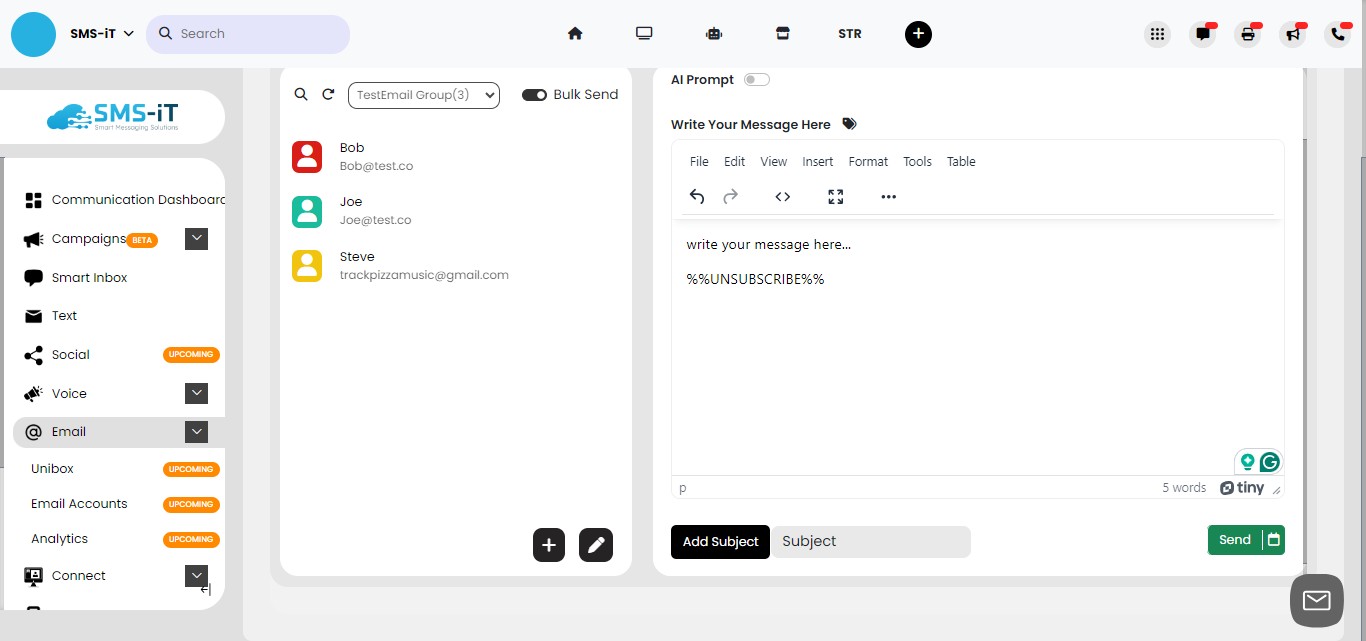
Bulk Send
Select a group and toggle on "Bulk Send".
Compose your message or select from a template.
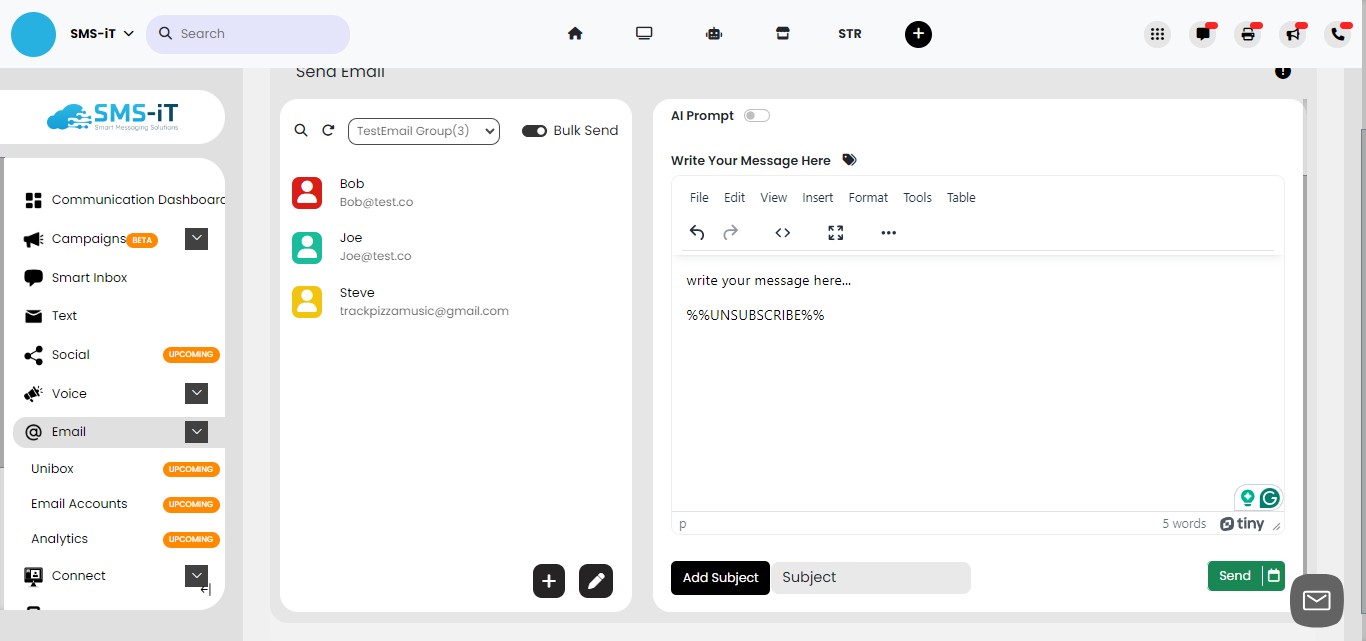
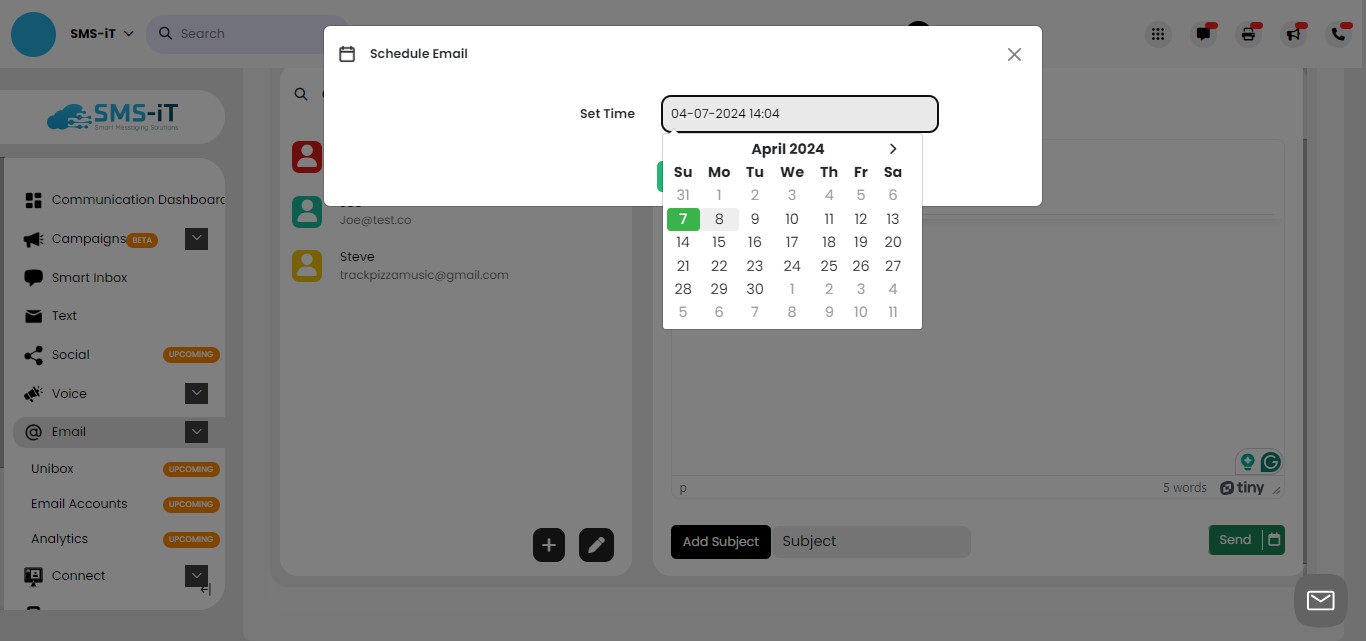
If you'd like your email to be delivered now, click "Send." Otherwise, click the "Calendar" icon to schedule your email.
Select the Date.
And time you'd like your bulk email to be sent.
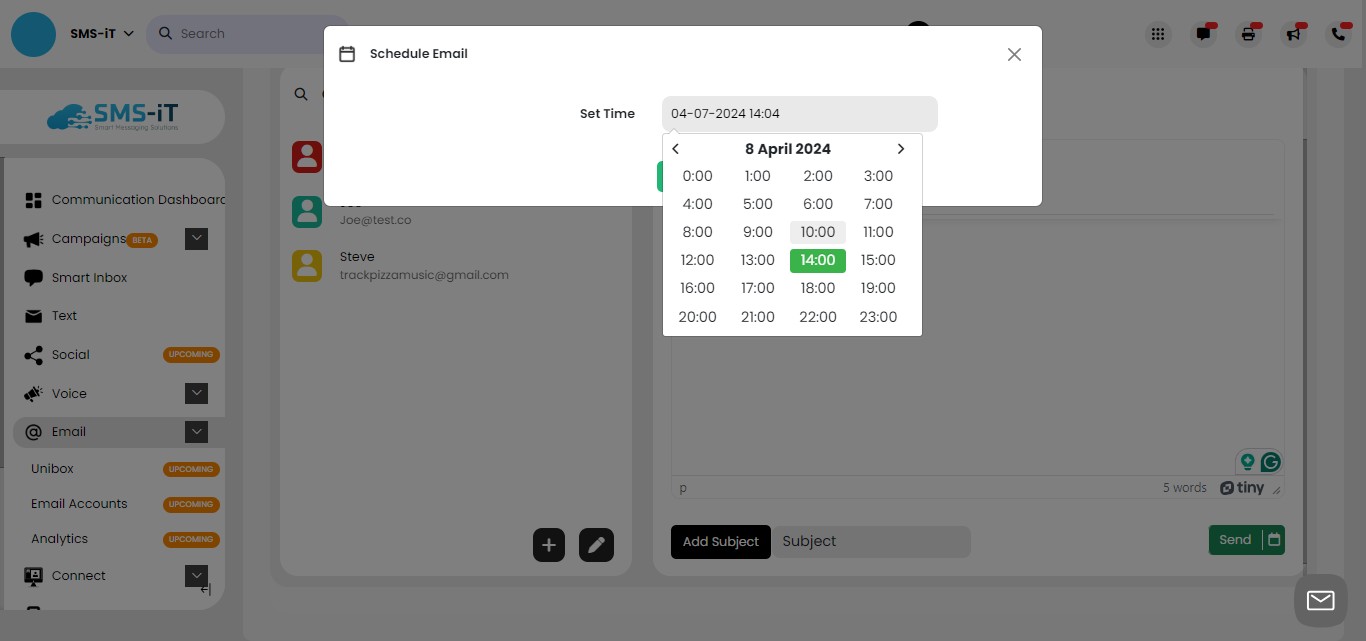
Click on "Save"

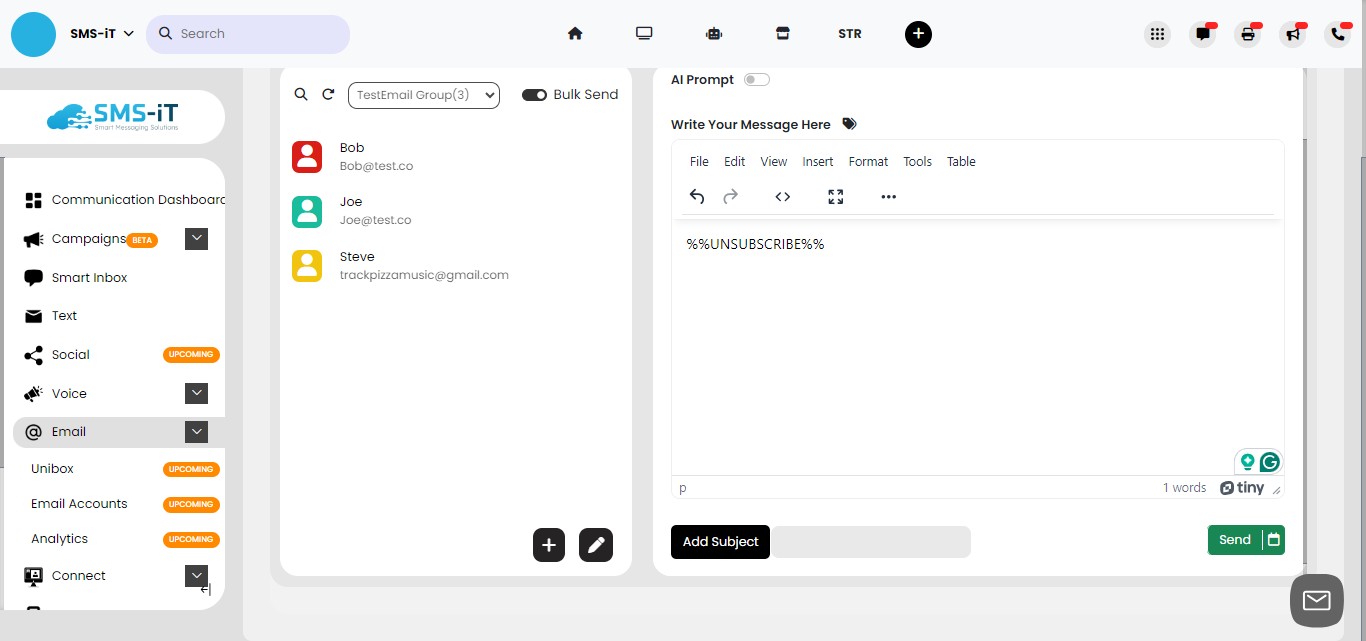
Your email has been scheduled.
Calendar
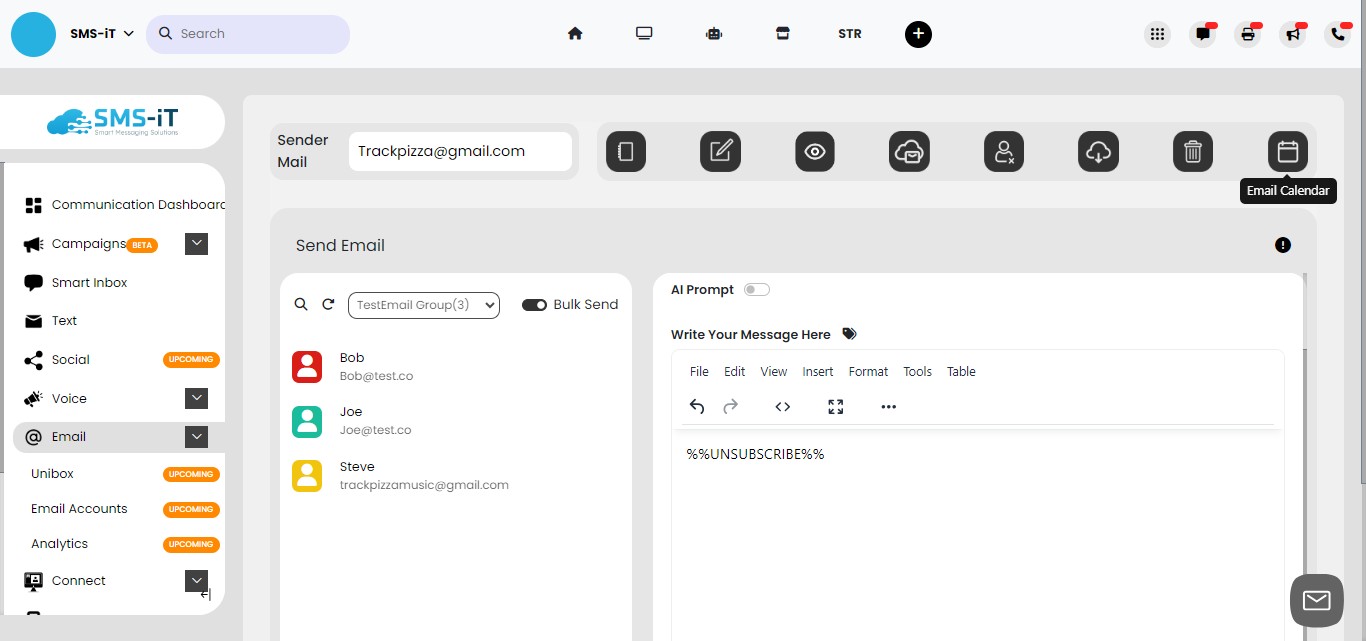
Click on "Email Calendar"
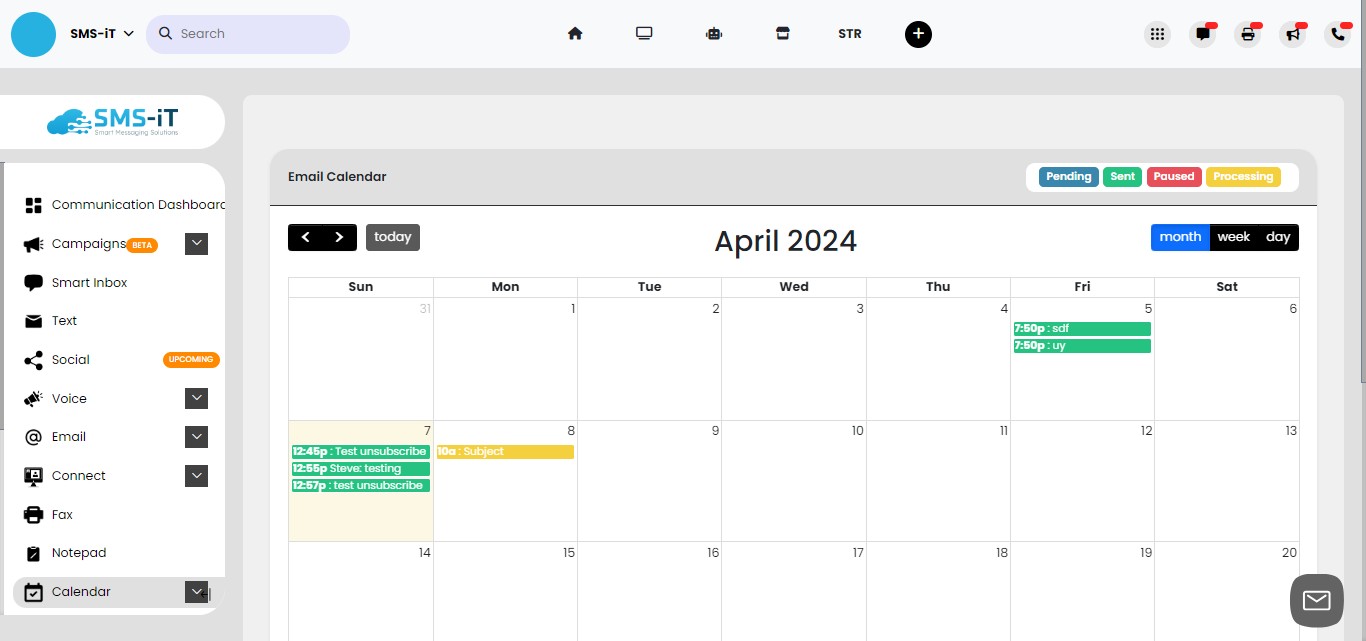
Here you will see all the emails that are either Pending, Sent, Paused, or Processing.
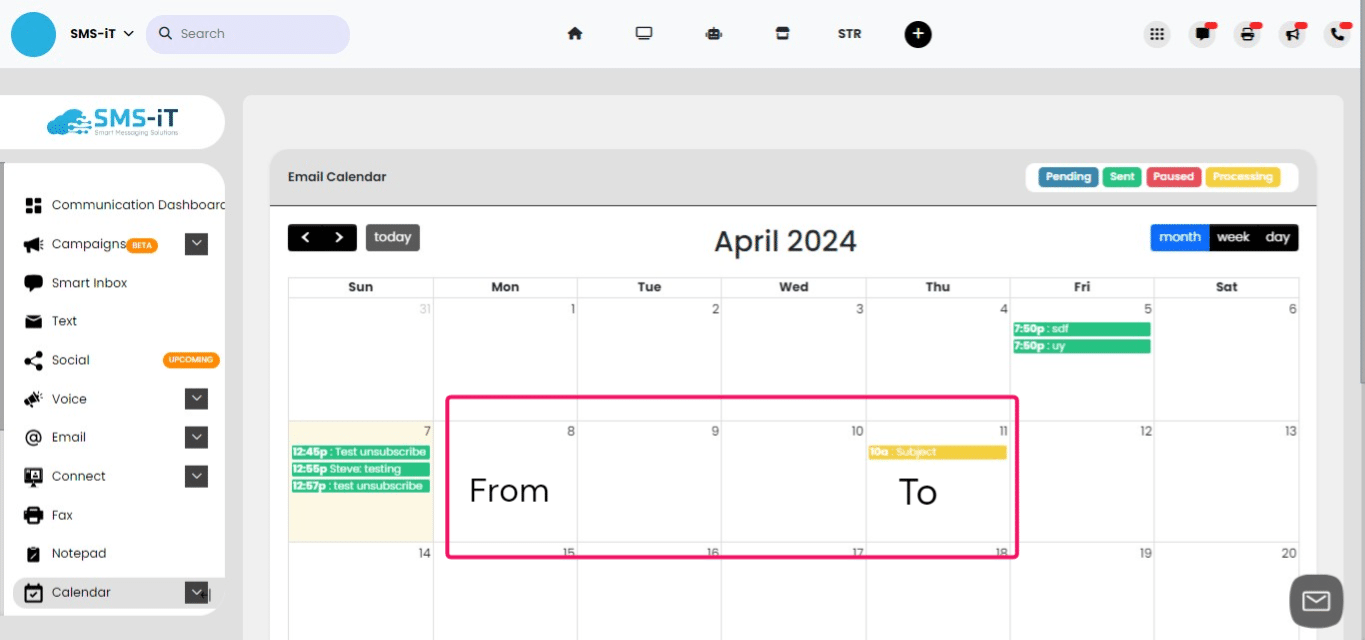
You can move the scheduled email to a new date by simply clicking on it and adjusting the date field to the new date you'd like to send it.
Delete email
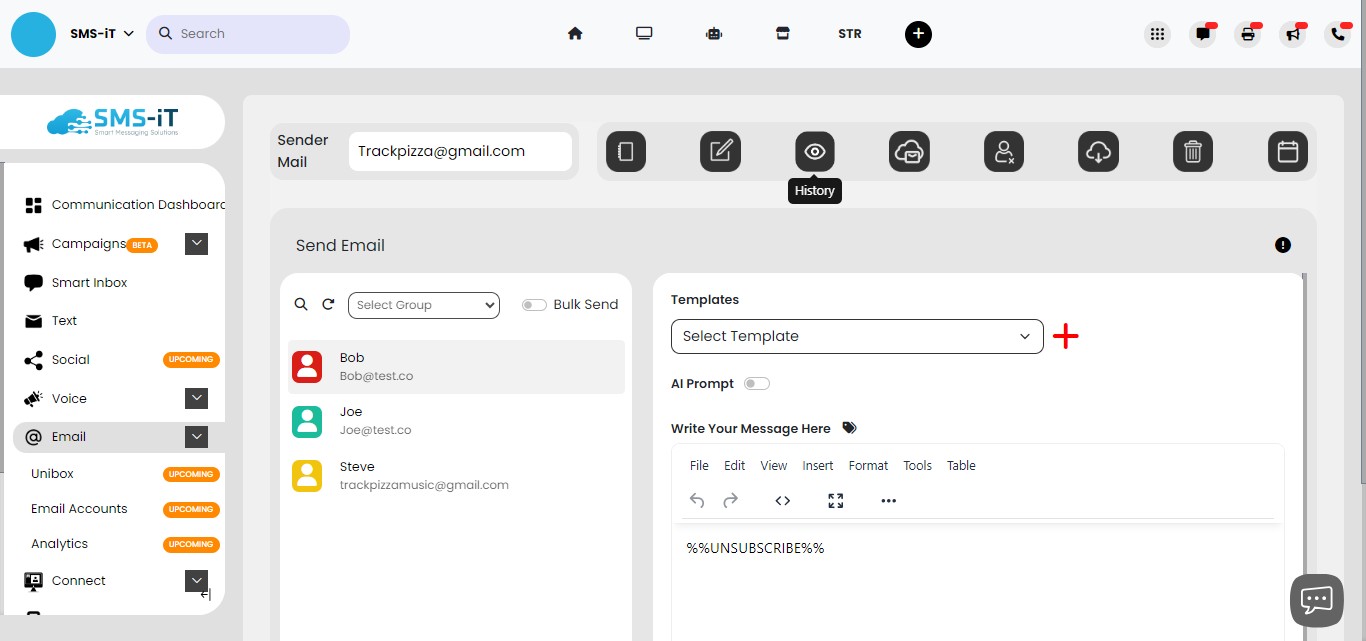
Click on the "History" icon.
Click the box.
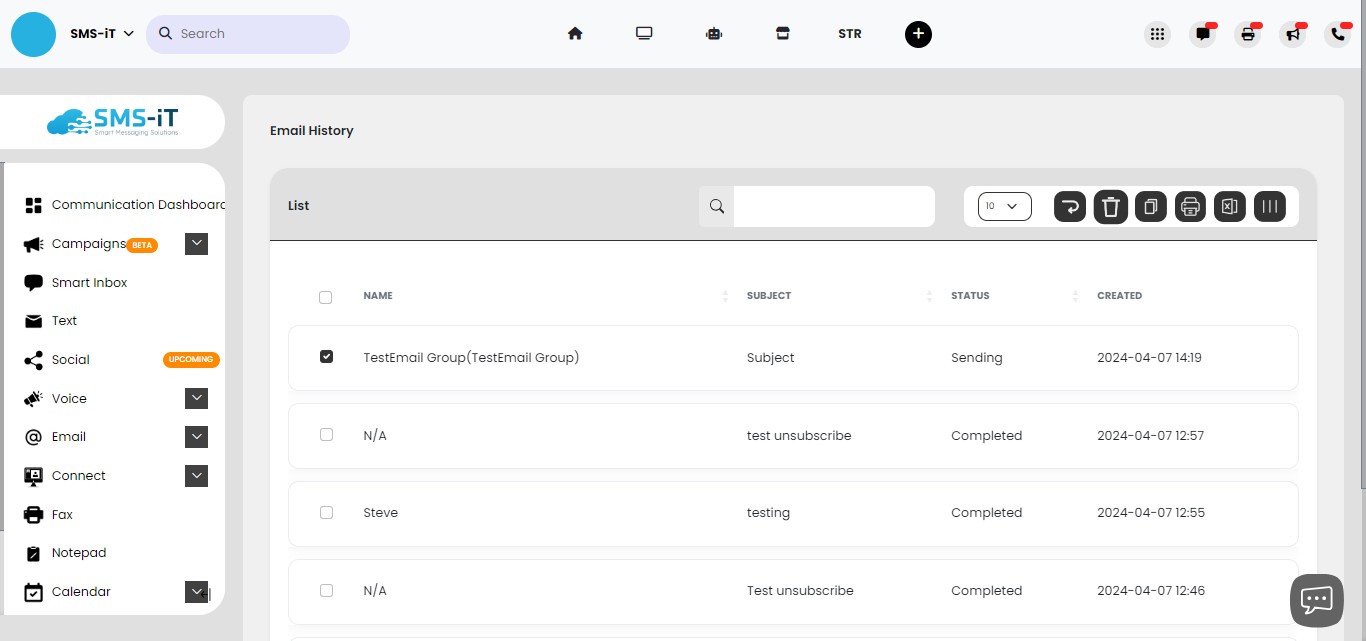
Click the "Delete" icon.
Your email is deleted.